
Howdy all! It’s been just over 11 months since I’ve posted any diecast. Crazy! My collecting has slowed down, and so has the photography and diorama building. But that’s what I wanted to share today, my most recent car diorama. I built this one over Christmas and promptly took it to work. So the only photos I have are from my phone. Sorry about that!
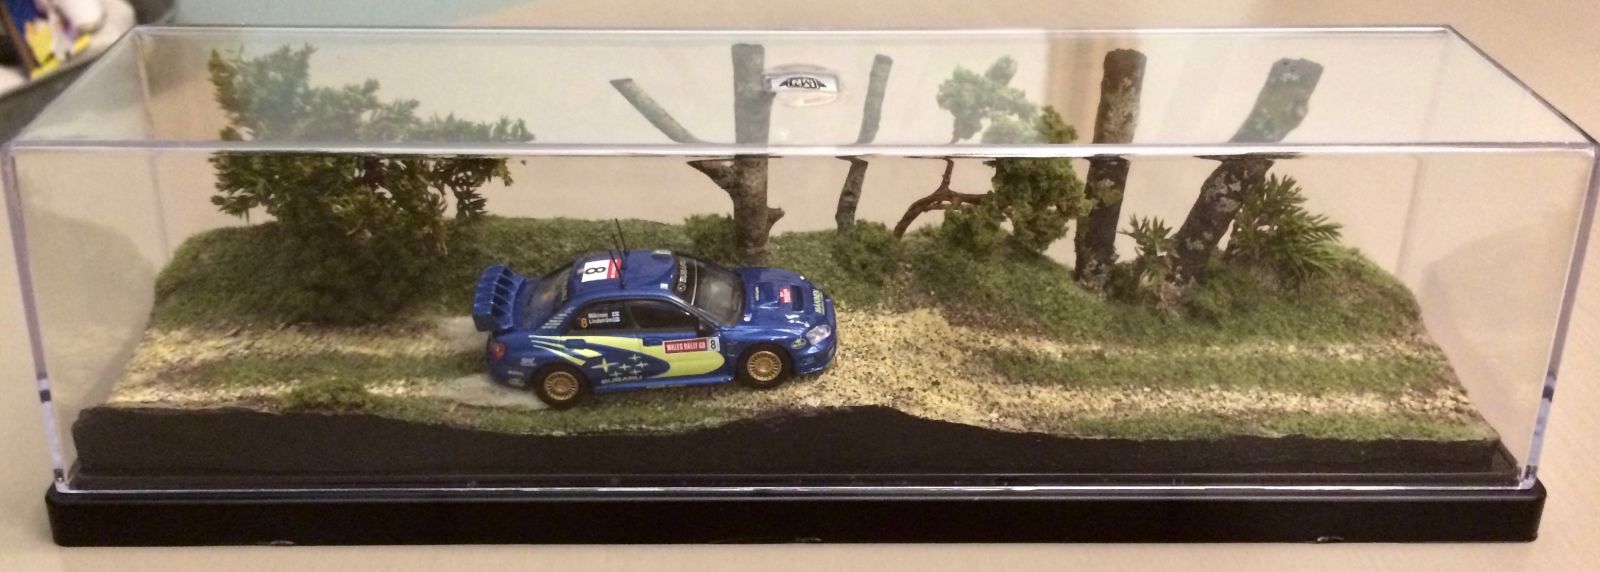
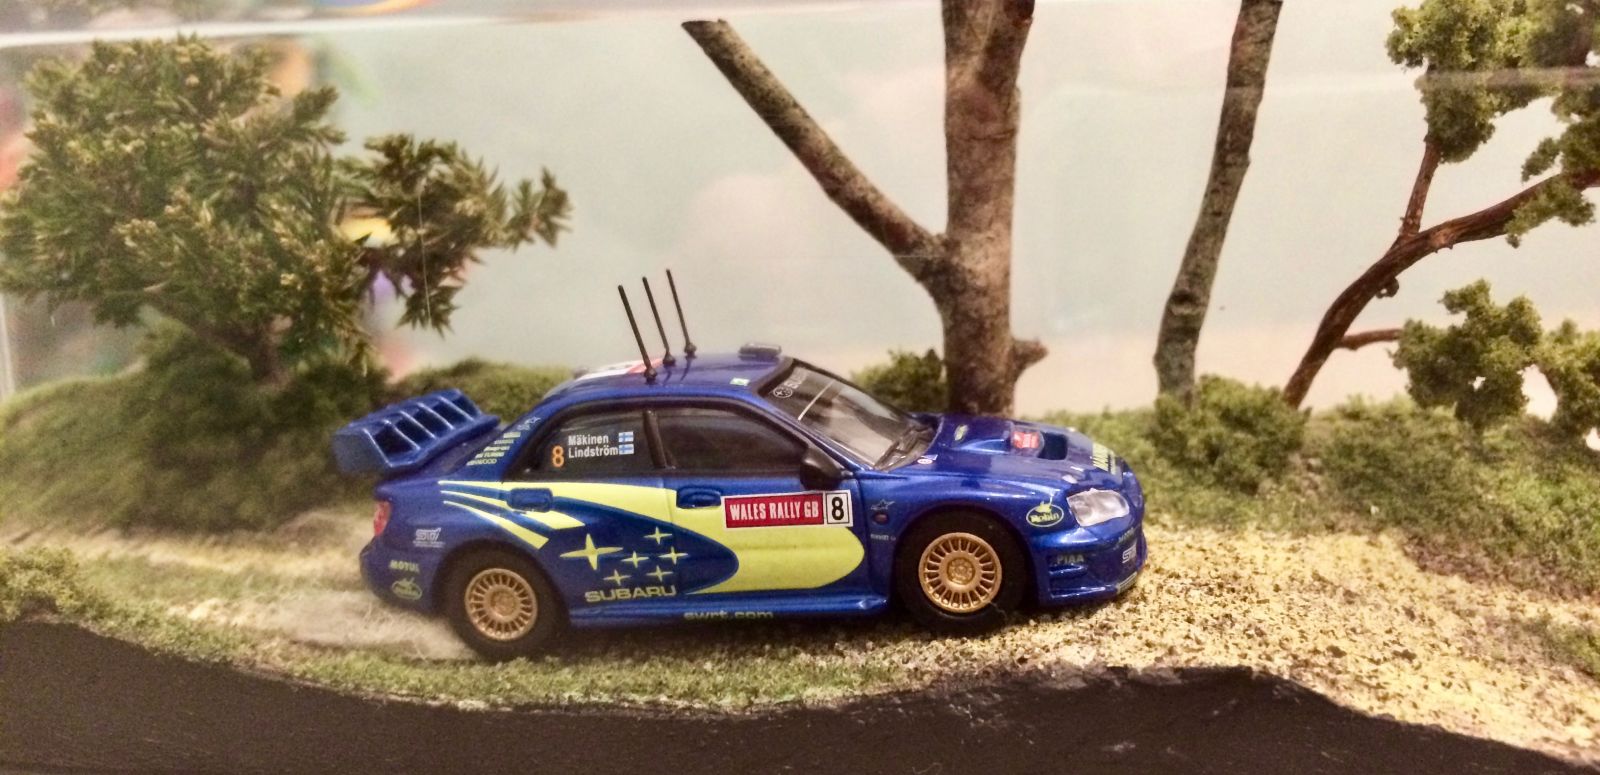
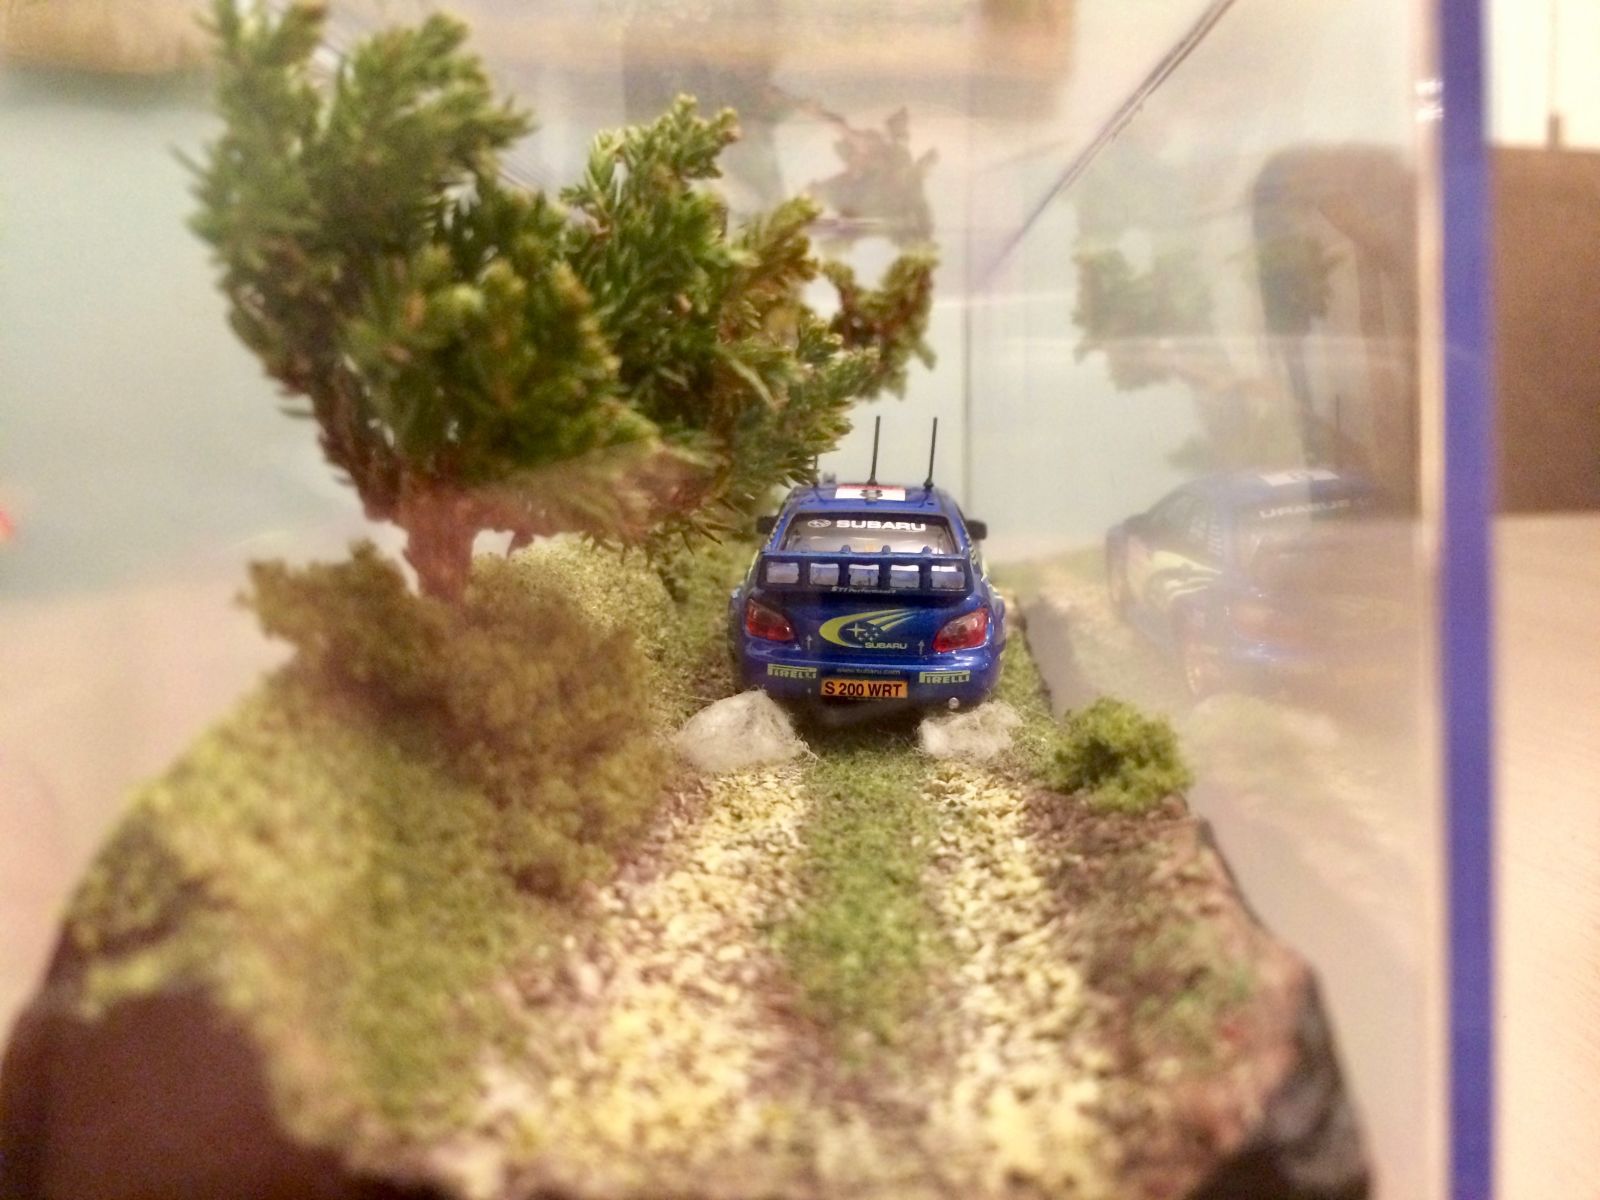
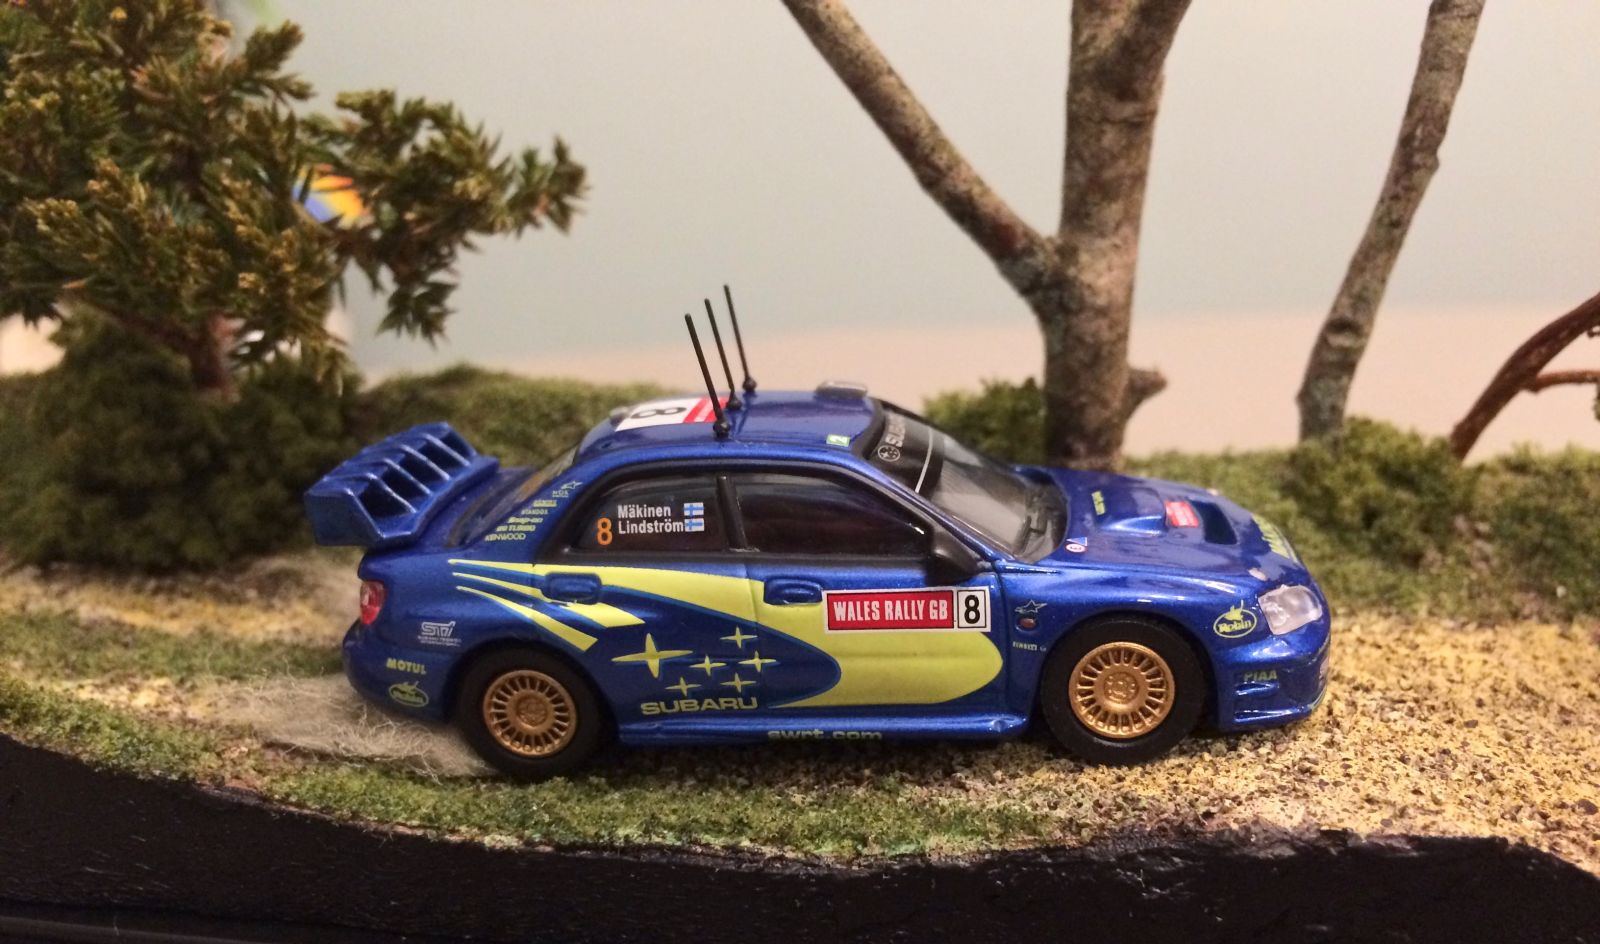
I’ve posted a couple of my CM rally Subarus in the past, but I finally built a diorama for them. I wanted to make one self-contained with a cover. I thought of using one of the cases that my M2 Machines Auto-Haulers came in to create a stretch of road. It worked pretty well!
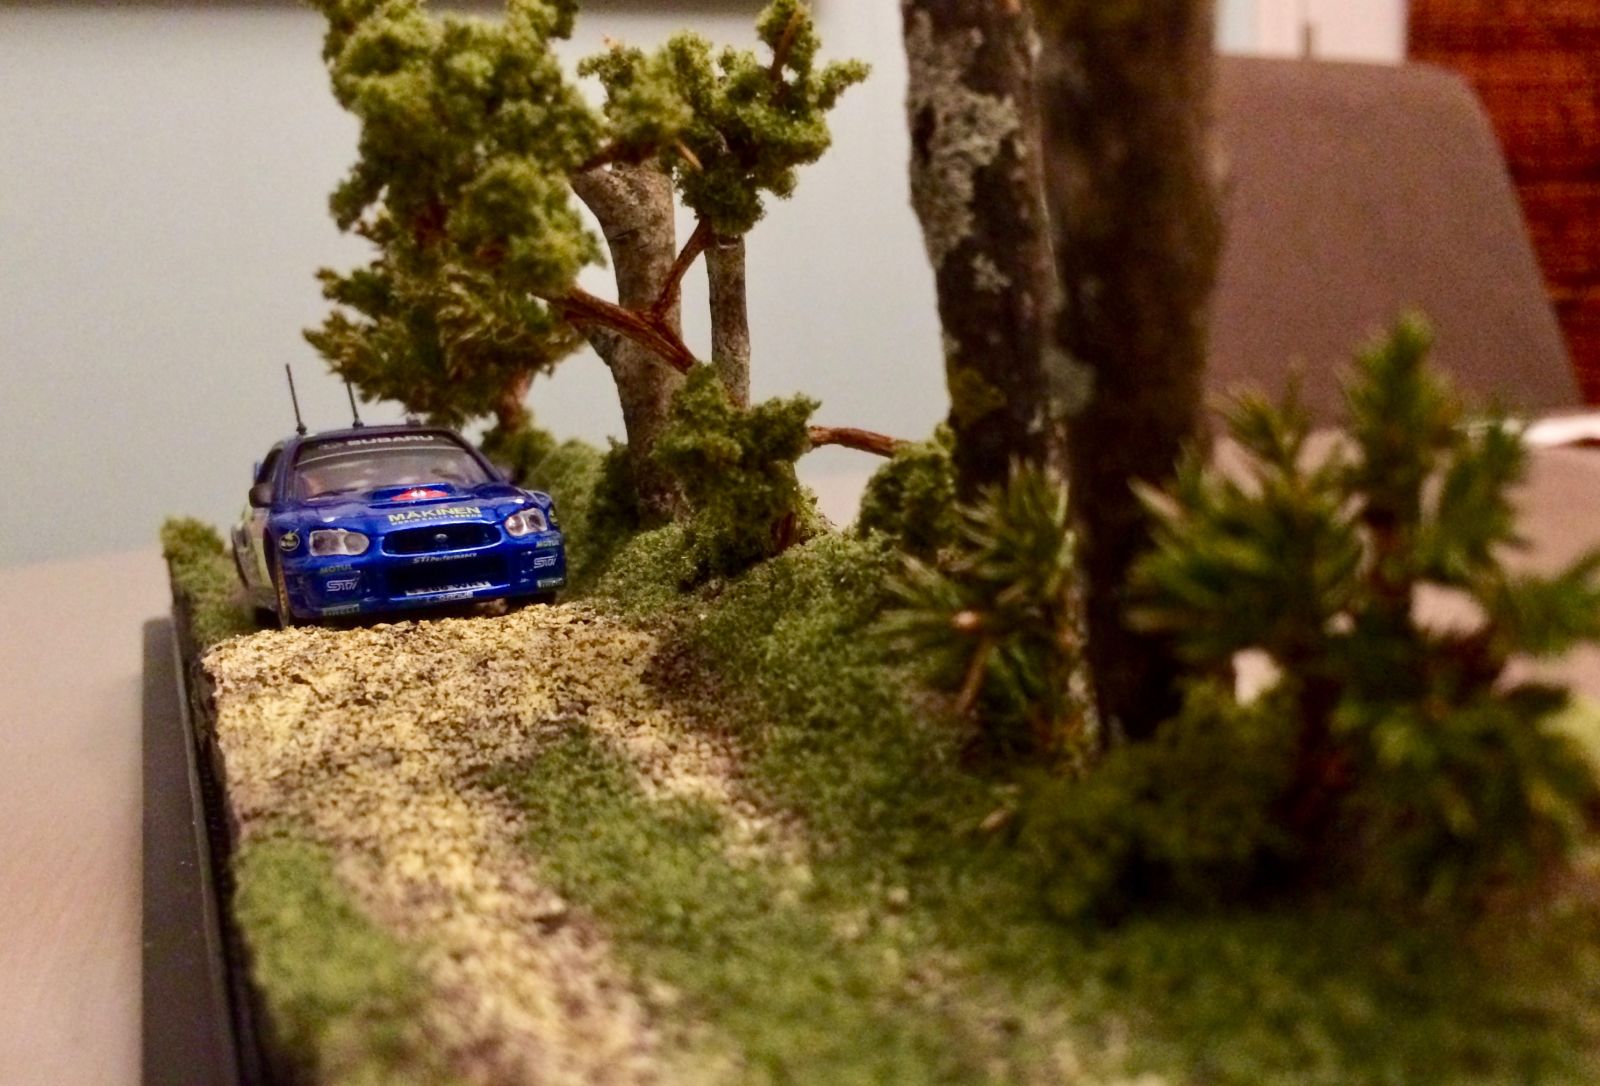
I started with a slab of pink foam. Using my hot-wire foam cutter, I carved it down to create the road and embankment behind it. Then I covered it with spackling to smooth it out and get the texture I wanted. I also put the gravel down in the damp spackling, pressing it down in so it wouldn’t just be sitting on top as in my previous dioramas.
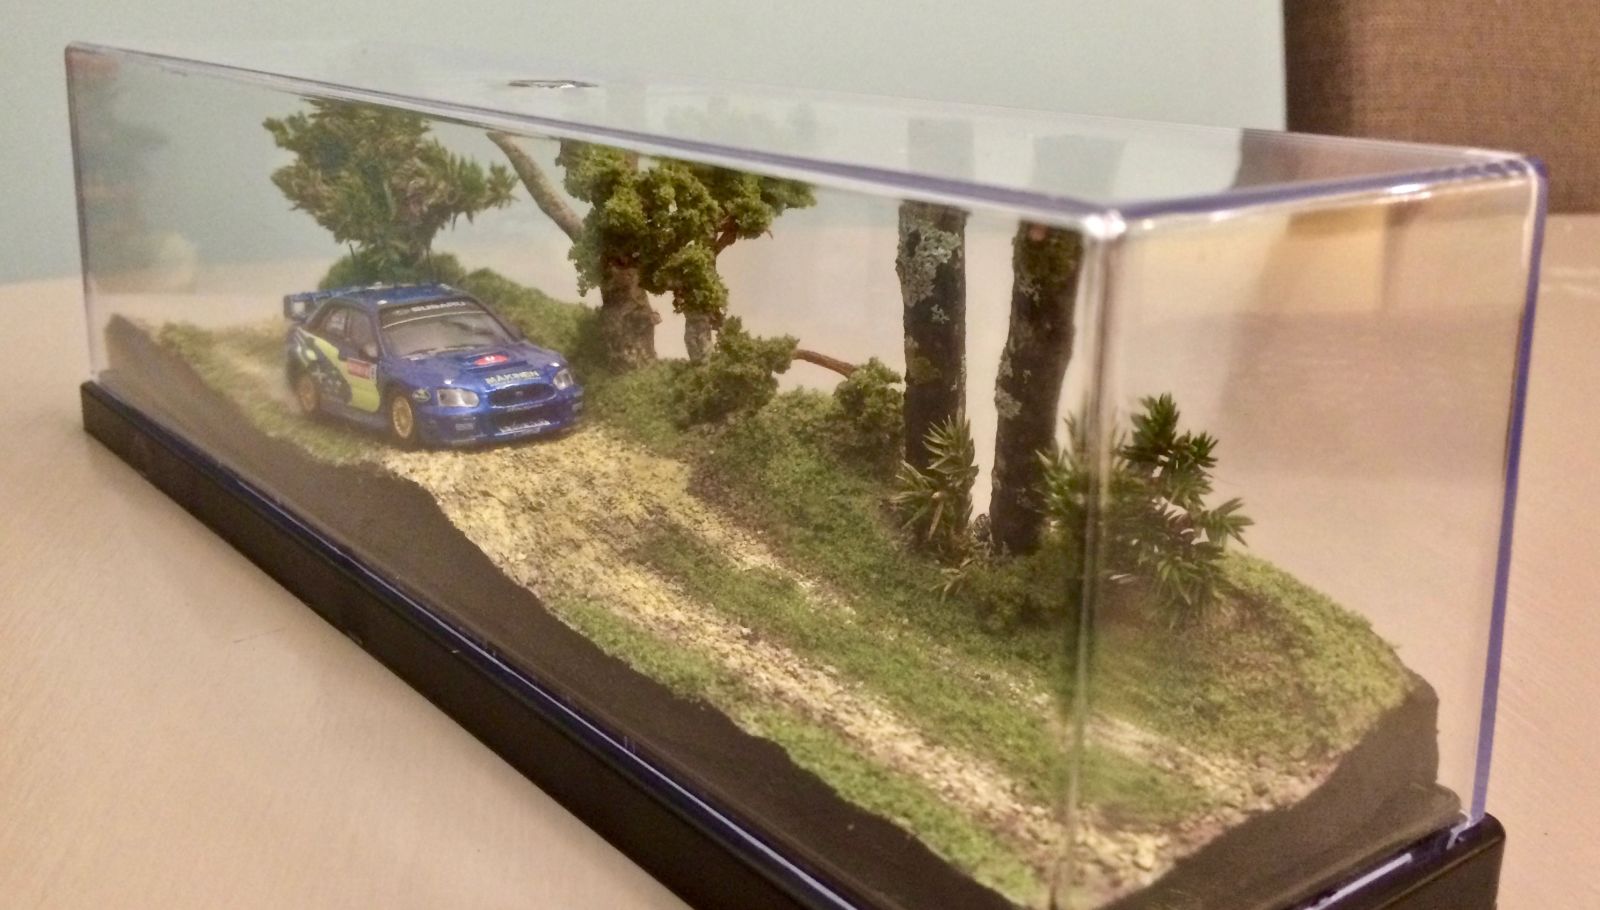
There’s a slight jump near the middle, and two rough tracks carved through the grass and moss. The trees are mostly found objects, though I did make a couple of them. The two larger trunks (with super-cool lichen in 2 colors!!) I found up the road from my house on the edge of the woods. The one on the far left came off a bush during a bike ride. I just had to prune it a bit to get the size and shape right. Then there’s one in the middle that I created using a dried grape stem and Woodland Scenics bushy-tree foliage stuff.
It was a little tricky since I needed the back side of everything to fit in the clear case. I trimmed everything down to fit as close as possible to the top as well. Each trunk is mounted directly into the pink foam of the base with some spackling.
The base took a while to paint it right. So there are a few layers, and a bit of variety. Then the green stuff was applied. I actually then splattered it with brown. It’s hardly noticeable, but I think it made it feel a little more organic, and it tied the various colors together.
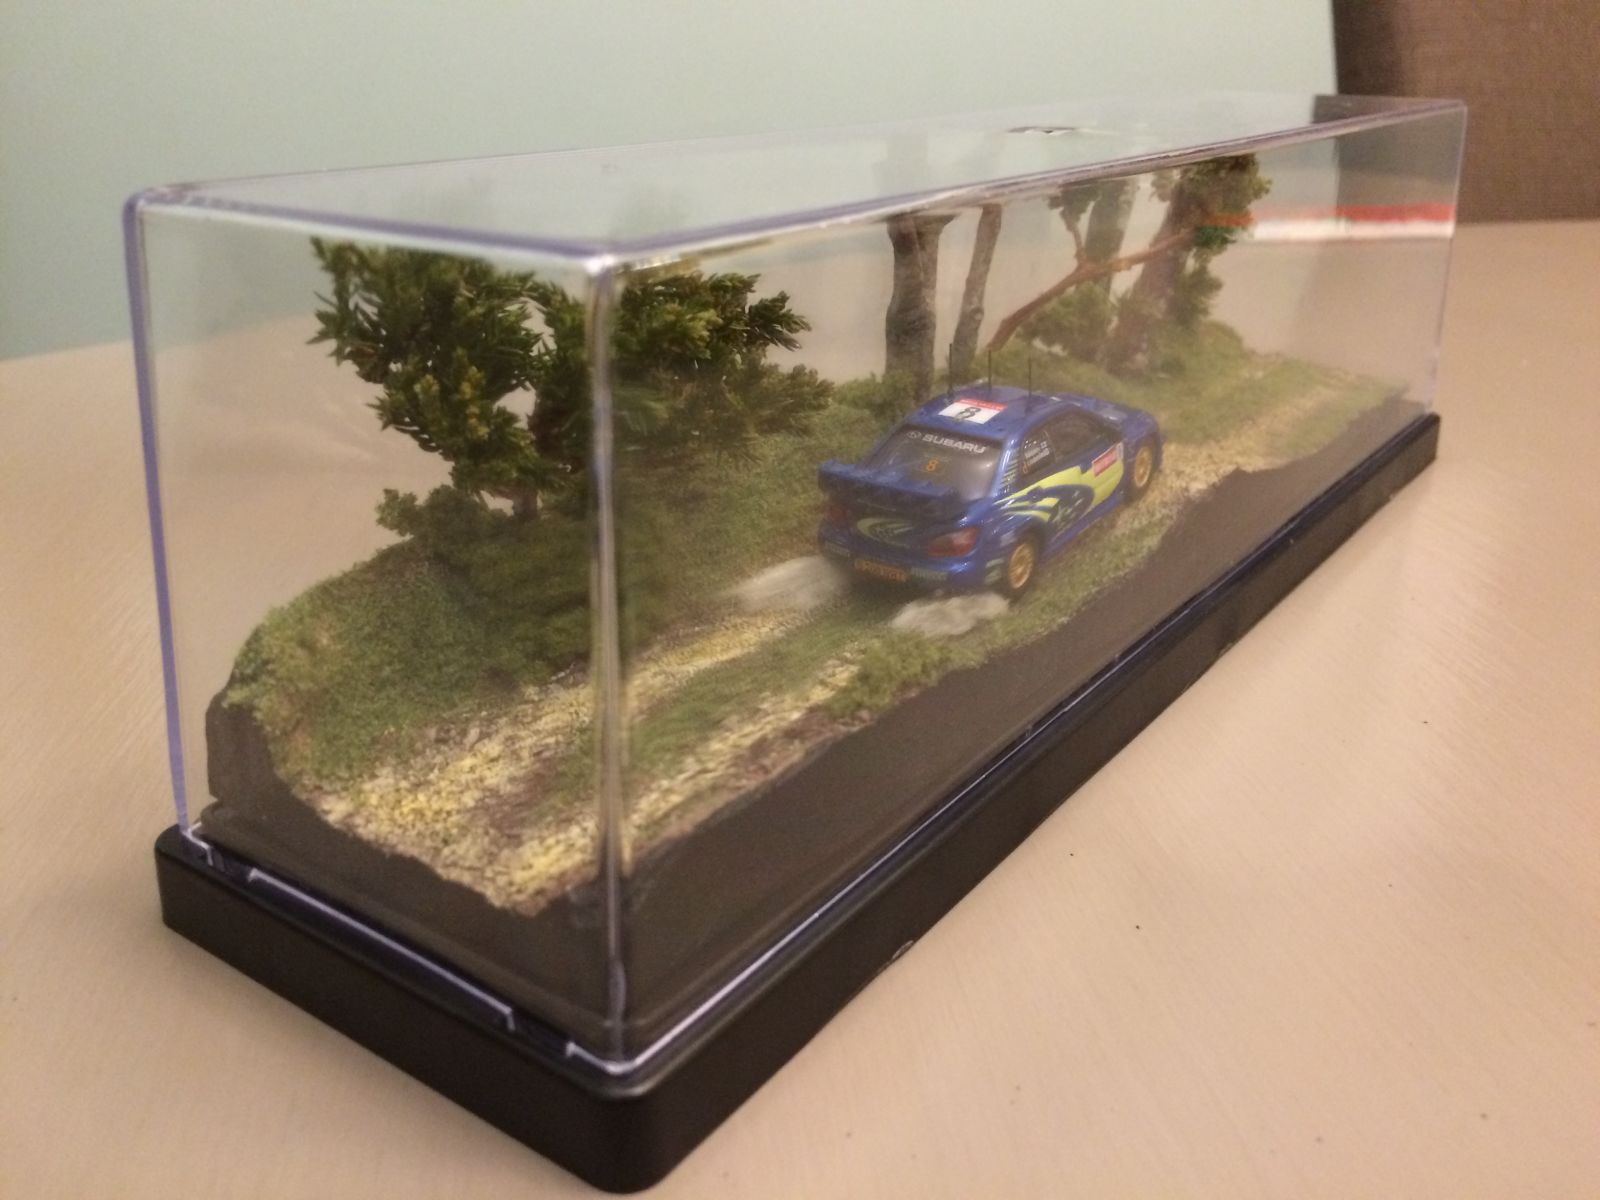
I tried creating the kicked up dust a few times. This was about the best I got, but I didn’t like it so I later removed it. I think if I had an airbrush I might be able to pull it off. For now, I should probably just use some straight white cotton wool.
Anyhow, I’m fairly pleased with it. It works well on my shelf at work, and I really like having it contained to keep the dust off. Also, I found it helpful to have those physical constraints to work within. I had to limit the scope of what I wanted to do, and this made it more achievable.
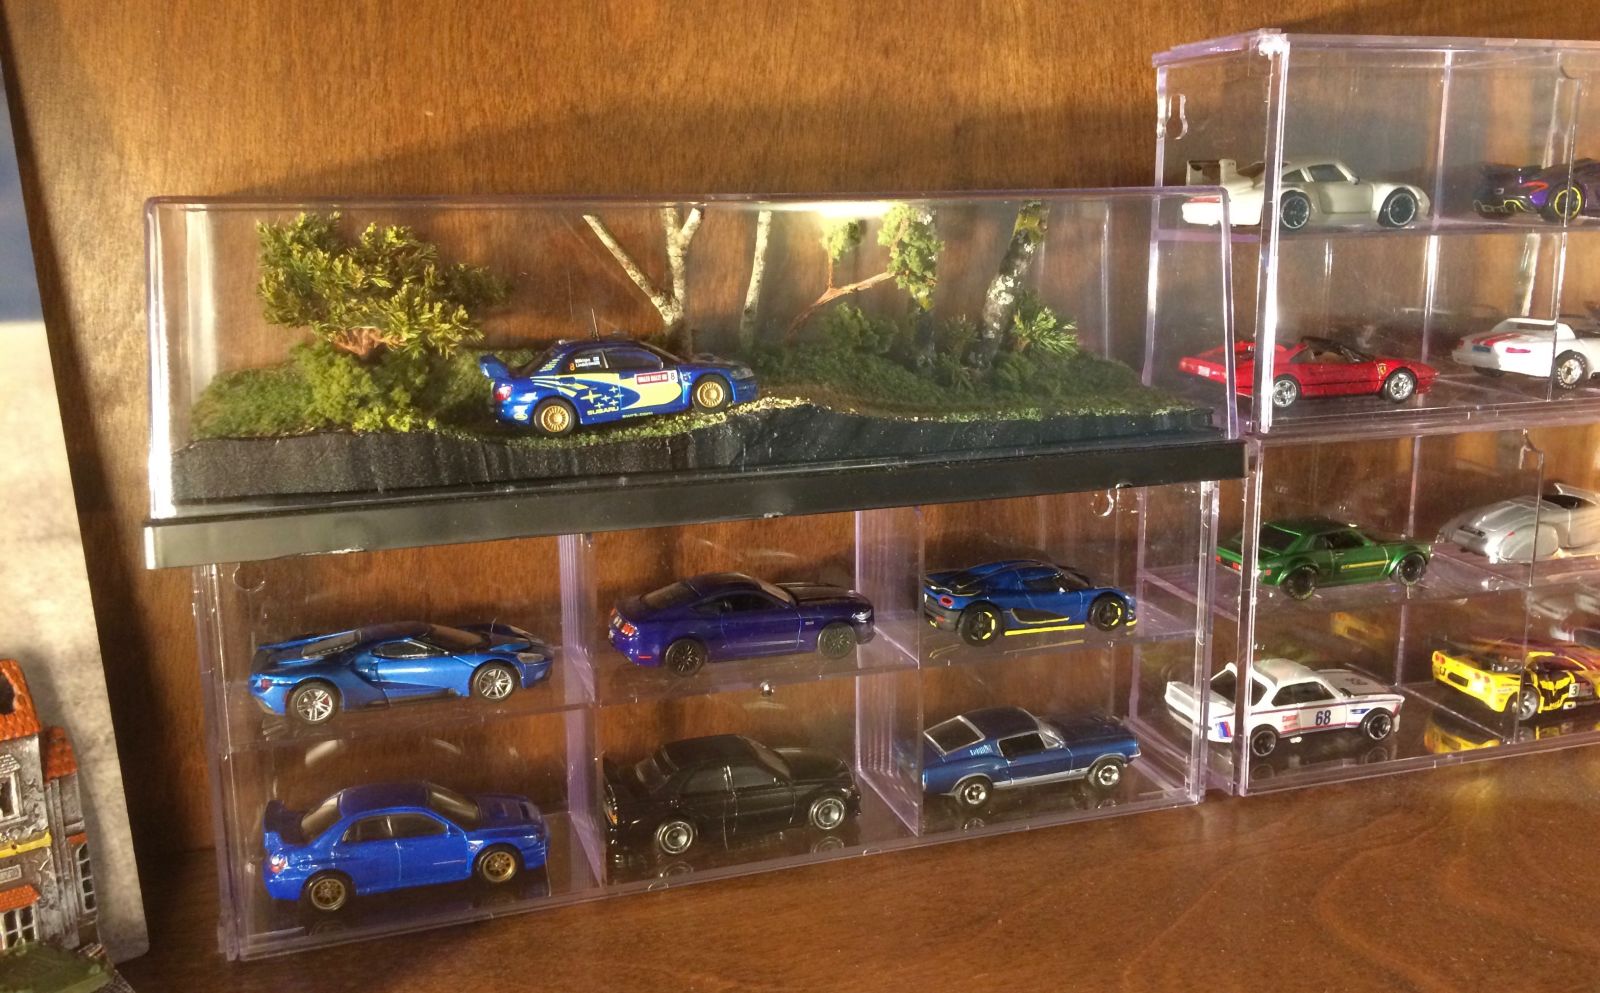
You can see it’s in pretty good company!
For those of you who are new over the past year, you might be interested in checking out some of my previous posts. Lots of diecast photography and a few diorama posts.