

For some reason the idea for a diecast diorama set in the Alps wouldn’t leave my head, so I plunged in a few weeks ago and just started building. I wanted a curvy road, a rocky outcrop on the left and a drop-off to the right into an Alpine valley. (Note: this is a long-winded post with lots of in-progress photos, so scroll to the bottom if you want to see the finished piece!)
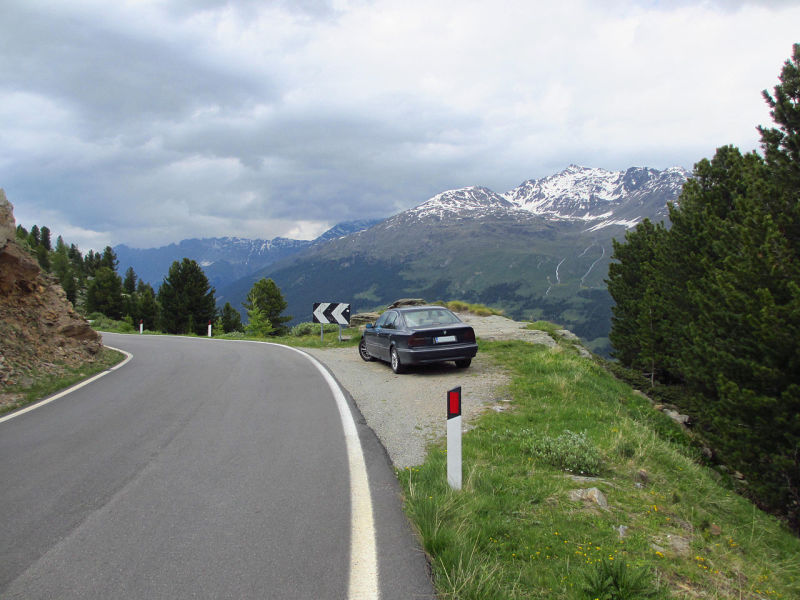
After scanning hundreds of images online, I came across this scene (photographer unknown) and realized it was what I wanted to recreate:
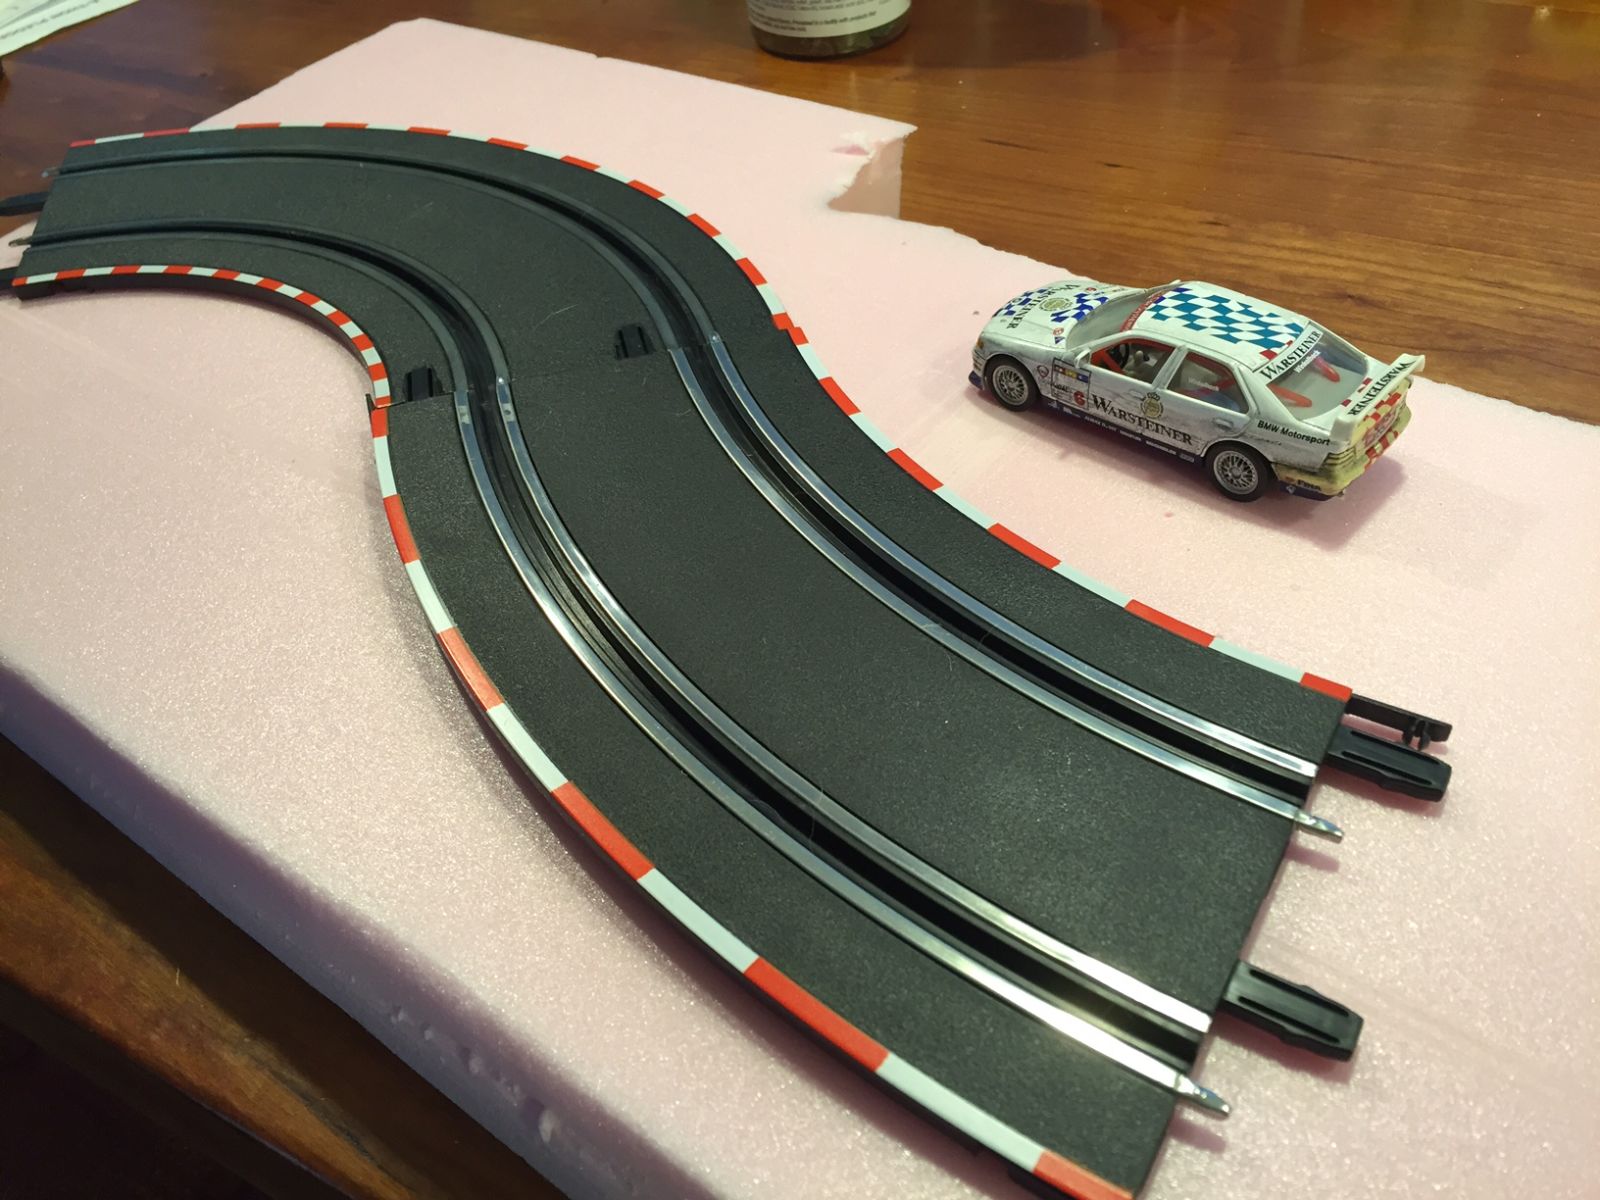
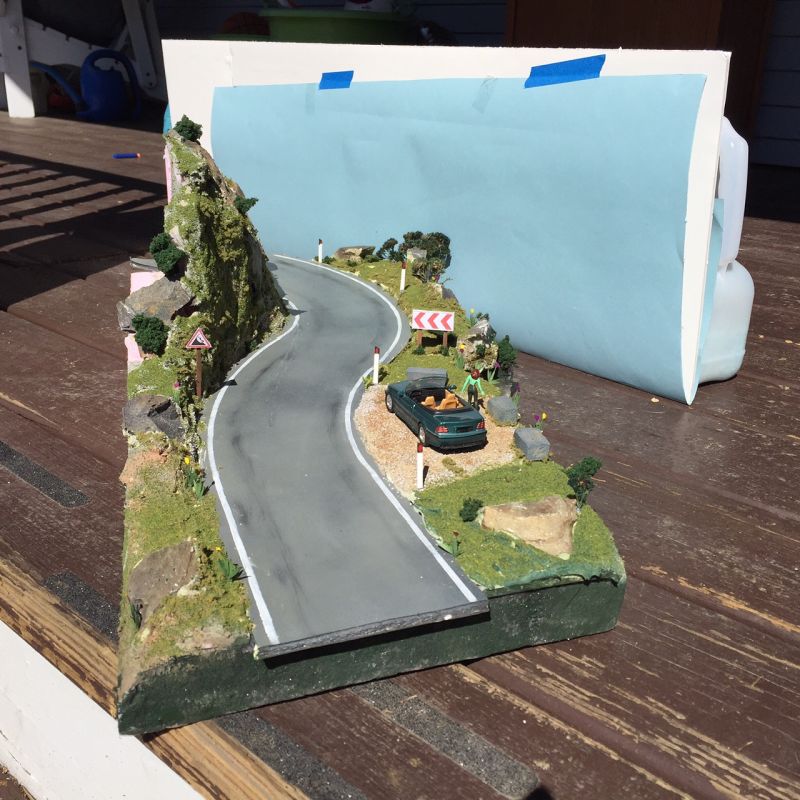
Down to the basement I went to gather supplies. I had some pink foam board left over from our train layout construction, so that would serve as the base. I placed a couple of pieces of Carrera Go! track on the foam to get a general sense of the curves I wanted. I also wanted a small “scenic viewing” area on the right so I had to leave enough room to park a 1/43 car.
Then I traced the track pieces onto some foam core. To get a realistic road surface, I alternated spraying grey primer, black paint and Matte Clearcoat to get some texture.
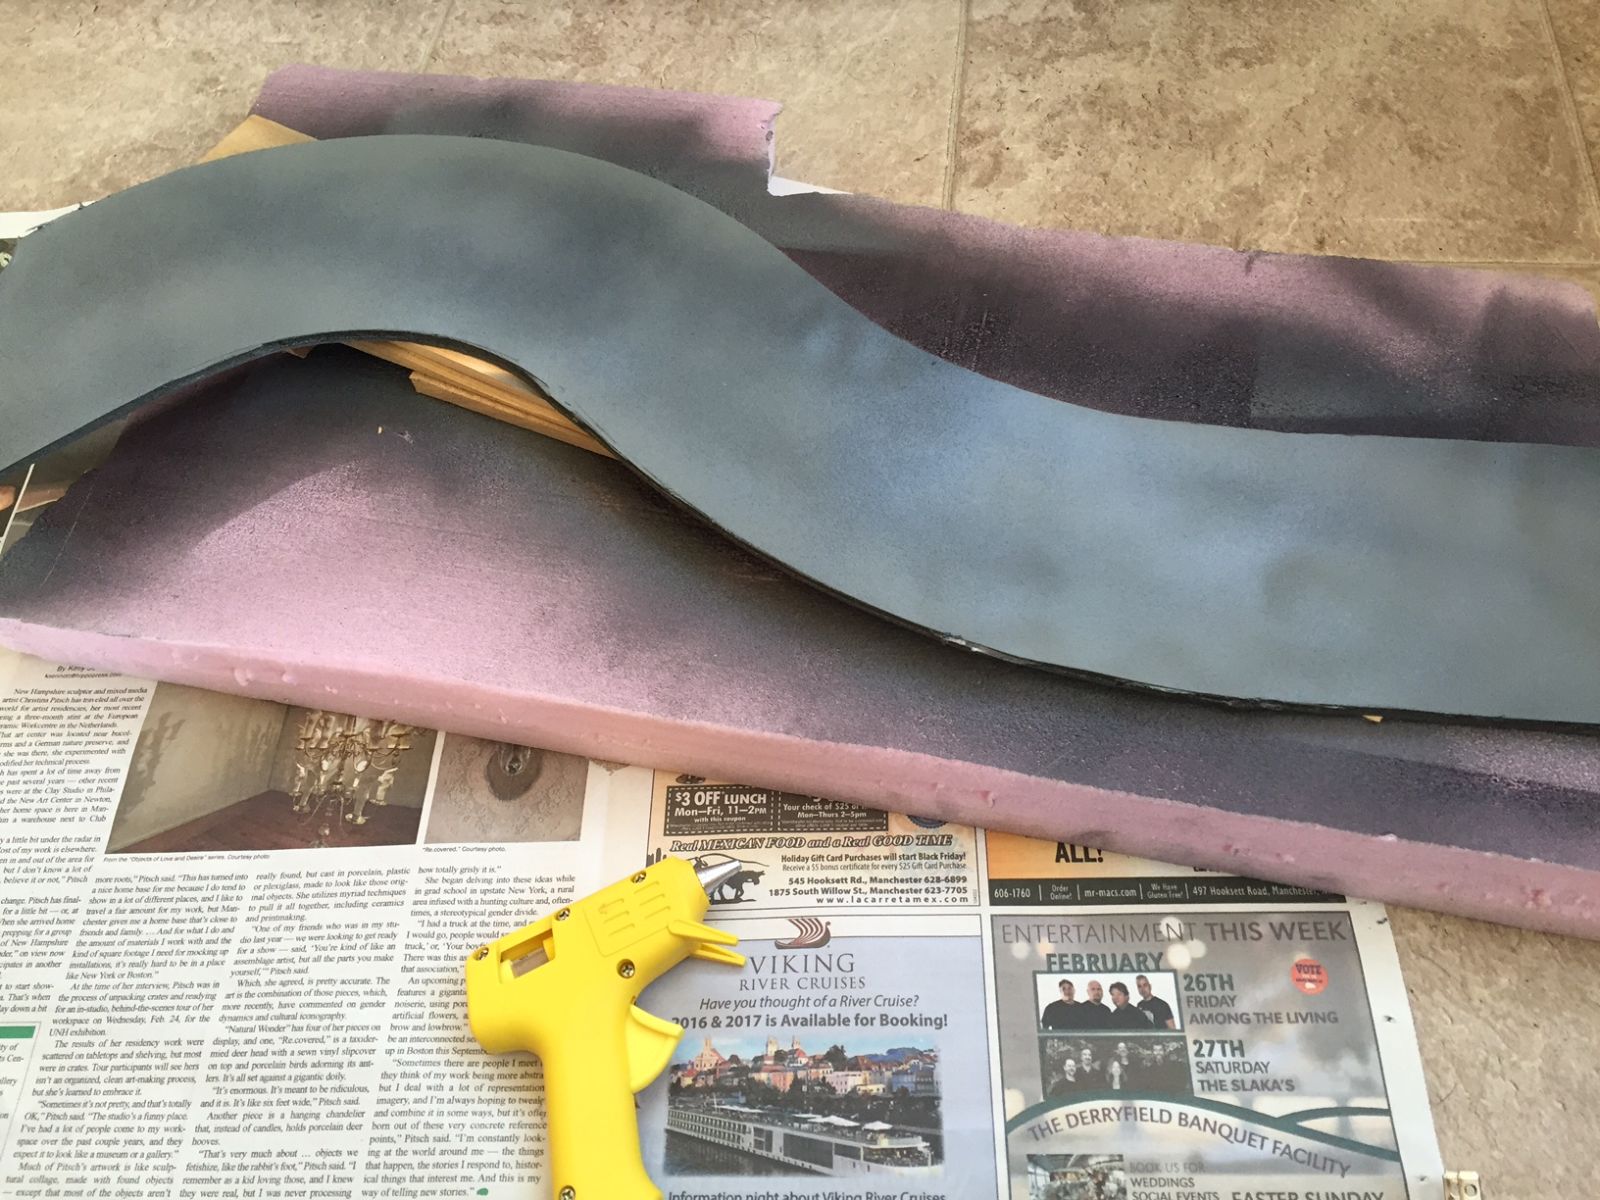
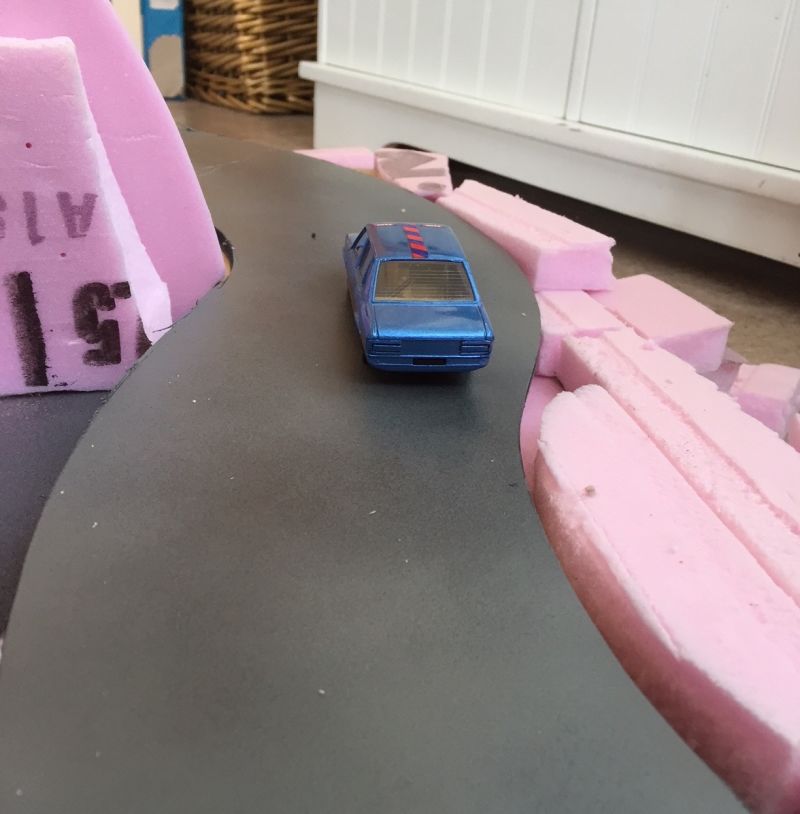
A handful of cedar shingles under the road surface served to get the right amount of steepness to the road. Then I hot-glued random chunks of pink foam to build up the area next to the road. Larger sections of pink foam formed the cliff on the left.
To fill out the ground I happened to have some Durham’s Water Putty on hand, so I added cheap craft acrylic paint ($1 a bottle) and India ink to the putty mixture and slathered it on. Some real rocks from the back yard added just the right amount of texture.
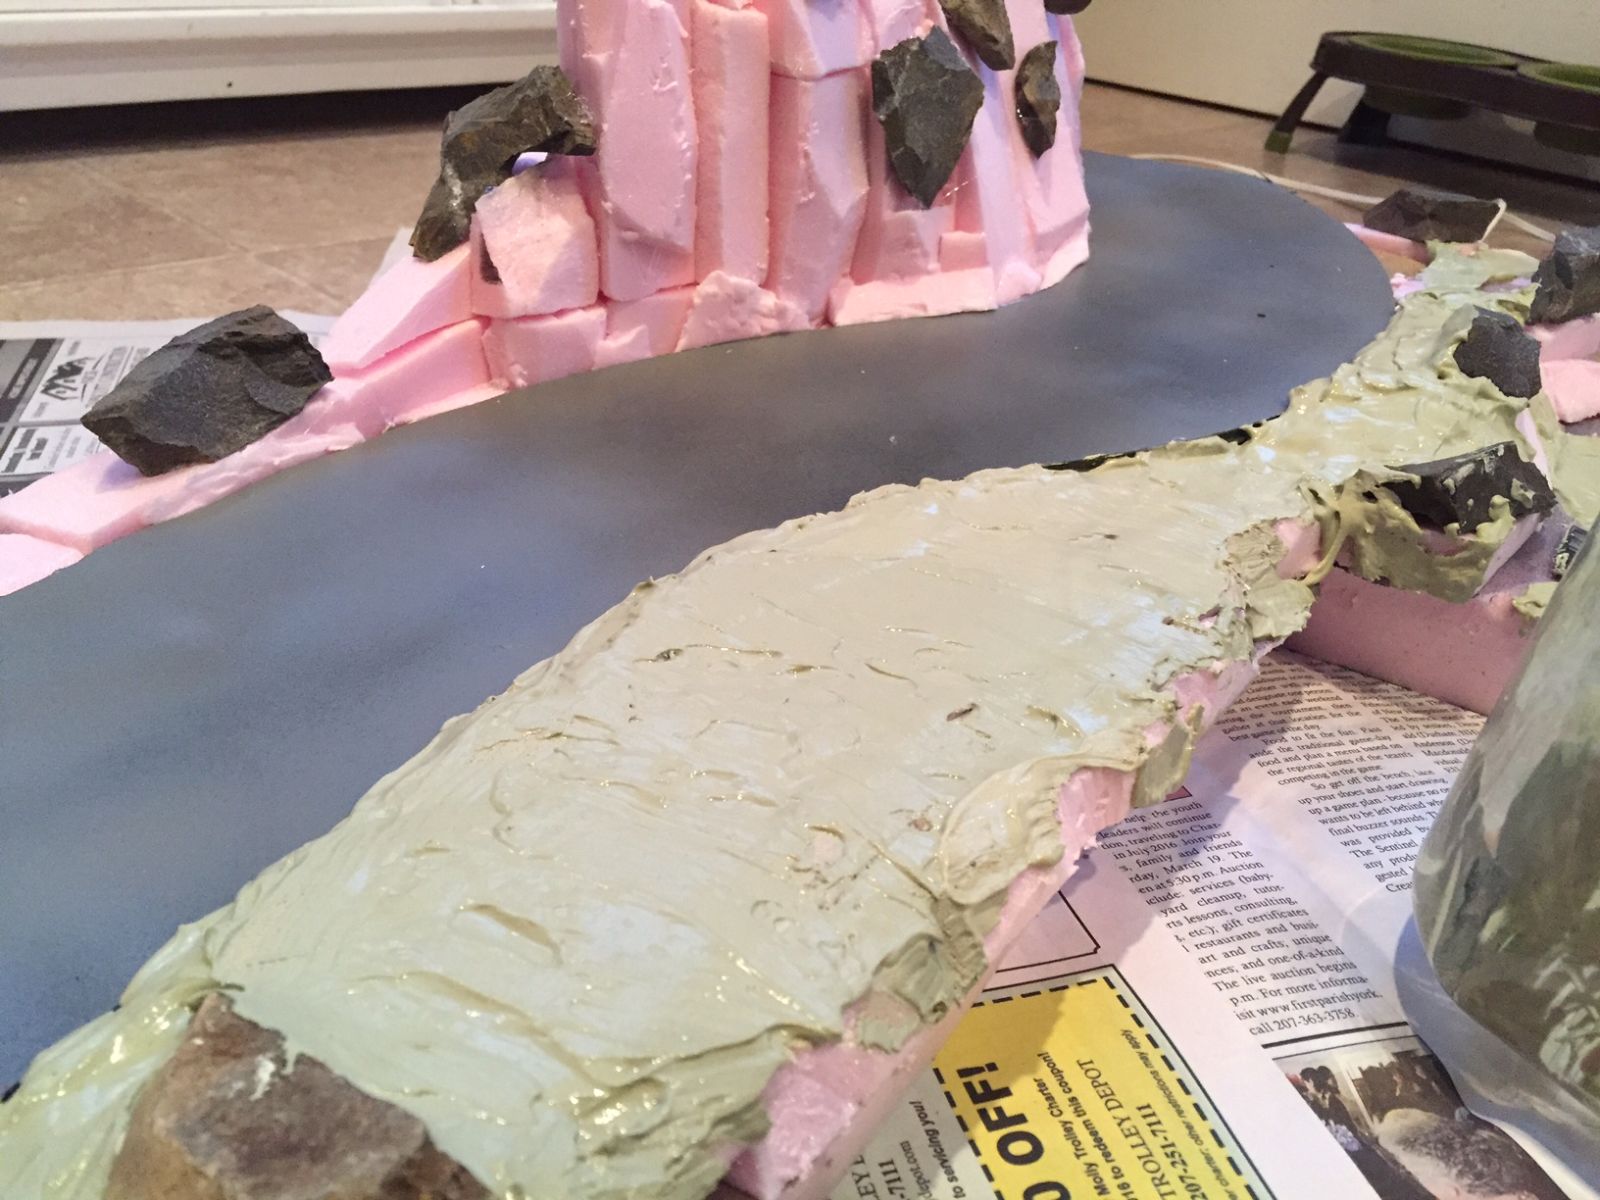
Once the surface was covered in putty, I let it dry overnight.
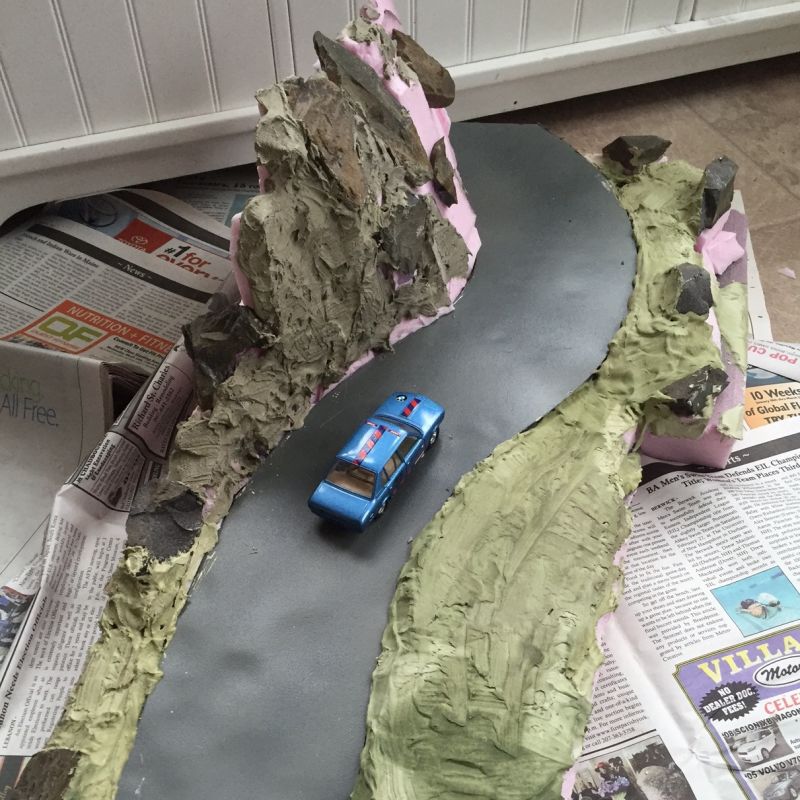
Then I slapped on some cheap acrylic craft paint - green for the grassy areas and grey for the rocky areas on the cliff. While the paint was still wet, I sprinkled on the ground cover.
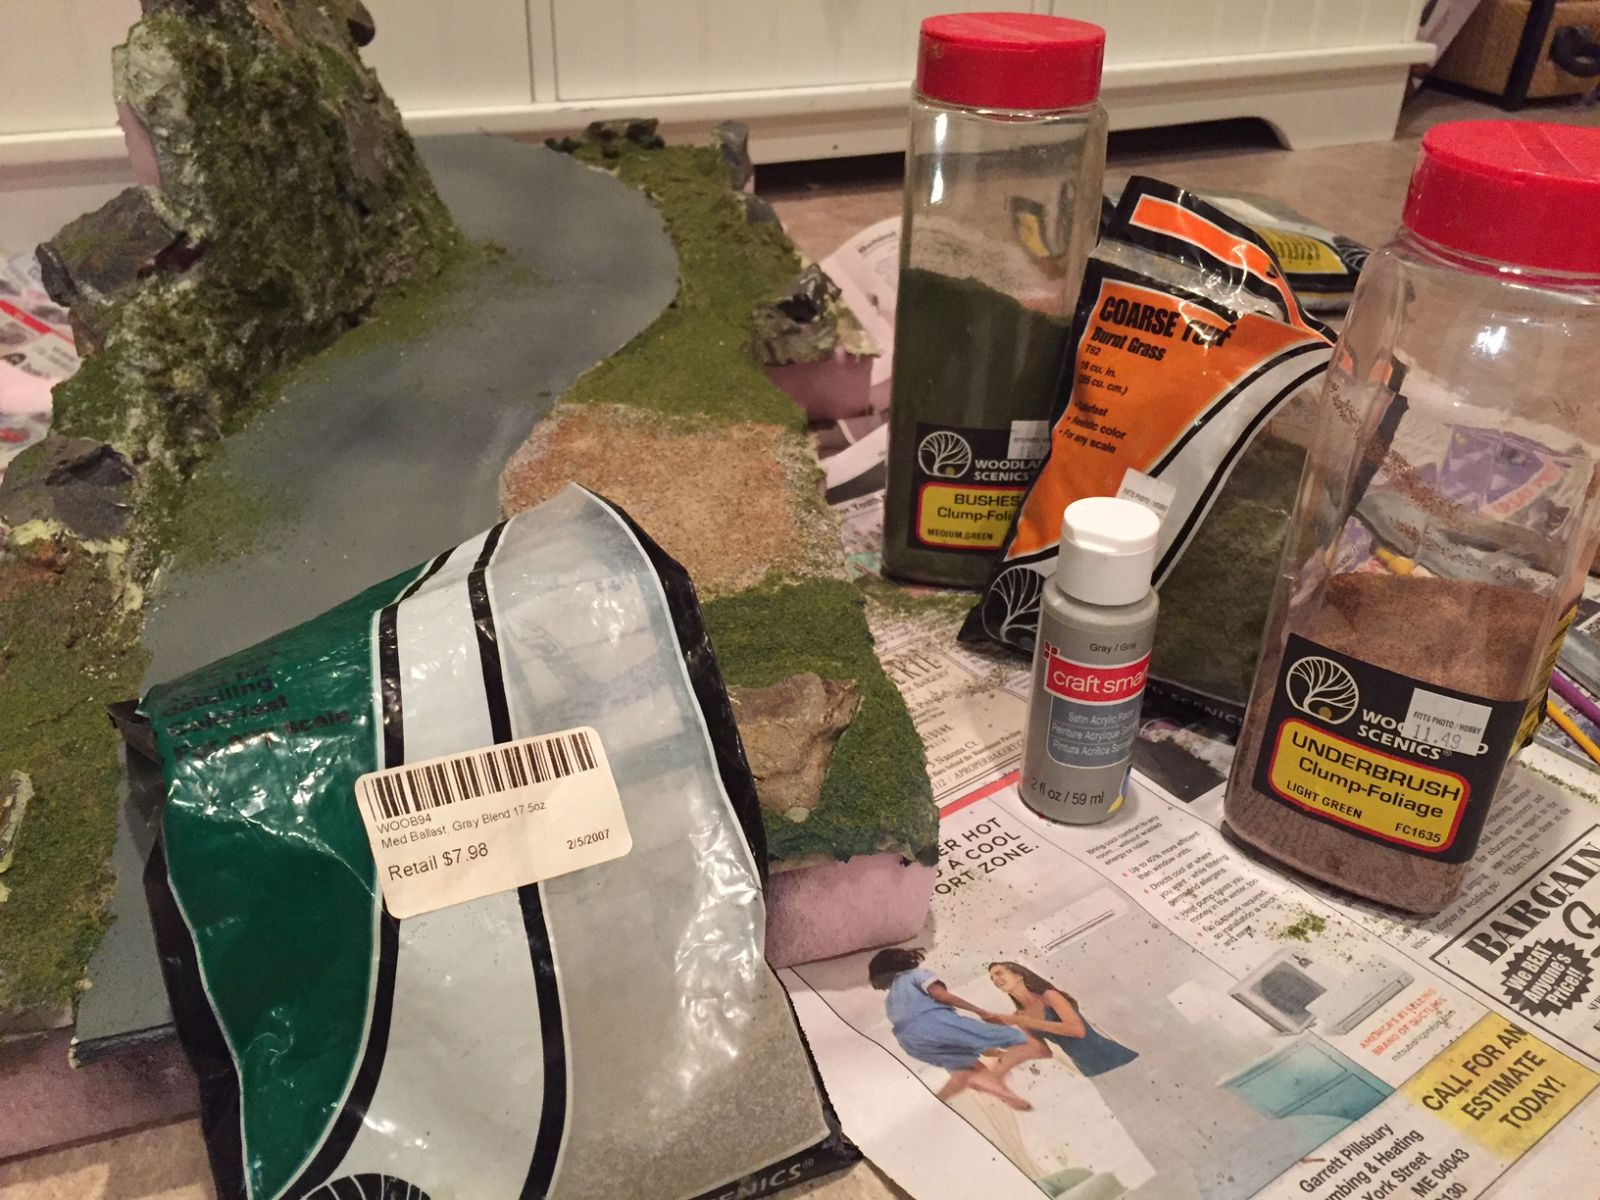
Woodland Scenics makes just about any type of fake organic material you can imagine, from grass to stones to tufts of weeds. I happened to have a supply of clump foliage, coarse turf and some brown and grey stones. Sprinkling the cover on while the paint is wet eliminates having to use glue - messy, sticky glue. The flaw in the process is that I’ll definitely miss some spots, in which case I have to grab the glue and do the touch-up work.
The falling rock sign and the left curve sign are images found online, pasted to cardboard and glued to coffee stirrers. There are large pieces of stone to act as safety barriers: these are chunks of pink foam spray-painted grey with dry-brushed tan highlights to bring out the texture.
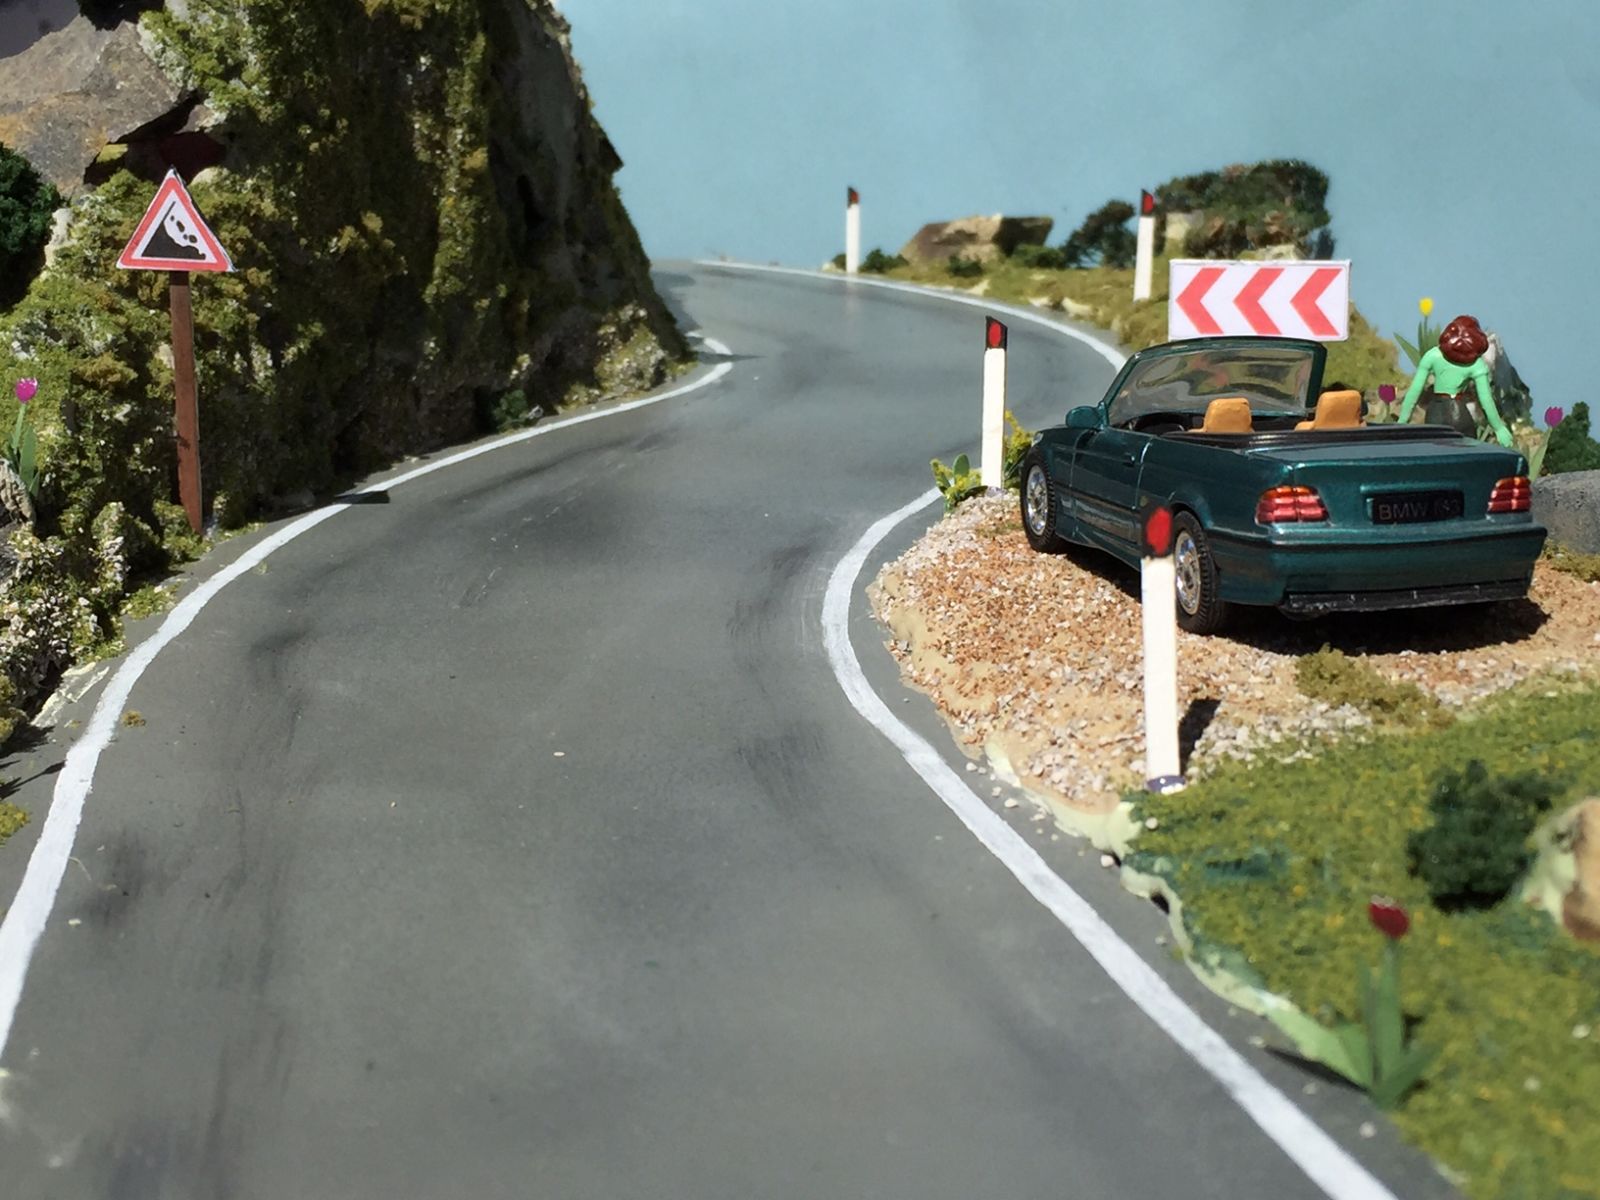
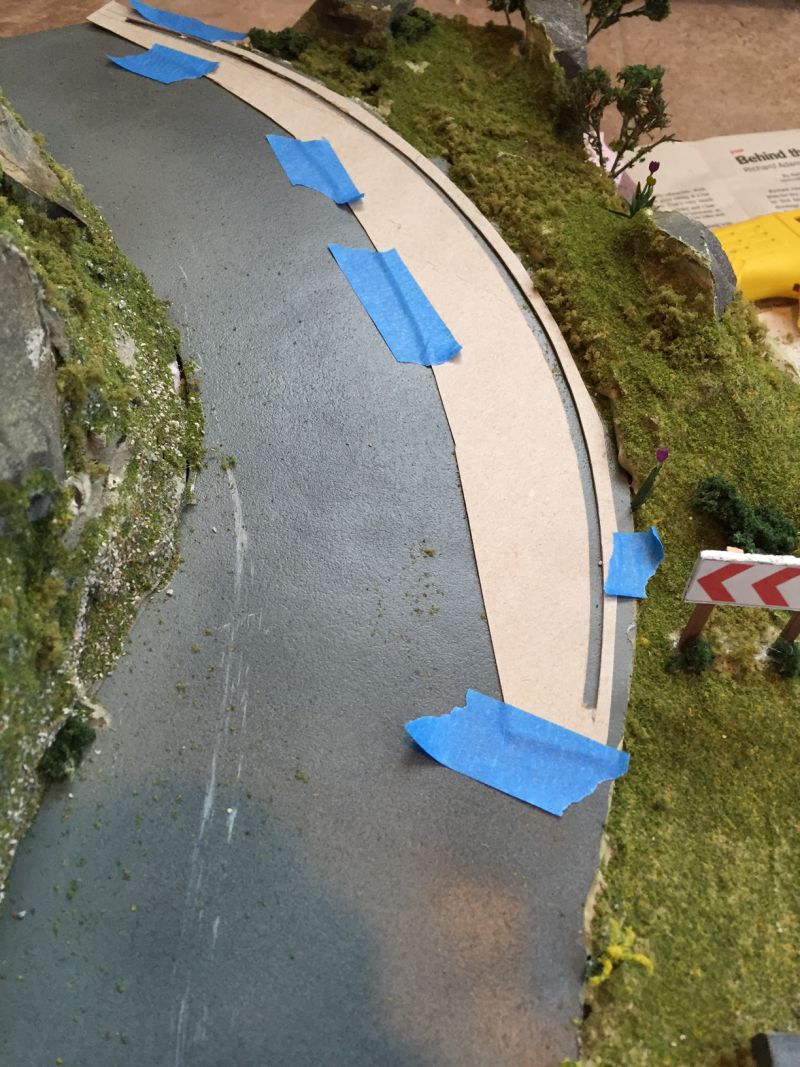
Probably the trickiest piece of the diorama was the white lines on the road. I made stencils by tracing the arc of the Carrera slot car track onto cereal box cardboard and dry-brushing the white paint on.
So that covers the basic diorama, but I also needed a backdrop; something to show an Alpine valley. So back to the internet for more eyeball glazing image searching. I finally found what I wanted, a shot of the Lauterbrunnen Valley with the Eiger looming over it. using Adobe Reader to load the jpg, I picked the poster option for printout, yielding an image about 36" long by 9" high. Here’s a few shots with the image behind the finished diorama.
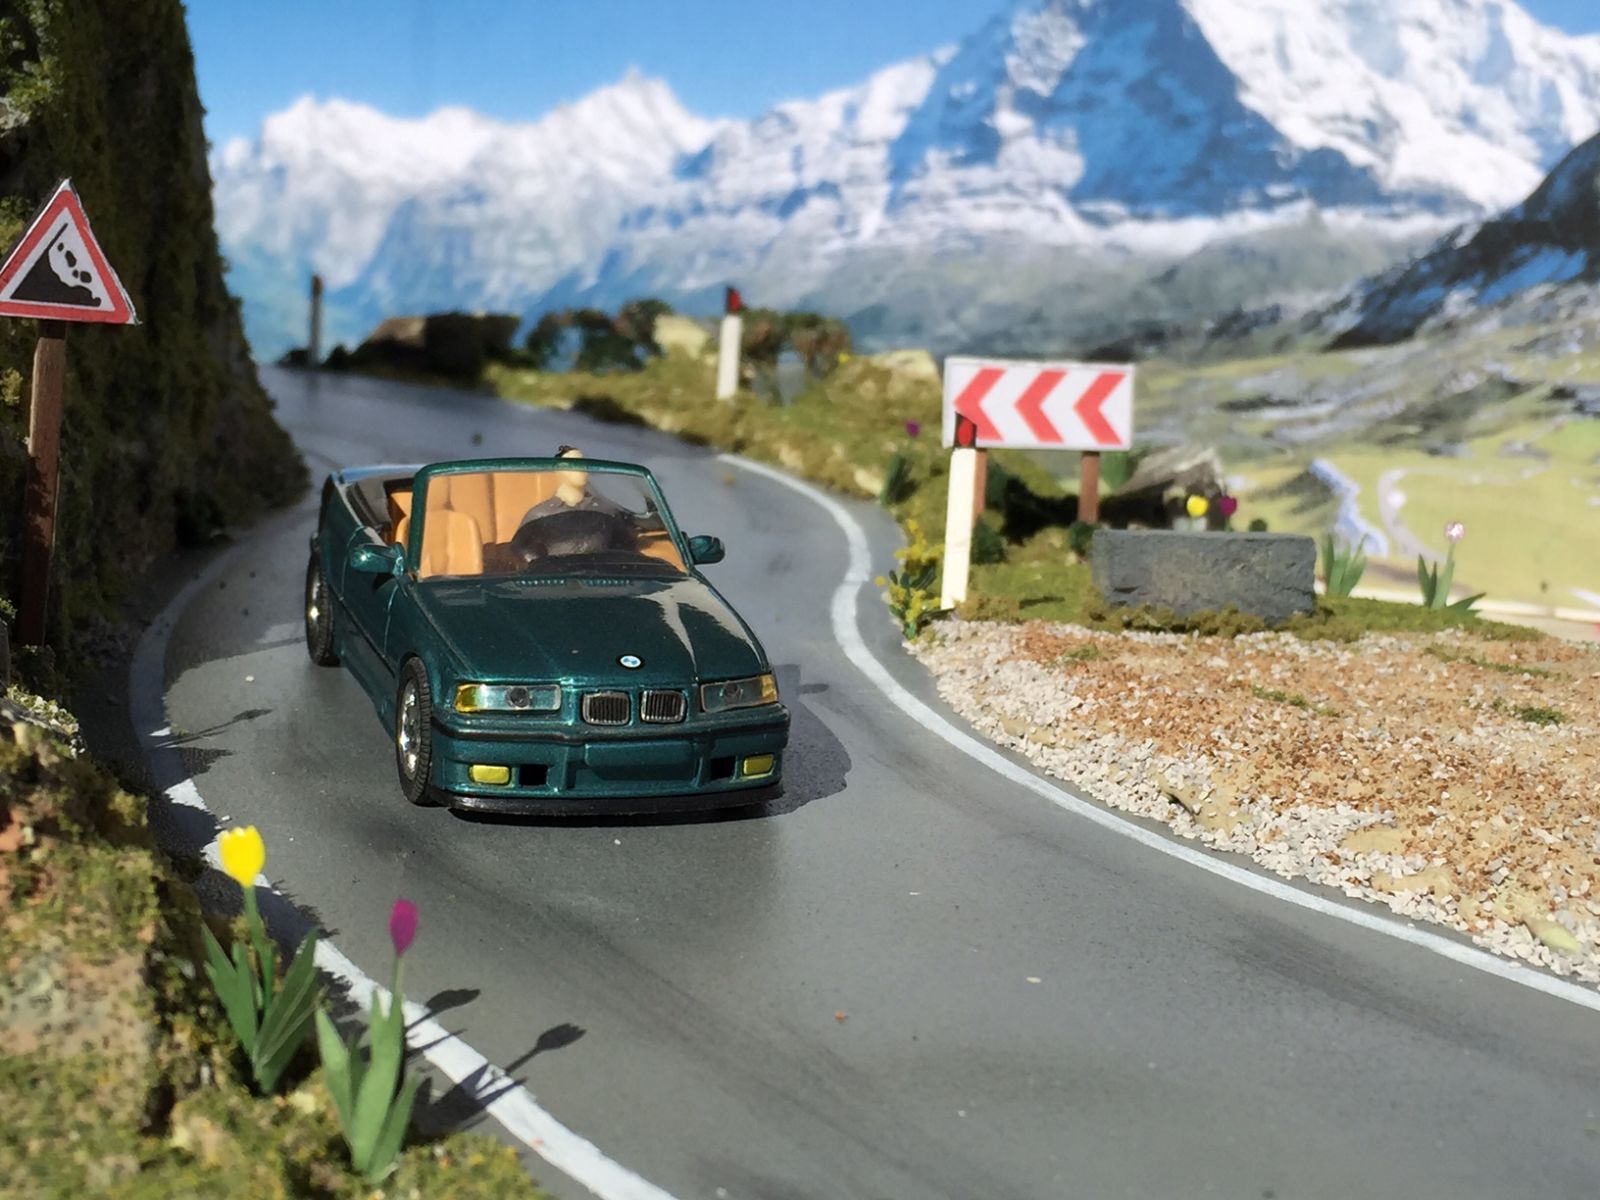
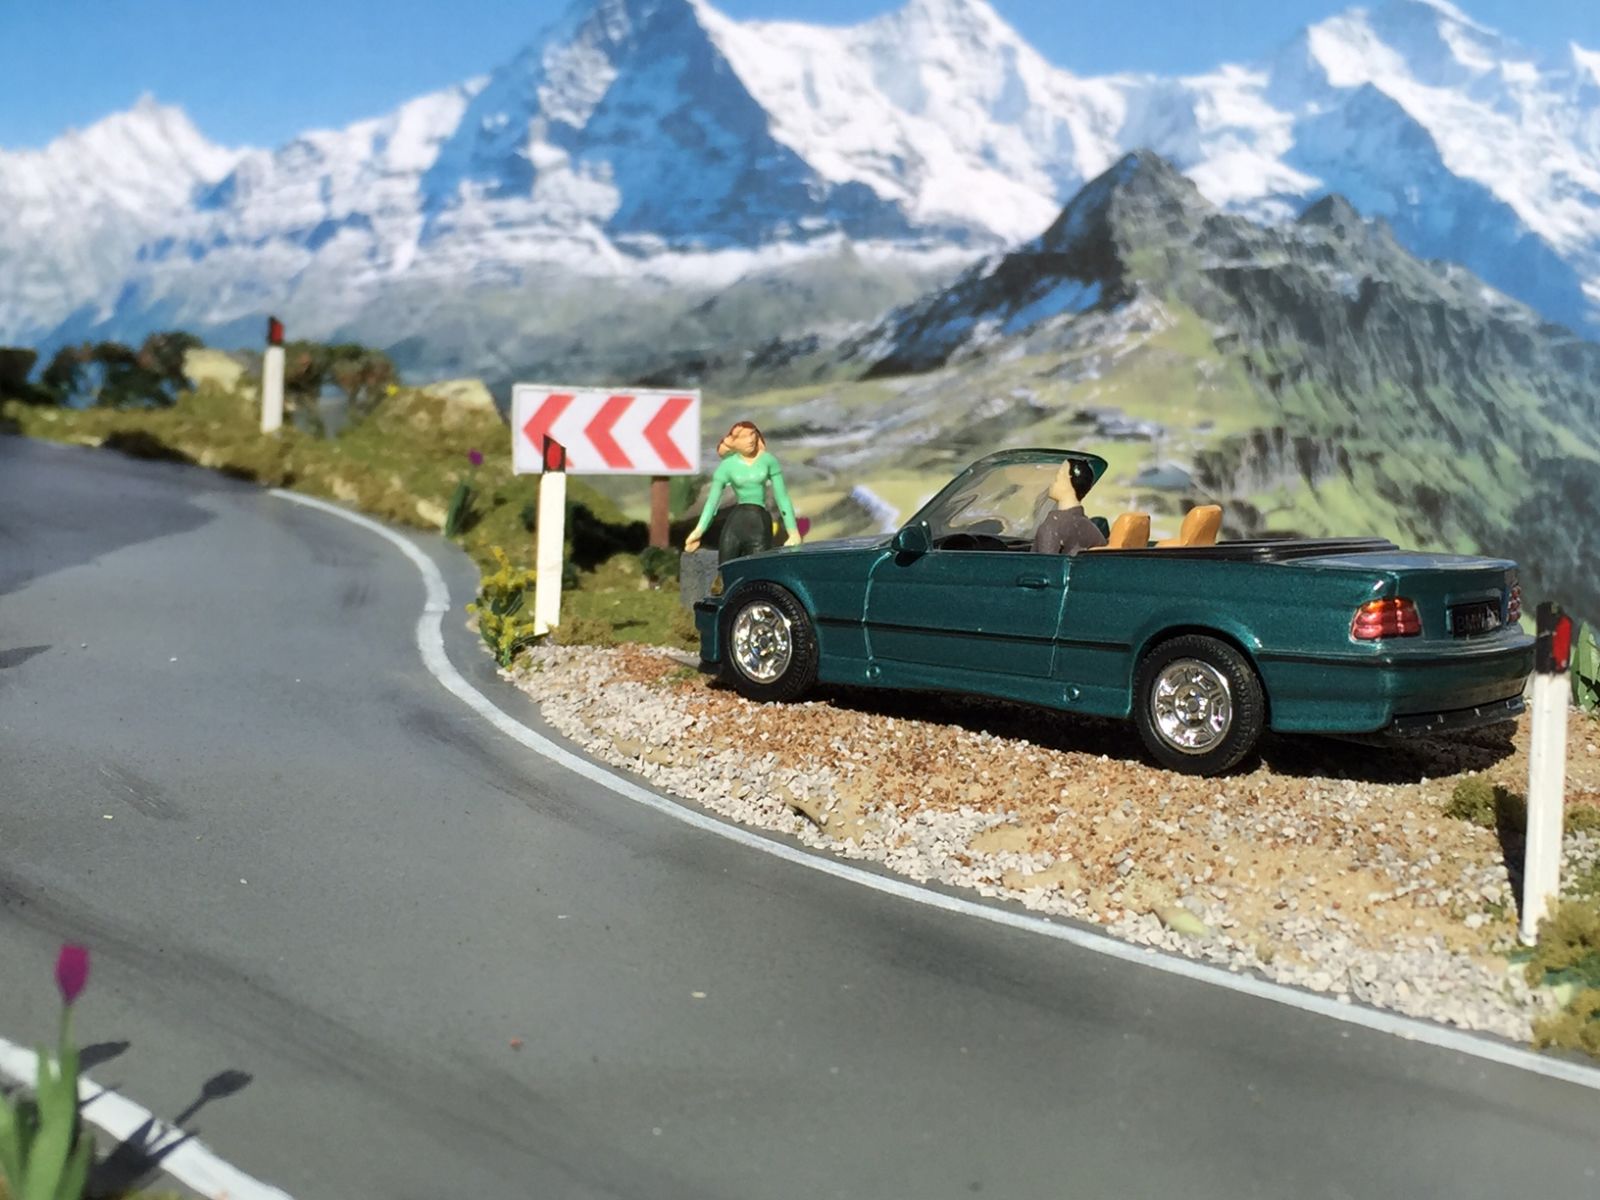
So it’s done. Now I just need more cars to photograph!