
In honor of the upcoming 1st Anniversary of Live and Let Diecast! I'm going to run some memorable articles from the past year. Here is the essential guide to customizing. -Jeff
How to Custom part 1

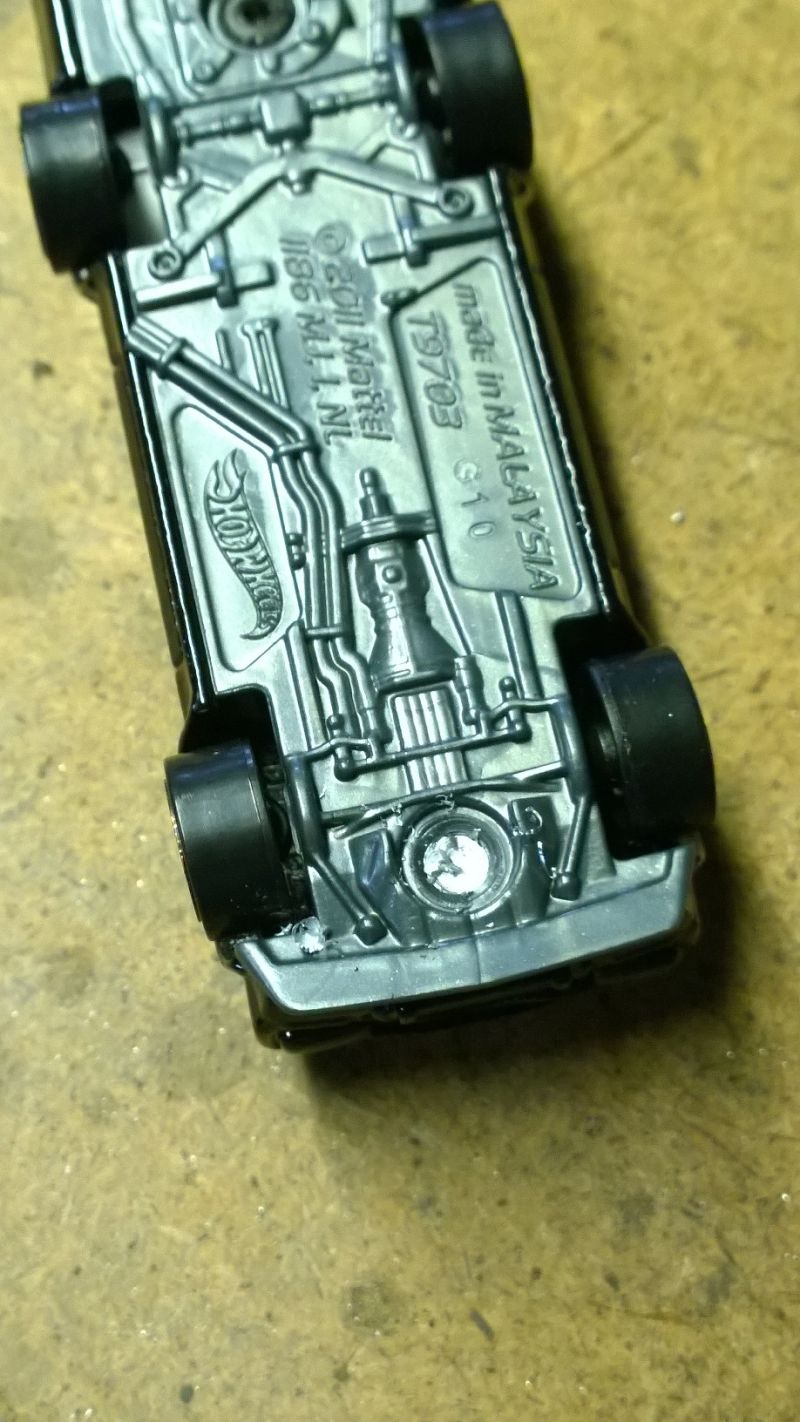
So, you have started a nice collection of cars after following the blog and are looking for something new. You see a wicked custom by Carnage or Philip and think BAM!!!...I CAN DO THAT! Well, the thing is, YOU CAN! With much patience, practice, and persistence you can create great customs as well. I have dedicated a car to help detail the steps involved in creating a custom die cast that you can use on your own. Part one will consist of how to break your car down to its individual components as well as strip the paint. The car I am using comes from Hot Wheels so not every step will match other brands exactly.
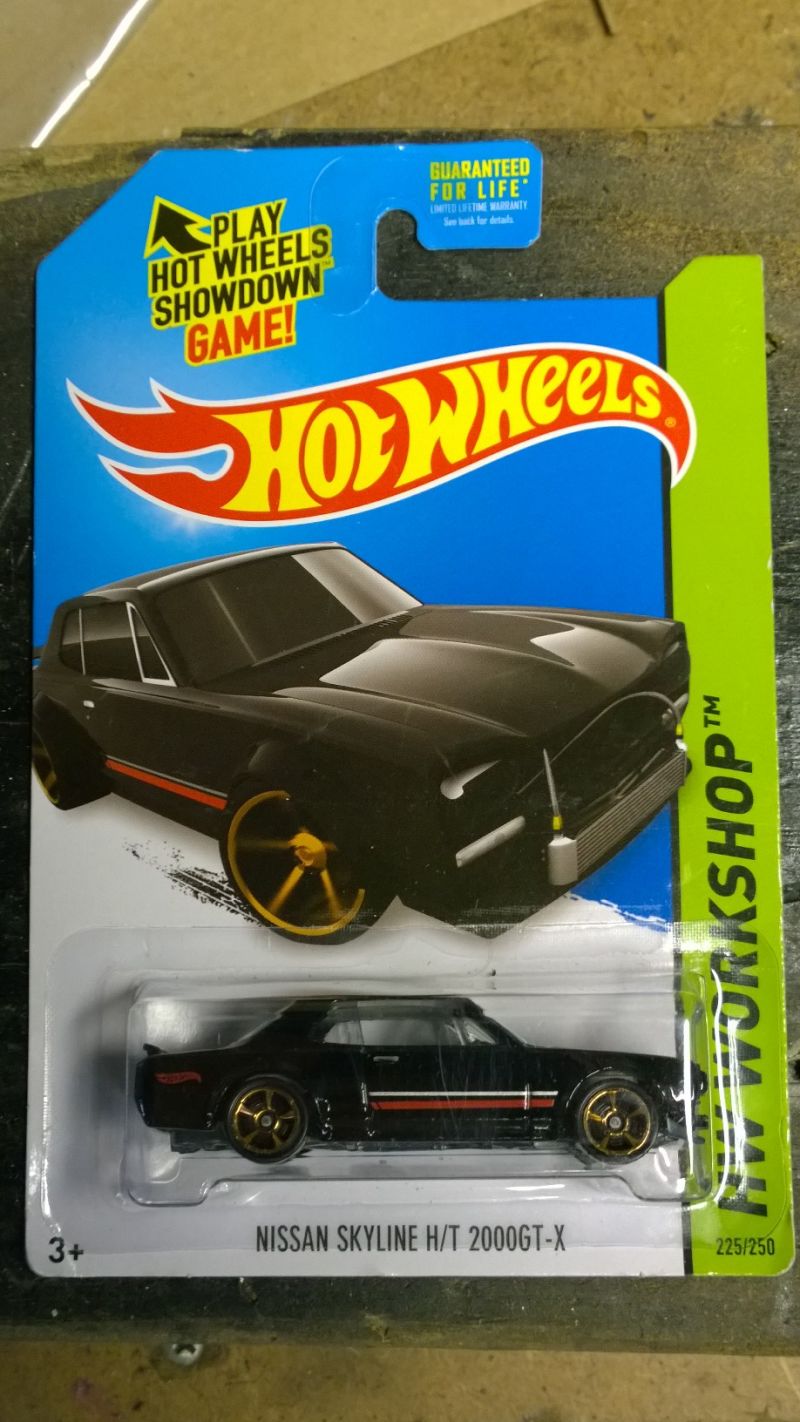
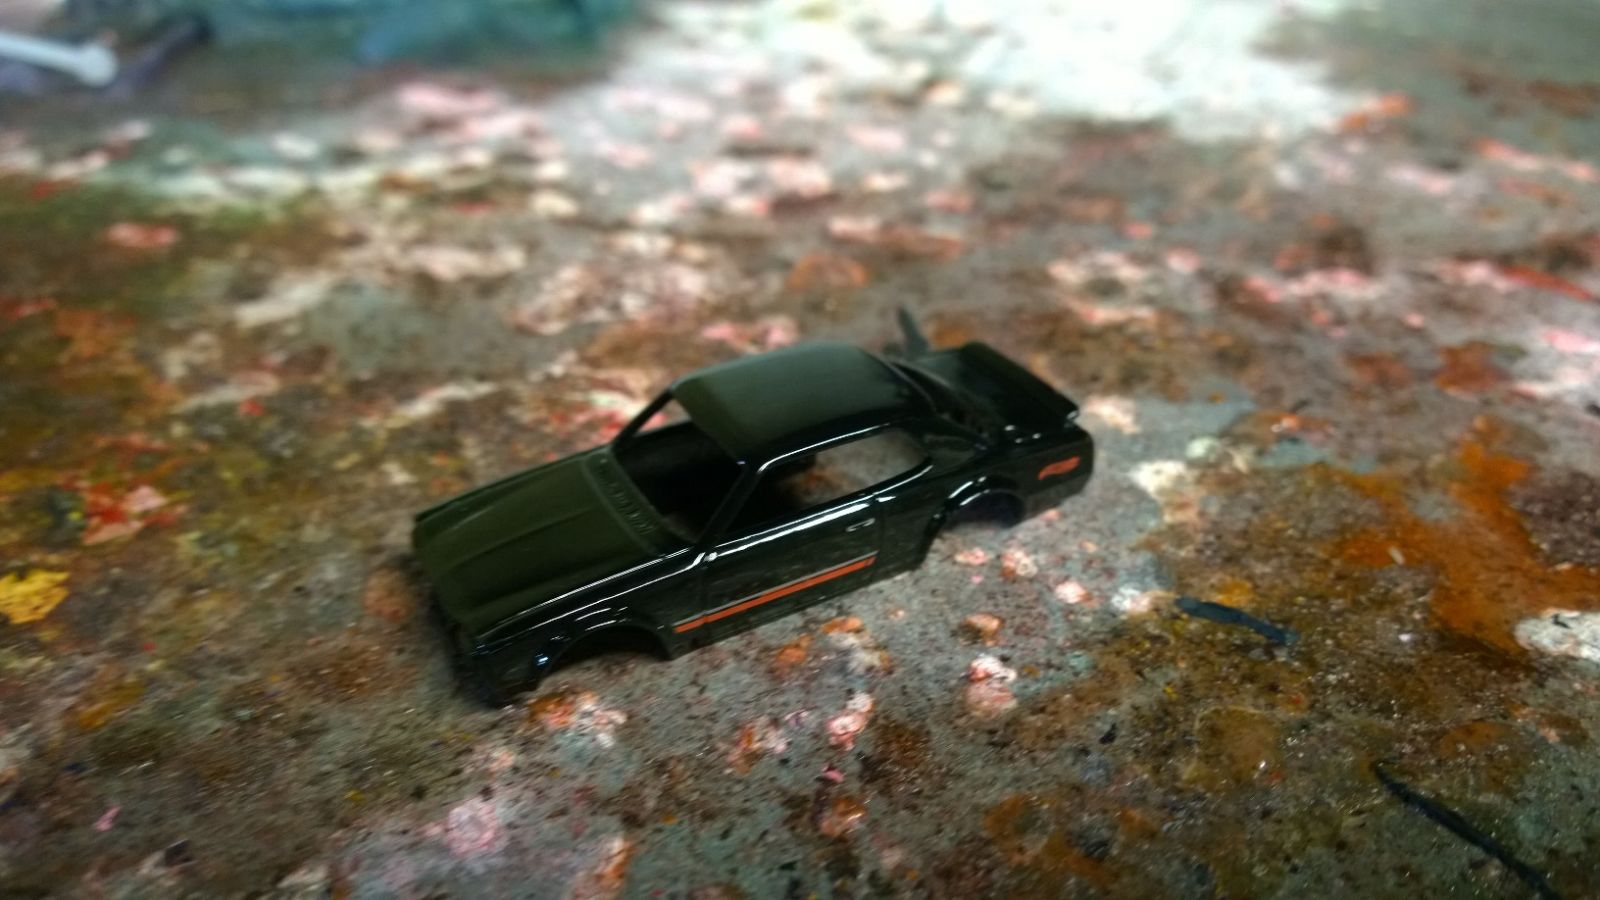
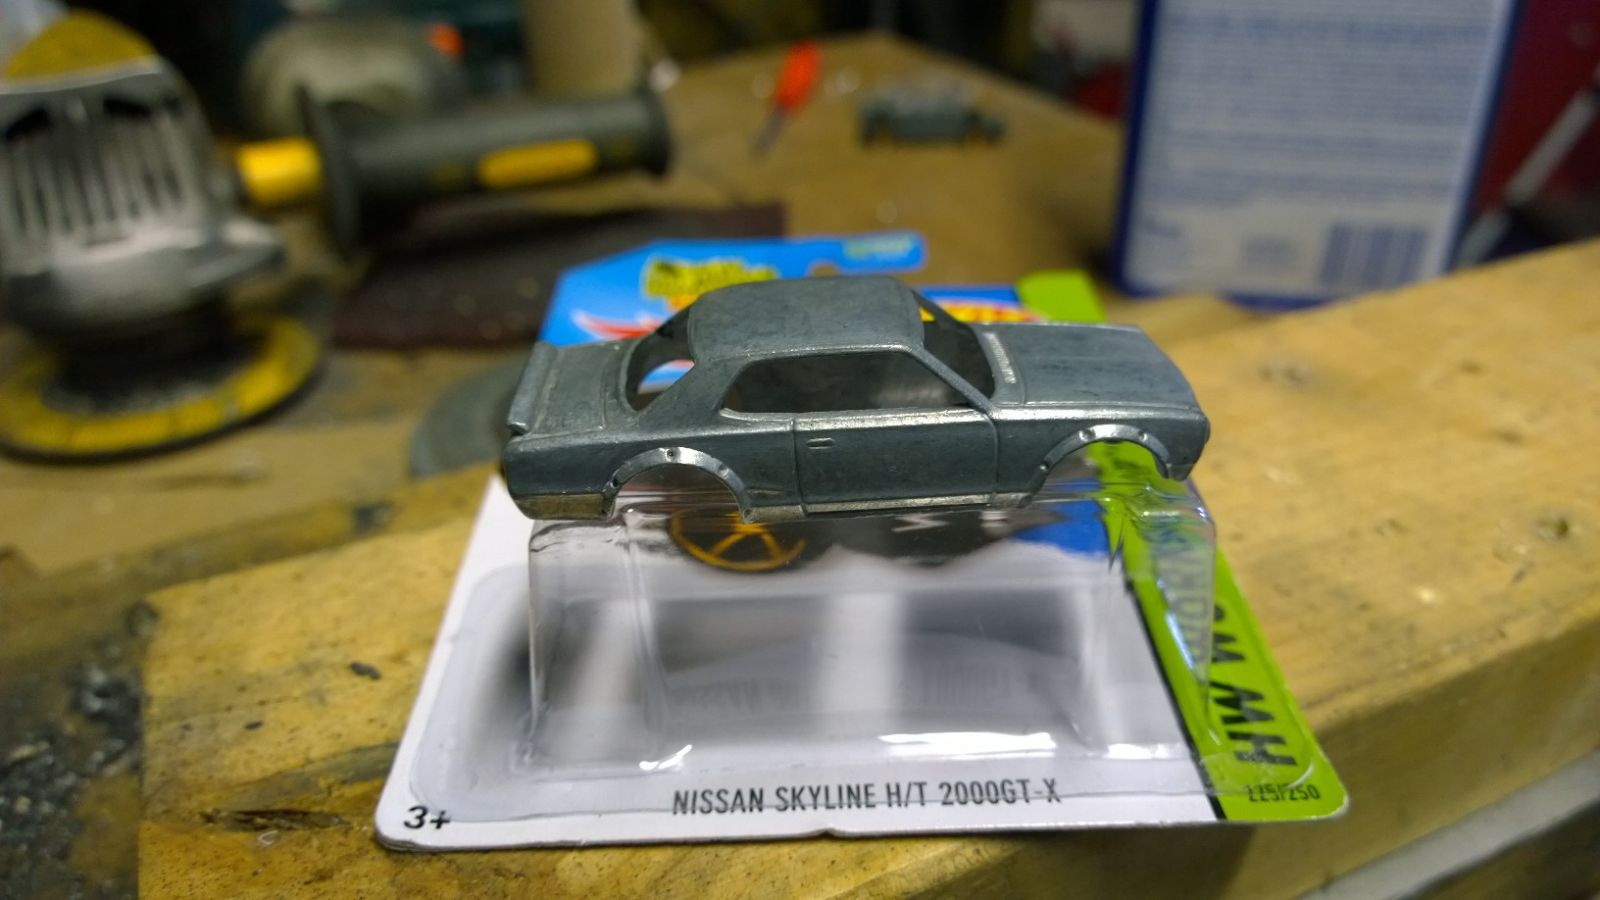
The first step to take is to decide what you want to customize first, a tough choice indeed! For this write up I am using a Nissian Skyline 2000GT aka Hakosuka!! A true Japanese legend! The casting is great and very very detailed making it a perfect candidate for a simple repaint and detail session.
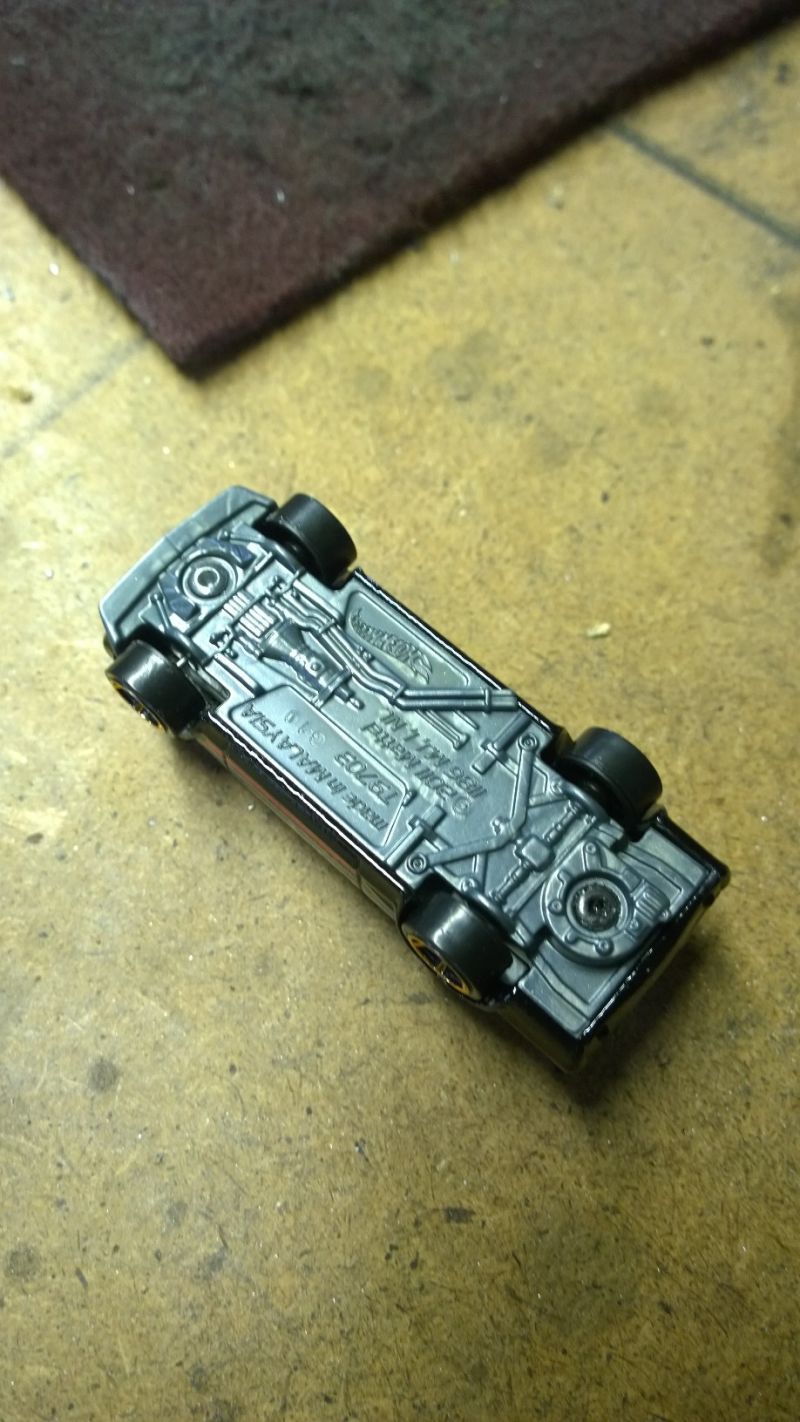
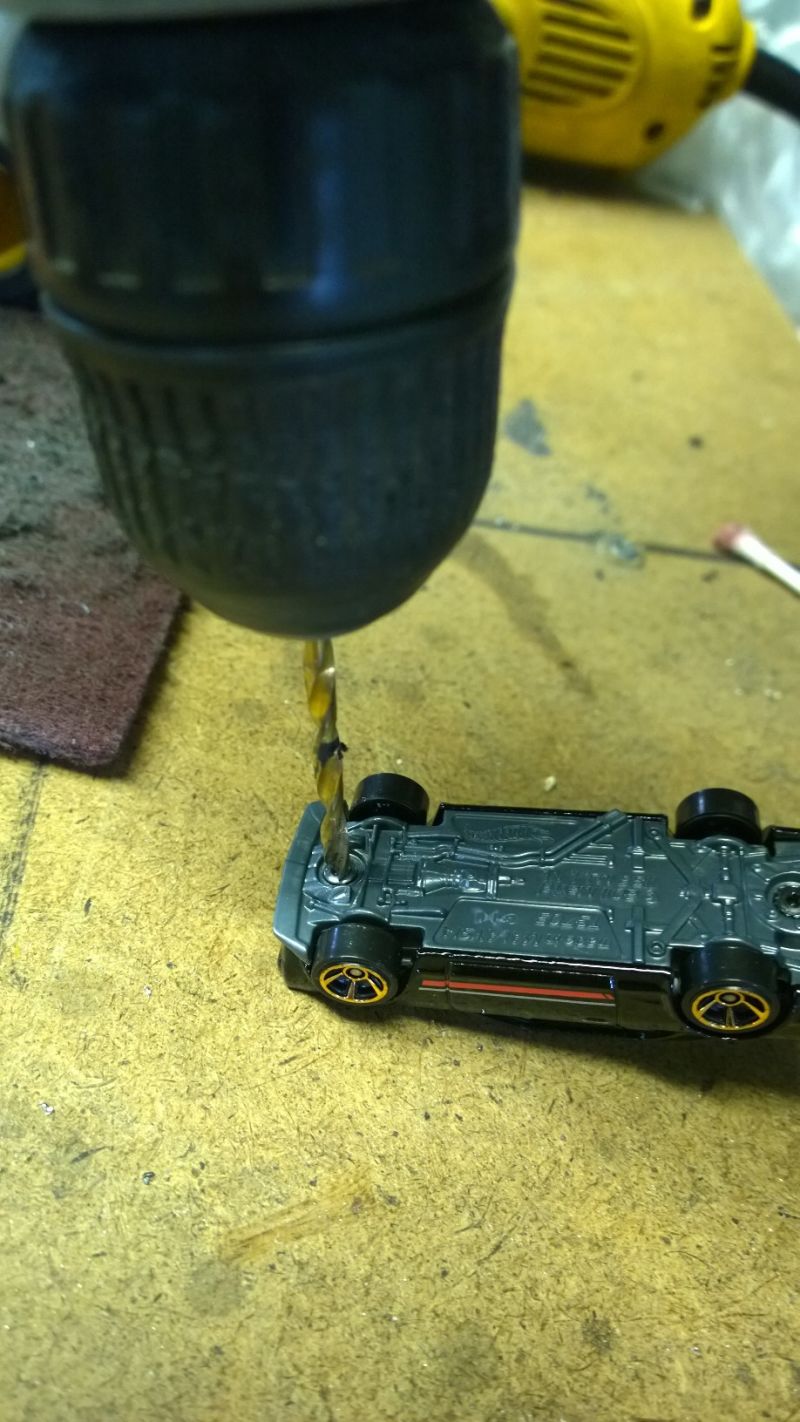
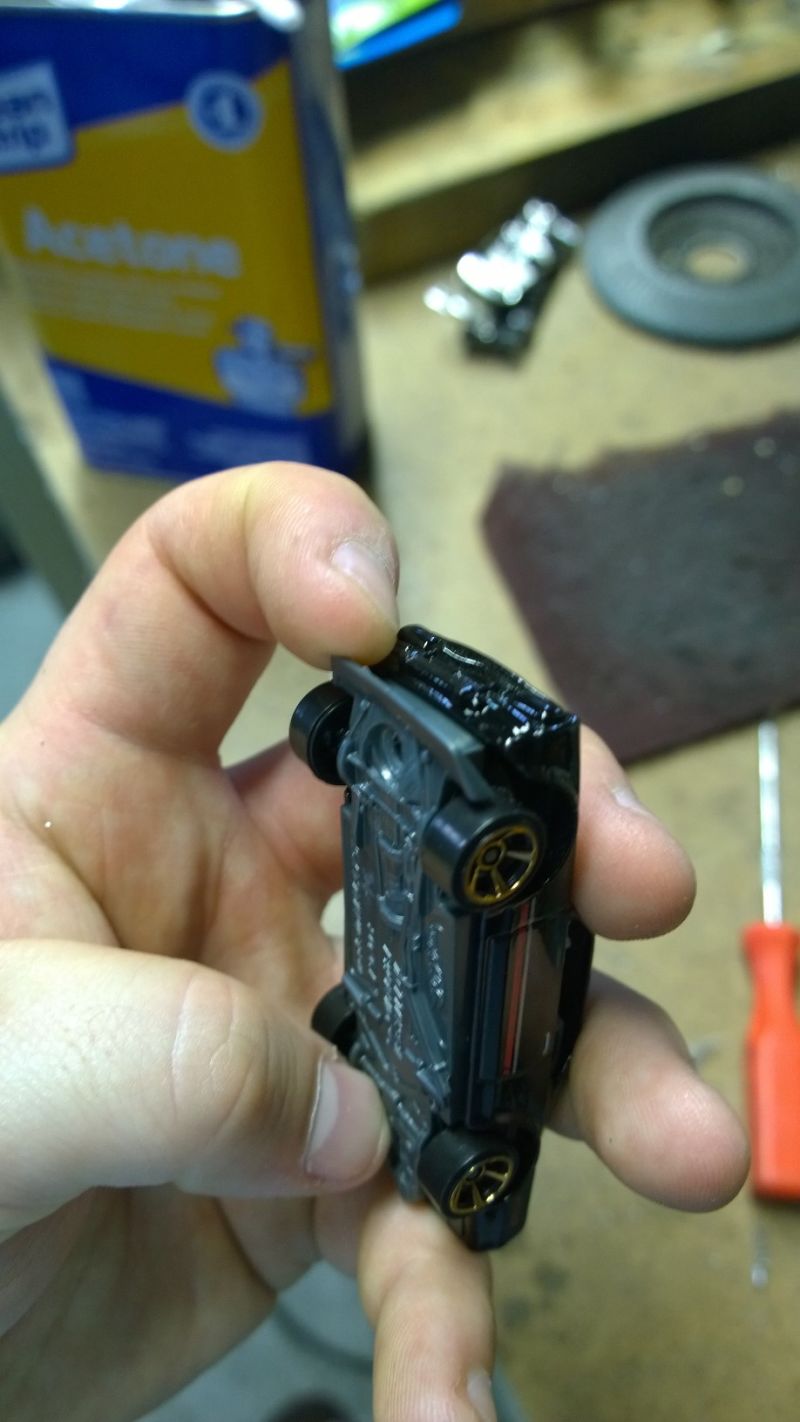
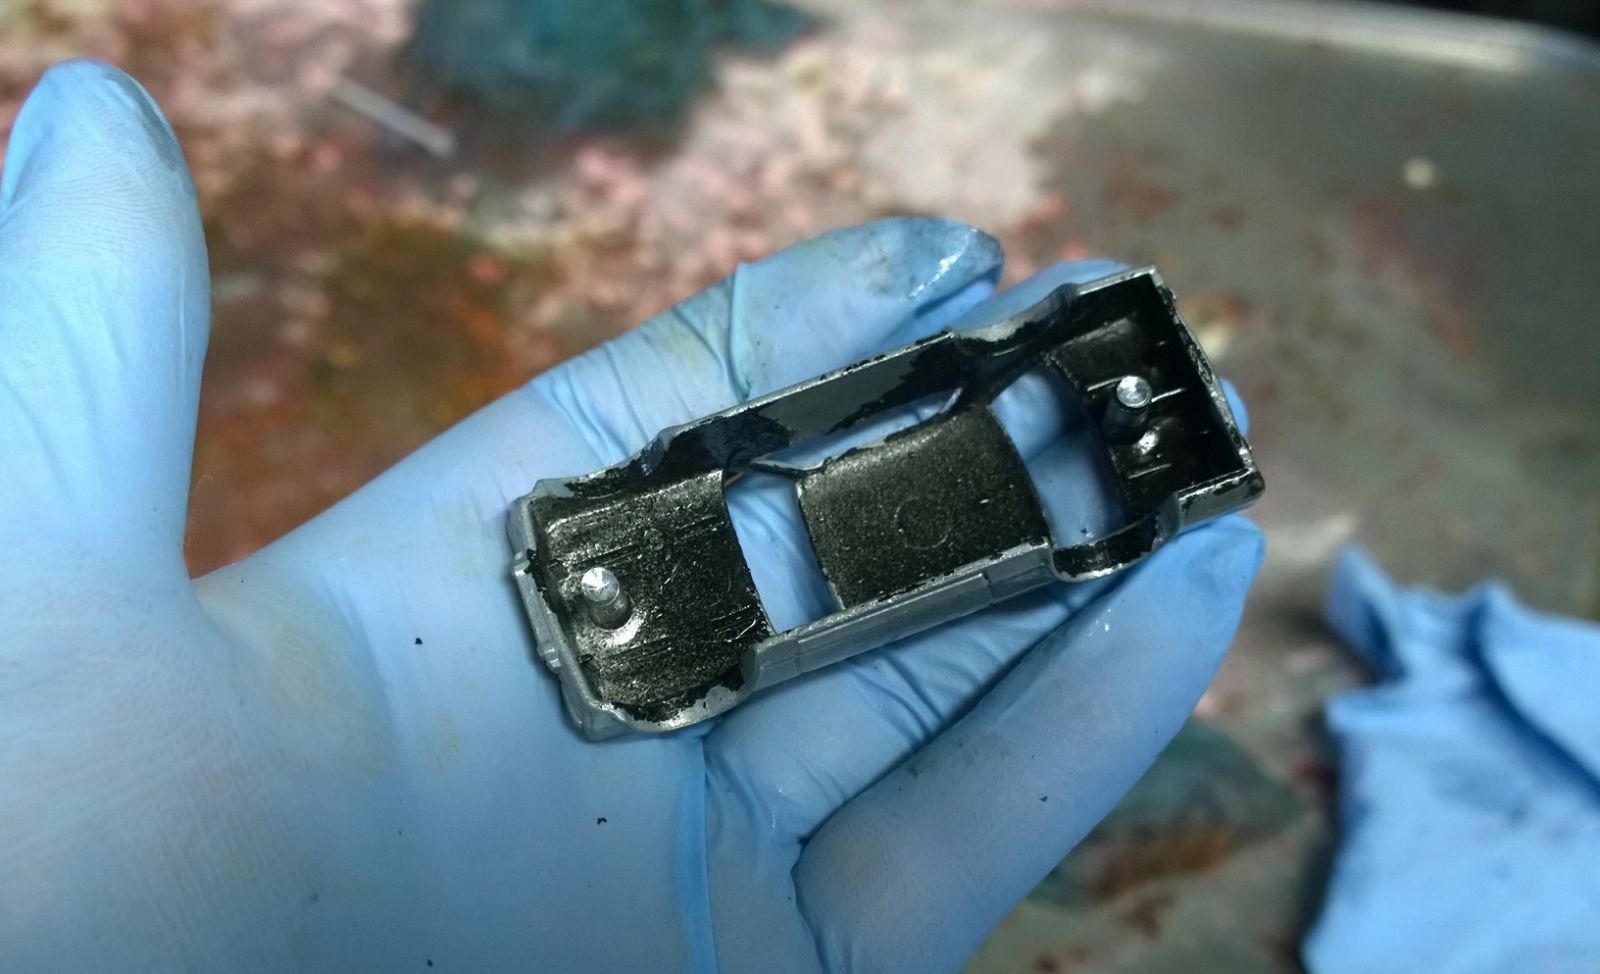
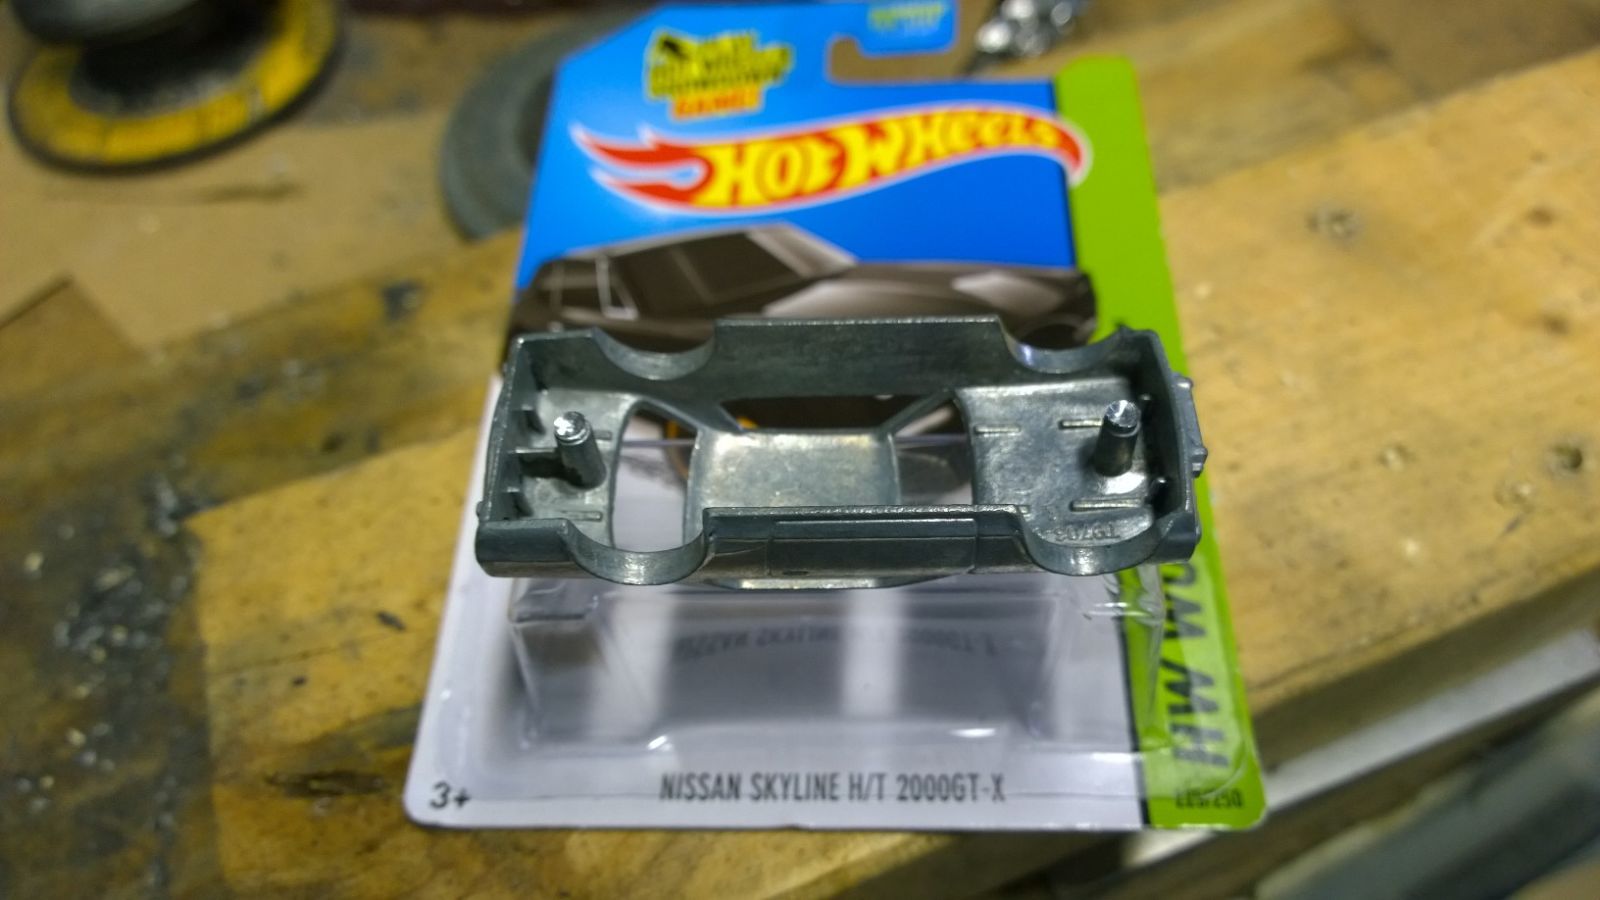
Once you have you subject and it is free from its card it is time to take the tools to it! Hot Wheels and Matchbox cars are held together by one or two metal rivets that lock the body and chassis together. You will need to drill the tops off of these carefully to get the car separated. There are some things to think about here as some of the top customizers actually drill a small pilot hole in the stud first to insert a screw later down the road. For simplicity reasons we will focus on a single step. My best luck has been with using a 9/64" bit at slow speed with medium pressure. Going slow will allow the bit to "bite" and hopefully tear off the top of the rivet leaving a small ring around the tip of the drill bit. Do your best to drill straight is to better you chances.
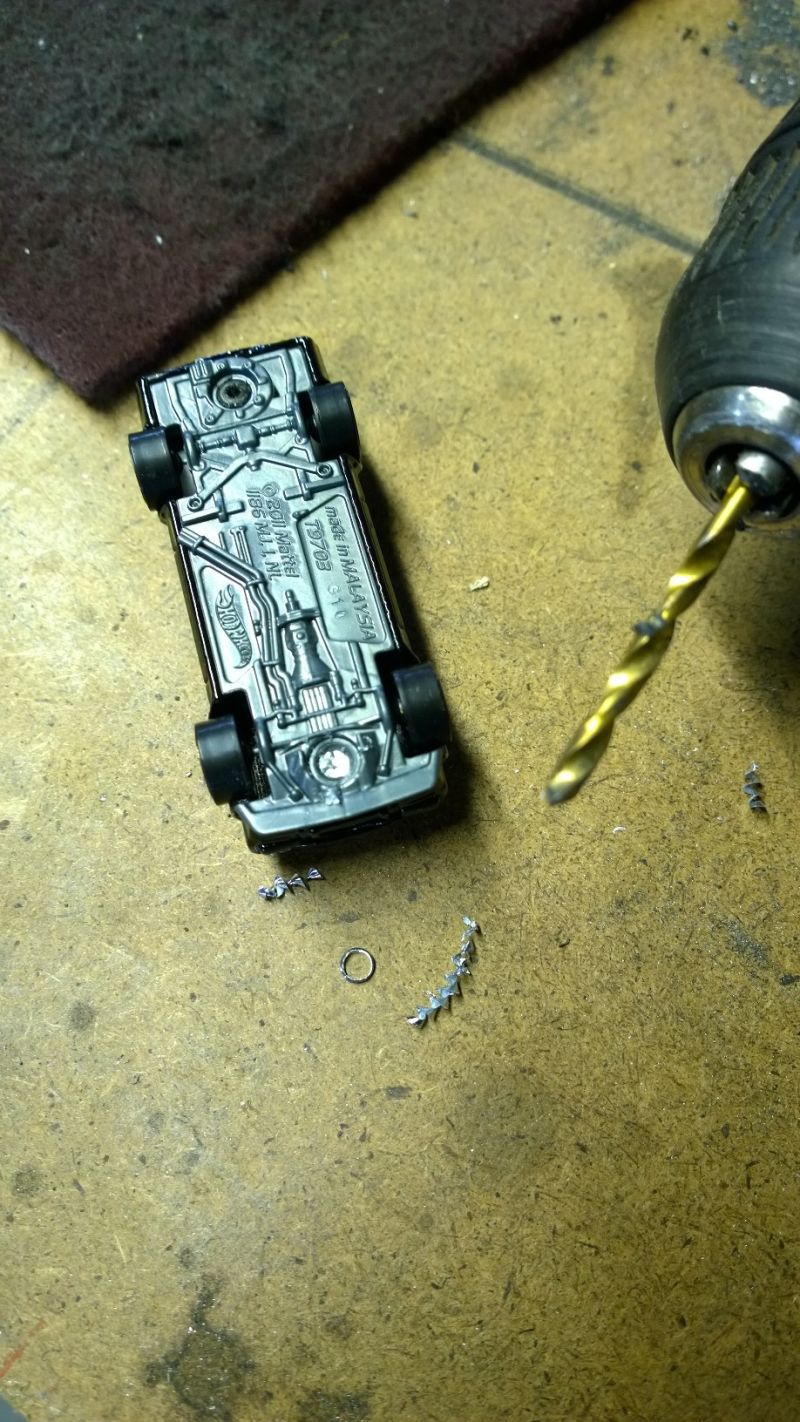
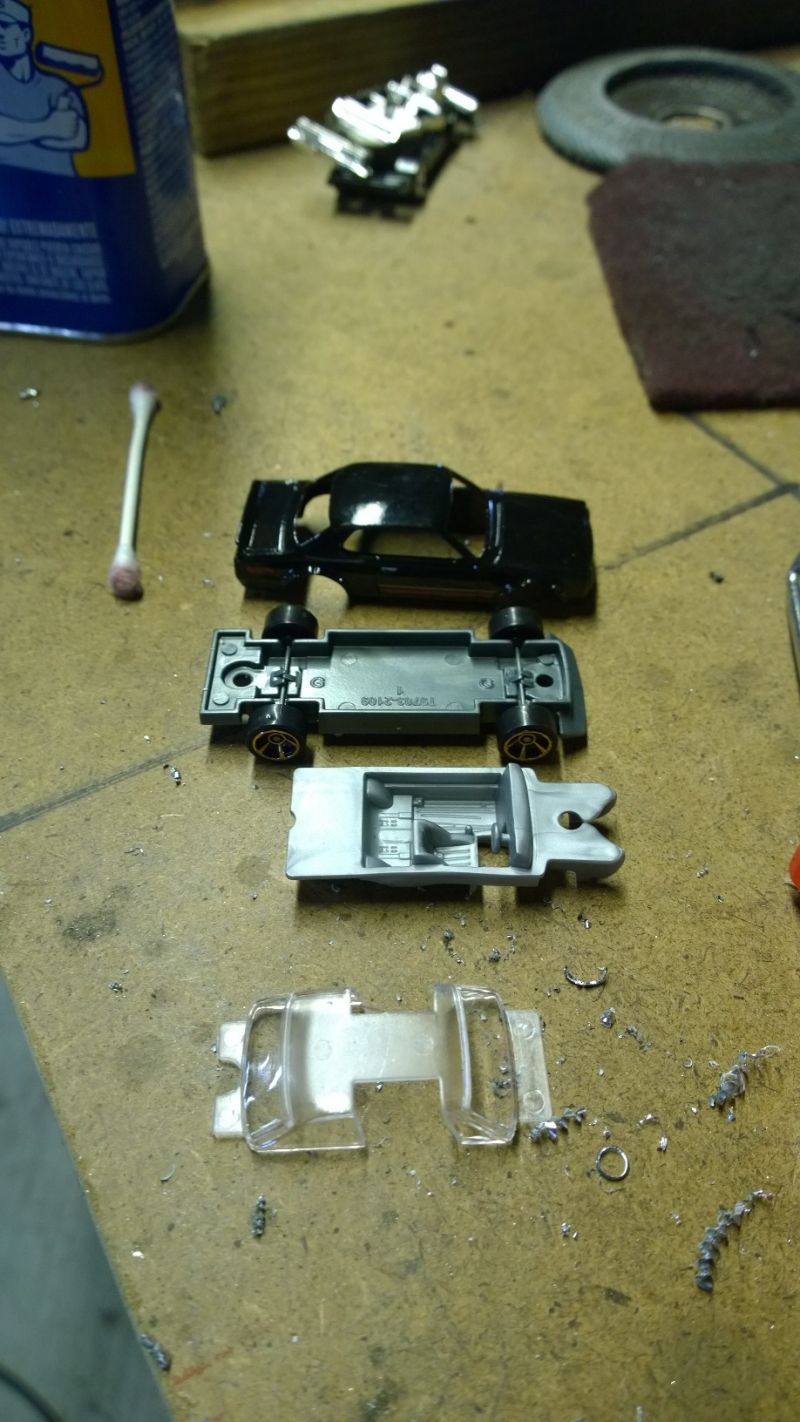
Once you are done drilling, you can start working the car apart very carefully as to not damage anything. It may be tough and you may have to drill a bit more but keep at it. Once it "pops" you will be left with the basic components: body, windows, interior, and chassis/wheels.
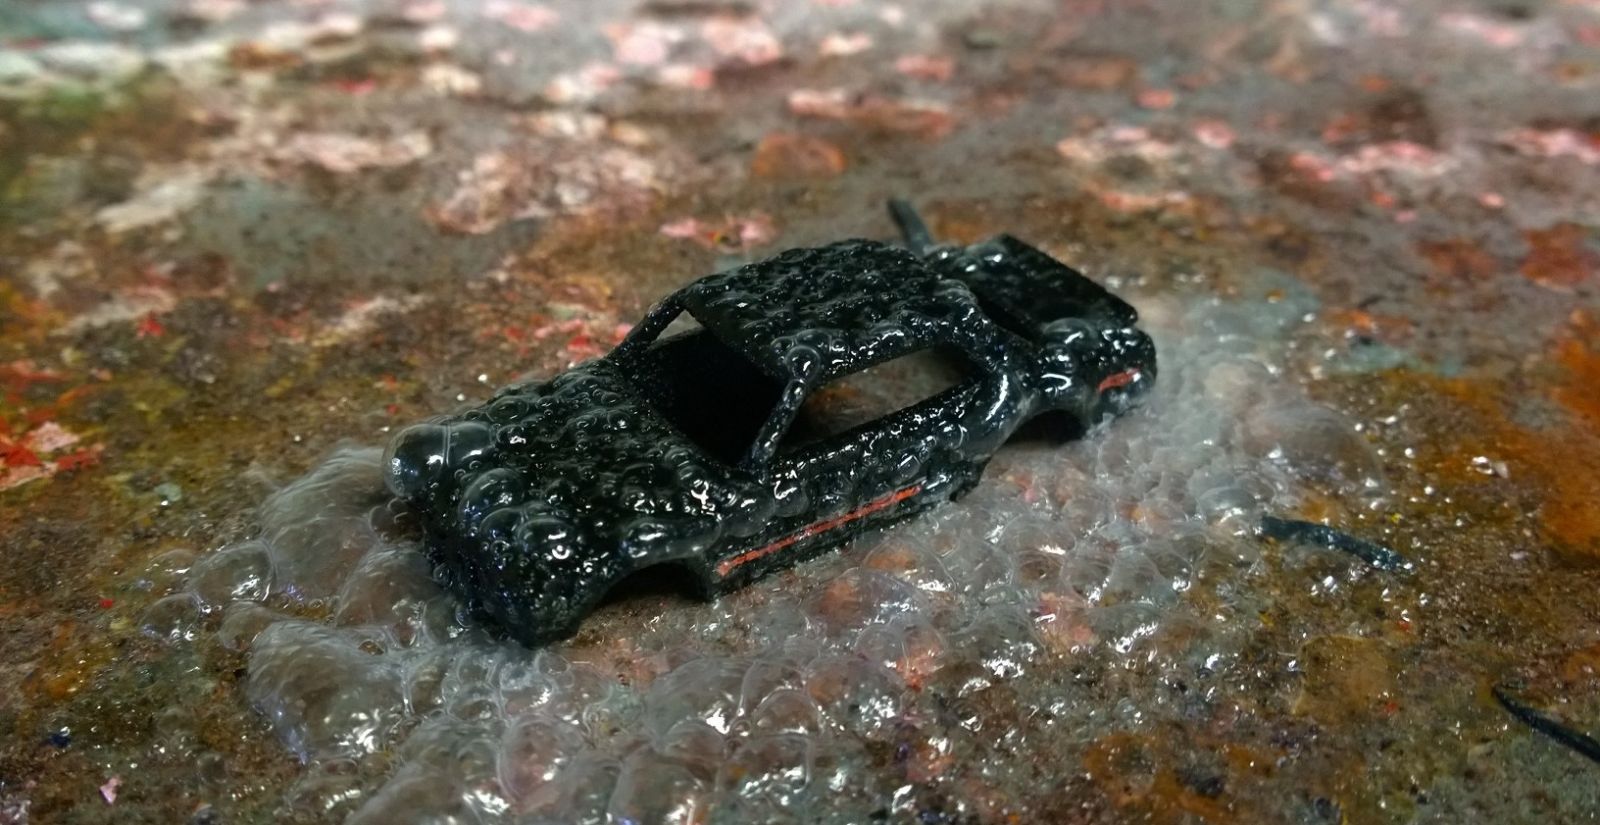
At this point you can set the plastic bits aside and begin the process if stripping the paint from the body. I have seen many on the blog giving their cars an acetone bath for 24 hours to strip the paint but I personally prefer a much faster method. I use a Dupli-color spray stripper that will take paint clean off in under 5 minutes. It works great and it works fast. I buy it at Oreilly's but I am sure any parts store will carry it or something similar.
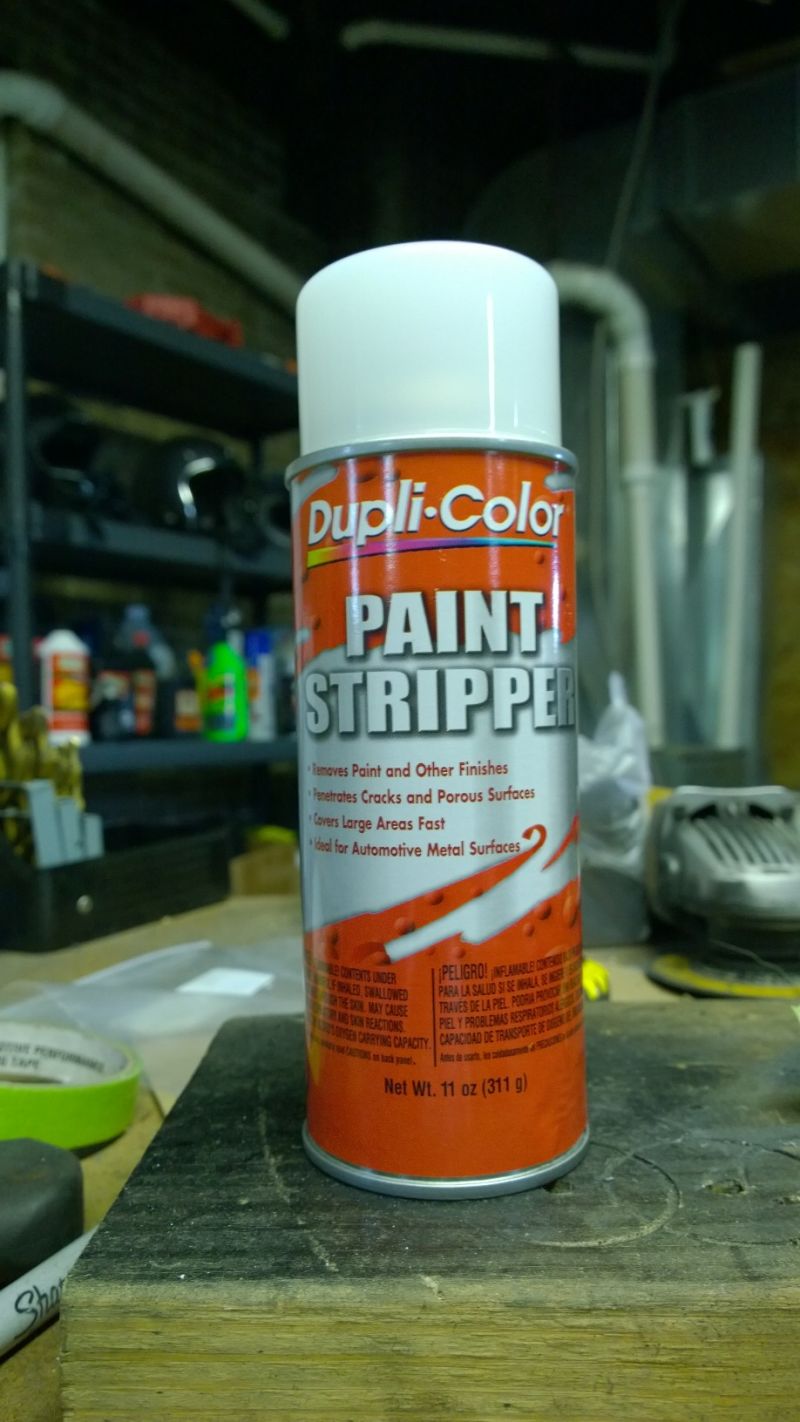
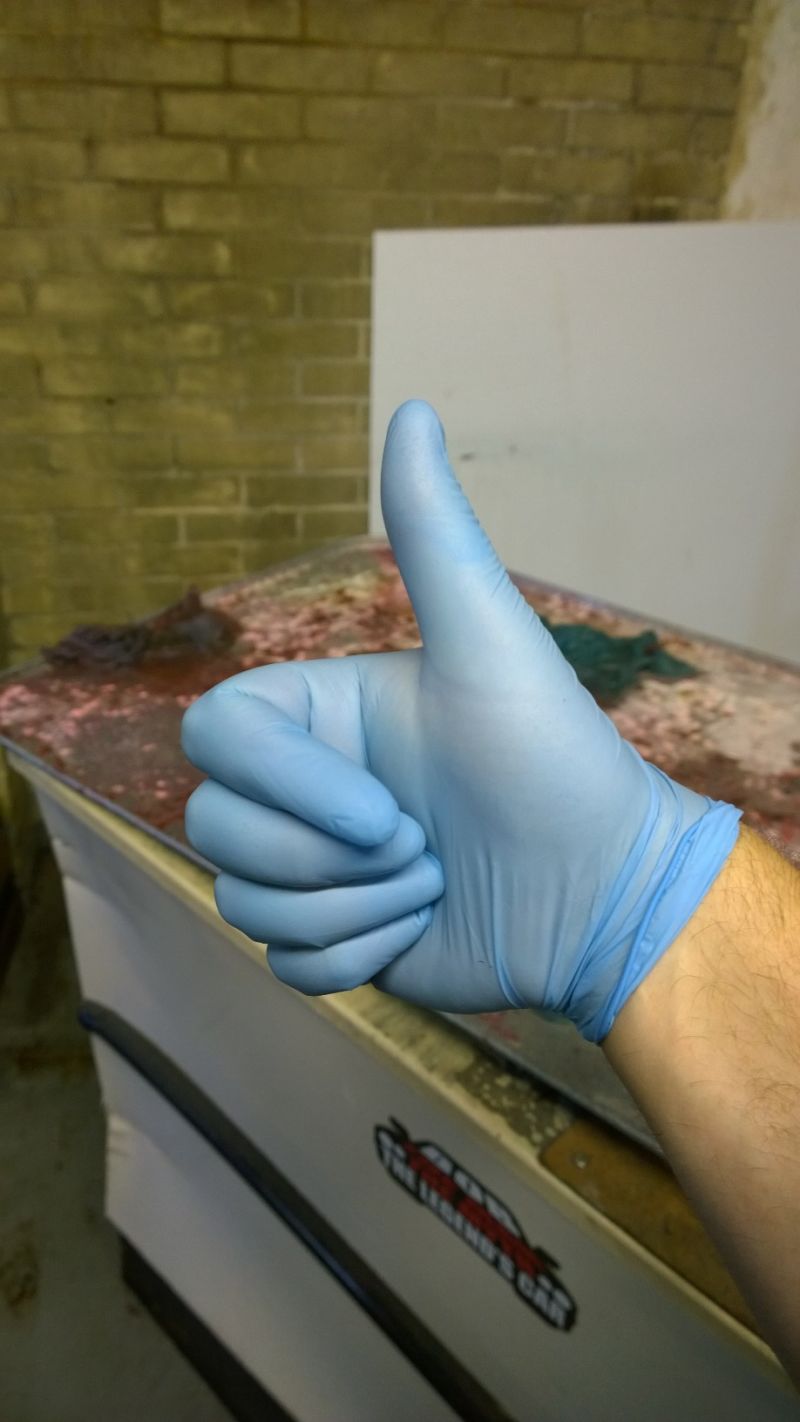
Before you spray you need to take some precautions. Use this in a well-ventilated area, use eye protection, and good gloves as this stuff burns on contact.
Some important tools to have on hand are some wire brushes of varying stiffness. I bought this 3 pack for a few dollars and it is well worth it. They do wear out but they are the best for the job as they will take the paint off without scarring the metal itself. Well worth buying the set every few months or so.

It is a simple process that will take two steps to get all the paint off. Spray the car inside or outside of the body, wait 5 minutes, rinse/scrub under water, spray opposite side as before, wait 5 minutes, rinse/scrub under water, dry and admire! Total time from painted to fully stripped = 15 minutes!

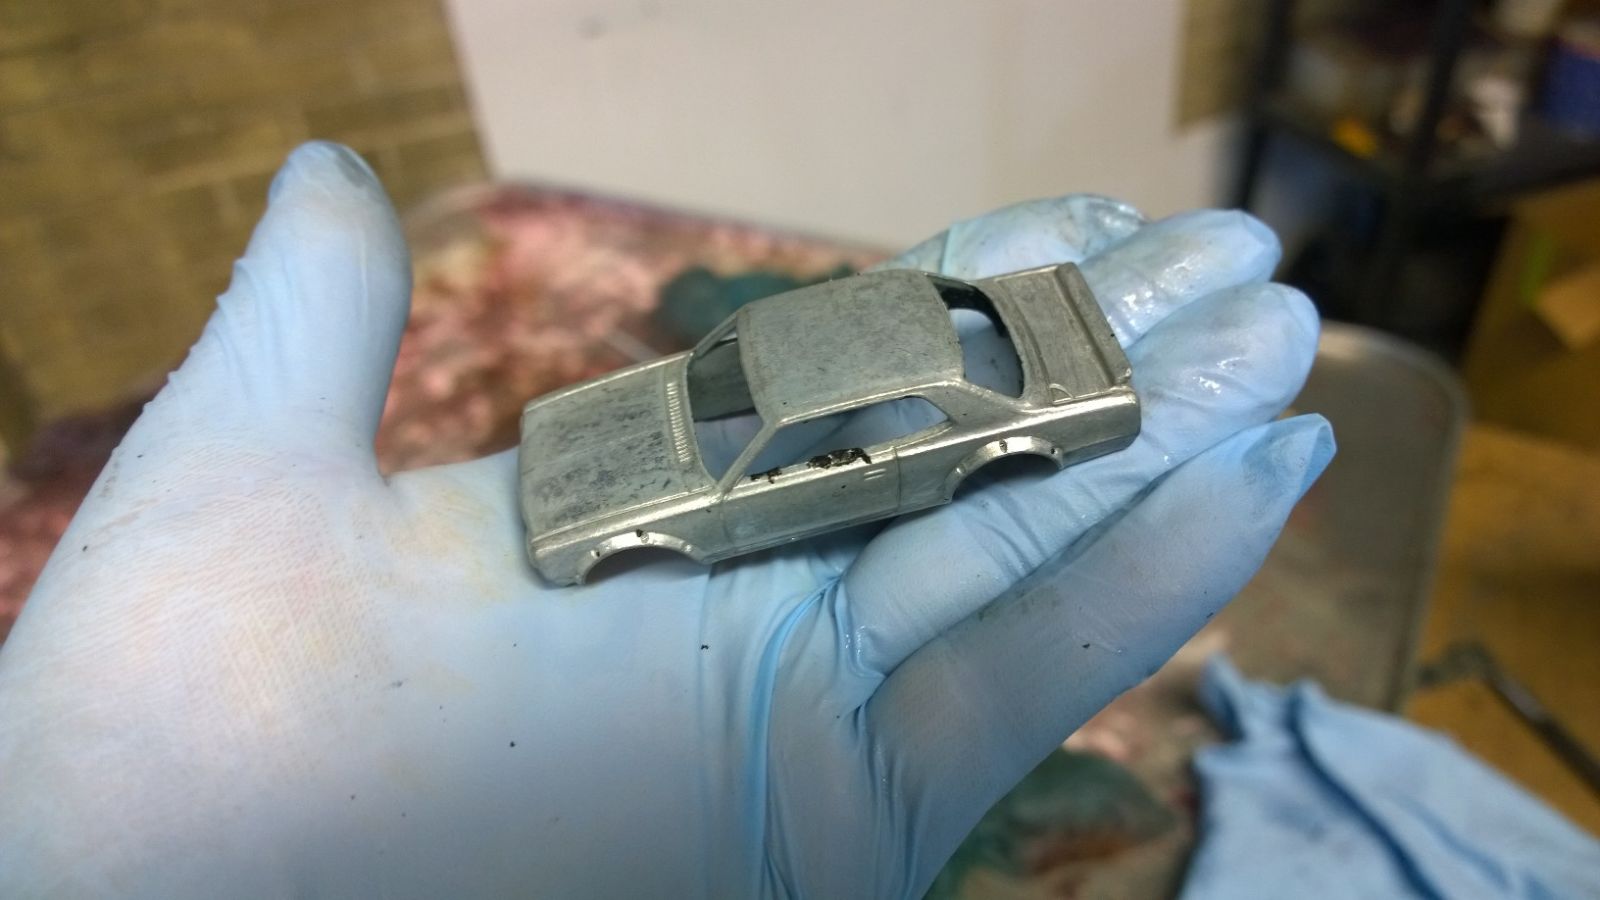

Now you have a blank canvas to go crazy on! You can do whatever you can come up with. From simple painting to decals, to full on body mods you can go as crazy as you want! The good thing about these cars is that they are cheap and easy to replace should you mess up. Anyway, I hope this tutorial helps answer some questions you may have had on disassembly and paint stripping. Feel free to ask questions or to share your tips and tricks. I will have a part 2 and part 3 at some point showcasing paint processes, wheel swaps, detailing, and other custom touches. Thank you for reading and keep on customizing!