
So you have likely seen my previous write-up on how to disassemble and strip your chosen custom base. Now it is time to pick a direction and throw some paint on! Let’s get right to it.
Items required:
Paint – duh!
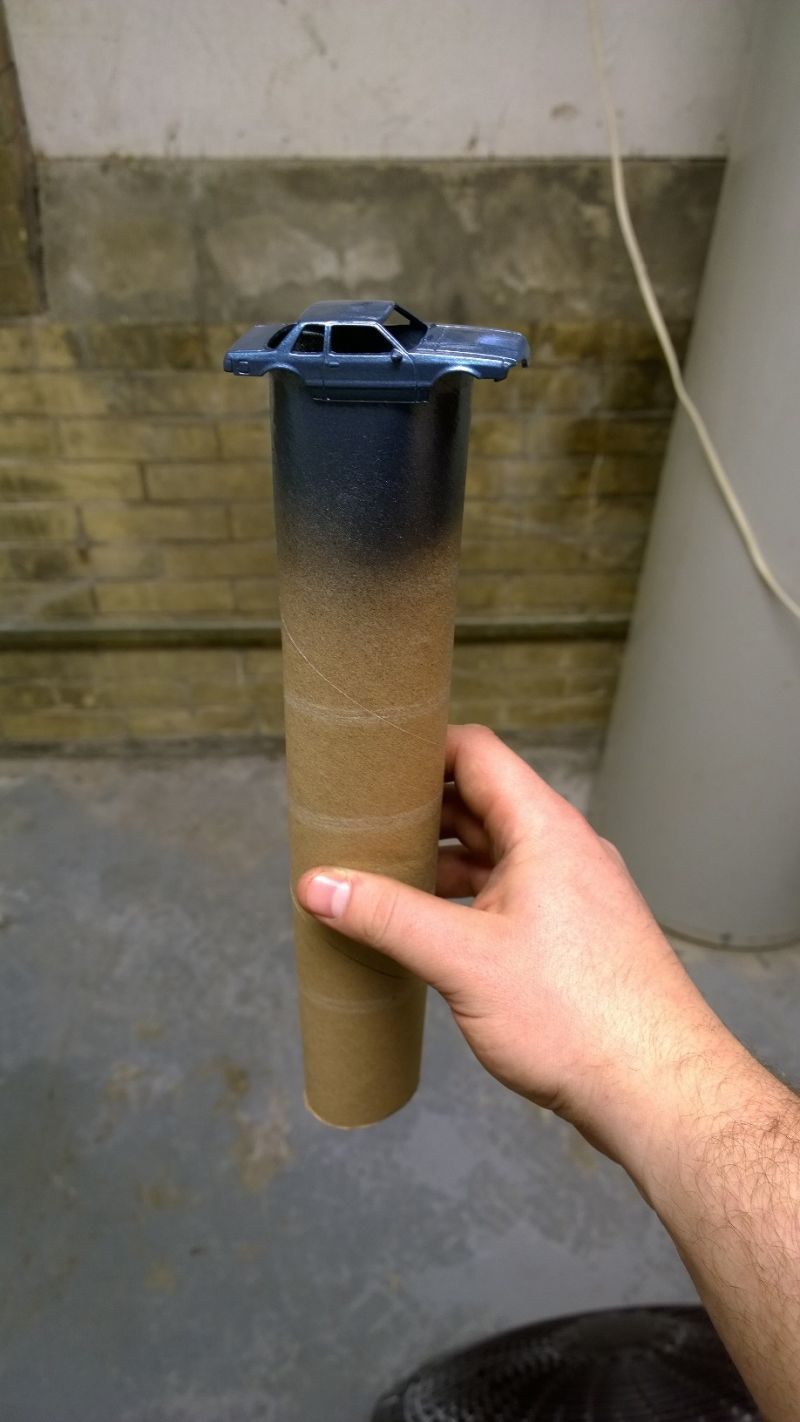
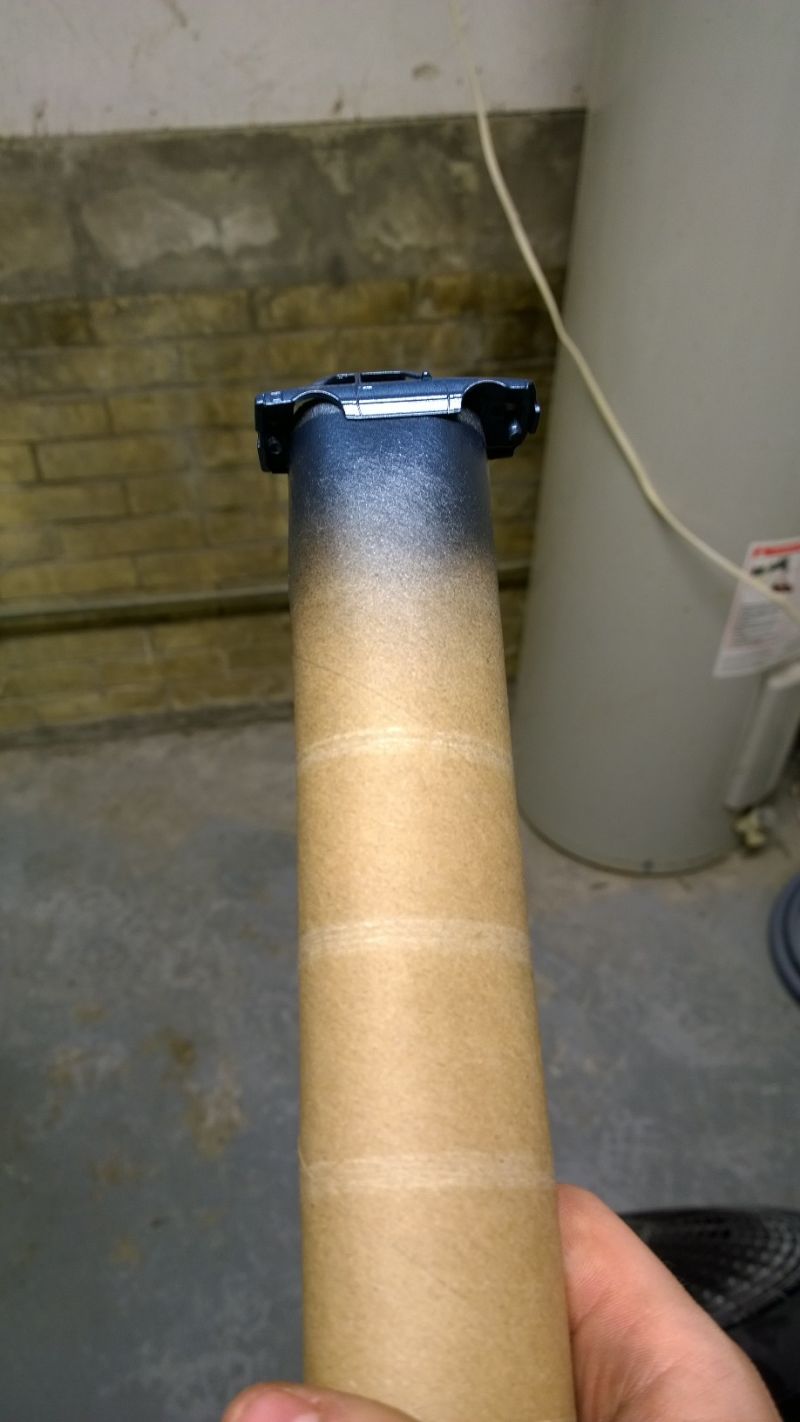
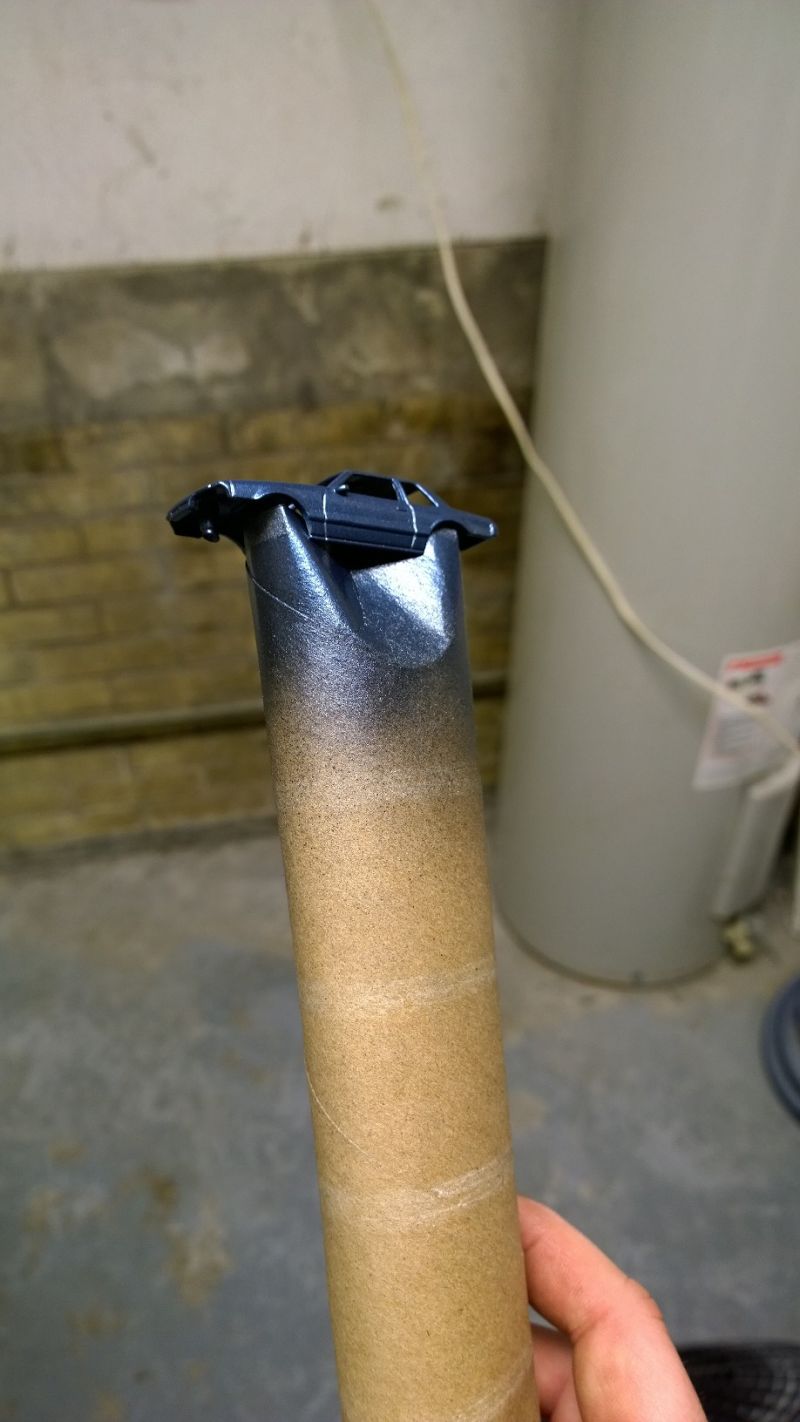
Cardboard tube – very important
A heat source – time to get creative
A well-ventilated area – Don’t go dying on me now!
For now, I am using a regular aerosol spray paint from the local parts store. Dupli-color brand is good but I also have really good luck using Krylon. Both paints seem to lay-out very well. The trick is your spray pattern as the time and precision you take here will determine the end finish.
Step 1 – Here we go!
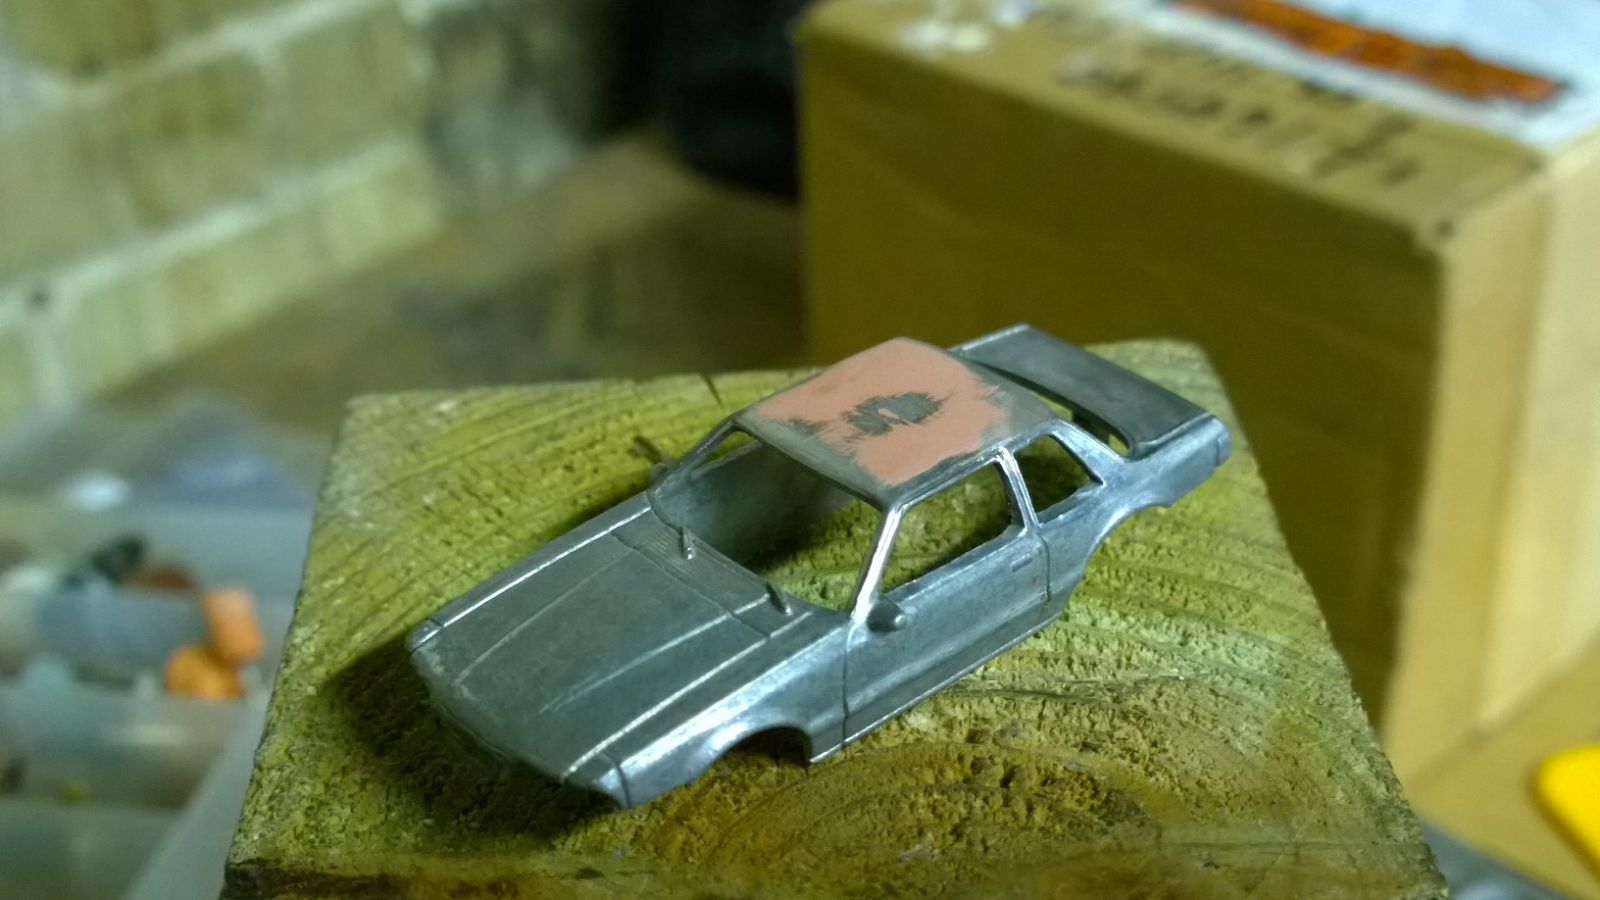
Check, then double check, then triple check that your diecast is clean and dry so you can spray it. Make sure all the small gaps and grooves are free of debris as those are detail areas you want. Feel free to wipe the bare metal down with a cleaner before you go further.
Step 2 - Setting up
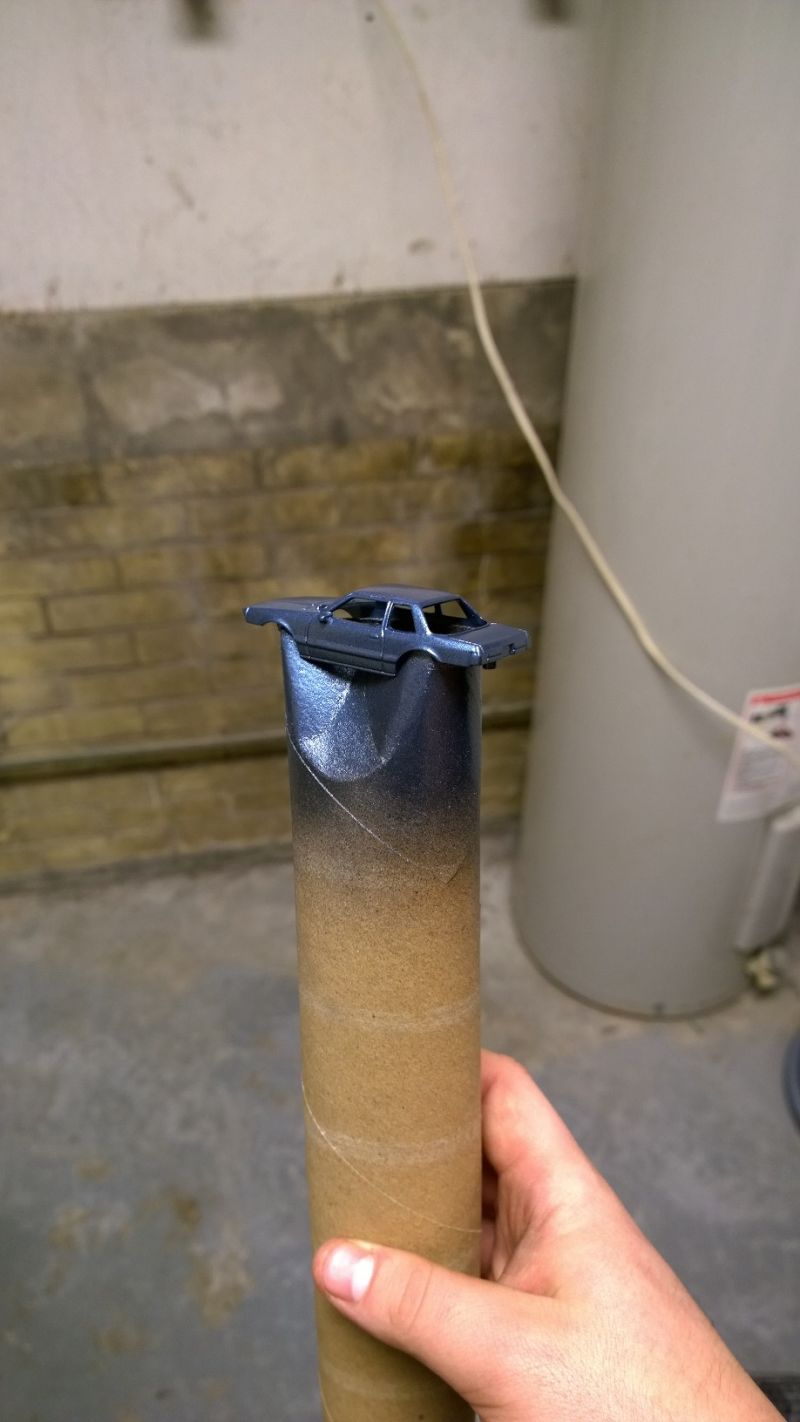
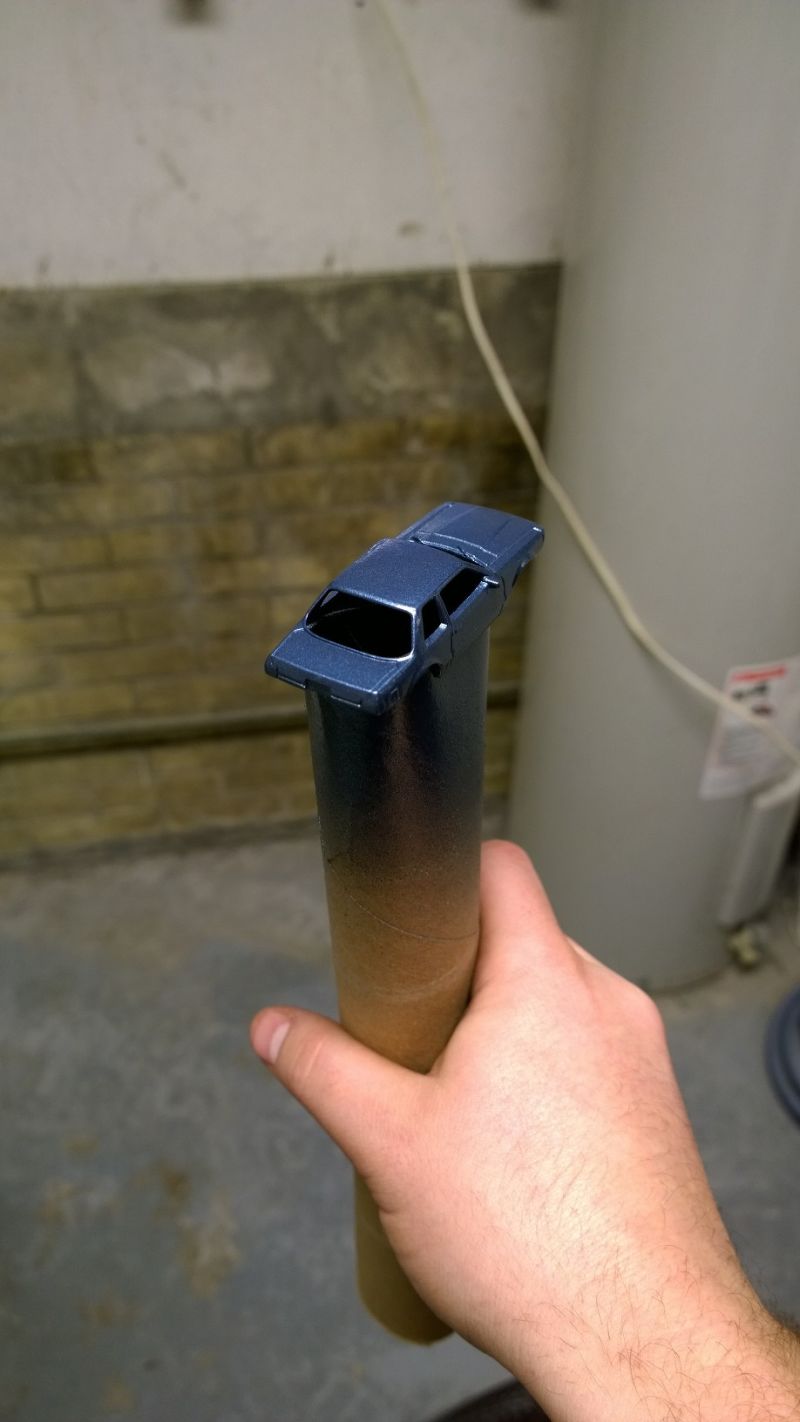
Now you want to put the car on your cardboard tube. The tube will hold the car while you paint. Squeeze the tube a bit and place the bottom of the car over it and let the tube expand to hold it in place! Magic!
Step 3 – Time to spray!
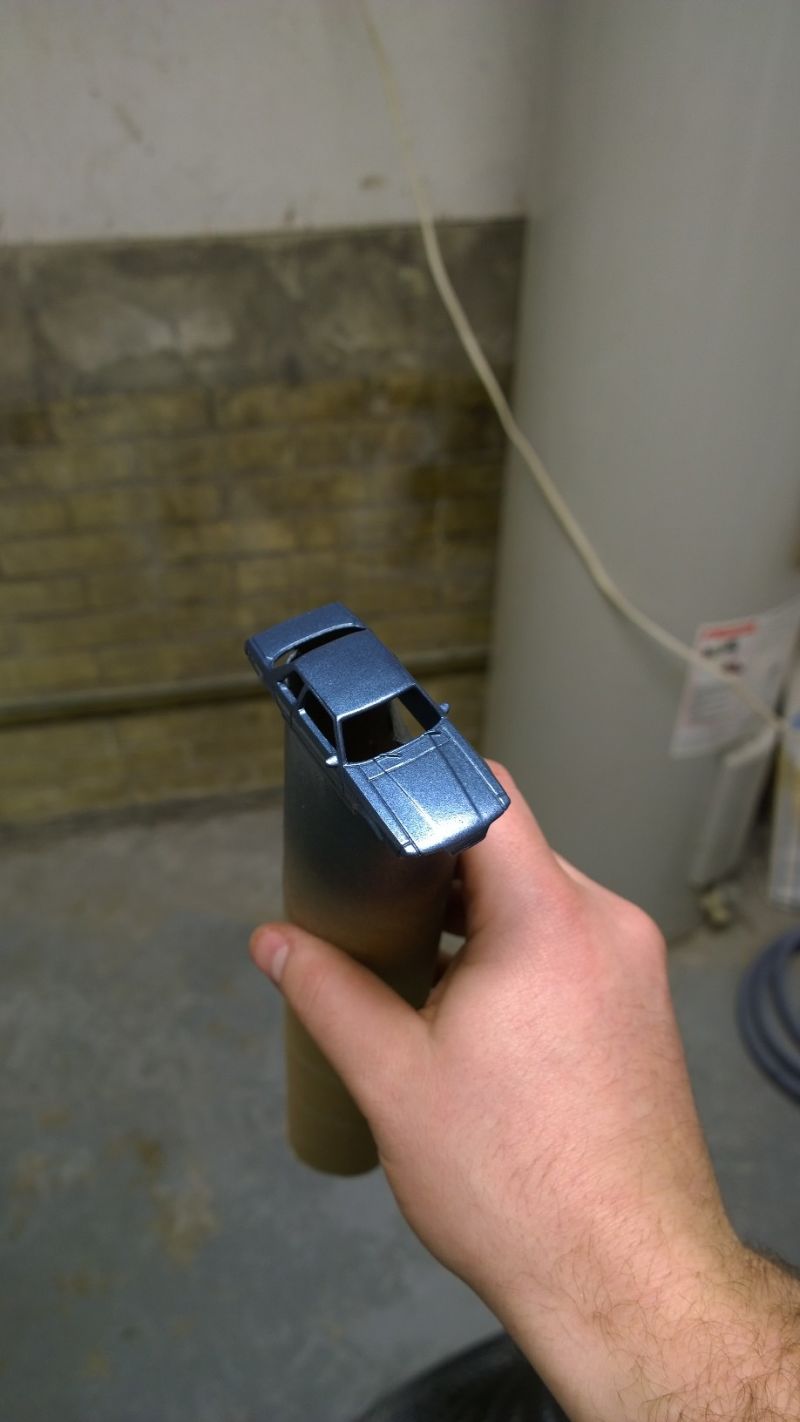
Make sure you are in a well-ventilated area. Get comfortable and able to rotate and move your hands with ease. Now, your first coat will be a VERY light coat to just get a base going. The car will look more metal than not so don’t worry. Keep it light to avoid runs and thick spots.
My spray method is to start under the car to cover the hard-to-reach spots first. Make light and fast passes side to side while spinning the tube as you go. Keep spraying and spinning while moving upward to cover the top side. I tried to do my best at a pic sequence below:
Once you are done with your coat feel free to put a bit of heat on it to help set the paint. A heat gun or blow dryer works perfect for this.
Next you will start the second coat. Use the exact same process but step it up to a bit heavier of a coat. Little by little, don’t get carried away. Spray it and then take more heat to it to help it along.
For the third coat you will be the judge on how heavy you want to go. 3 coats should be enough to cover the car evenly. A light coat can still be glossy but not as smooth as a heavy coat. This will take practice to perfect. Use your best judgement and good luck!
The first car is obviously not as glossy and deep as the second. The last coat makes the difference.

Step 4 – The waiting game
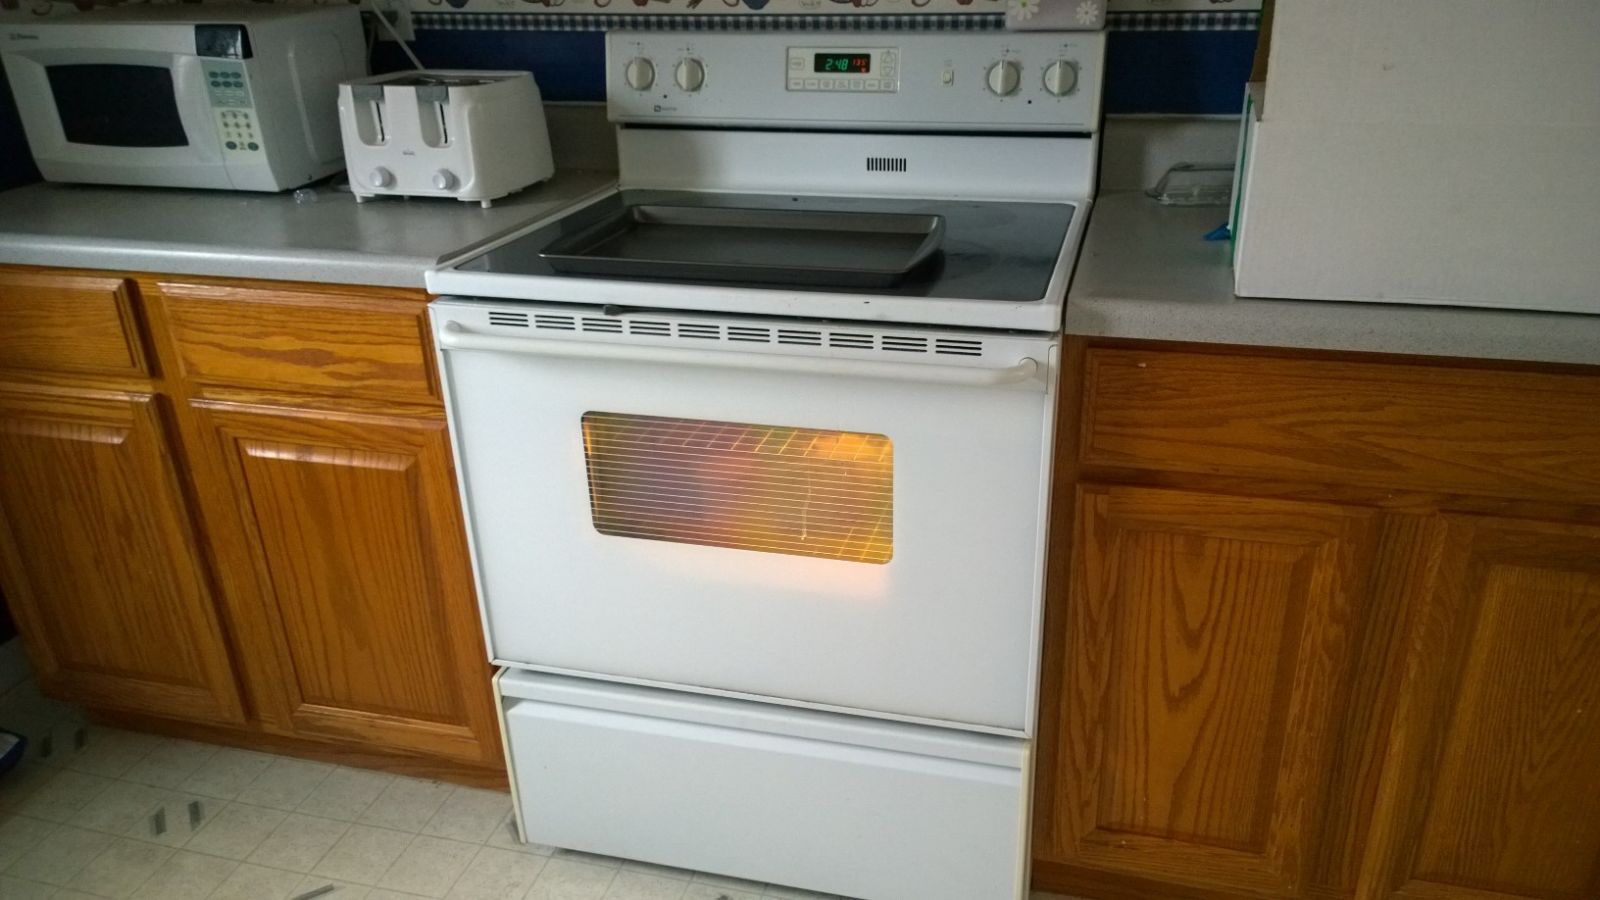
After you finish you final coat you will want to avoid touching the car at all costs. A single fingerprint is easy to make and will ruin any progress you made. I prefer to heat the car a few times and let it stand in the tube for at least an hour or two. After that I have actually used the kitchen oven a few times to cure the paint. I CAREFULLY remove the car by grabbing the rivet studs and place the car on a block of clean wood. I then place the wood and car in the oven and set it to 175 or so. Check it often and give it about an hour in there. After an hour, remove the wood and set it in a place to cool off. DON’T TOUCH IT YET! The paint will likely be soft but I assure you it will cool and harden enough to handle. To be safe, let it sit overnight before you handle it.
Step 5 – get creative!
After you sit through the drying period you can now move onto finishing your custom! Wheel swaps, camber, detail painting, body mods...anything goes. Use your imagination and go crazy. I will without question do a few more write-ups on more advanced techniques to help guide you. Stay tuned!!!!
Let me know if you have any questions!
Part 1 HERE