
Hello everybody and welcome to my 3rd installment of some LALD customizing how-to guides!
Wheel swaps! You have seen them and now you can do them! How crazy you want to get is up to you but I will show you all you need to know to get you started and rolling…pun intended!
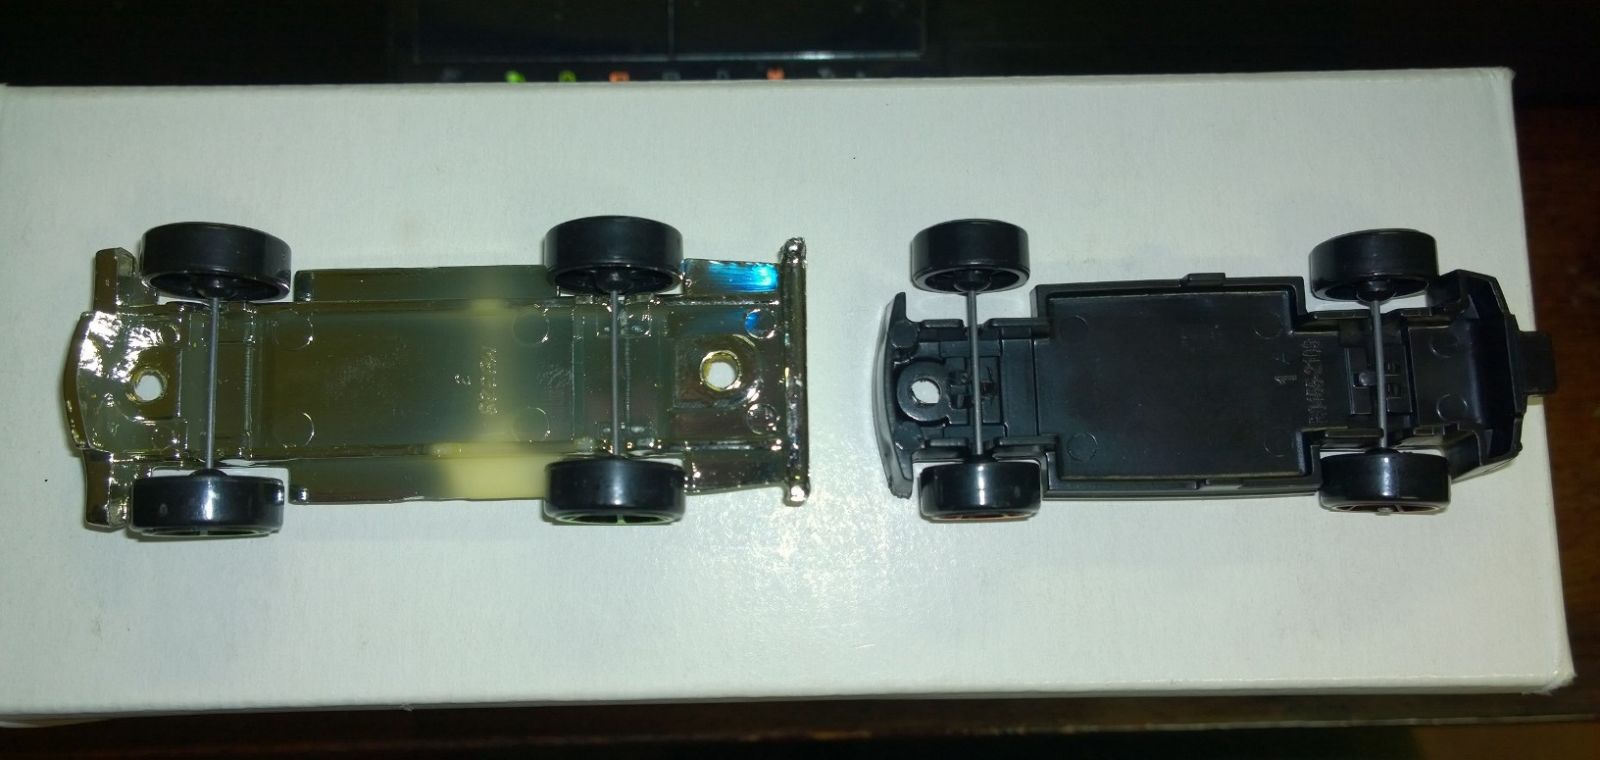
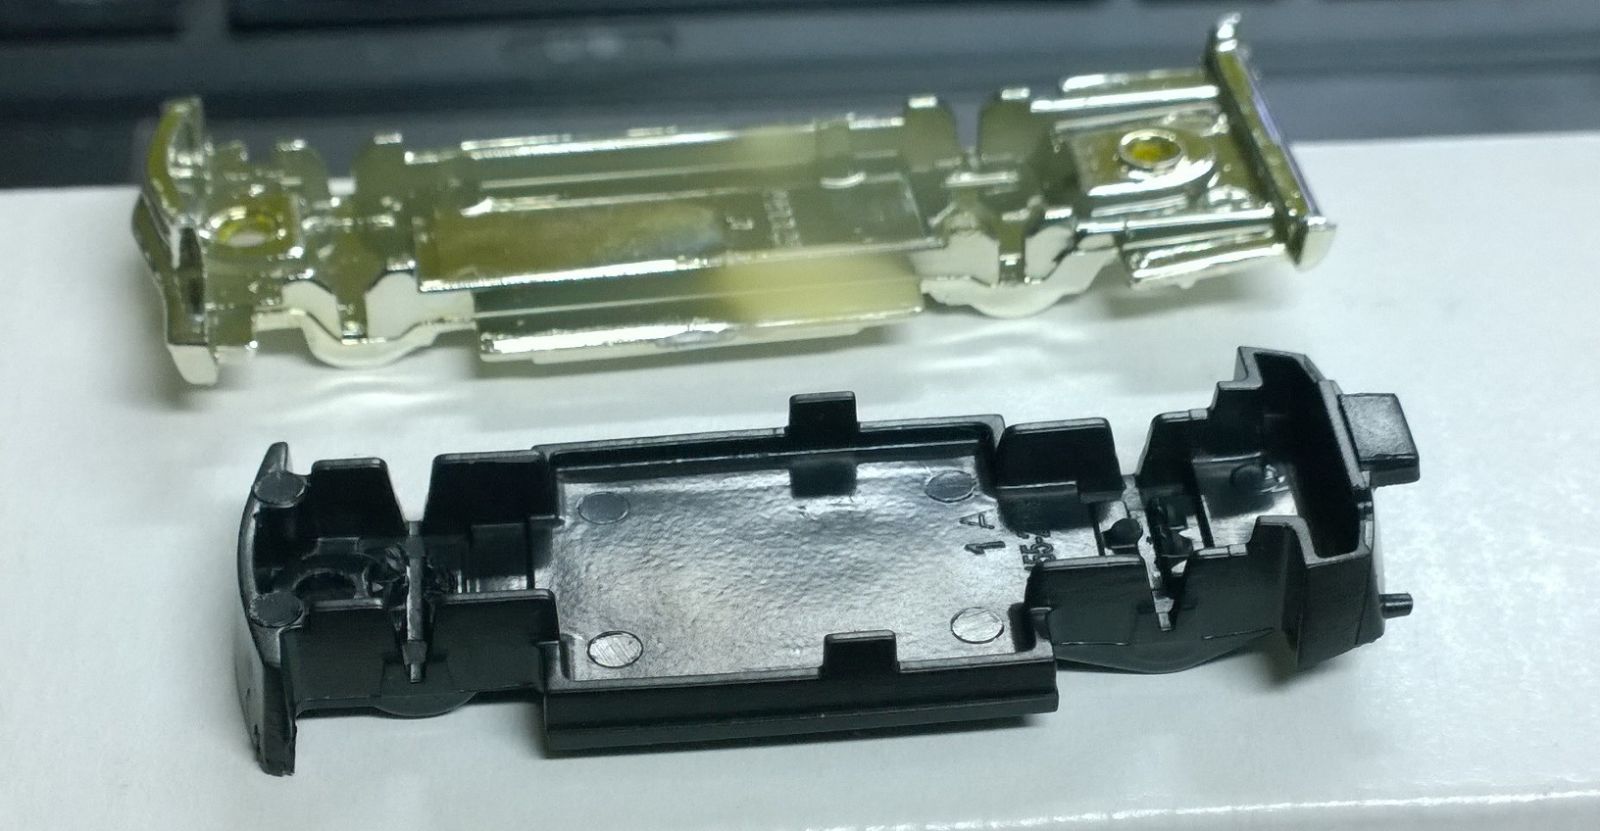
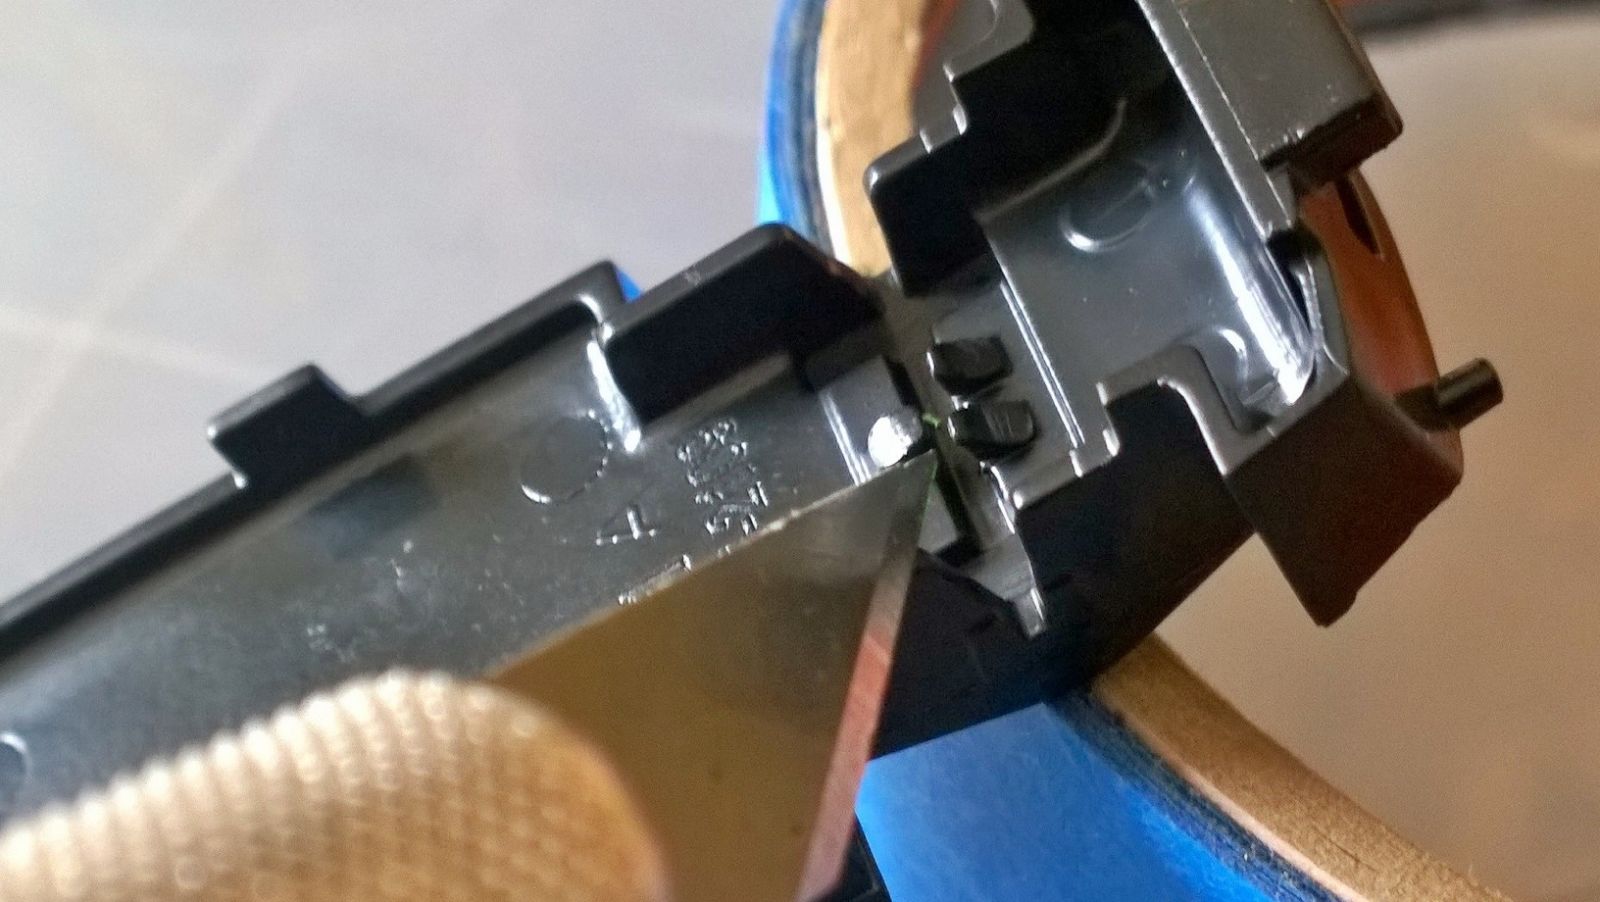
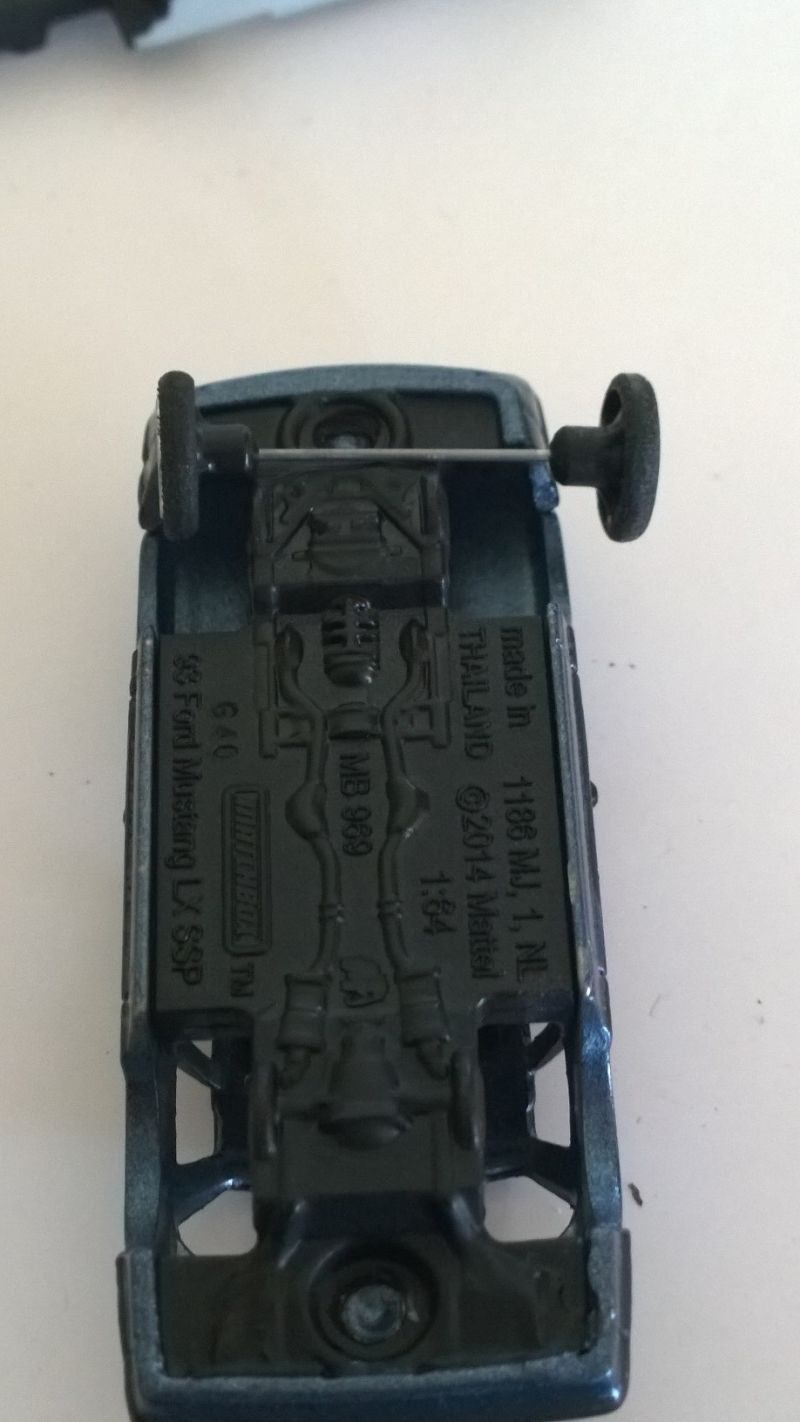
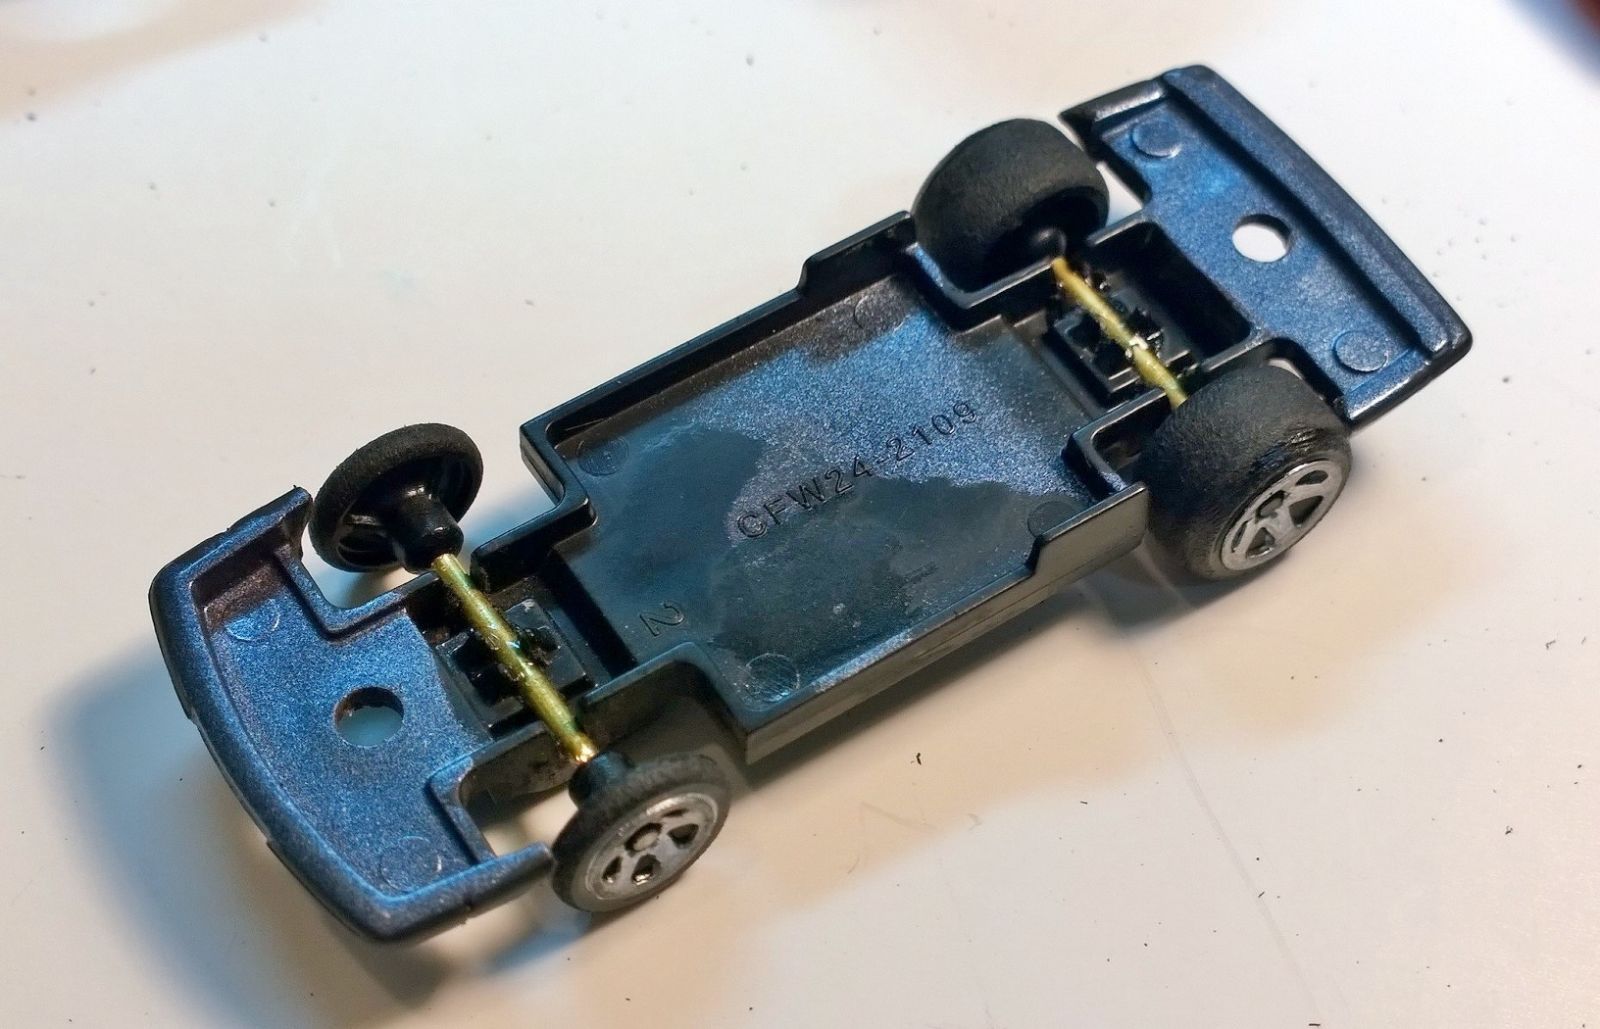
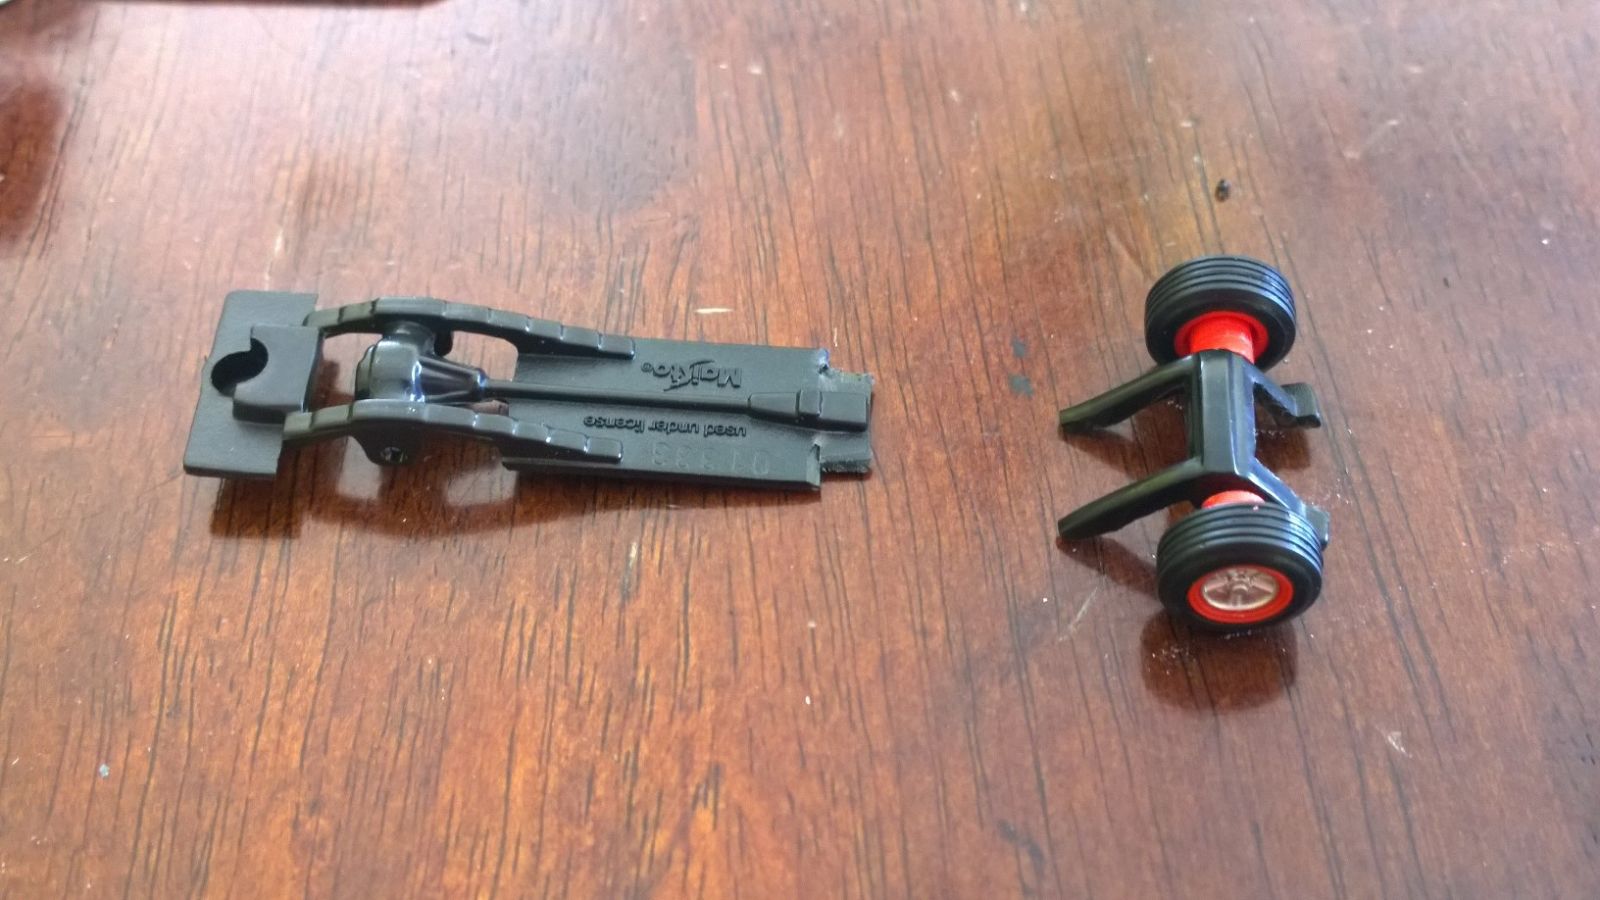
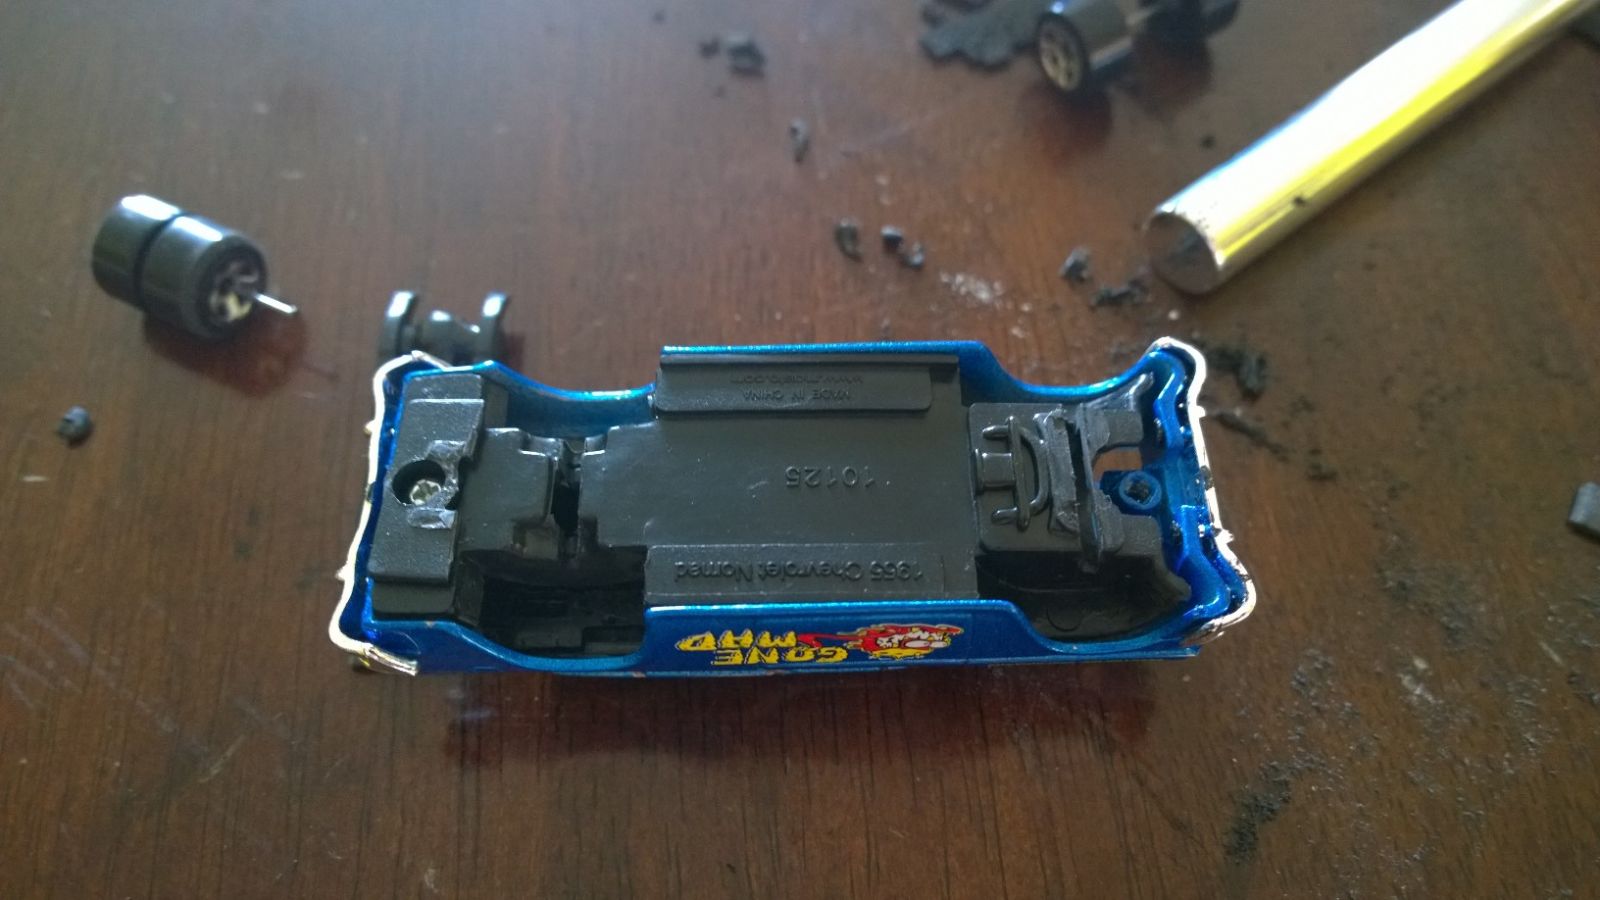
First up you will find many different variations in chassis design specifically with how the wheels are attached. Some have tabs, others are held by being sandwiched between the body and chassis. Others have wheels actually pressed onto the axles themselves. There are even more variations that will require thought but stick with it and you will create some awesome swaps!
On the left - older Matchbox using the sandwich method Right - Hot wheels with tabs
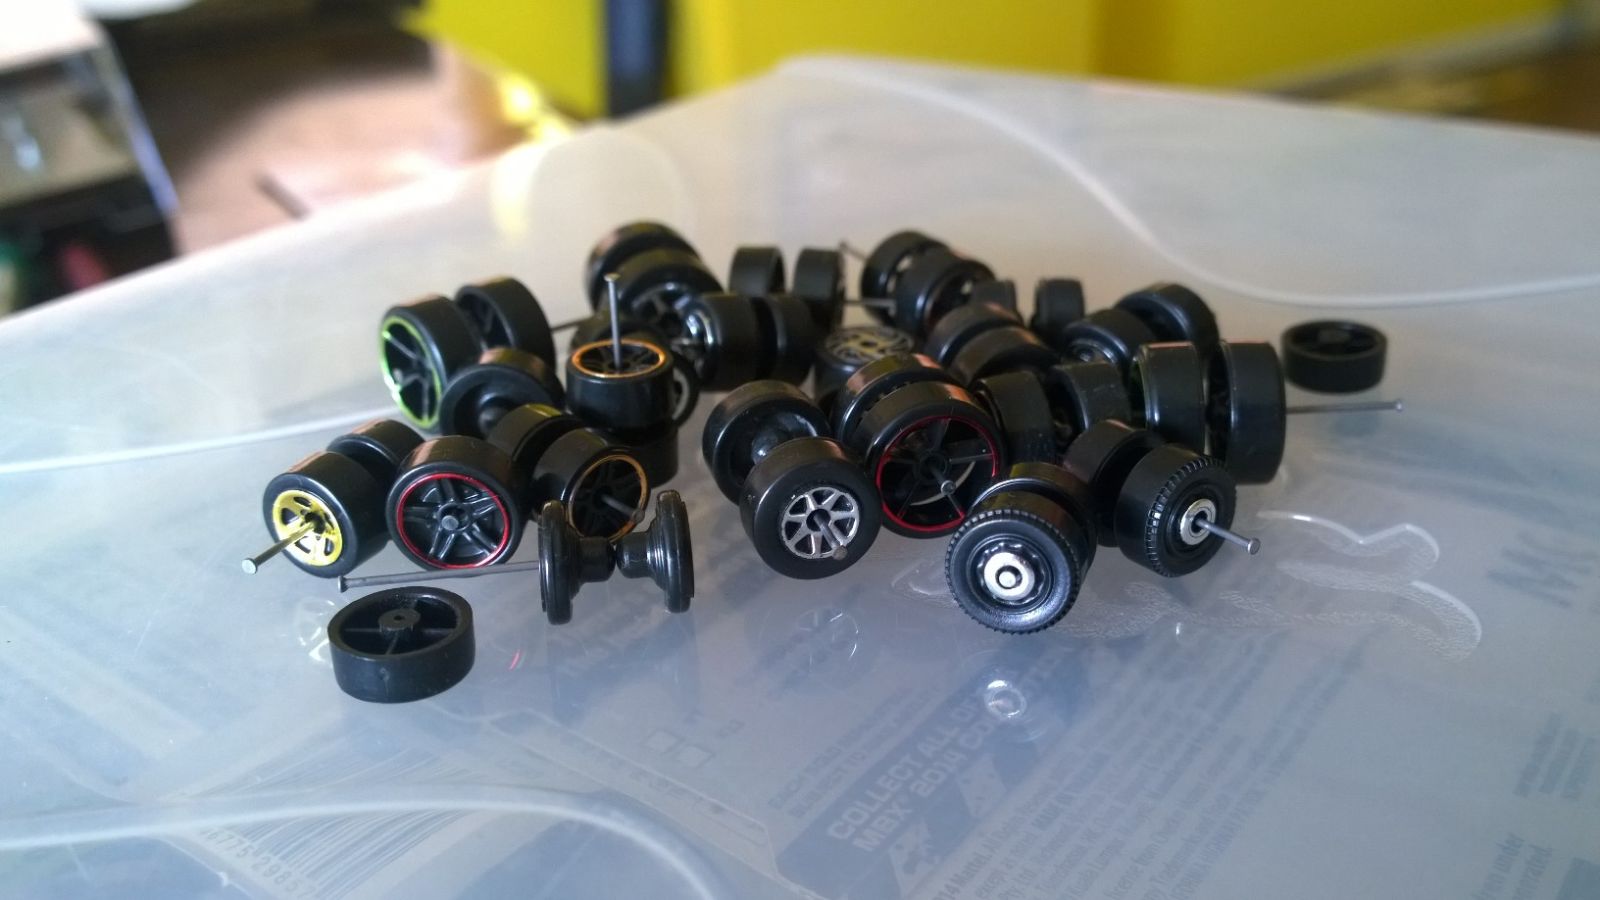
In regards to wheels there are pretty much only a few different diameters and a few different widths so you can pretty much swap any wheel to any chassis if you stick to it and don’t give up.
Let’s begin with simple swaps.
Swaps 101:
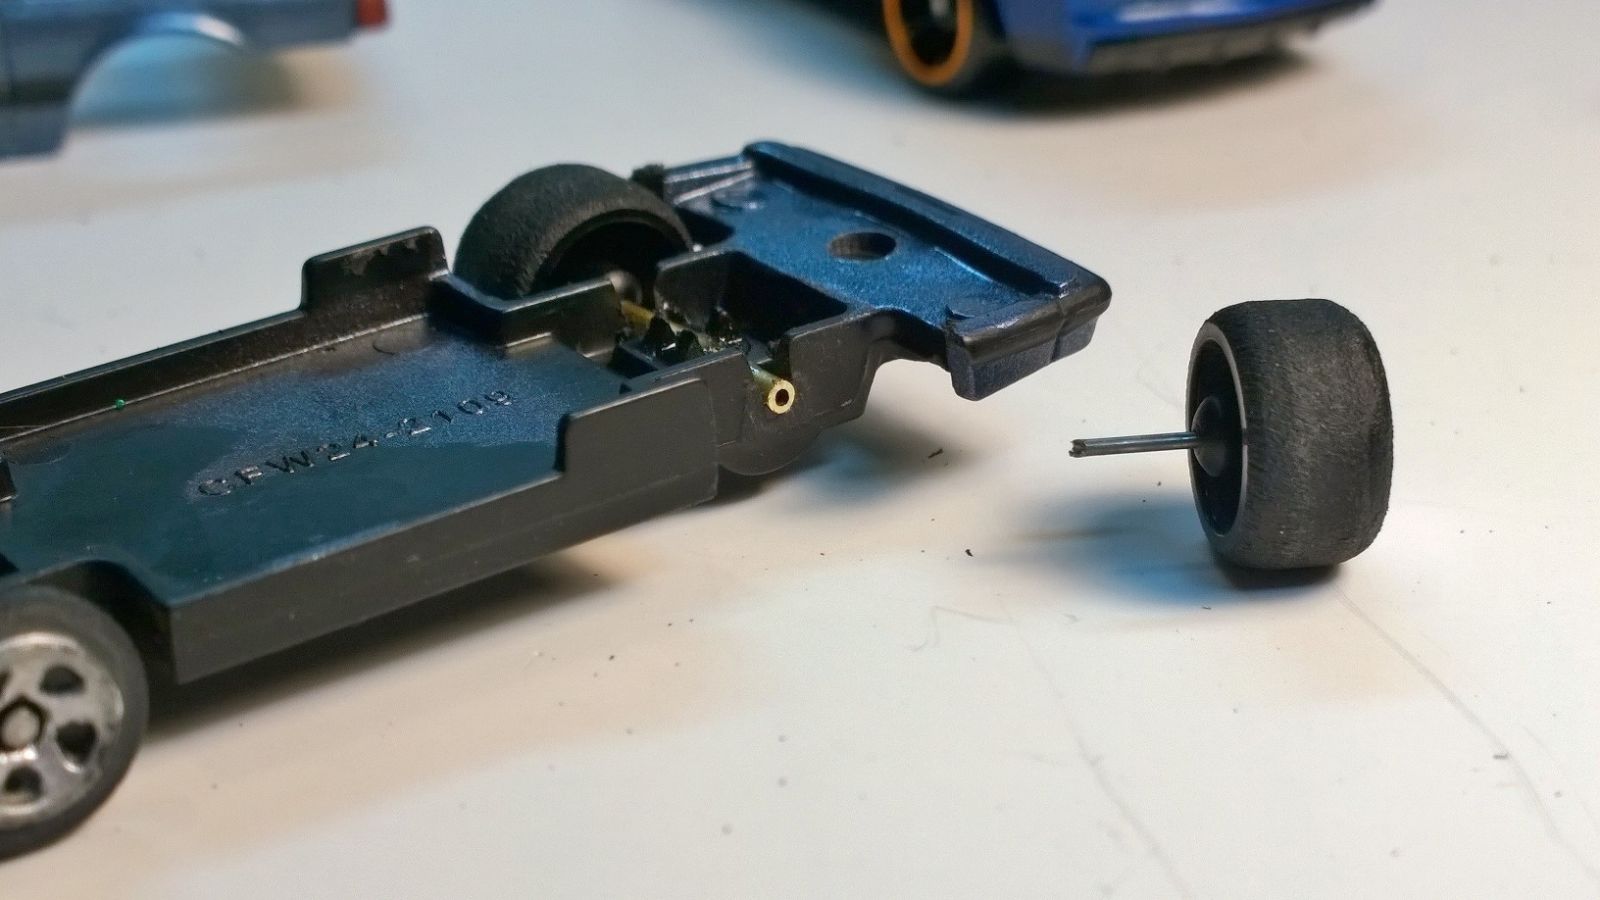
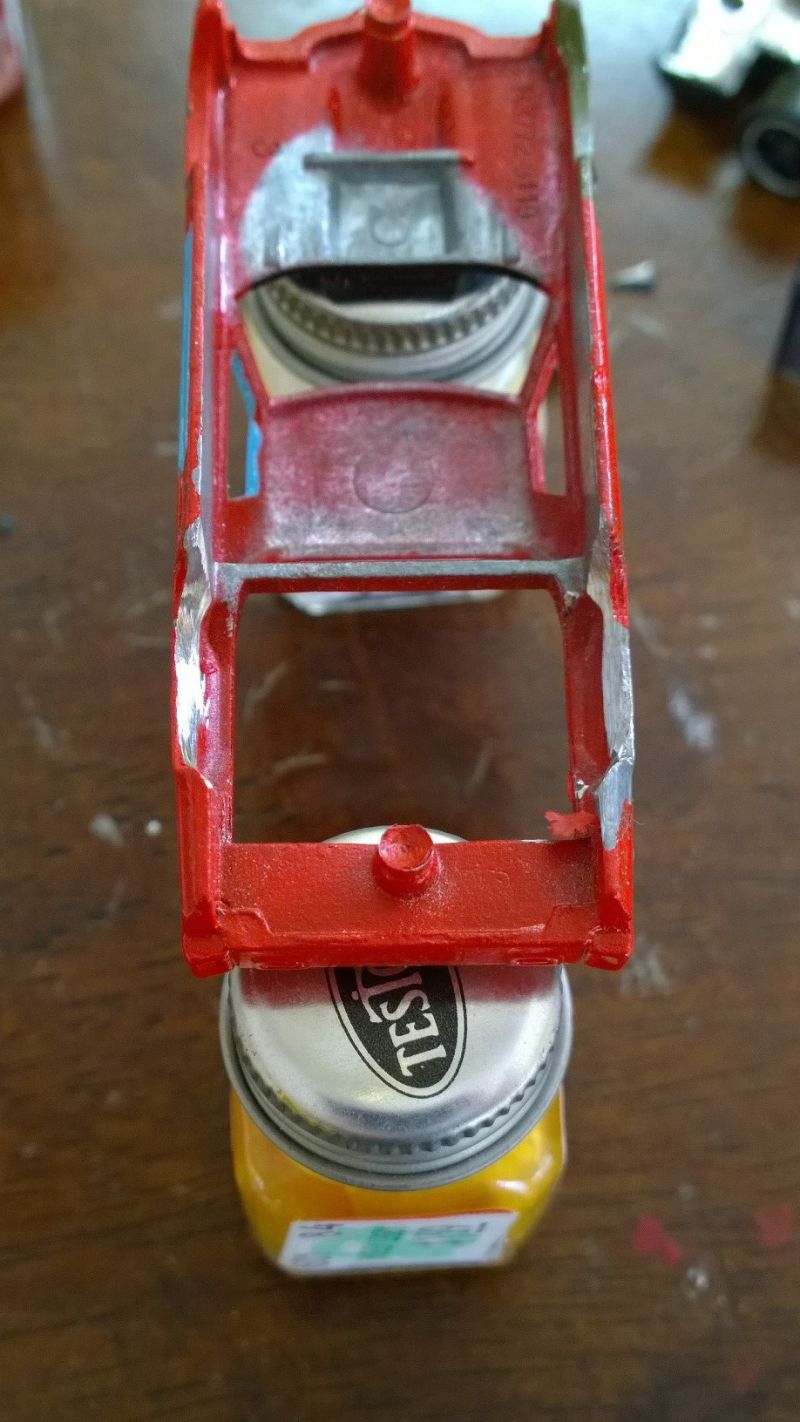
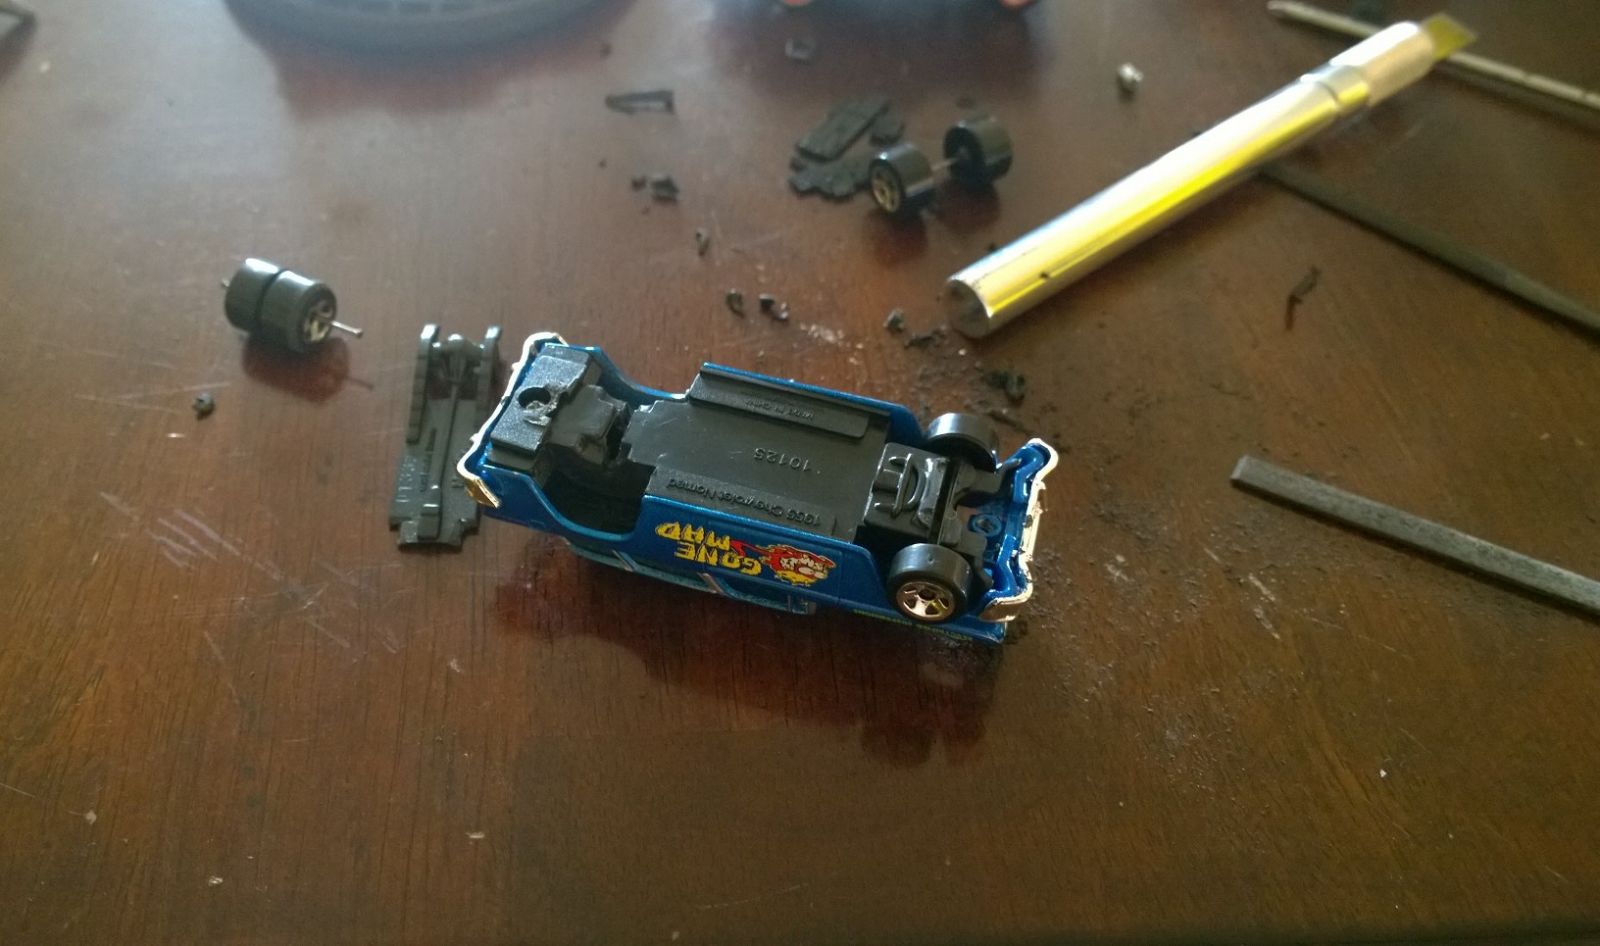
For tab cars you will obviously have to have the car taken apart to access the chassis. You then carefully pry the tabs open to free the axles. The plastic chassis cars are very easy to do this on, simply pry open and remove. Pop in a new wheel and axle combo and re-press the tabs to lock it down. Done! I usually go a step further and put a drop of superglue on the tabs to keep it in place. Metal chassis cars are tough but can be done with a good pics/screwdriver/side cutter tool. Just be careful as they can break off! Take your time on these.
On cars that have sandwiched axles are super easy as you just drop in your new wheel/axle combo as it is apart and just reassemble.
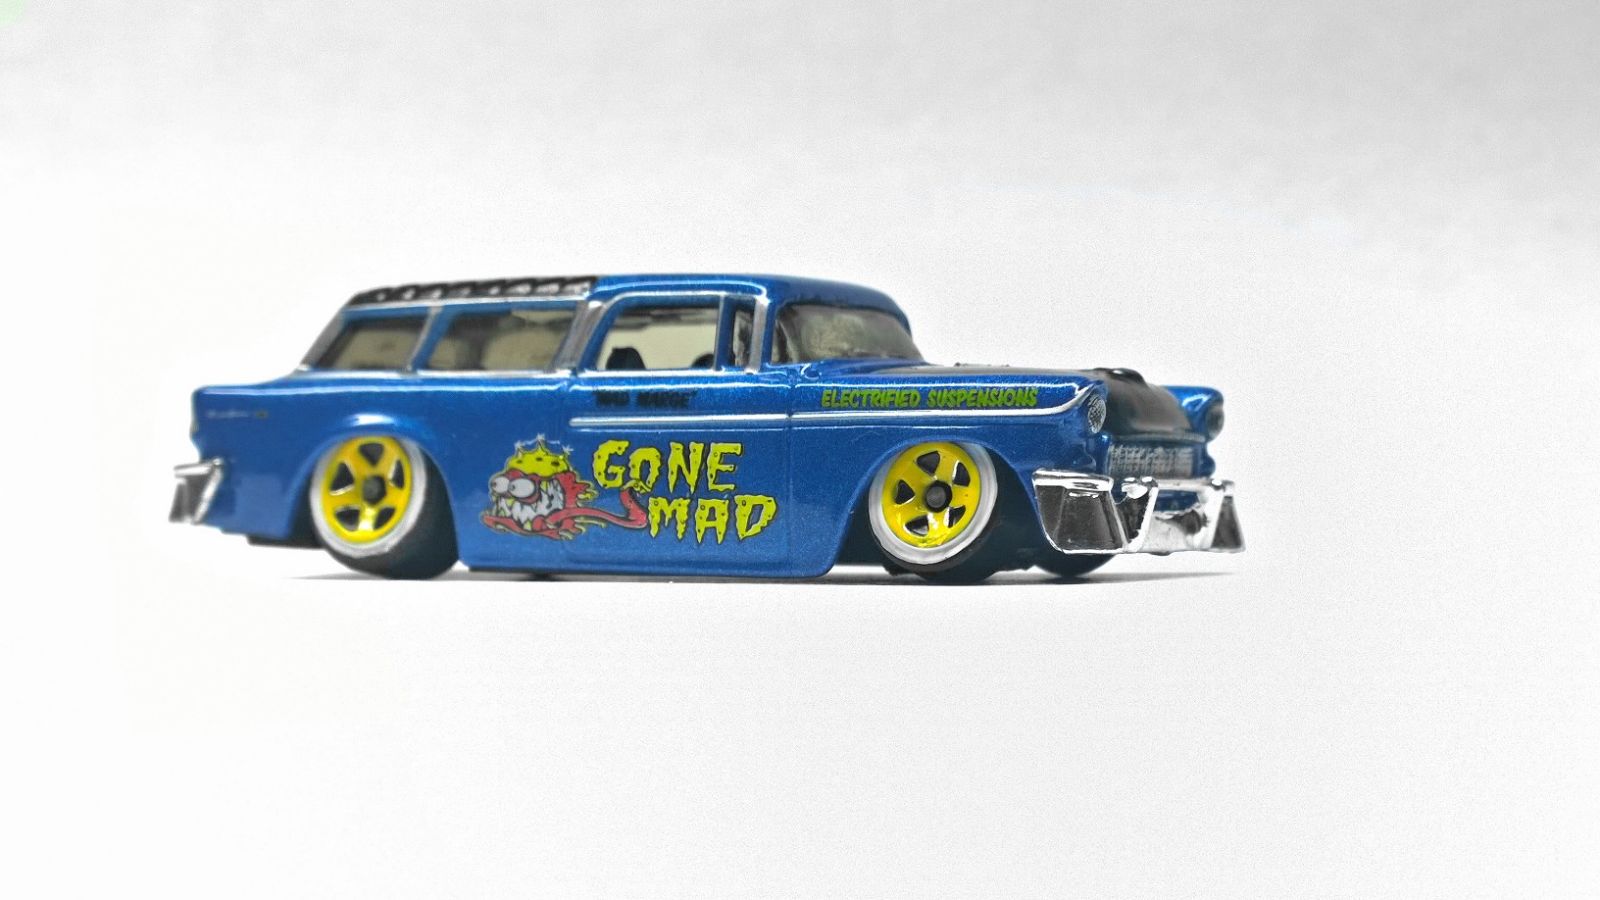
Simple wheel swap:
Things to consider: The replacement axle/wheel combo will need to be around the same size and length which can limit what you use. Luckily, between Matchbox, Maisto, M2, and Hot Wheels you can find plenty of wheel options. If this type of limitation doesn’t appeal to you….you are in luck….step into my classroom and my advanced 102 course!
Swaps 102:
If you have made it this far you are picky like me and want things to be perfect! You must be creative and ready to figure things out to get these swaps done but once you get the hang of it, it will be very rewarding.
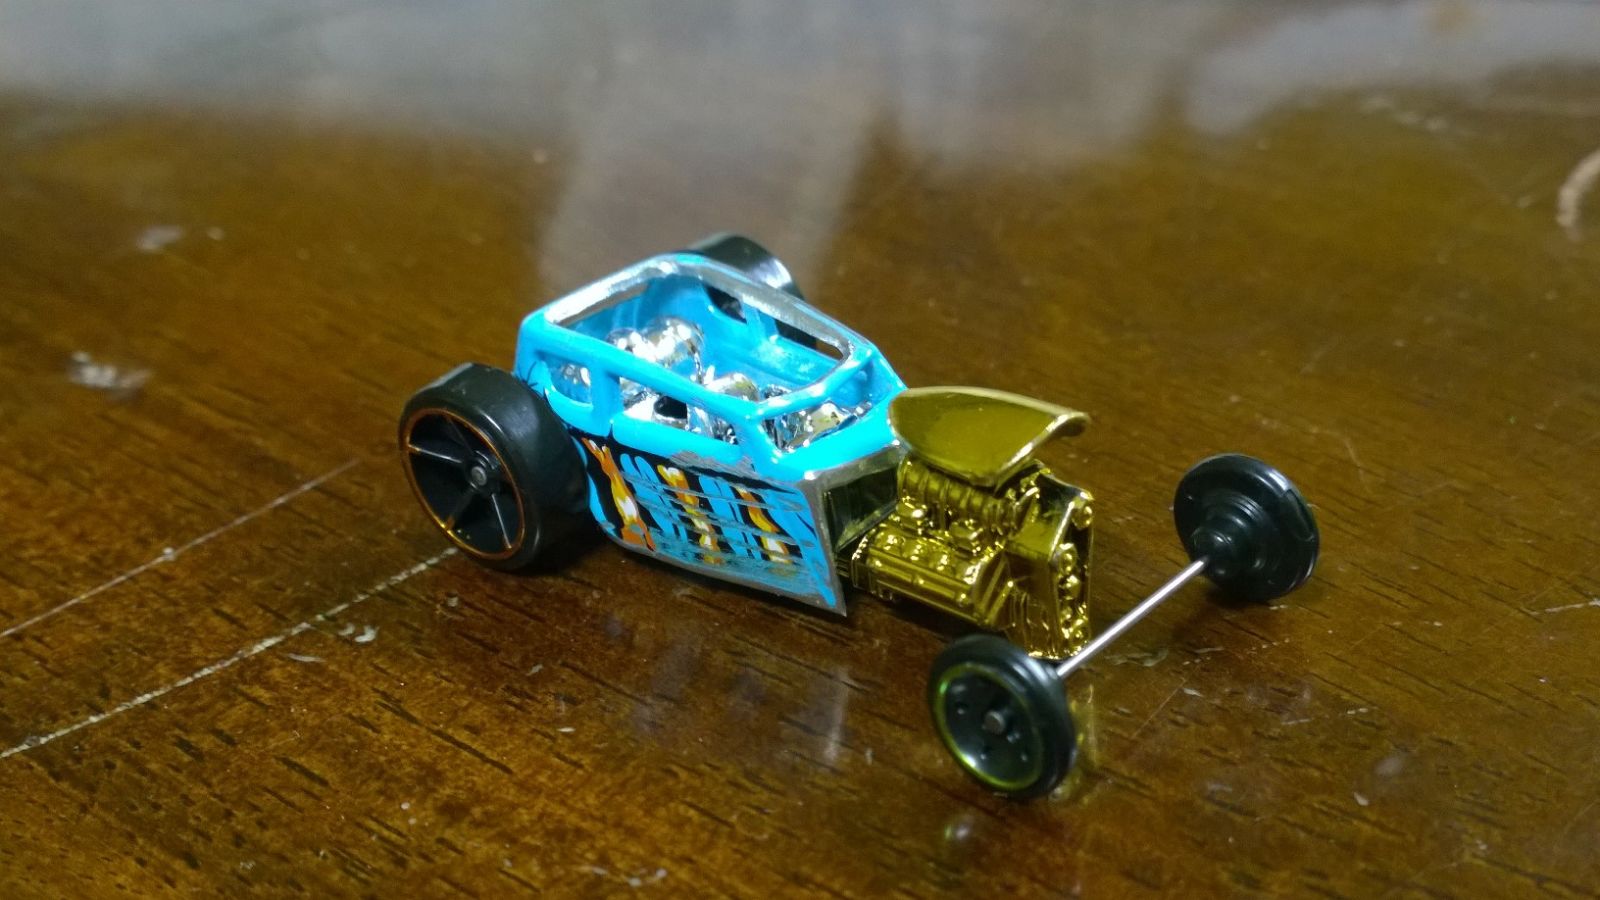
Here are some reasons that I find which require me to use a more complicated method: axle/wheel combo I found was way too wide, too narrow, simply too boring, vehicle sits too high, too low, or would even just look good with a bit of camber for added effect. The brass tube method can solve all of these issues!
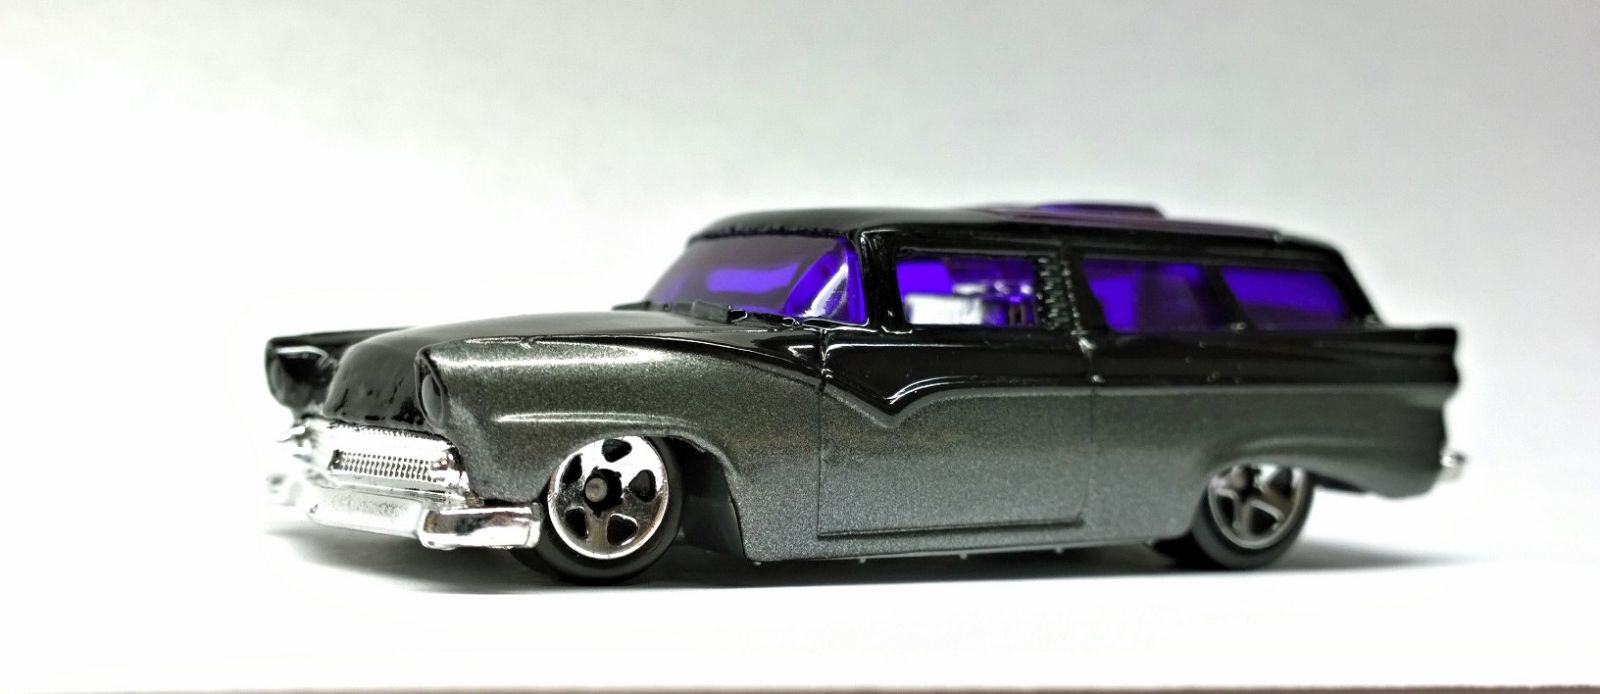
Too wide an axle with too narrow of a chassis:
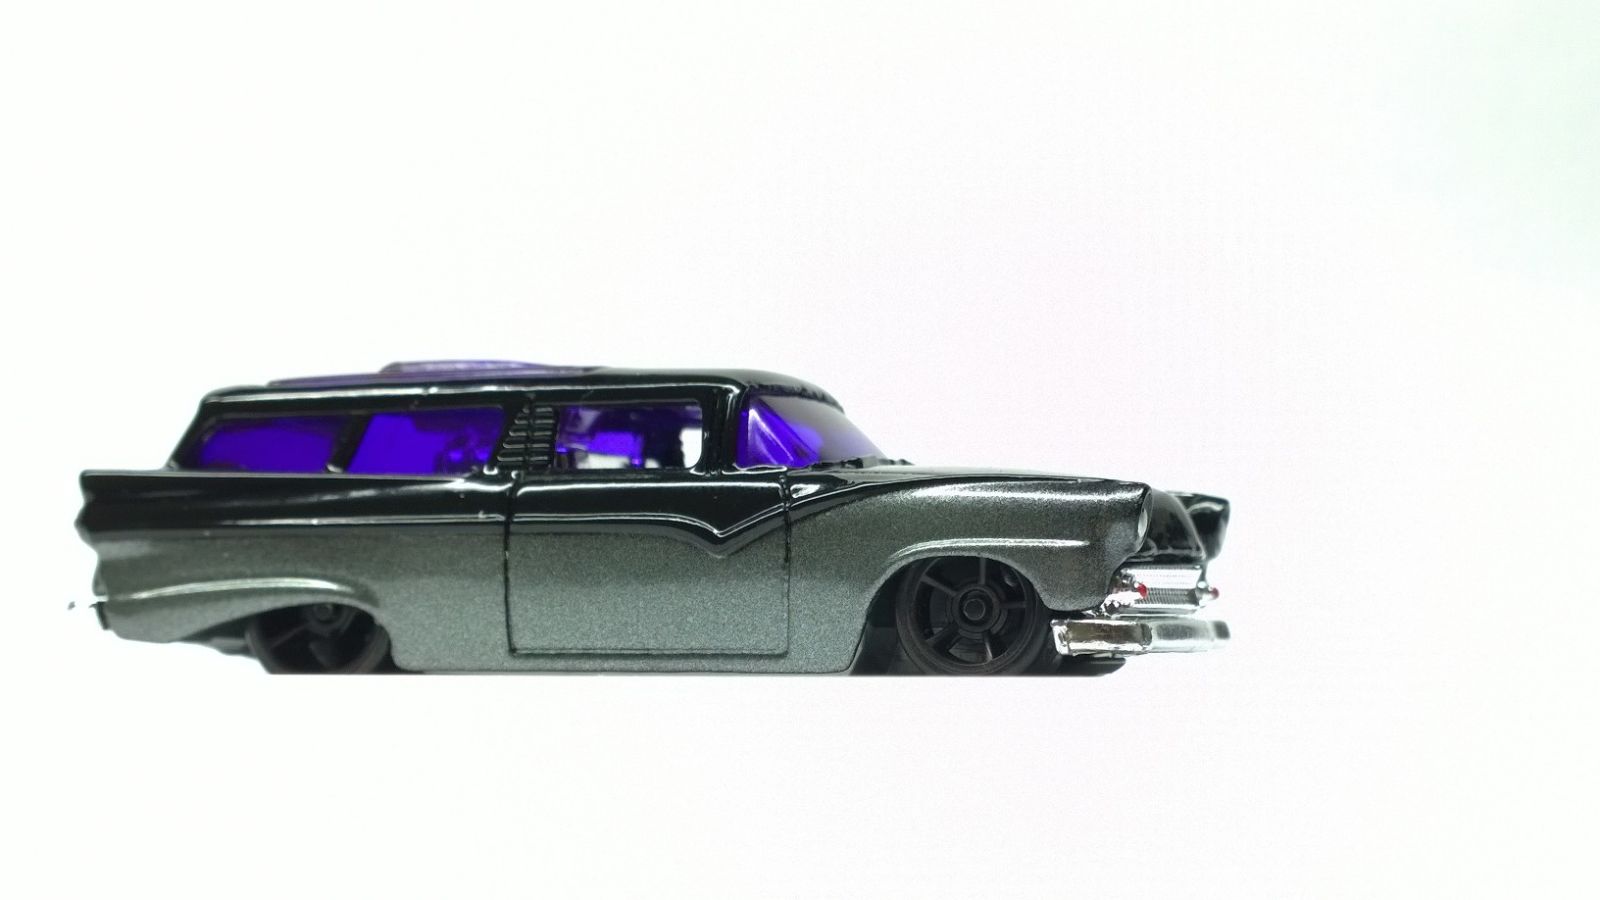
Too high:
The idea is to mount the brass tube to the vehicles chassis and glue the new axles into the tubes.
Illustration thanks to Diecast Photography

The tube used is discussed here by again Diecast Photography
“I use brass tubing that I bought online from McMaster Carr. I purchased #8859K171 (3) 1 foot pieces for $2.70 total. It has a 1/16” +/-0.002” OD while the ID is fairly consistant at 0.035”. Standard Hot Wheels axles are roughly 0.031”-0.032”. It doesn’t give a lot of room and is a snug fit sometimes but that is what you want.
I know that this tubing is available at hobby shops as well as some hardware stores.
Here is the link to the McMaster Carr material.”
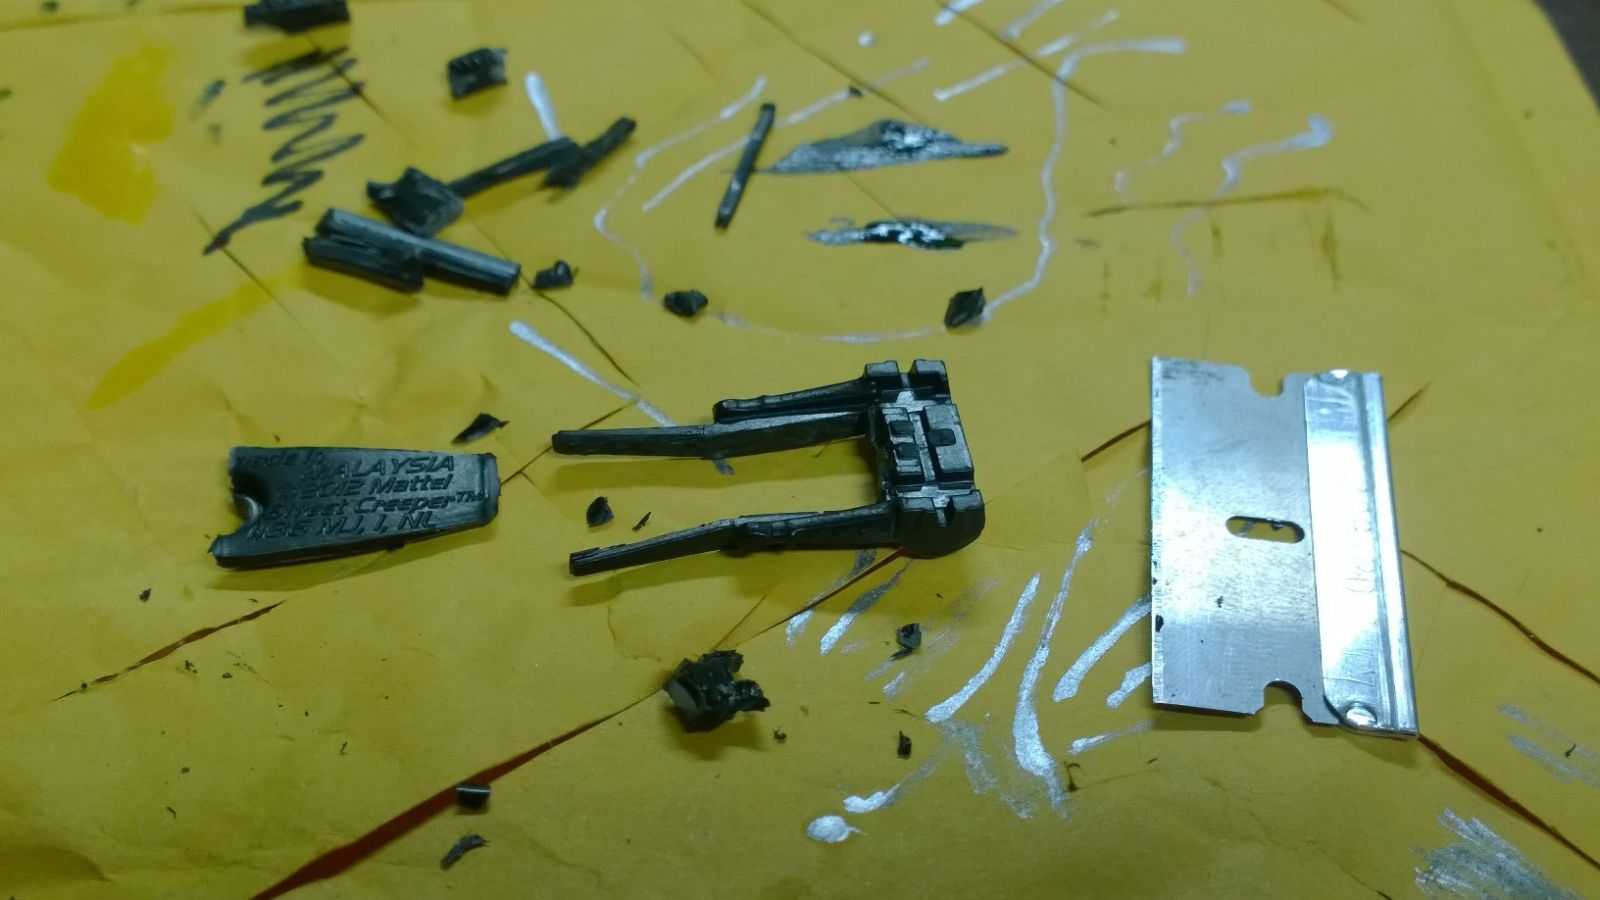
Recommended tools: Small modeling files, side cutters, super glue, needle nose pliers, and a dremel if possible.
For this discussion I will focus on doing this on a Hot Wheels car with a plastic tab chassis for simplicity.
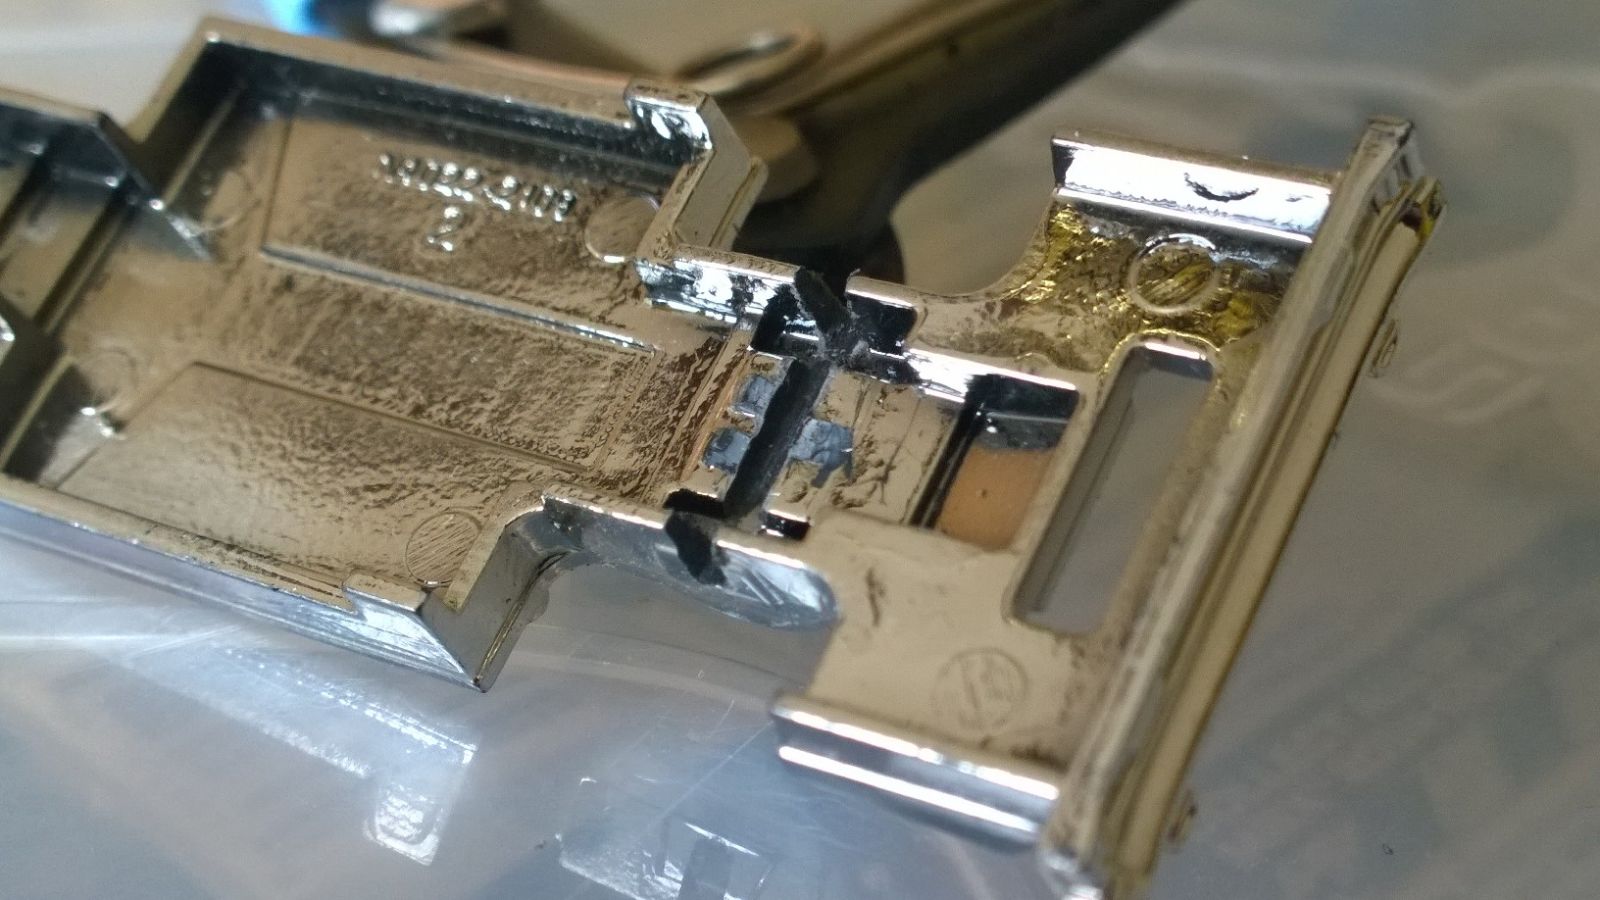
Once I have my wheel combo selected I can start with mock-up on the chassis. You want to keep the wheelbase the same distance and more importantly as square as possible.
Figure out how wide you will need to cut your tube based on body width and wheel width as all variables change. Always cut the tube a bit wide so you can file it down to the perfect width once on the car.
I then take a small hand file and open up the tab area a bit to allow the tube to slide in. Tight is right!
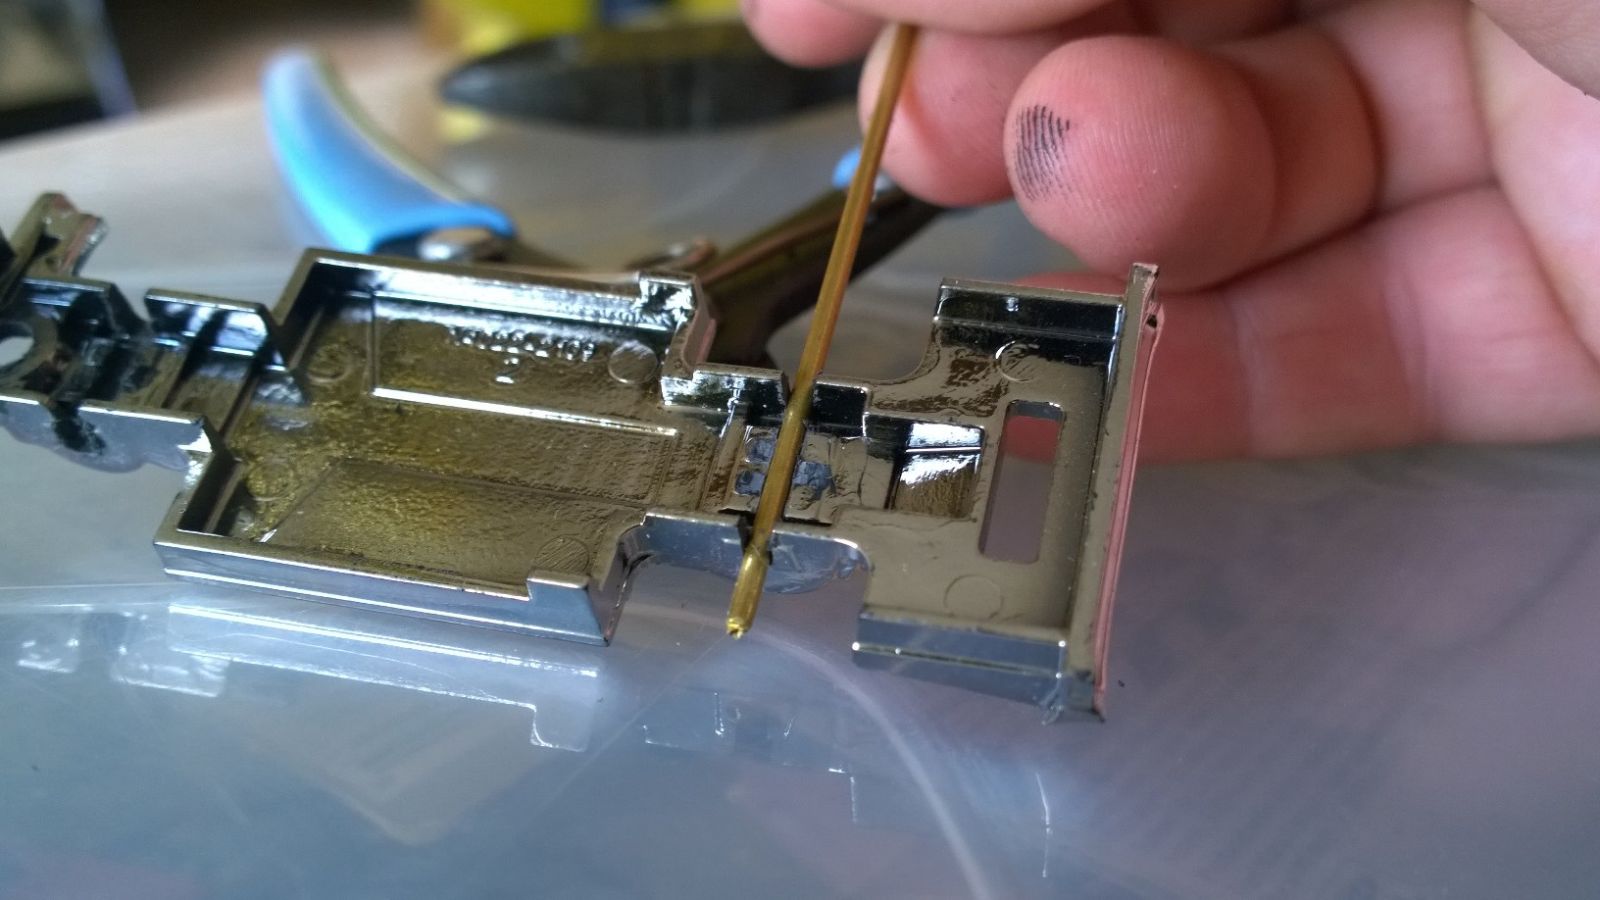
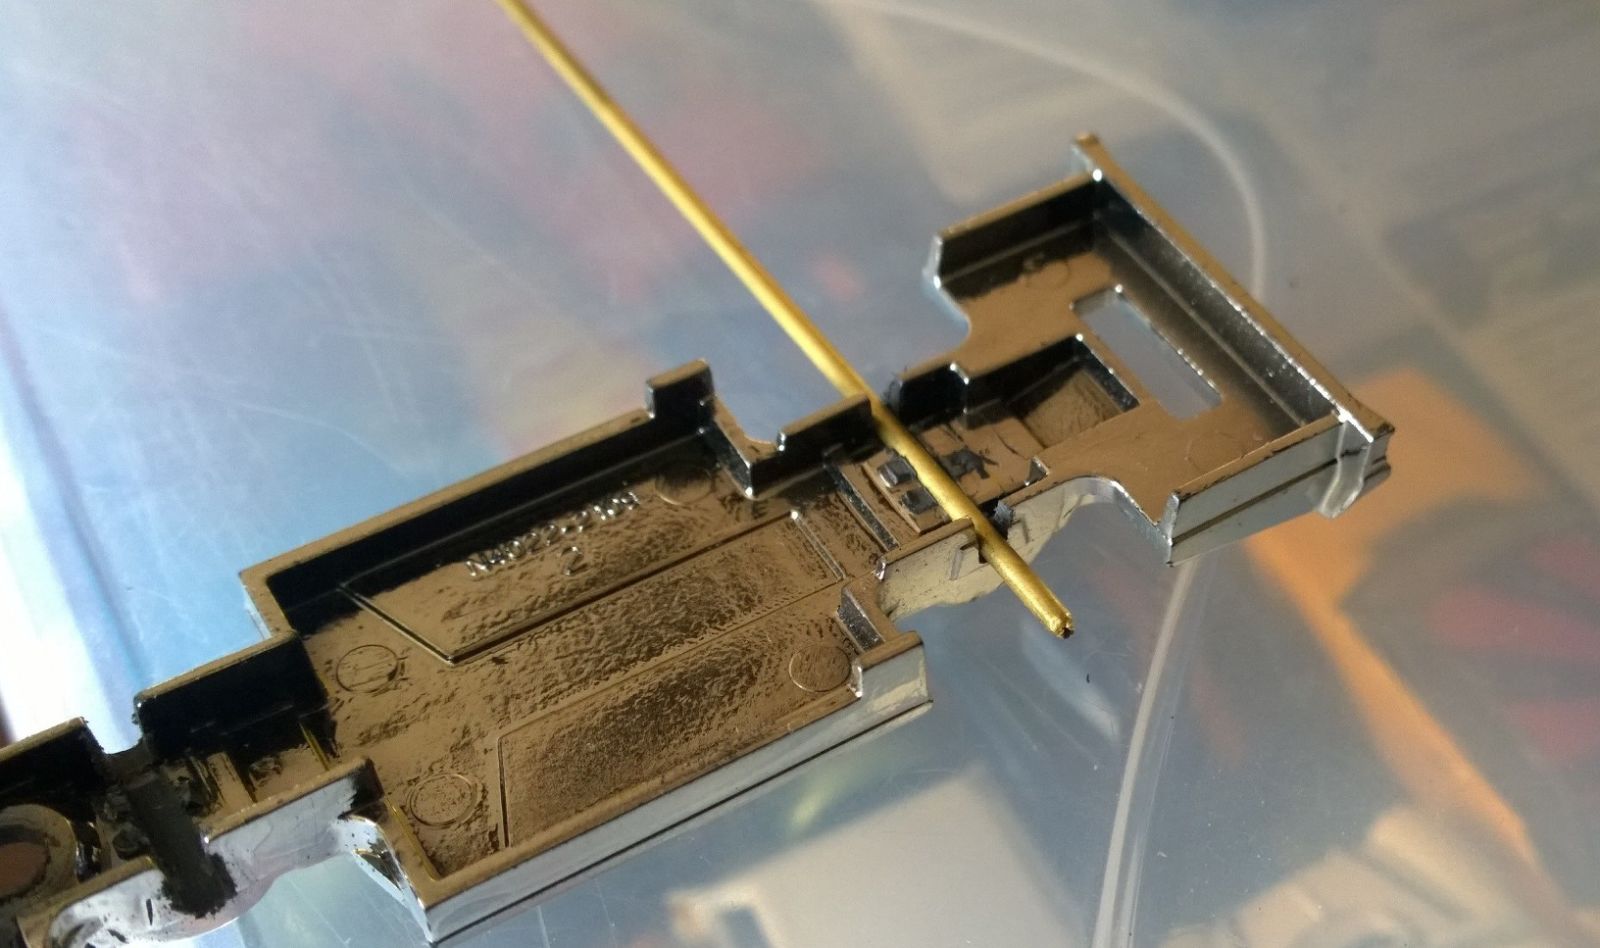
Once you are confident that the tube slot is square and level and that the tube is close to the right length go ahead and set it in place. Put a small dot of super glue under the tube and press it down to the chassis. Not too much glue as it will push outward and possibly get inside the tube which will cause problems later. Once it starts to set up you can put more glue on top to lock it down.
The next step is very important….WAIT! Give the glue lots of time to harden to make it easier to work with later on. When you think it is ready to handle, wait a bit more just to be safe.
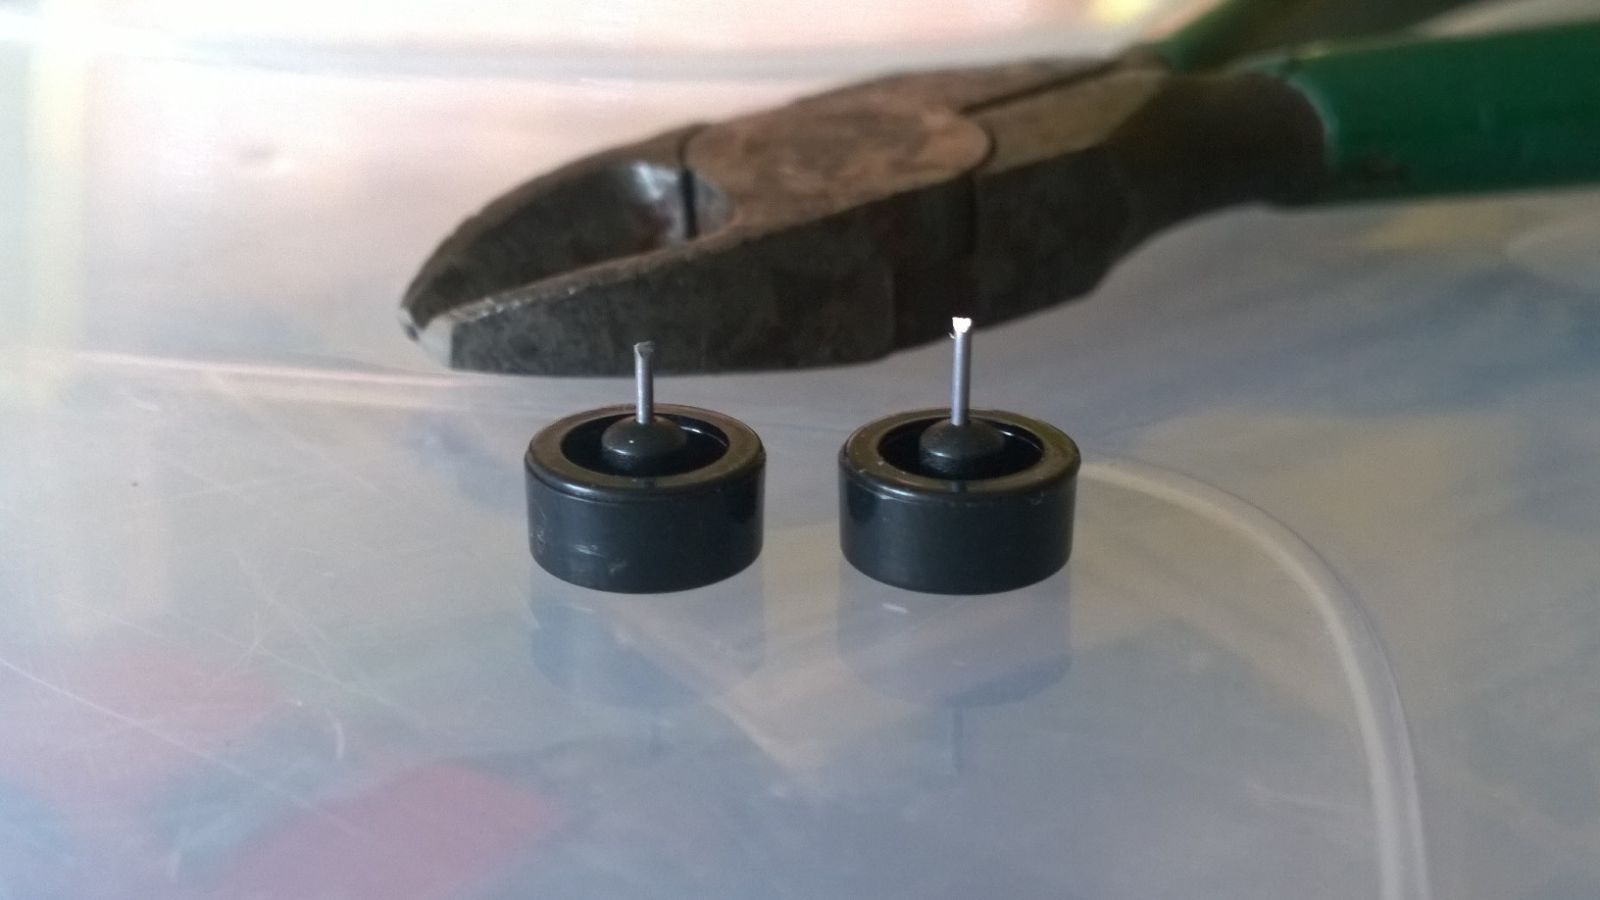
While you are waiting you can modify the wheel/axle combo you have chosen. You will need to at least cut the axle in half as you will be sliding them into the brass tube. Be sure to only cut the middle as the wheels are held in place by the special pressed areas at the ends of the axle. You may have to cut a little extra off the insides once cut as some axes are really long and won’t fit all the way into the tubes.
Ok, now that the glue is dry it is time to set the axles permanently. This is a very precise step if you want the car to roll again! Start by test fitting the axles and checking the wheel fitment to the body. For best looks you want the wheel as far to the outside as possible without hitting. Slide the axle/wheels in and pop the body on.. If too wide this is where you can file the tube ends down as needed to obtain optimum width. Be careful not to break the tube lose while filing. Take your time and test fit multiple times! Once filed you can clean the tube ends up if needed.
Now is the big moment where you glue your combo together. You will only use a TINY TINY bit of glue in order for the car to roll again. Seriously this is tricky. I usually use a toothpick and apply a very small dot of glue to the axle end that will be slid into the tube. A dot of glue just bigger than the toothpick tip is all that’s needed here. Try not to get any on the outside of the tubes. Once glue is on the axle slowly and carefully start sliding it in. DO NOT push it in as far as it will go. Keep the wheel spaced out from the tube just a hair in order for it to spin. Hold the wheel in place and use a pick or something to push the axle in to the wheel as you keep it spaced out. Repeat for the other wheels. Now let the car sit while the glue sets up. Once set-up you should be able to roll the car pretty much as normal and hopefully all 4 wheels contact the ground at the same time. Don’t give up if you don’t get it the first try as is it simply not easy to do. Keep practicing!
Advanced tips:
Camber – To achieve this, hold the axle using pliers right at the wheel and bend slightly. Once you set the axle into the tube you will be able to see how far you need to bend it.

Lowering vehicles – The brass tube will need to be shimmed upward from the chassis therefore raising the wheel into the body. (You may need to grind the chassis to go lower)
Body to wheel clearance - You may have to use a dremel to grind the inner fenders on the body to fit the wheels as you wish. (Be careful not to grind too much as you will ruin the body)

Total custom - I have cut complete front suspension from a Maisto gasser to glue onto a Hot Wheels gasser...
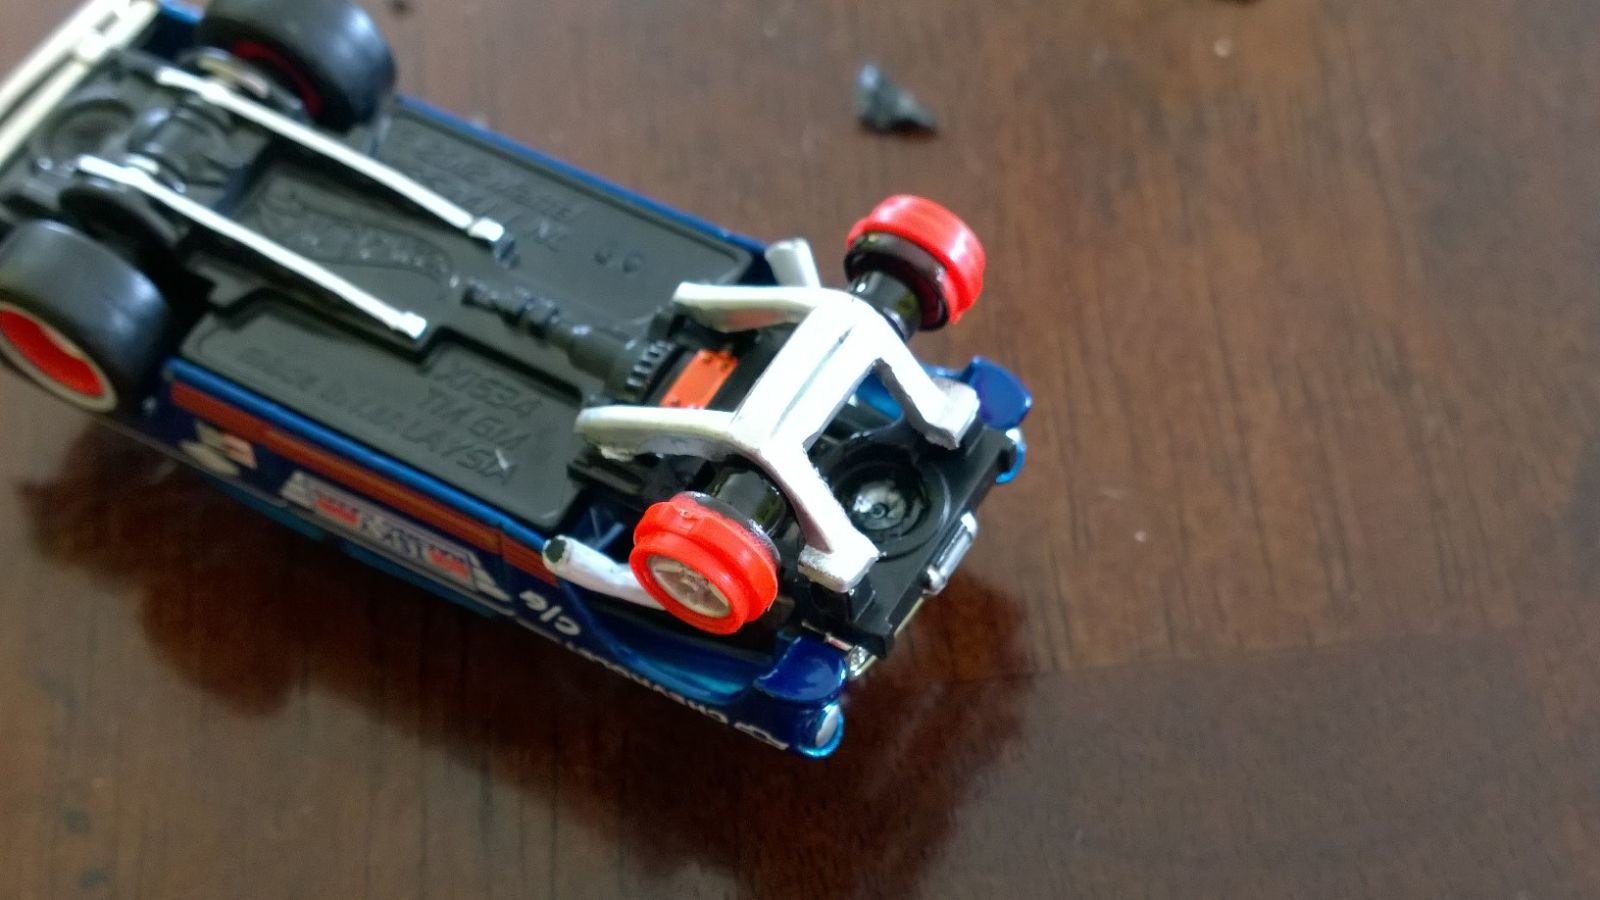
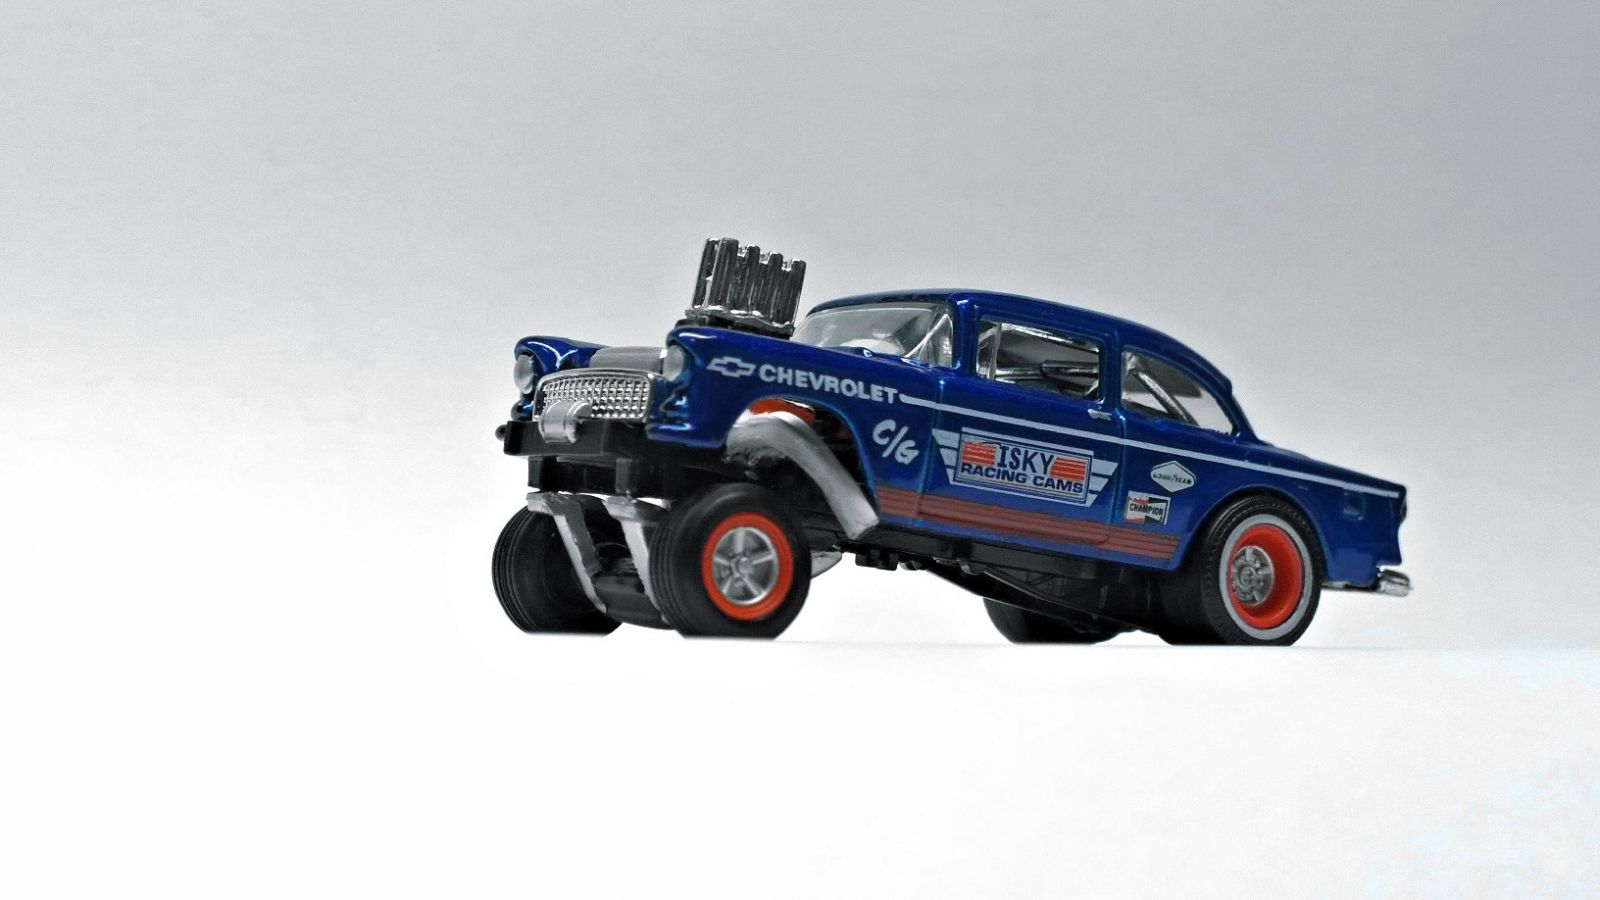
....and then filed in deep slots to the wheel-less Maisto chassis to slam it
....and have even completely cut up chassis to get the look I want...
With total custom it will be up to you to figure out how to get it done! Be creative and don’t be afraid to try new things.
That is it for this installment of LALD 101. I hope you have learned something and will be able to improve your custom skills. If you have any other tips feel free to leave them in the comments for all to see!
�˿=���