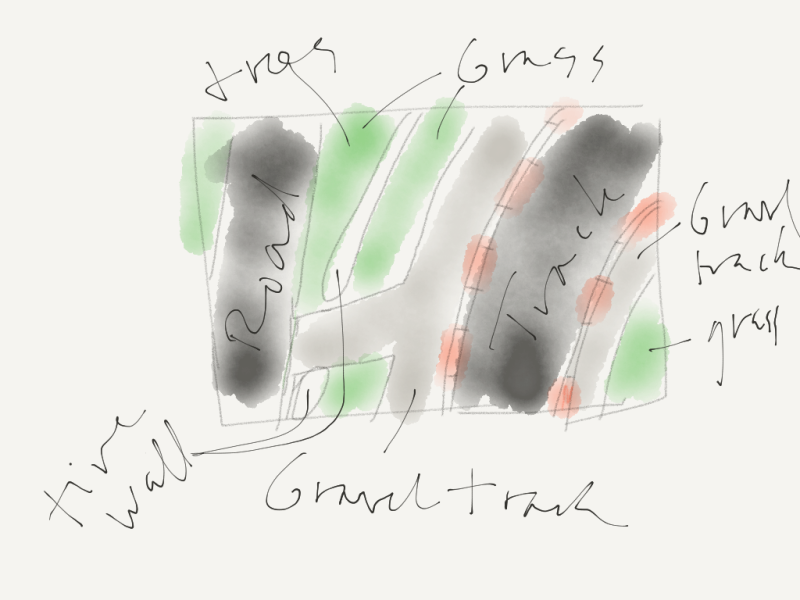
The last time I showed this diorama it was a (terrible) sketch and a single layer of spackle.
Well, I’m pleased to report that I am finished! For now, at least.
It did not turn out exactly as in the sketch, but I do think it turned out pretty nice. Let’s get started with the process!
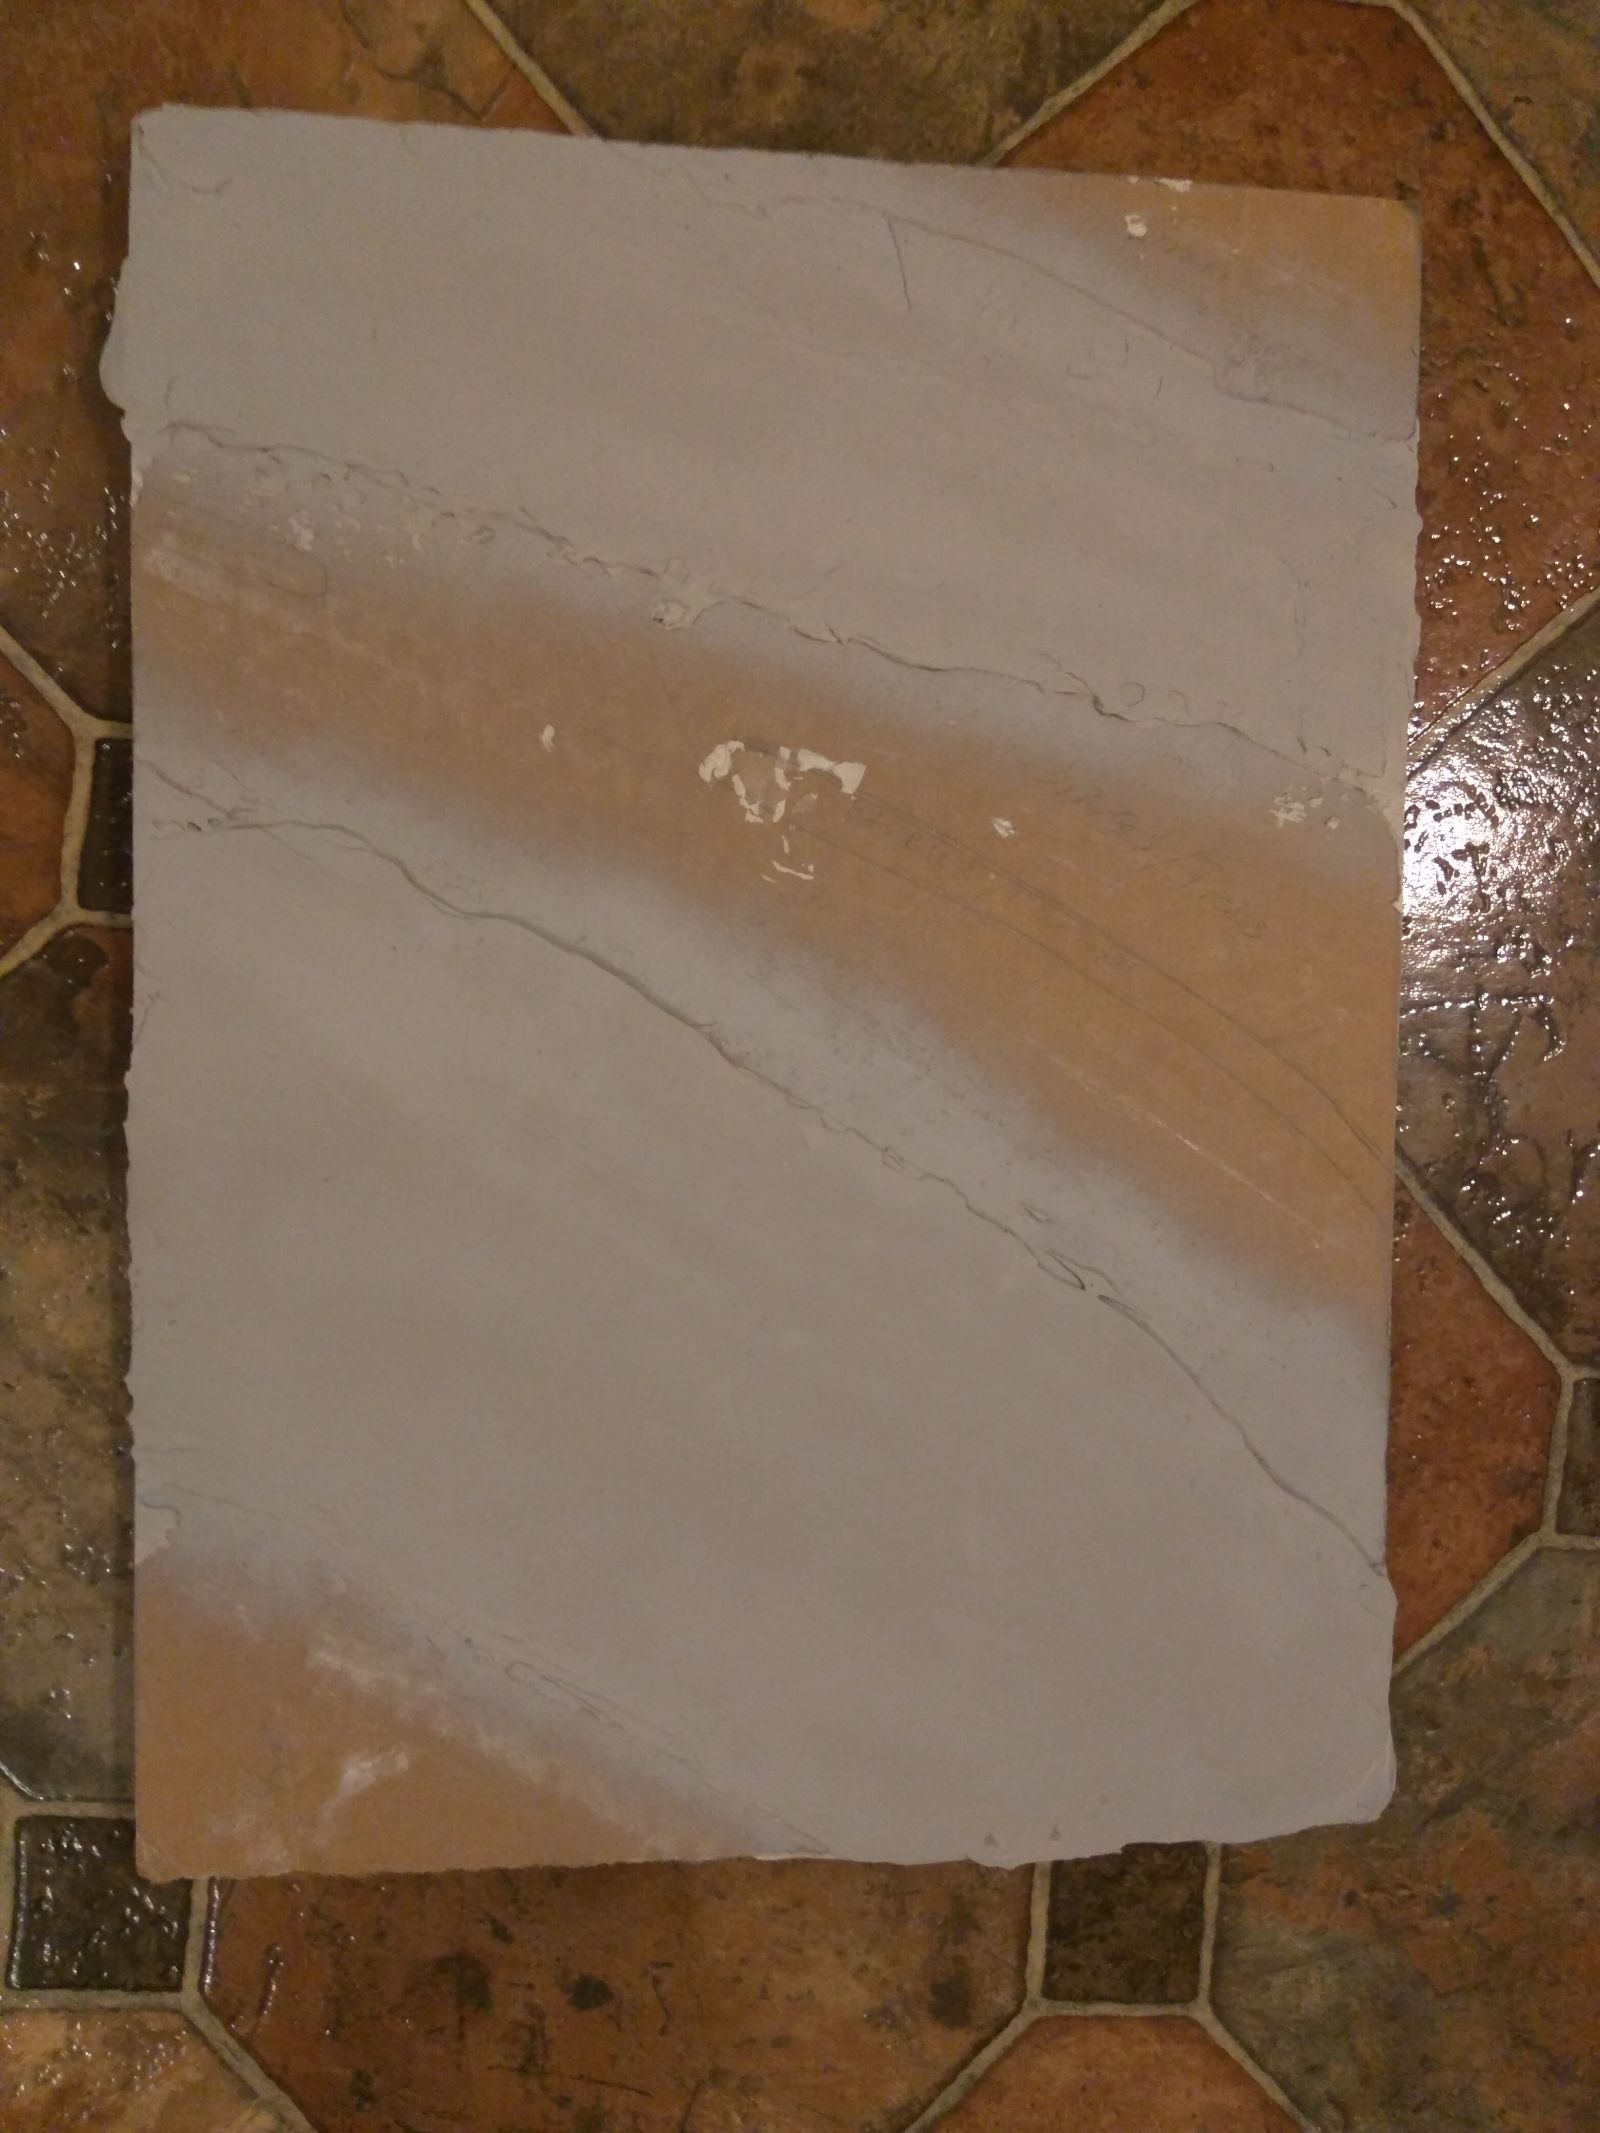
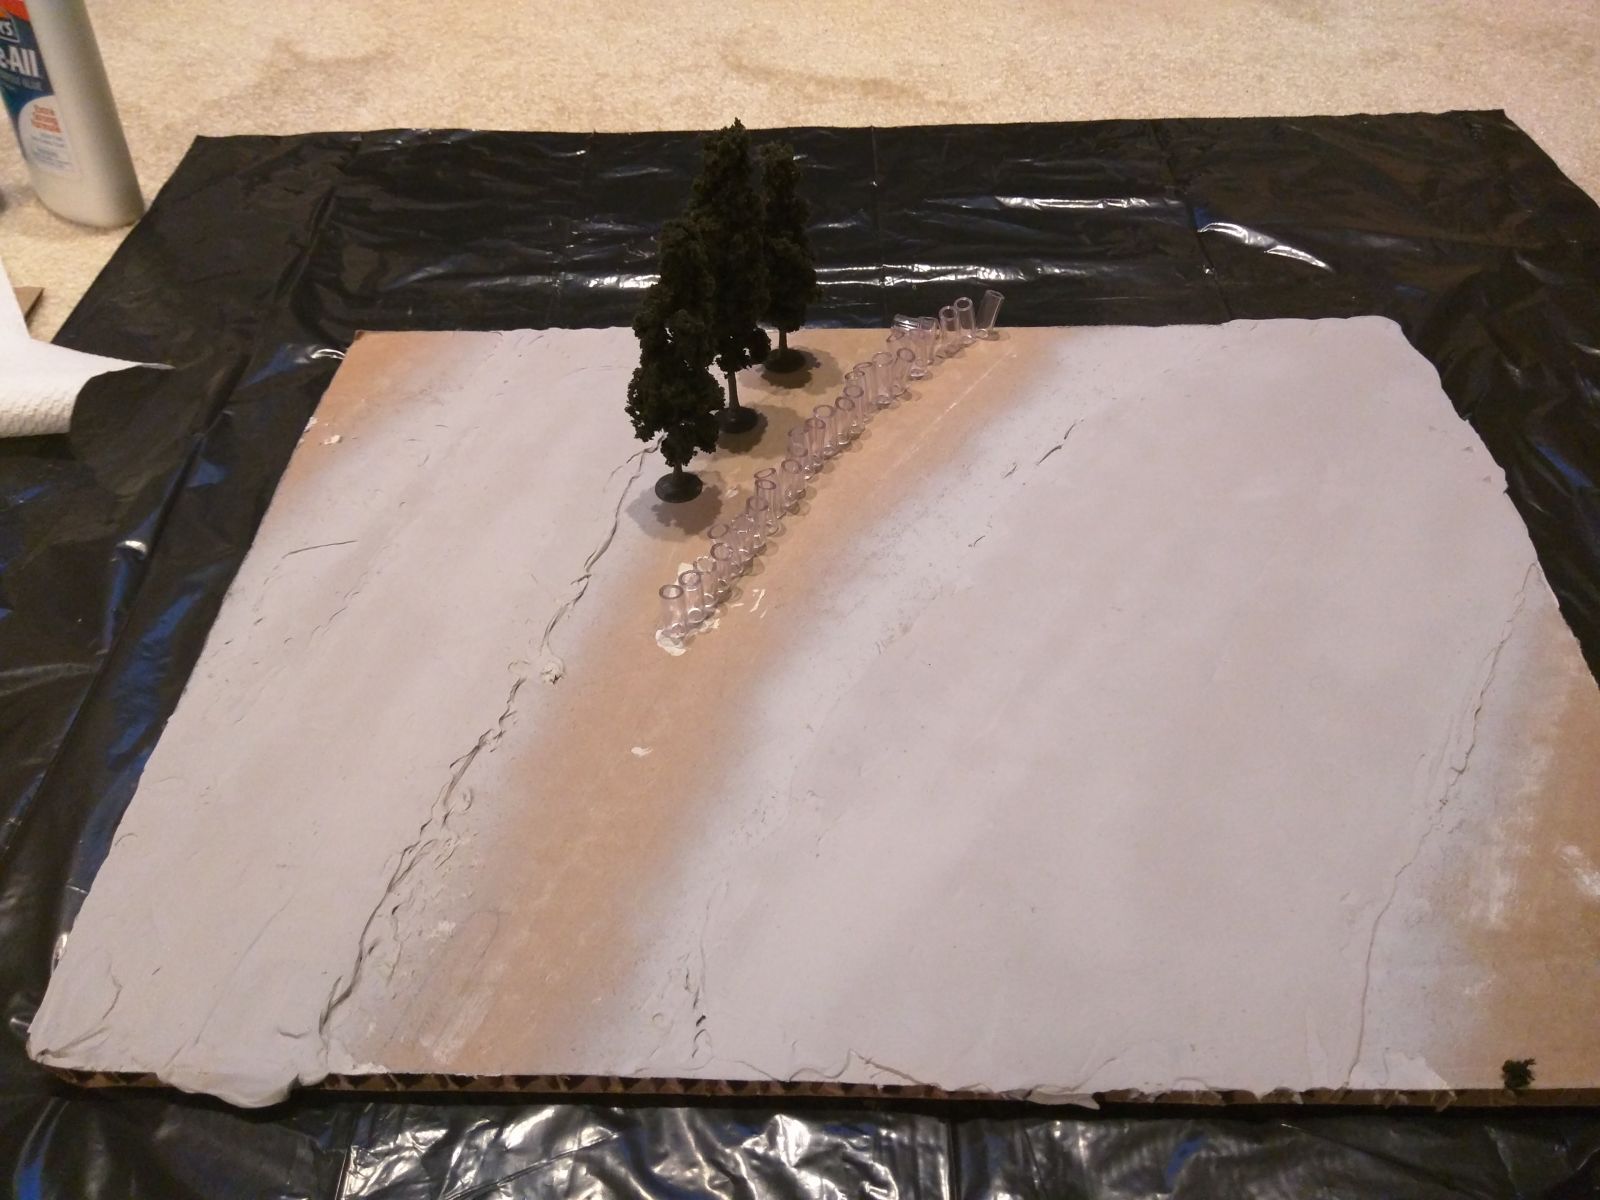
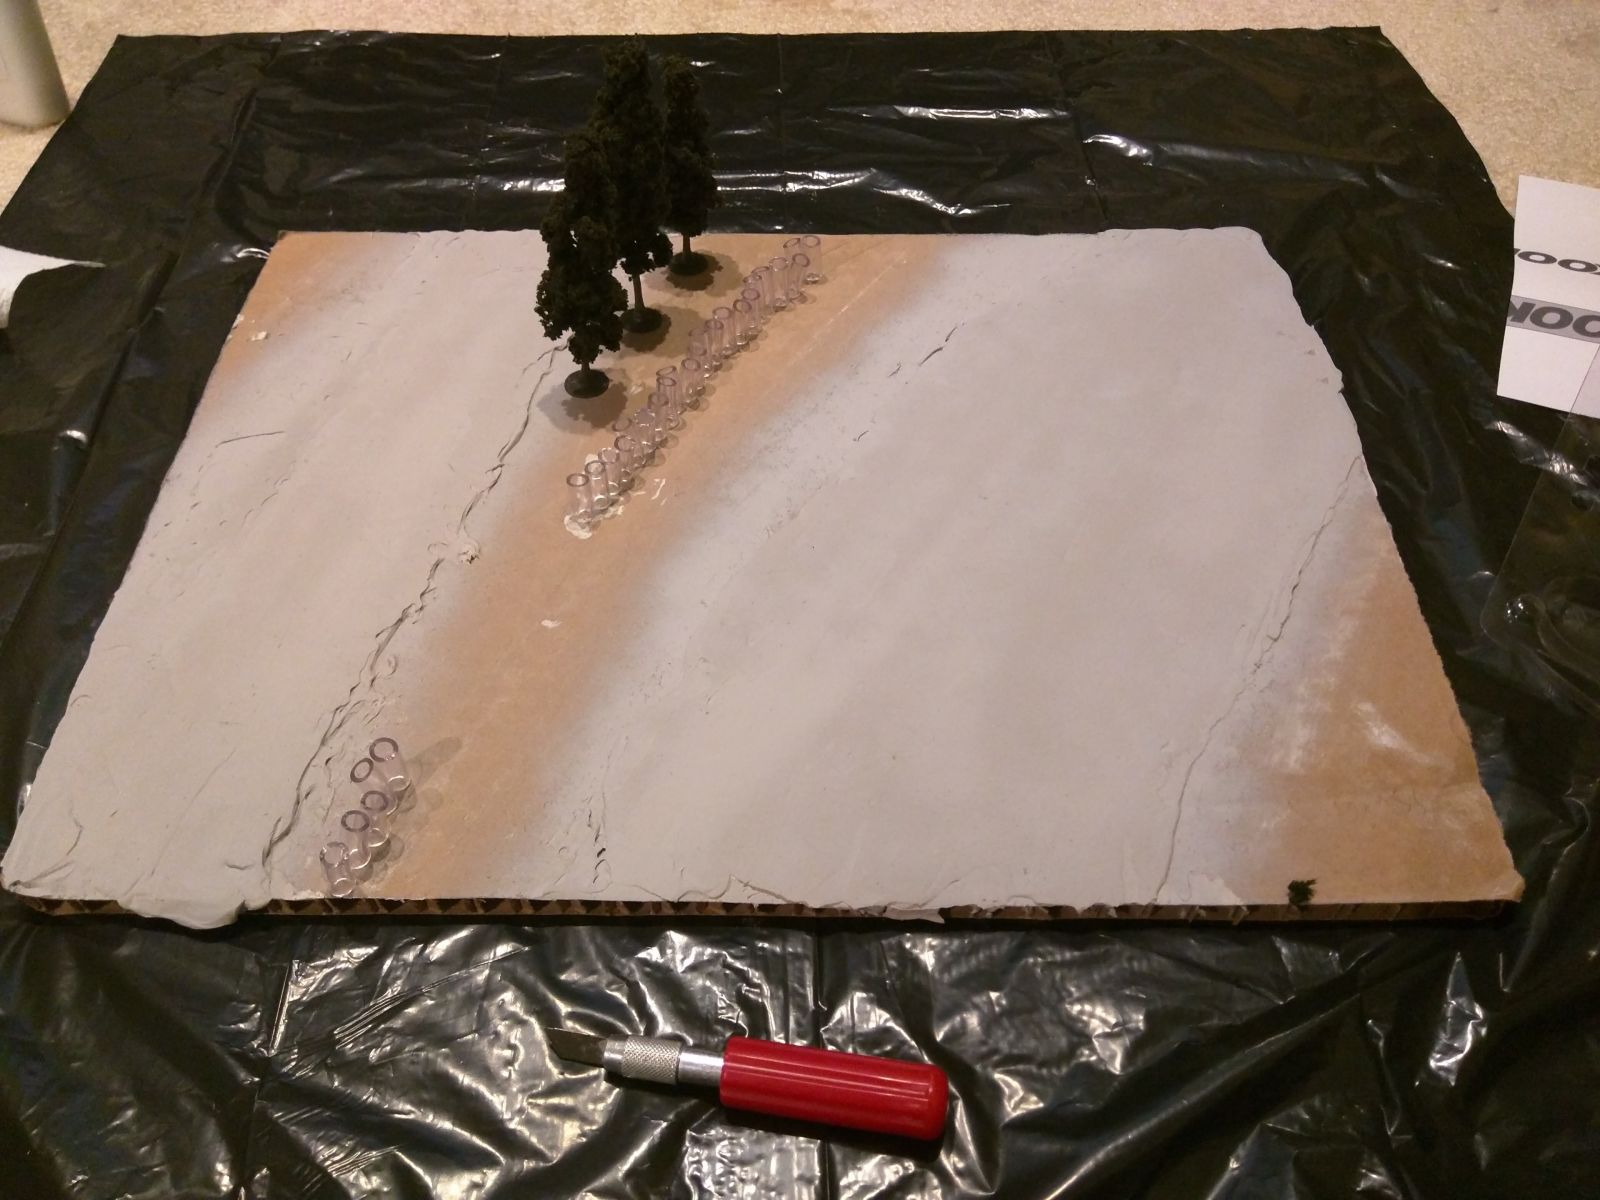
After the first layer of spackle dried and I sanded it smooth, it was a bit too thin, especially at the edges. So after two more applications it was finally ready for some primer.
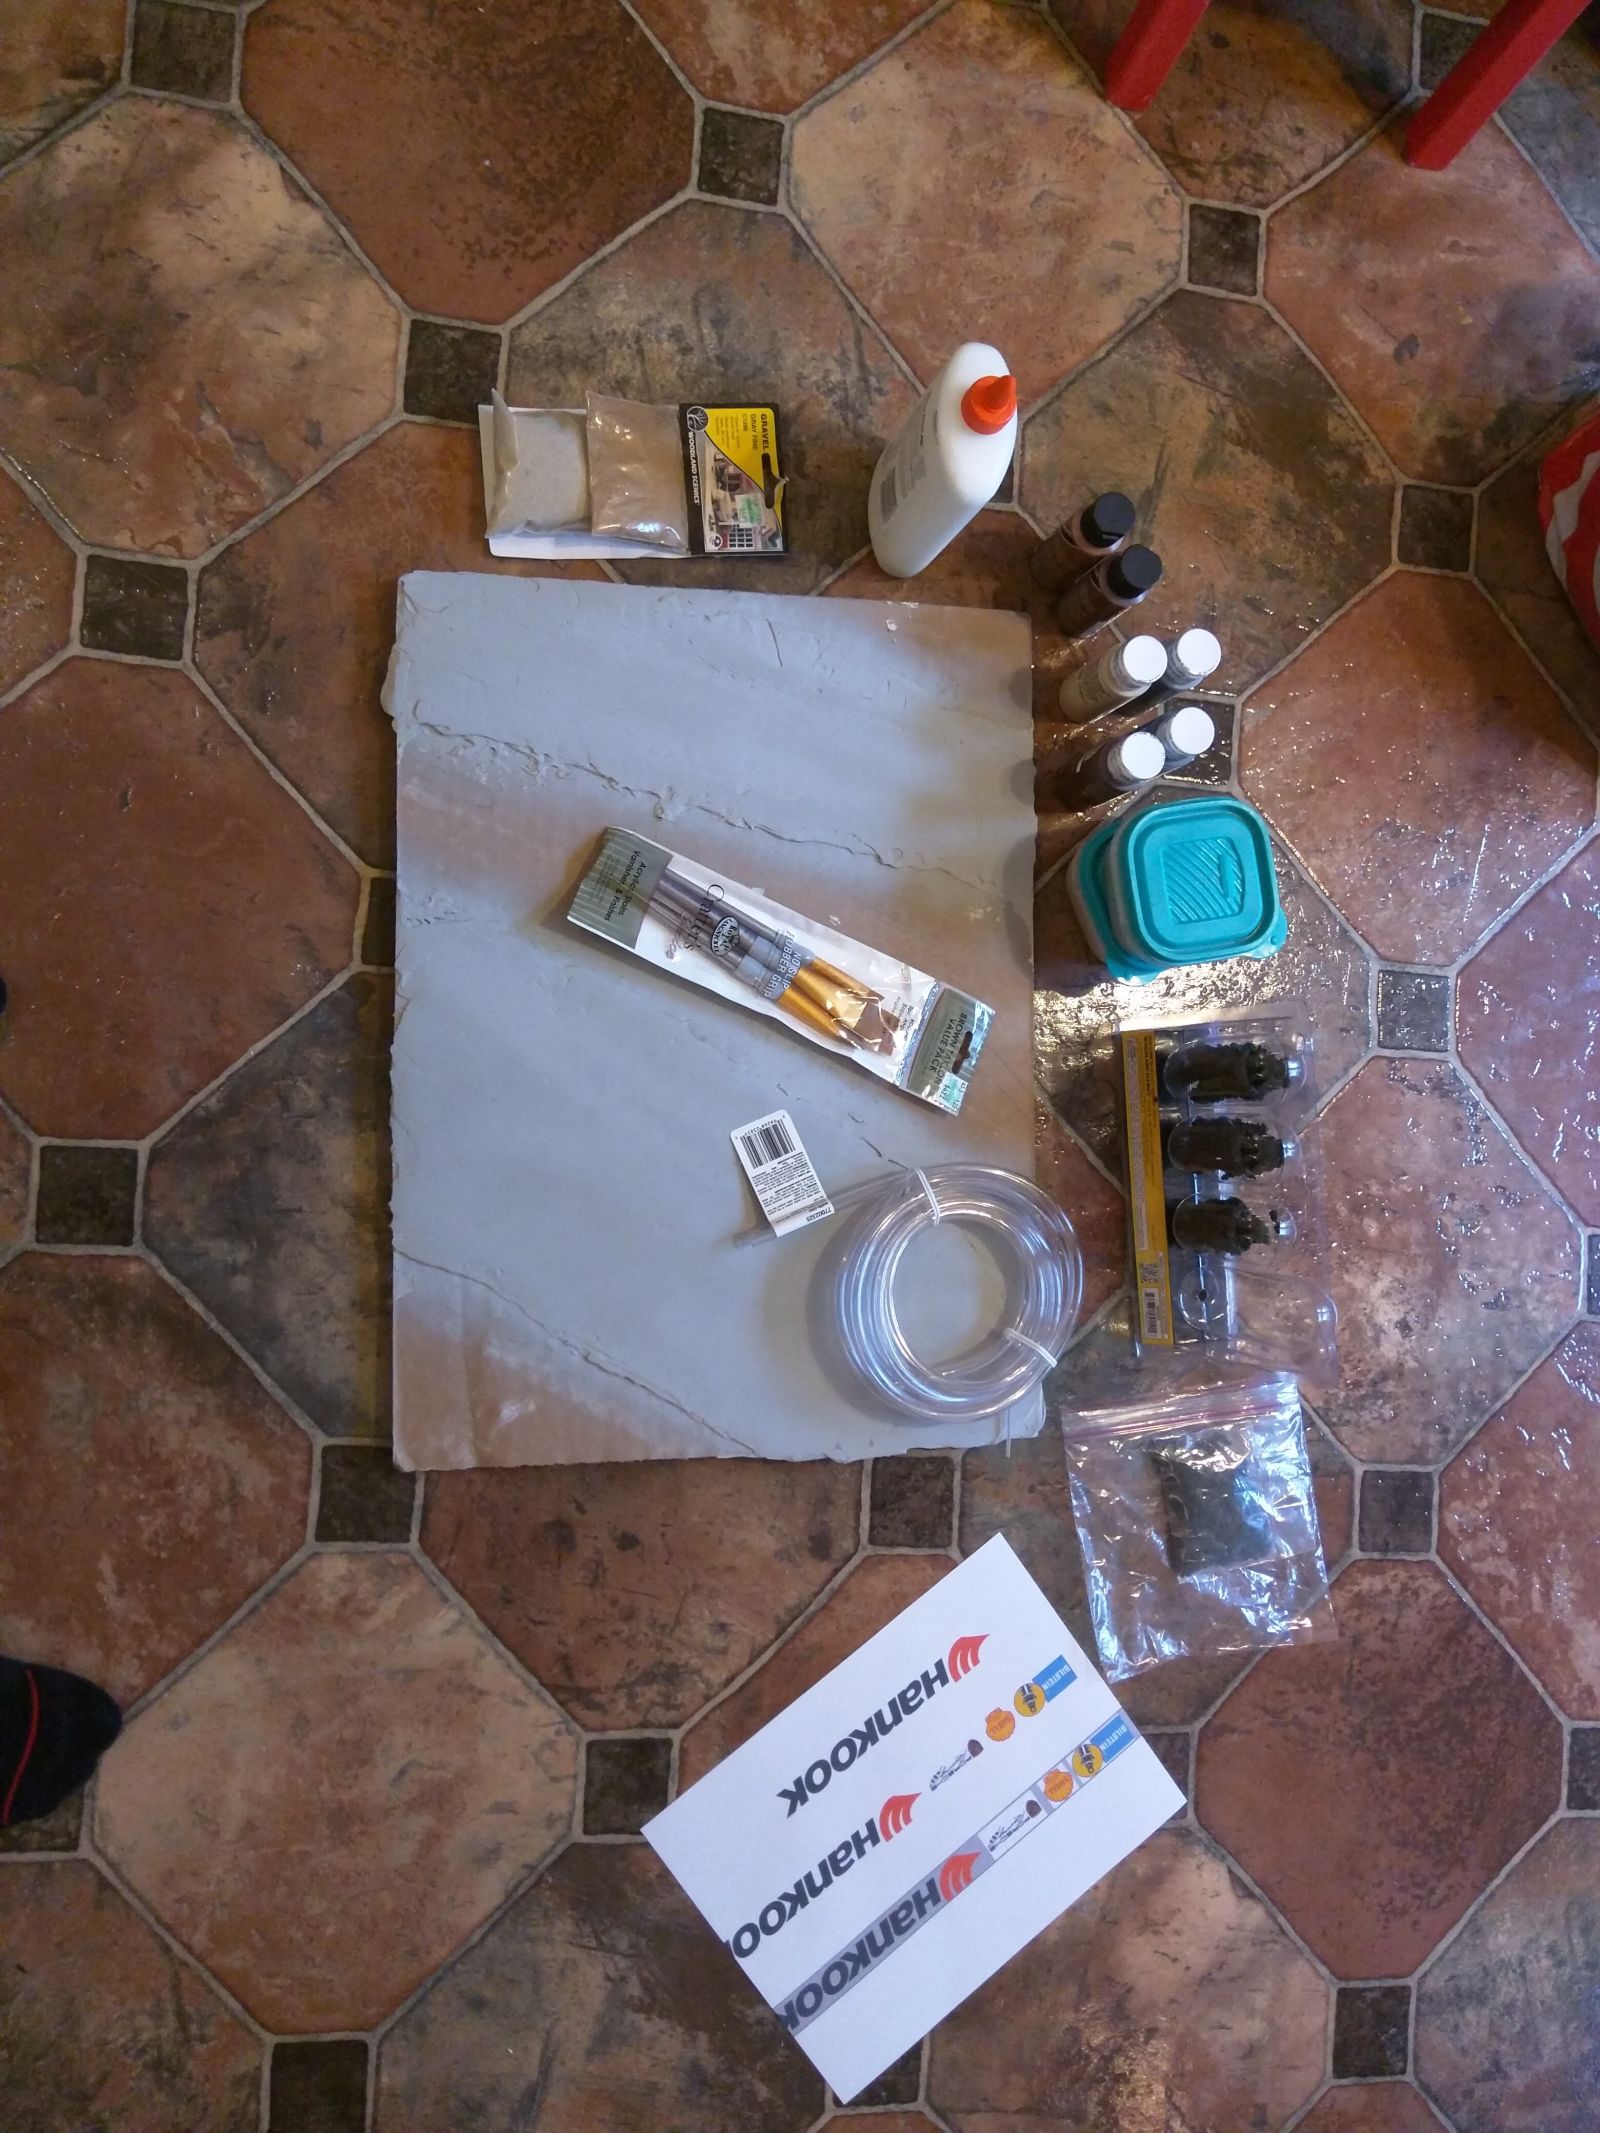
After a trip to Hobby Lobby and Home Depot, I had all my supplies ready to go for the real work.
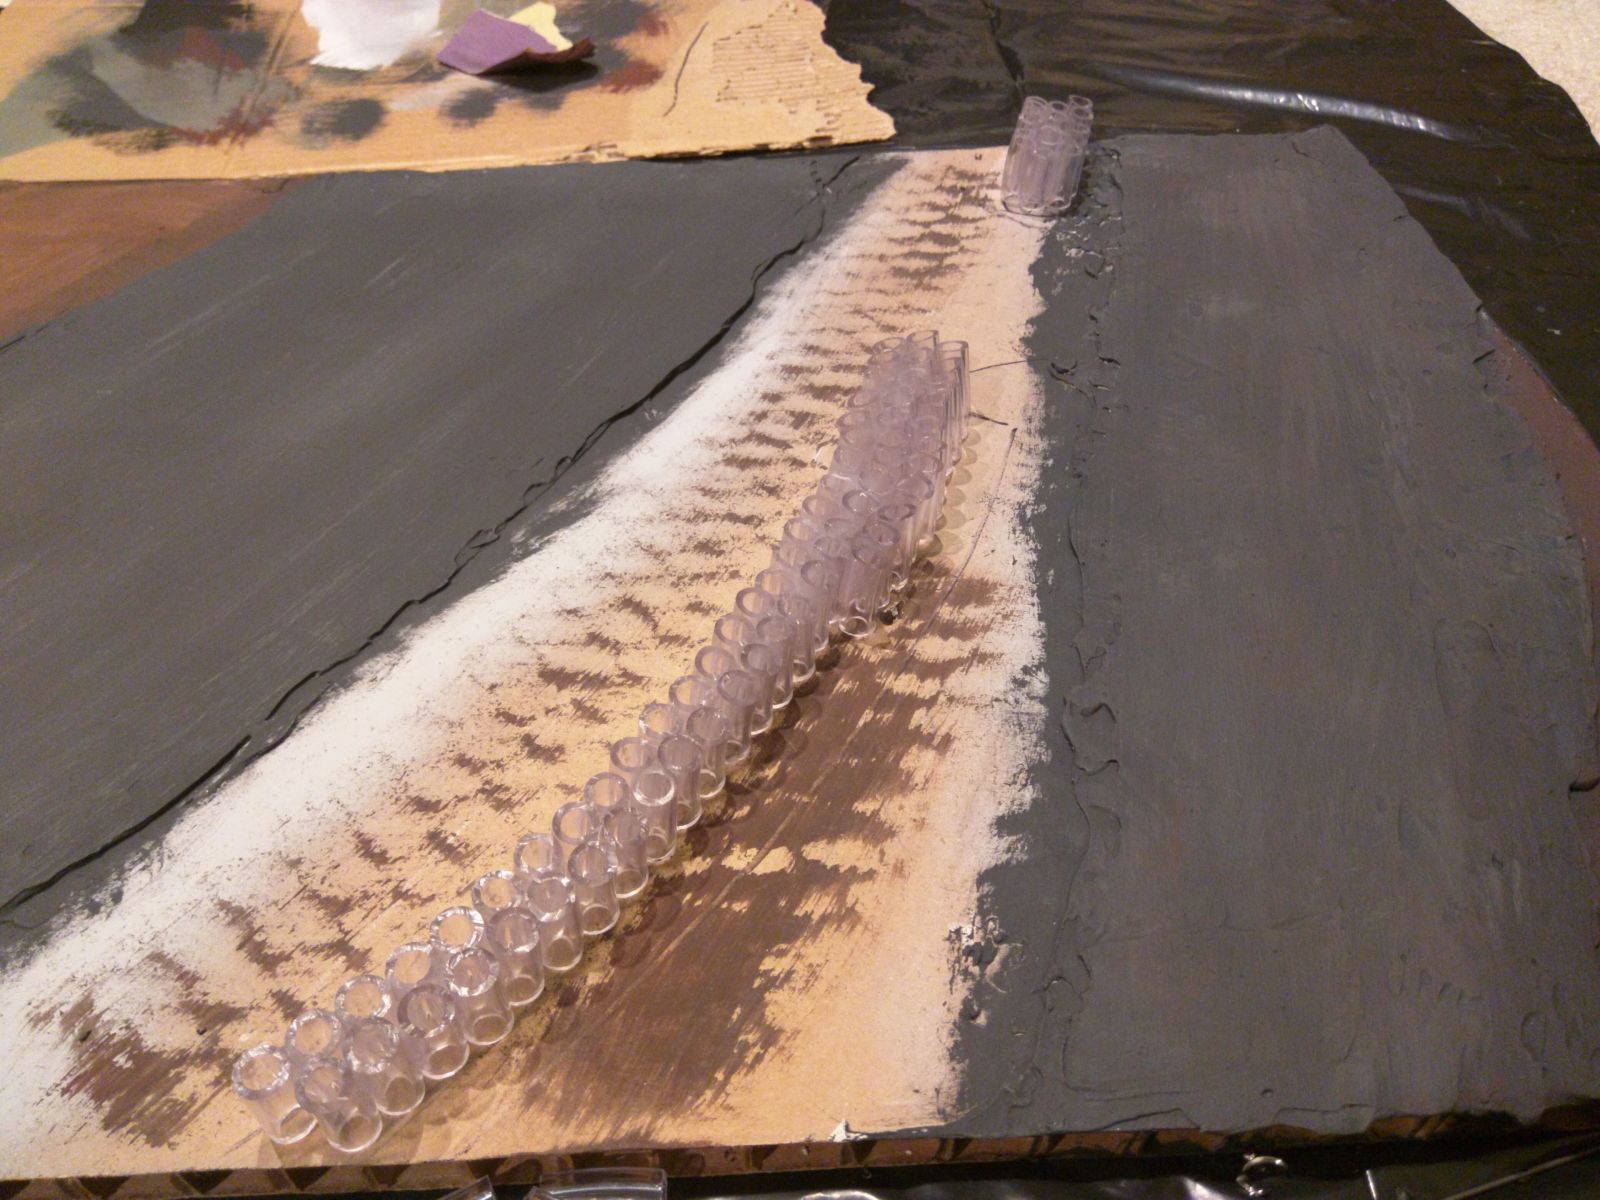
In this quick mockup you can see how the tire wall started to take shape. I cut 2cm slices off of a 3/8 inch rubber hose, stacked them three deep, and glued them to each other. After that I spray painted them black.
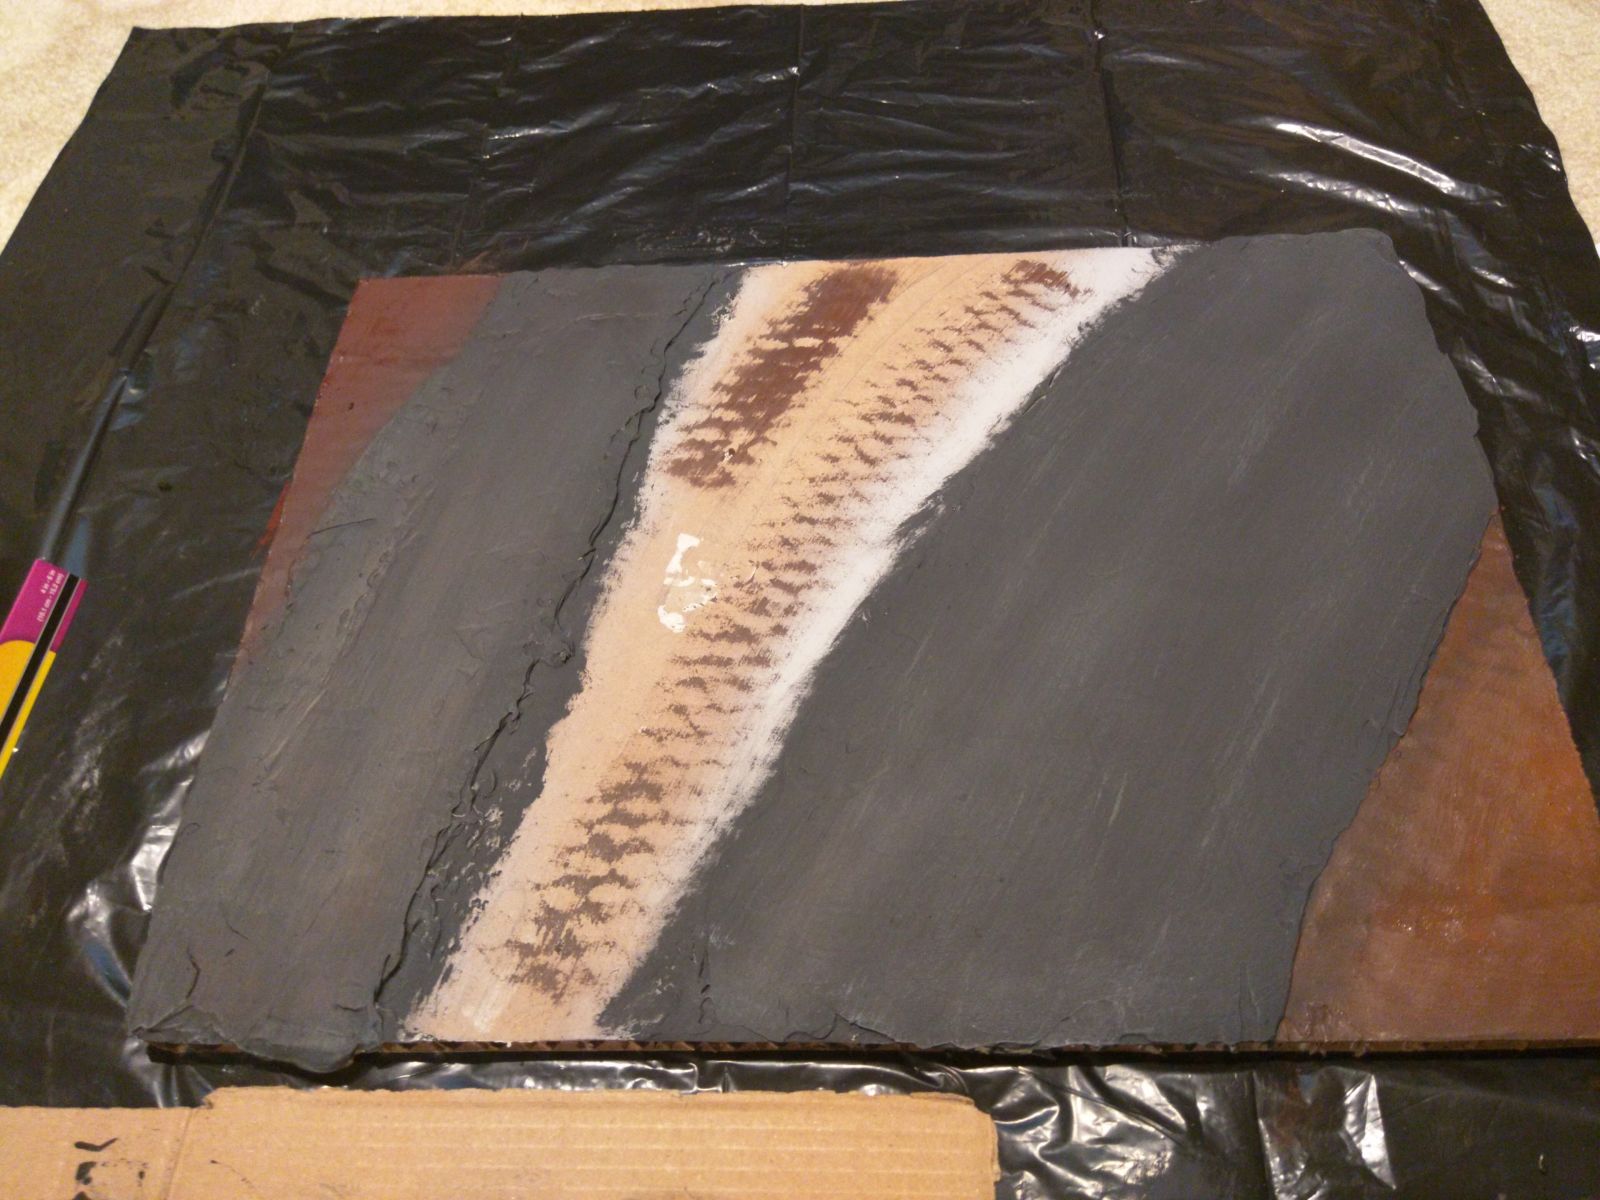
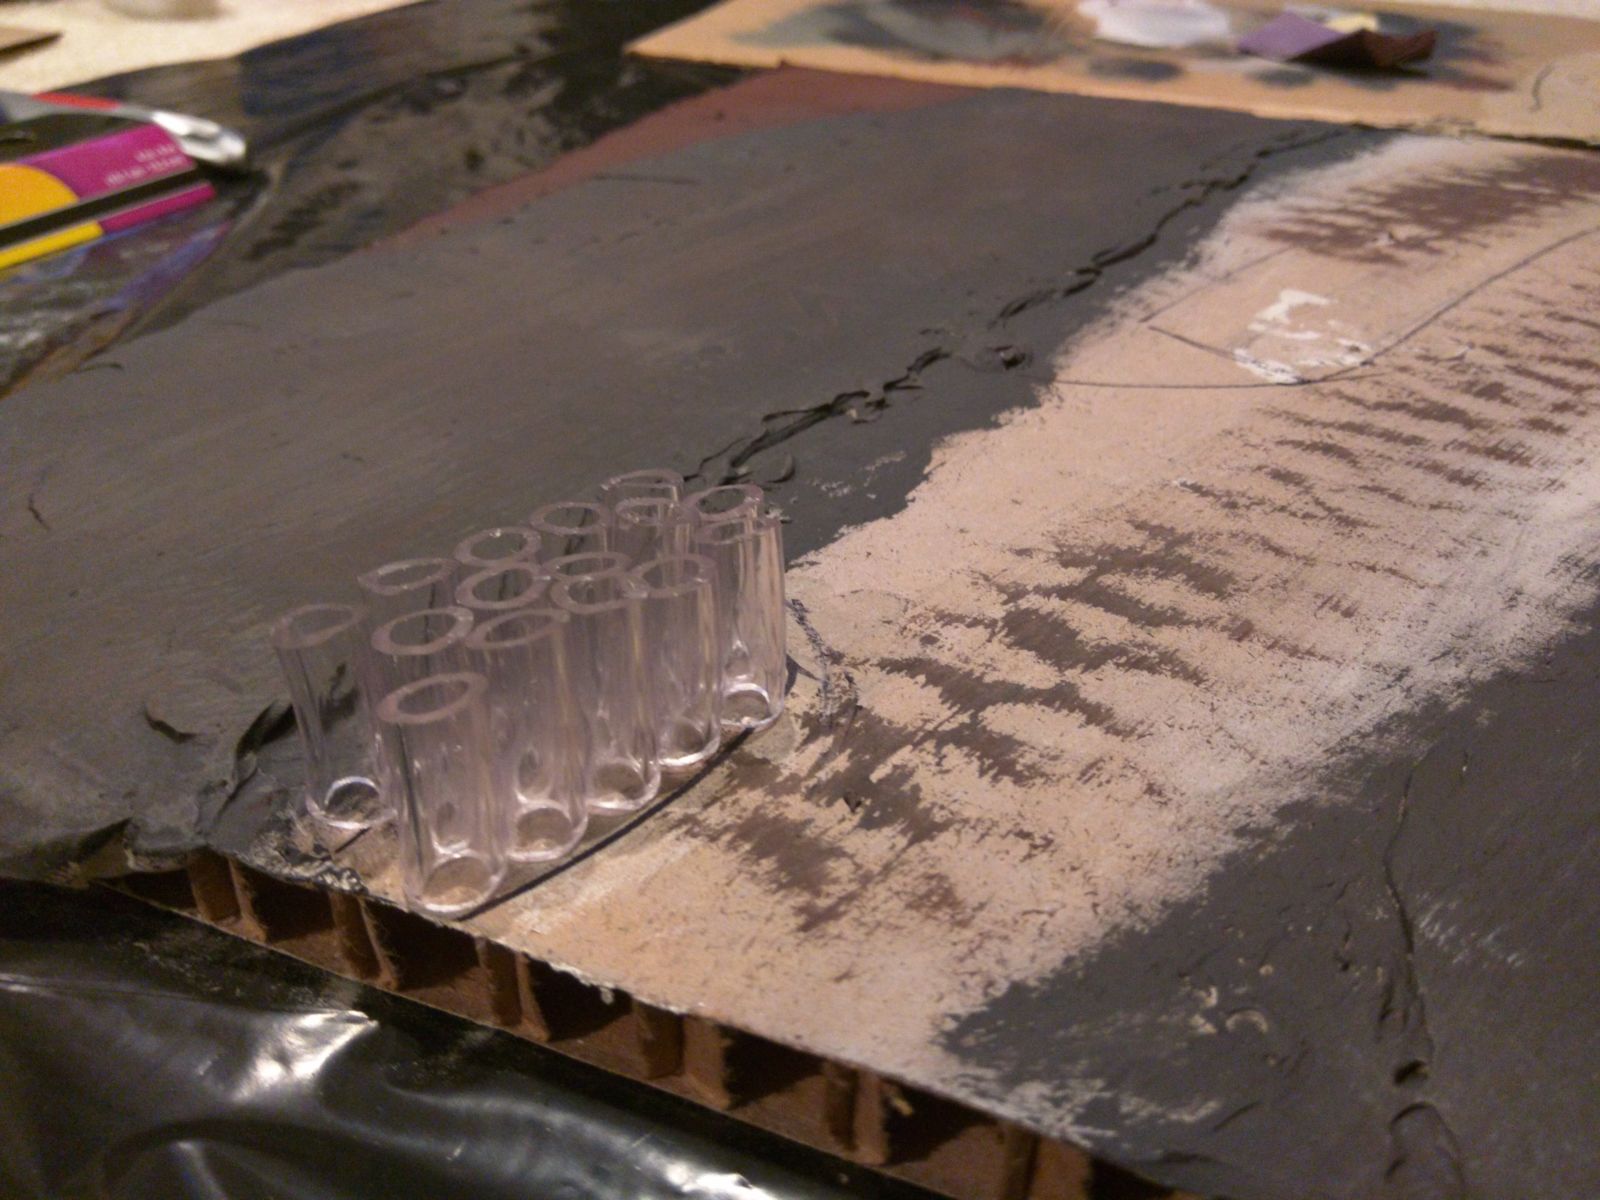
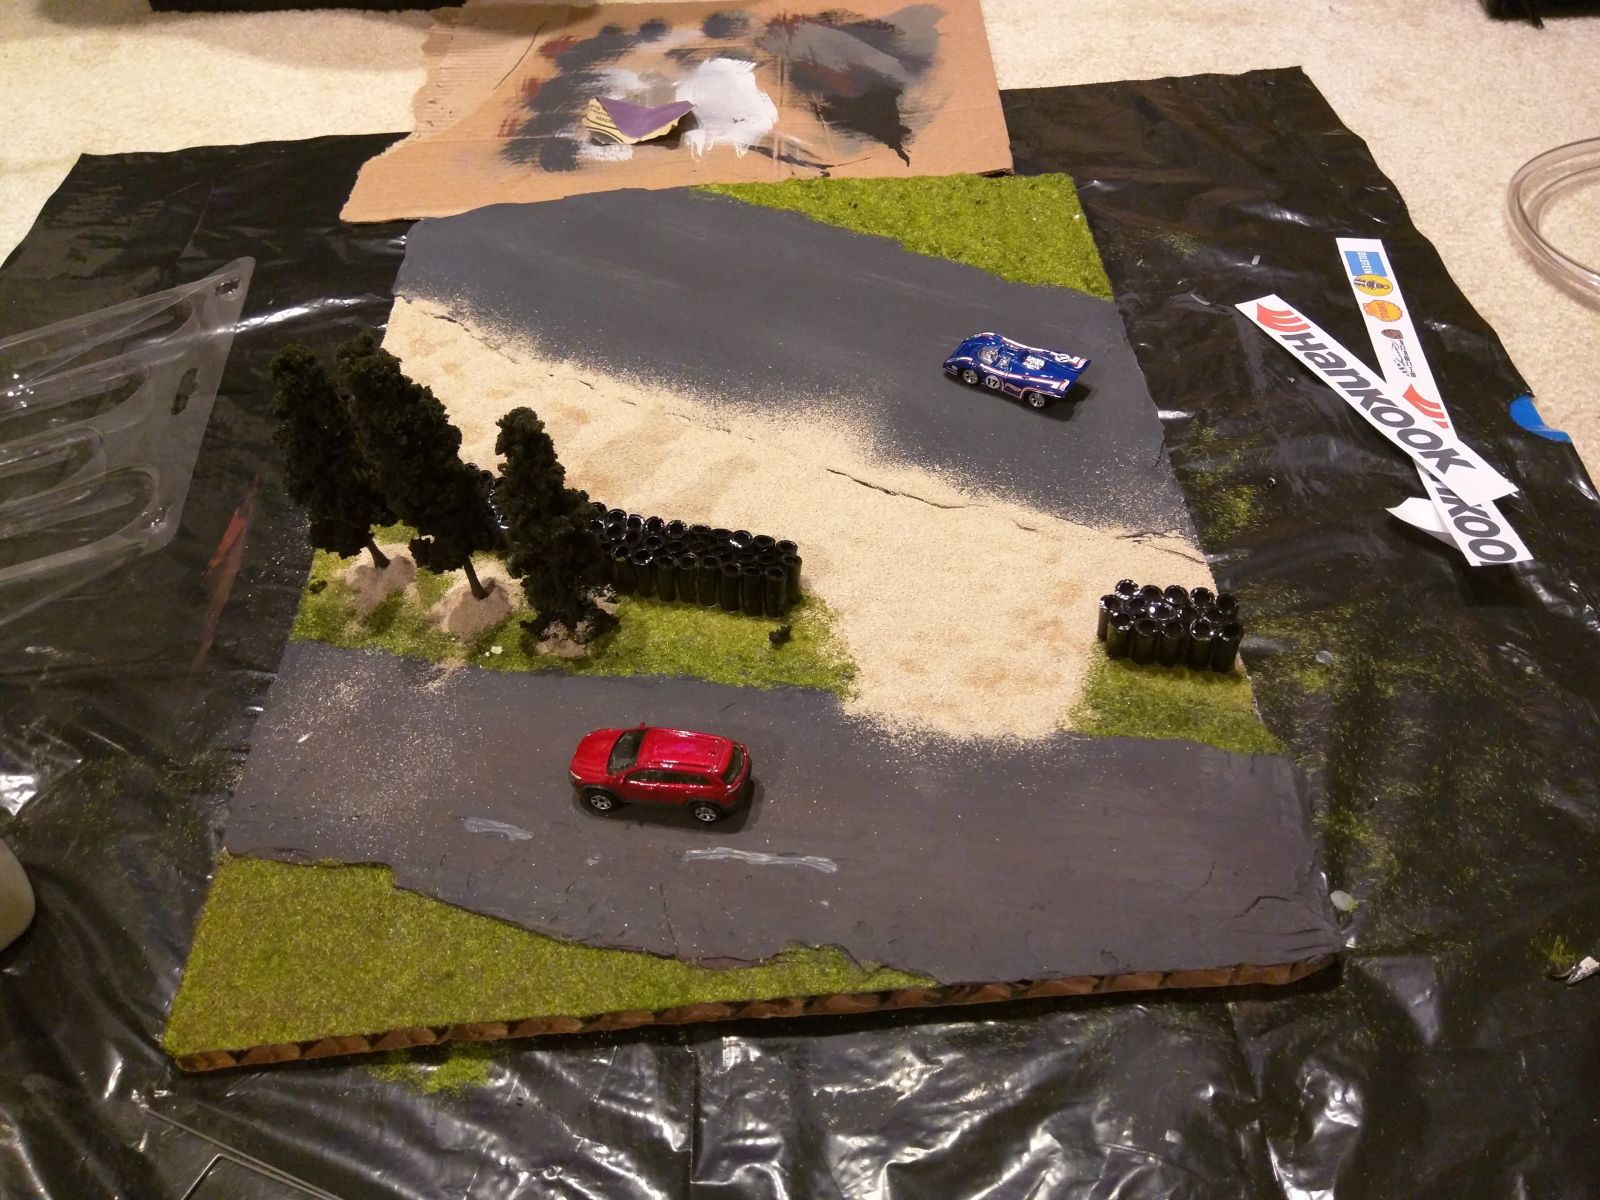
Then the road got a nice lick of paint and drybrushing for that pavement look. I kept the little access road a but dirtier than the track portion because that is obviously supposed to be the less well-kept road between the two. I also started painting the areas that would become grassy to give them an earthy base.
Below are two more shots of the tire wall in progress.
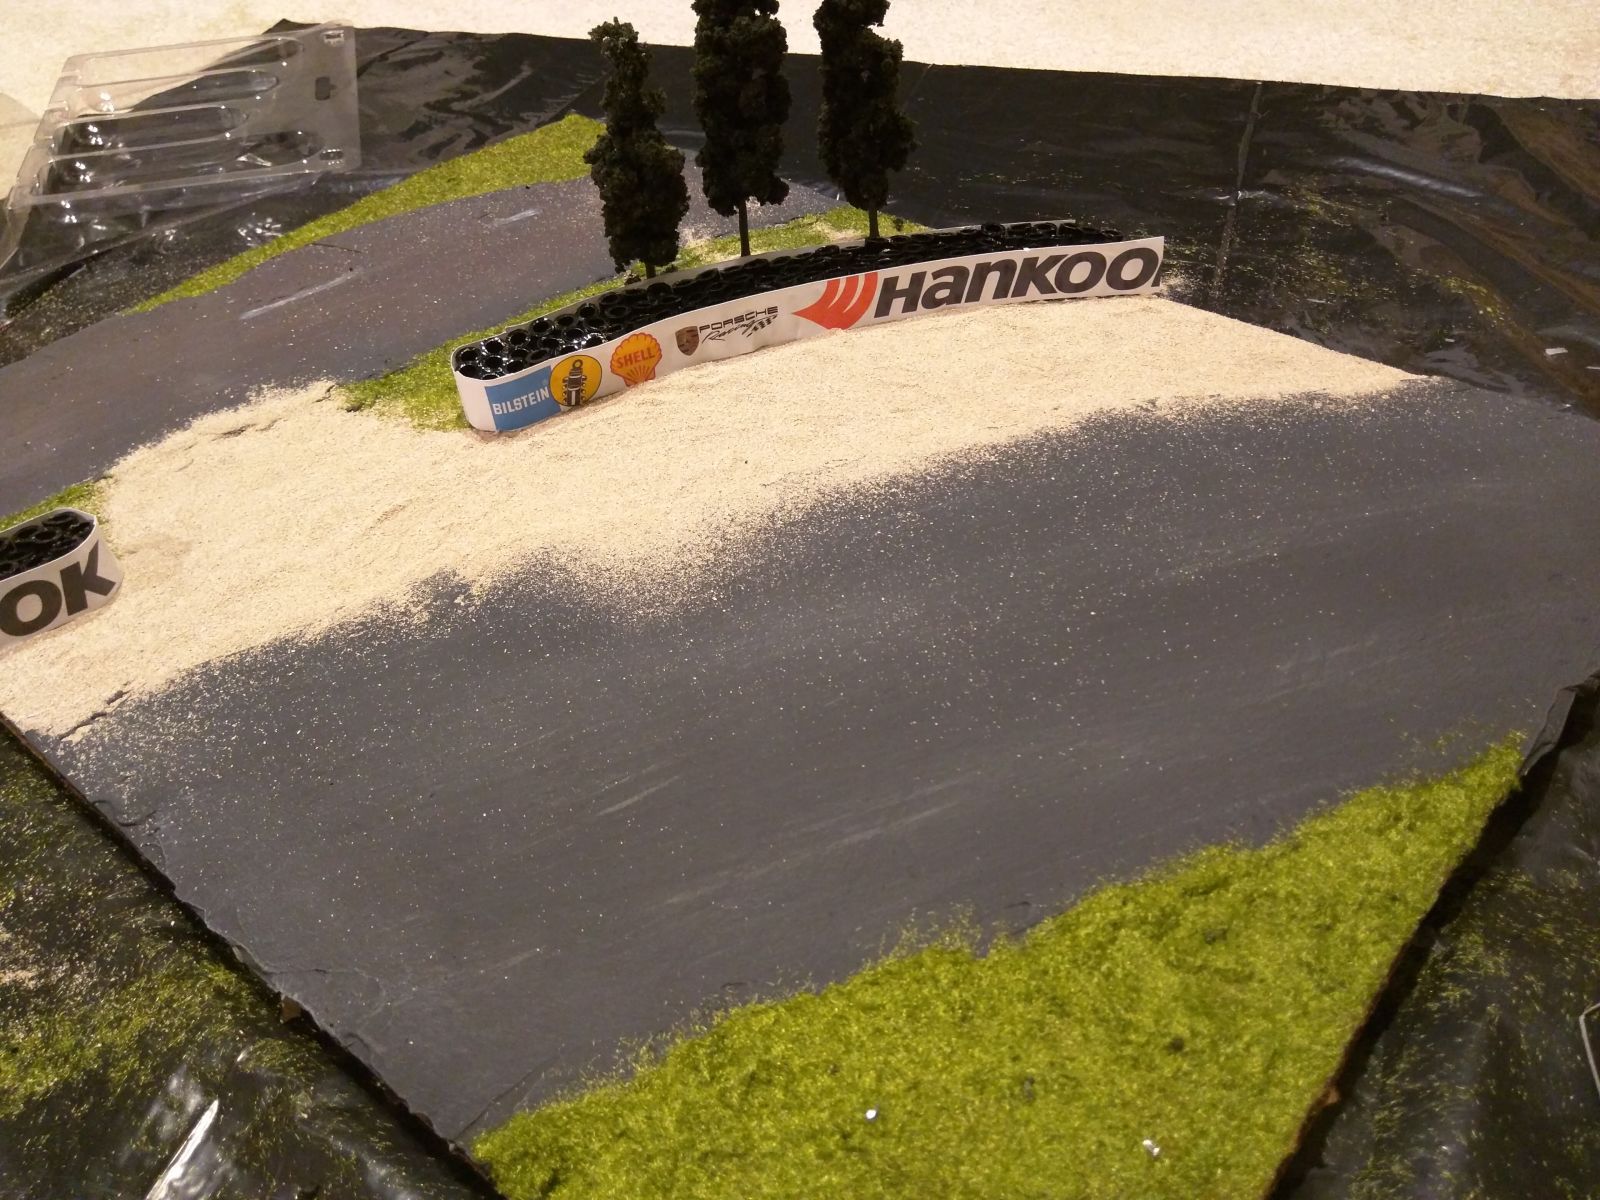
After having sprayed the “tires” black and gluing them down, I added the grass and gravel trap. Almost done!!

I forgot to add the trees before putting the grass down, so I hope my trees stay up, since I had to glue them on top of the grass. Also, some test drives were in order. I guess taht is a little late in the game, but I was fairly confident in the proportions. (Thanks to Diabloblanco btw for trading me the 917k! It was the only Heritage RR car missing from my list!)
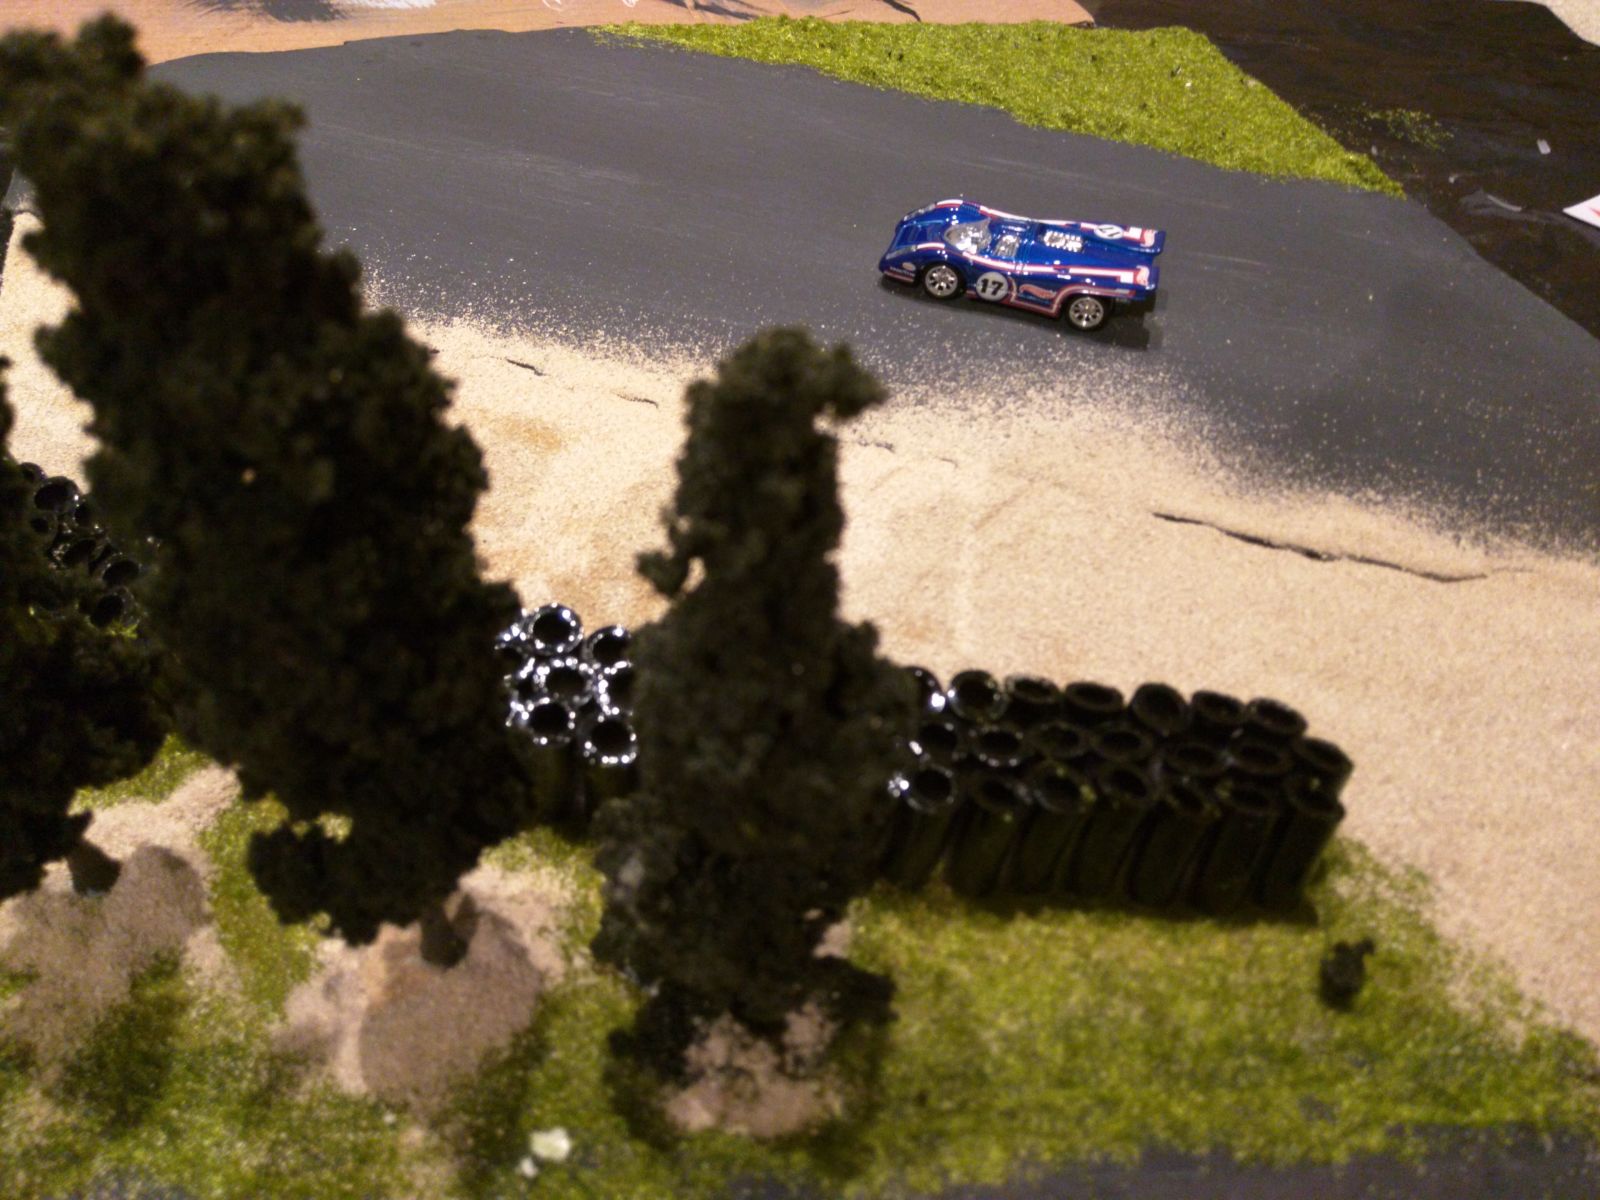
You can also see my sponsorship banners laying on the right side, ready for attachment to the tire walls.
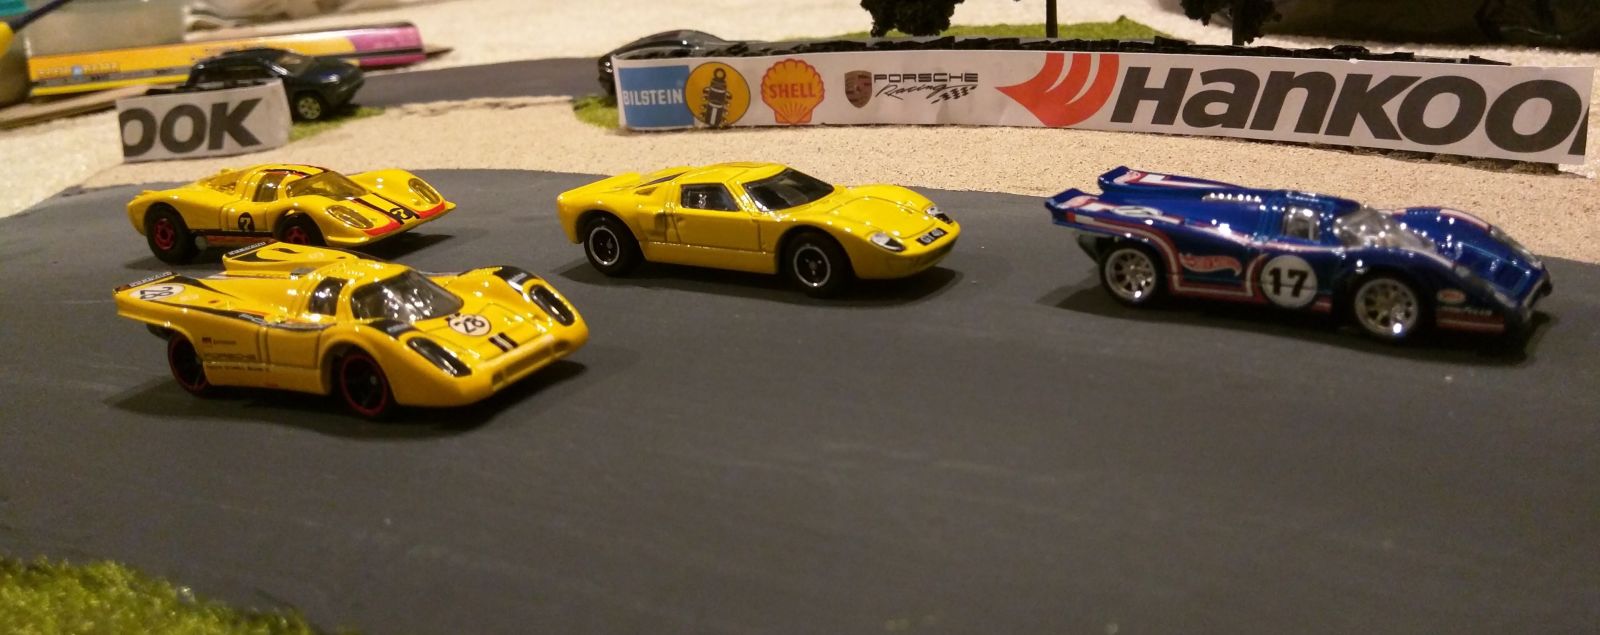
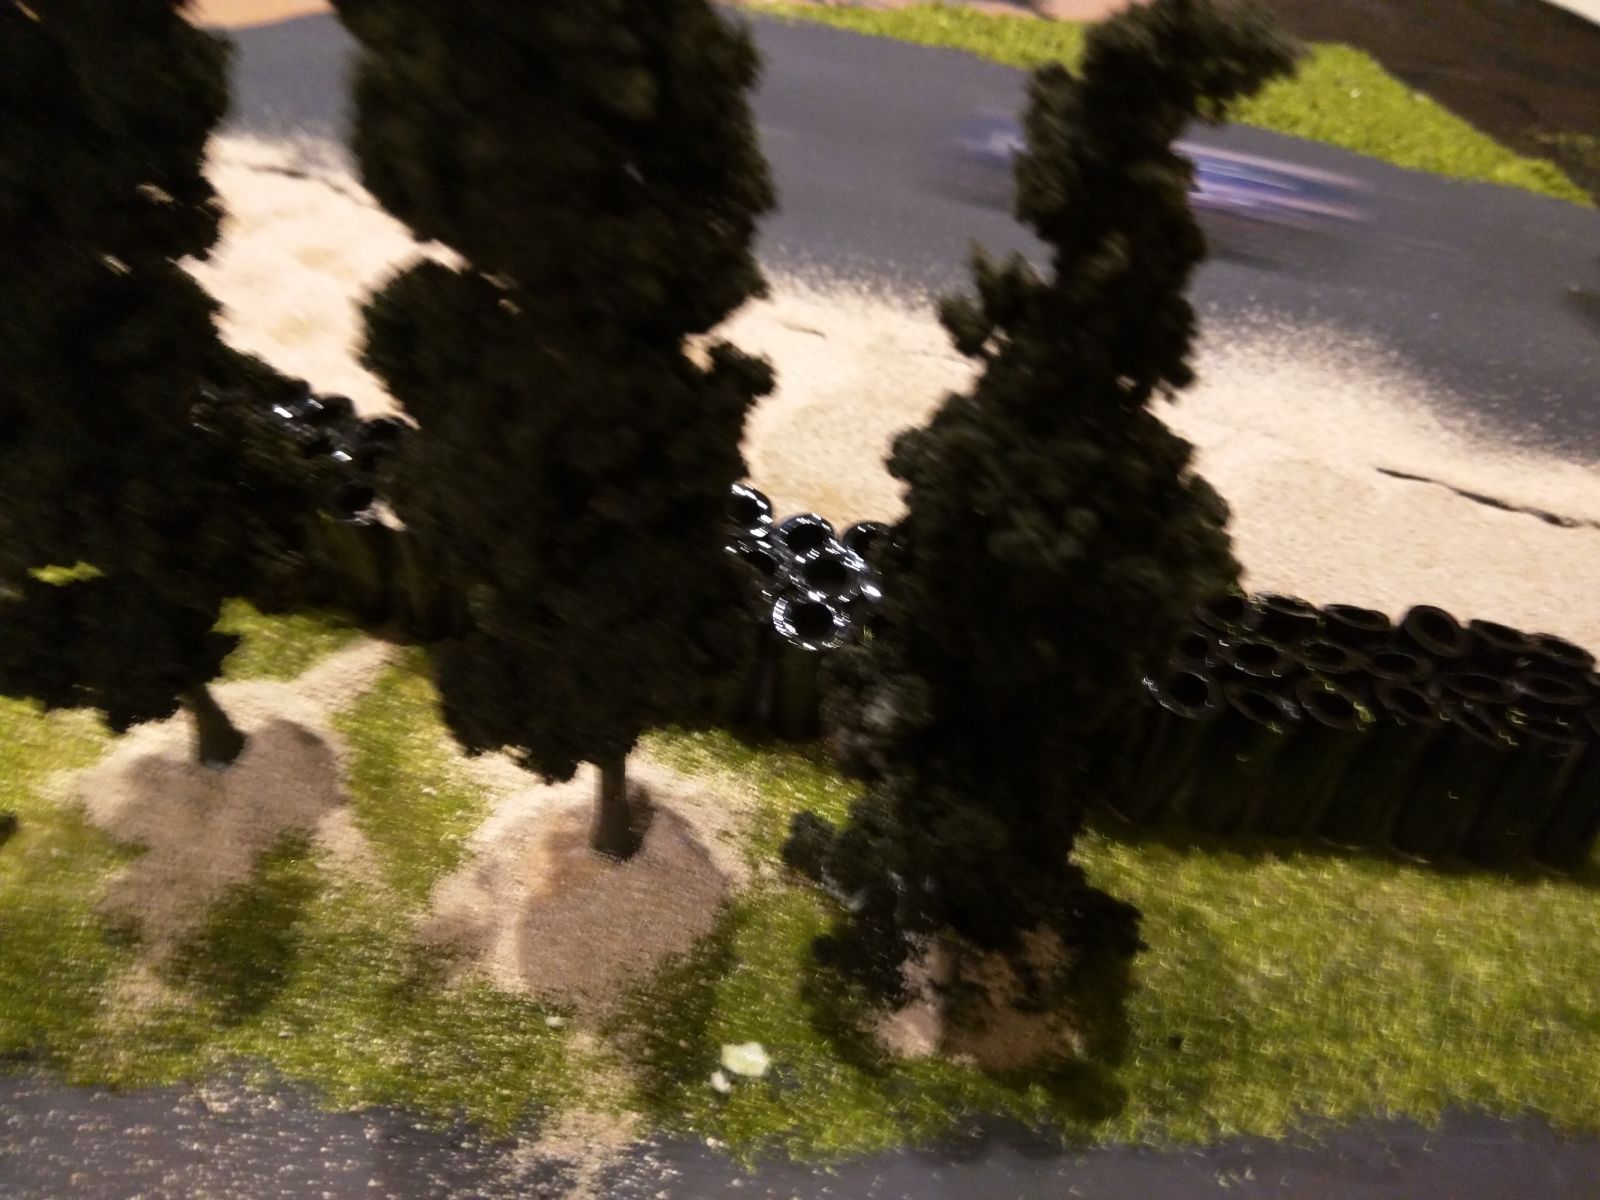
Sweet motion shot because race cars don’t like to stand still.
All done! Sponsorships visible and attached. I went with Bilstein because I recently put a set on my car, Shell because it’s a Dutch company (go patriotism), Porsche because that needs no explanation, and Hankook because they are also on my car. At this point all that is left is to shake off the excess sand and grass...
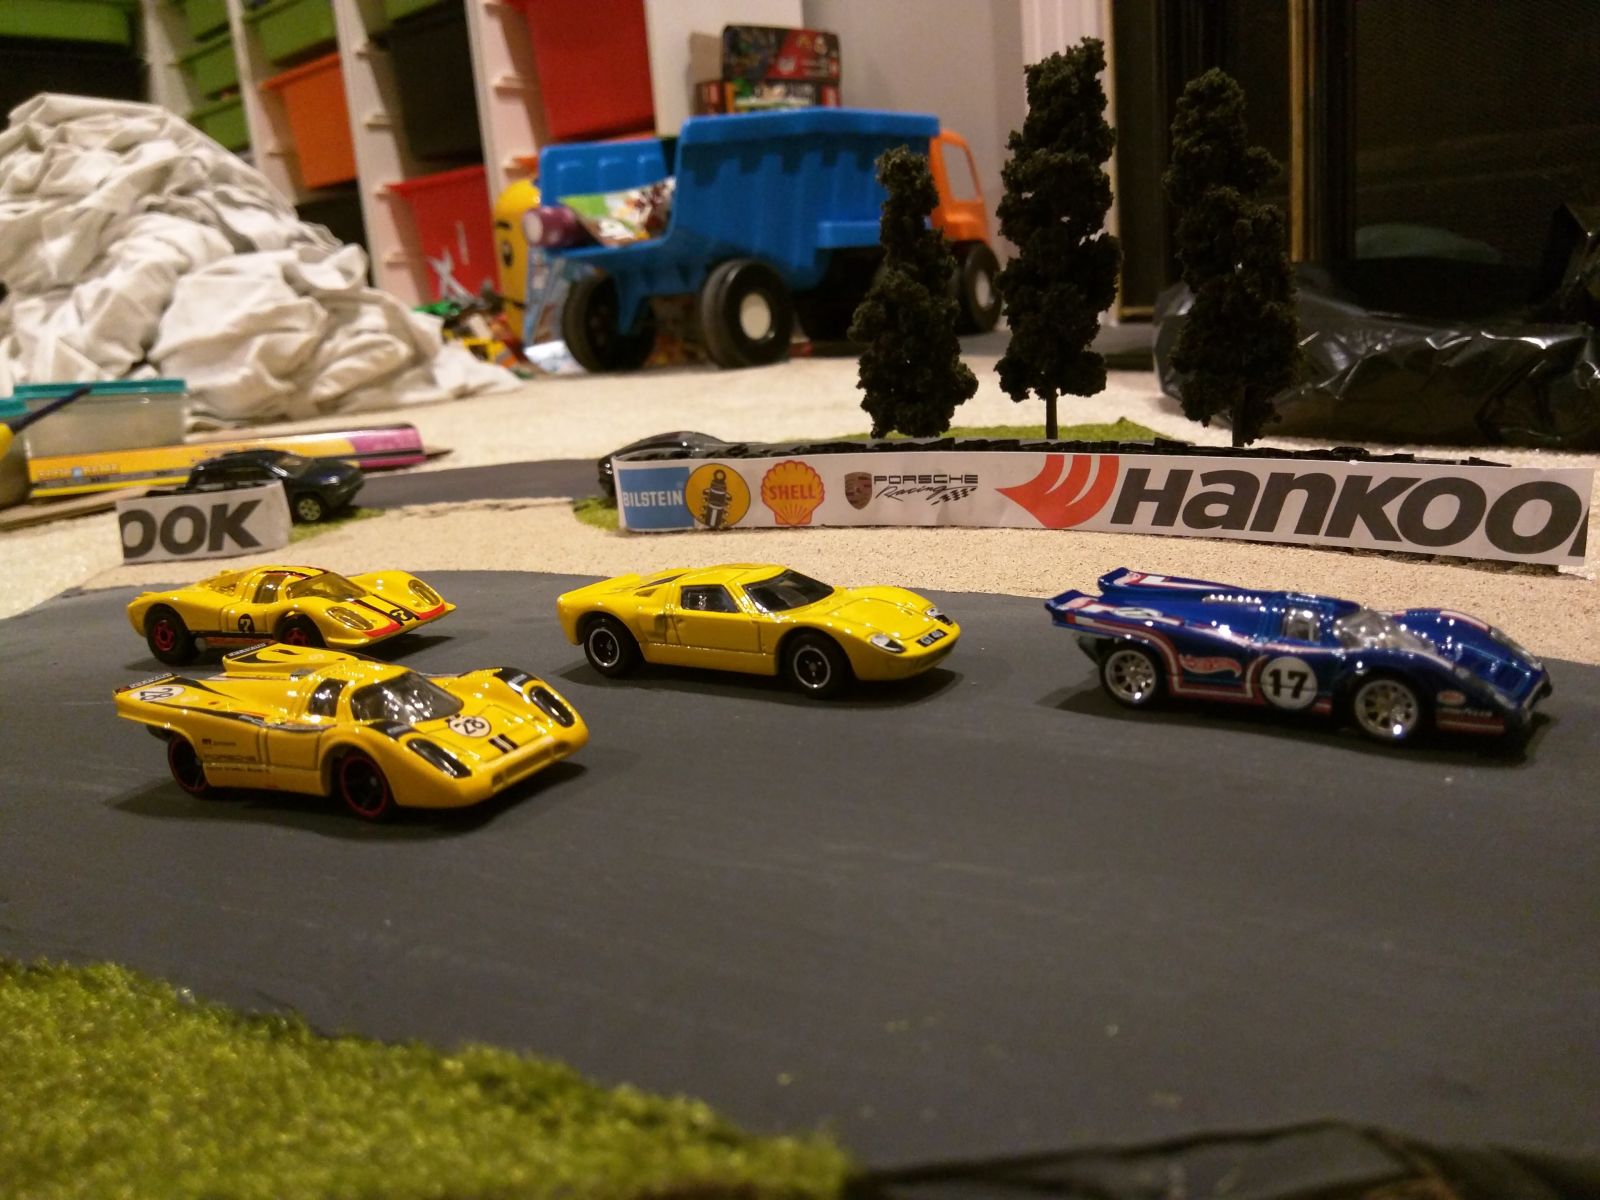
And voila! Ready for a ‘60s-’70s revival race! I should have dug up my Ferrari P3/4 and 512LM for this one, in hindsight. Also, please disregard the pile of (clean, I promise!) laundry in the background. :D
What do you guys think? I clearly need to work on a better backdrop, but overall I’m pretty happy with the endresult. I might try to fabricate a catch fence to put up behind the tire walls, but I love the way the walls themselves turned out!
Anything I could or should have done differently? Ideas for improvements? Any feedback is welcome!