
Just trying a method of wheels swaps involving axle chops. It may or may not work but I’ll share the first stages now. (No pictures of actual UTE!! in this post)
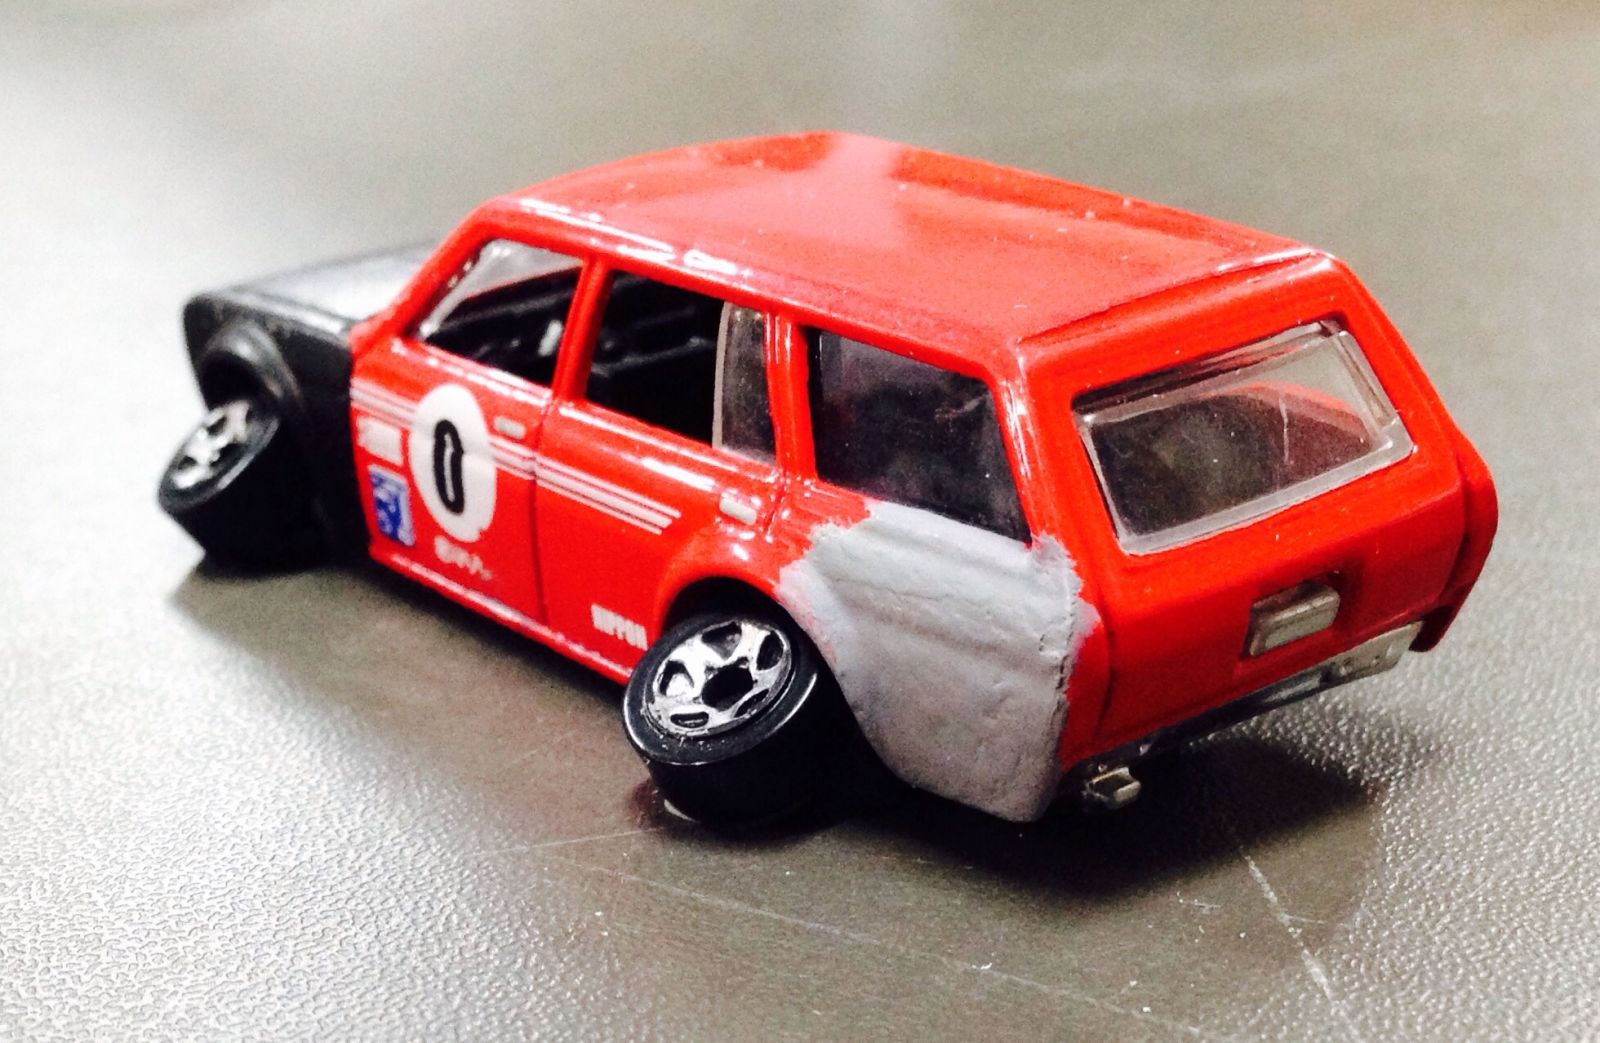
Stanced?...Um....no, just no.
Ok, any rolling wheel swap I’ve done so far has been done with out cutting the original axle. For the 510 UTE!! I have chosen some wheels (Real Riders of course !) but the axle on the sets I have are too short to suit the 510 base, axle mod time. I know there are tried and true ways to do this but as I’m just getting into customs I want to try my own ideas first. If and when they fail I’ll look at what others have done that works. :)
I have worked in the plastics industry for over 20 years and in that time have learned a few things that come in handy with this new endeavour of cast customs. I won’t bore you with all the details but will explain a little about why I think this idea may work.
Firstly the base and interior are made from different types of plastic. The base seems to be Acrylonitrile-Butadiene-Styrene (ABS), this is handy as I have some specialist glue for this exact material. Long story short the glue is pretty much the same plastic material suspended in solvent. It’s possible to make your own but more on that in a later post, maybe. Once applied the glue starts to dissolve the surface of the ABS a little and creates a very strong bond once all the solvent has evaporated.
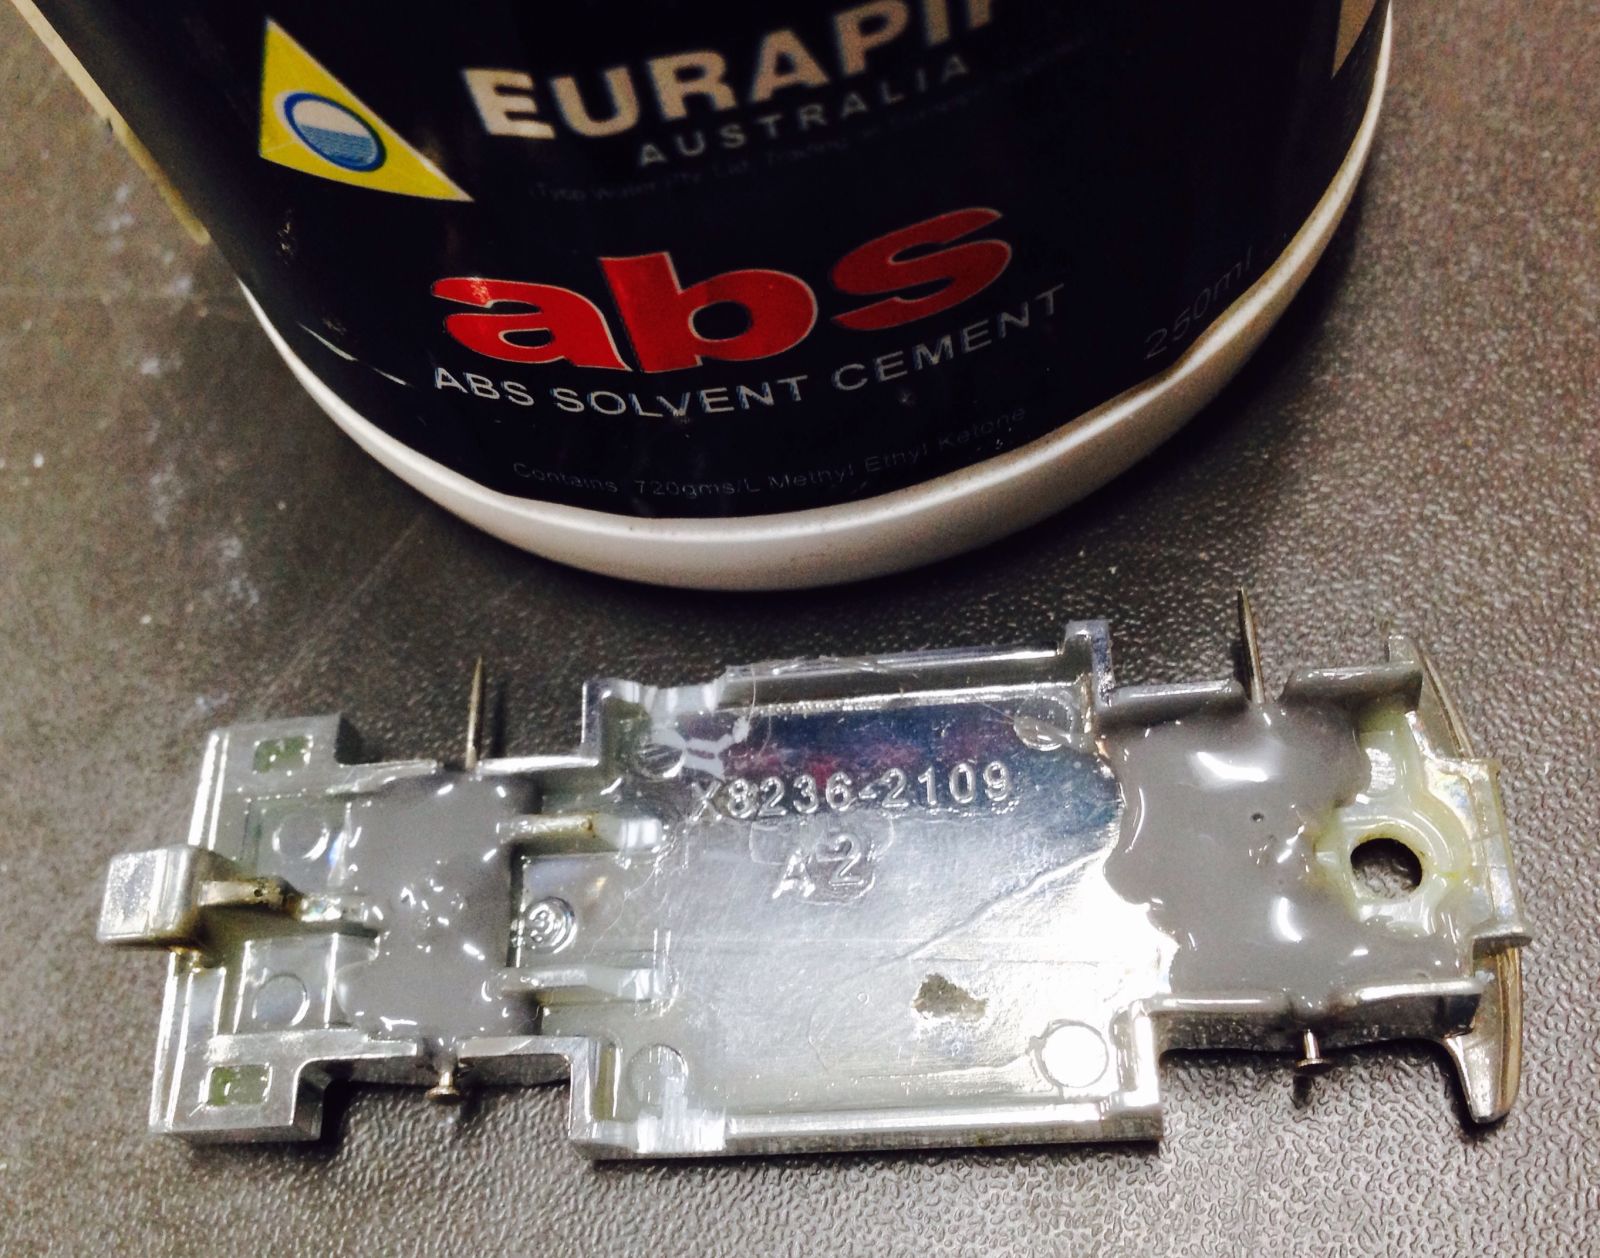
So you should have noticed the two dress makers pins in place of the axles, turns out the diameter of the pins is almost exactly the same as the HW axles when measured with vernier callipers, win! Also you would have seen the two ugly globs of grey glue on the axle area. My idea here is knowing this glue won’t stick to metal I can remove the pins easily once set, leaving a perfectly formed hole to reinsert the new axles. This will be with four shorted pins, one for each wheel. This method probably won’t be any good for play but for display it should be fine, I think. Also this will allow for easy swaps without dismantling the cast if the new pins aren’t glued in place. I’m going to use these type pins but trimmed to length as they have the nice little rounded head that looks like a standard axle once inserted in a wheel.
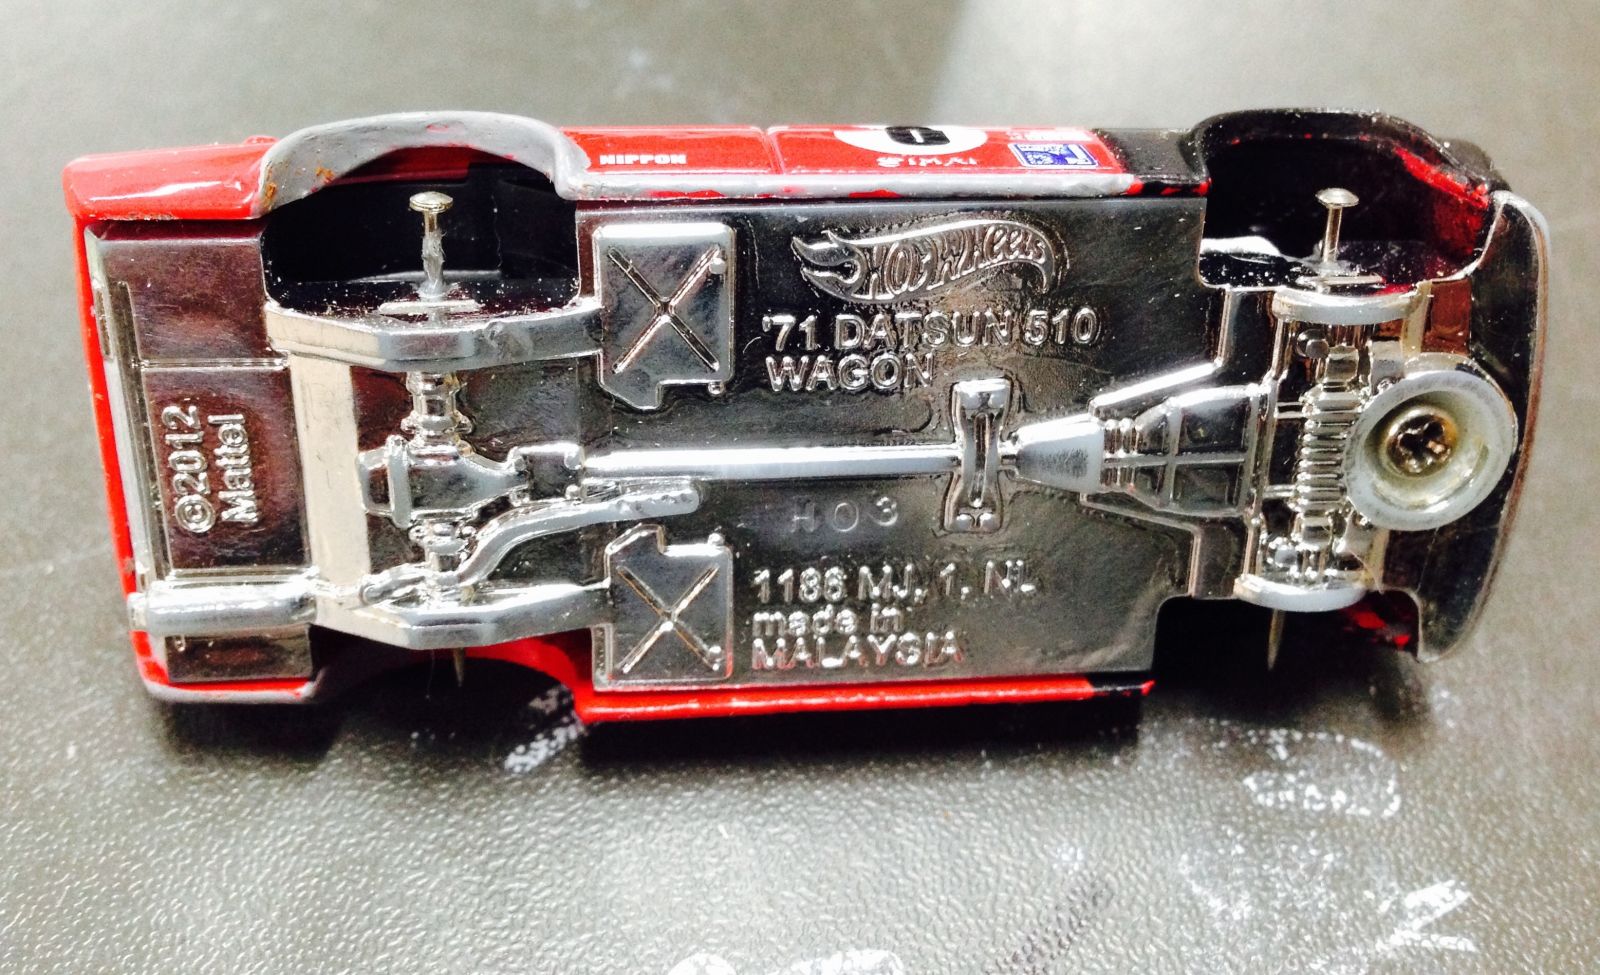
I reassembled the base and interior before the glue sets. The interior is important to help locate the axles and provide support from above so that the wheels don’t get a stanced look about them.
Now here’s a bit more plastic knowledge for you. The interior is made from a material called Polypropylene (PP) and is very common in day to day life. Plastic ice cream containers are made from it as are plastic kettles usually. It’s hard to get most glues to stick to it so it comes in handy for this purpose. I’ve reassembled the cast to make sure the axles are true, the interior is seated properly on the base and the whole thing fits together. Once the glue has set I know I can seperate the two plastic parts. Main reason I don’t want these two parts stuck together permanently is the the base is for the 510 UTE!! and interior is for the Drift Pig.
UTE!! Update: It’s been painted! Not long to go and it’s done(ish) No further details as yet. :P
If you got this far thanks for reading. I realise this is probably not a better method of doing this but it’s just a thought I’ve had and wanted to try it out. I’ve posted this before knowing if it works so we can share in the suspense, I’ll let you know tomorrow how it works out, good or bad.