
It worked!! It wheely worked!! You may have caught my post from yesterday about my wheel swap method trial. I’m very happy to say it worked better than I’d hoped, the cast even rolls straight! WOOOHOOO!! This was so much easier than I thought it would be. I’ll go through the steps I took here but it’s not going to be a long post as it’s that easy. I will definitely be using this method in future, on the plastic bases at least, metal bases will require a couple of changes but the same principle will work I believe.
I will repete some info from the trial post to keep it all together in one place. The first two photos are from that post.
Firstly the base and interior are made from different types of plastic. The base seems to be Acrylonitrile-Butadiene-Styrene (ABS), this is handy as I have some specialist glue for this exact material. Long story short the glue is pretty much the same plastic material suspended in solvent. It’s possible to make your own but more on that in a later post, maybe. Once applied the glue starts to dissolve the surface of the ABS a little and creates a very strong bond once all the solvent has evaporated.
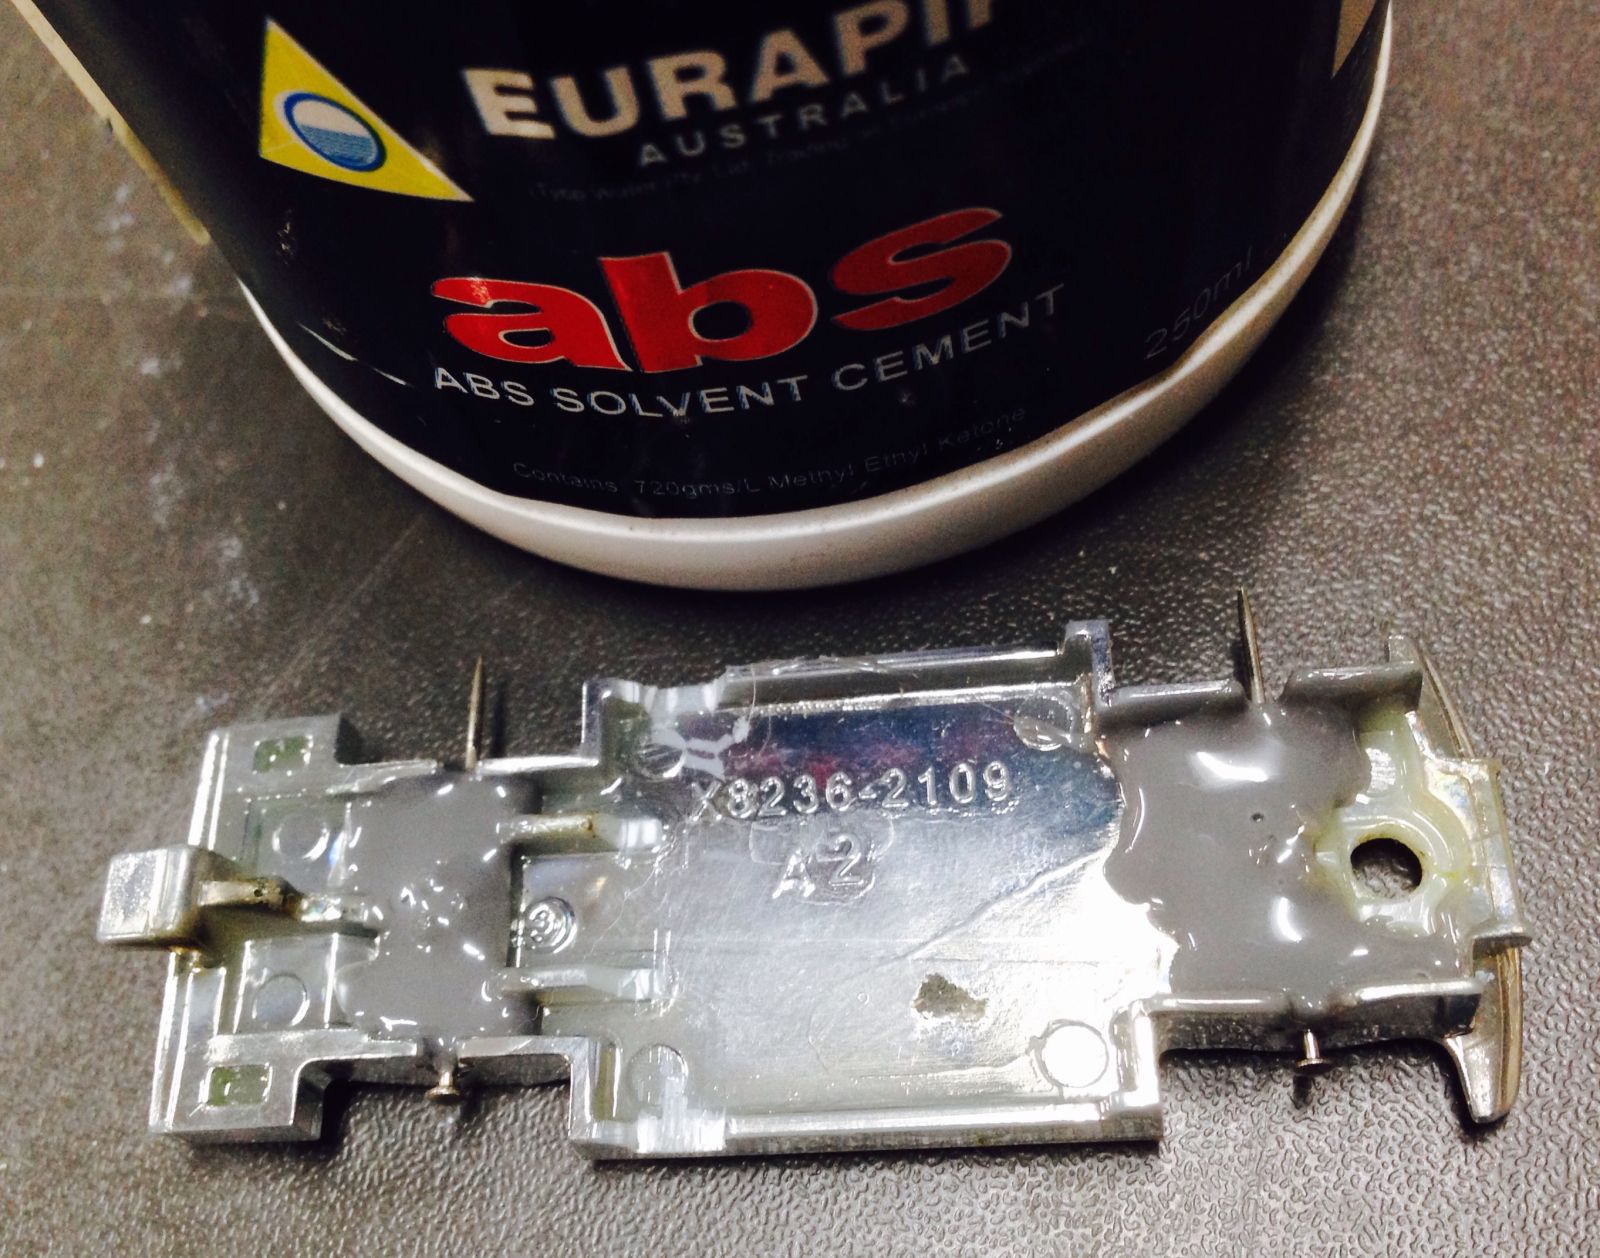
So you should have noticed the two dress makers pins* in place of the axles, turns out the diameter of the pins is almost exactly the same as the HW axles when measured with vernier callipers, win! Also you would have seen the two ugly globs of grey glue on the axle area. My idea here is knowing this glue won’t stick to metal I can remove the pins easily once set, leaving a perfectly formed hole to reinsert the new axles. This will be with four shortened pins, one for each wheel. This method probably won’t be any good for play but for display it should be fine, I think. Also this will allow for easy swaps without dismantling the cast if the new pins aren’t glued in place. I’m going to use these type pins but trimmed to length as they have the nice little rounded head that looks like a standard axle once inserted in a wheel.
* I’ve since switched to using the stock axles instead of the pins. Just cut the head from one end of the axle, remove the wheels and use these axles to form the holes. The second set of wheels from the swap provide the other required axles. The rest of the above text still applies.
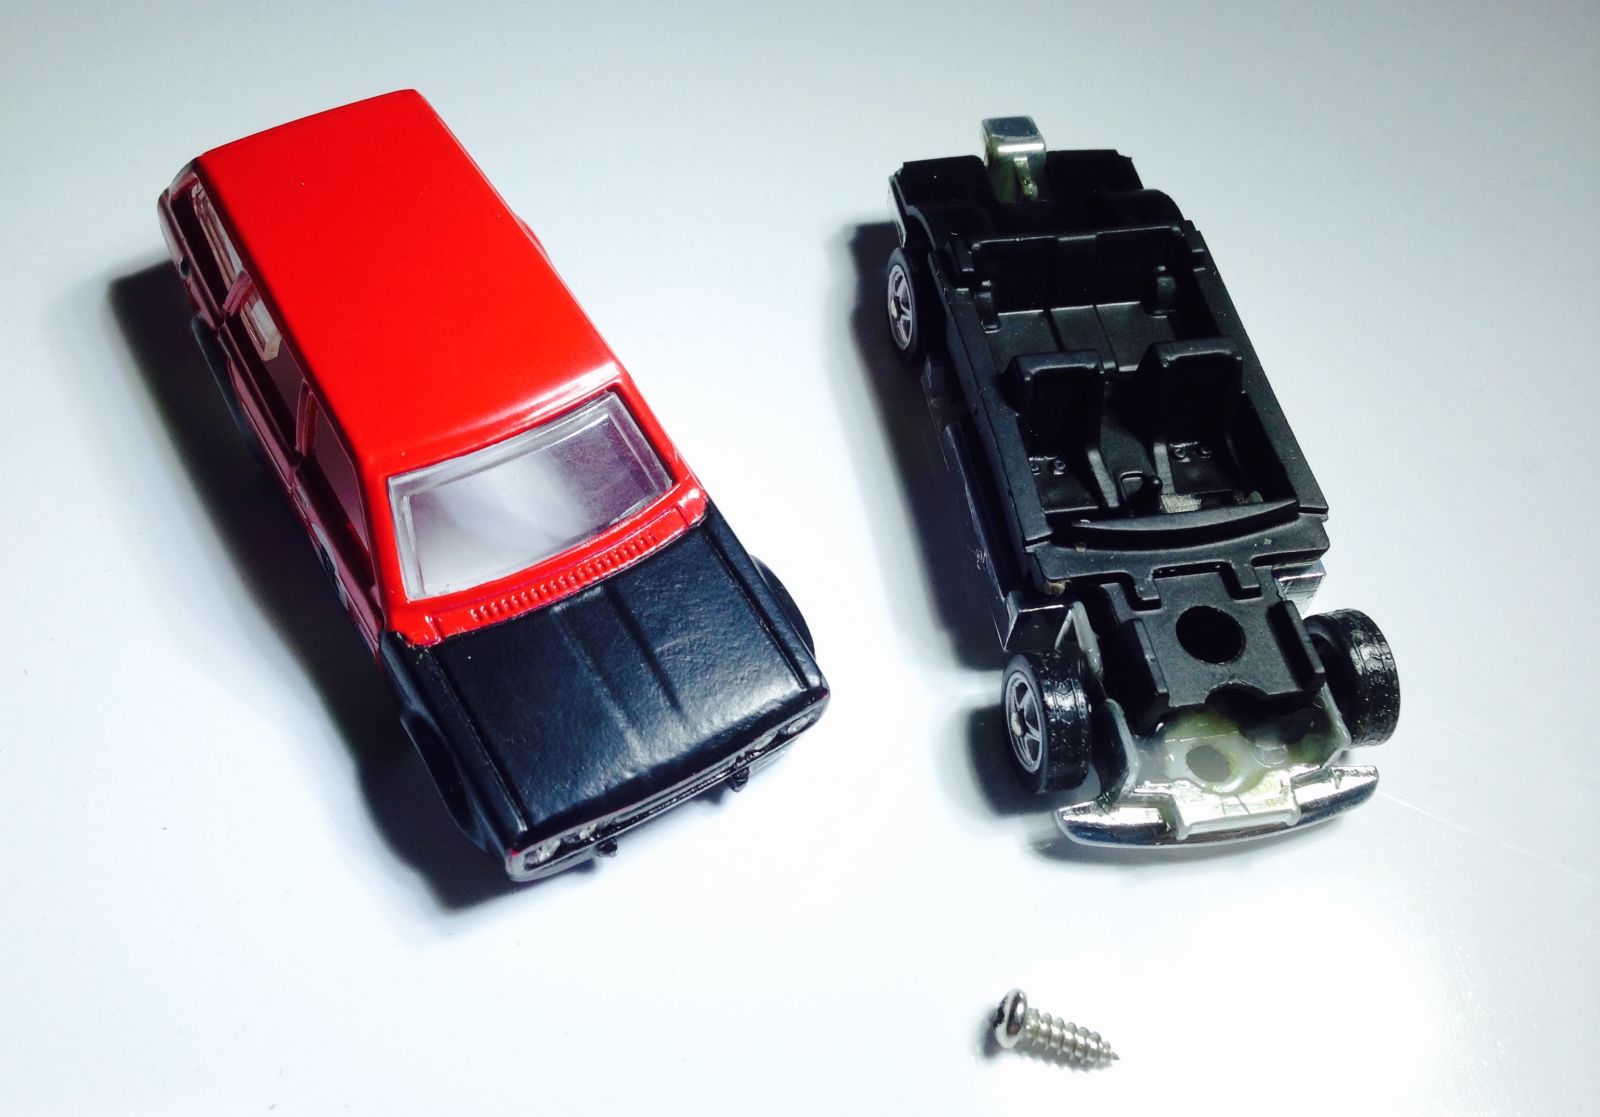
I reassembled the base and interior before the glue sets. The interior is important to help locate the axles and provide support from above so that the wheels don’t get a stanced look about them. Also important at this stage to ensure the axles are straight and true as there is no lateral movement once done, any wonky axle alignment is painfully obvious in the finished cast.
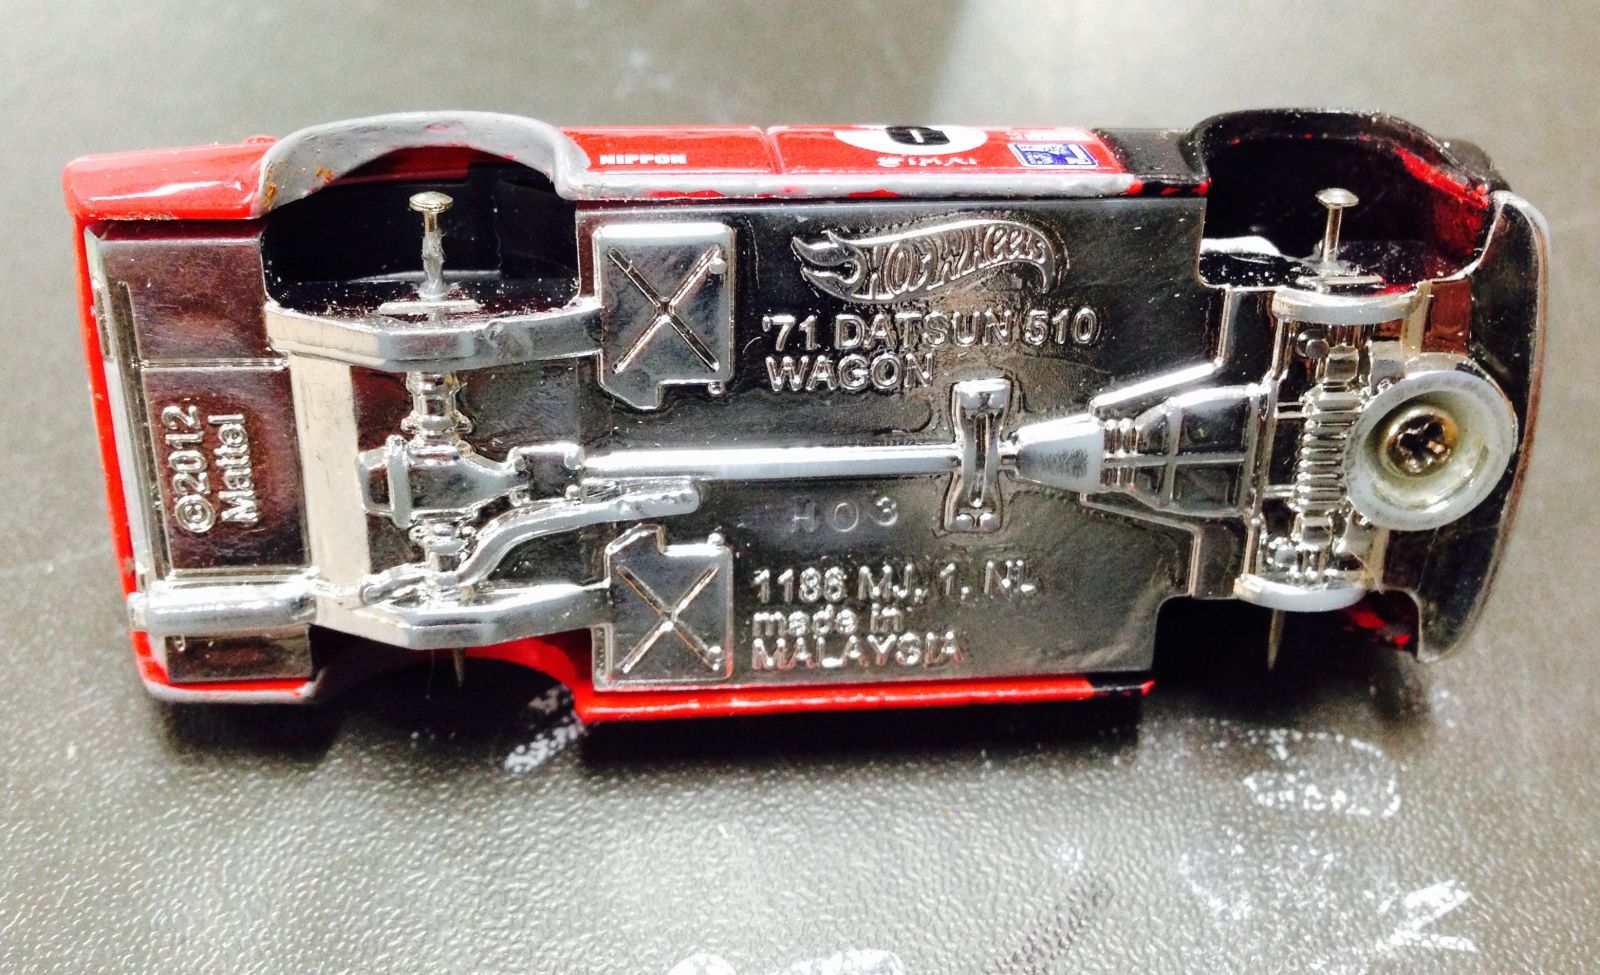
Now here’s a bit more plastic knowledge for you. The interior is made from a material called Polypropylene (PP) and is very common in day to day life. Plastic ice cream containers are made from it as are plastic kettles usually. It’s hard to get most glues to stick to it so it comes in handy for this purpose. I’ve reassembled the cast to make sure the axles are true, the interior is seated properly on the base and the whole thing fits together. Once the glue has set I know I can seperate the two plastic parts. Main reason I don’t want these two parts stuck together permanently is that the base is for the 510 UTE!! and interior is for the Drift Pig.
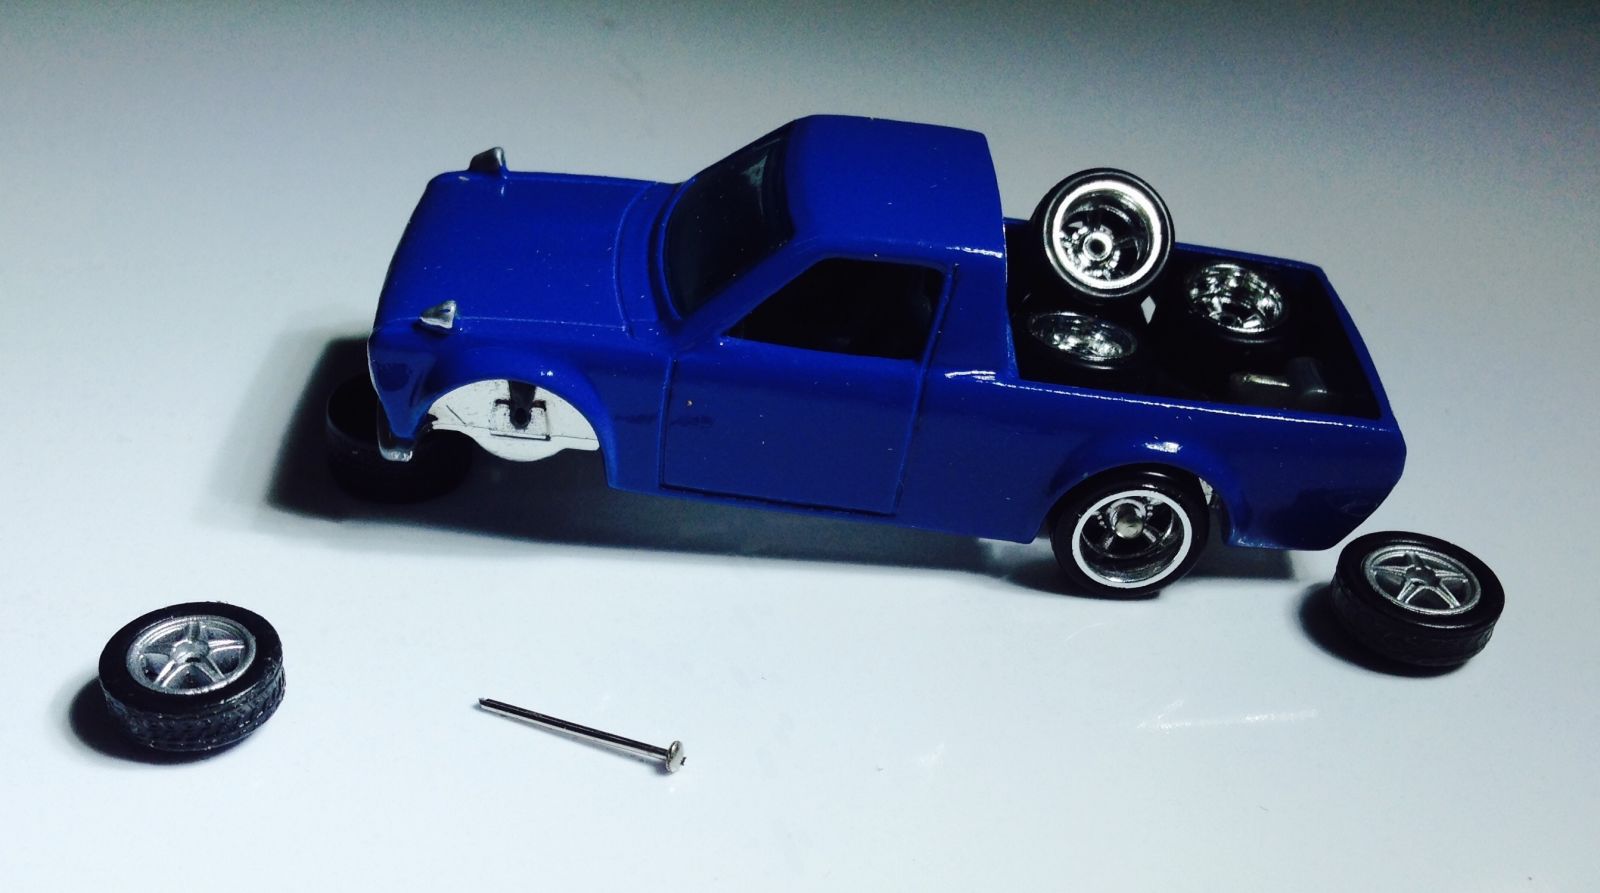
So I got a bit excited and tried the wheels before I pulled apart the cast. These shots show the wheels fitted already.
Ok, after a few hours the glue had gone hard, this actually ends up as hard as the base plastic once fully cured (7 days apx). Time for the verdict, either the interior and base are stuck permanently or my theory would prove correct, thankfully it was the latter.
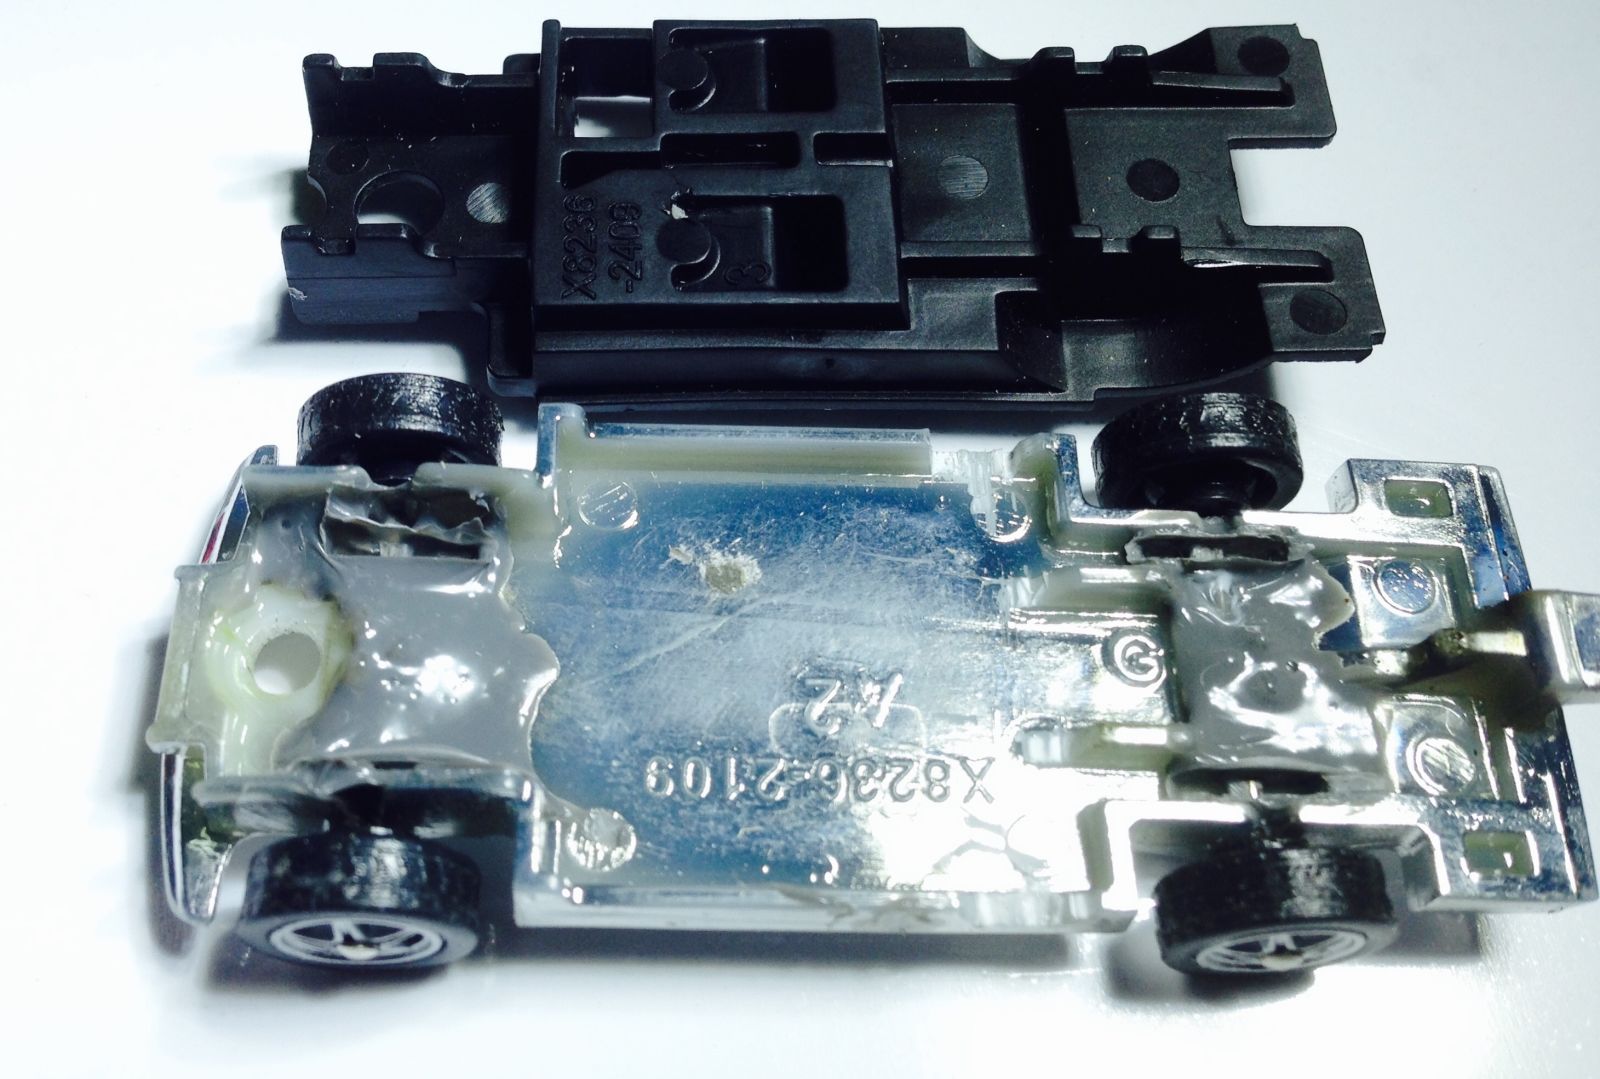
This was one of the key parts to this method as the interior effectively holds the axles down onto the base. The impressions left in the glue now locate the base and interior in exactly the right position. Cool.

So for the new axles I trimmed the pins to length, each cast will vary in this requirement but the idea is to keep them as long as possible for the best hold. After a few pin removal and replacements the holes have held up well so far. I thought the axles would need to be glued as they might creep out when the car is rolled but as they are now they stay firm. You can pick up the cast and tip it over or shake it and the wheels stay firm just as normal. If it was to be played with by children I would glue them in with Loctite 480 to secure them permanently. For me my customs are never done , I need to be able to tinker so the fact I can pull out a wheel and swap it in seconds is a big plus. No need to even take the cast apart!
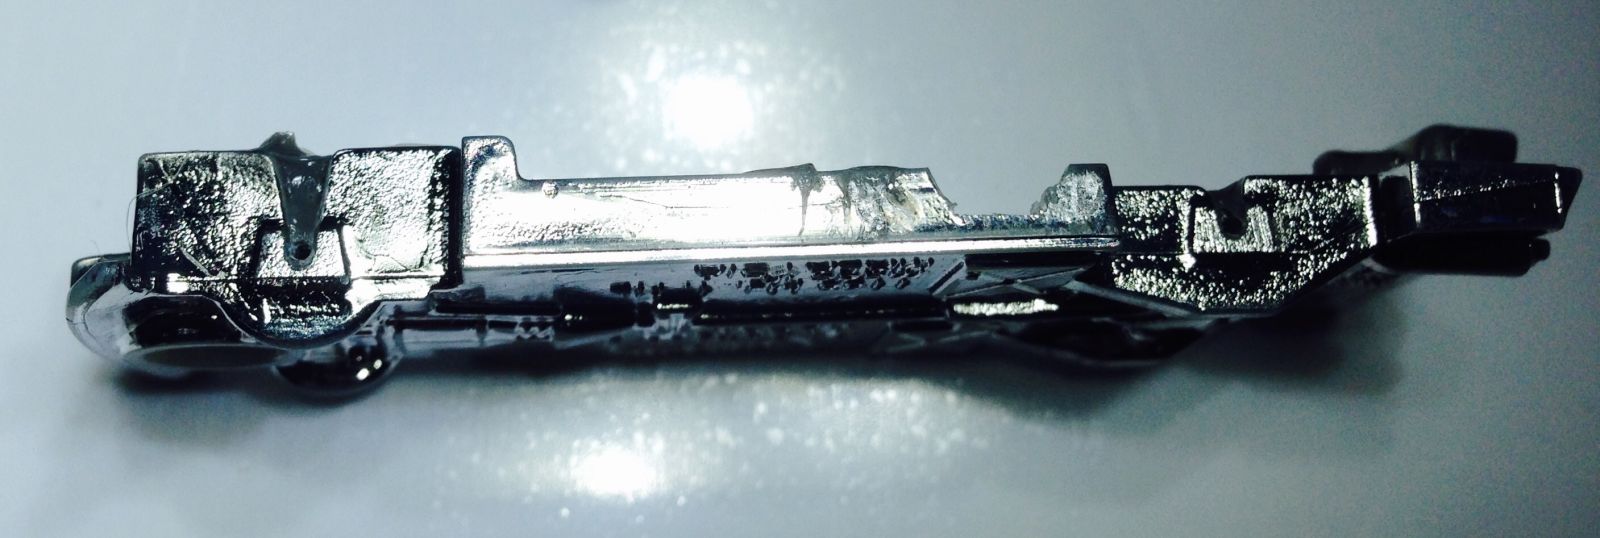
The axle hole is clearly visable to the left of the picture. So tiny.
This may not work for everyone and is only suited to the plastic based cars using this glue, there will be some type of glue/resin that will replace the ABS solvent for metal bases.
Oh and the 510 UTE!! is very close to being finished.
Thanks for checking it out!