
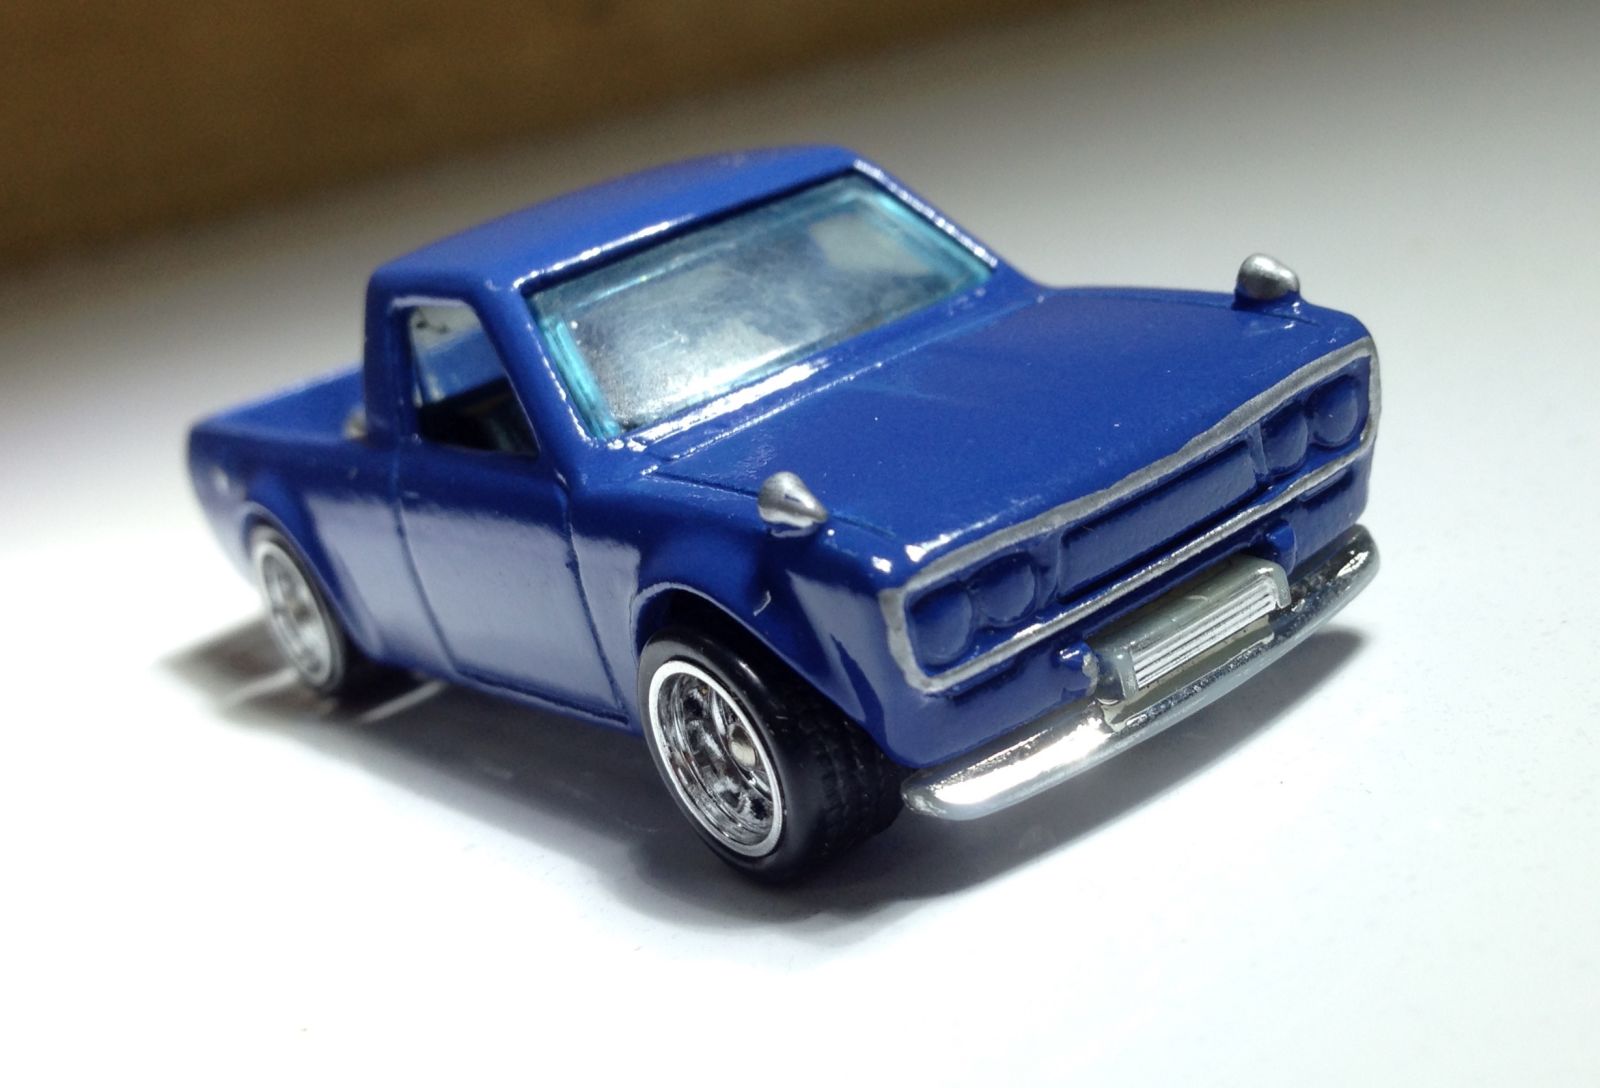
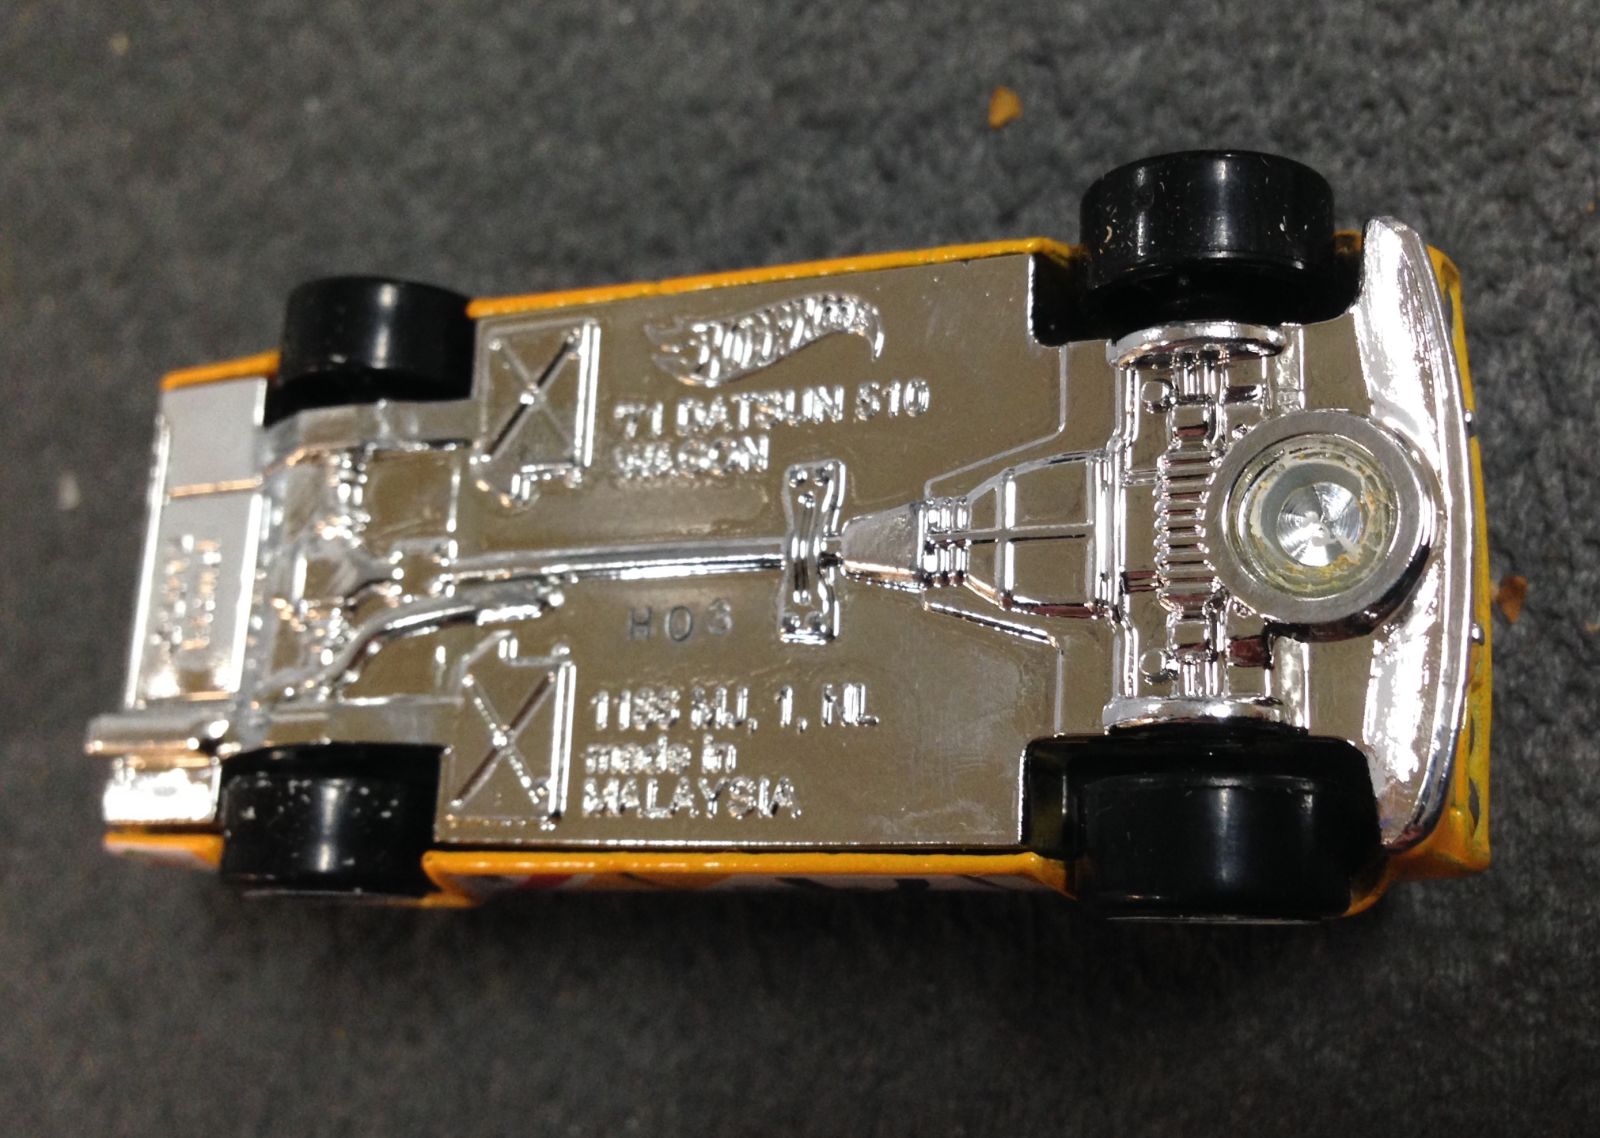
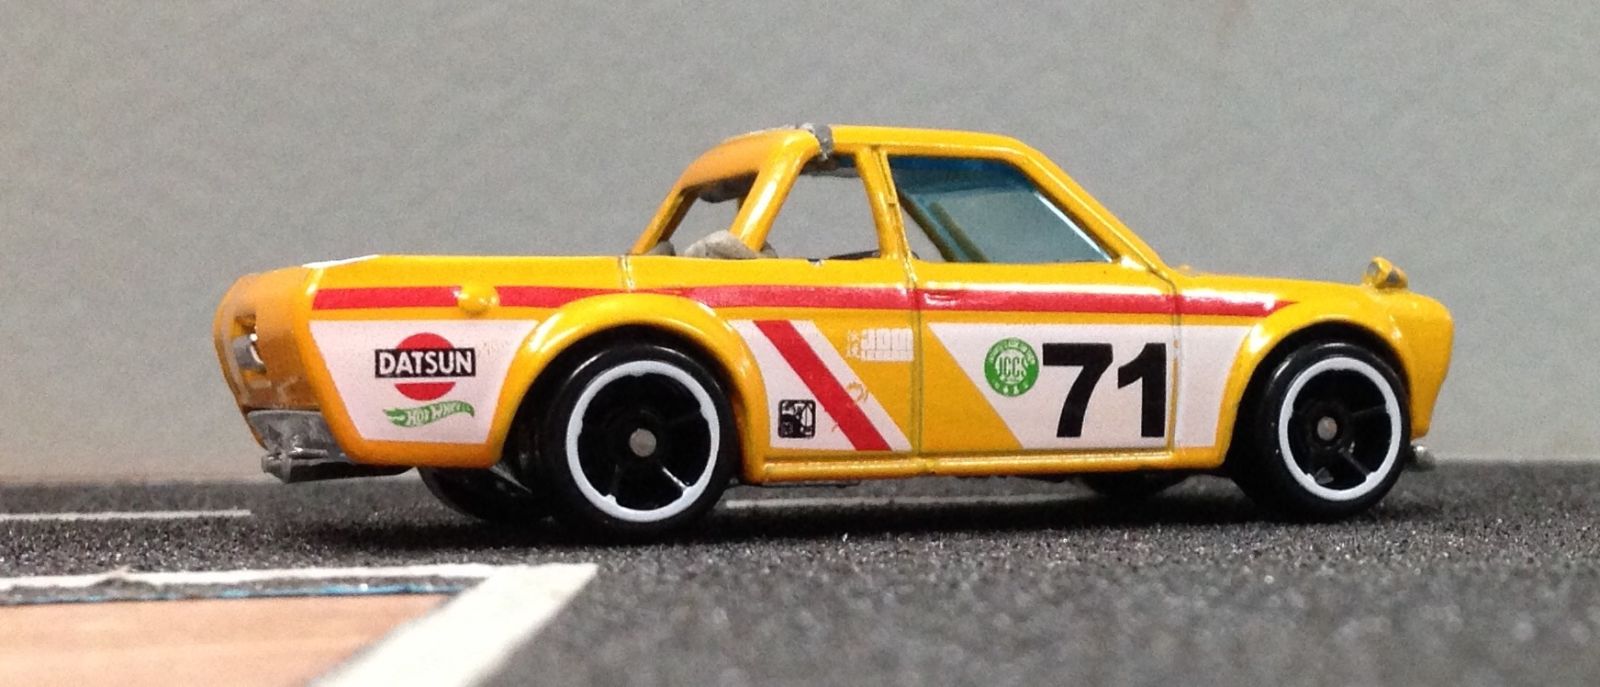
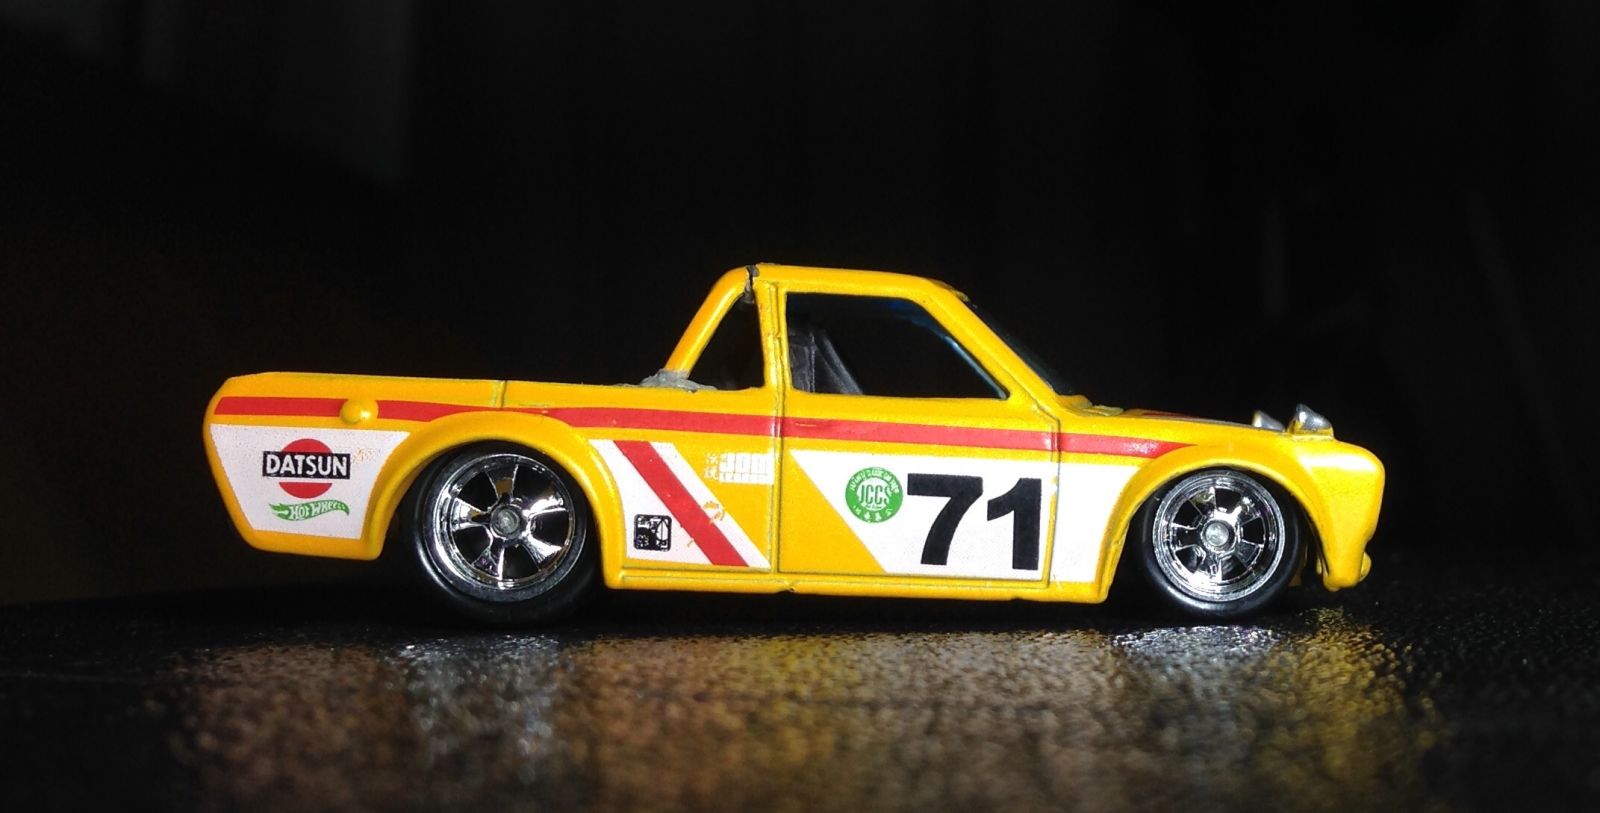
Here’s how the 510 wagon became a UTE!!
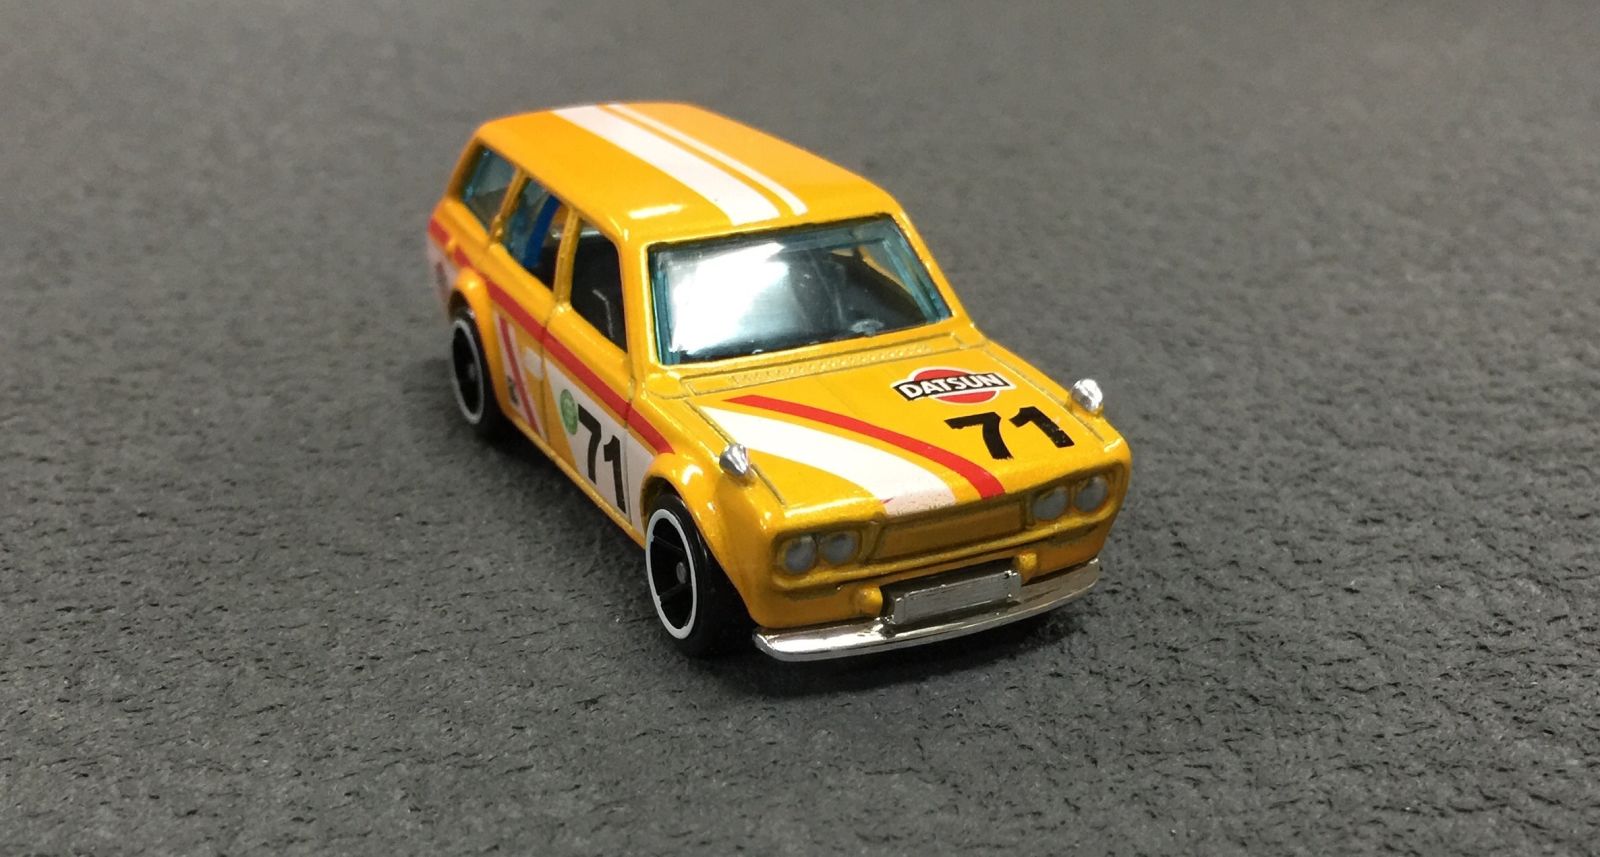
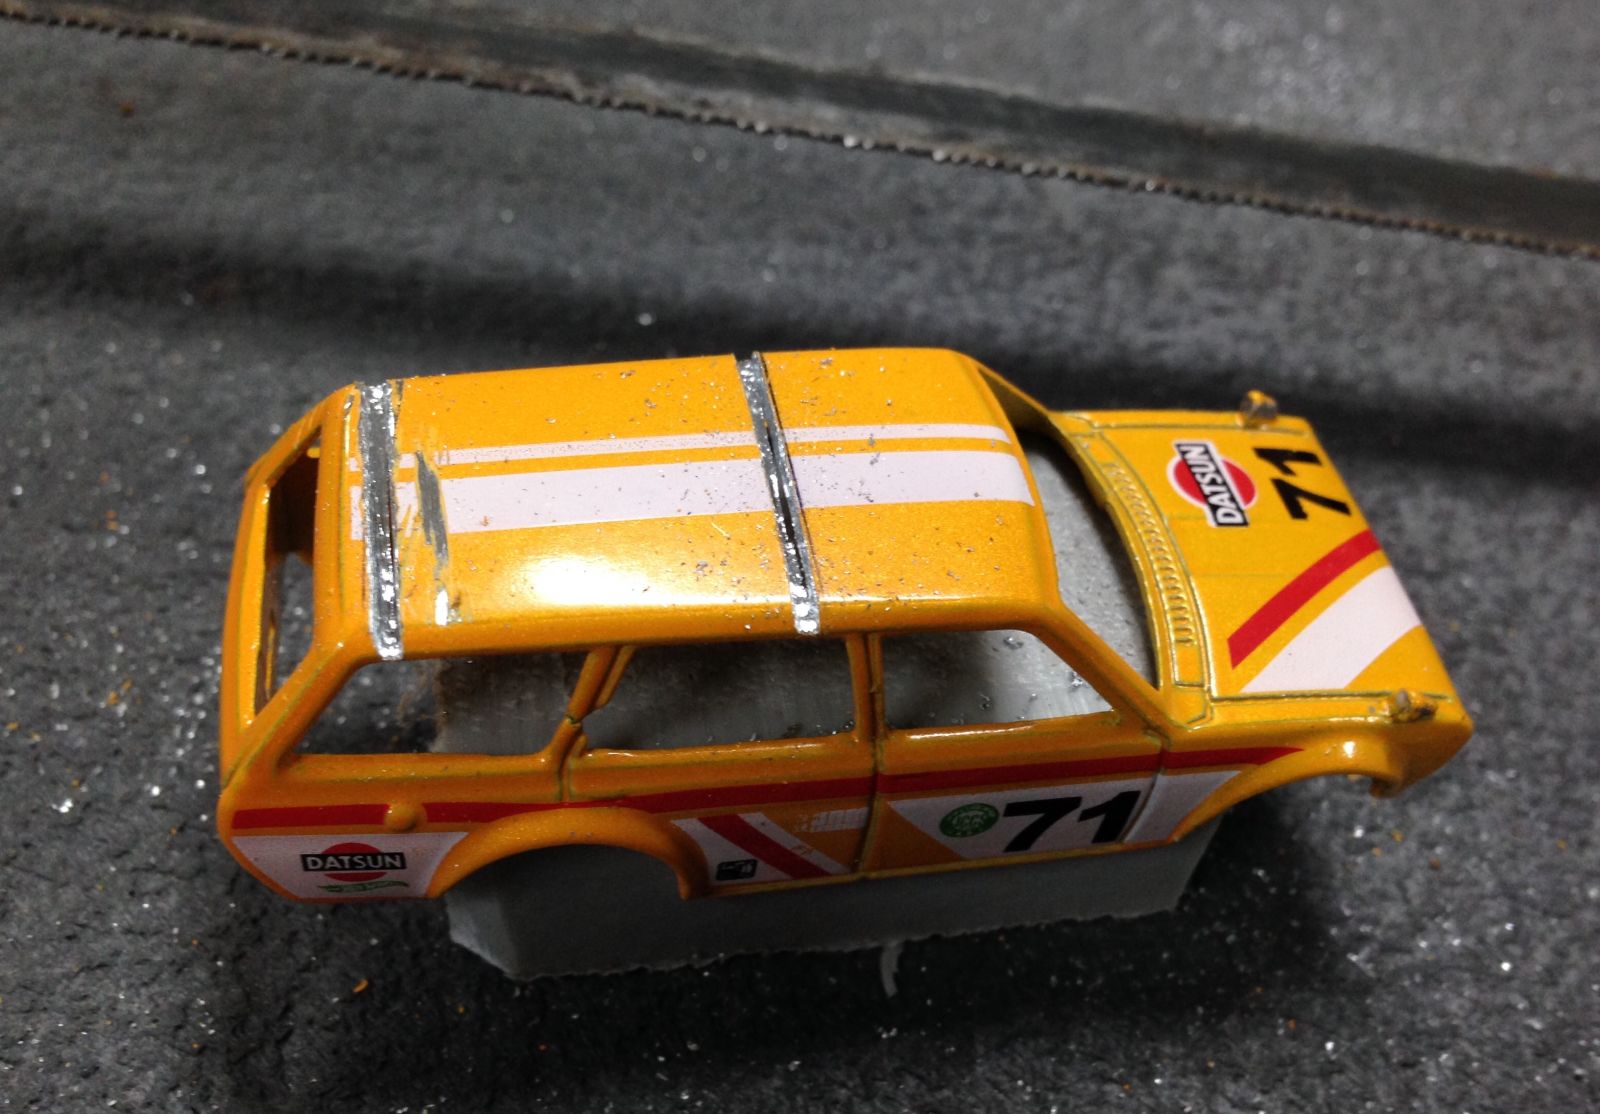
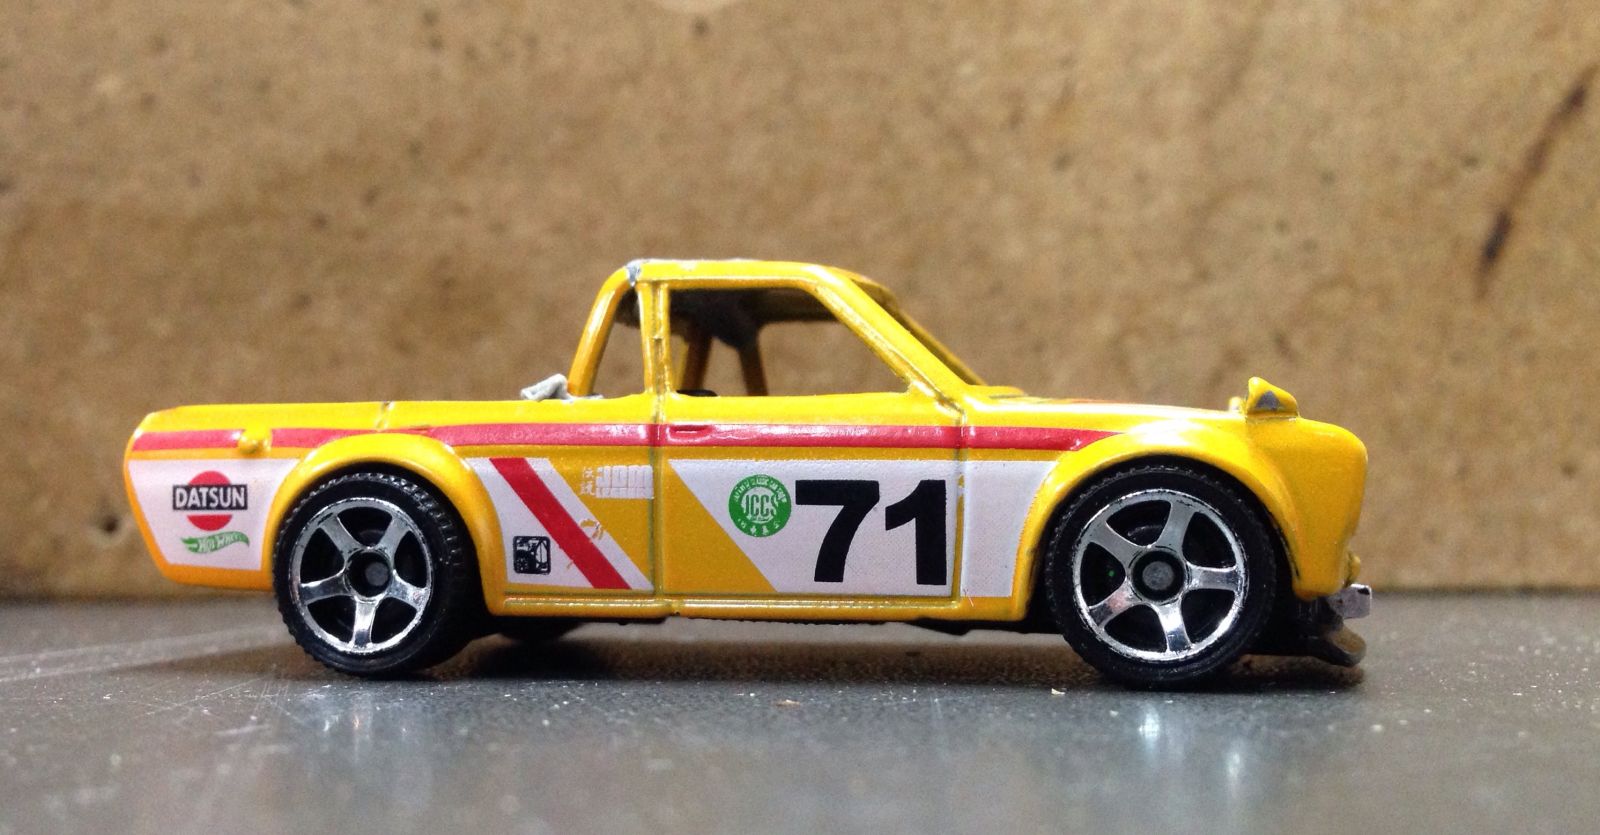
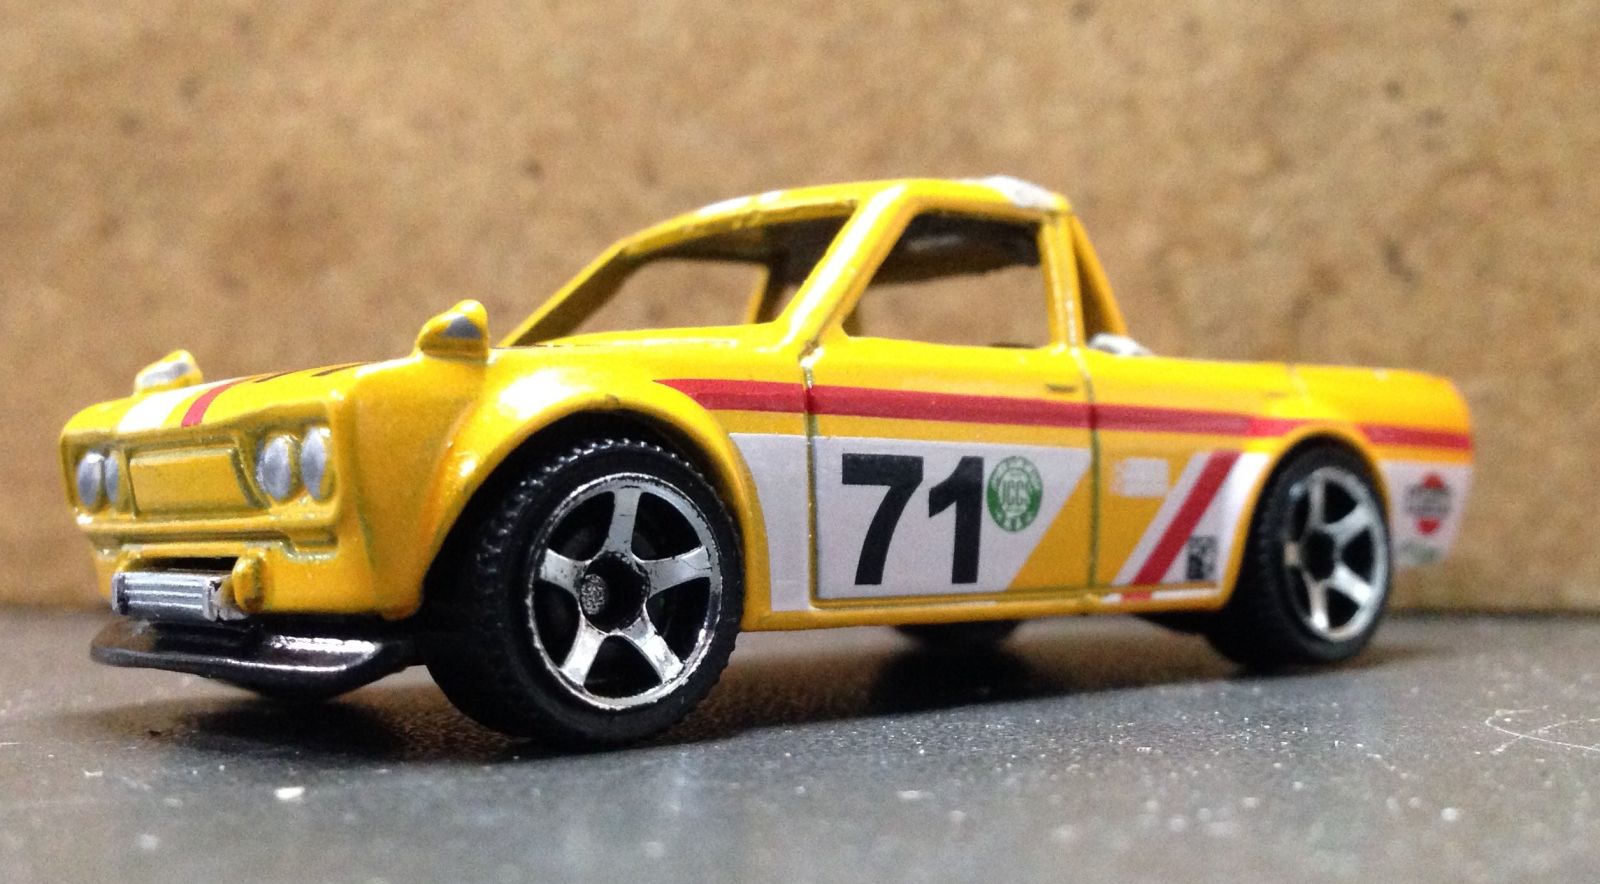
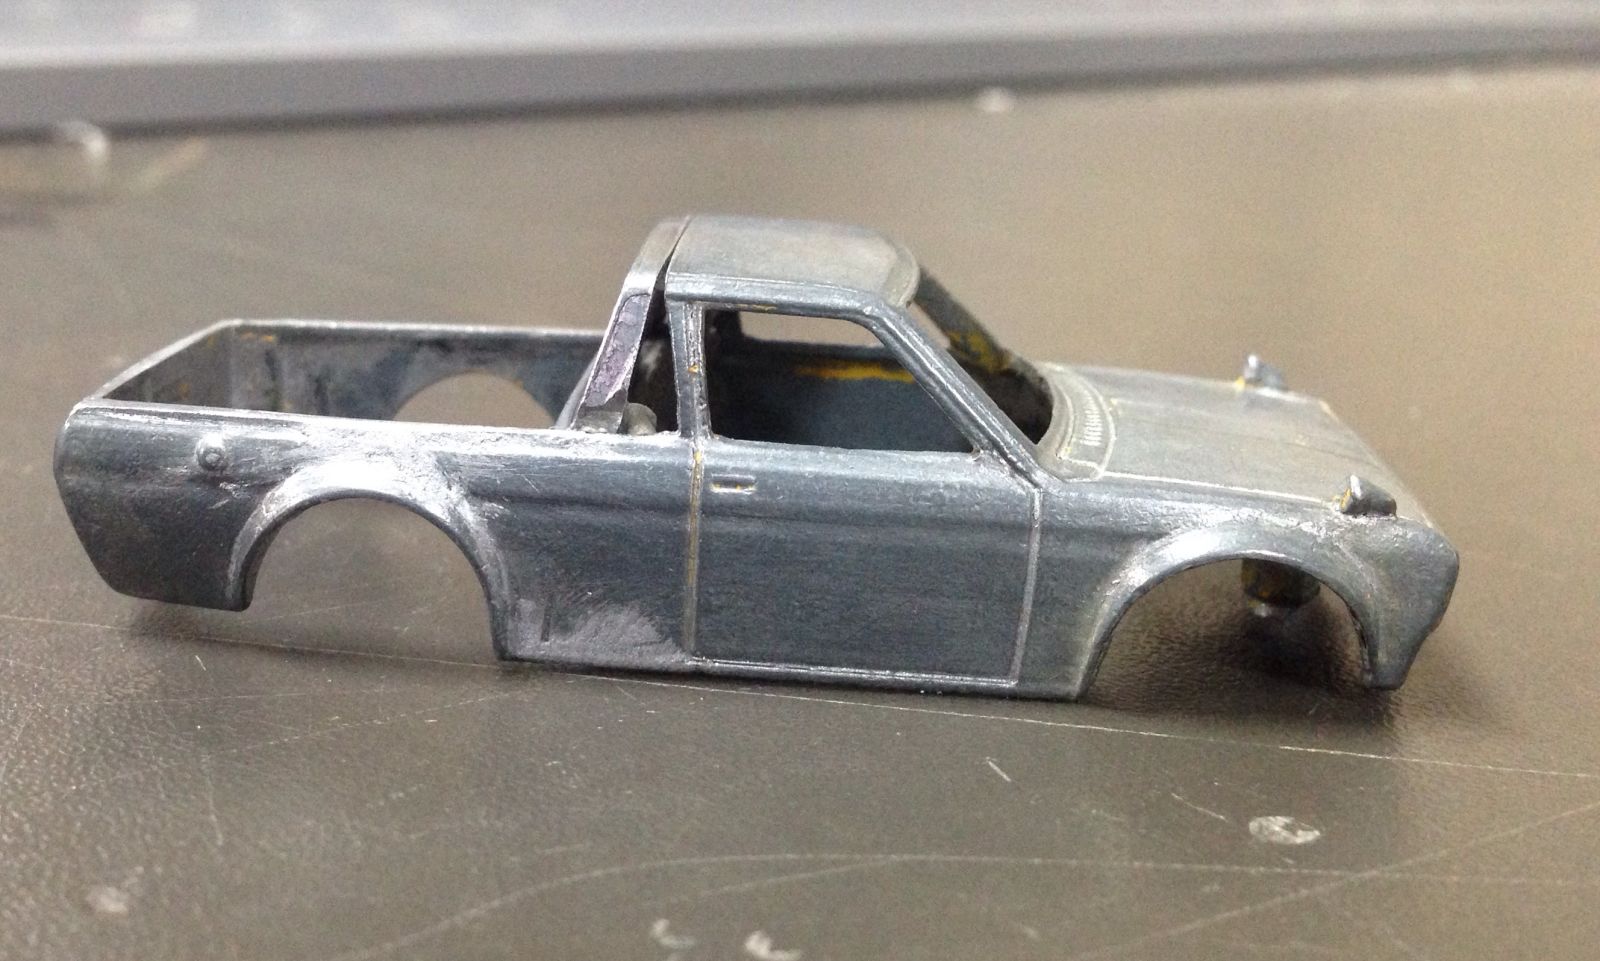
Fresh out the pack, such innocence, if only it knew what was coming it’s way.
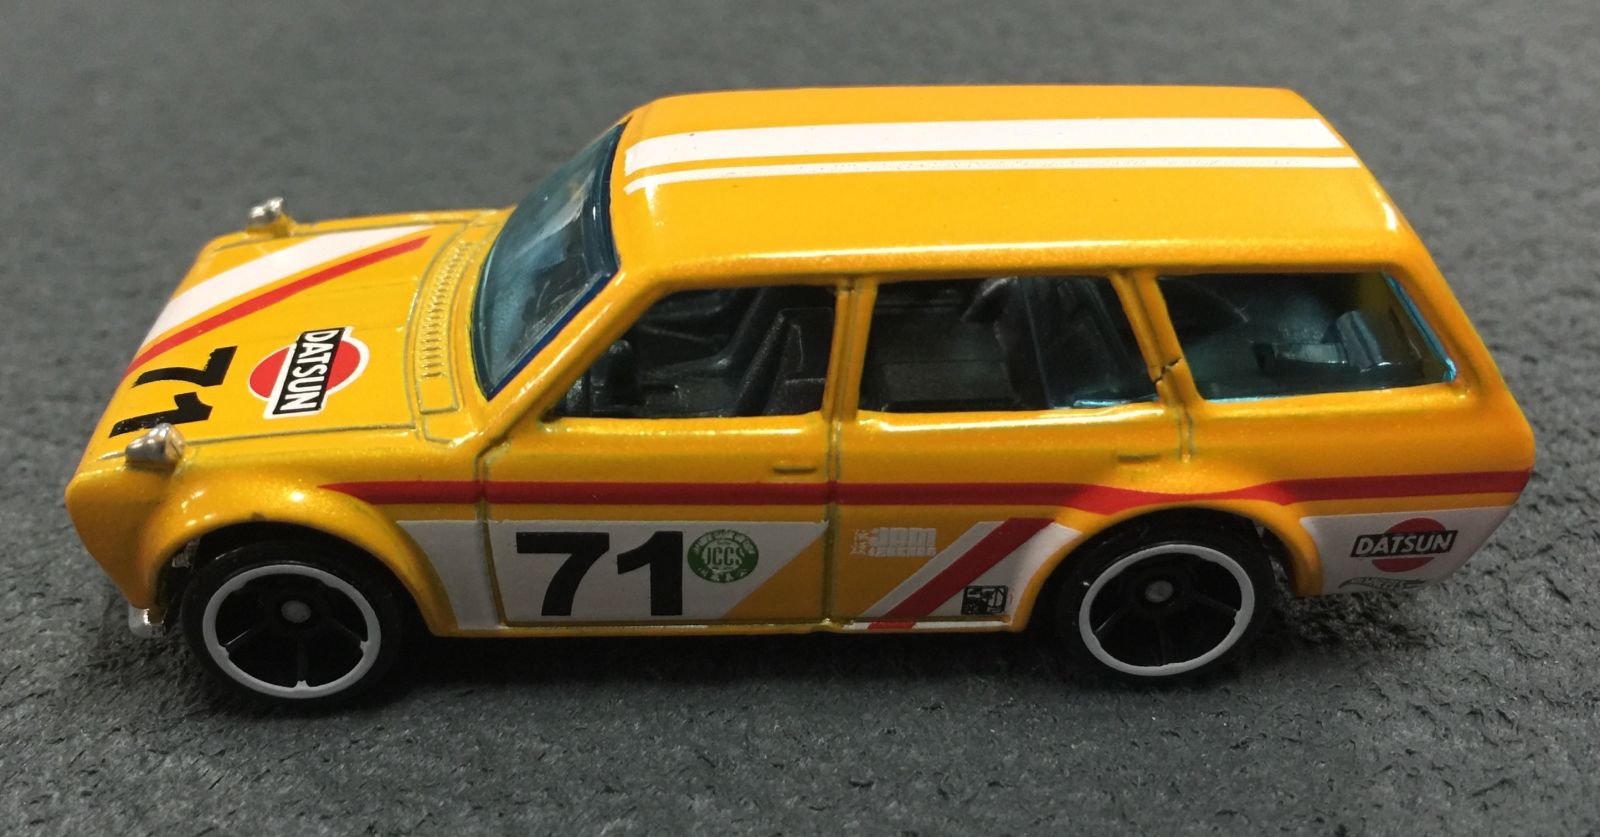
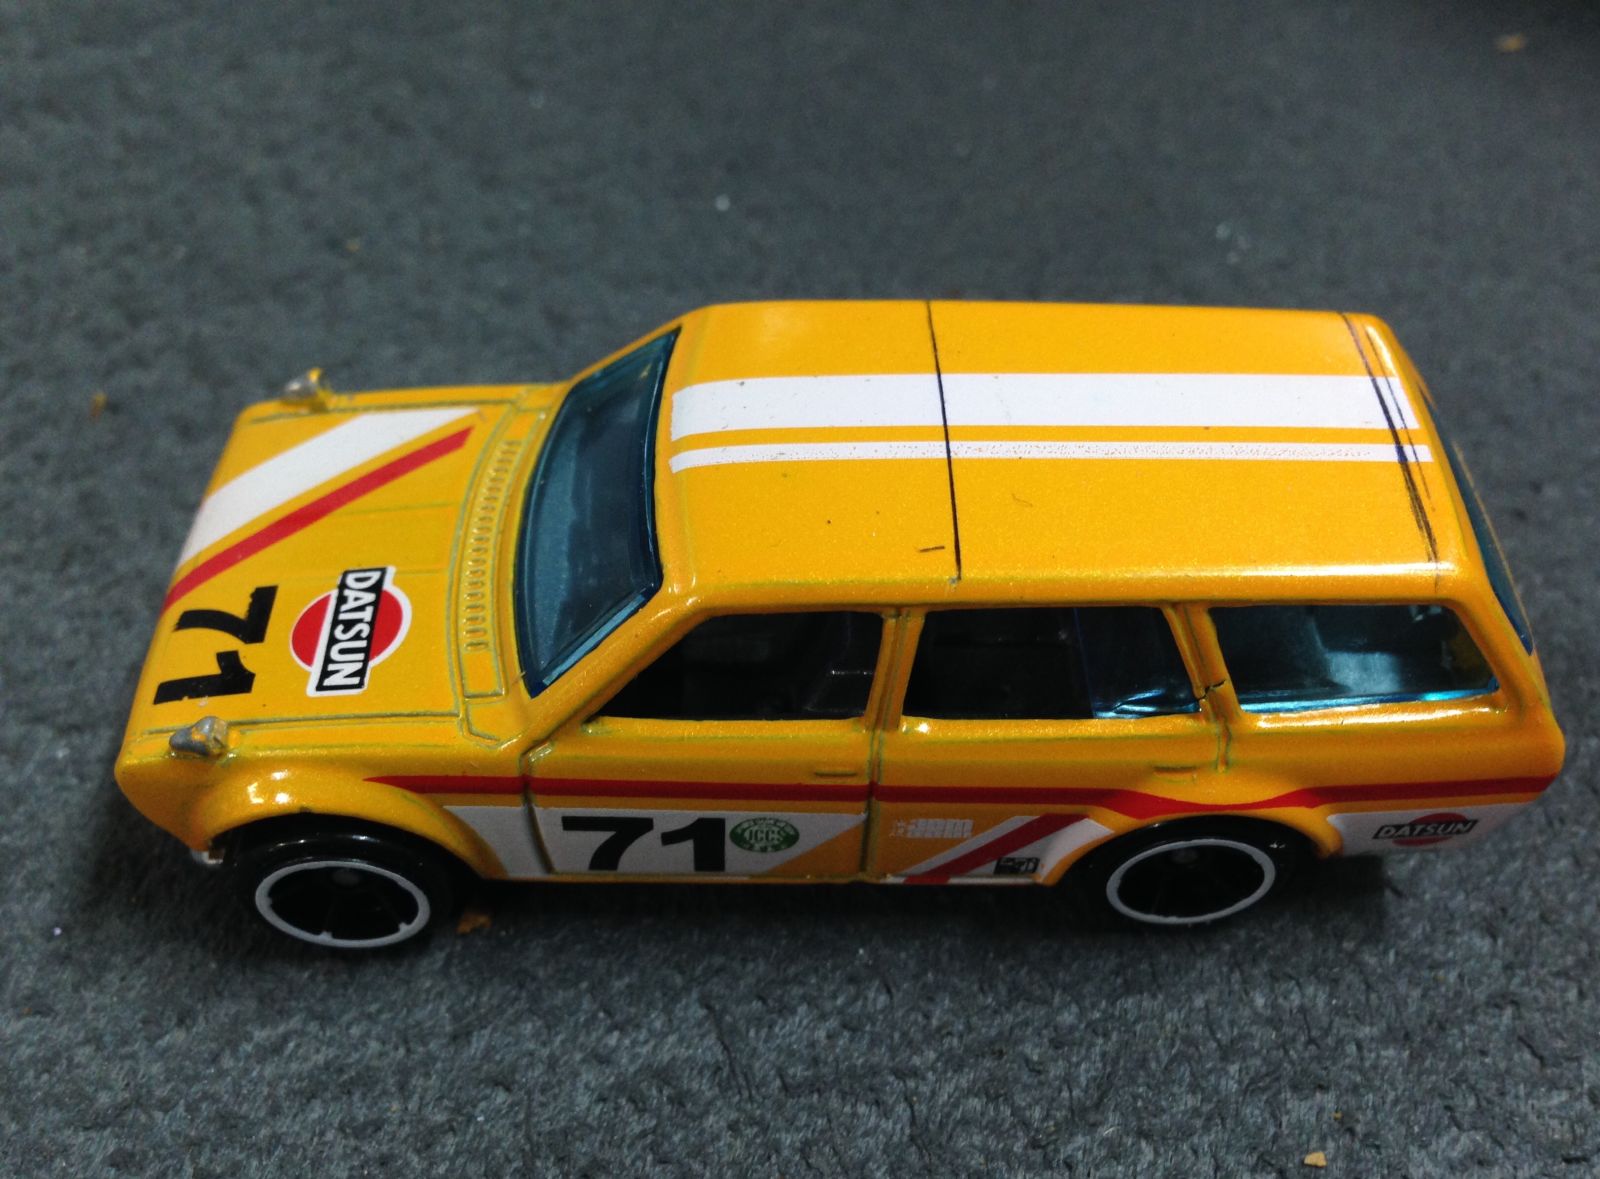
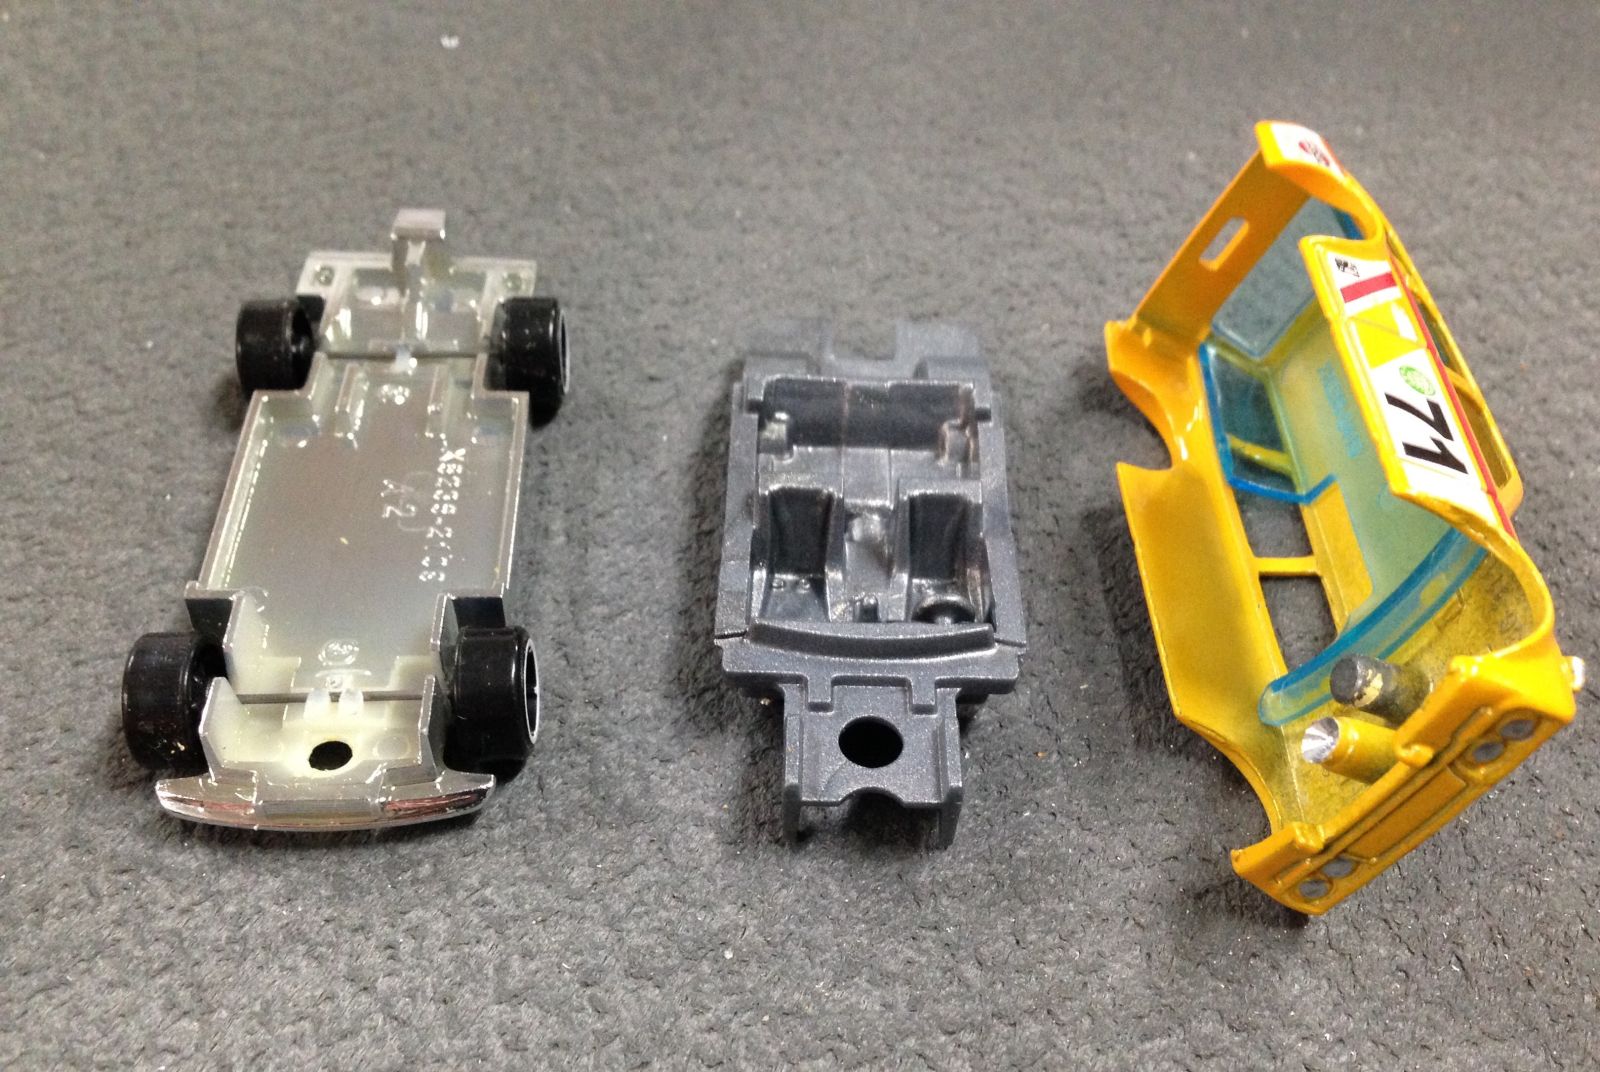
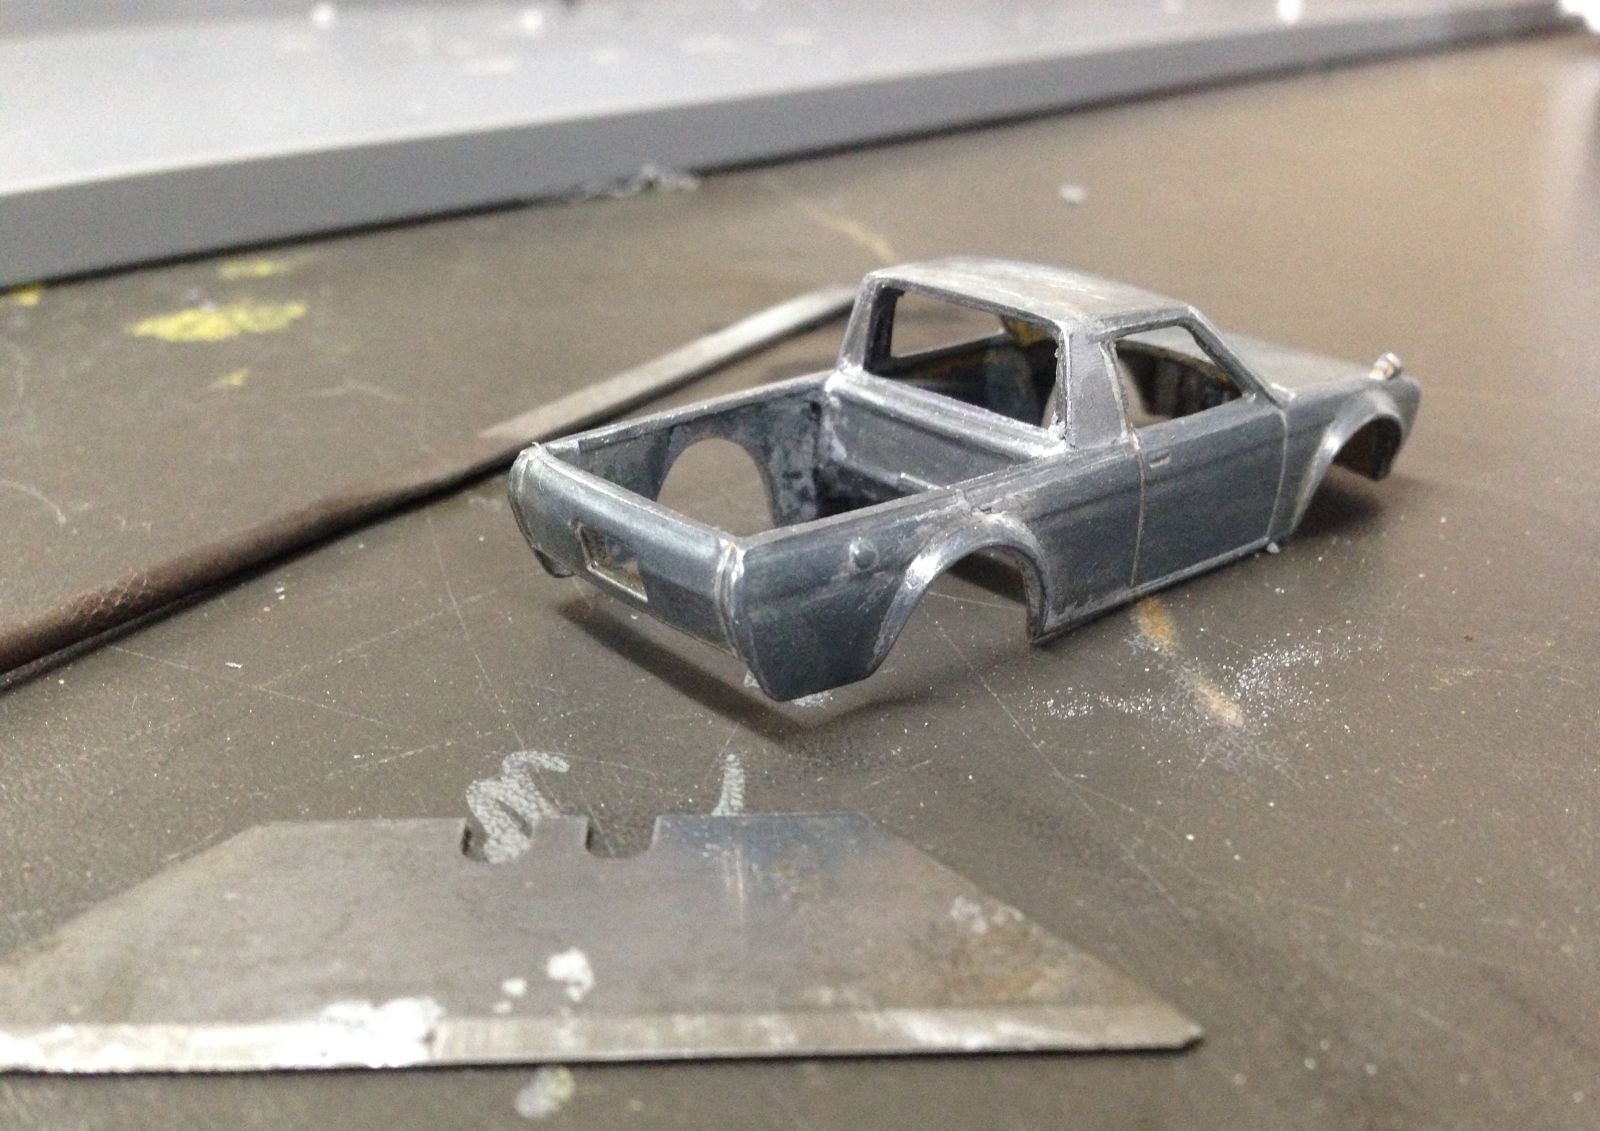
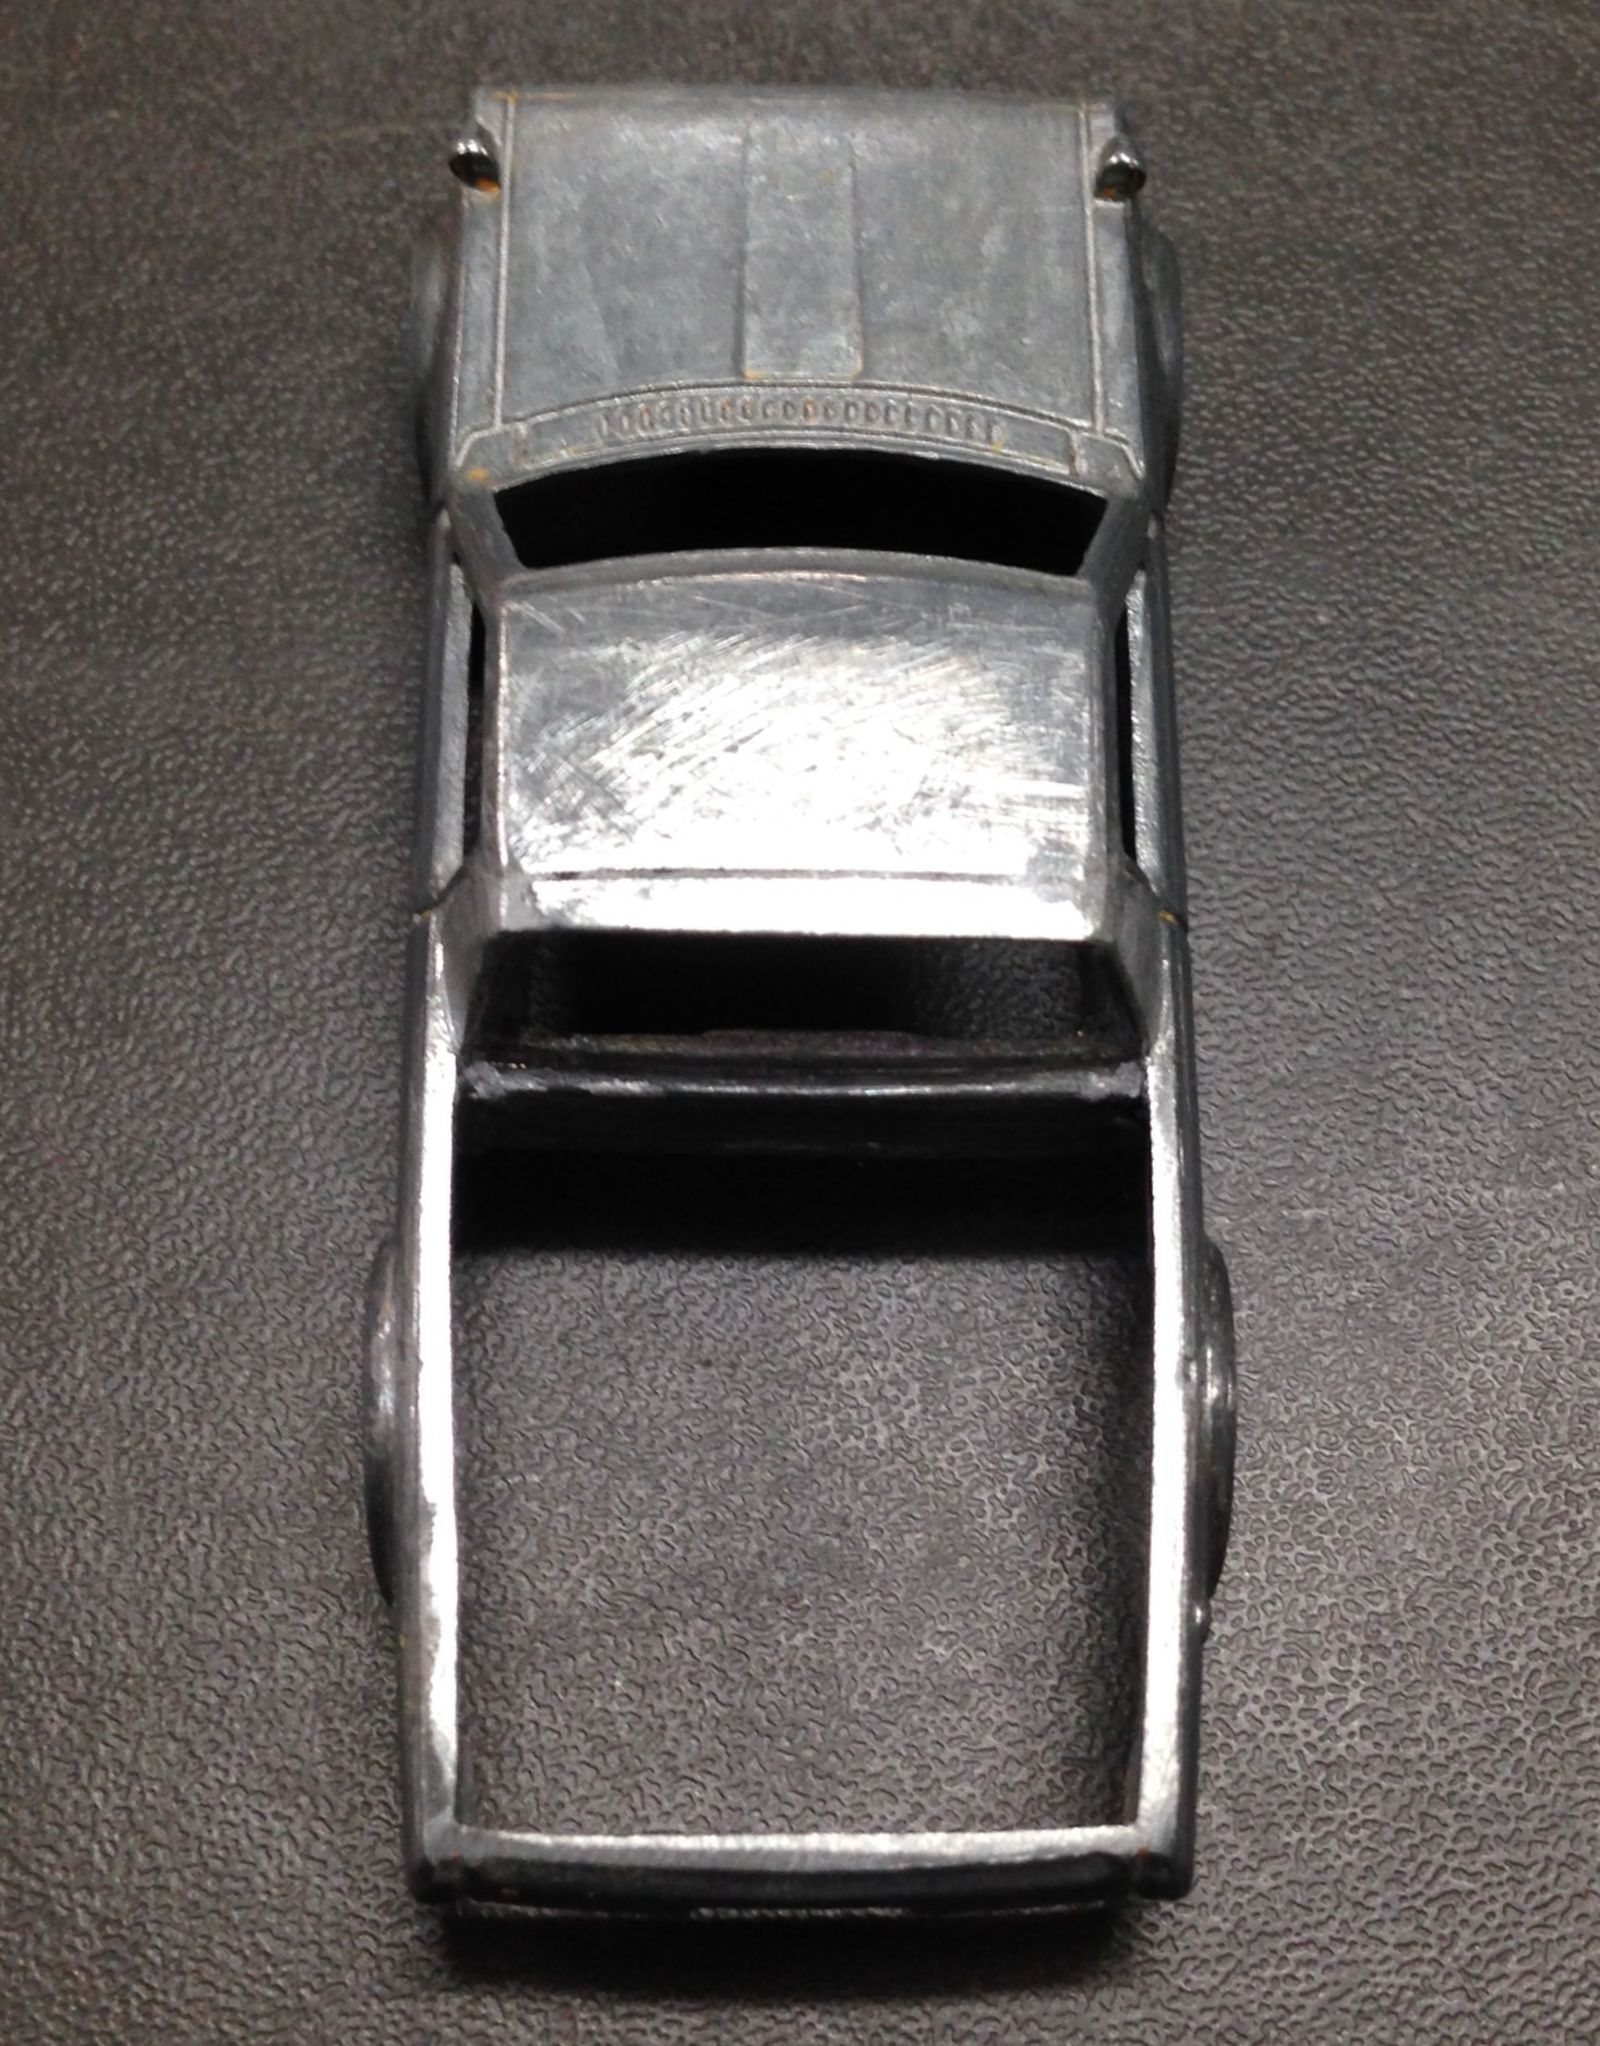
The reason I even decided to tackle this build was the cast had some major flaws in that the C pillars on each side had cracks through them. There’s also damage to the window area on the other side of the car.
Incisions marked out.
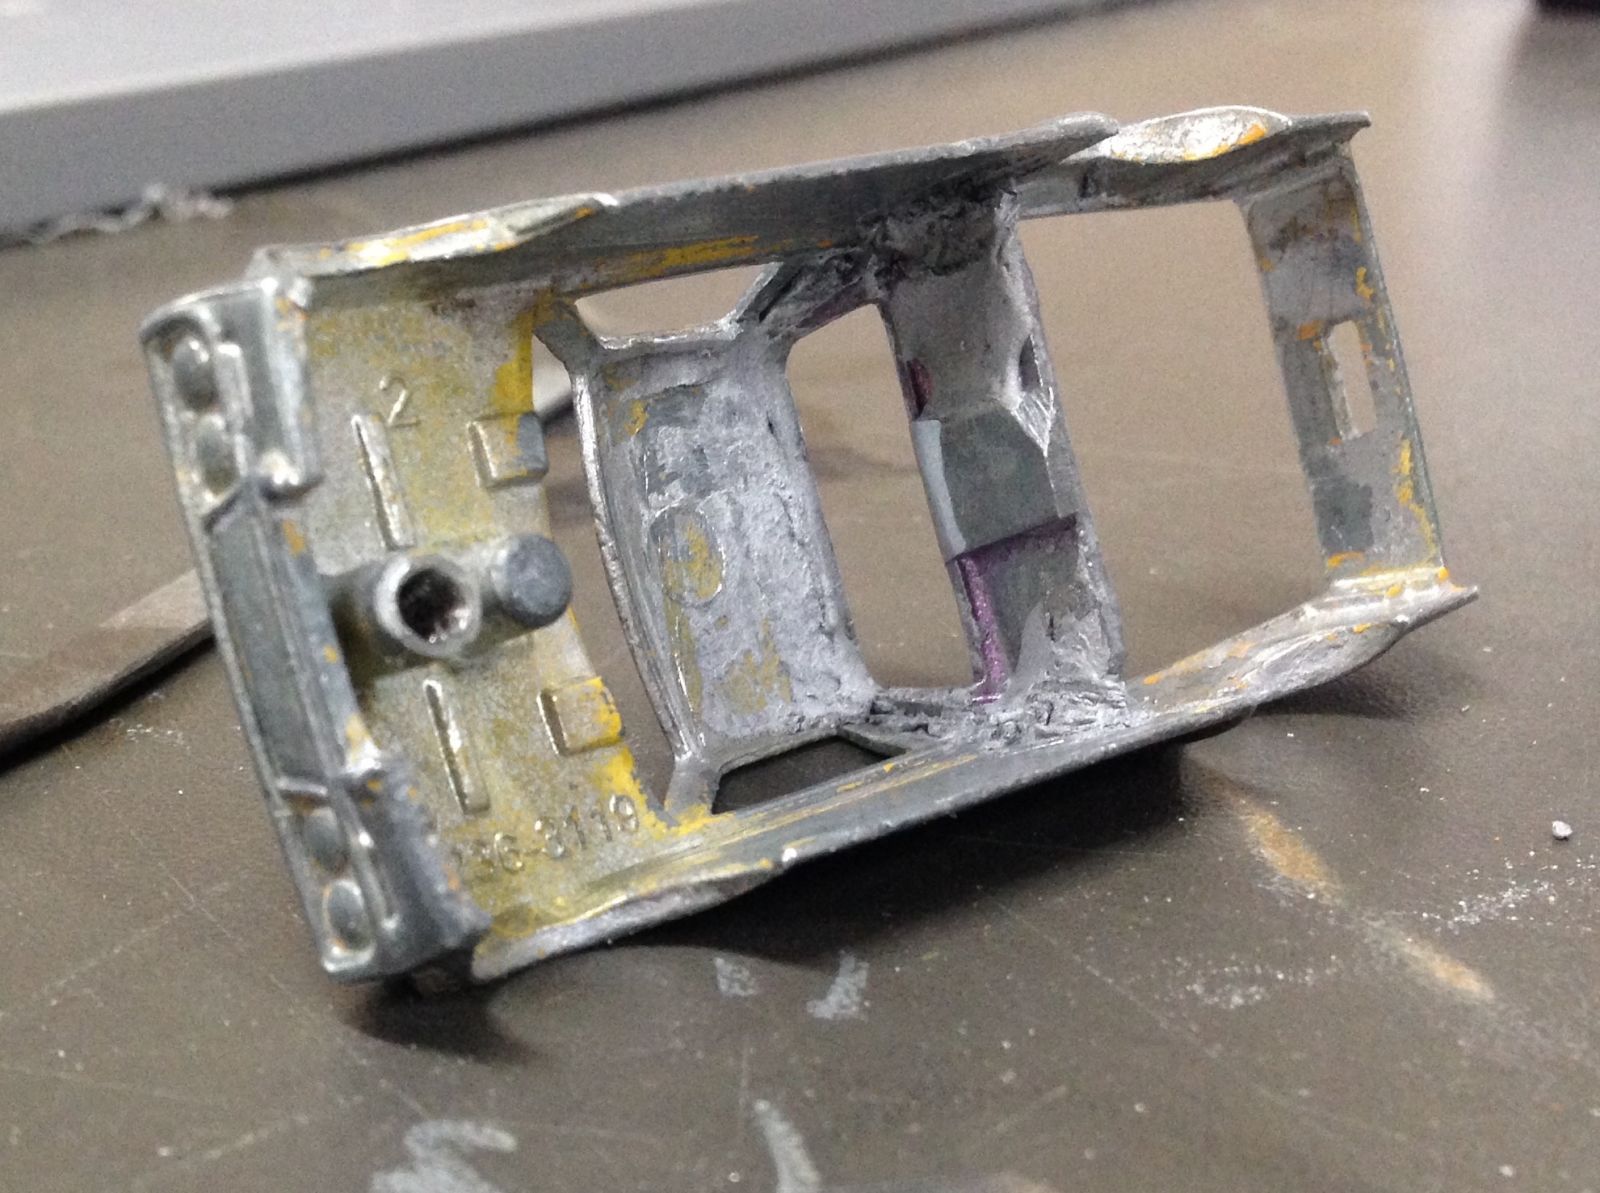
Rivet drilled out.
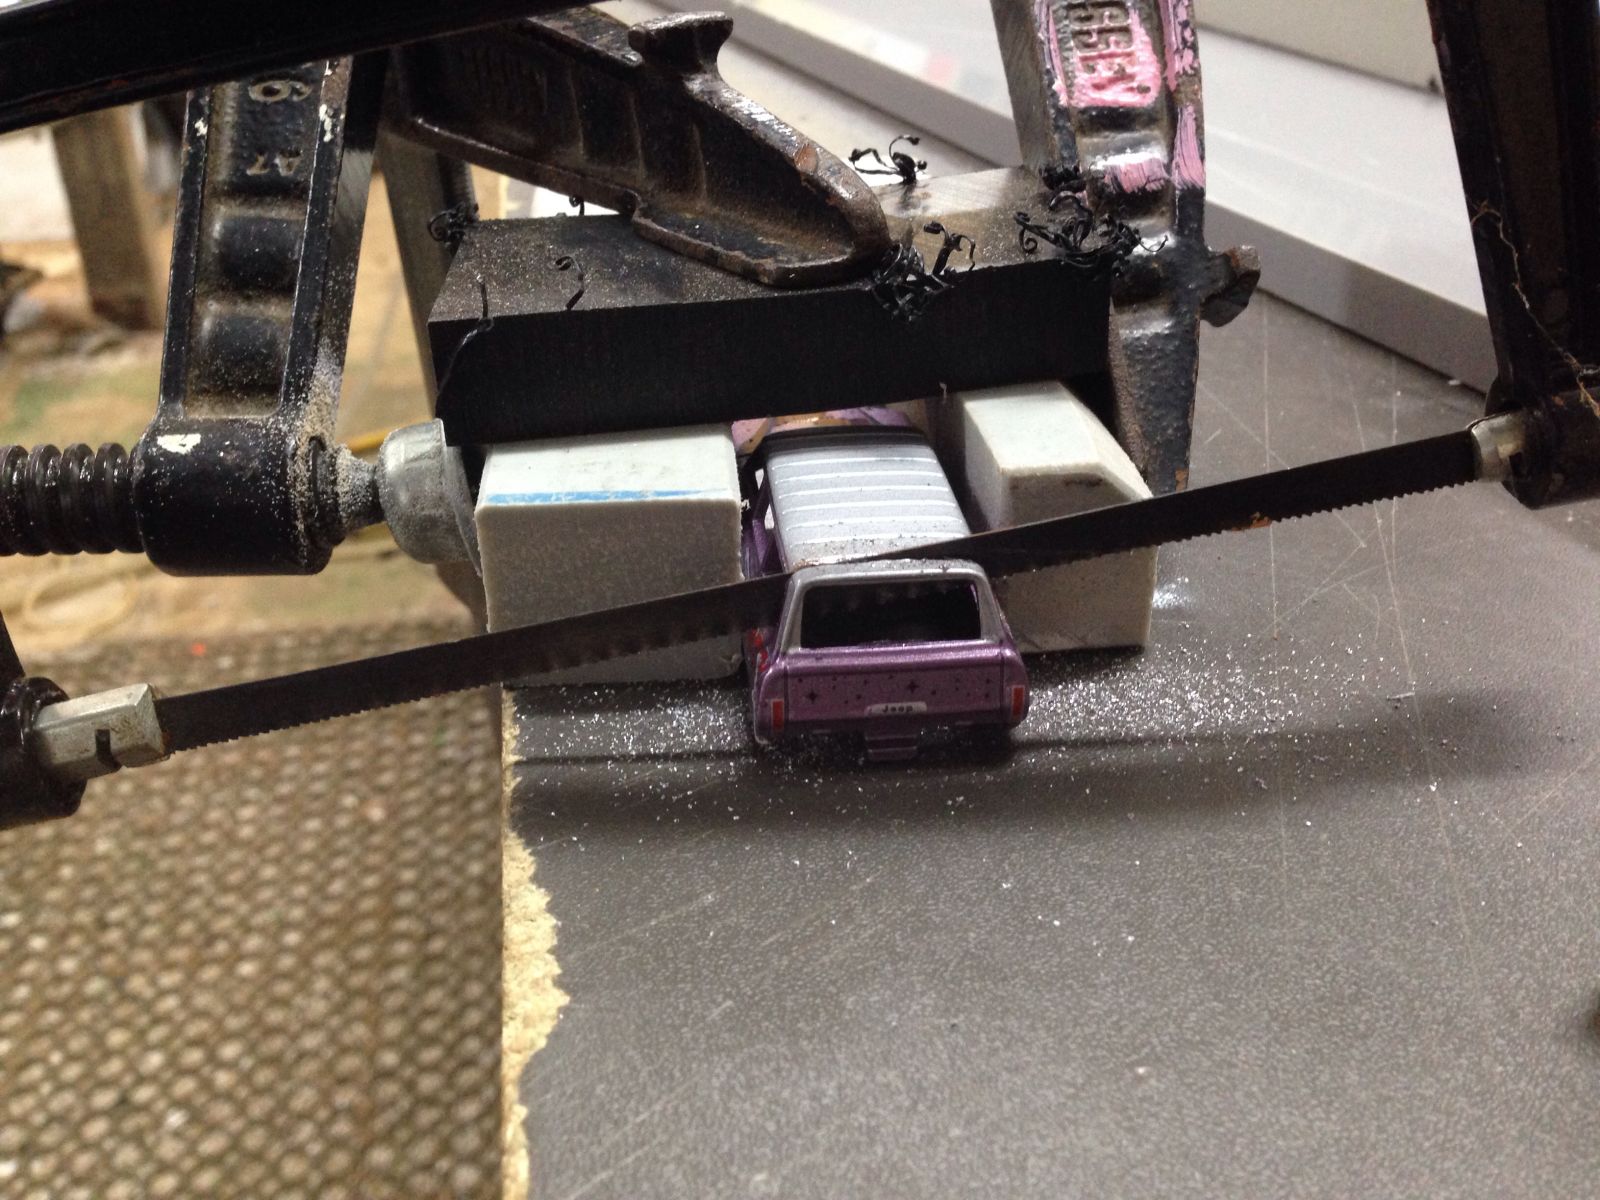
Let the games begin.
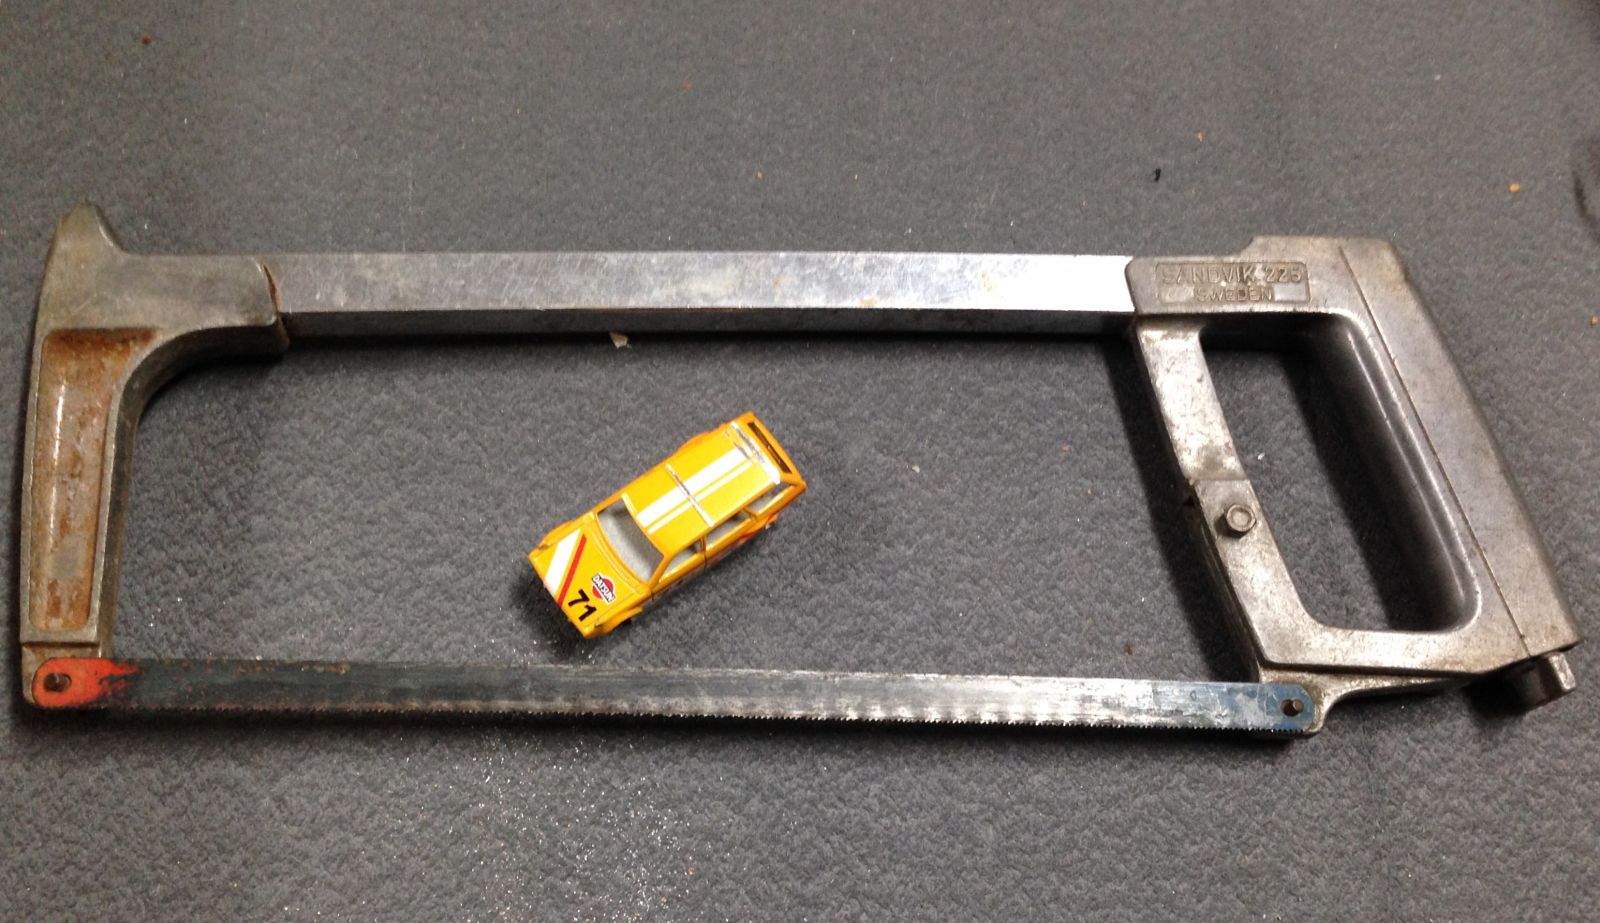
I haven’t got a Dremel yet so this build was done with hand tools mostly save for the drill and one quick touch with a 4” grinder. Only used the grinder to save time on the tiny file I was using.
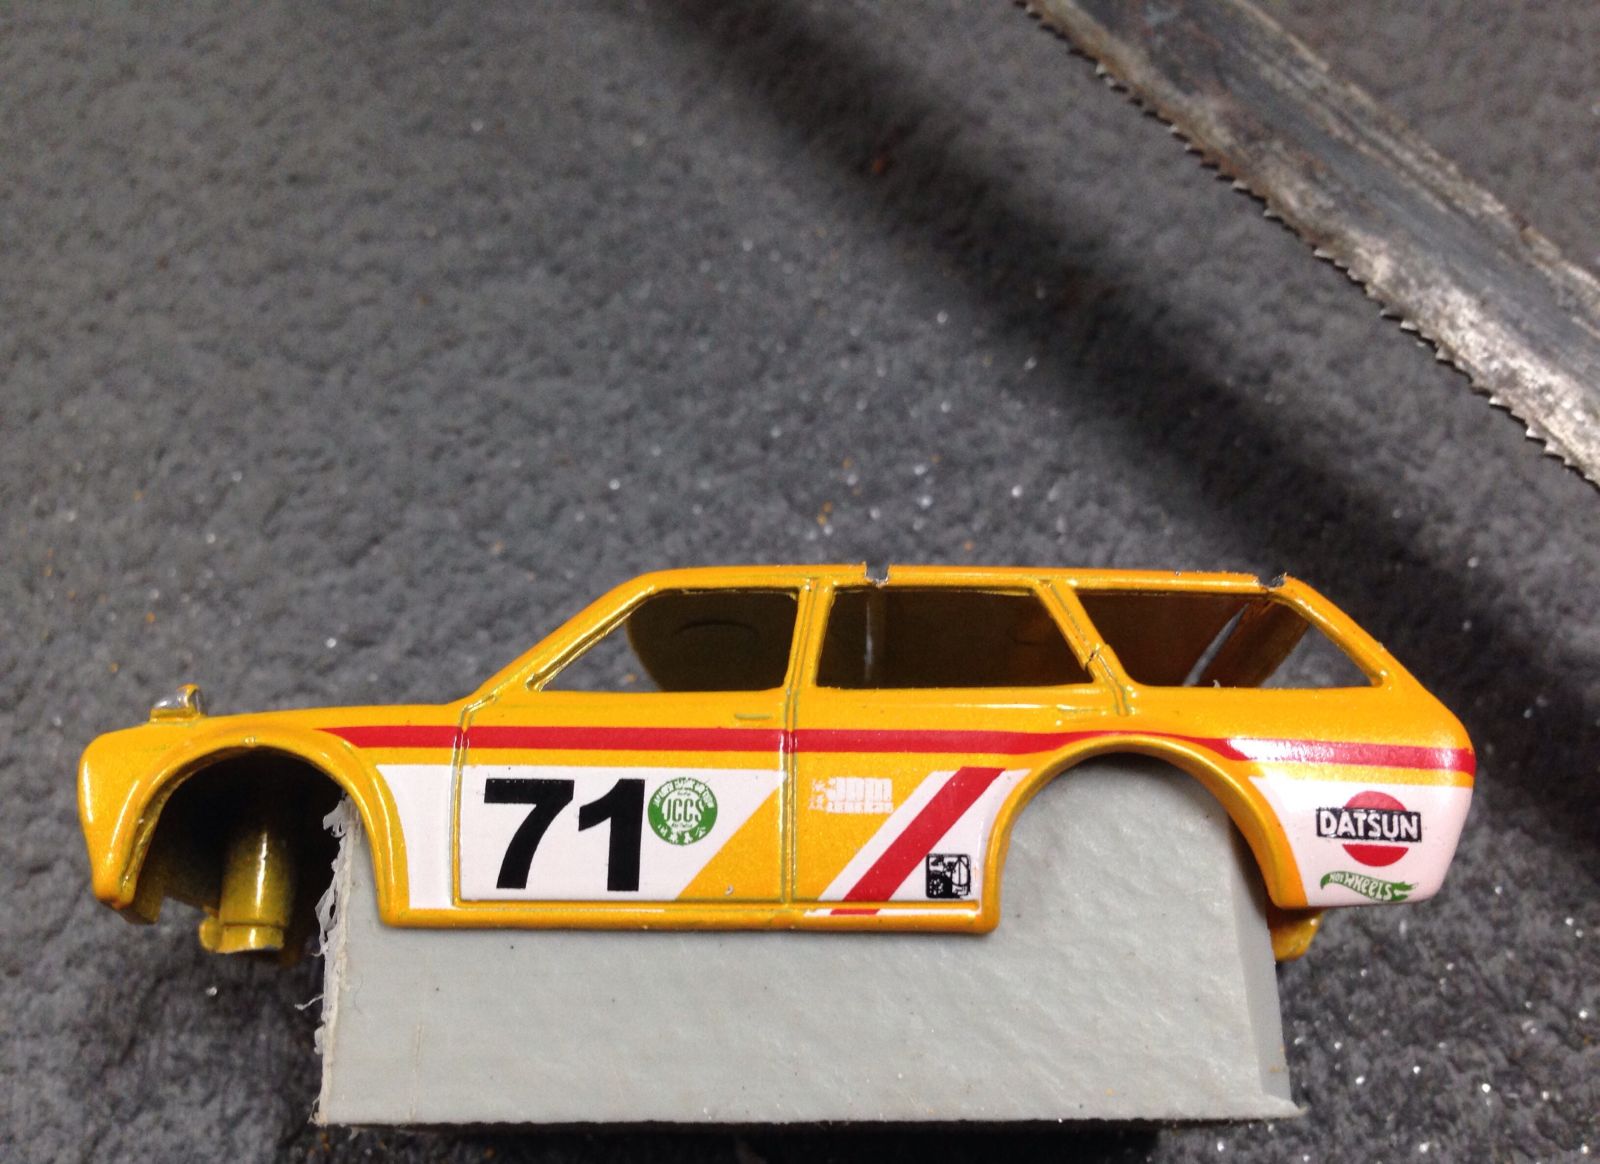
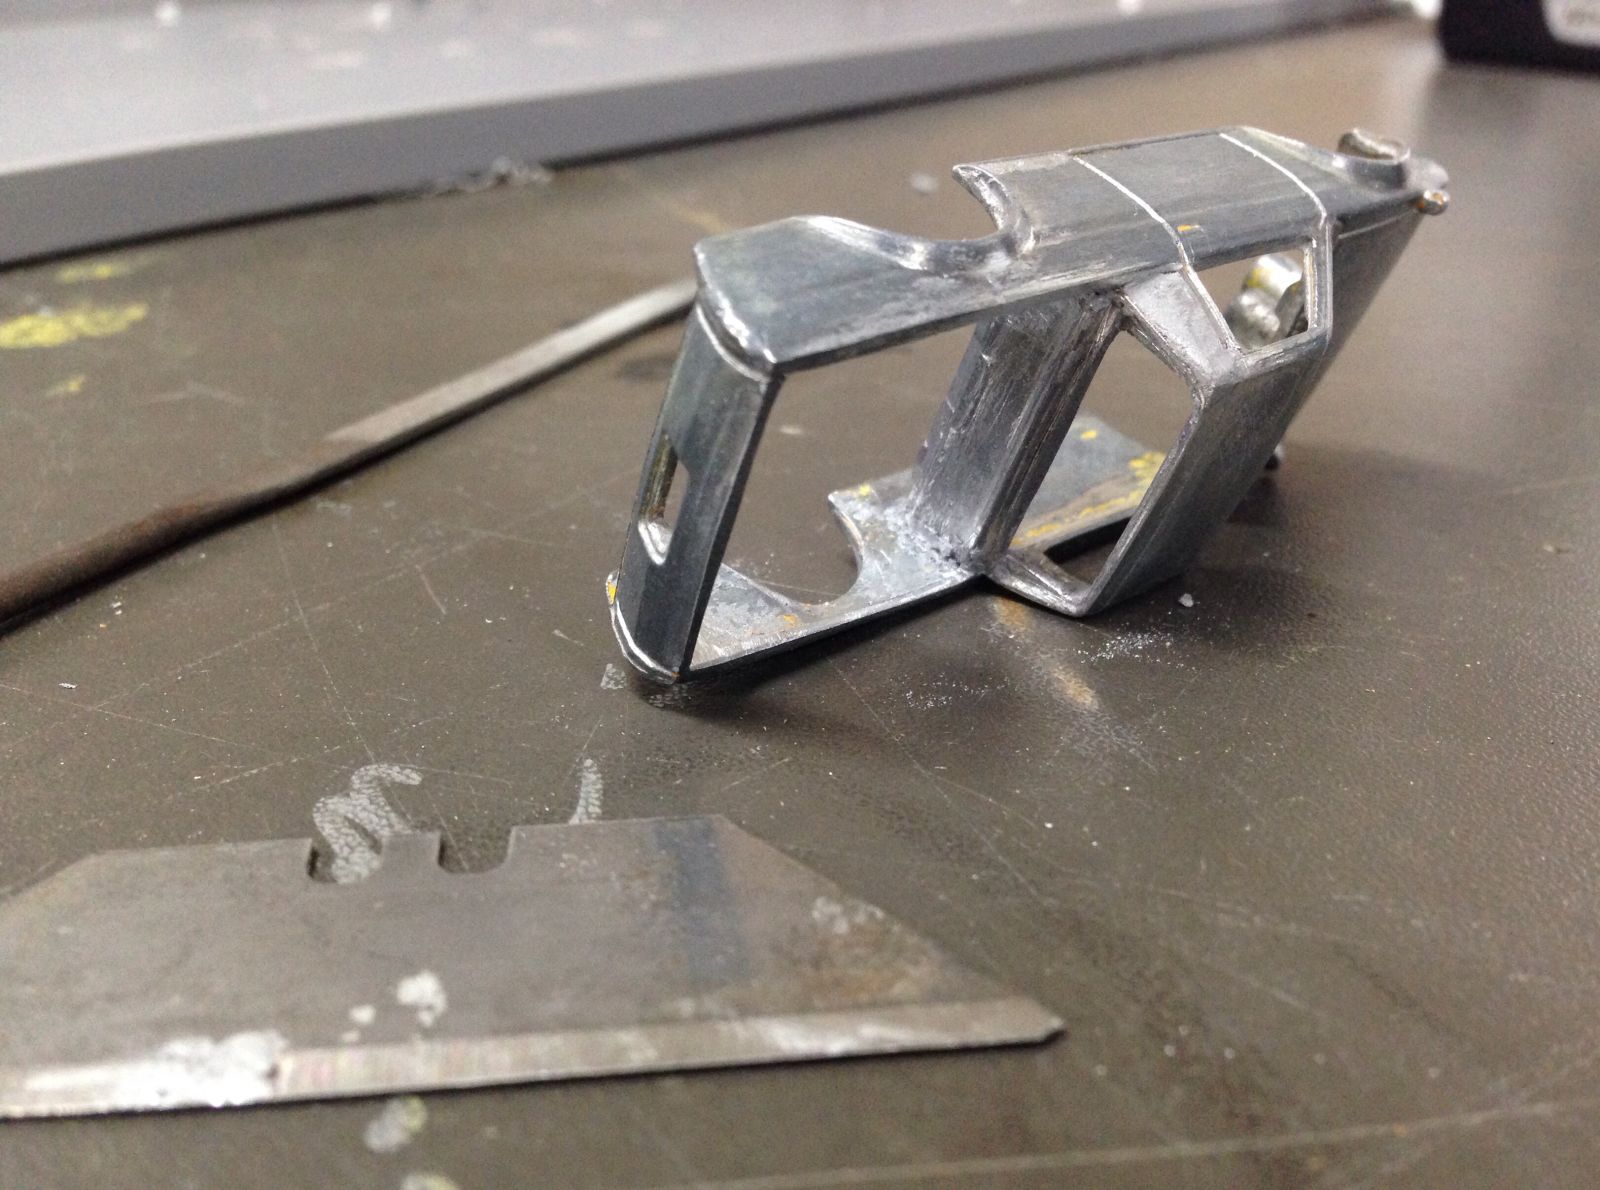
Almost through.
I wasn’t sure if I would be reusing the rear window surround so that’s why I did the extra cut at the rear section, didn’t use the piece so I could have skipped that cut.
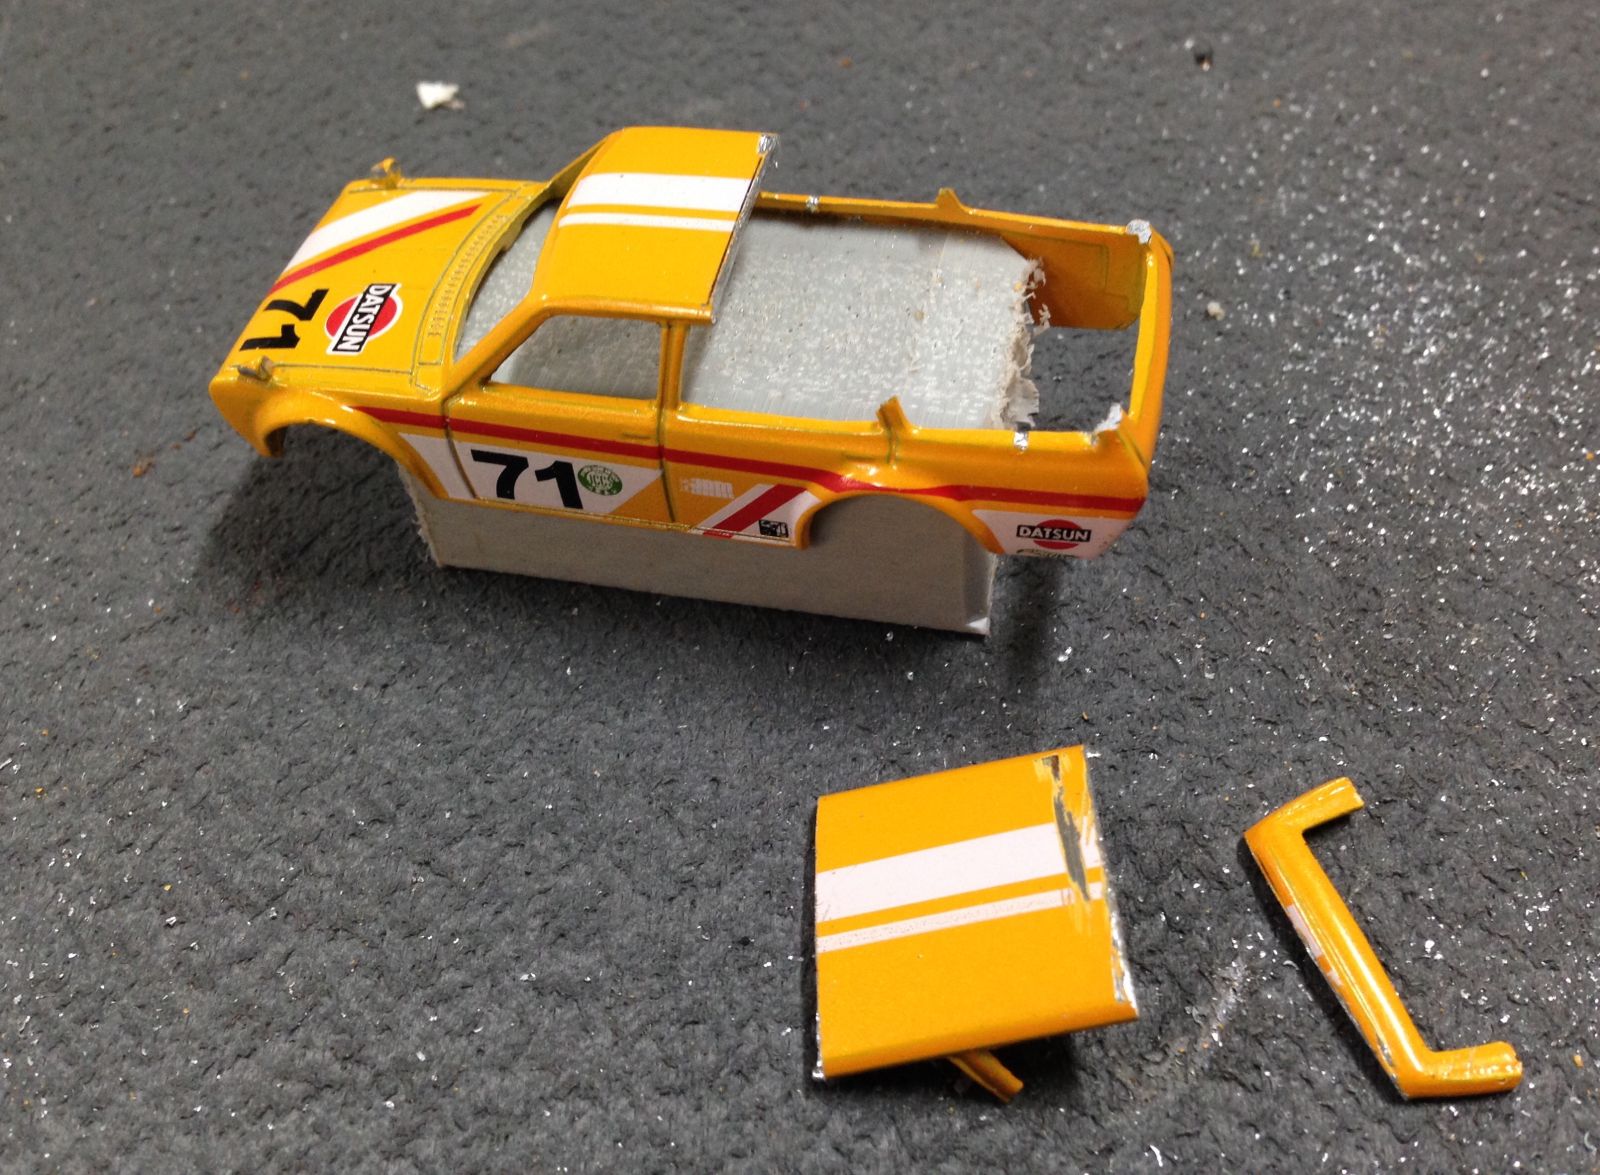
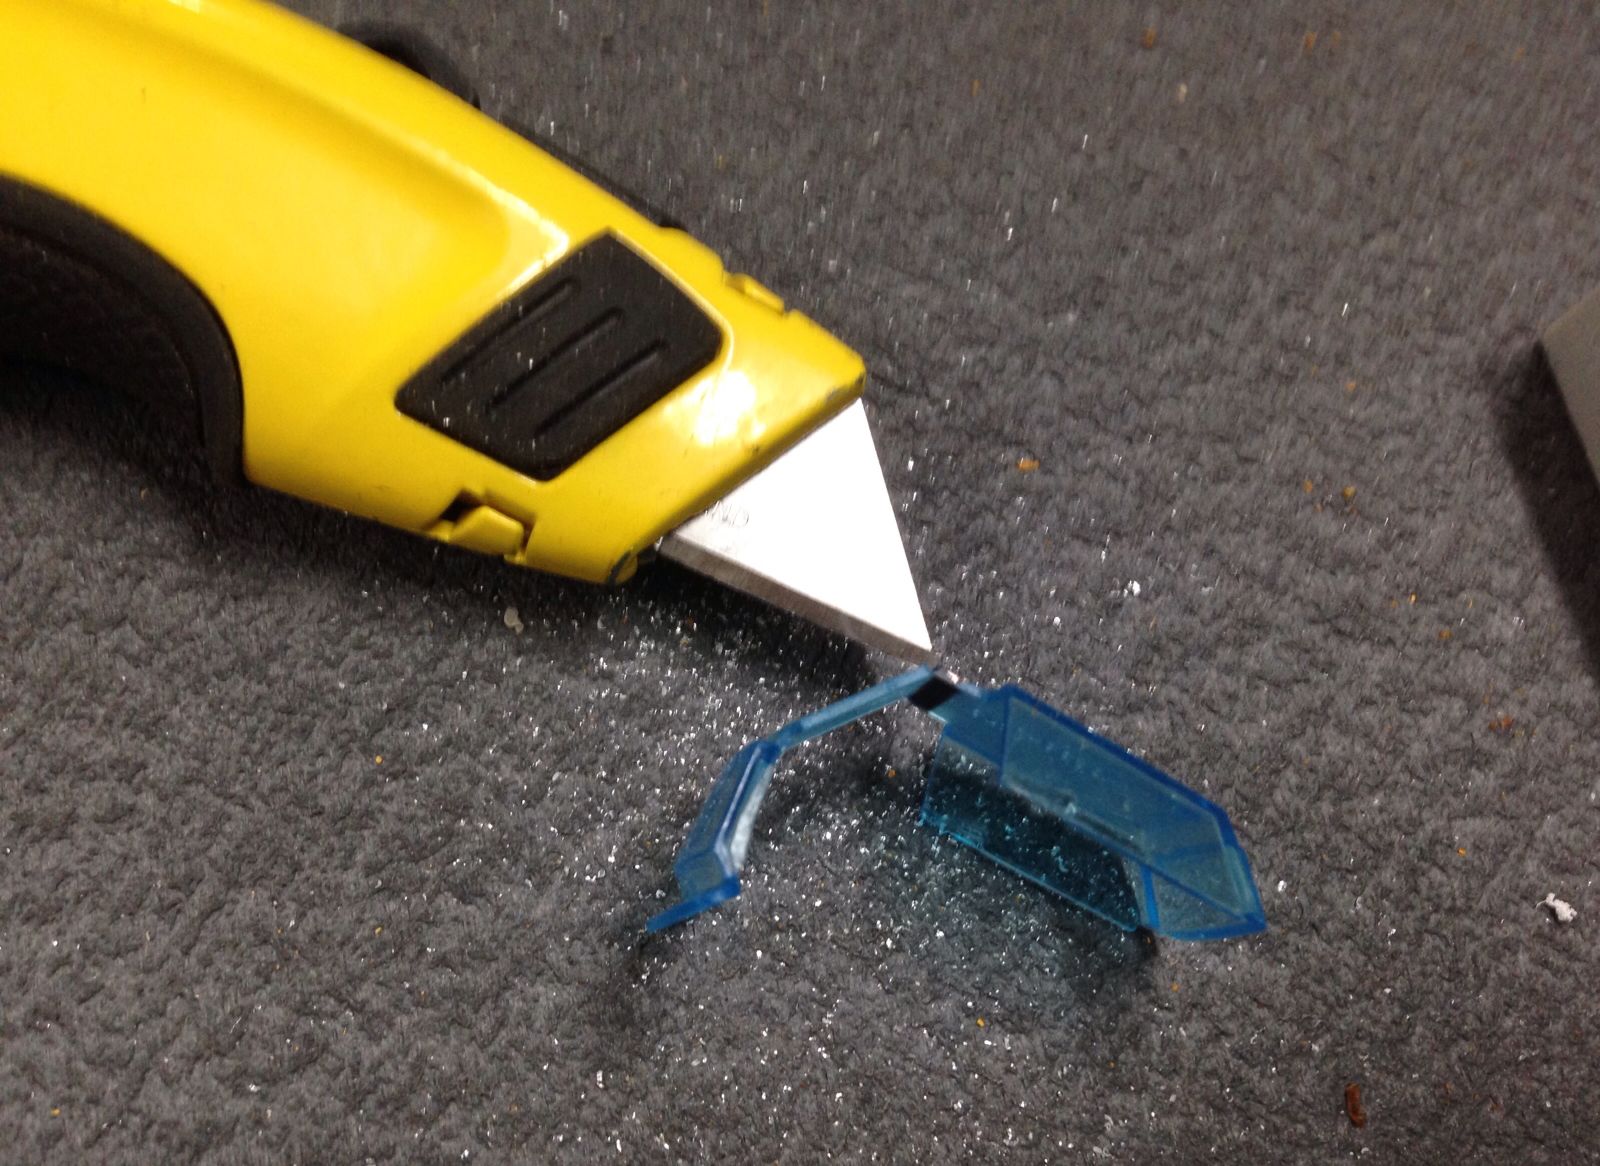
Score and snapped the ‘glass’ to keep the windscreen.
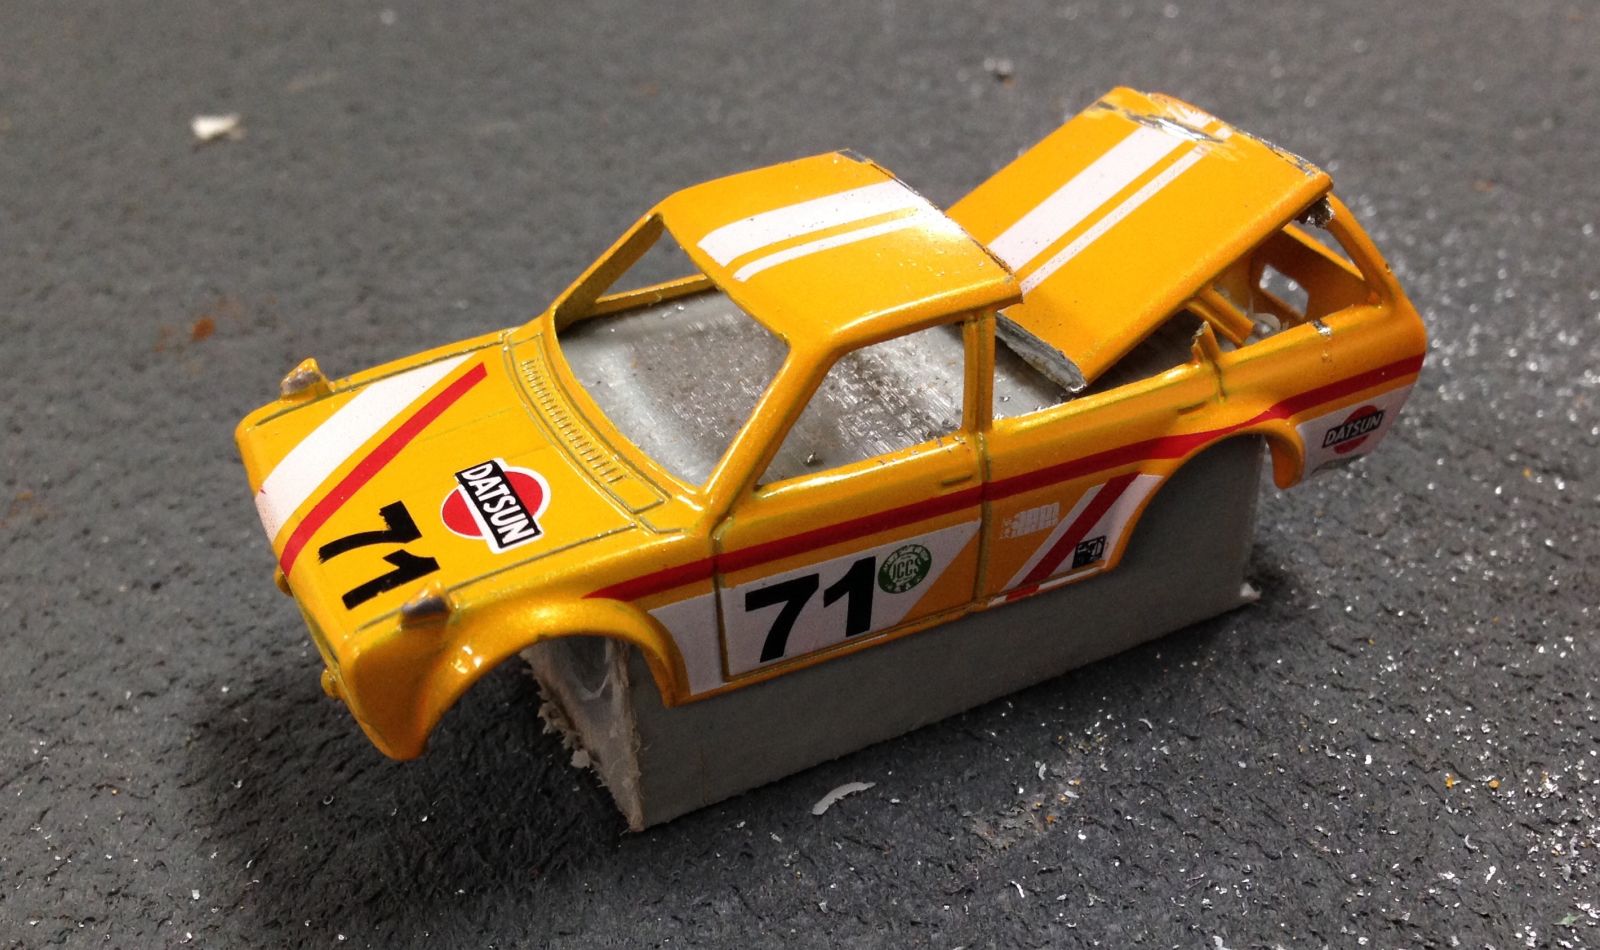
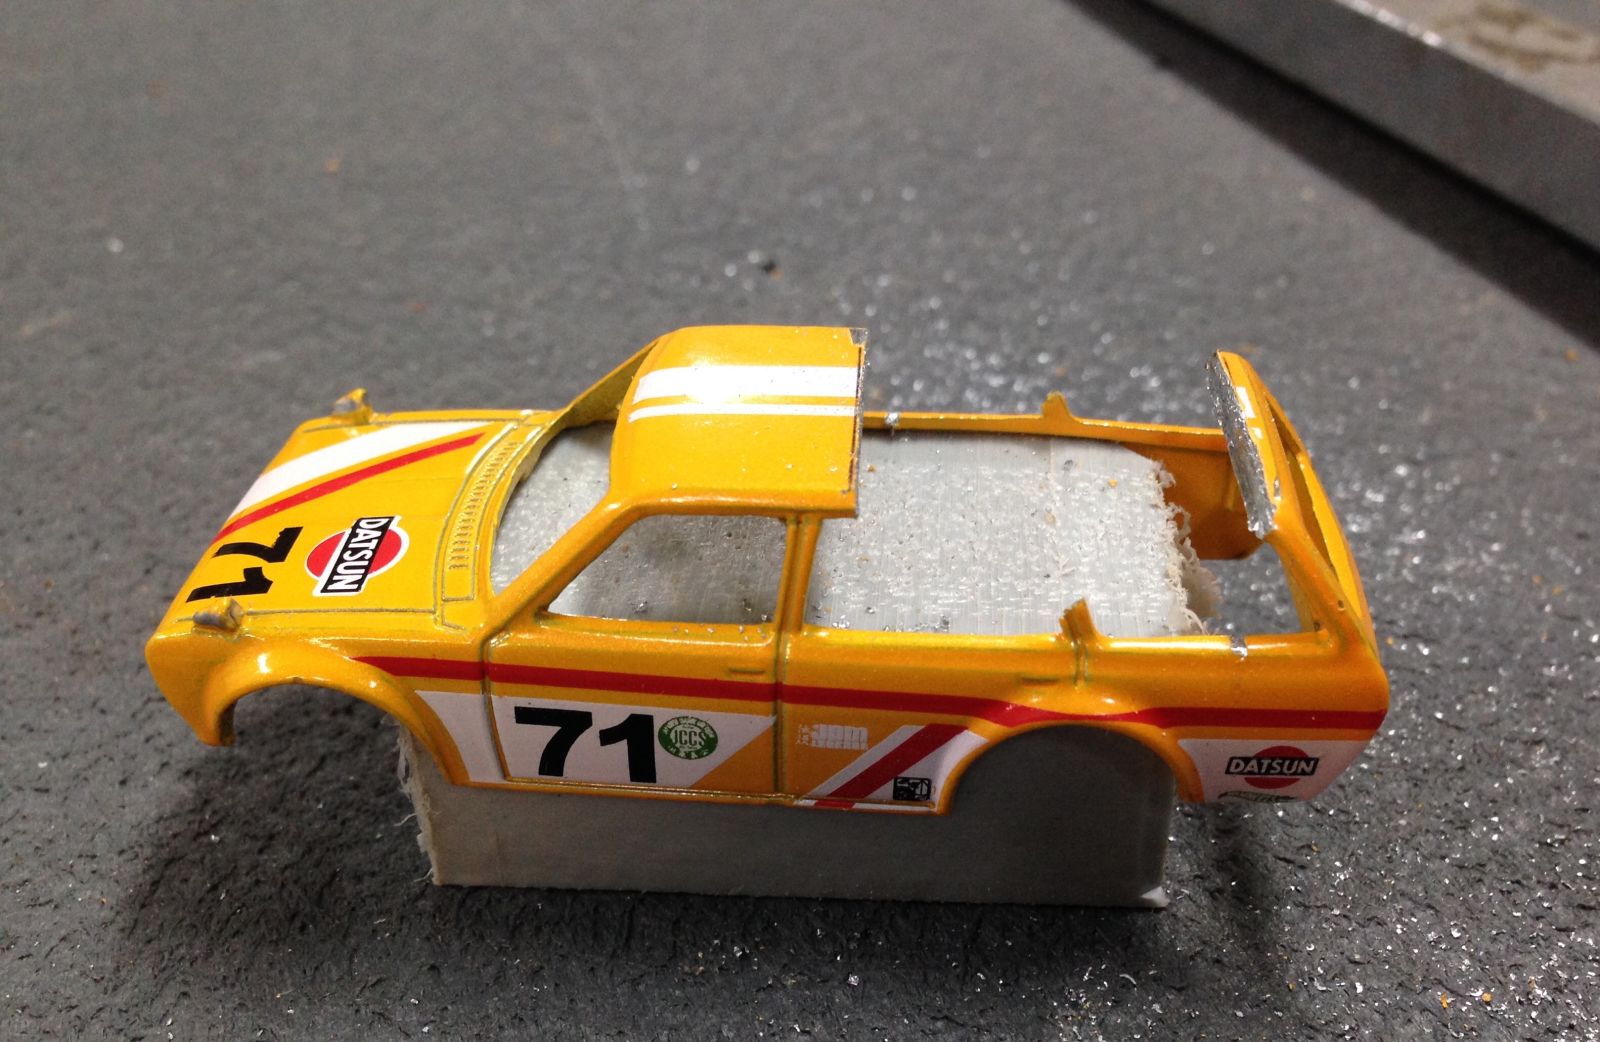
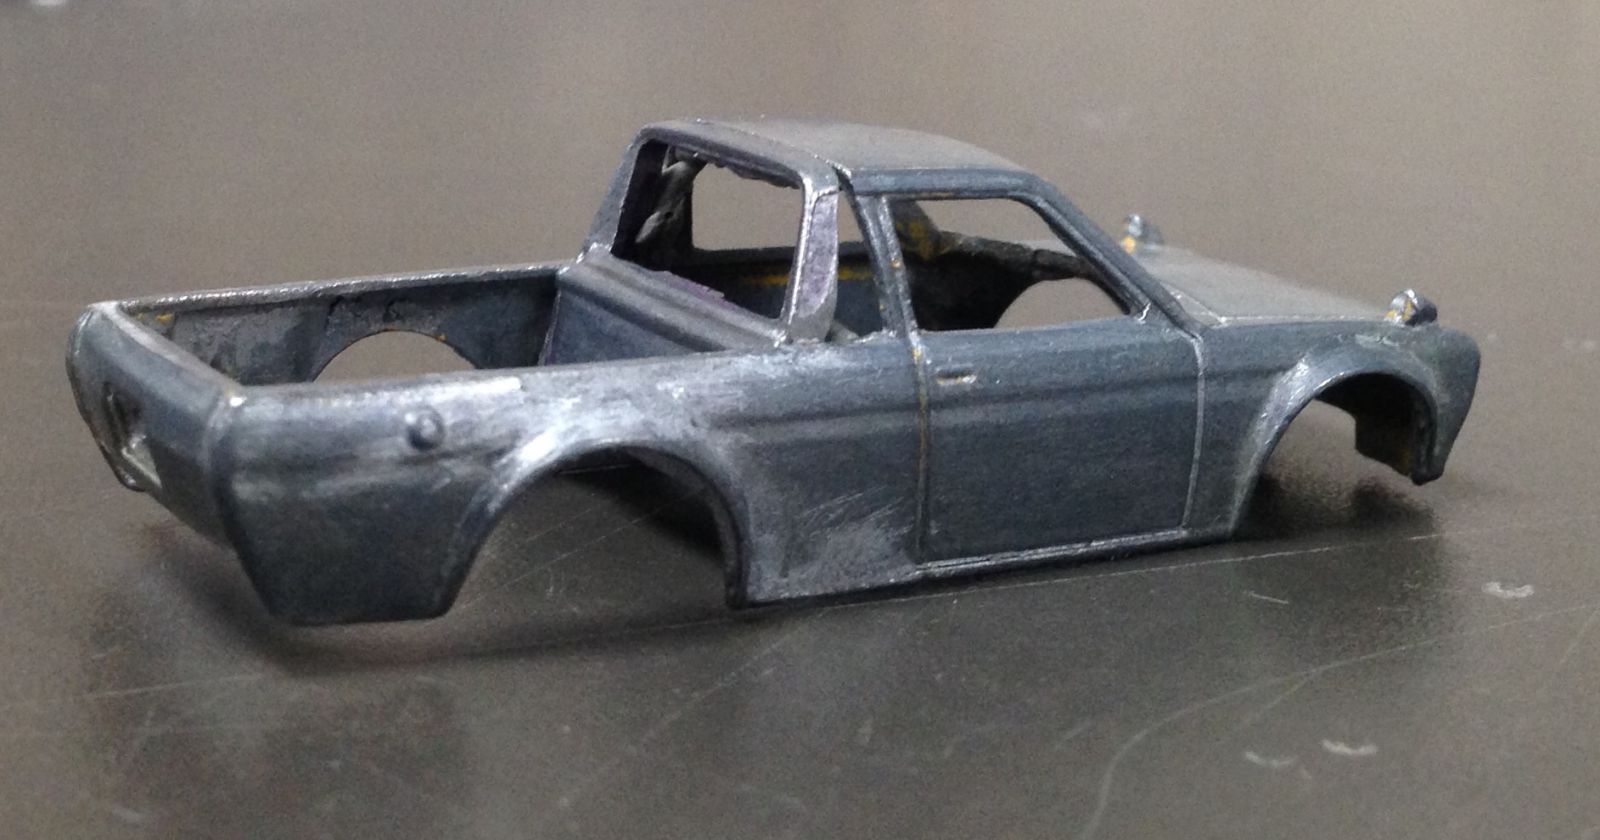
Ok, a few mock up shots using Blu Tac to position things so I could see how it was looking.
Different wheels are used throughout the build just too see what I liked.
I really had no idea of the style I wanted before I started other than how the new rear cab section should look. I toyed around with the raked look but I wanted the more stock Japanese UTE!! look for the cab that I finished with.

Still just mocking around
Bro truck Dato.

Time to get to work on the thing so I can play with it properly look at it on a shelf when it’s finished.
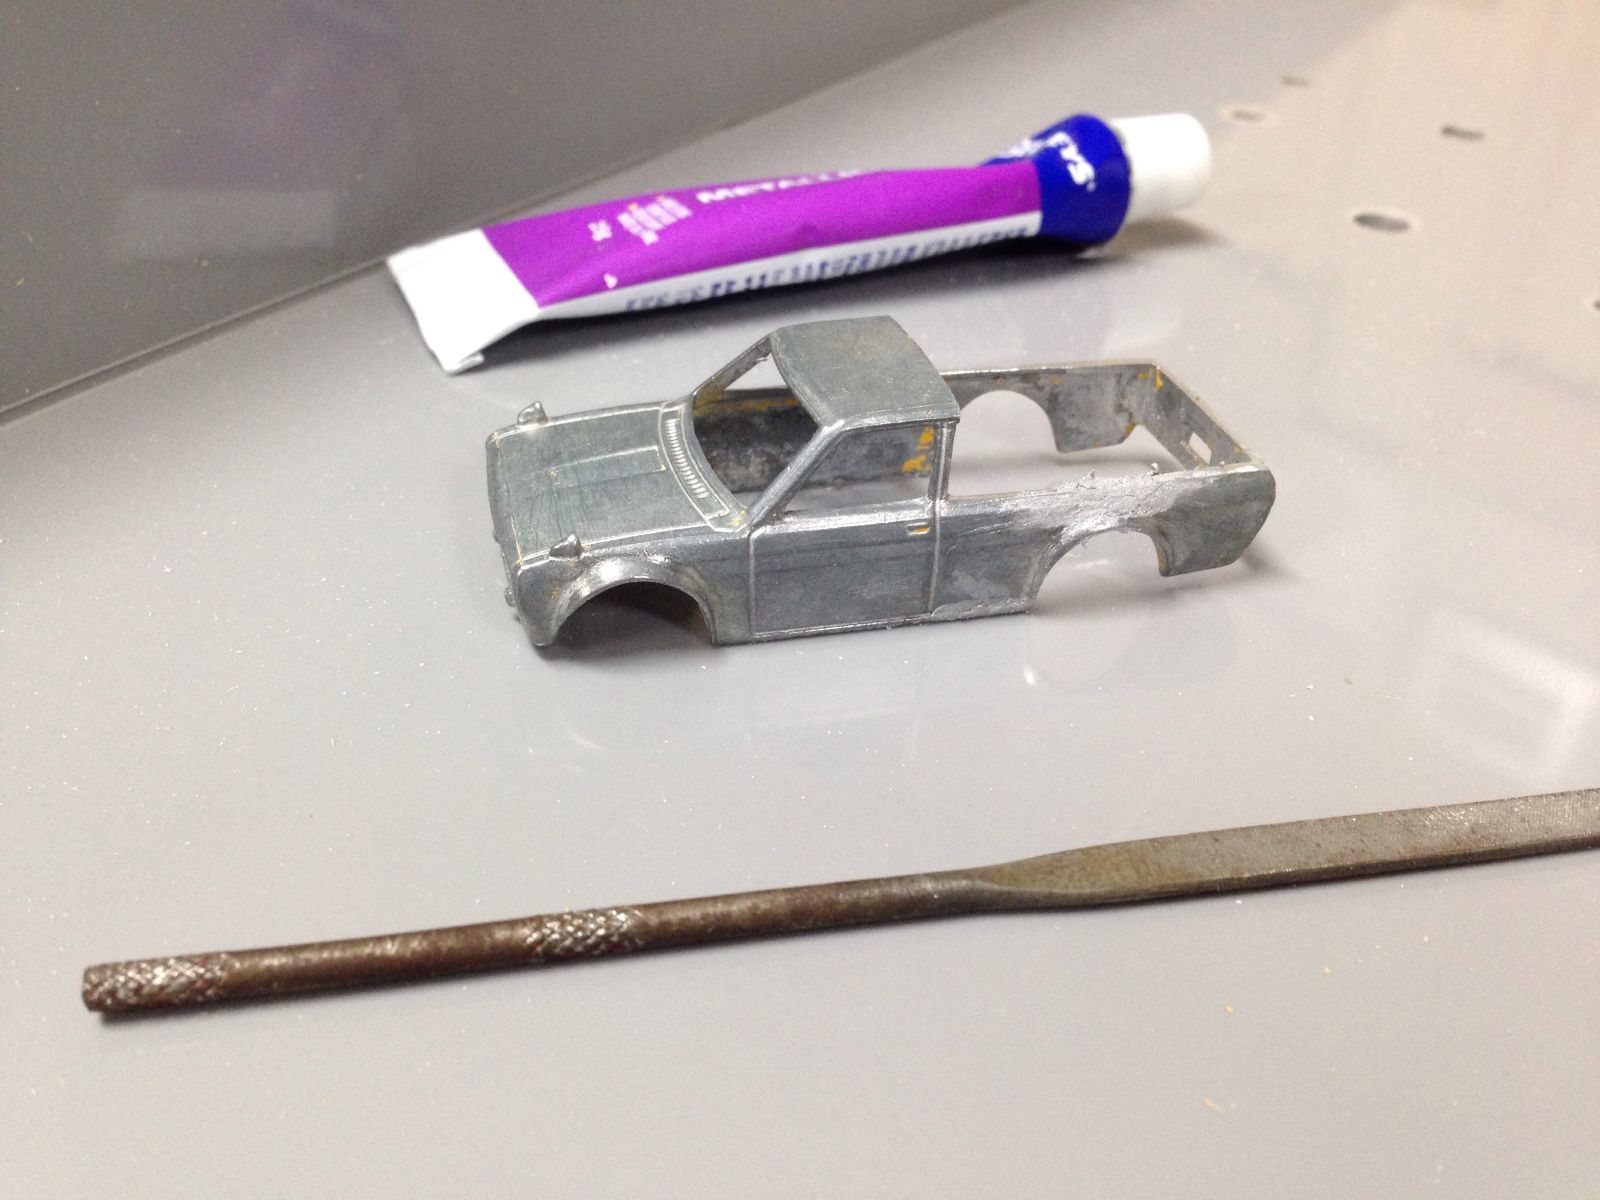
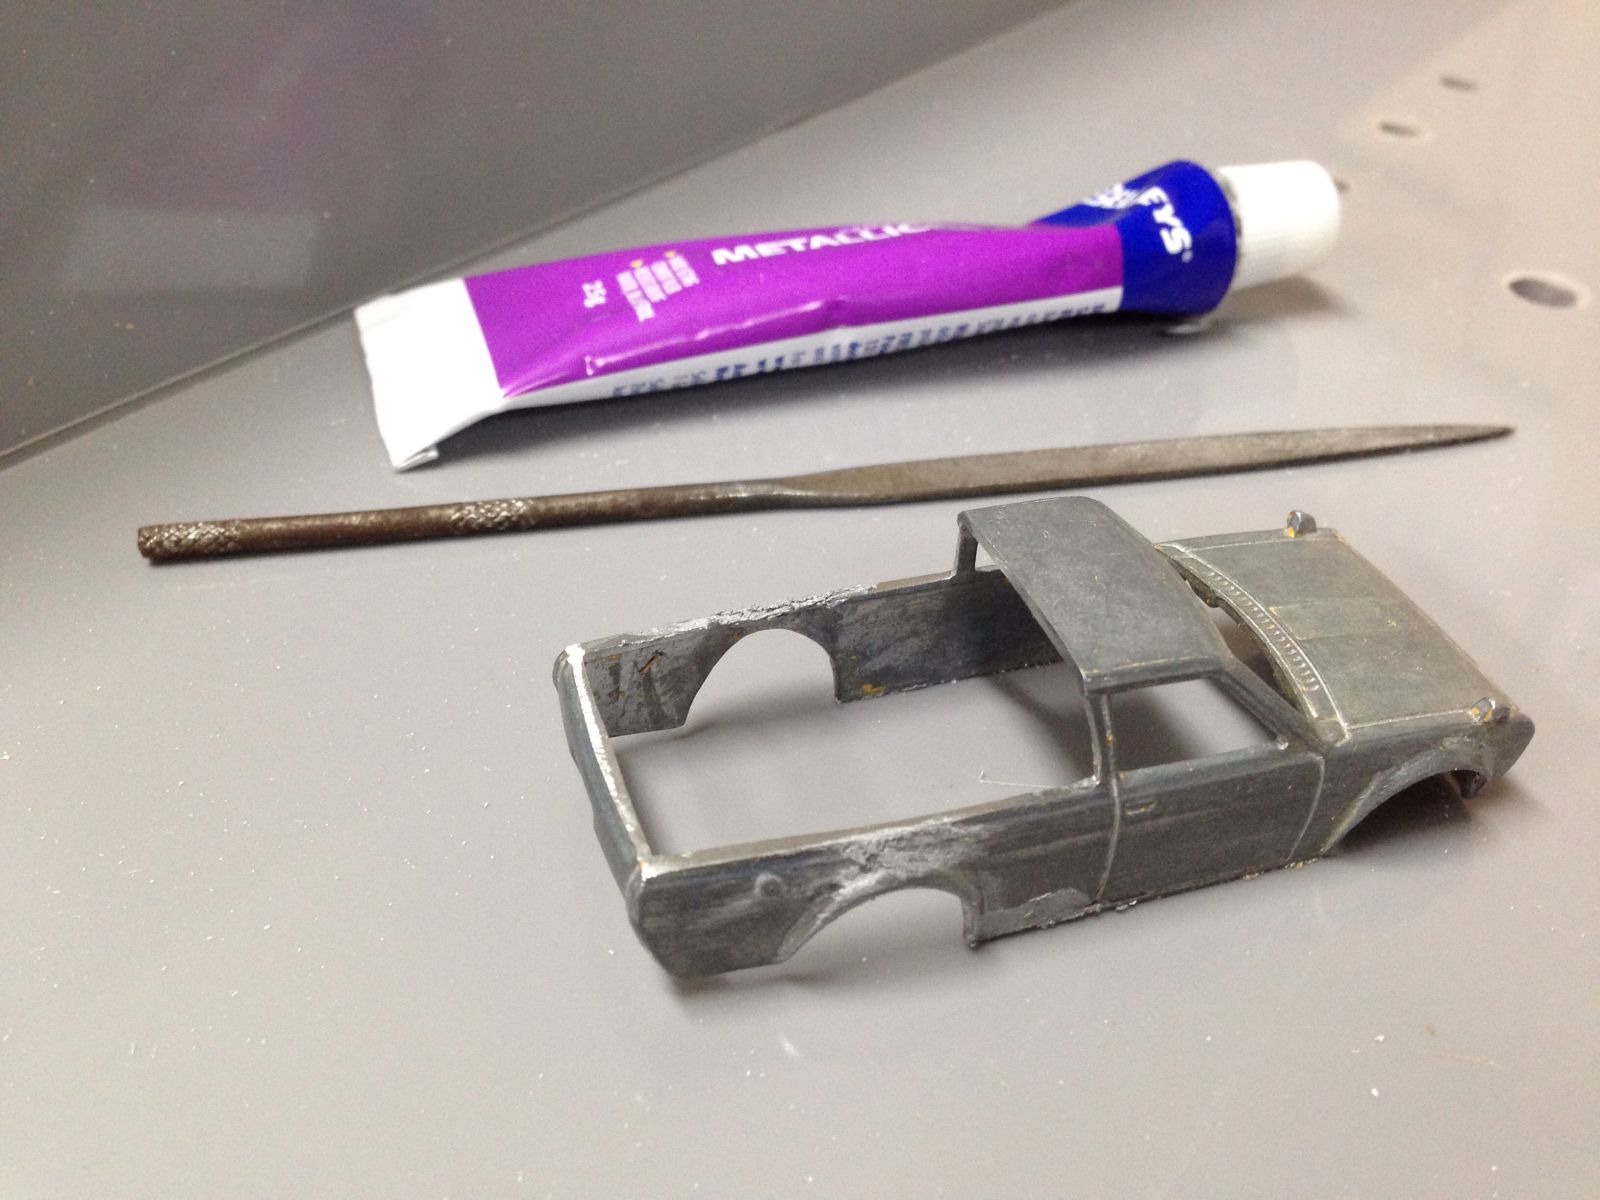
As this is my first attempt at metal work on a cast I started with the small stuff like filling in the rear door handles and door lines. I used a product called ‘Metalicfix’ from Selleys, said on the label it repairs and fills and it does.
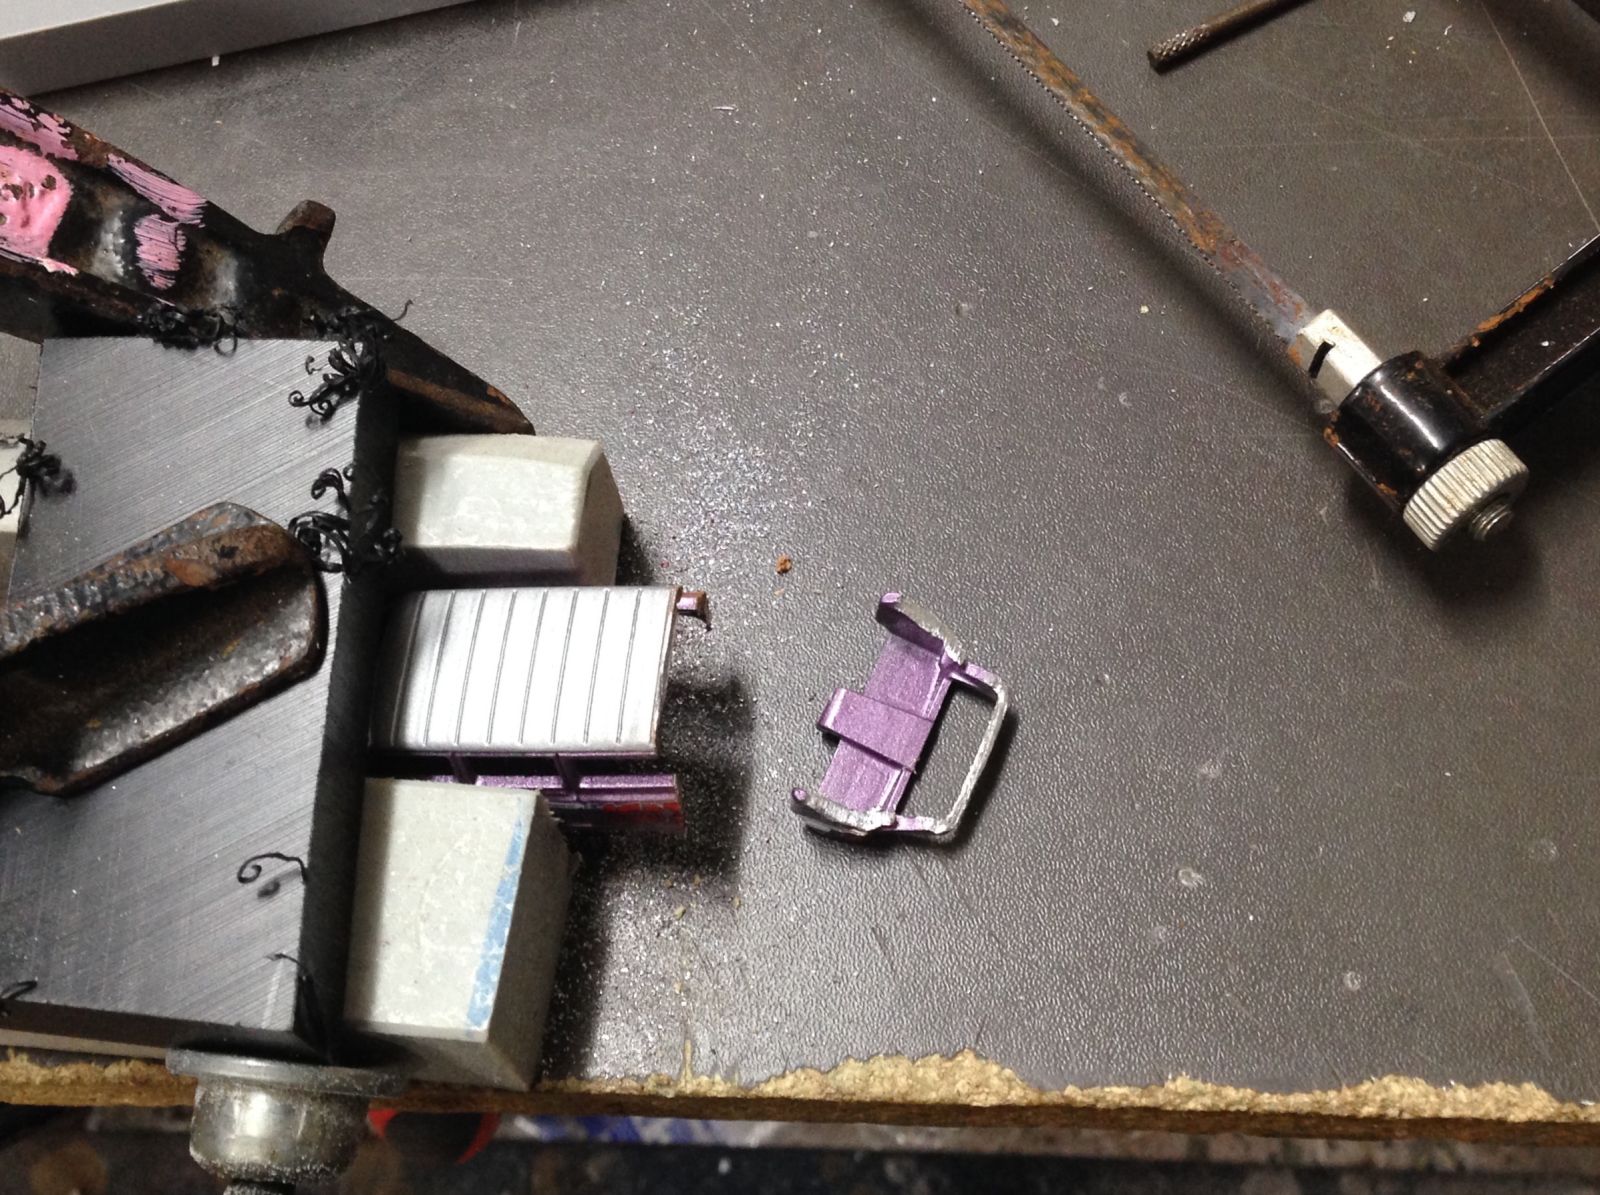
Ok, so anyone who has seen this build evolving might have caught this clip. The clip held a clue to the origin of the new rear cab section.
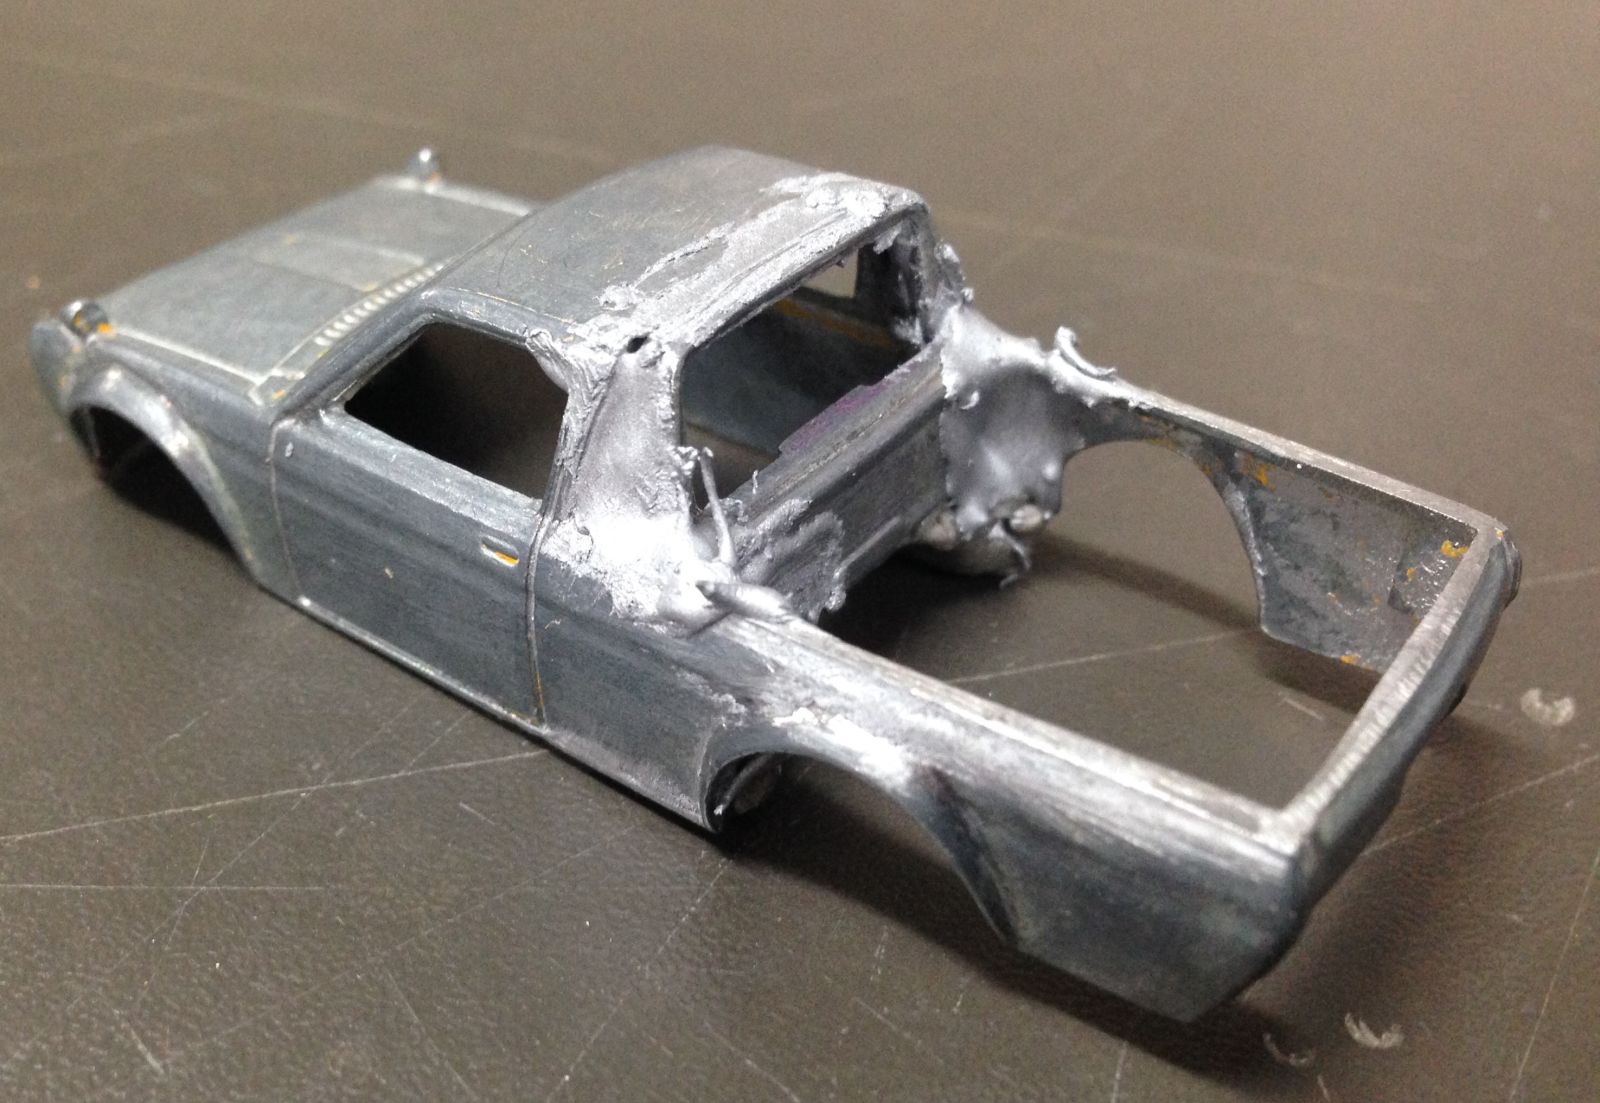
Now you see it! I went looking for a suitable cast and naturally started with UTES!! but found nothing to match. The Jeep section fits very nicely with a little trimming. This was when the 4” grinder came out. It was scary but it worked and saved a lot of filing by hand.
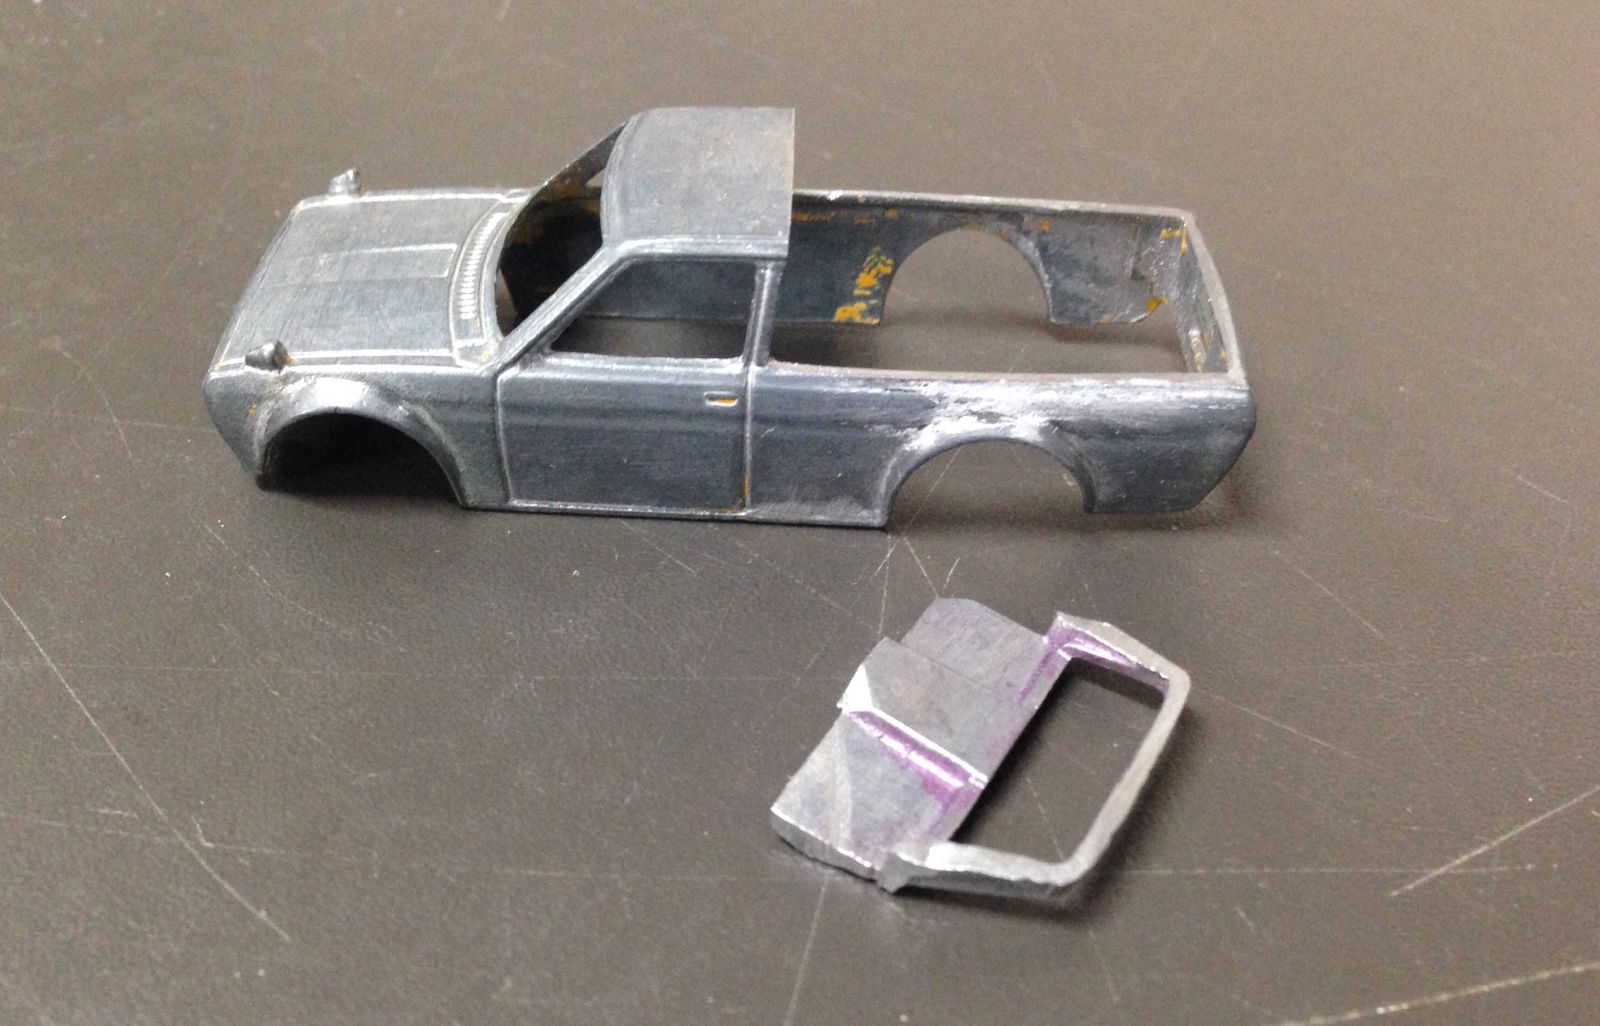
Seems I got a bit excited and neglected to take good before and after shots but this is how the Jeep bit looked after grinding and filing.
My go to mock up partner, Blu Tac in action. I’ve found the stuff to be so useful when doing this stuff with casts.
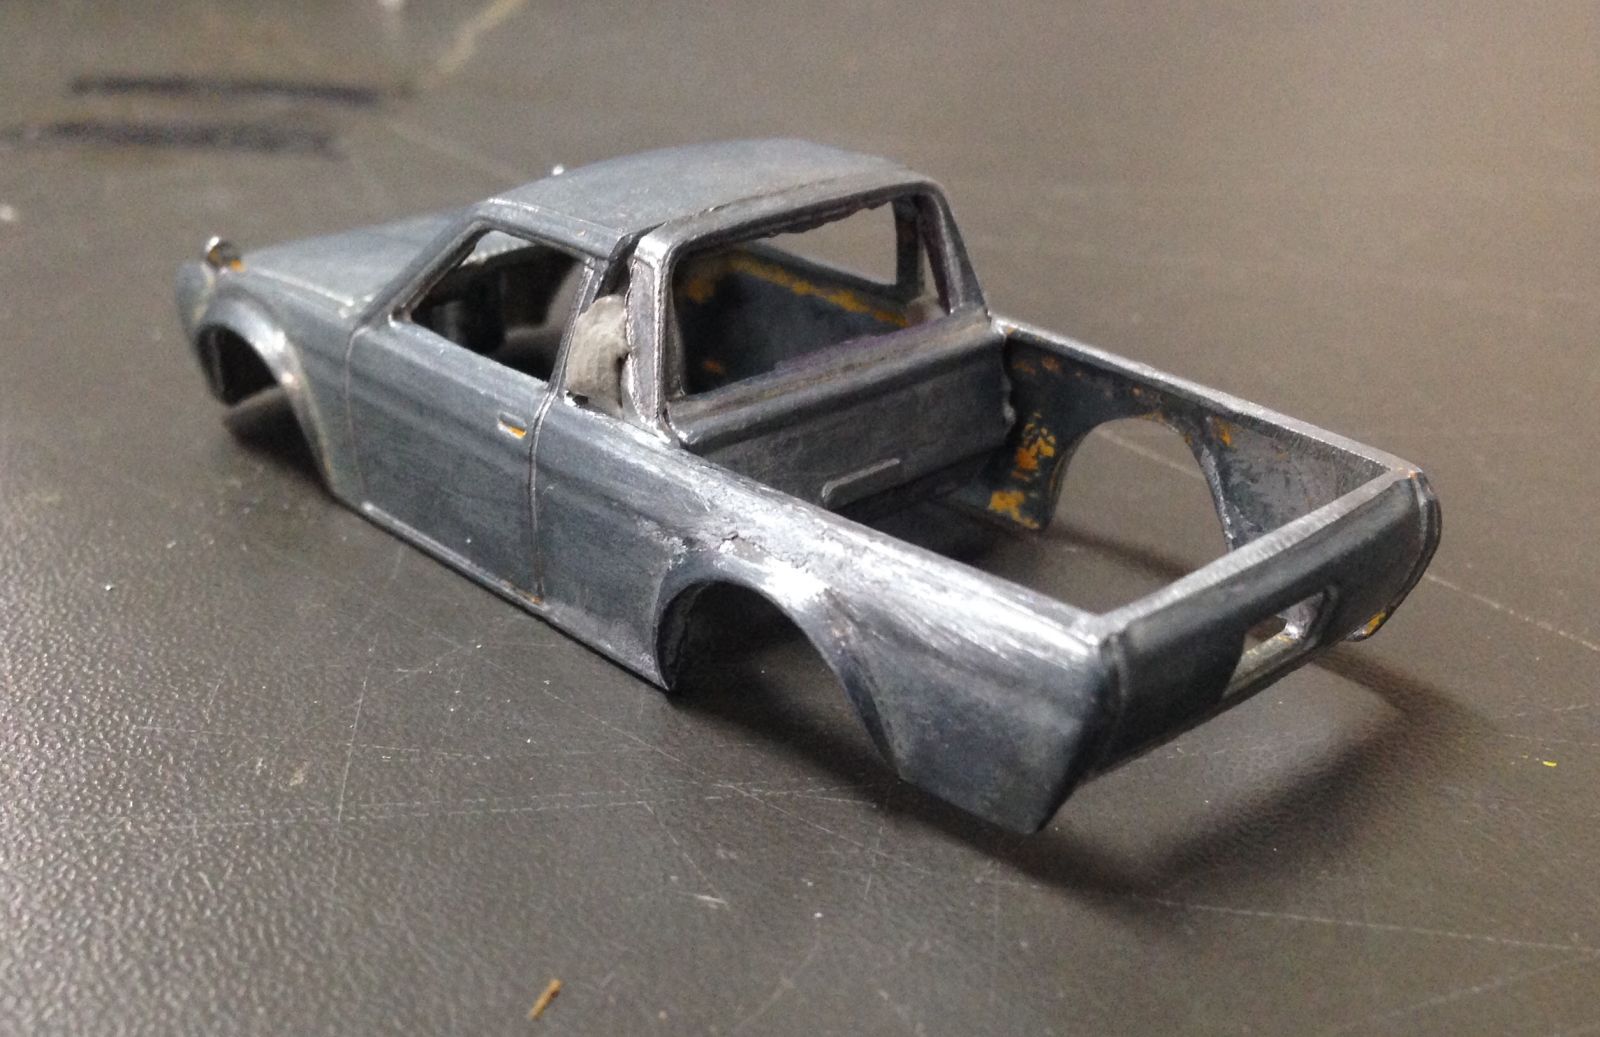
Not a bad fit at all.
Yep, happy with this look, time to get messy.
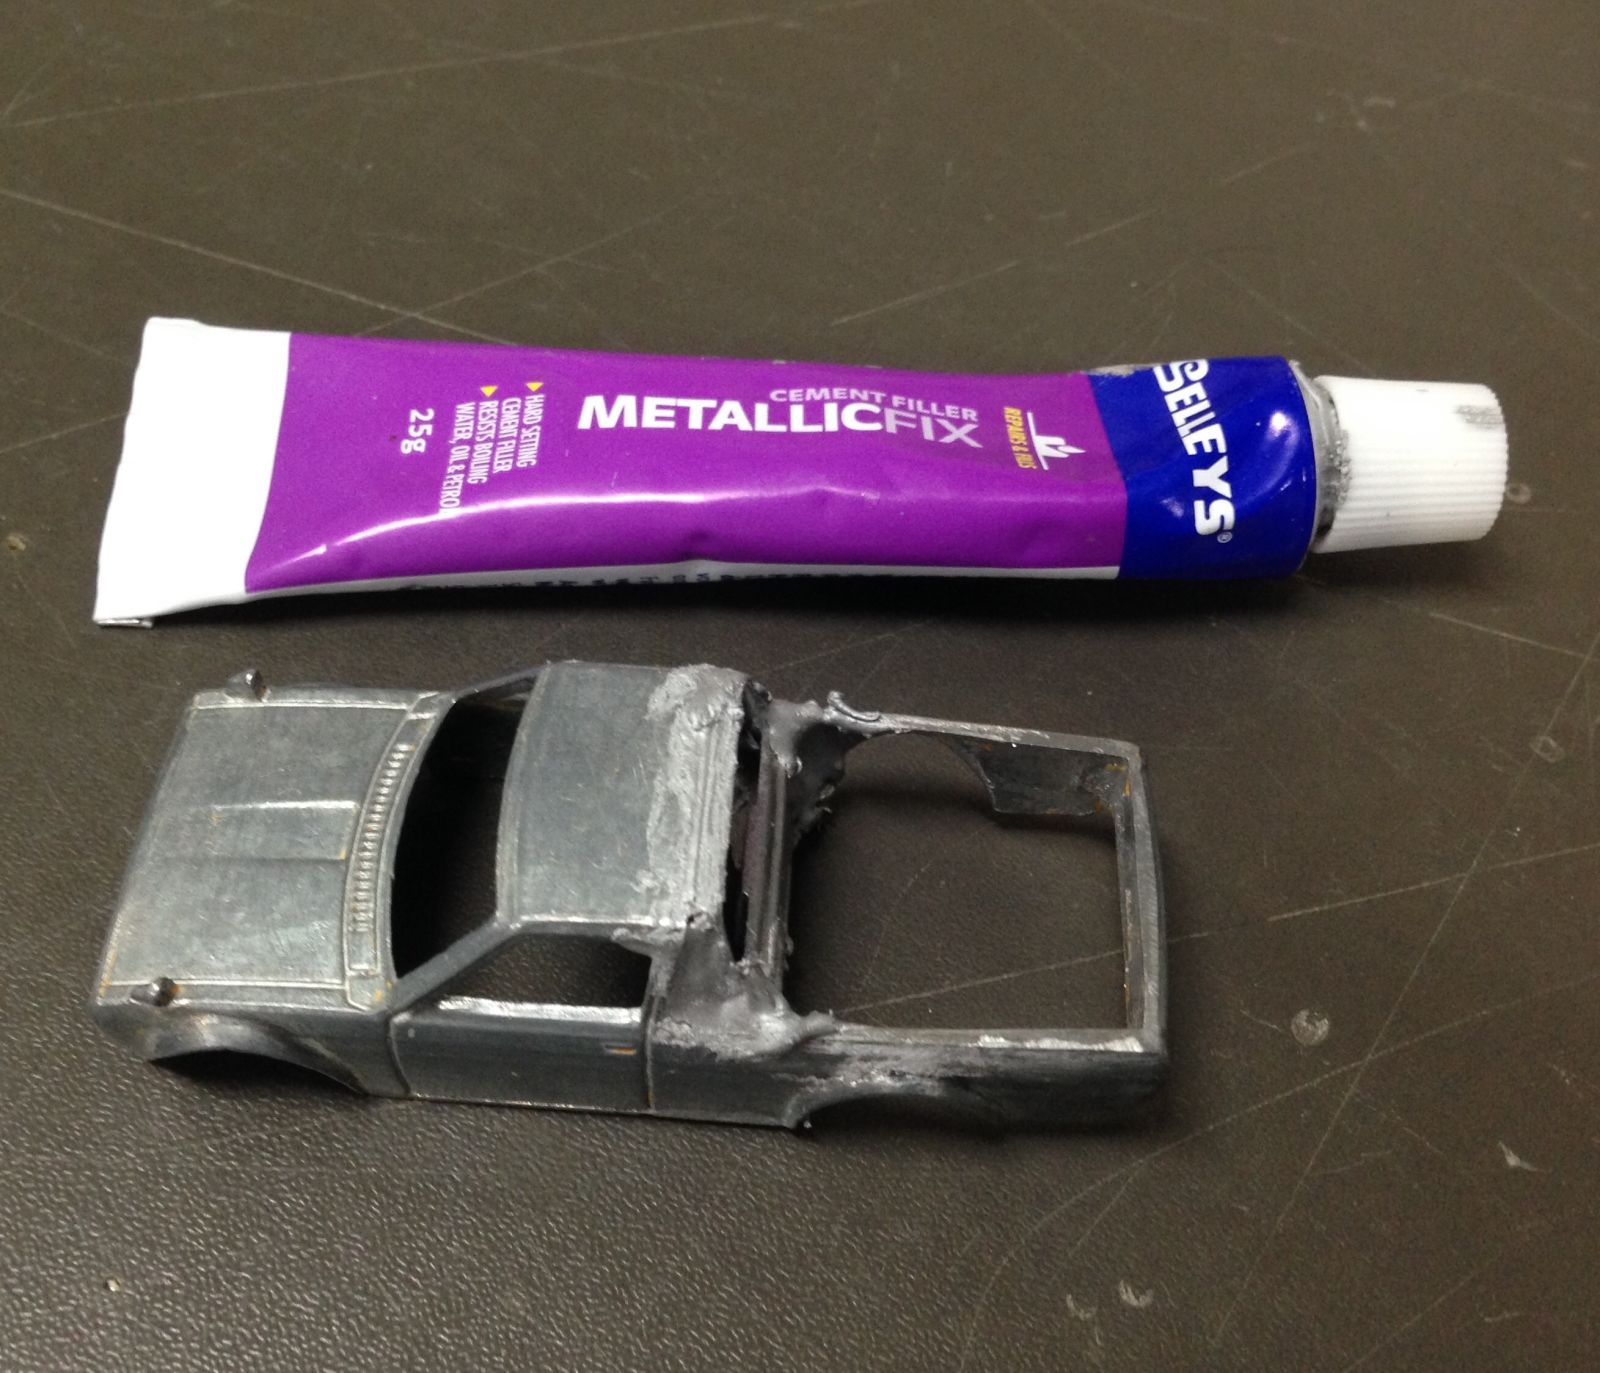
It looks bad at first!
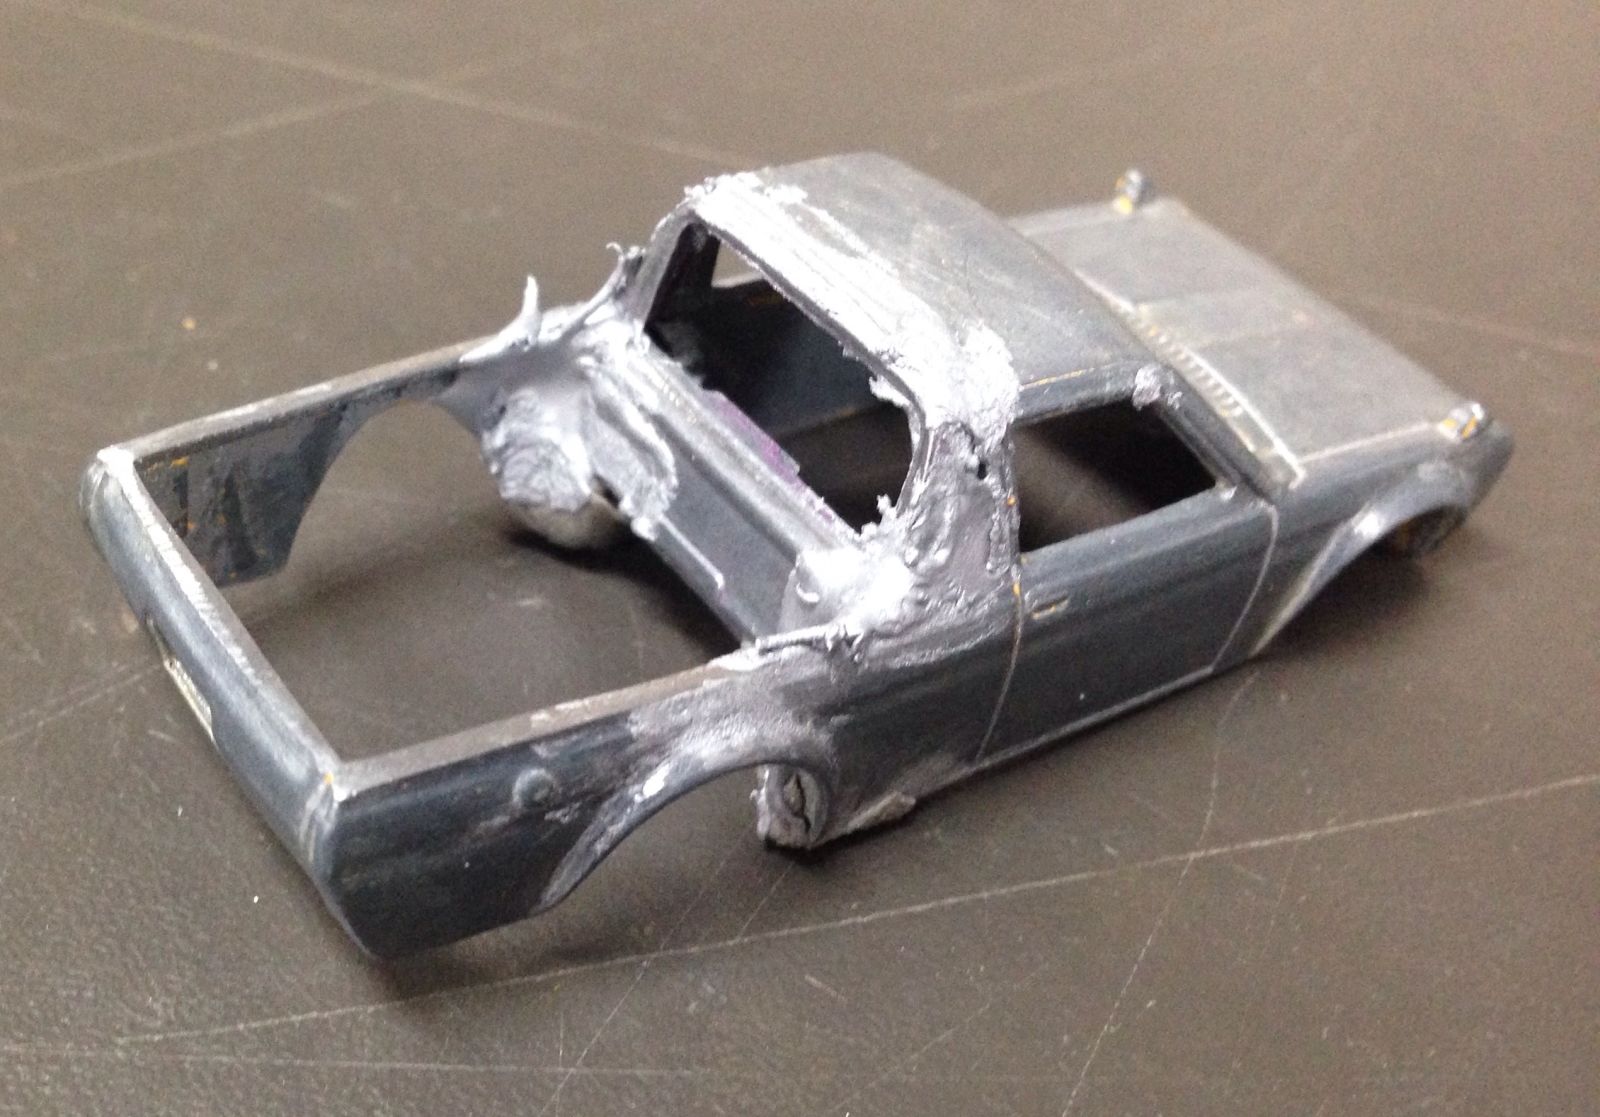
Only a few hours later I was able to work on the filler and start cleaning up the areas.
Now it’s starting to get somewhere.
Still needed a lot of sanding and refilling some areas until I was happy with the finish.
Fill, let set, file some, take photos to view on screen as eyes are too old to focus on such a small work area, fill with more filler, file some....
Ditto
Ditto
Ditto
Dato
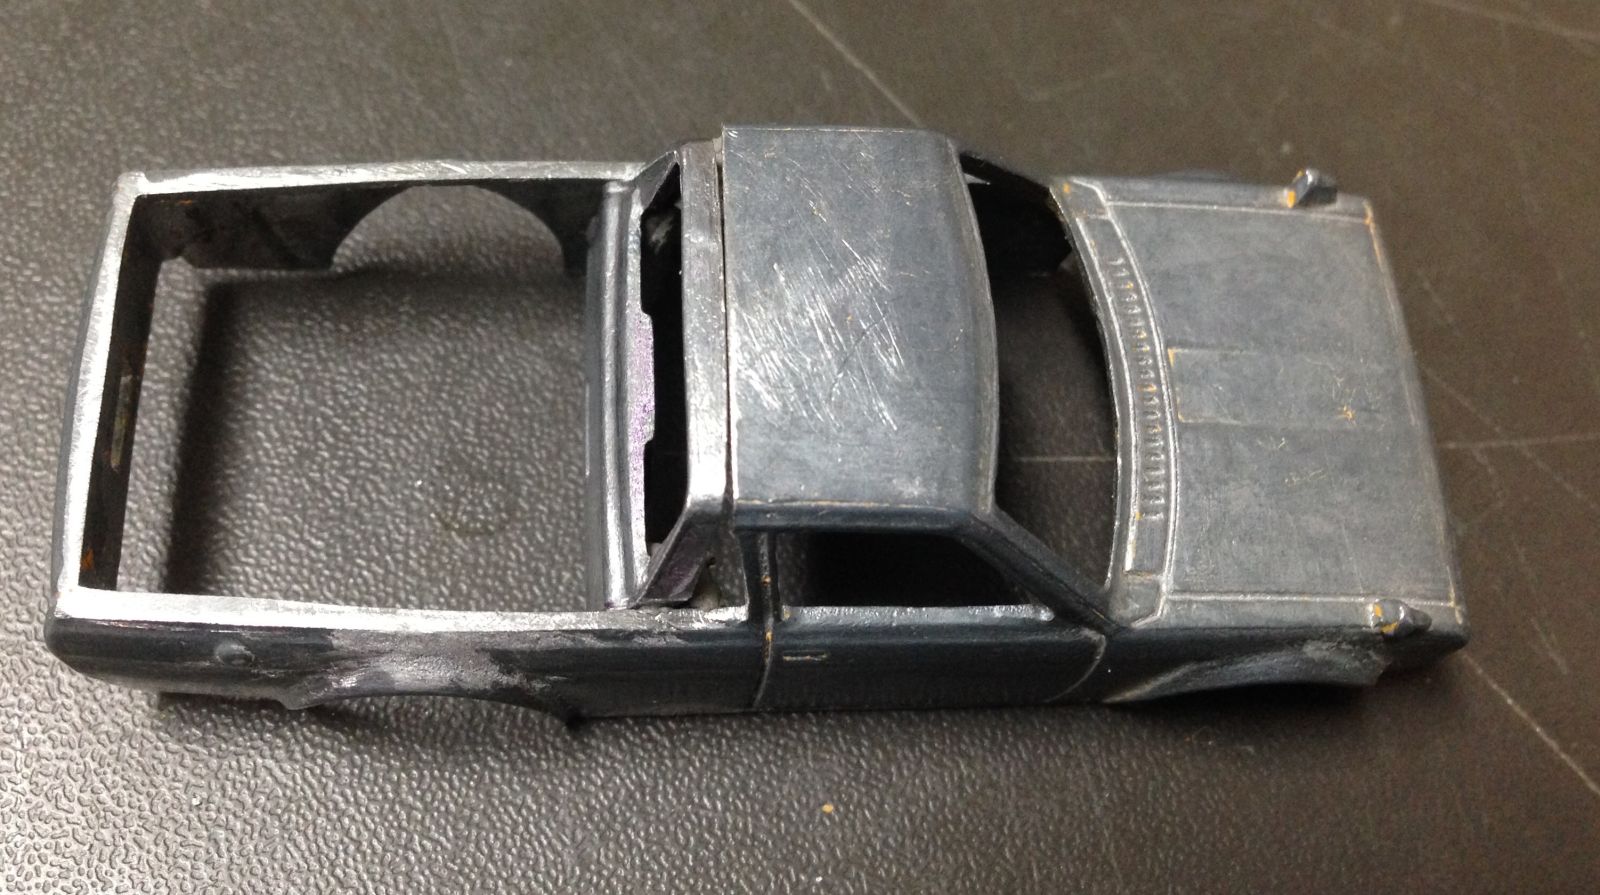
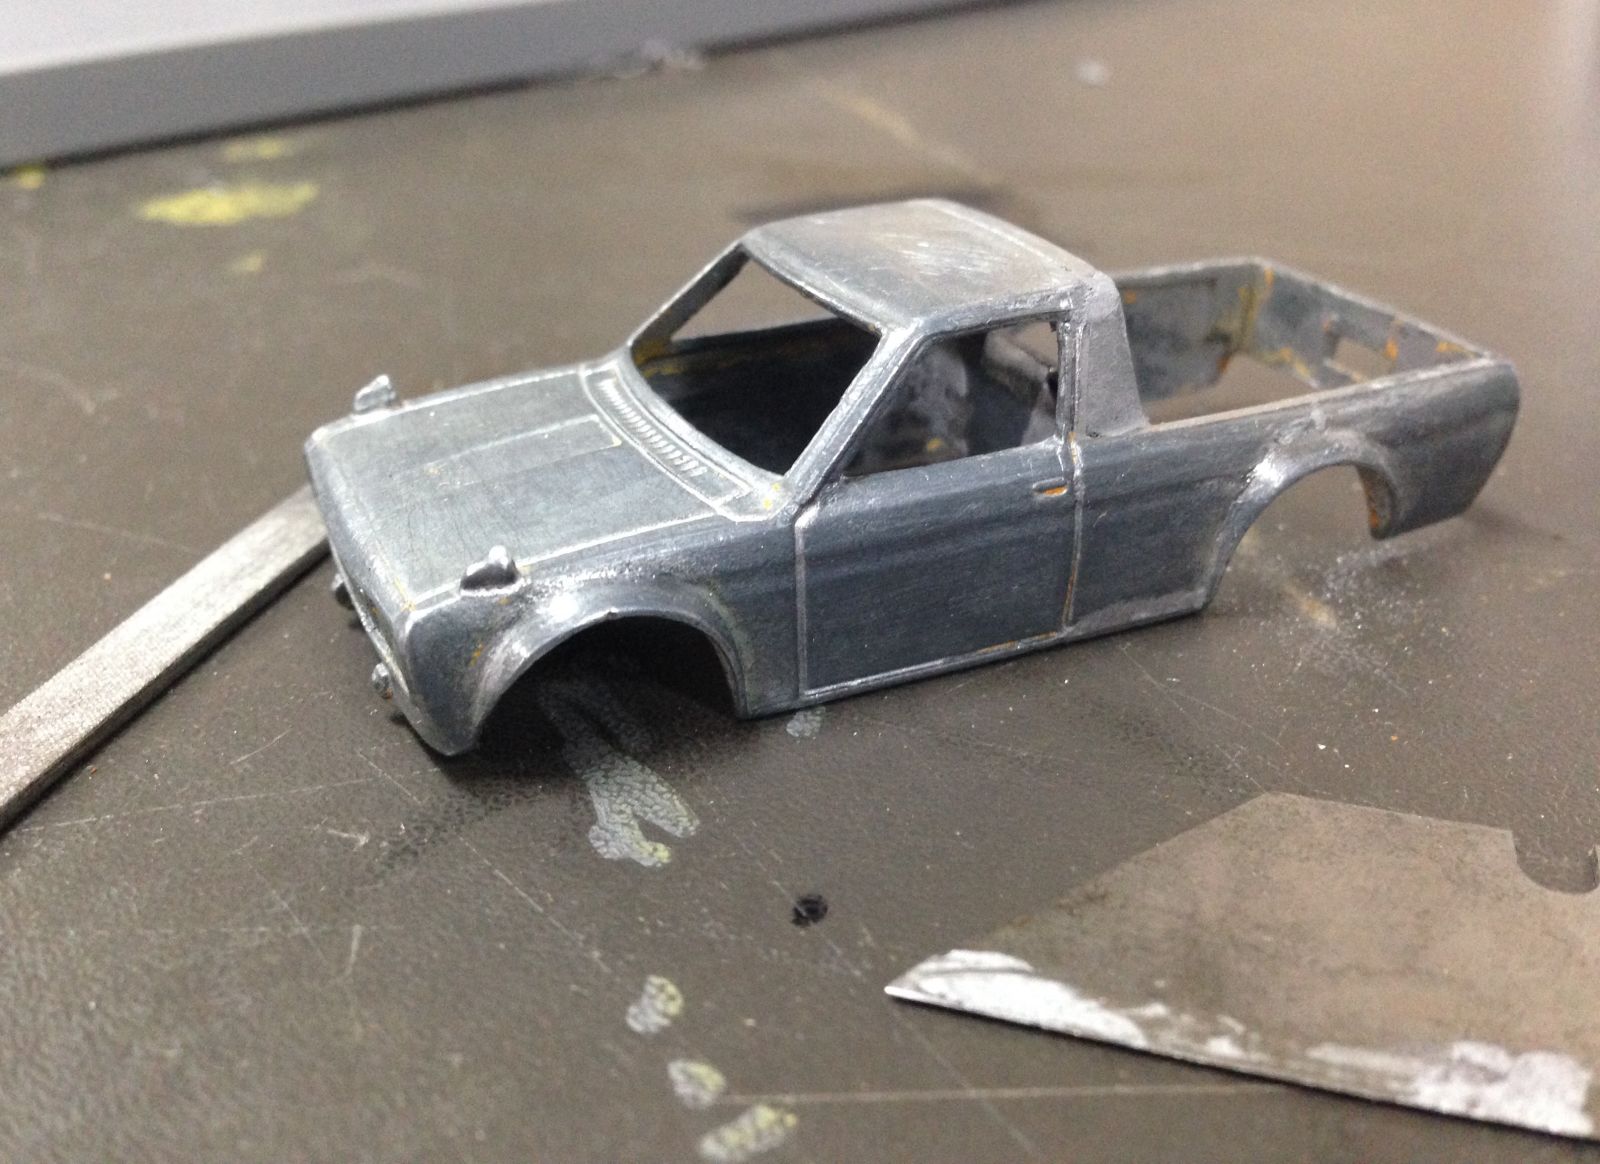
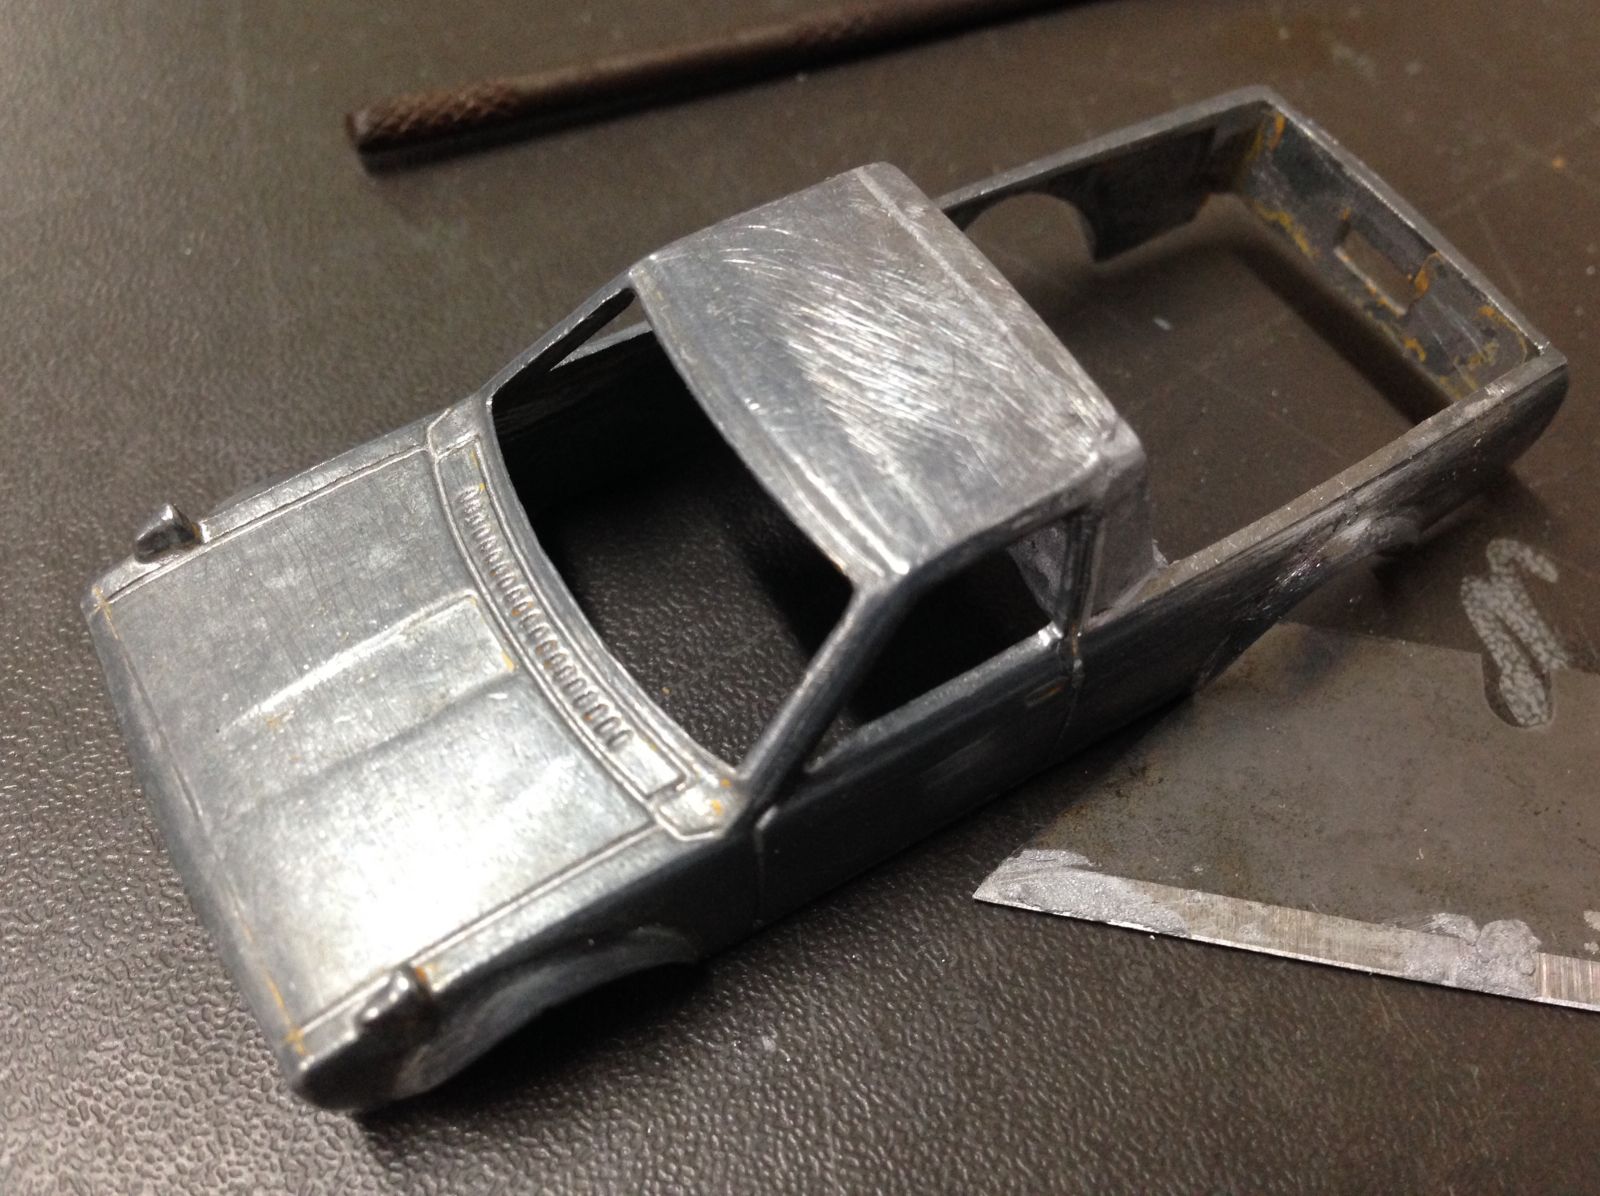
This isn’t a special shot but I’ve included it to show the two pillars are pretty symmetrical. I’m proud of this bit as I took a lot of care to get them looking right.
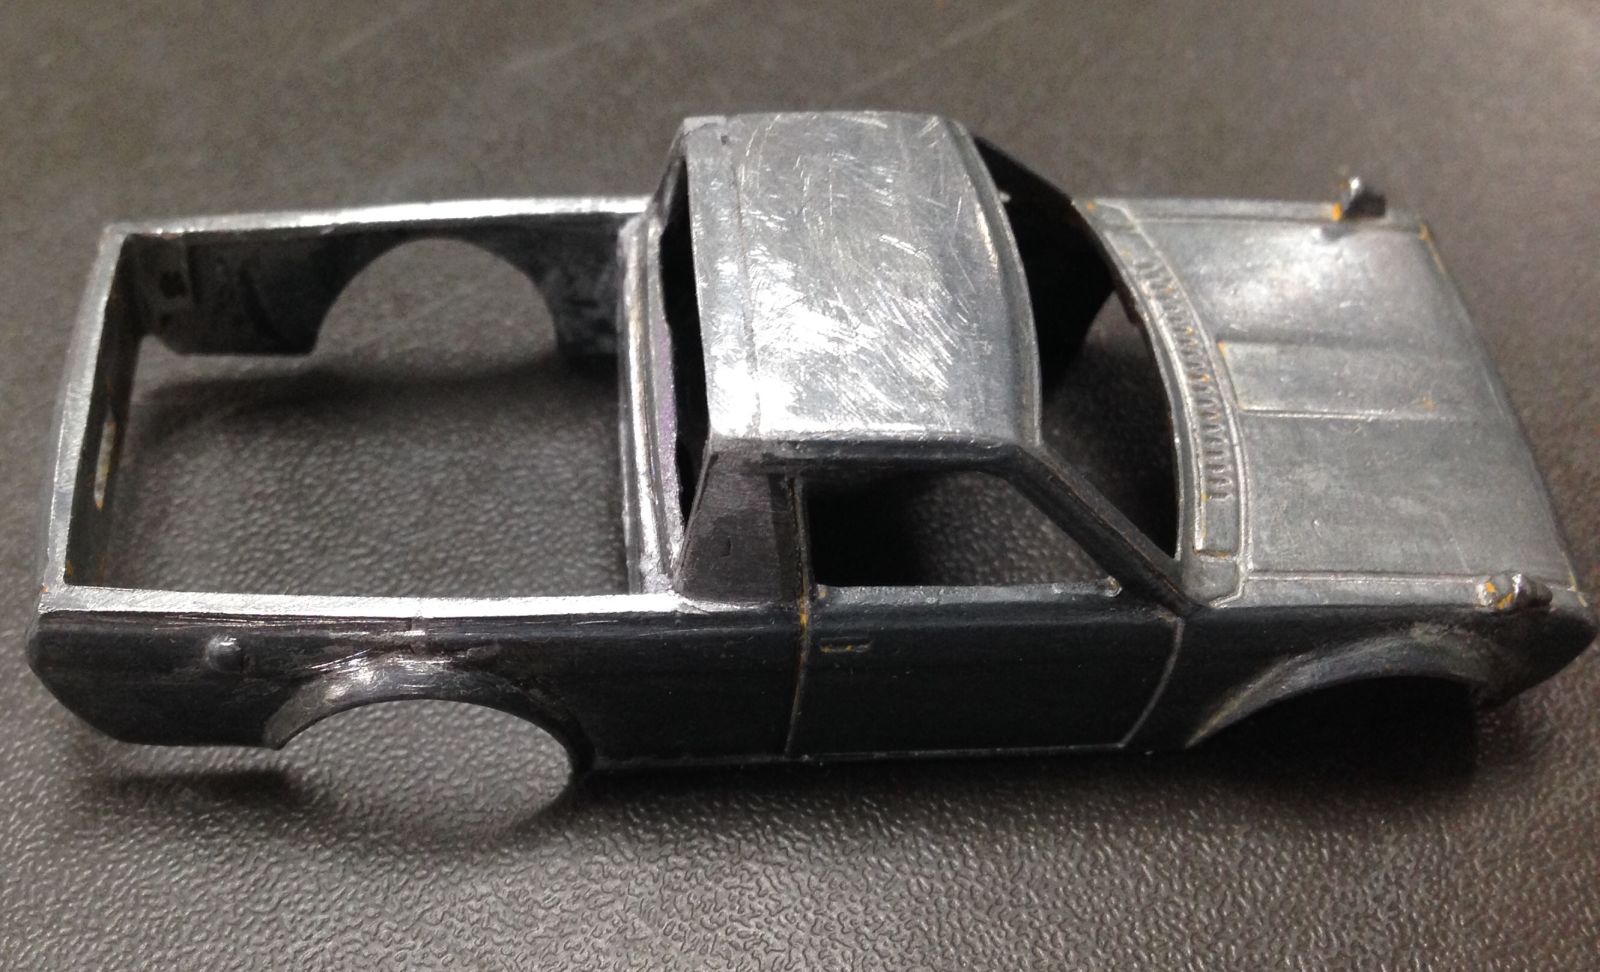
Lot of effort went into the join at the roof as well to minimise any filler.
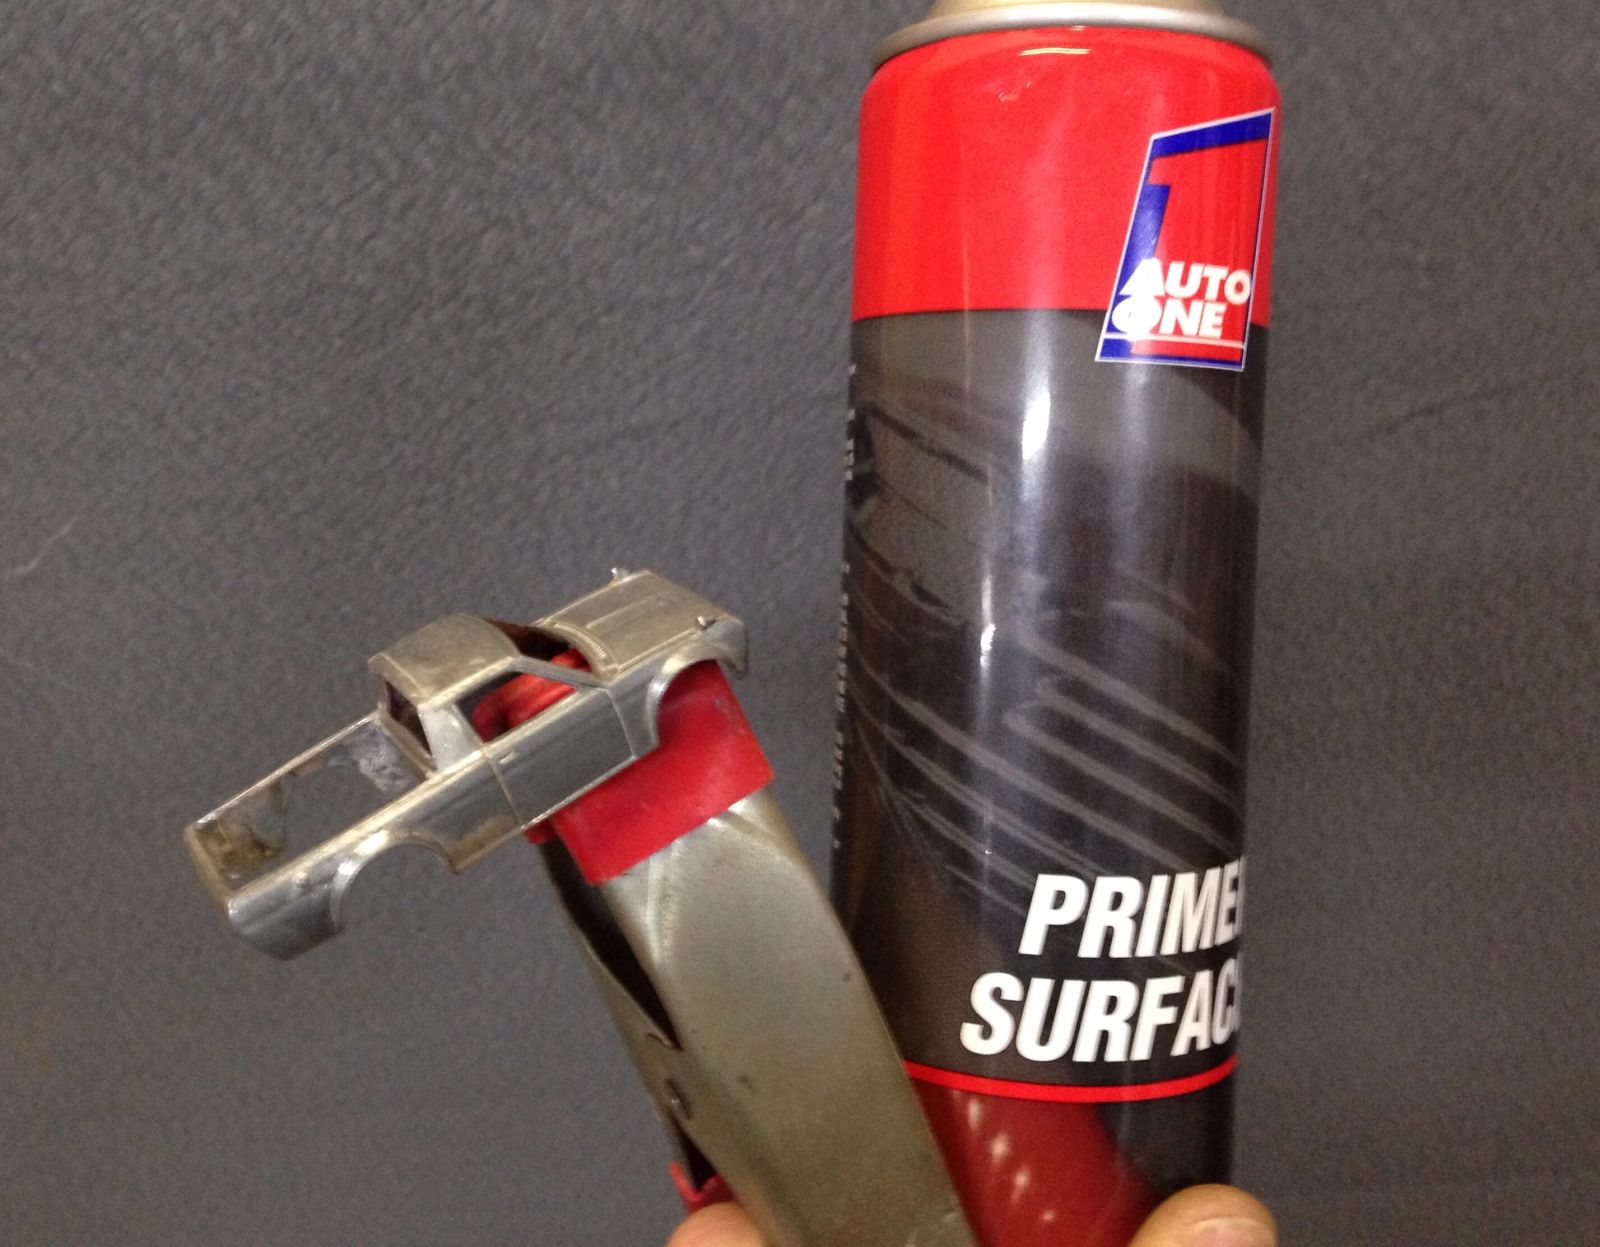
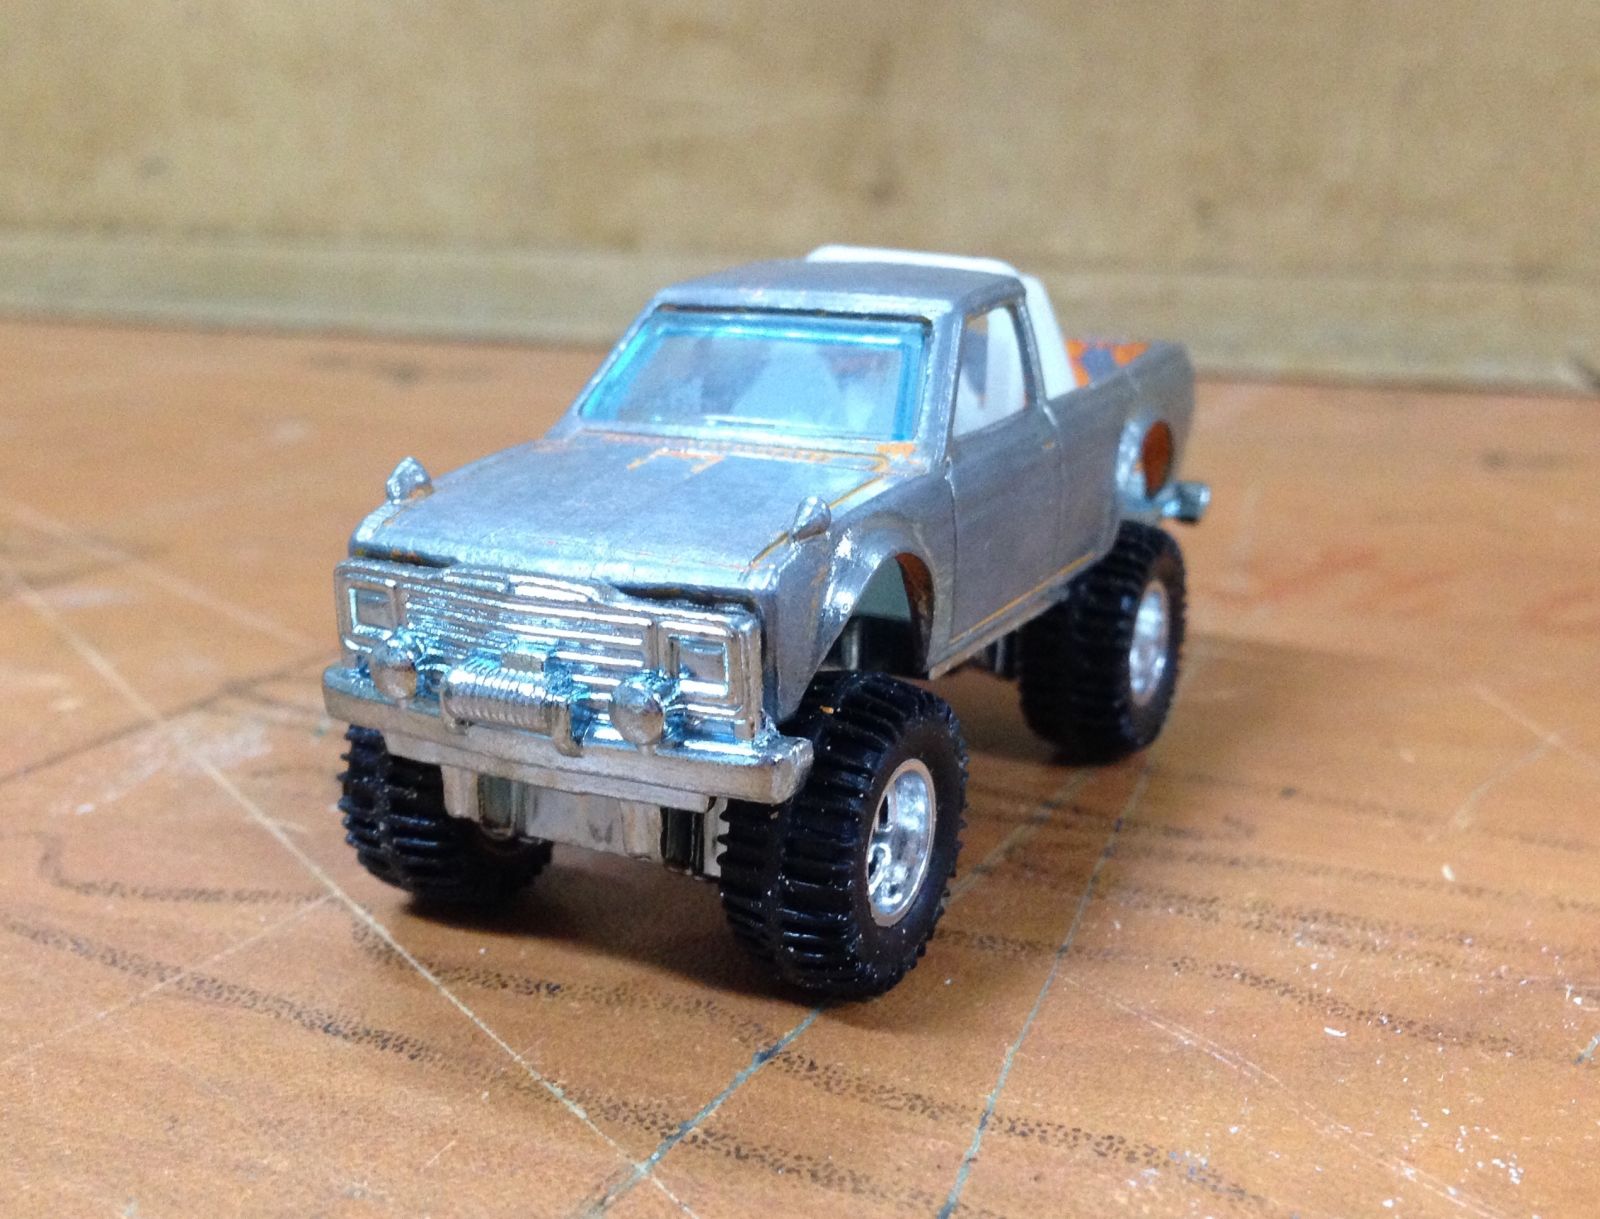
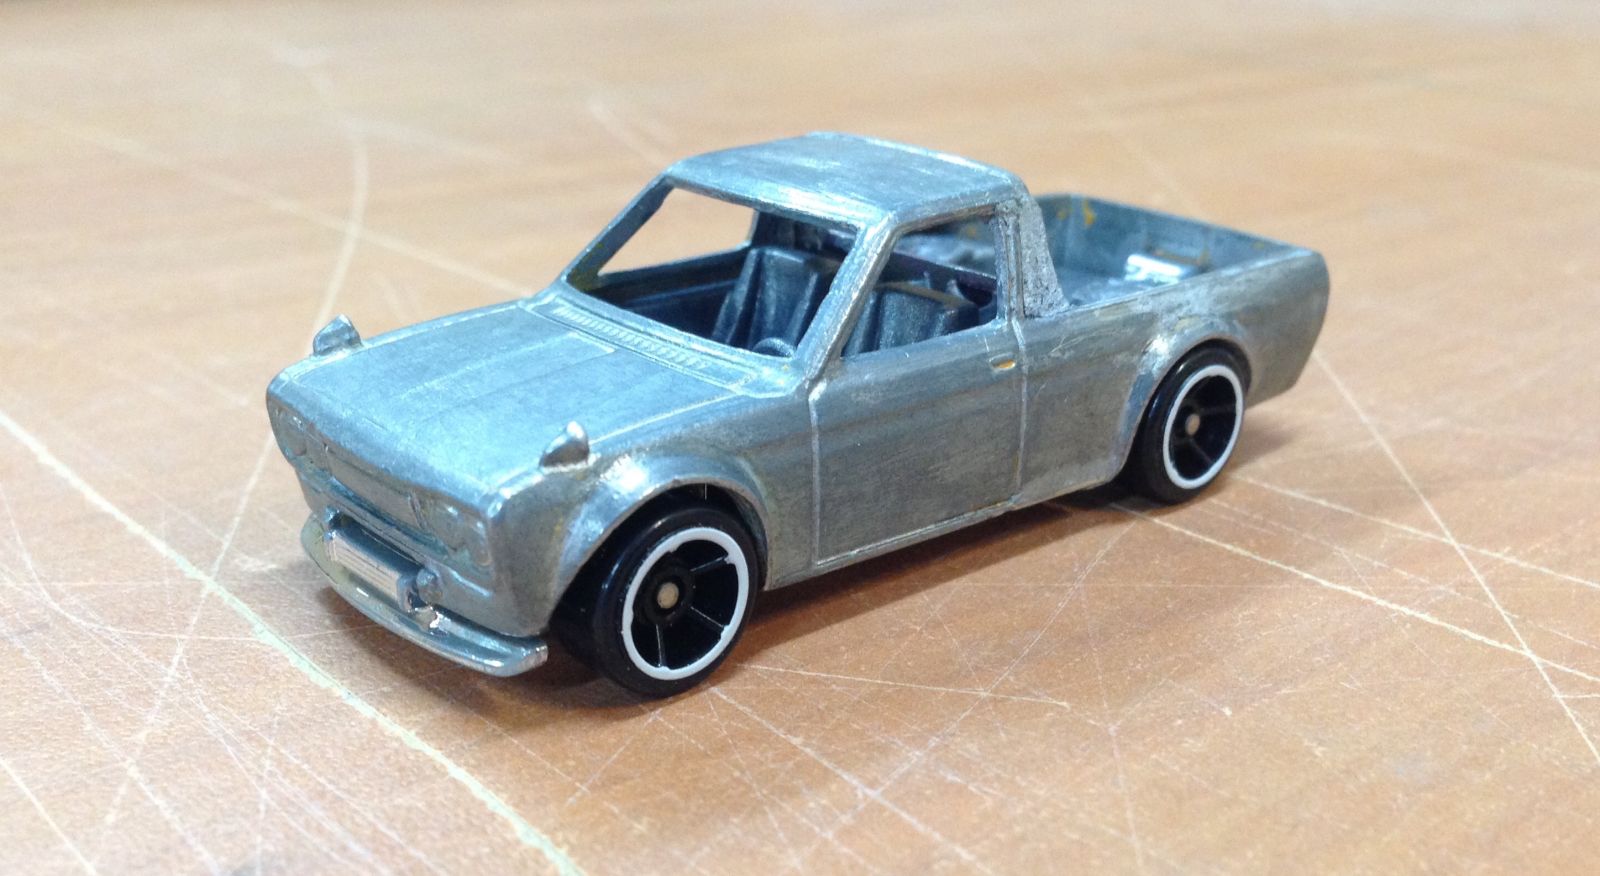
After a heap of body work I was ready to get some primer on to the UTE!!
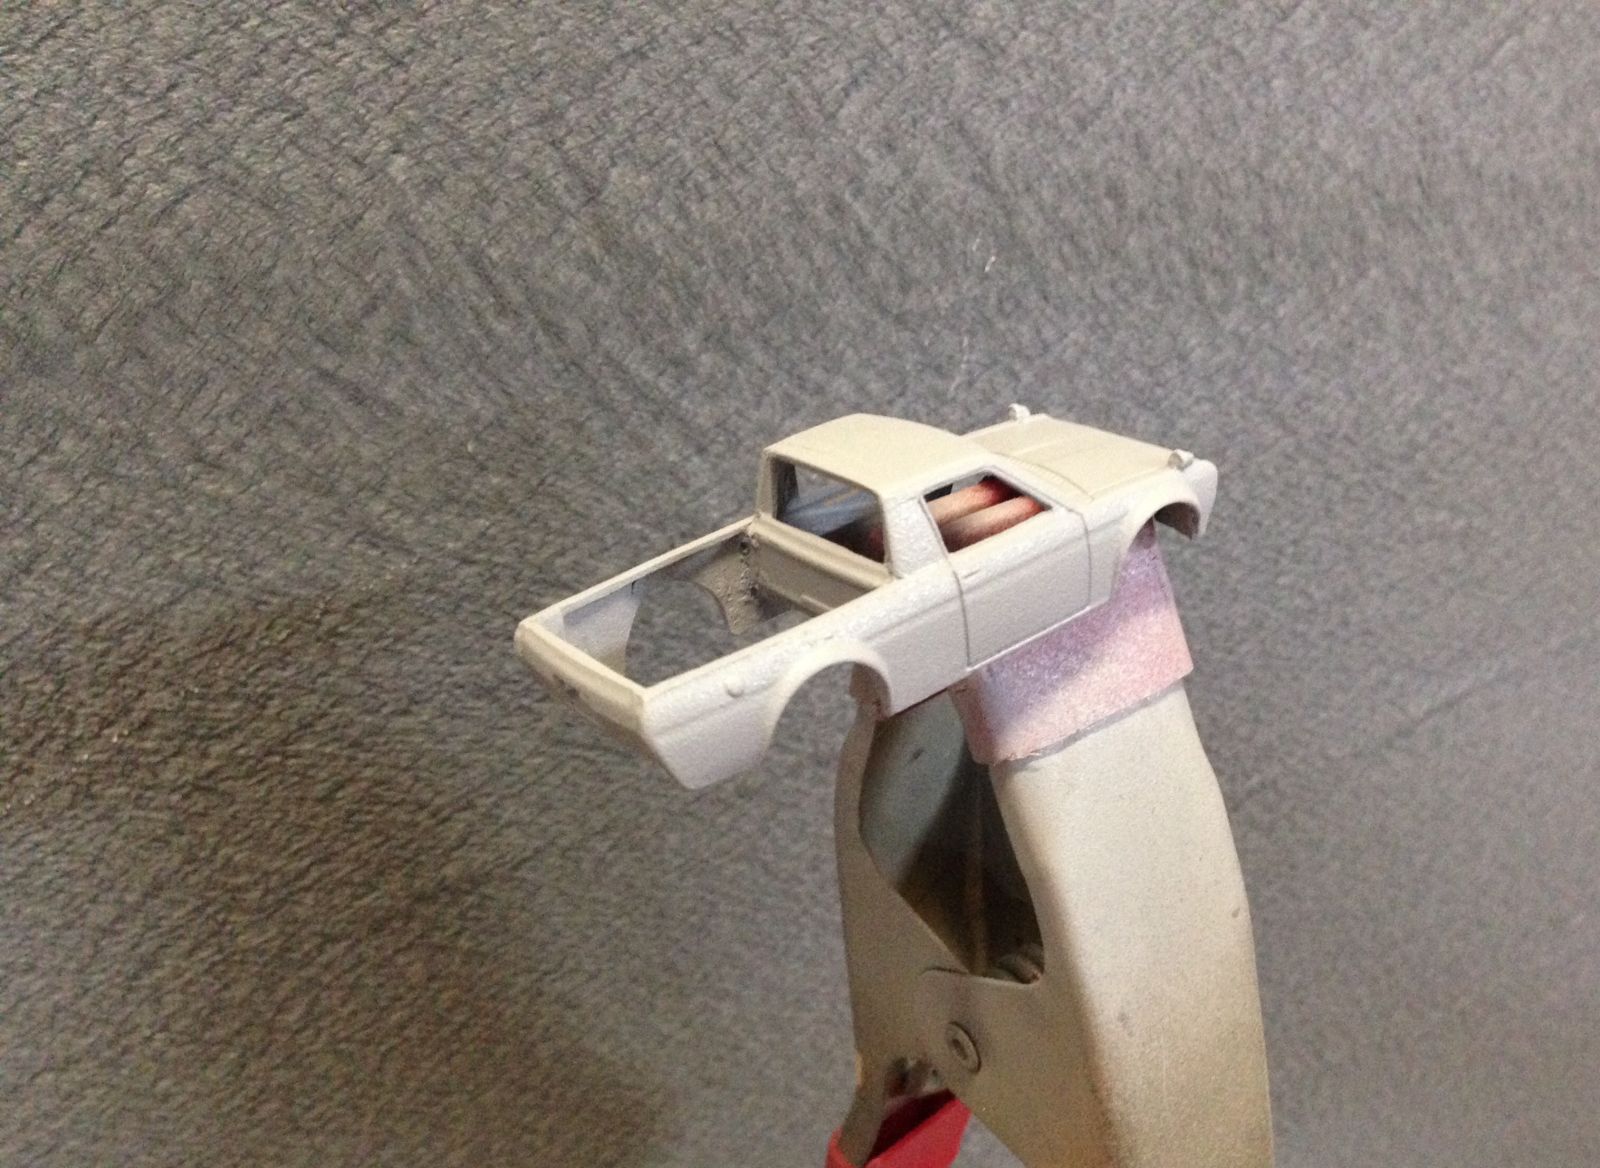

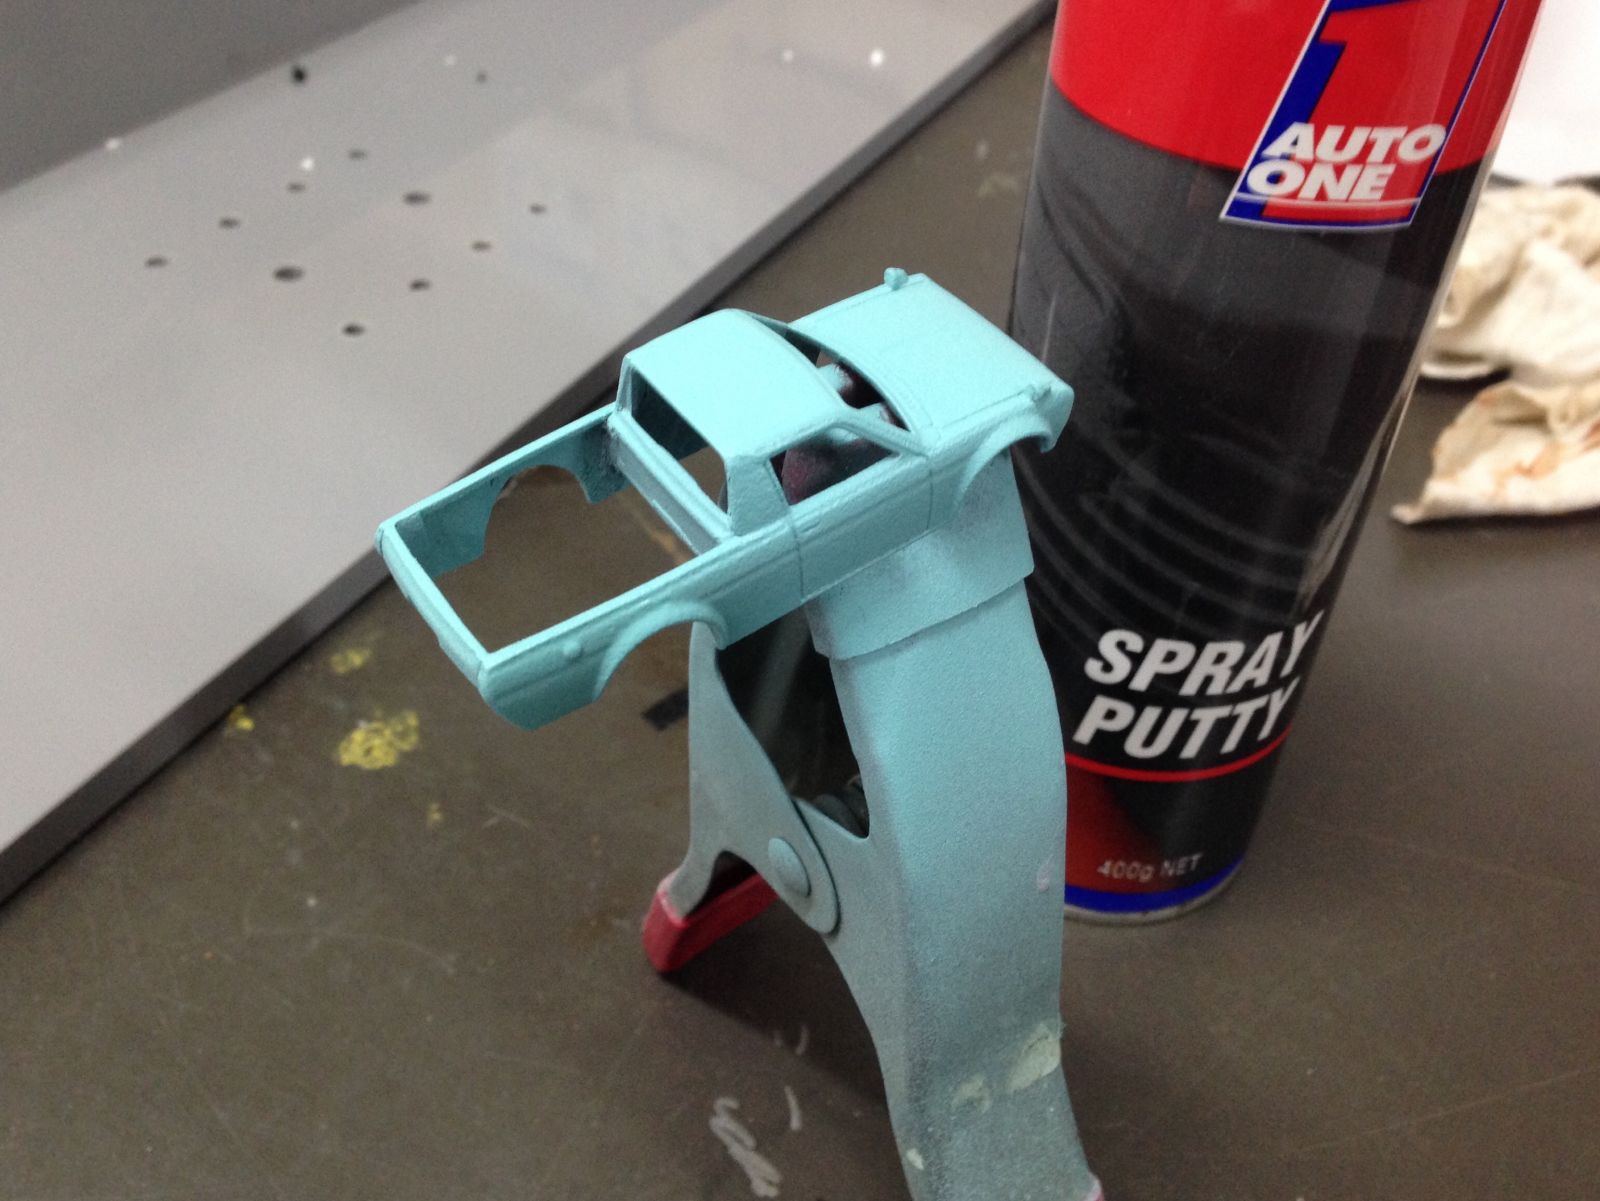
After the primer had been sanded I gave it a coat of spray putty to fill in the smaller imperfections.
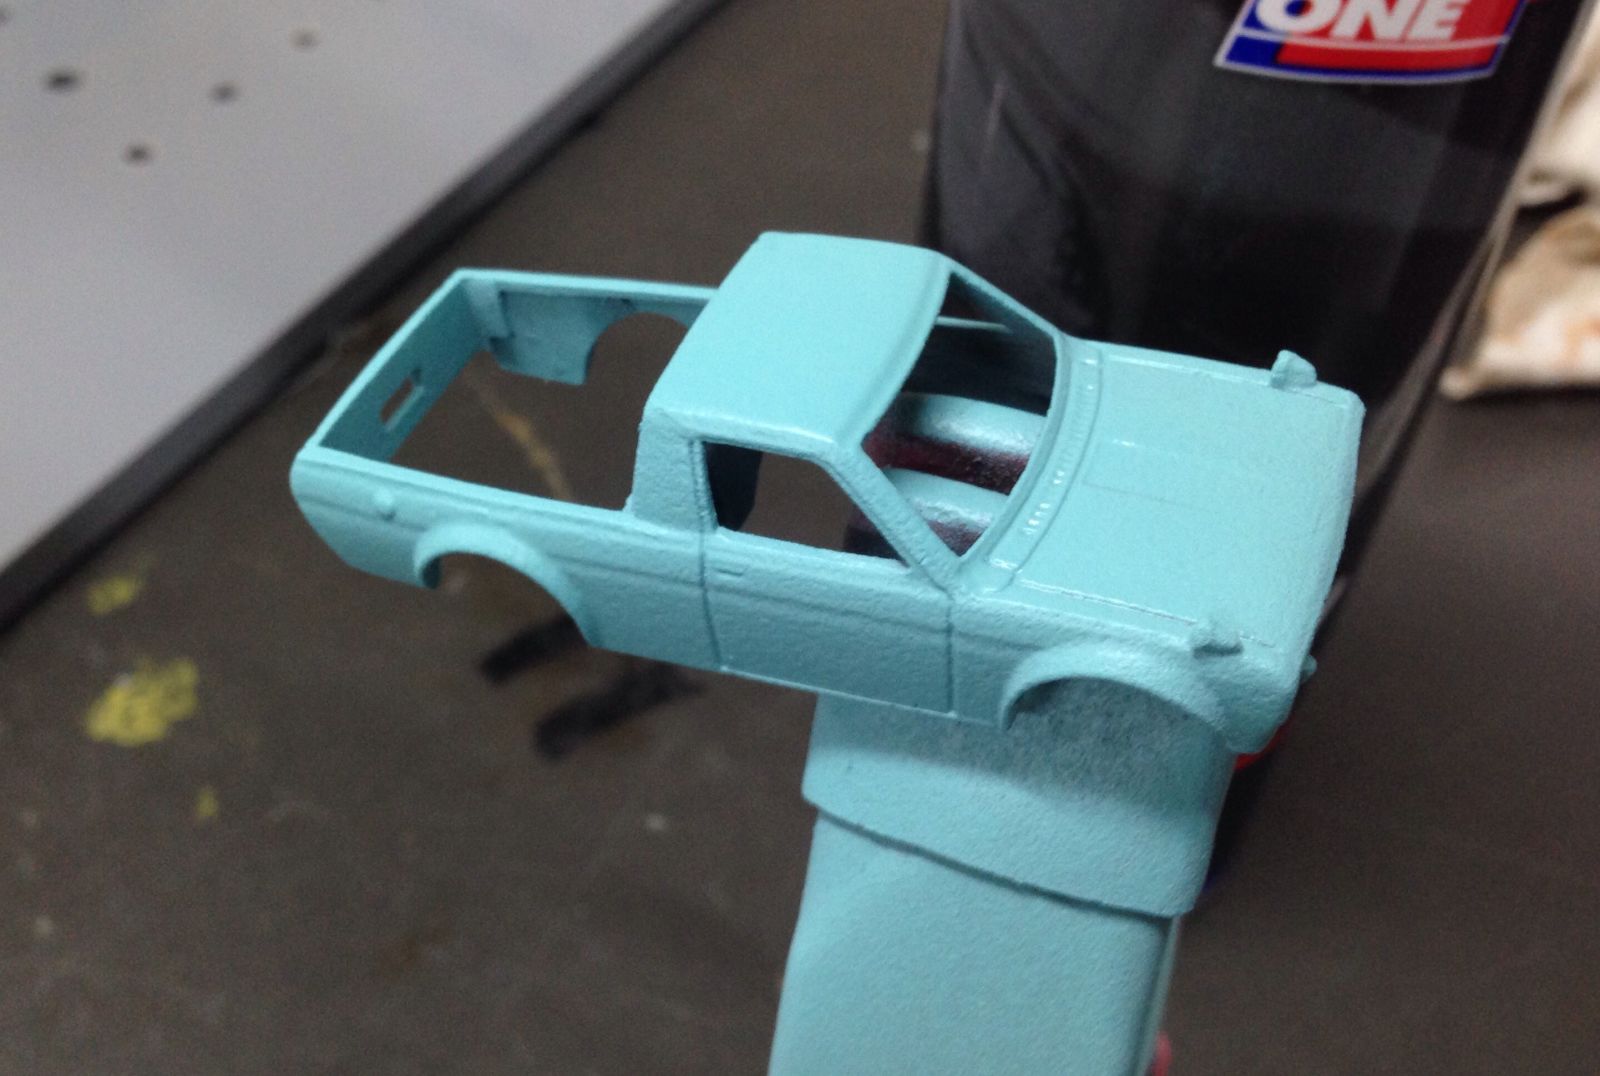

Then once it was dry it was time to sand it. So glad it’s 1:64 and not 1:1.
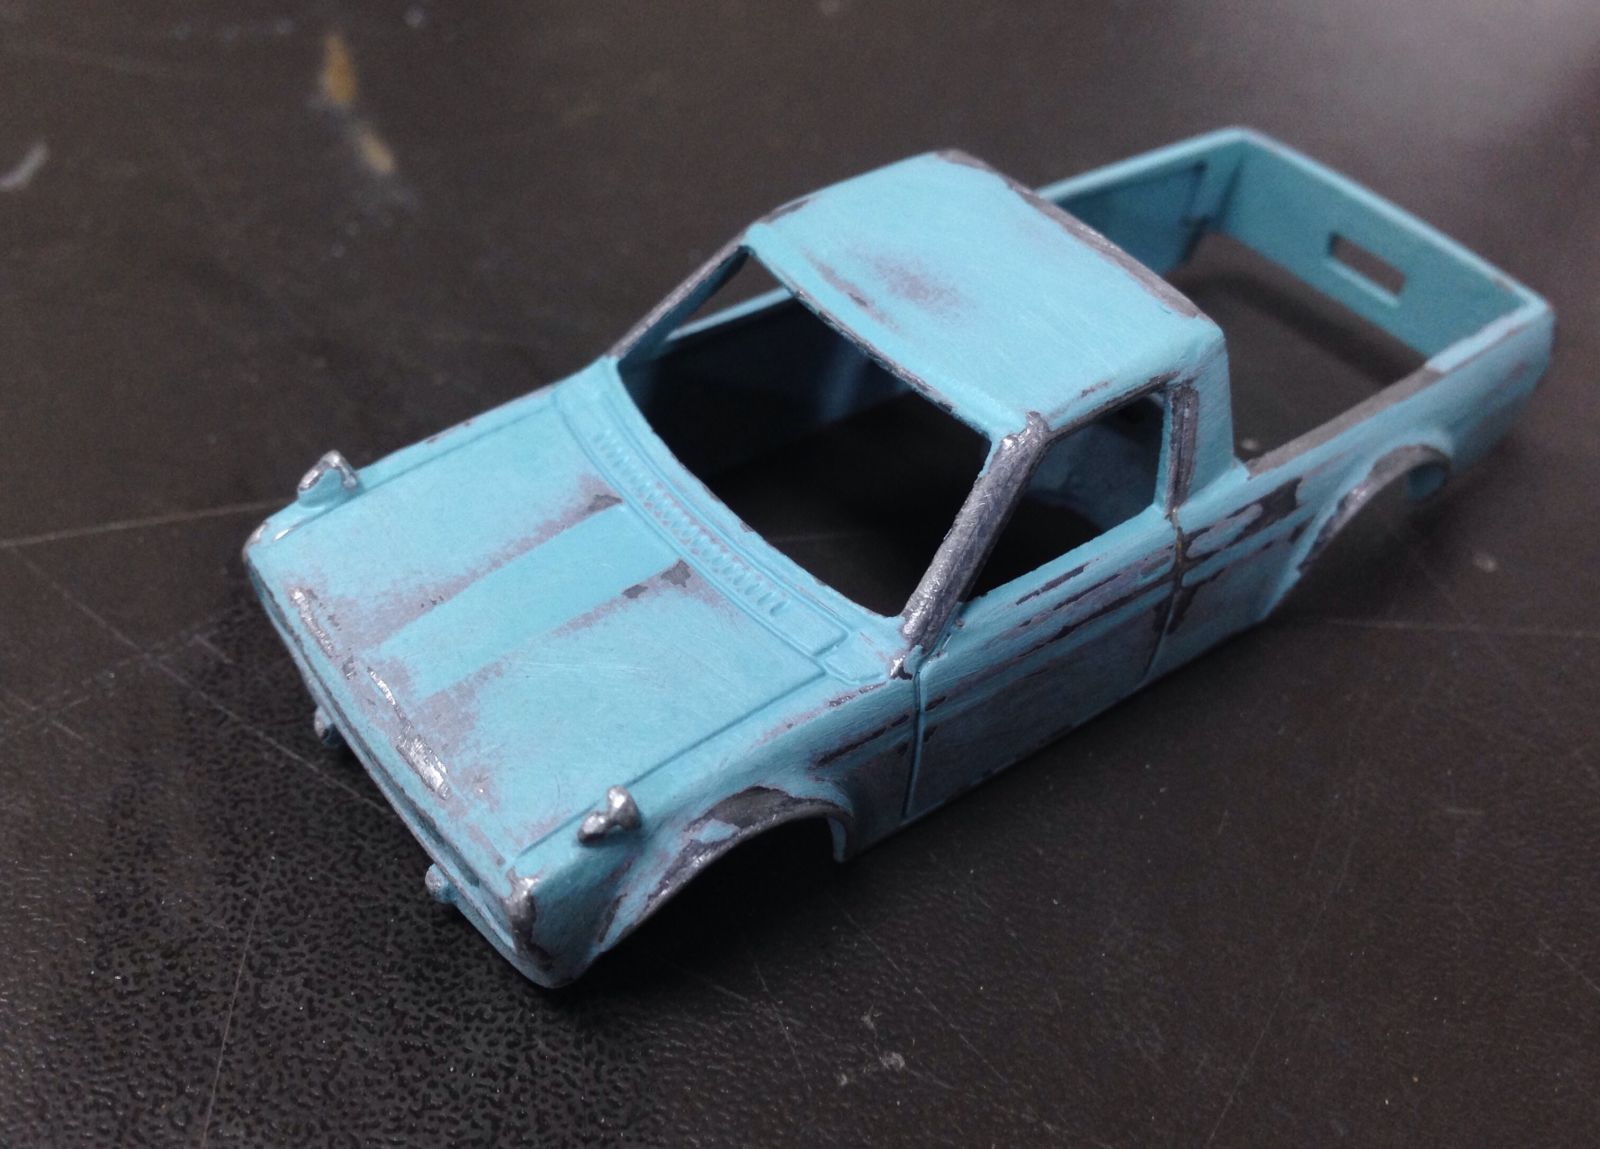
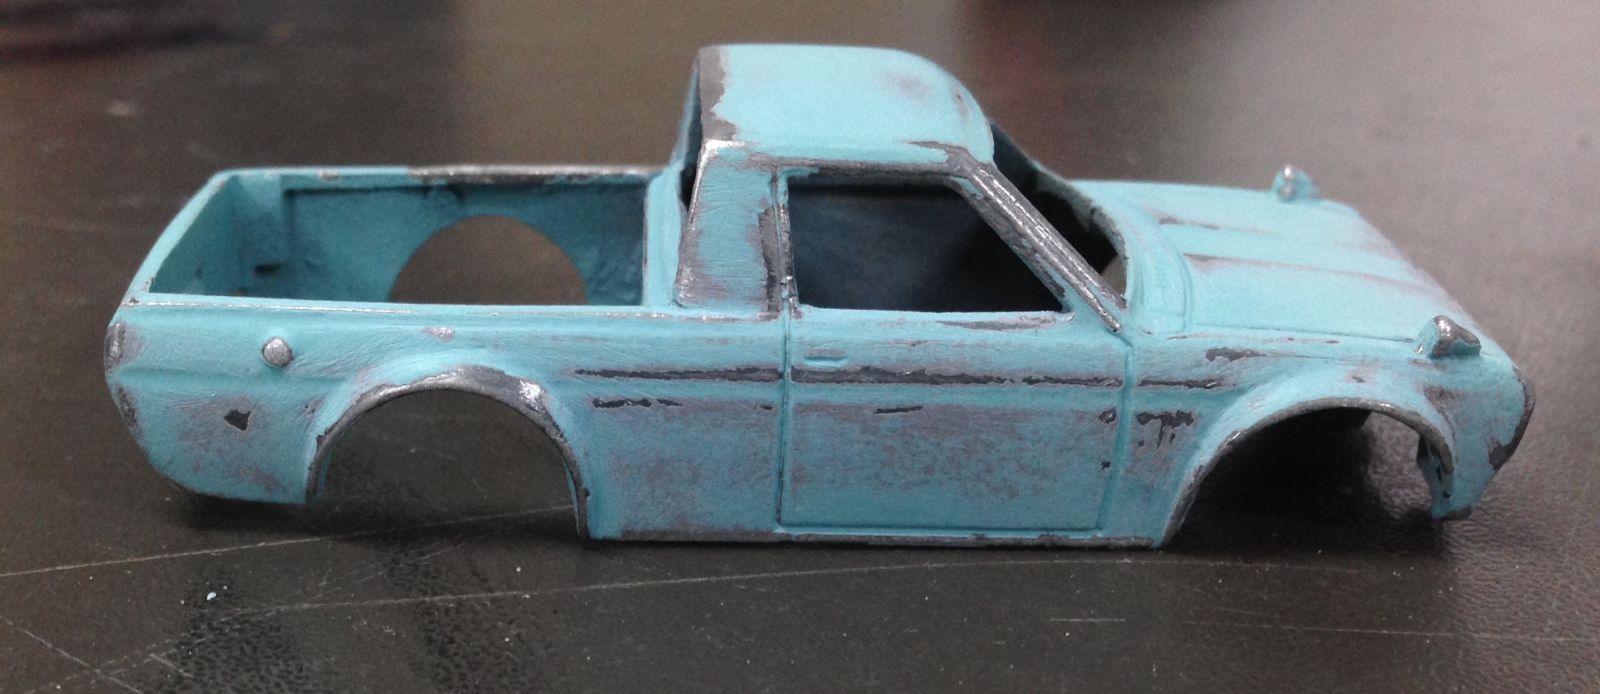
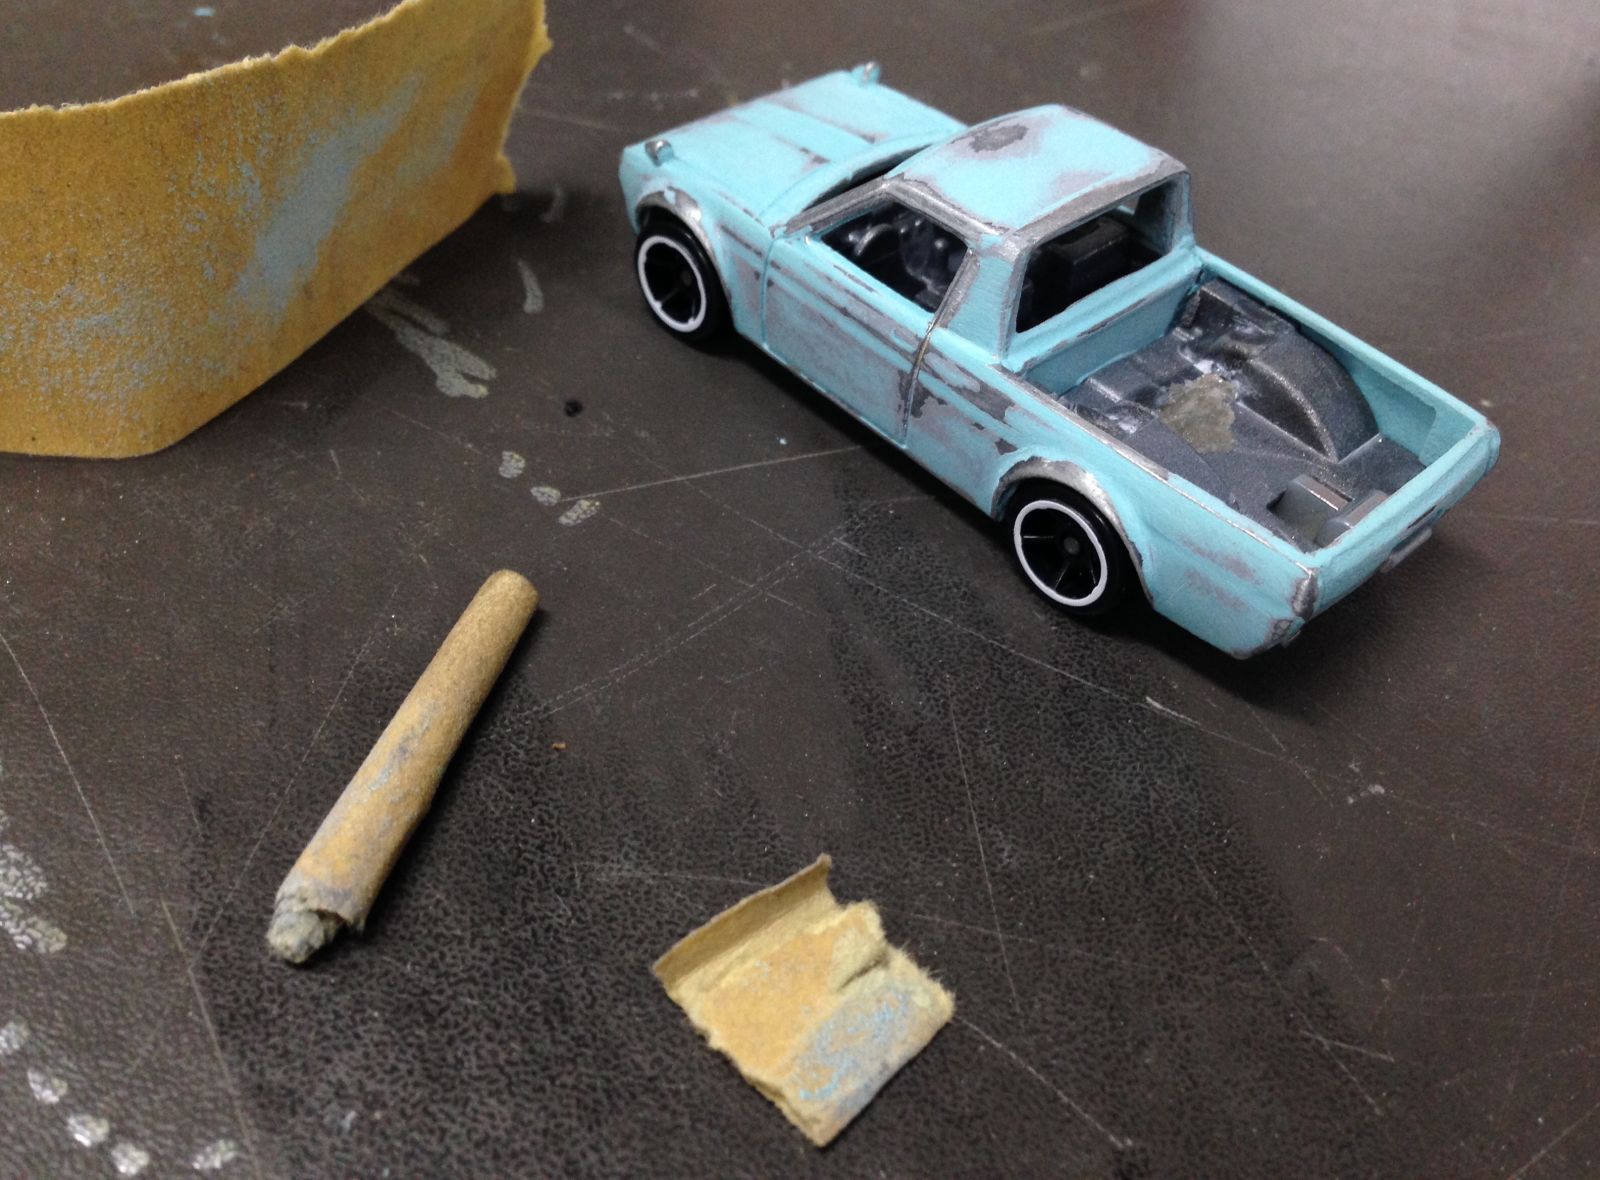
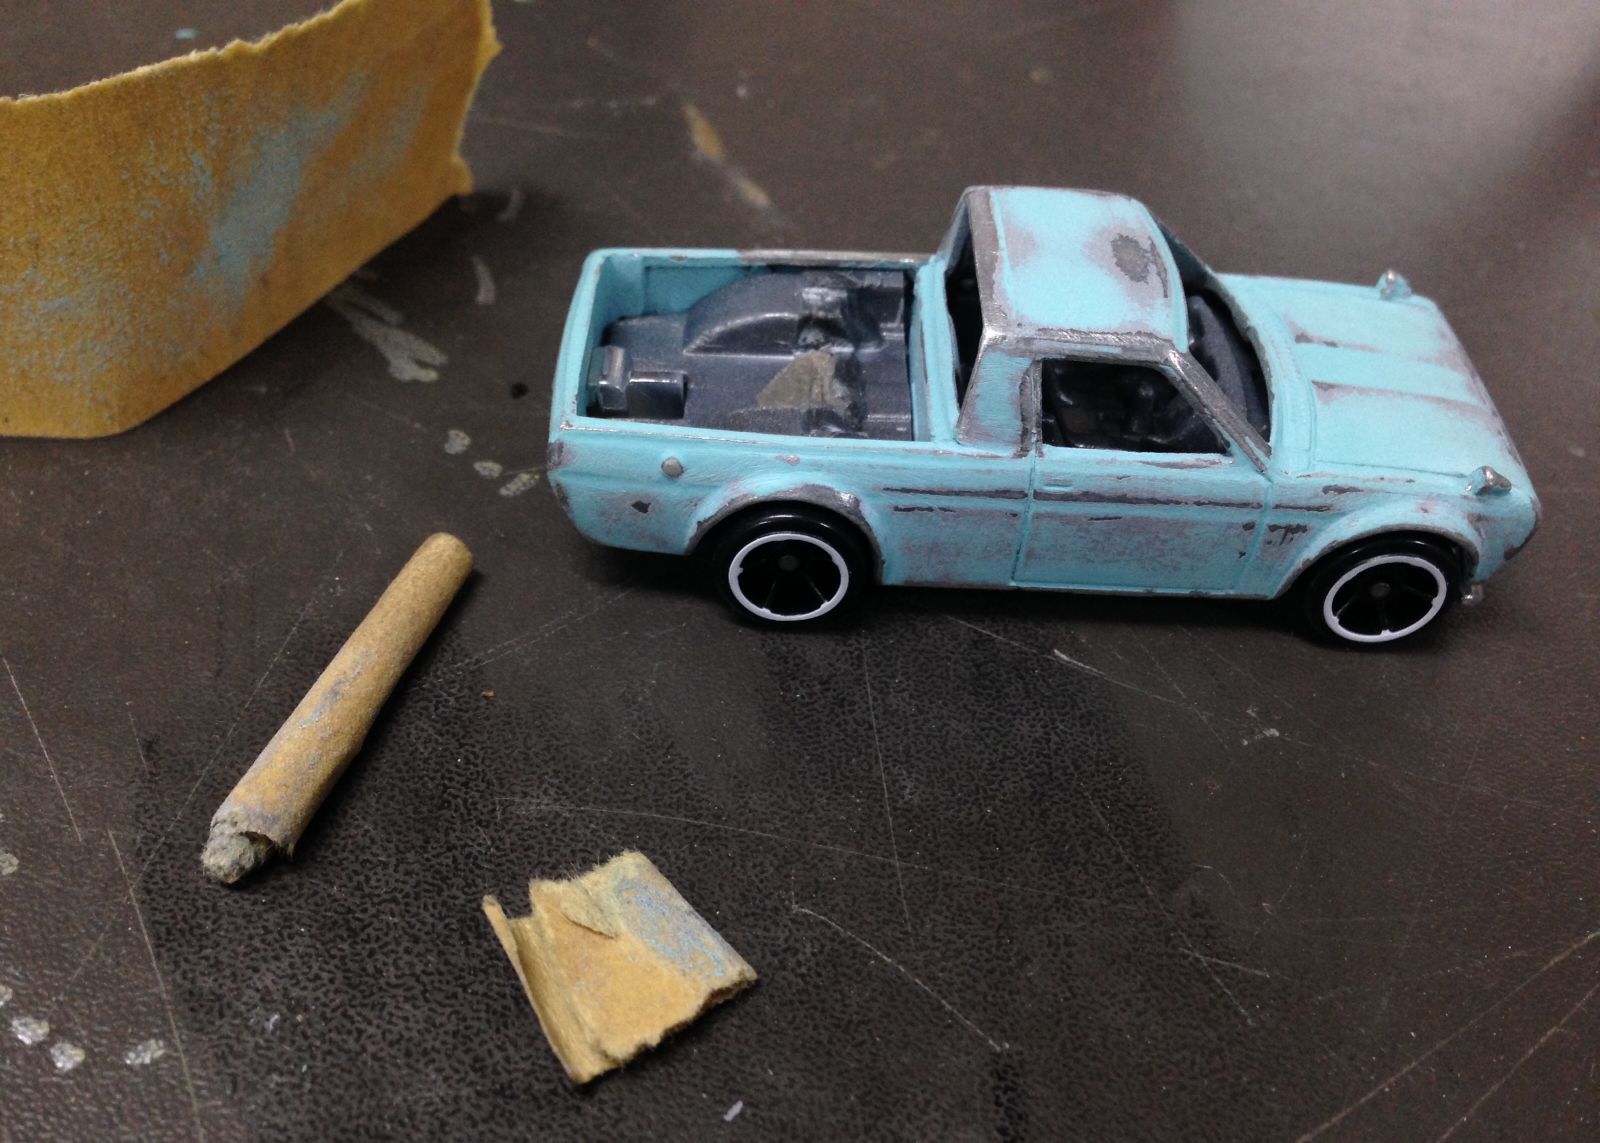
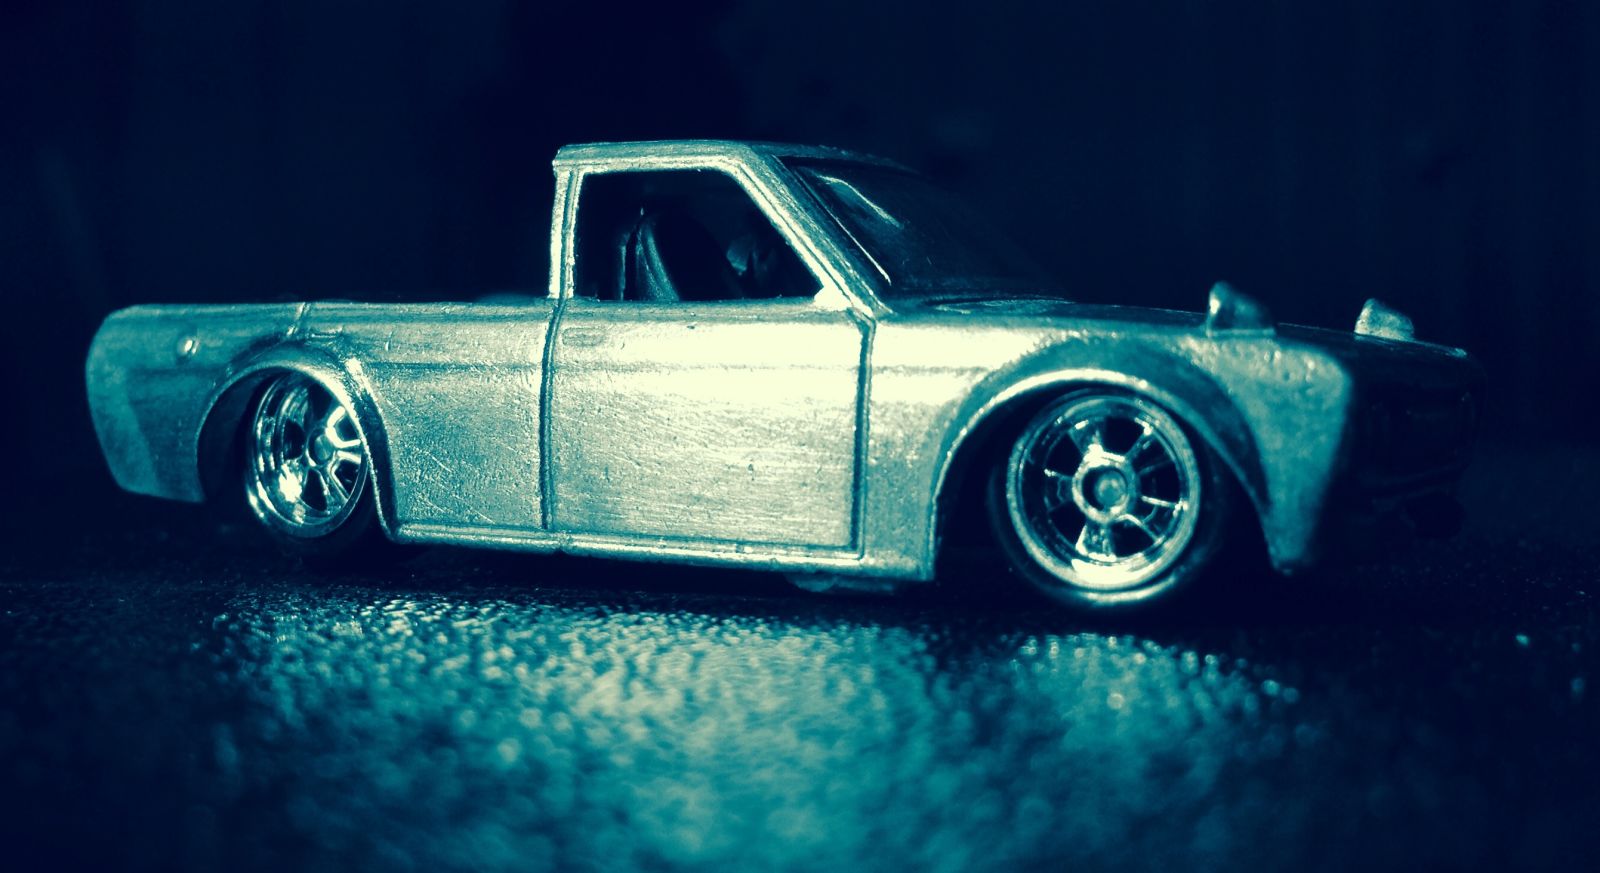
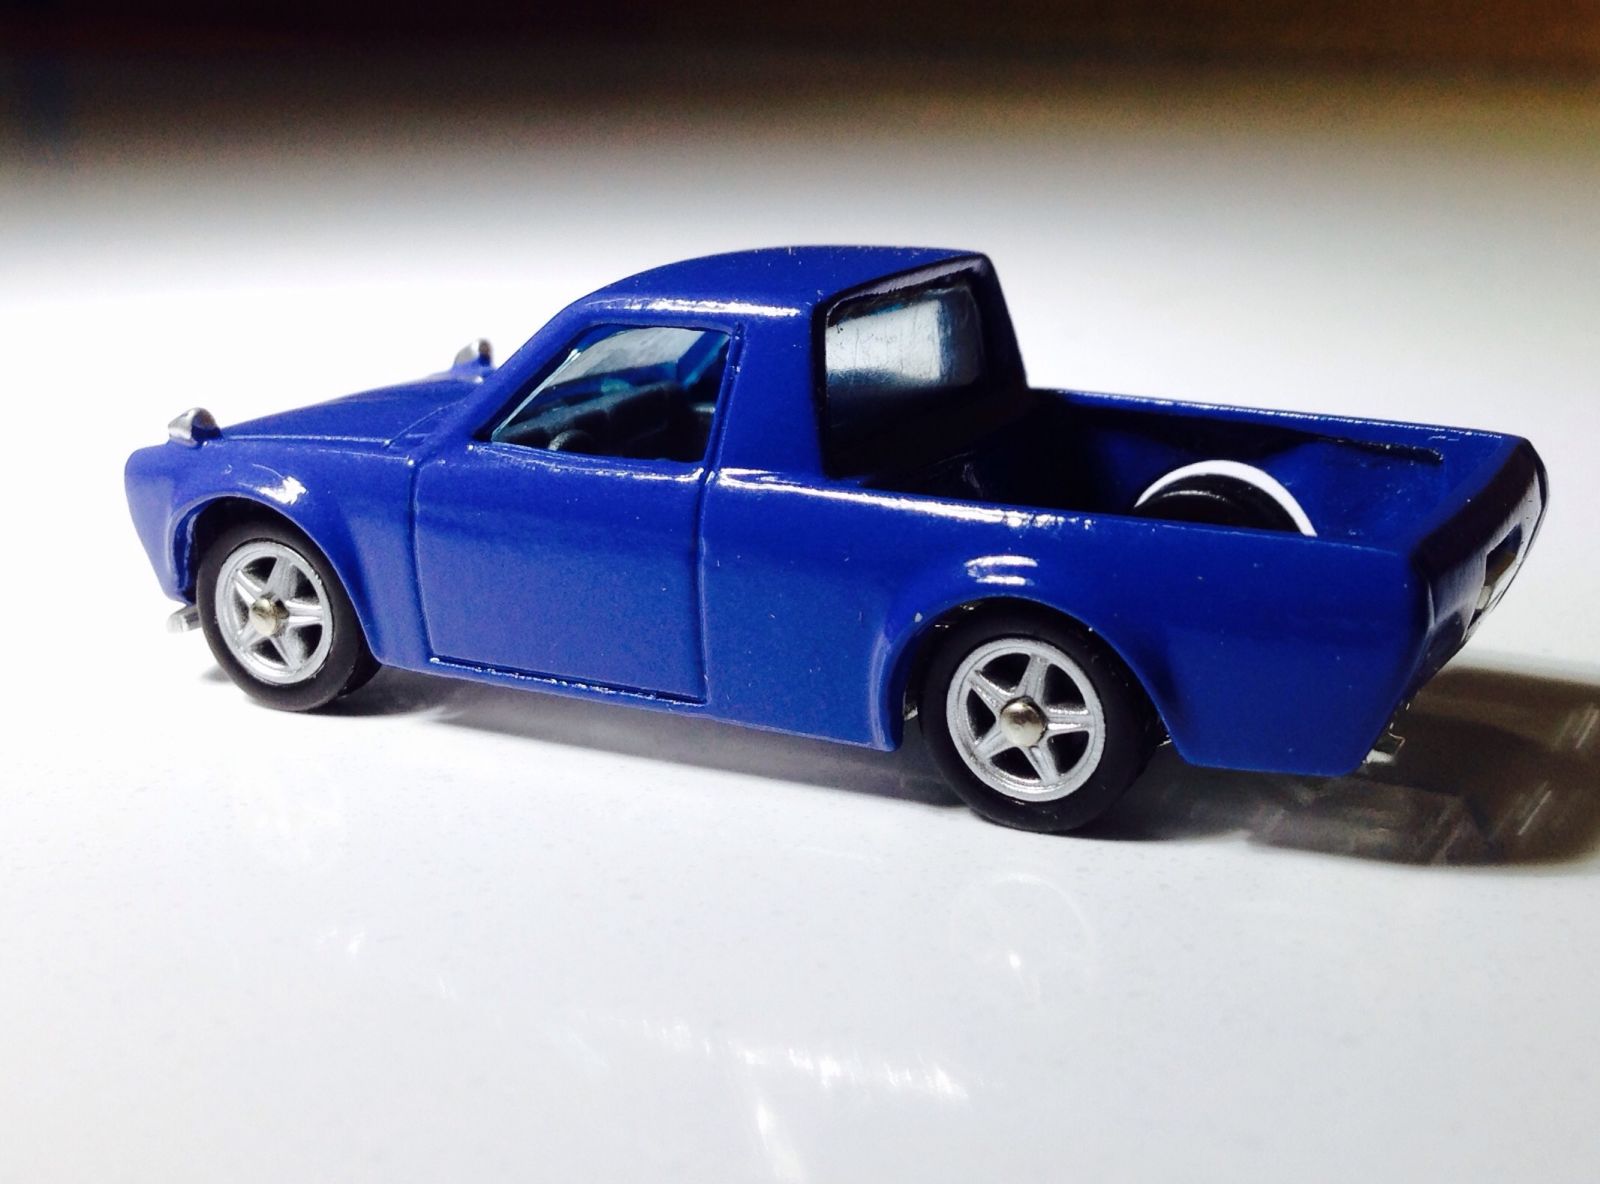
Now I really like this pale blue color and its weathered look and was tempted to clear coat it and call it a day. I was very close.
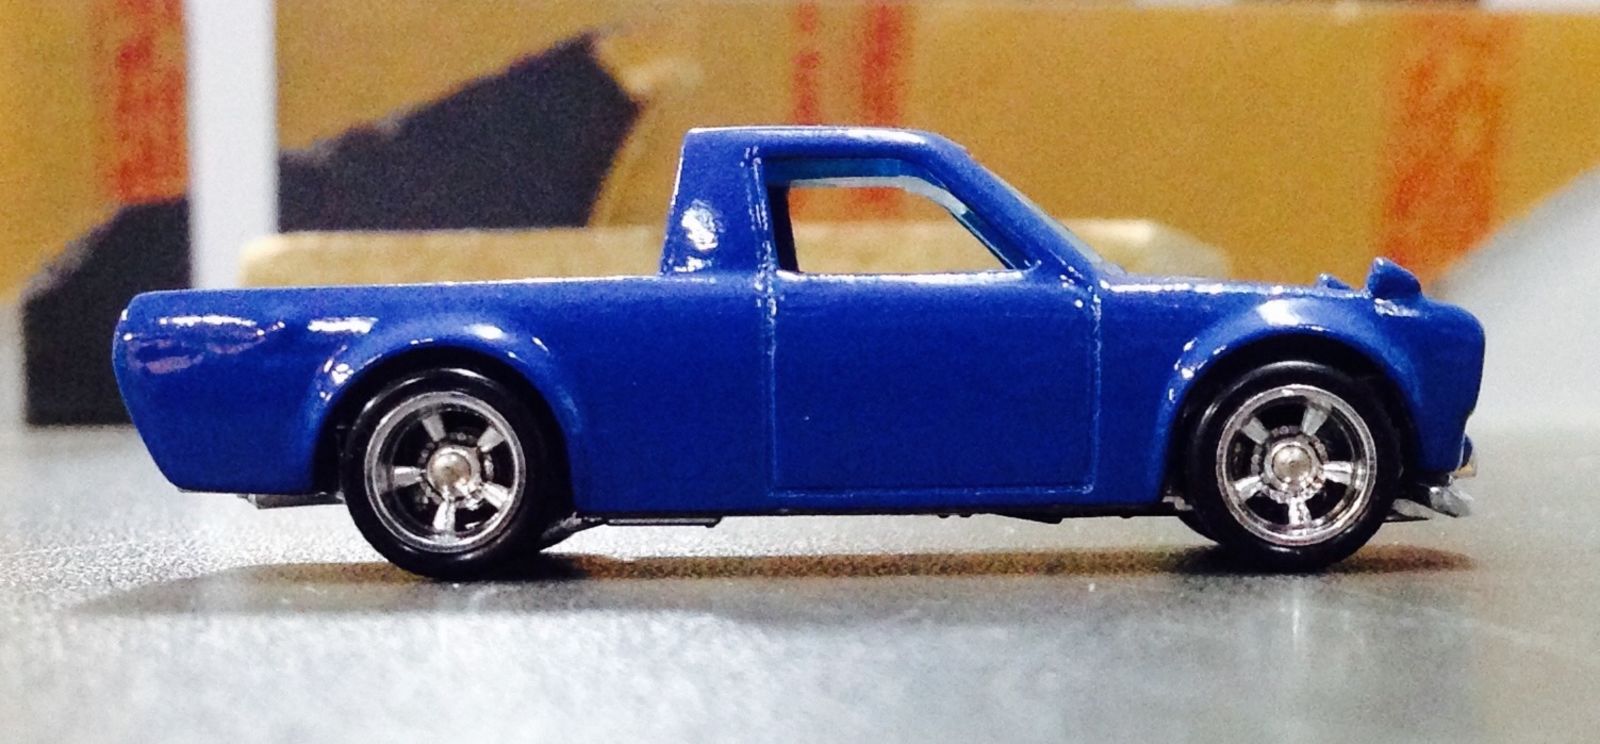
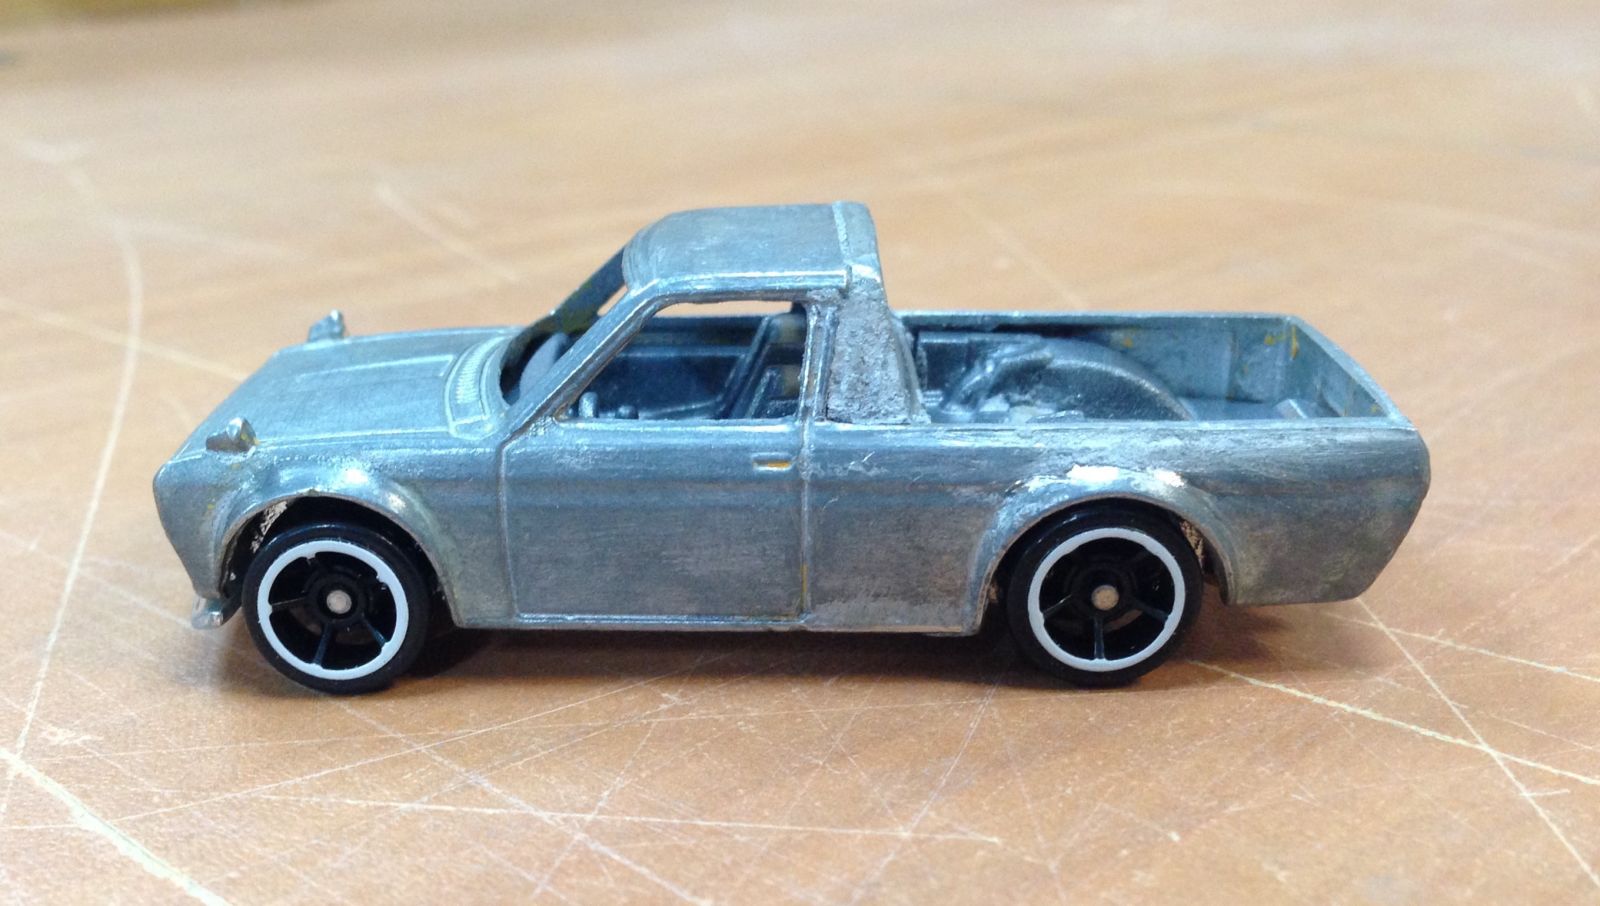
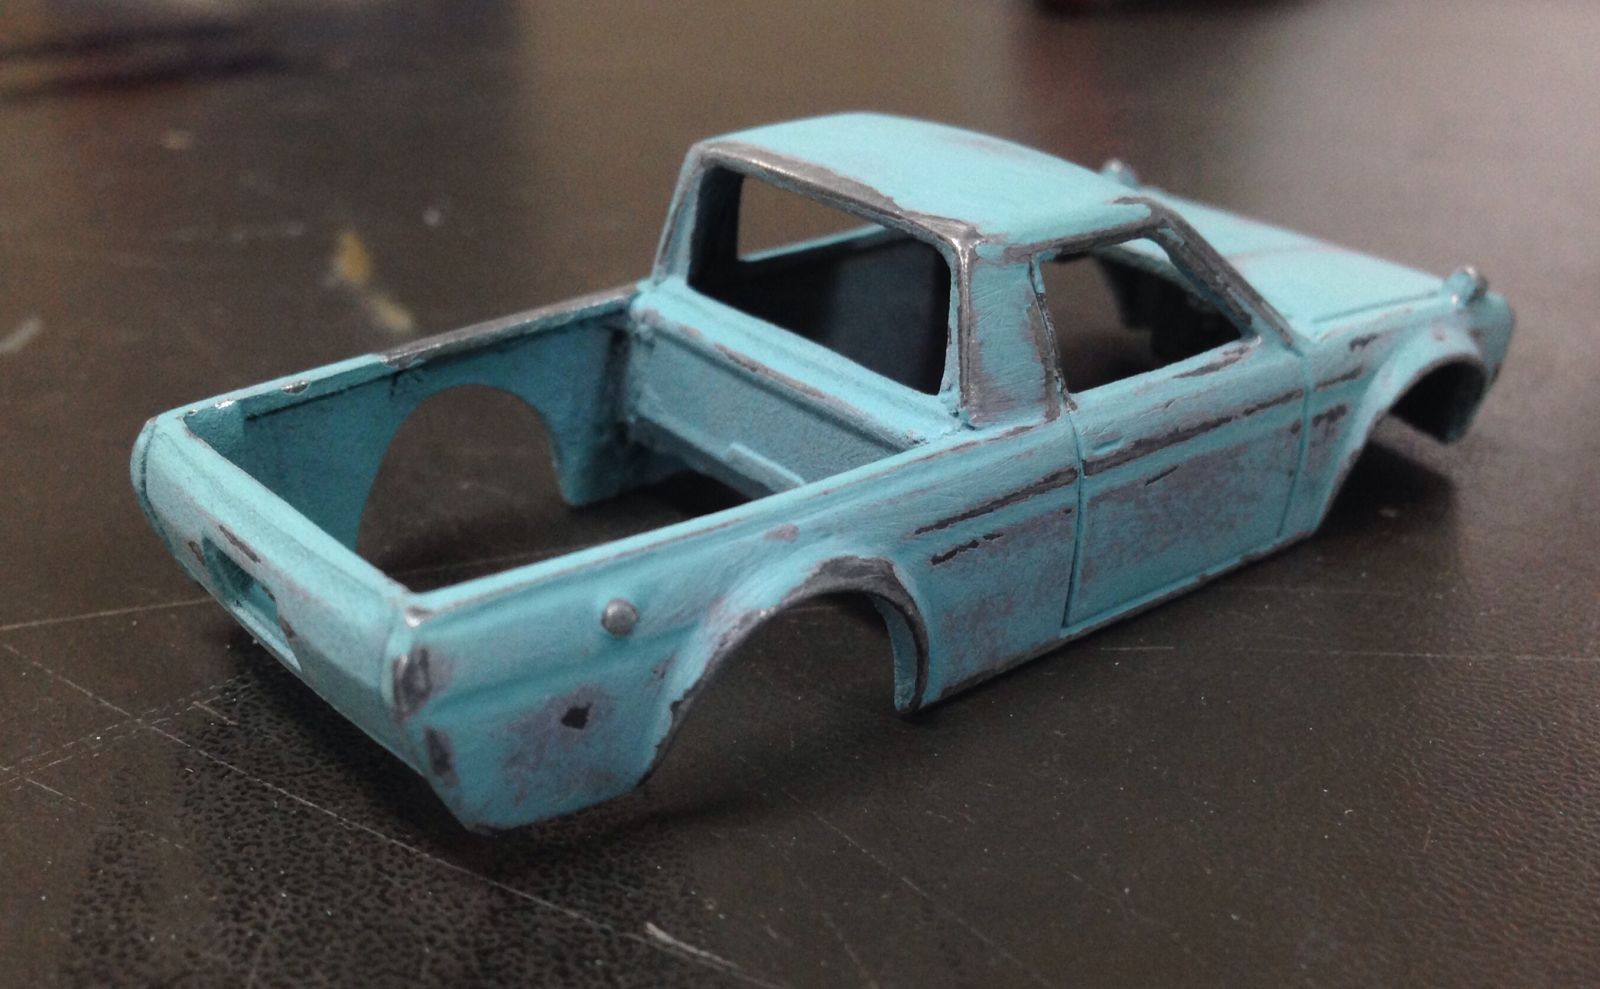
The paint will be stripped and redone as I don’t like the finish. In some photos it looks ok with carefully done lighting and those are the photos I first published. The picture above and the following 6 show some of the flaws a bit more clearly.
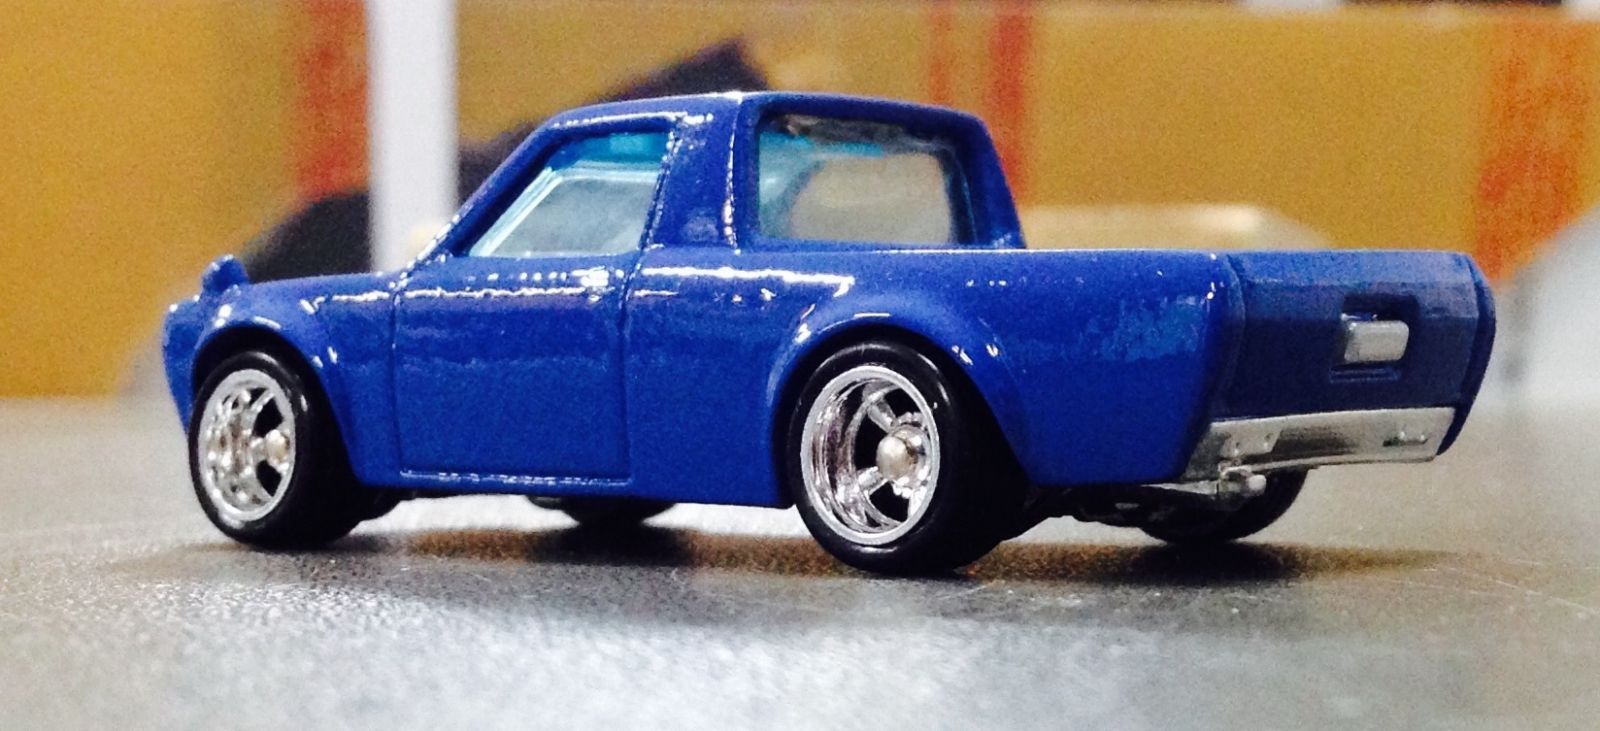
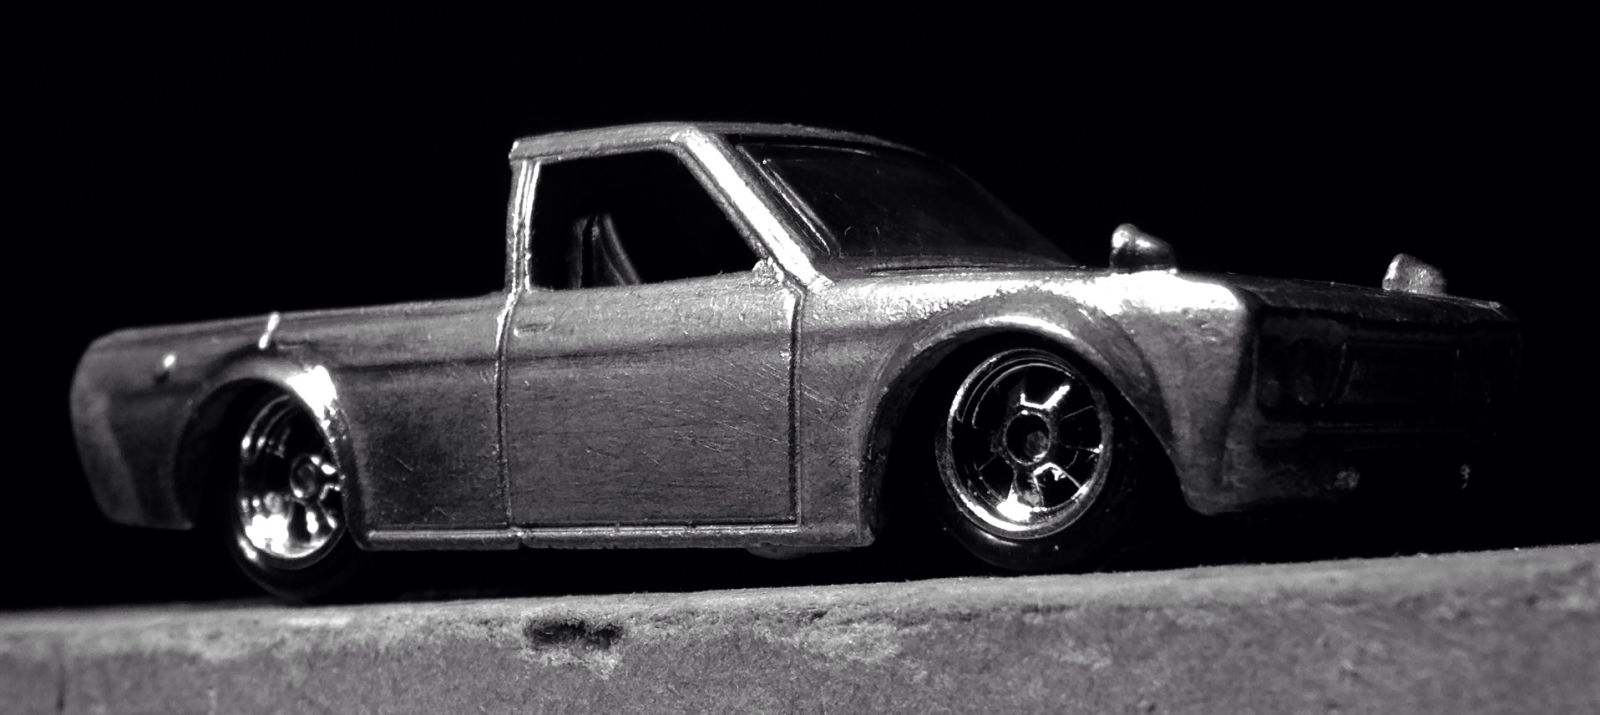
More orange peel than an orange.
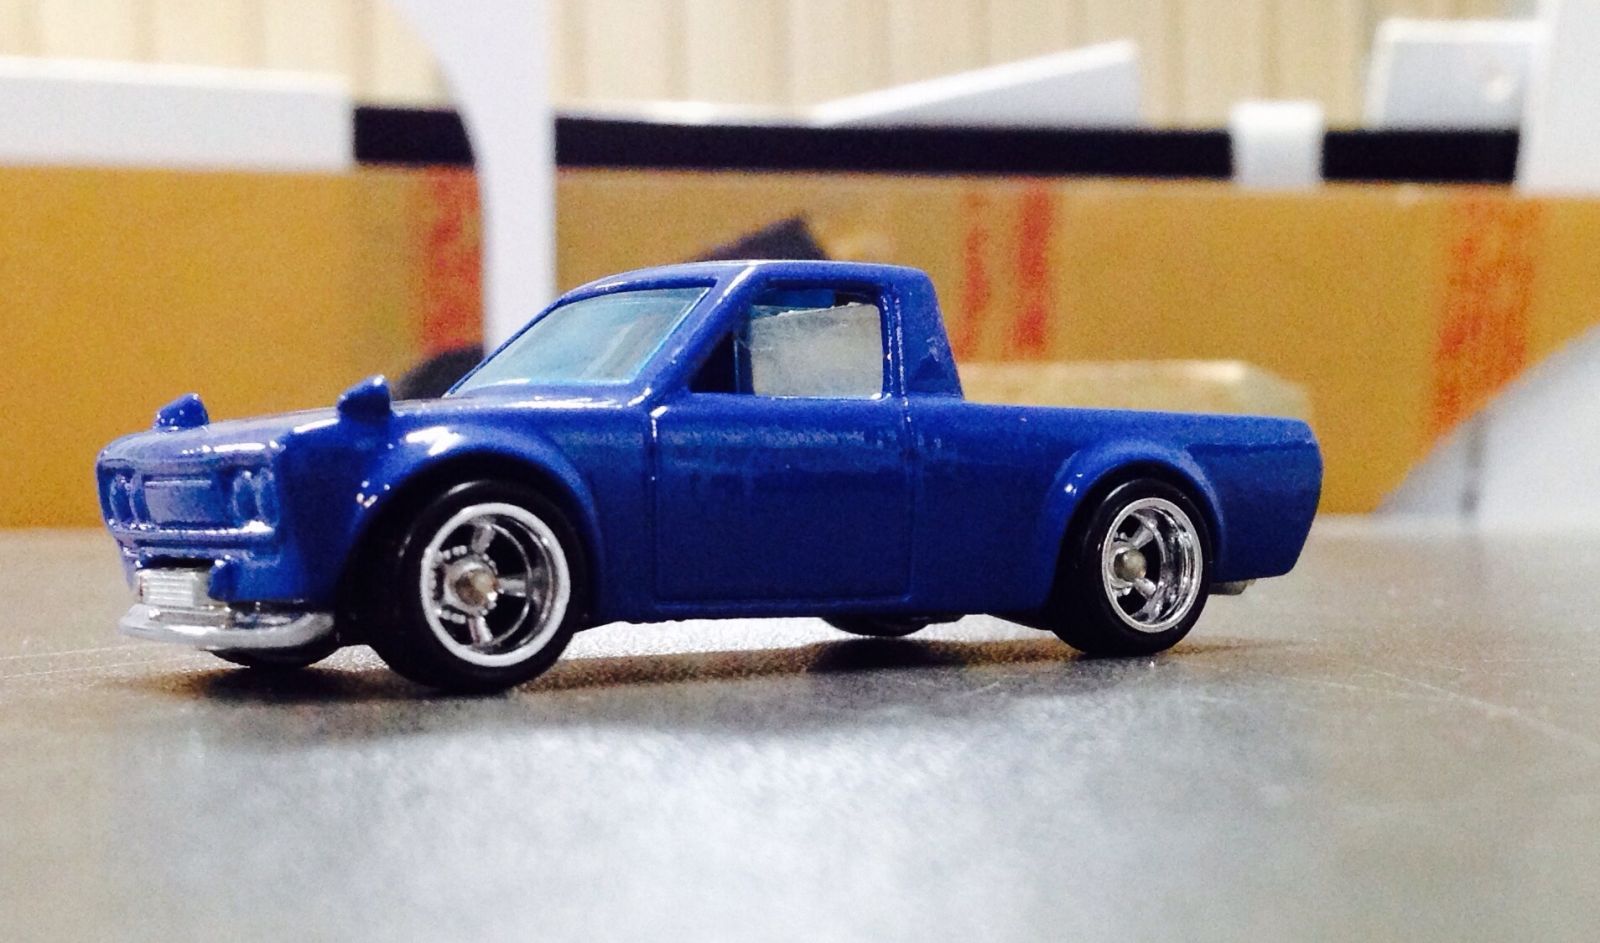

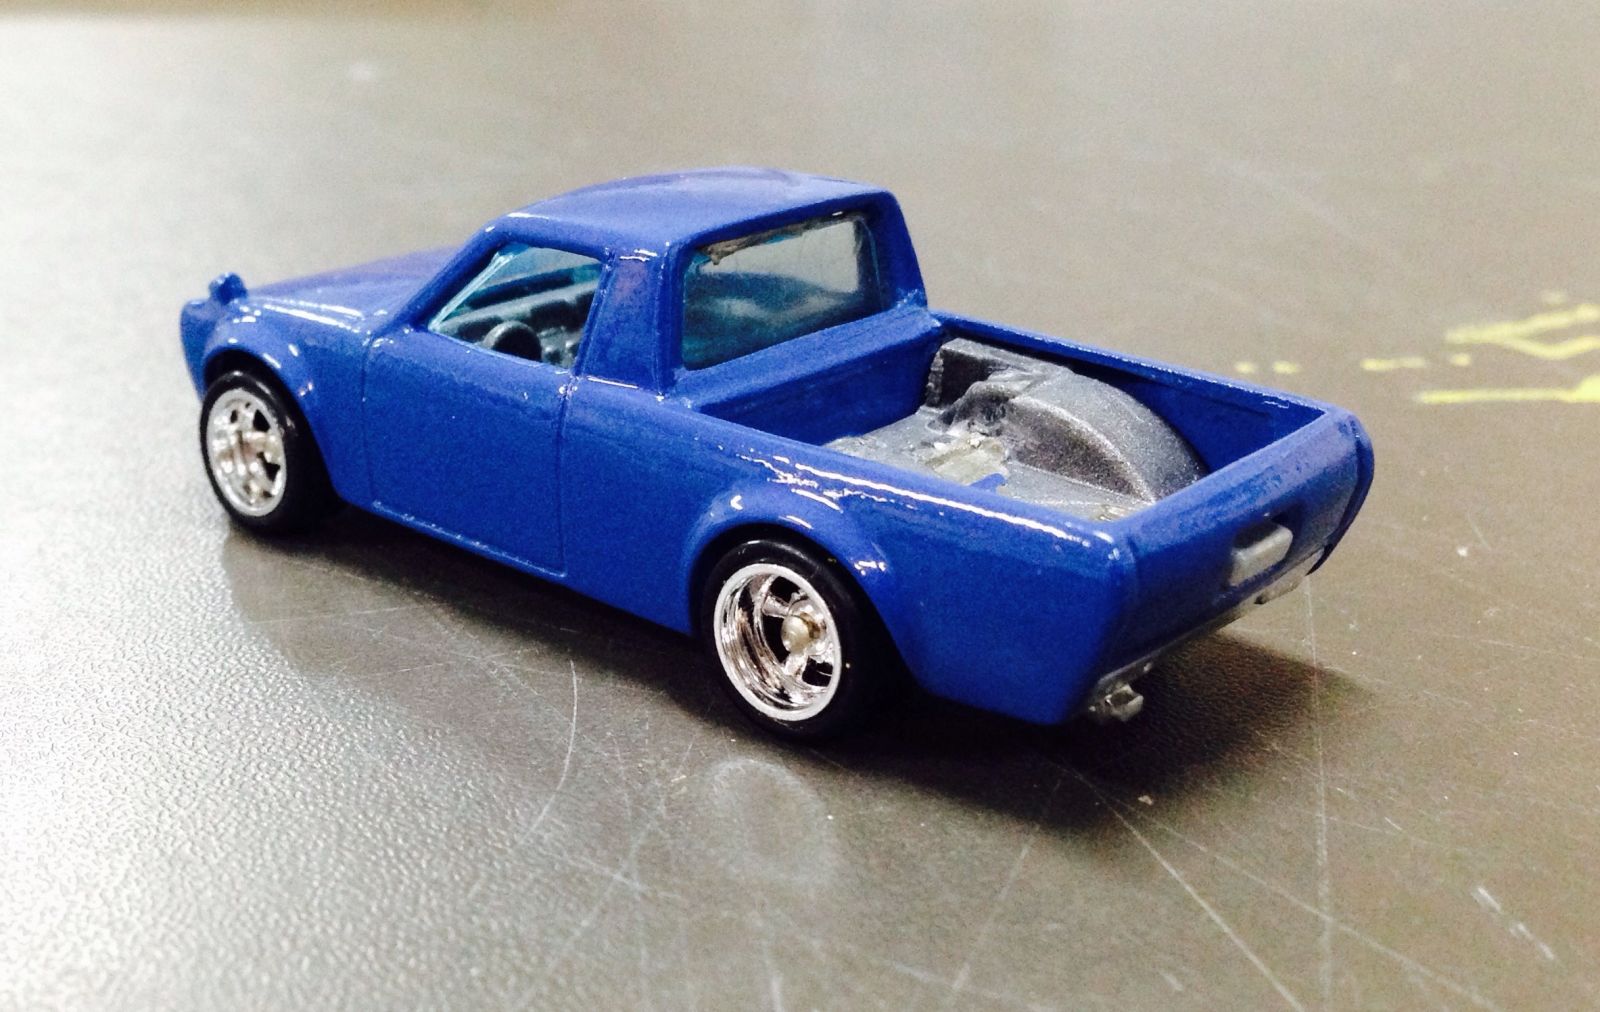

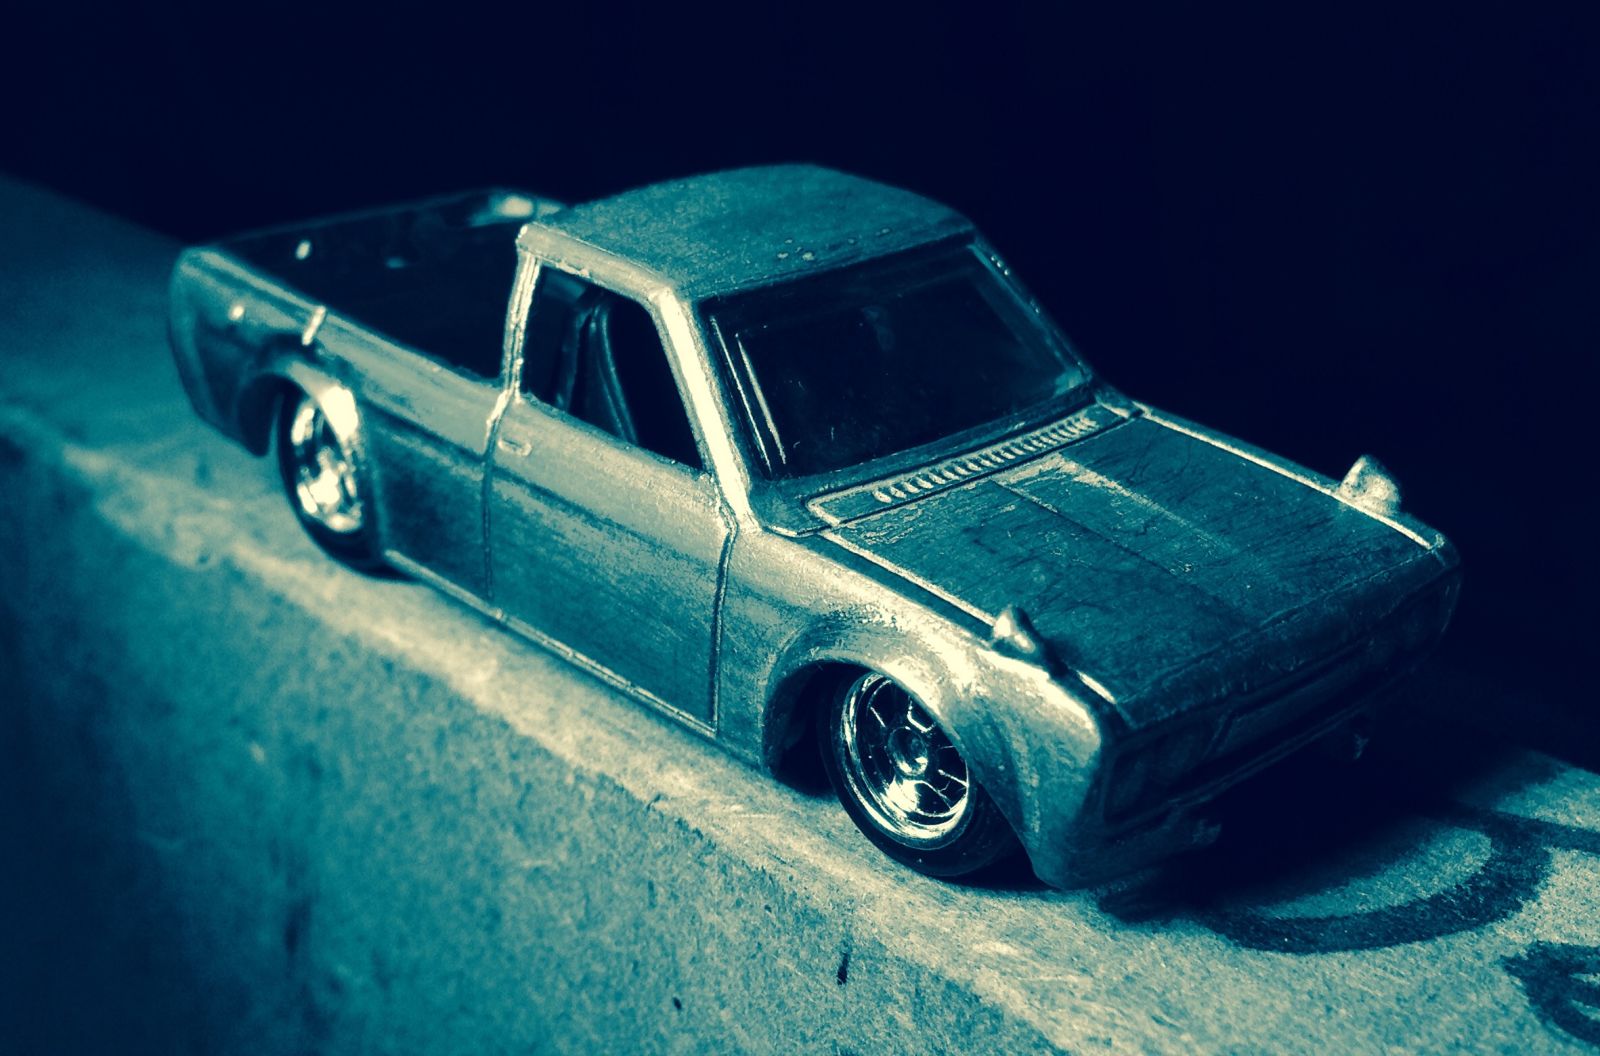
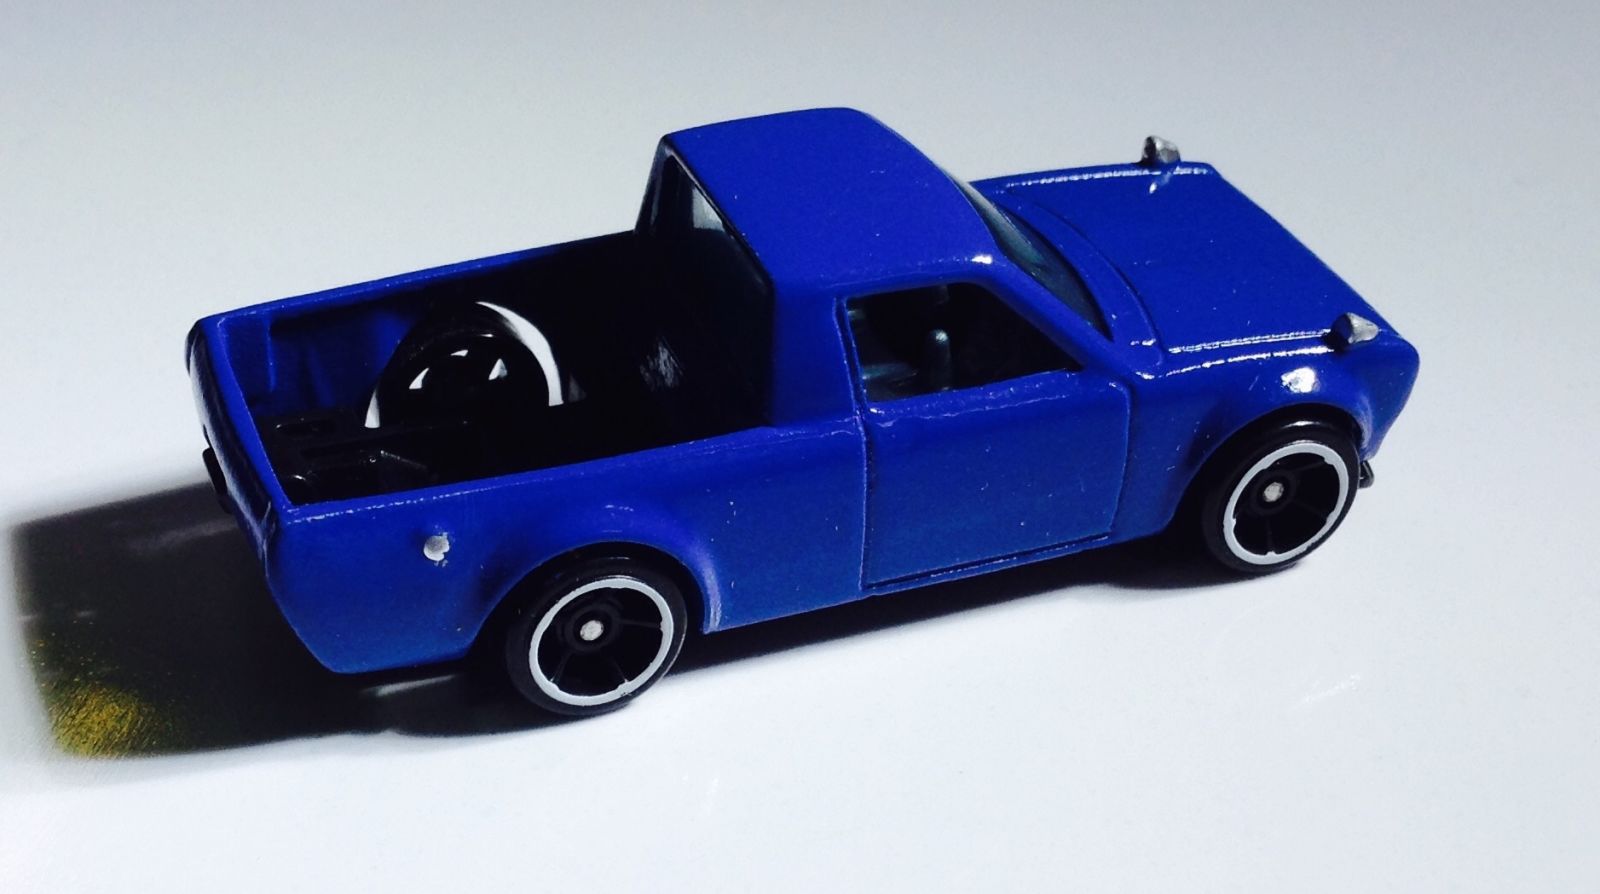
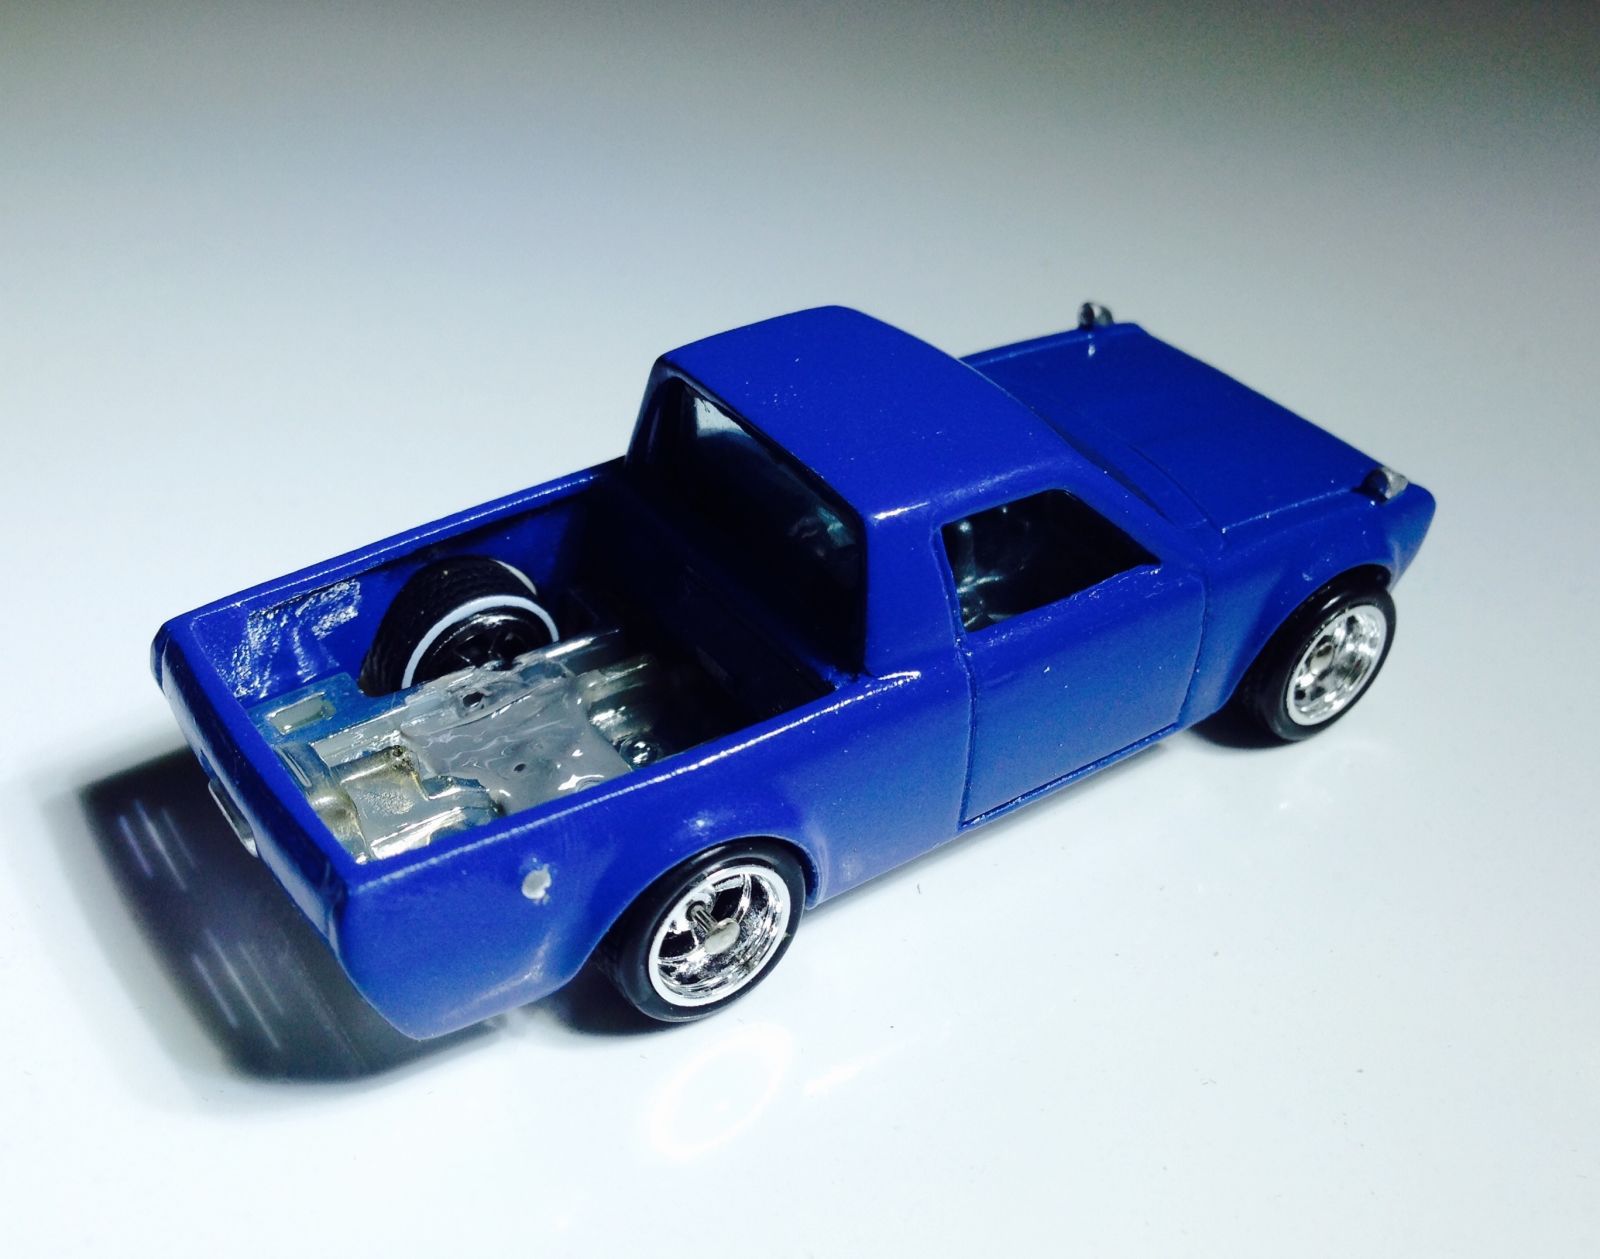
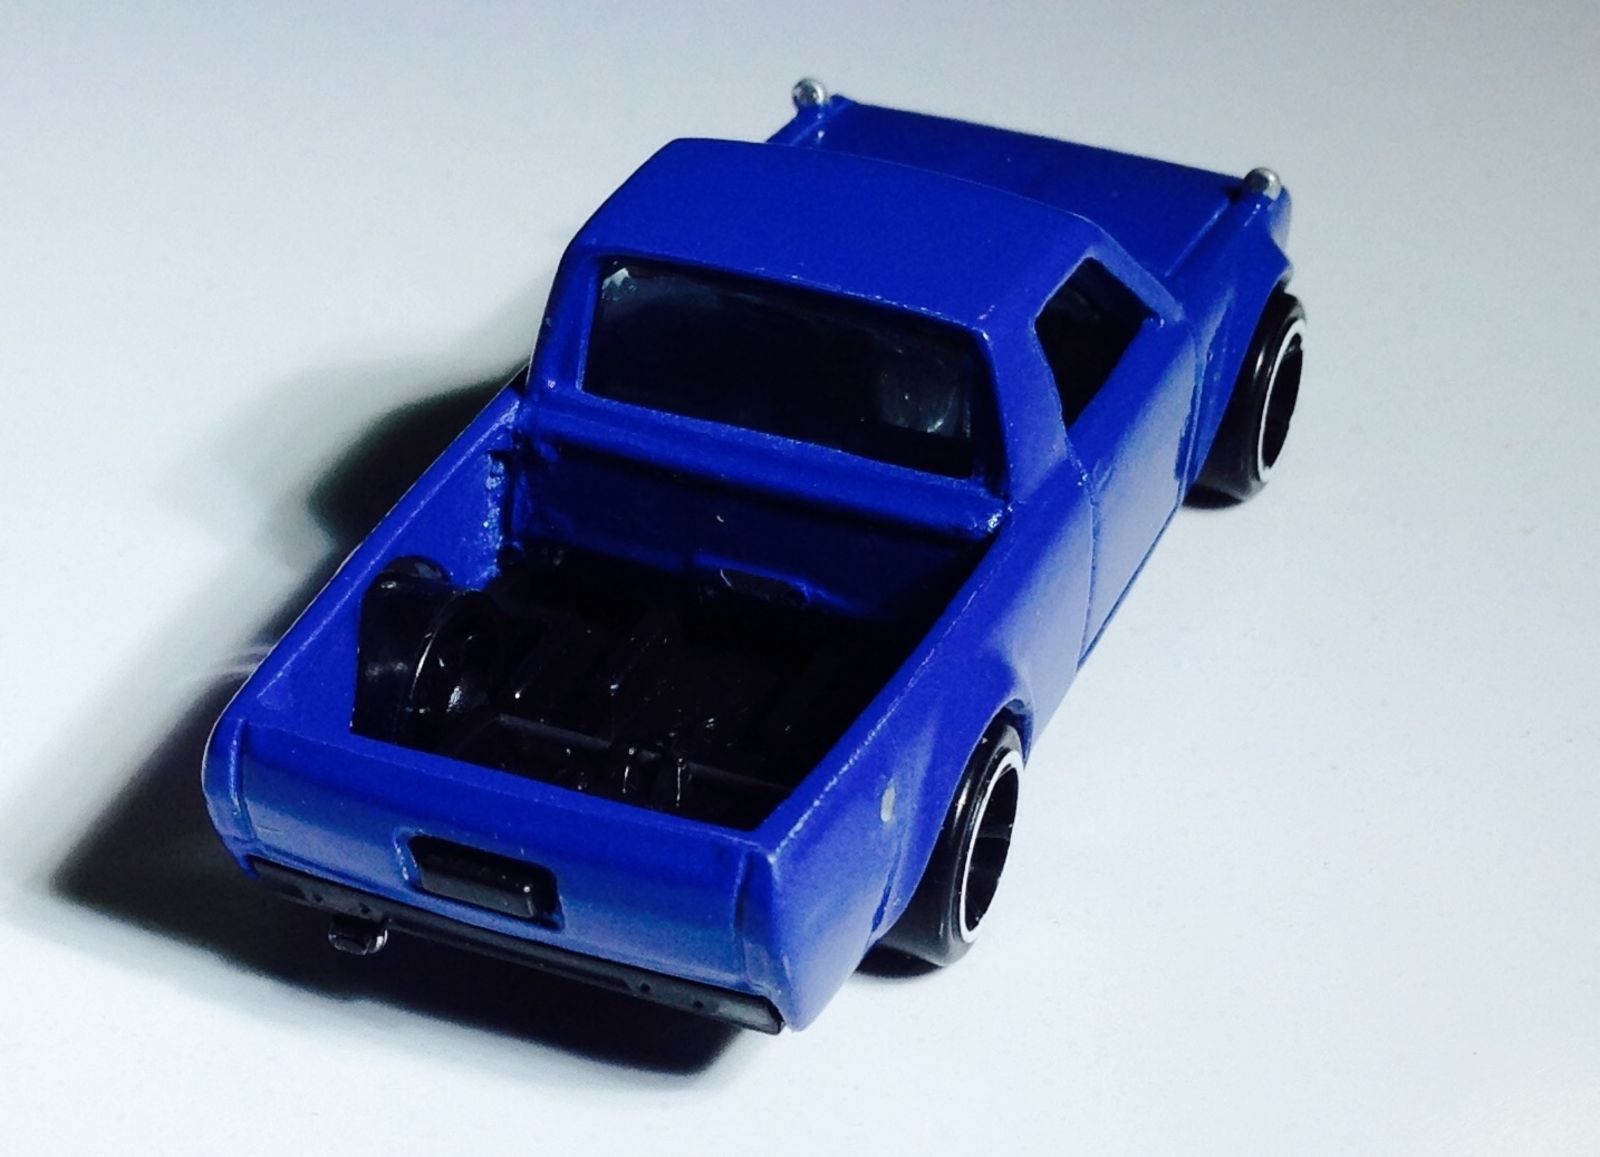
This shot above shows the sides are not as smooth as I would like. The photos below are the ones I prefer as it actually looks good as far as paint quality goes.

Thanks for looking.
Edit: The title is a little misleading as its not truly finished but it's close.
Just a reminder that I’m still looking for name suggestions,