
Tiny chassis rails build!
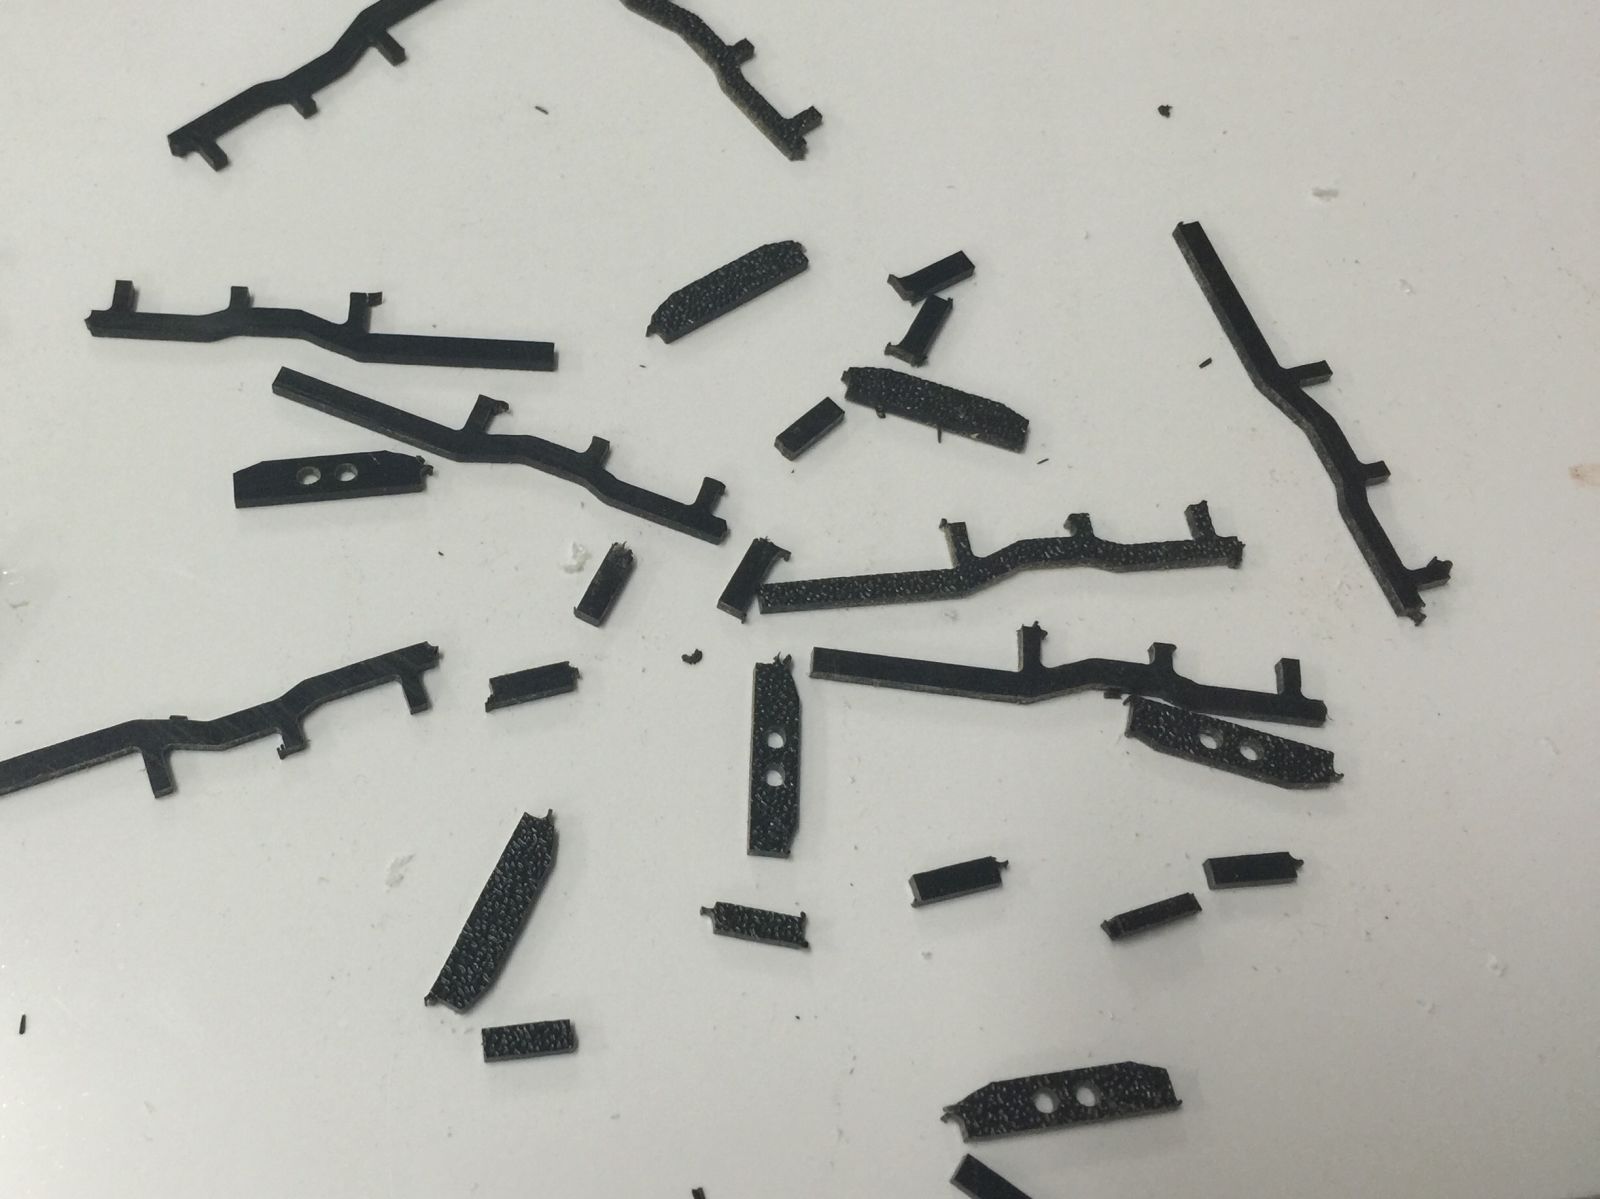
I made some extras just incase. I had a couple of minutes spare this afternoon so I made the most of it. After measuring up the LC I did a quick drawing on the PC and used my CNC router to cut out the parts. The material I used is 2mm thick ABS, the same as the MBX base which made for easy attachment using a nasty chemical called Dichloromethane. It’s water thin and melts the surfaces together very well. So well that after a few seconds it’s held strong and once fully set (30mins) is incredibly sturdy.
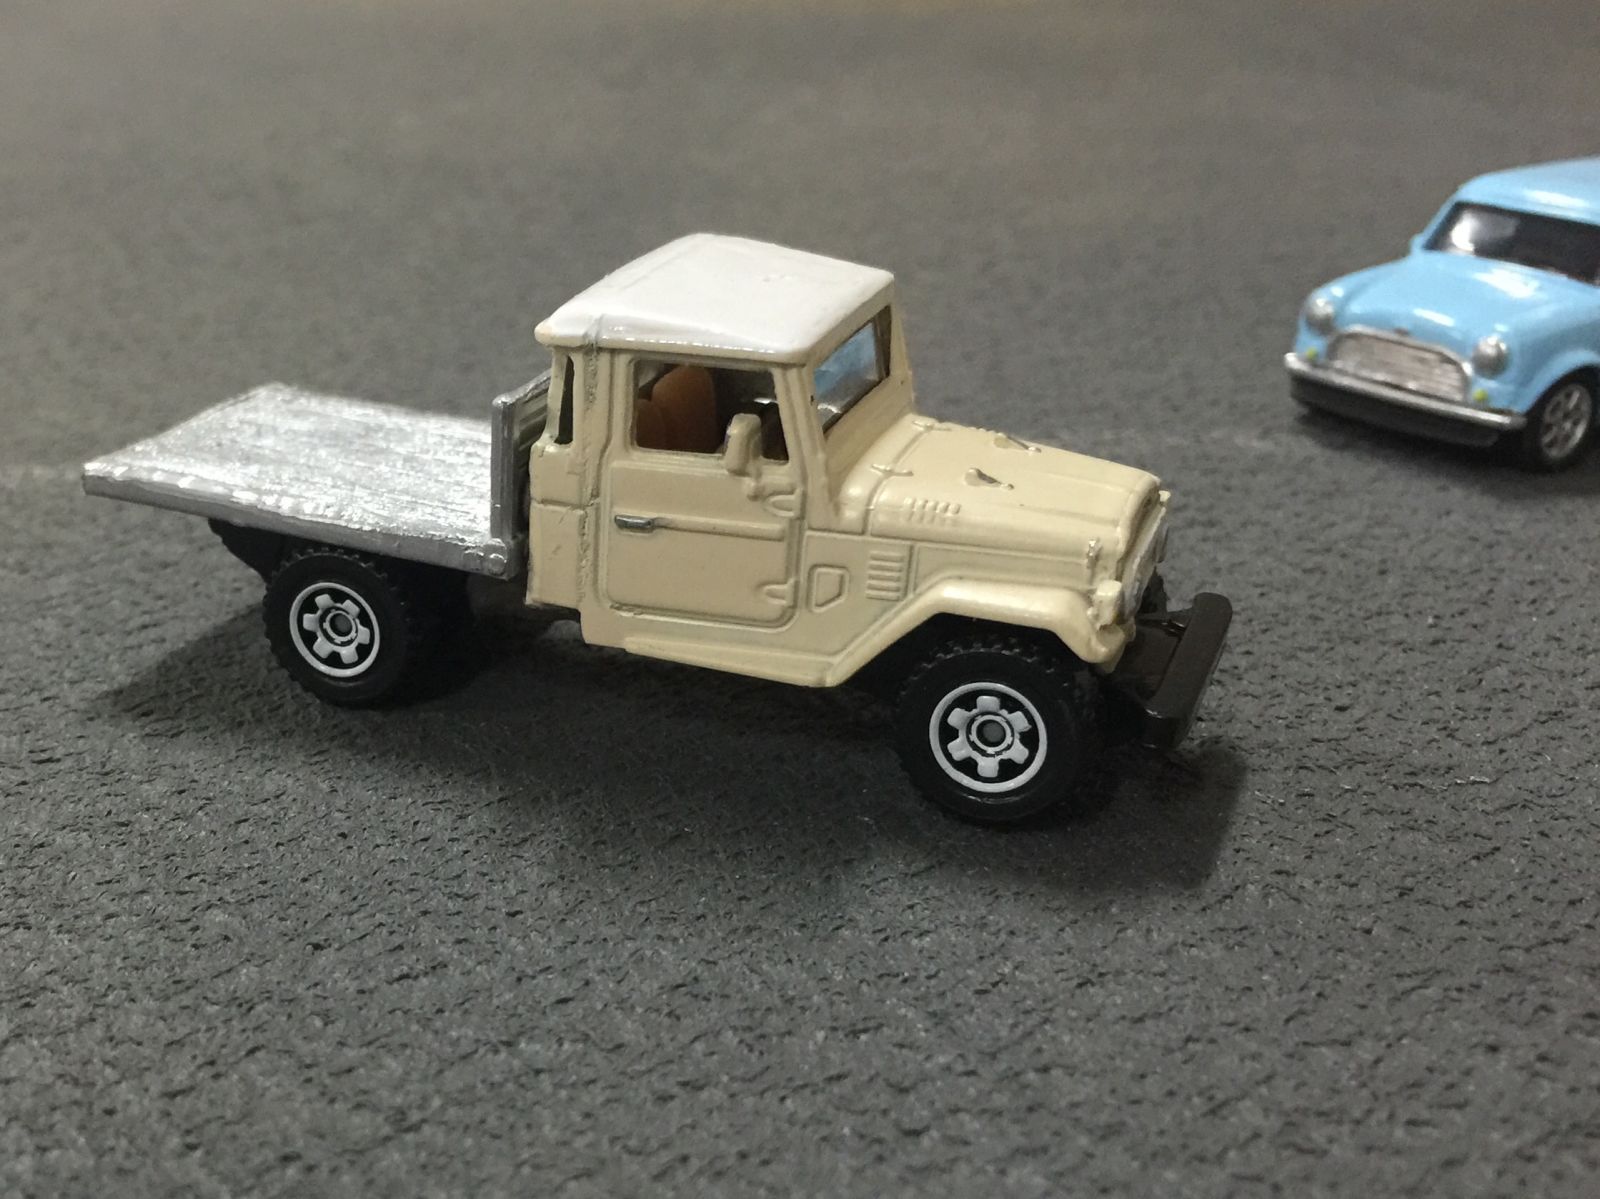
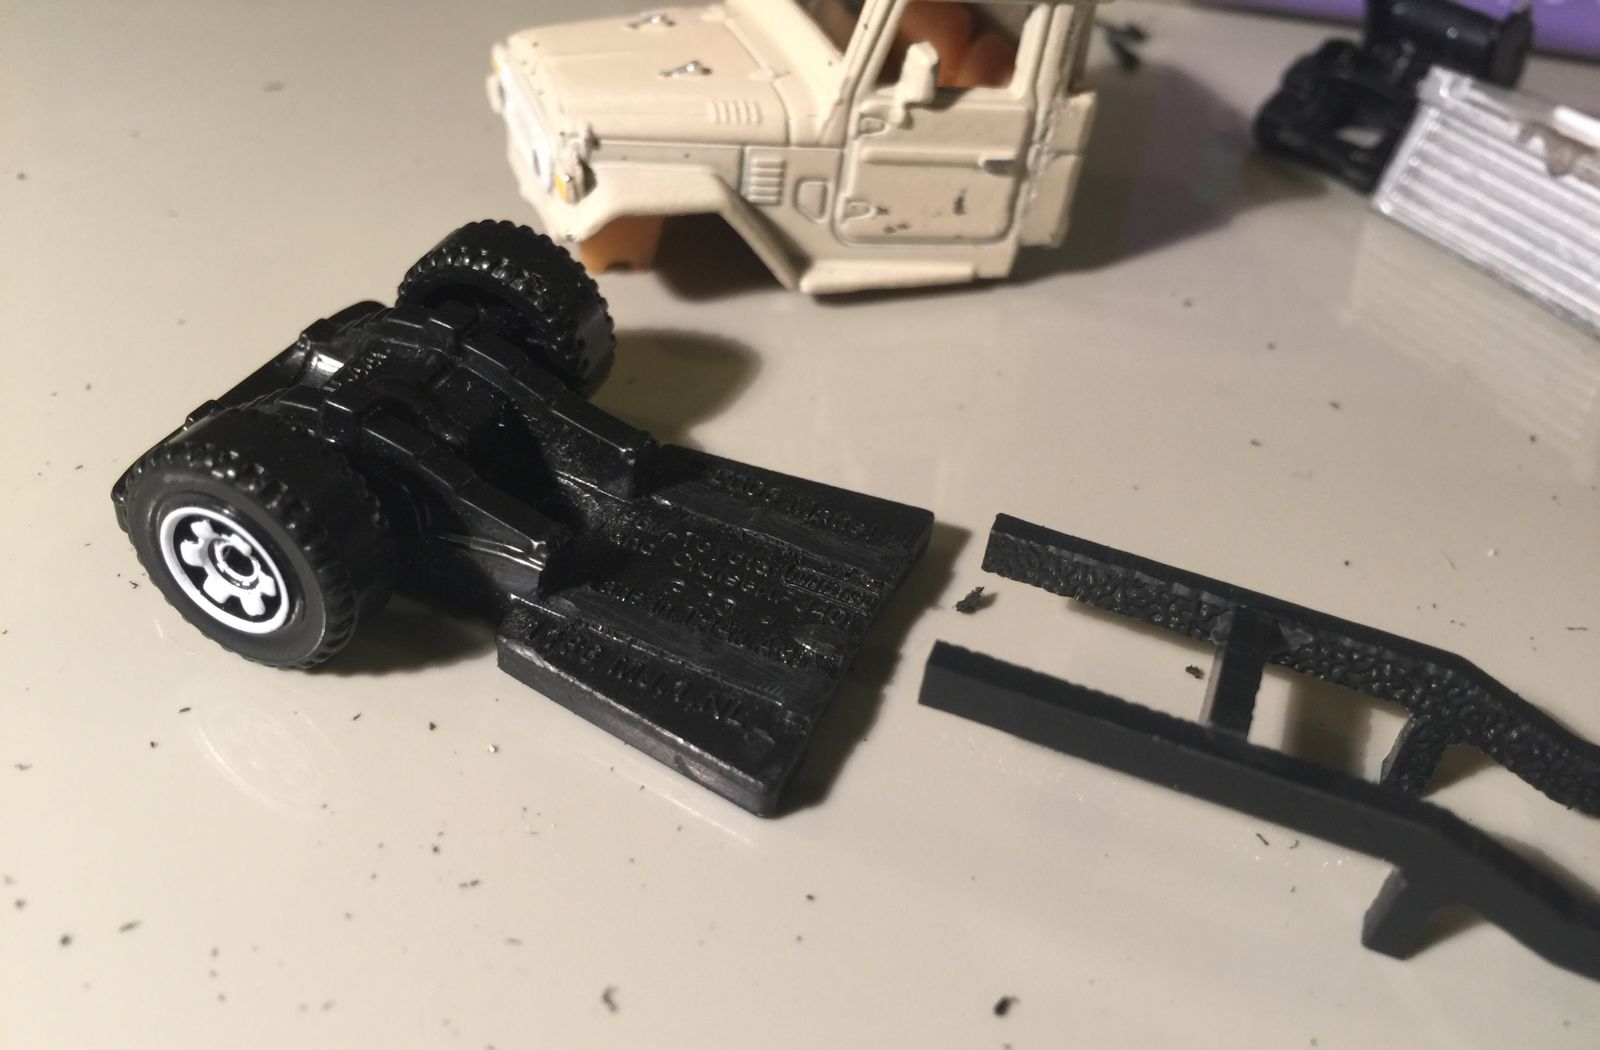
The original shots of the UTE!! were just work in progress shots and the tray was just stuck directly to the back of the cab temporarily and had the original wheel set just sitting under the tray. I knew I needed to make some kind of extension to get the correct looking wheelbase for a UTE!! Just wasn’t sure just how I’d go about it. I think this works.
Glued the crossmembers on one rail. The plastic I had has a texture on one side unfortunately so I made each rail a mirror image so the texture is facing the inside of the chassis.
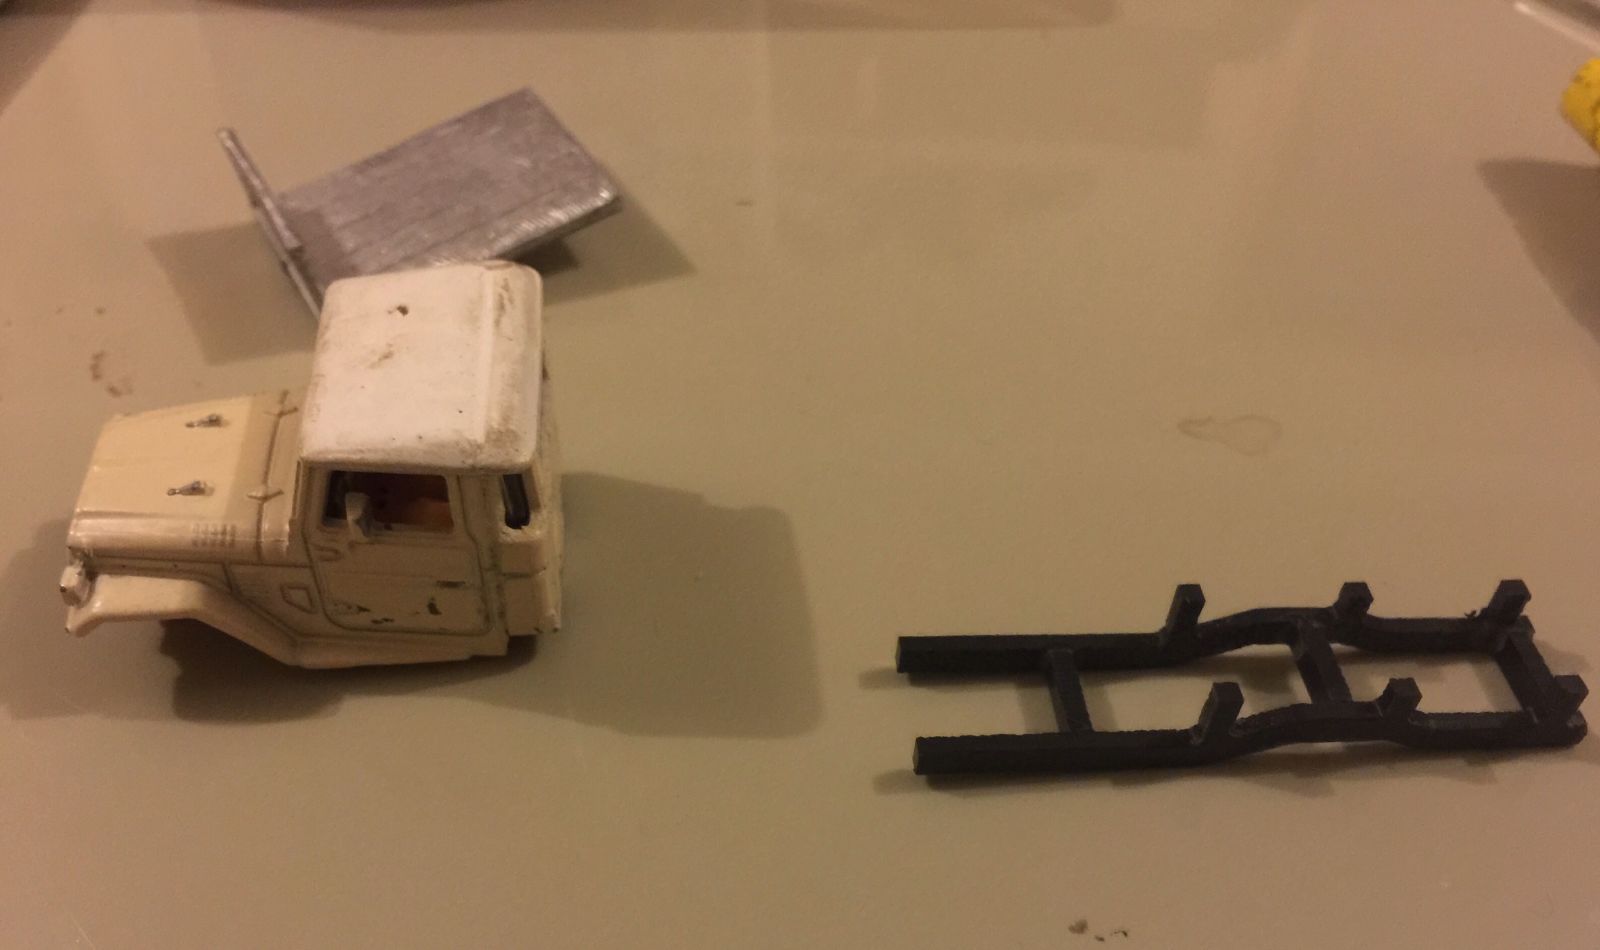
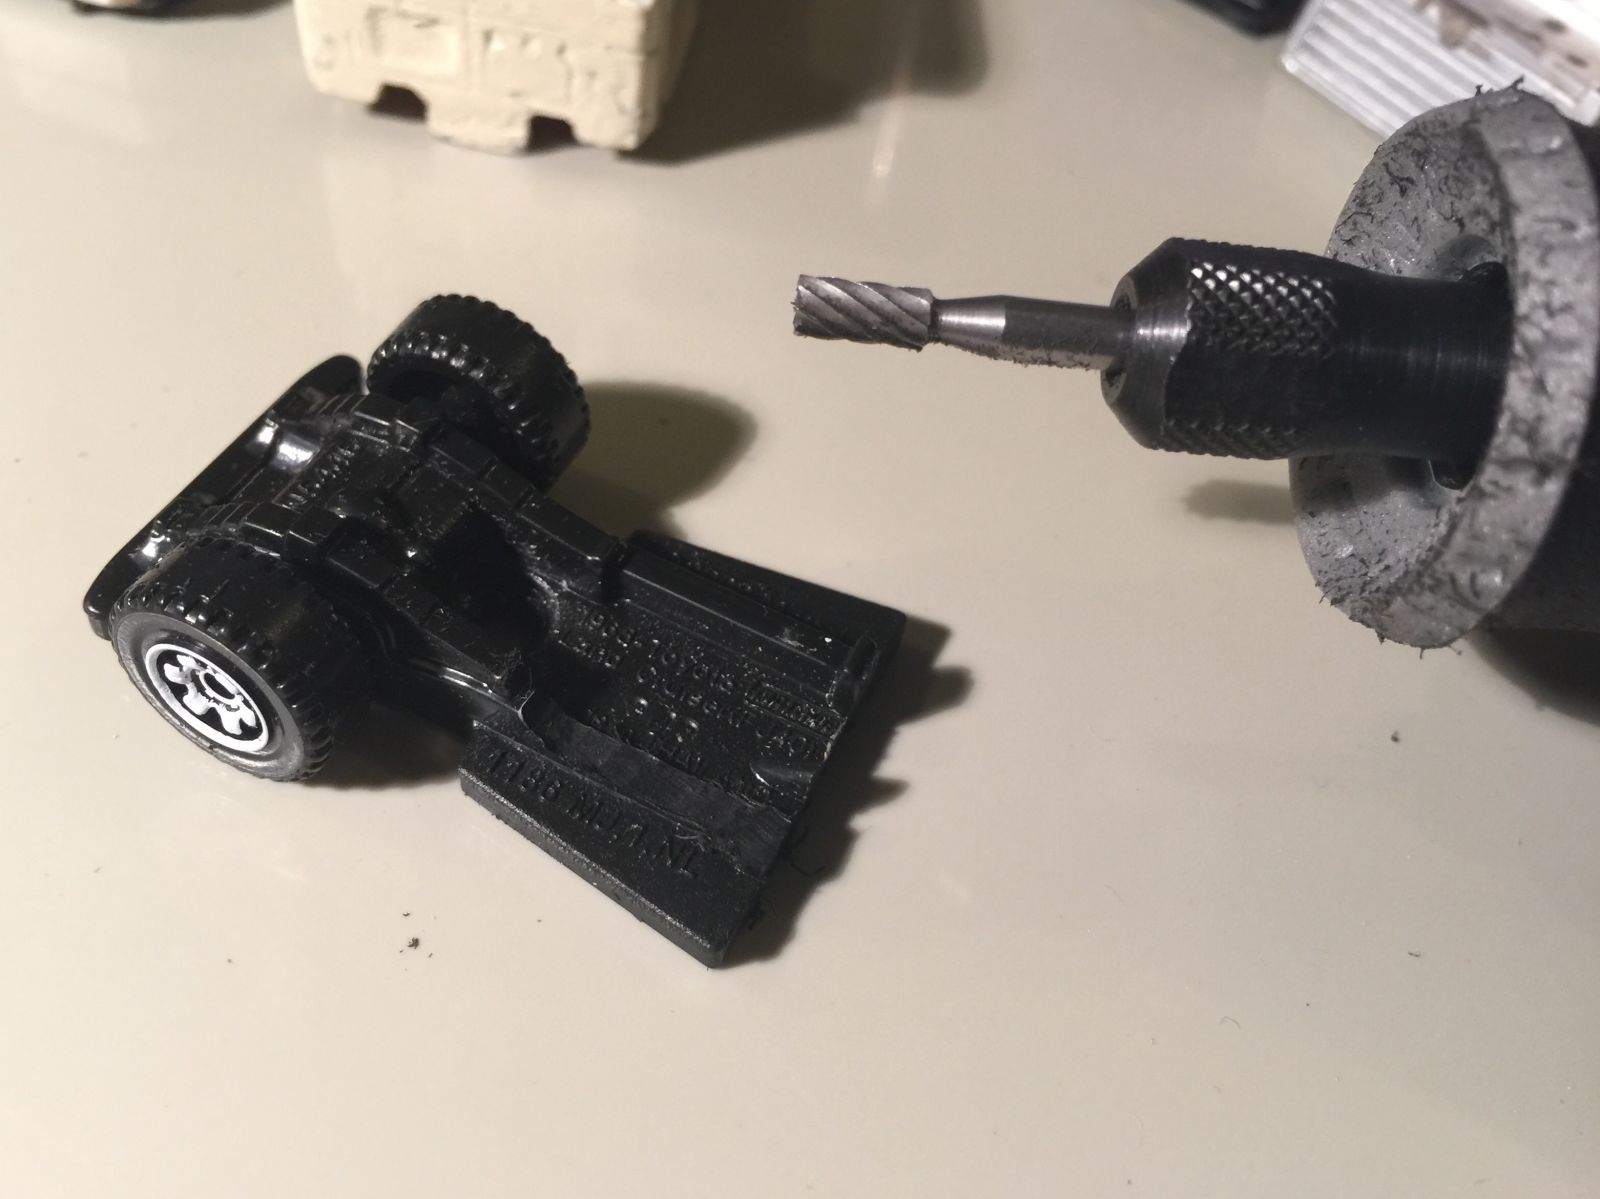
Busted out the Dremel for its inaugural job. Works great! Picture above shows one of the original rails removed.
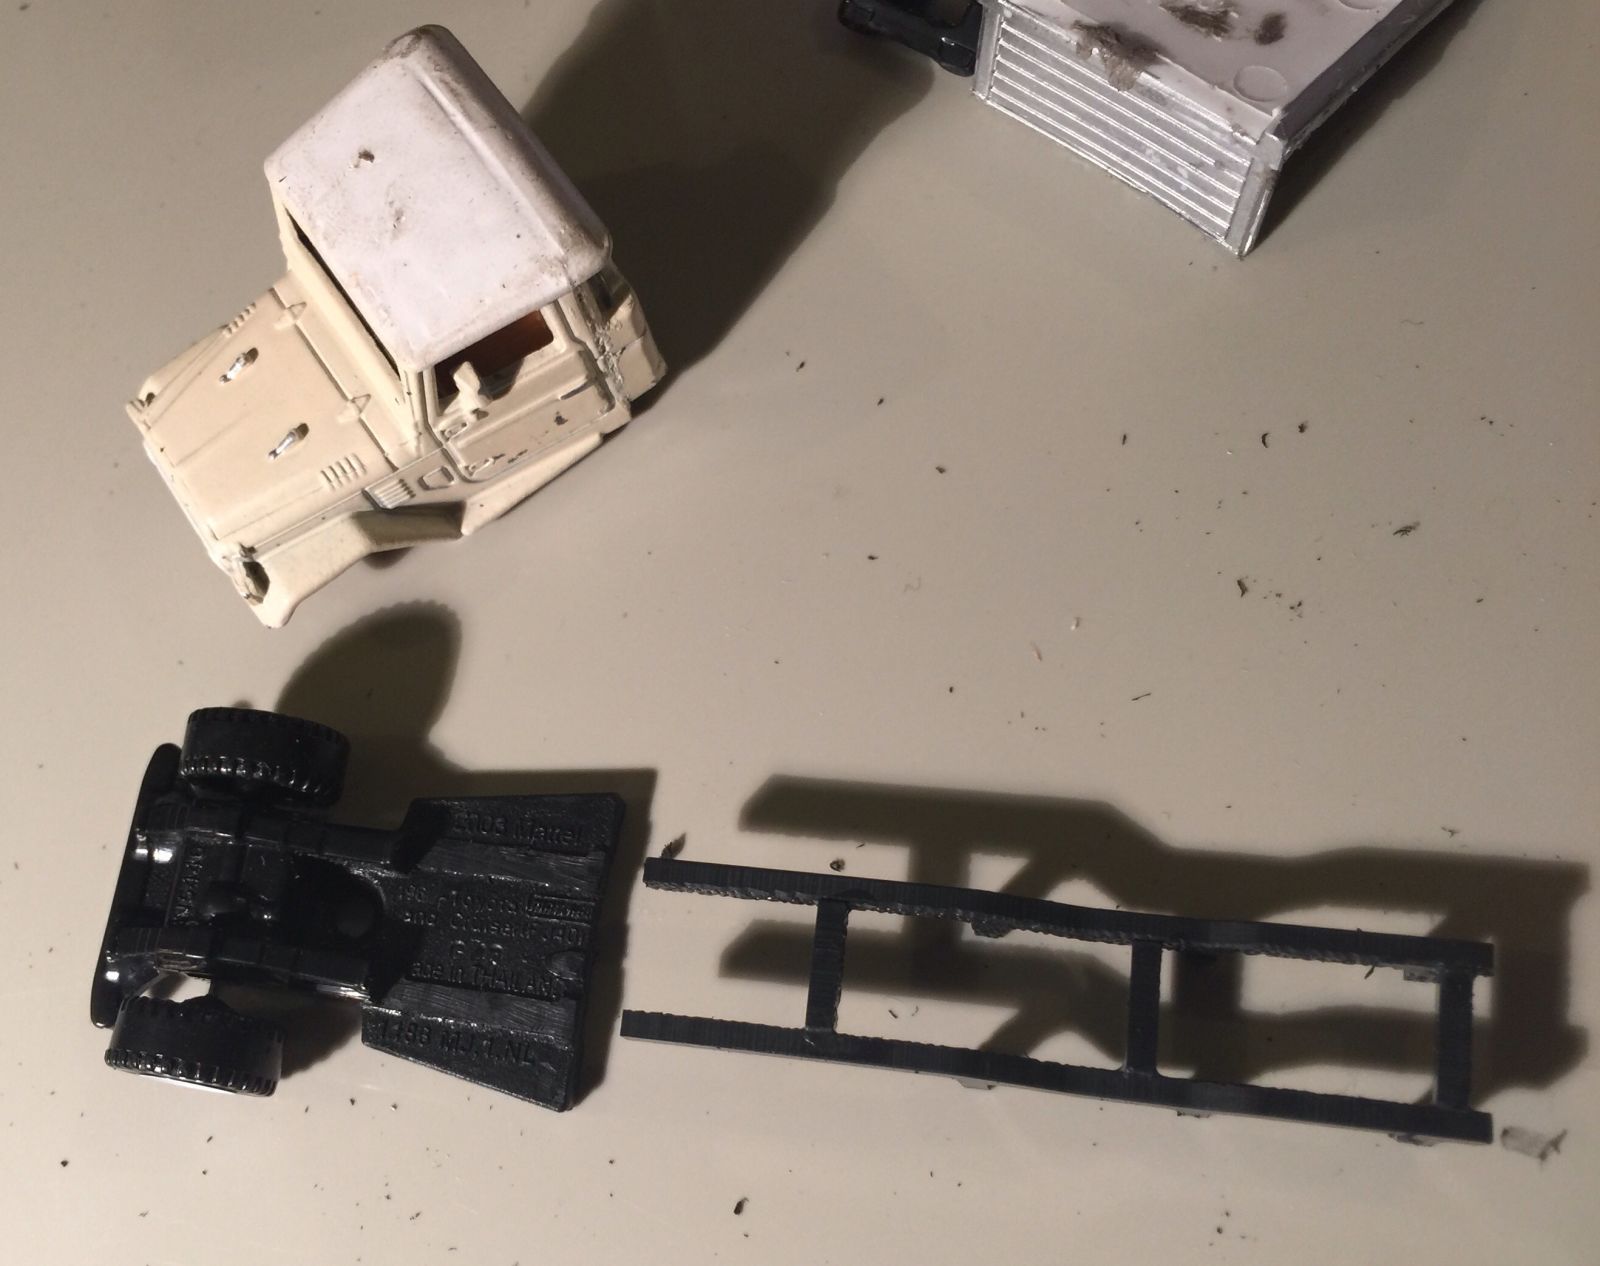
Both original chassis rails removed ready to assemble.
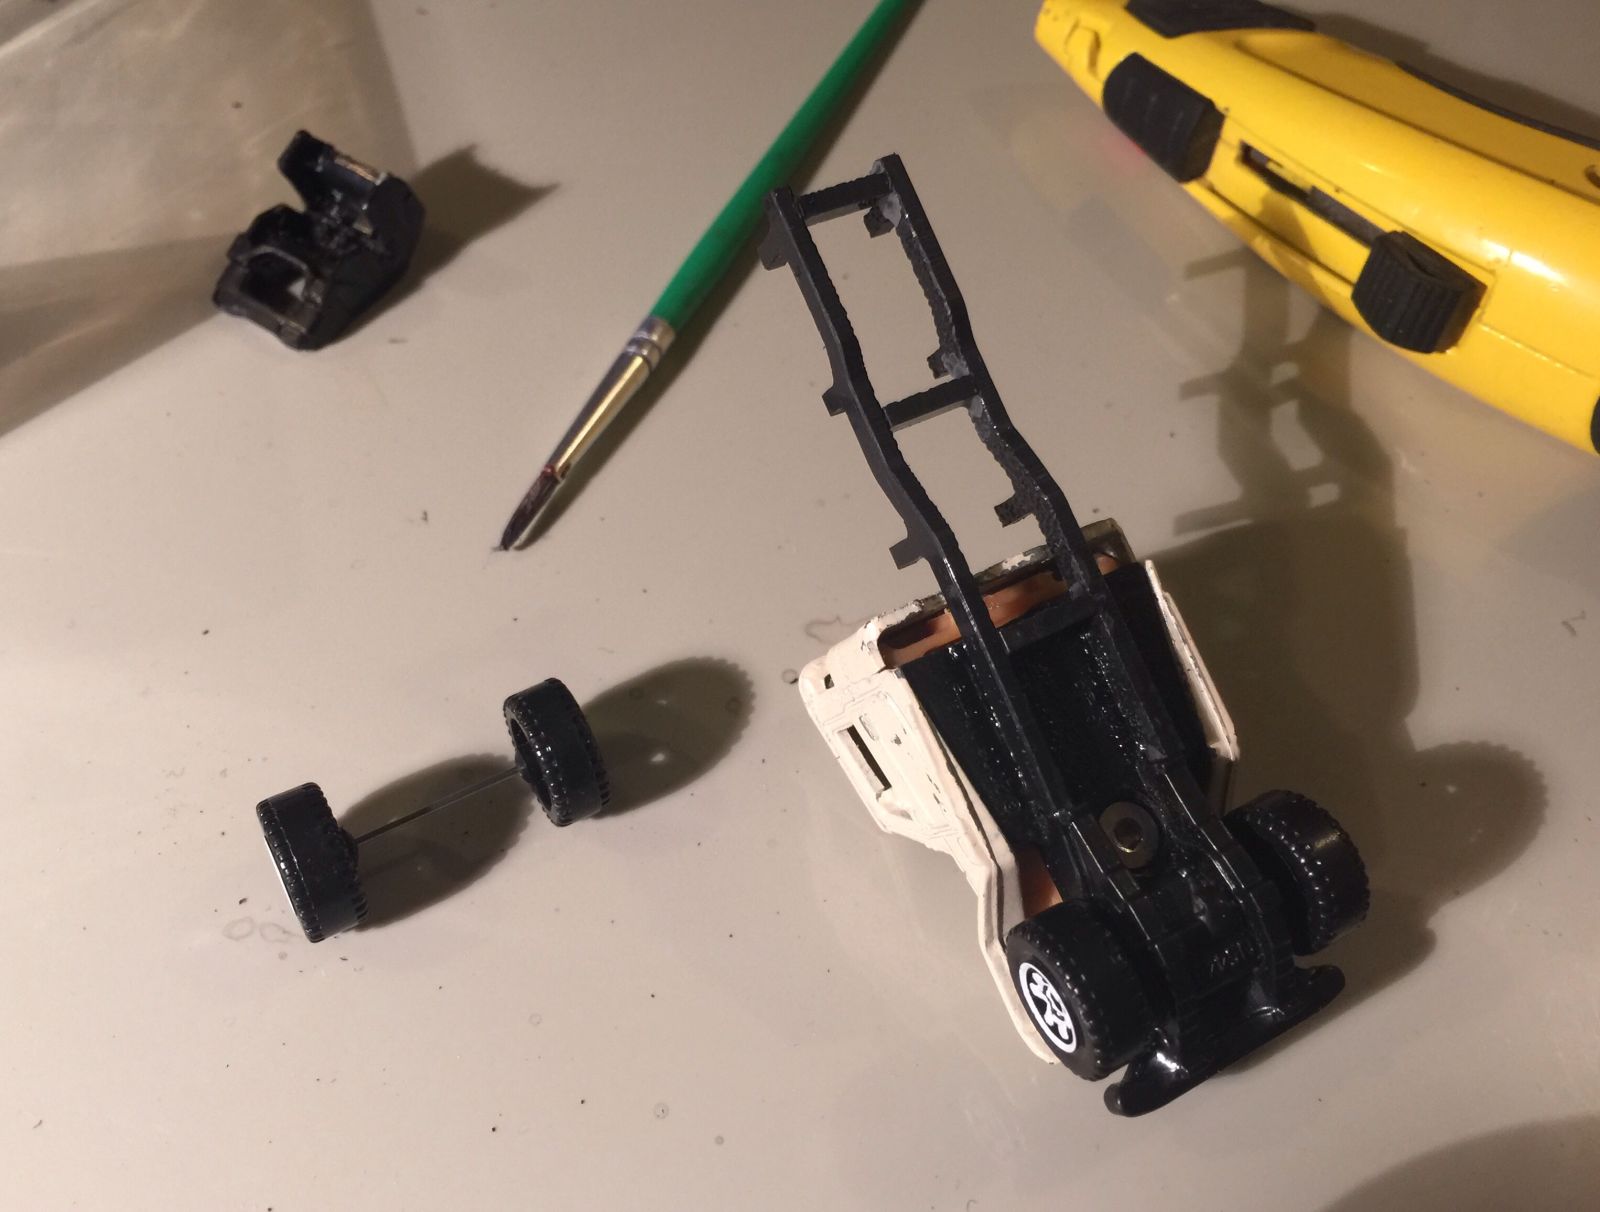
Done!
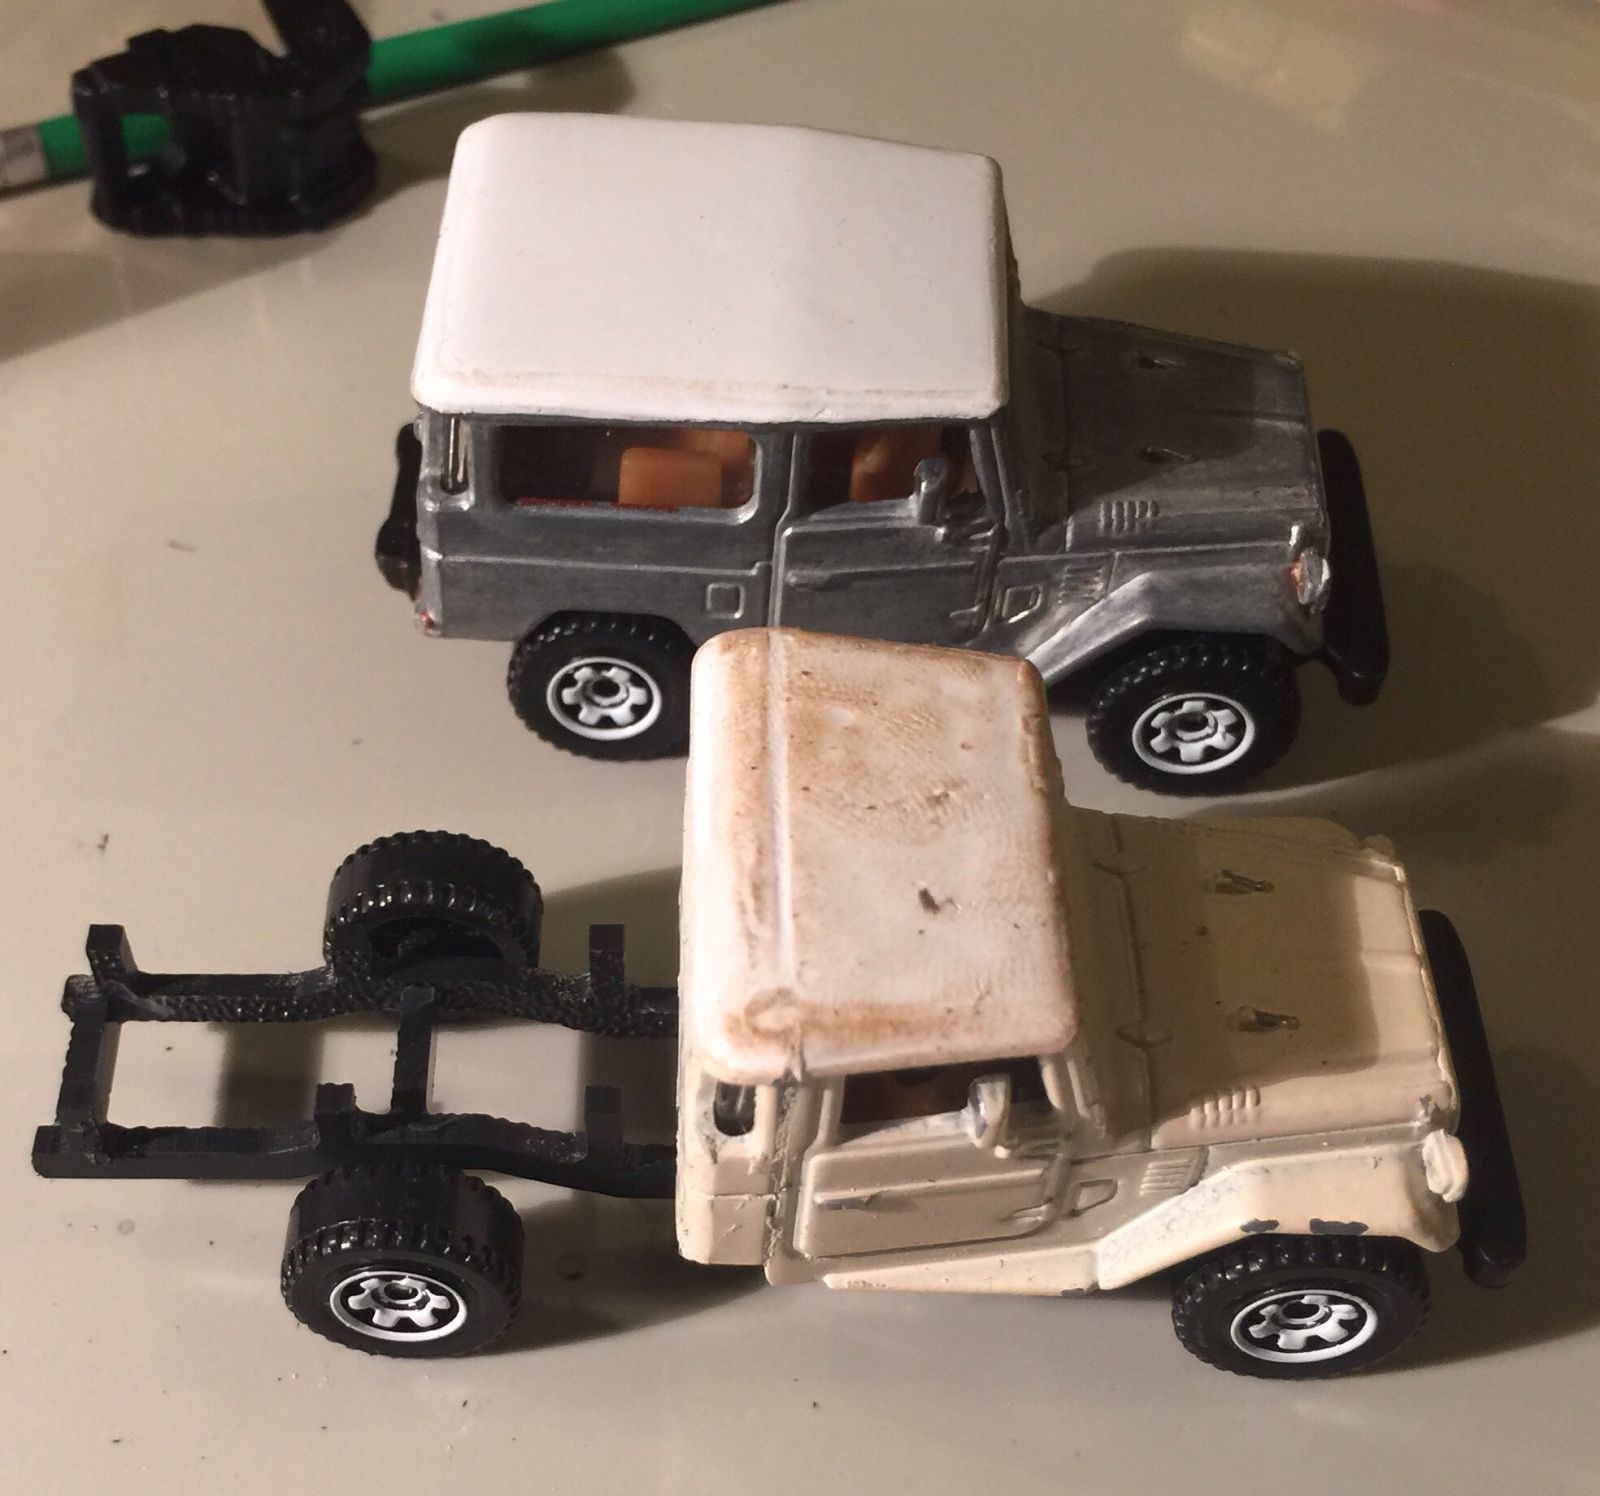
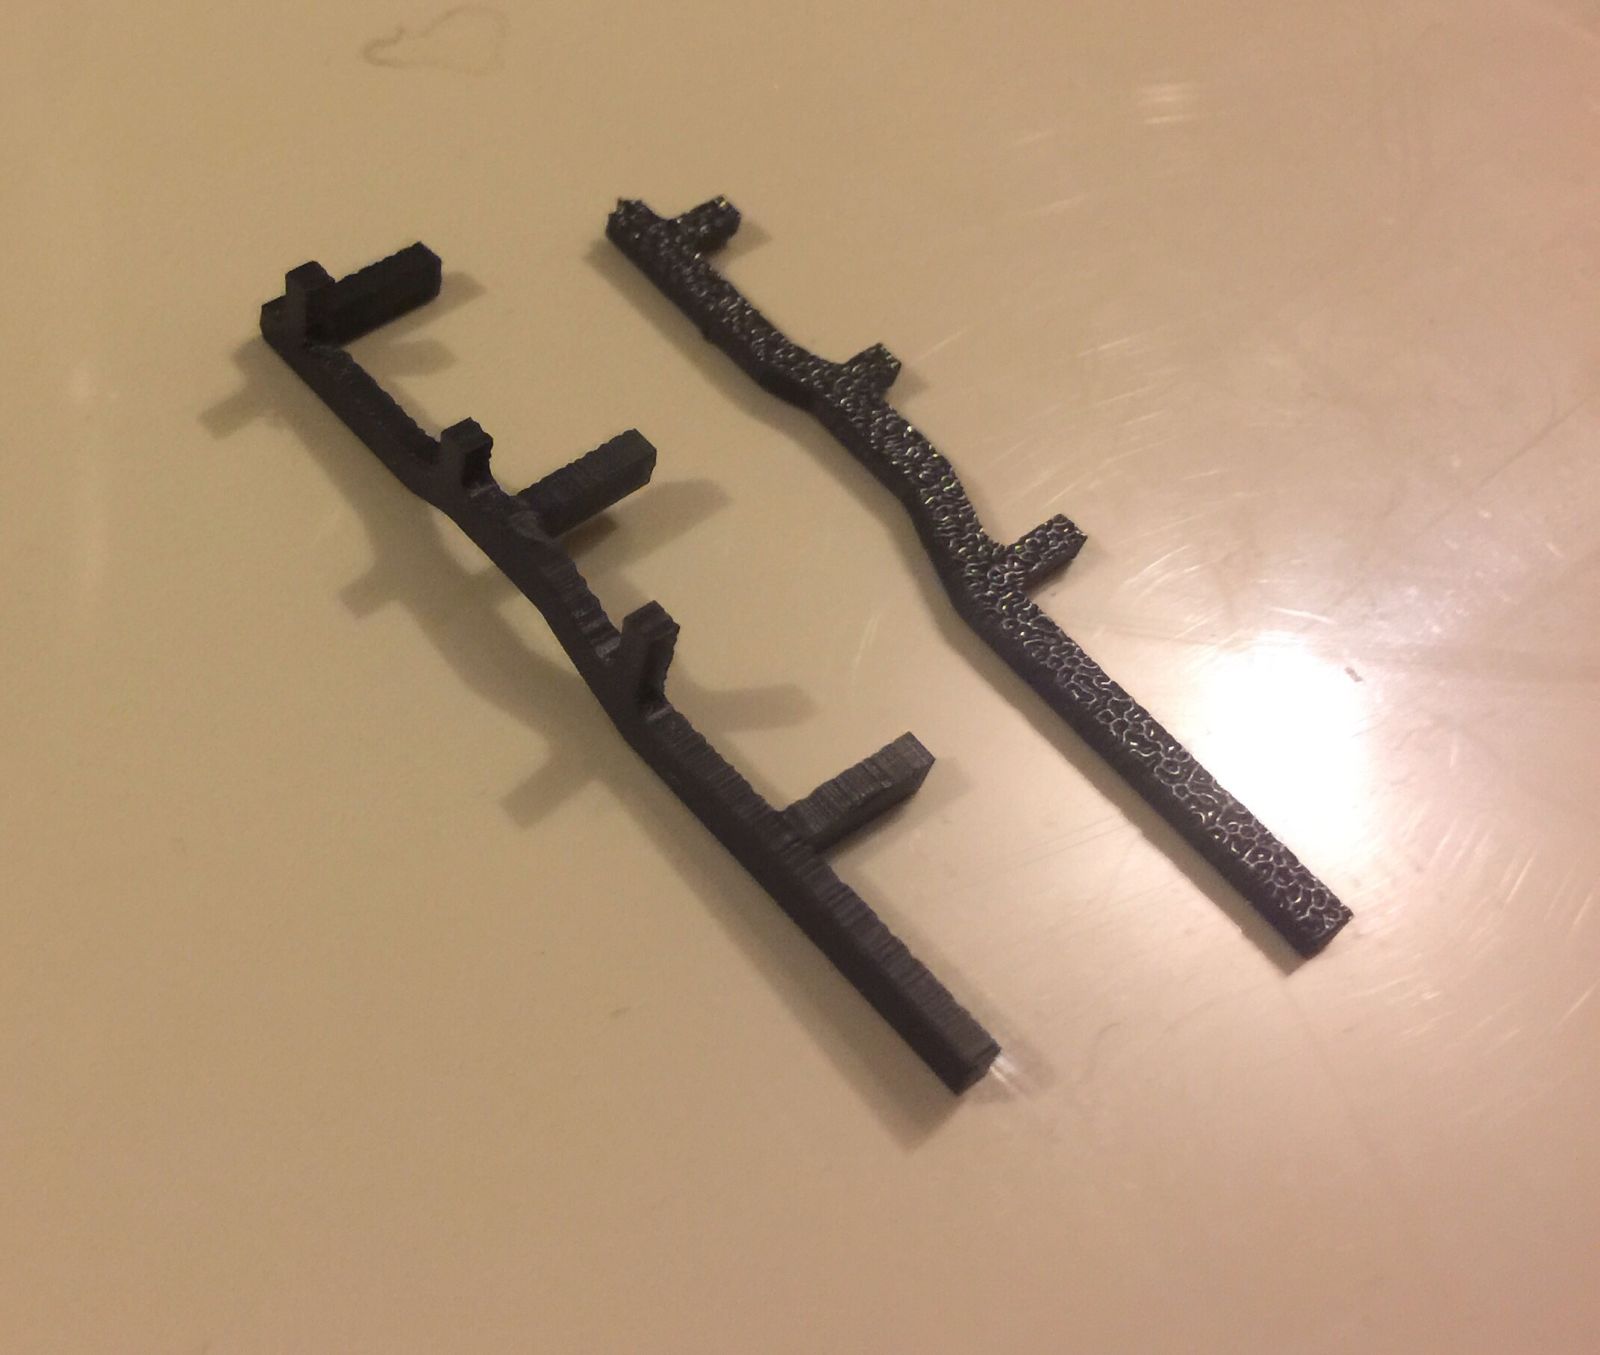
Side by side comparison. The streatch was needed to get the right look for the UTE!! as the original model is of a short wheelbased vehicle.
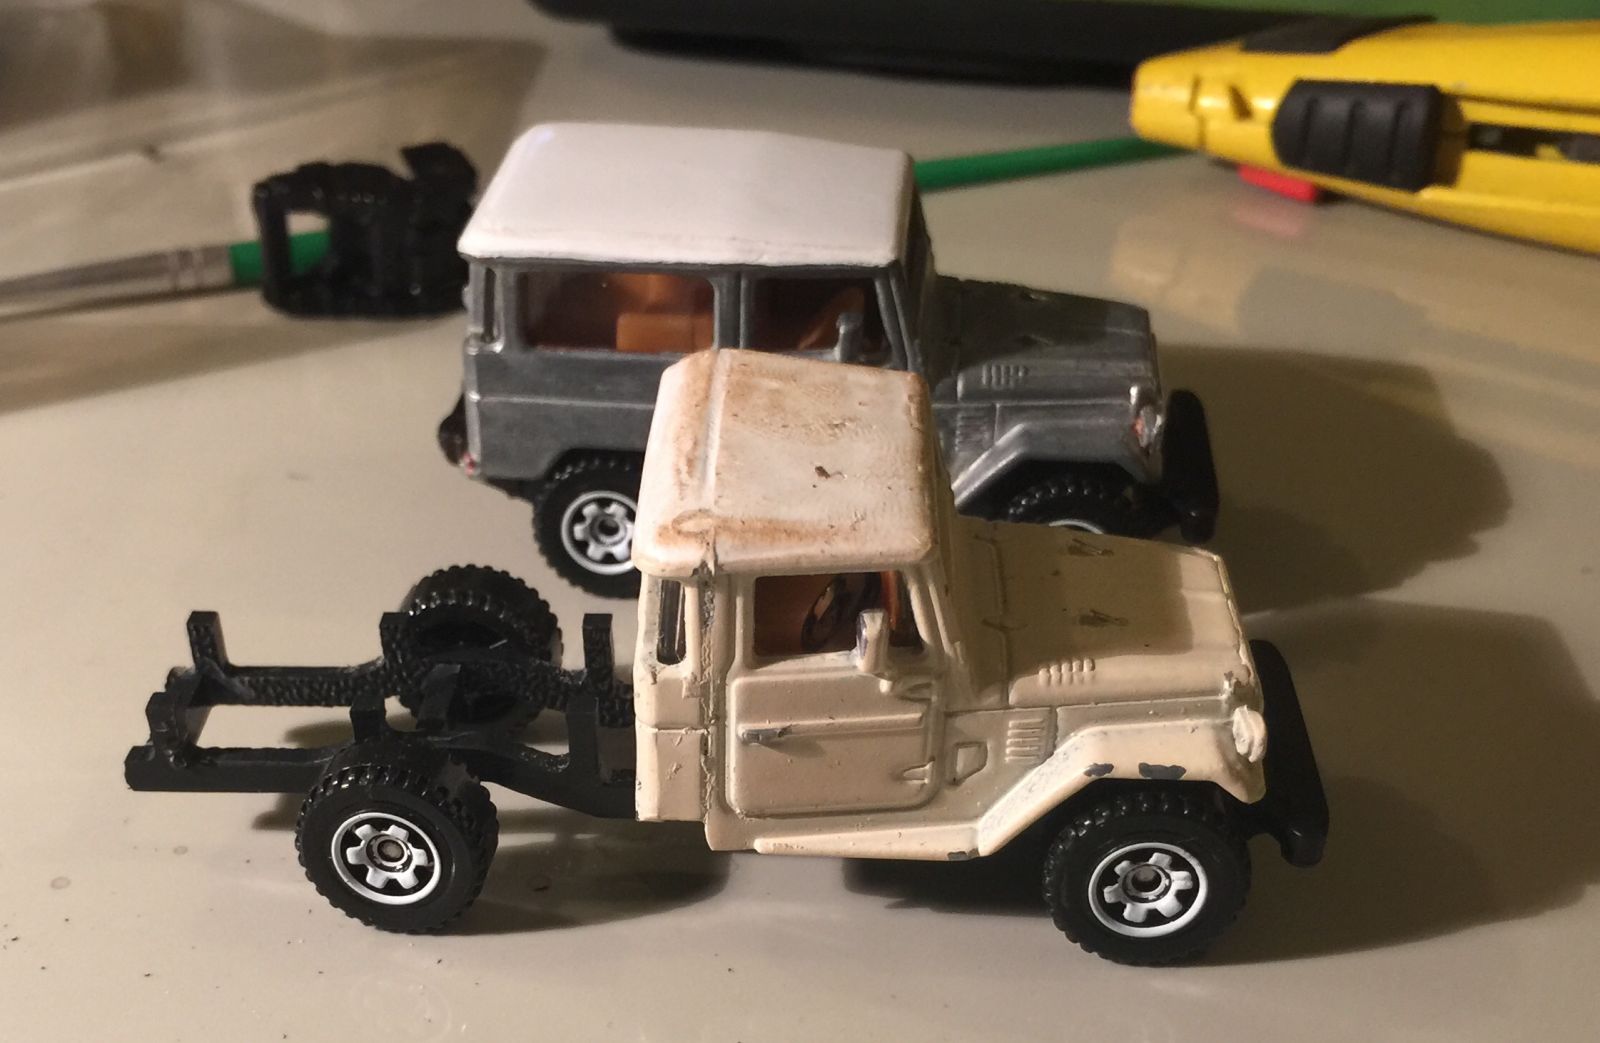
Next up the ‘differential housing then rear leaf springs. None in stock at Toyota so I guess I’ll be building those as well. The paint is obviously going to be redone as I only painted it to get a good visual image and see if the colour worked. Also the bodywork isn’t finished yet. The roof paint was done with a paint pen and it never really set, as a result it’s tacky and after some time in my pocket it looks pretty weathered now.
Thanks for checking it out.