
Ok, it’s time to spill the beans on how I’ve been capturing these jump shots. Some of you may have worked it out already and some may have been on to it from the start. There have been different suggestions on how I did it and a couple of people have suggested magnets are used. I really like the magnet idea and I believe it would work however it’s not done that way. It’s much more low tech than that.
Ok so those three aren’t telling you anything.
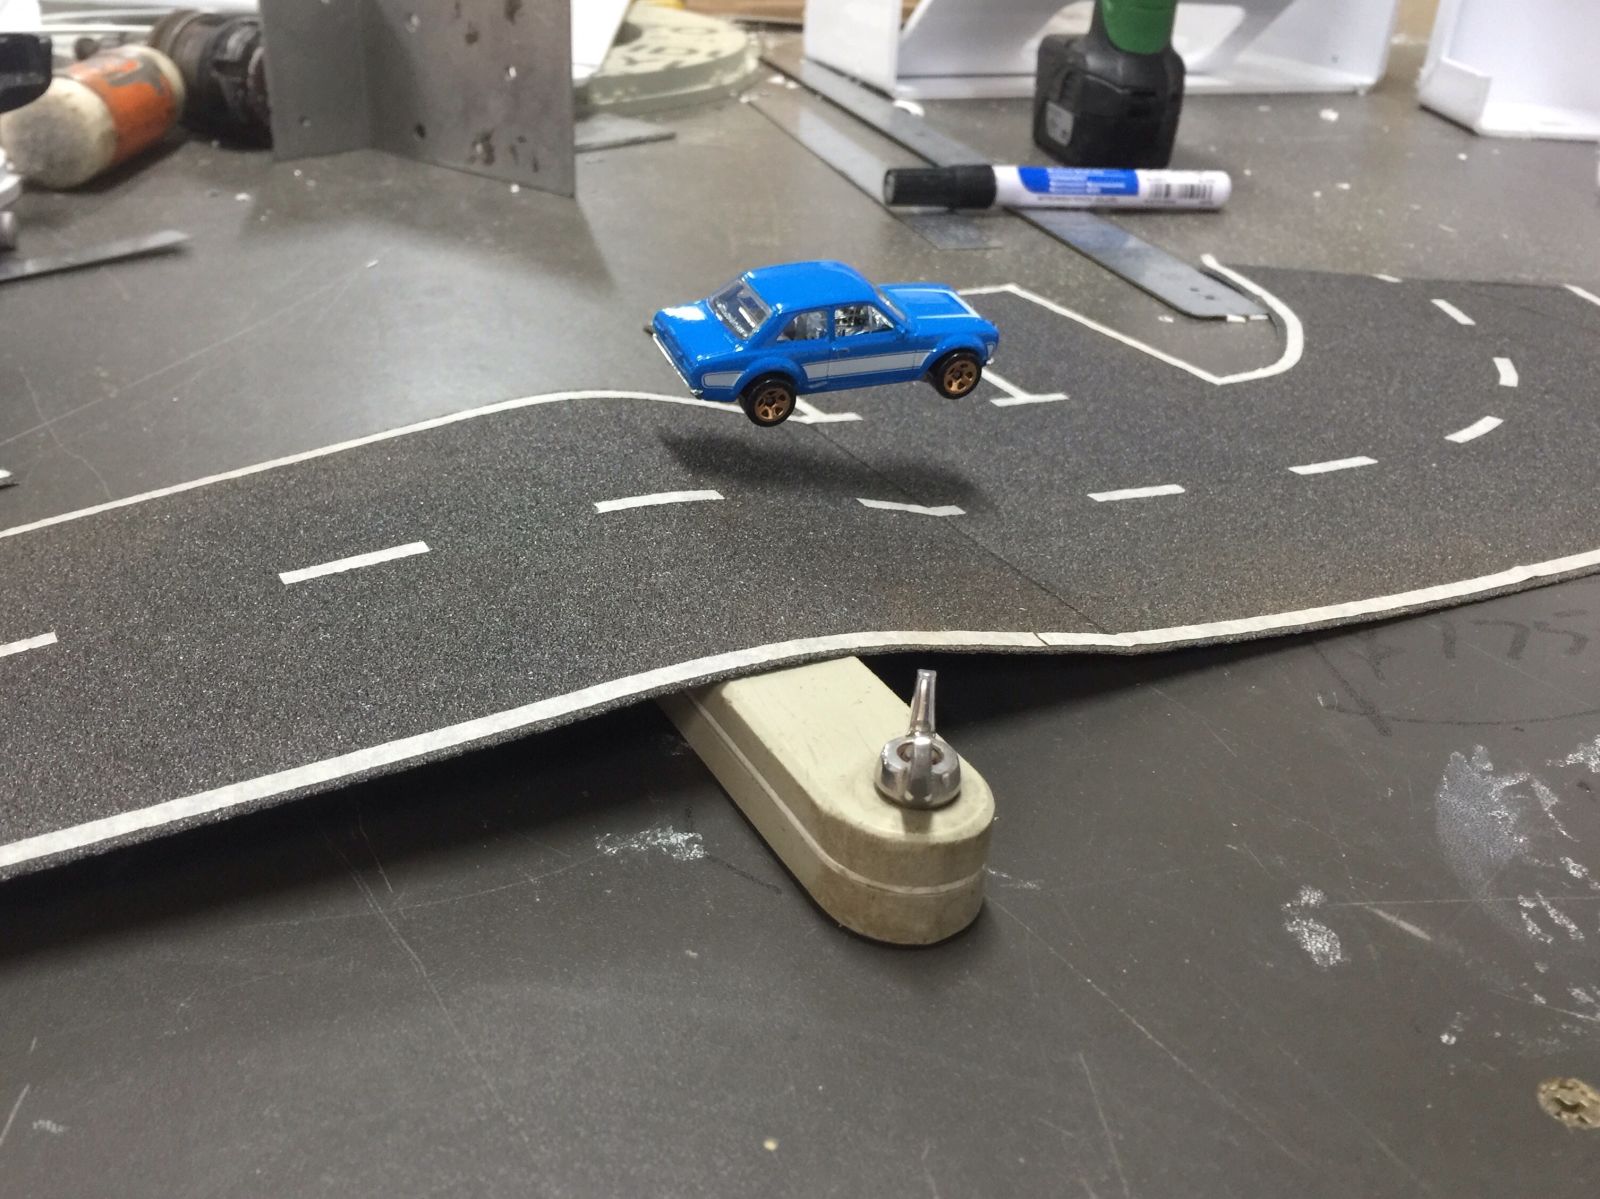
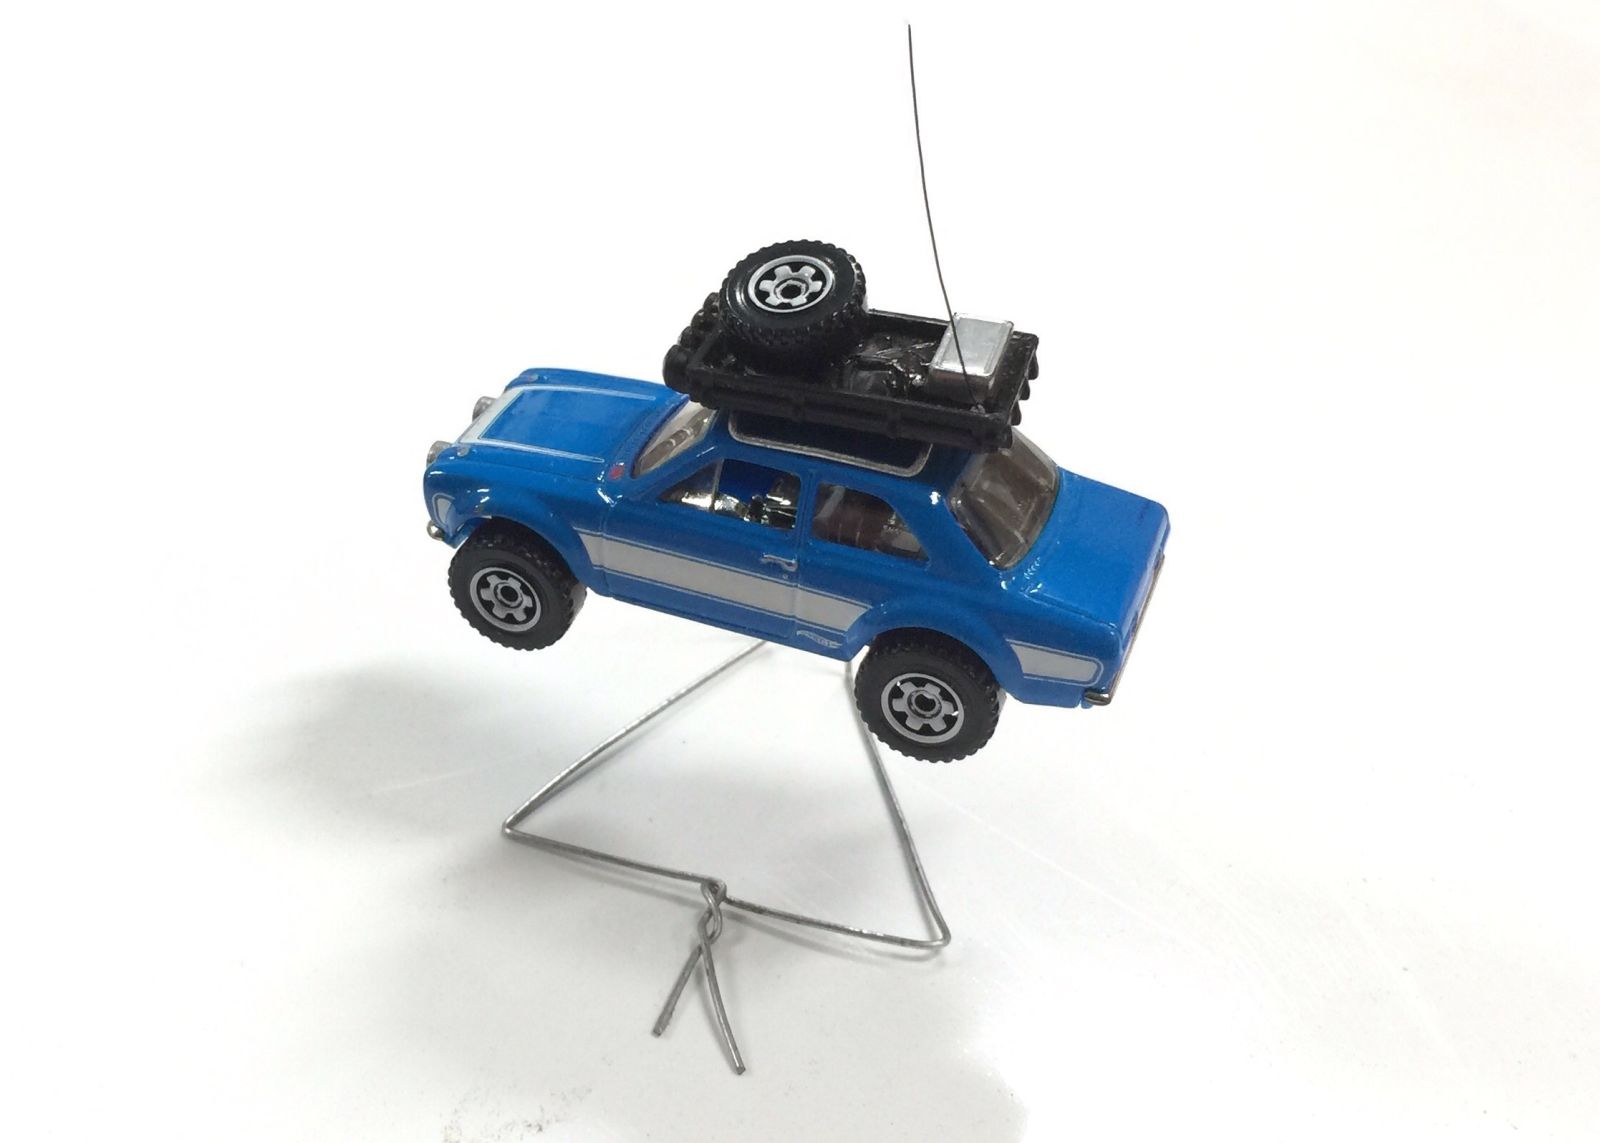
The picture below begins to reveal what’s going on behind the scenes.
See the wire on the far side of the cast? That’s what has to be hidden from view normally, obviously!
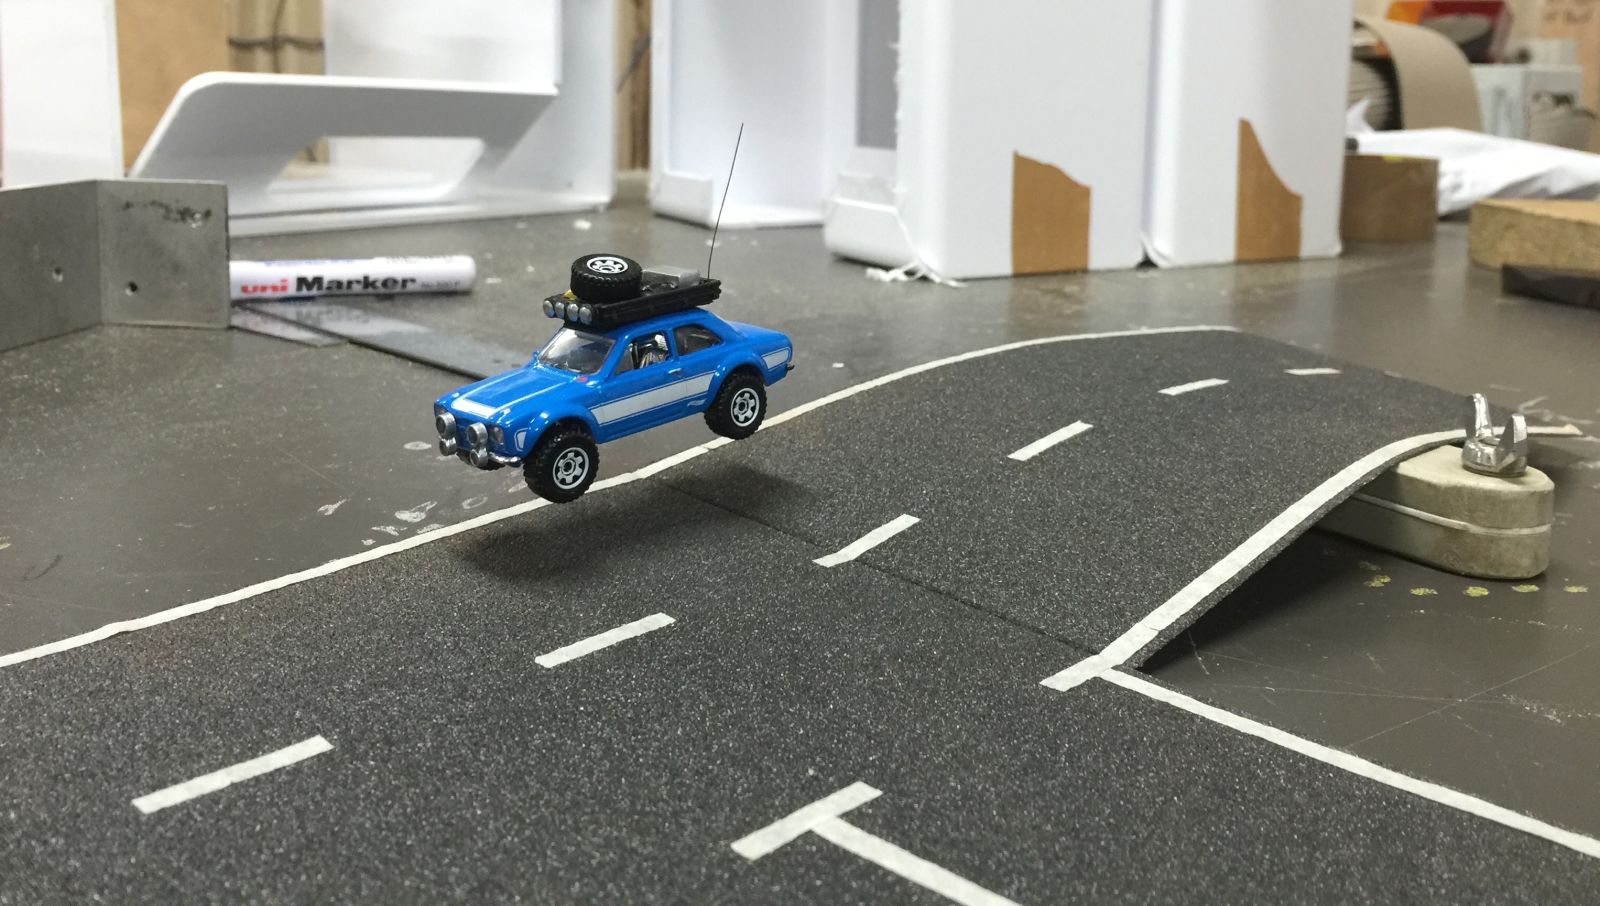
Ok, so it’s a simple as this. Face palm time!
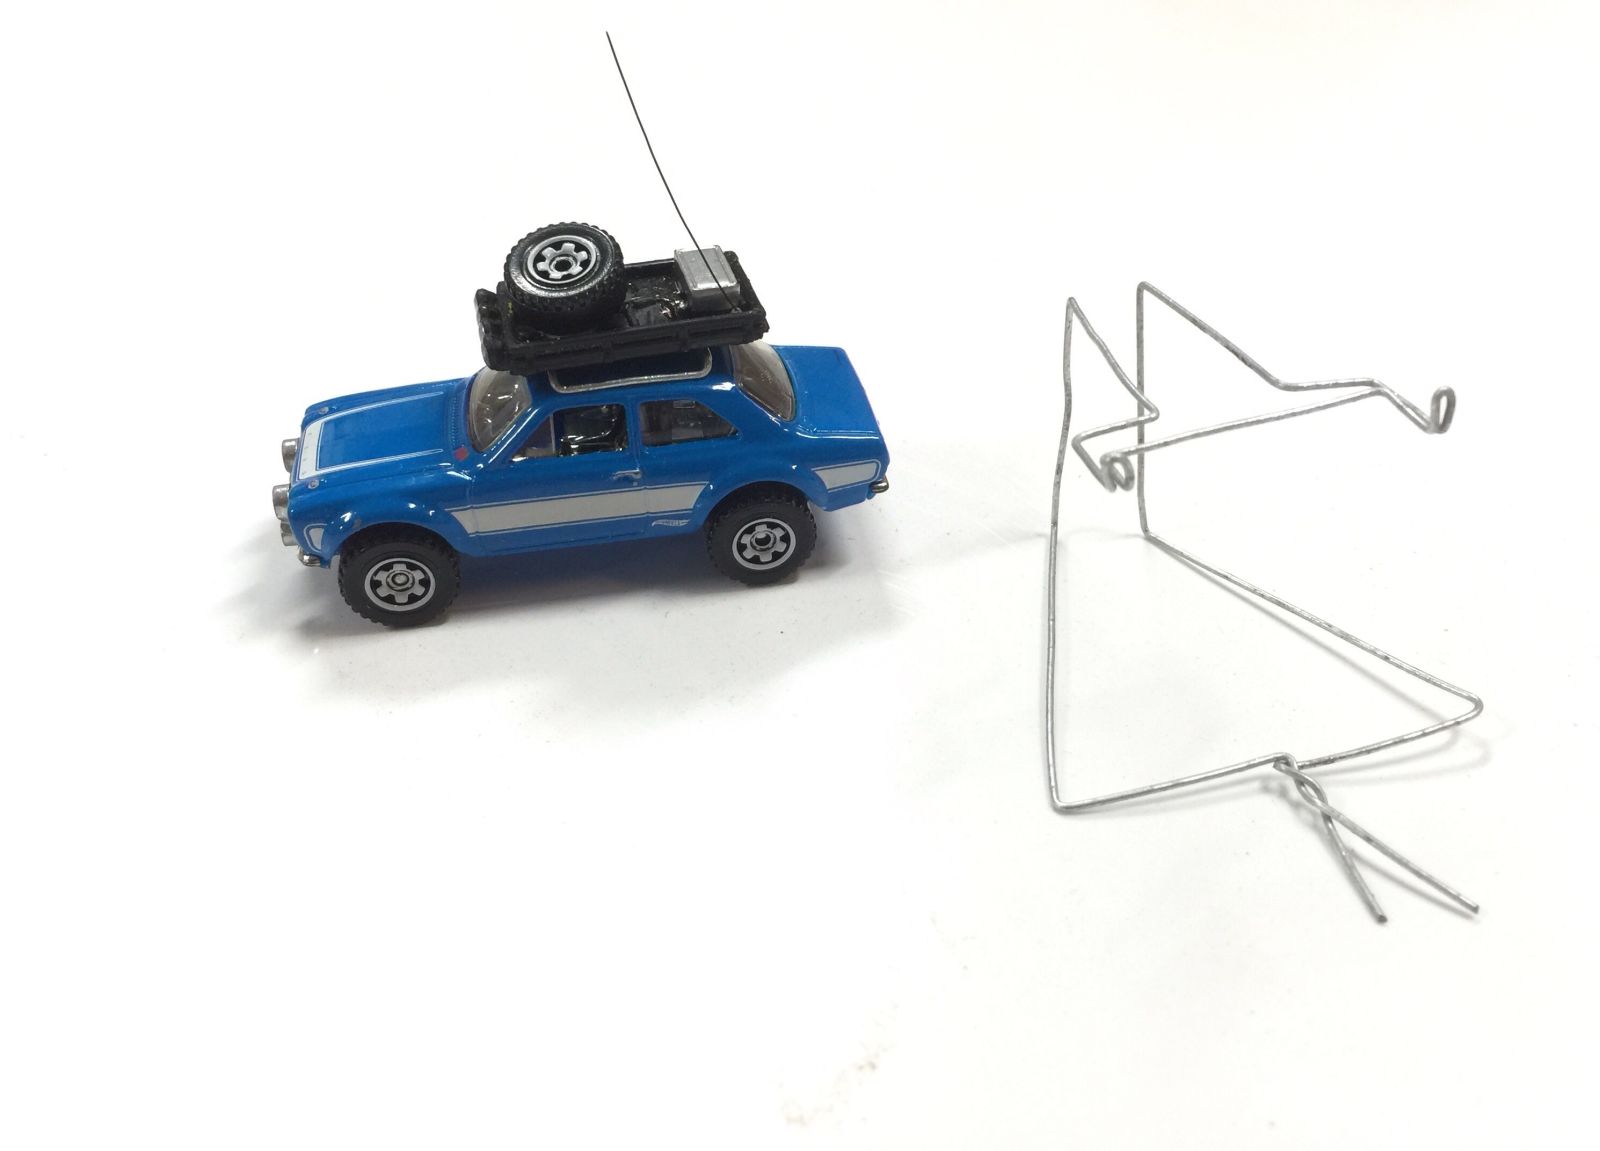
The two upright prongs locate in the wheel recess and are there to stop the cast from sliding off when set to steep angles.
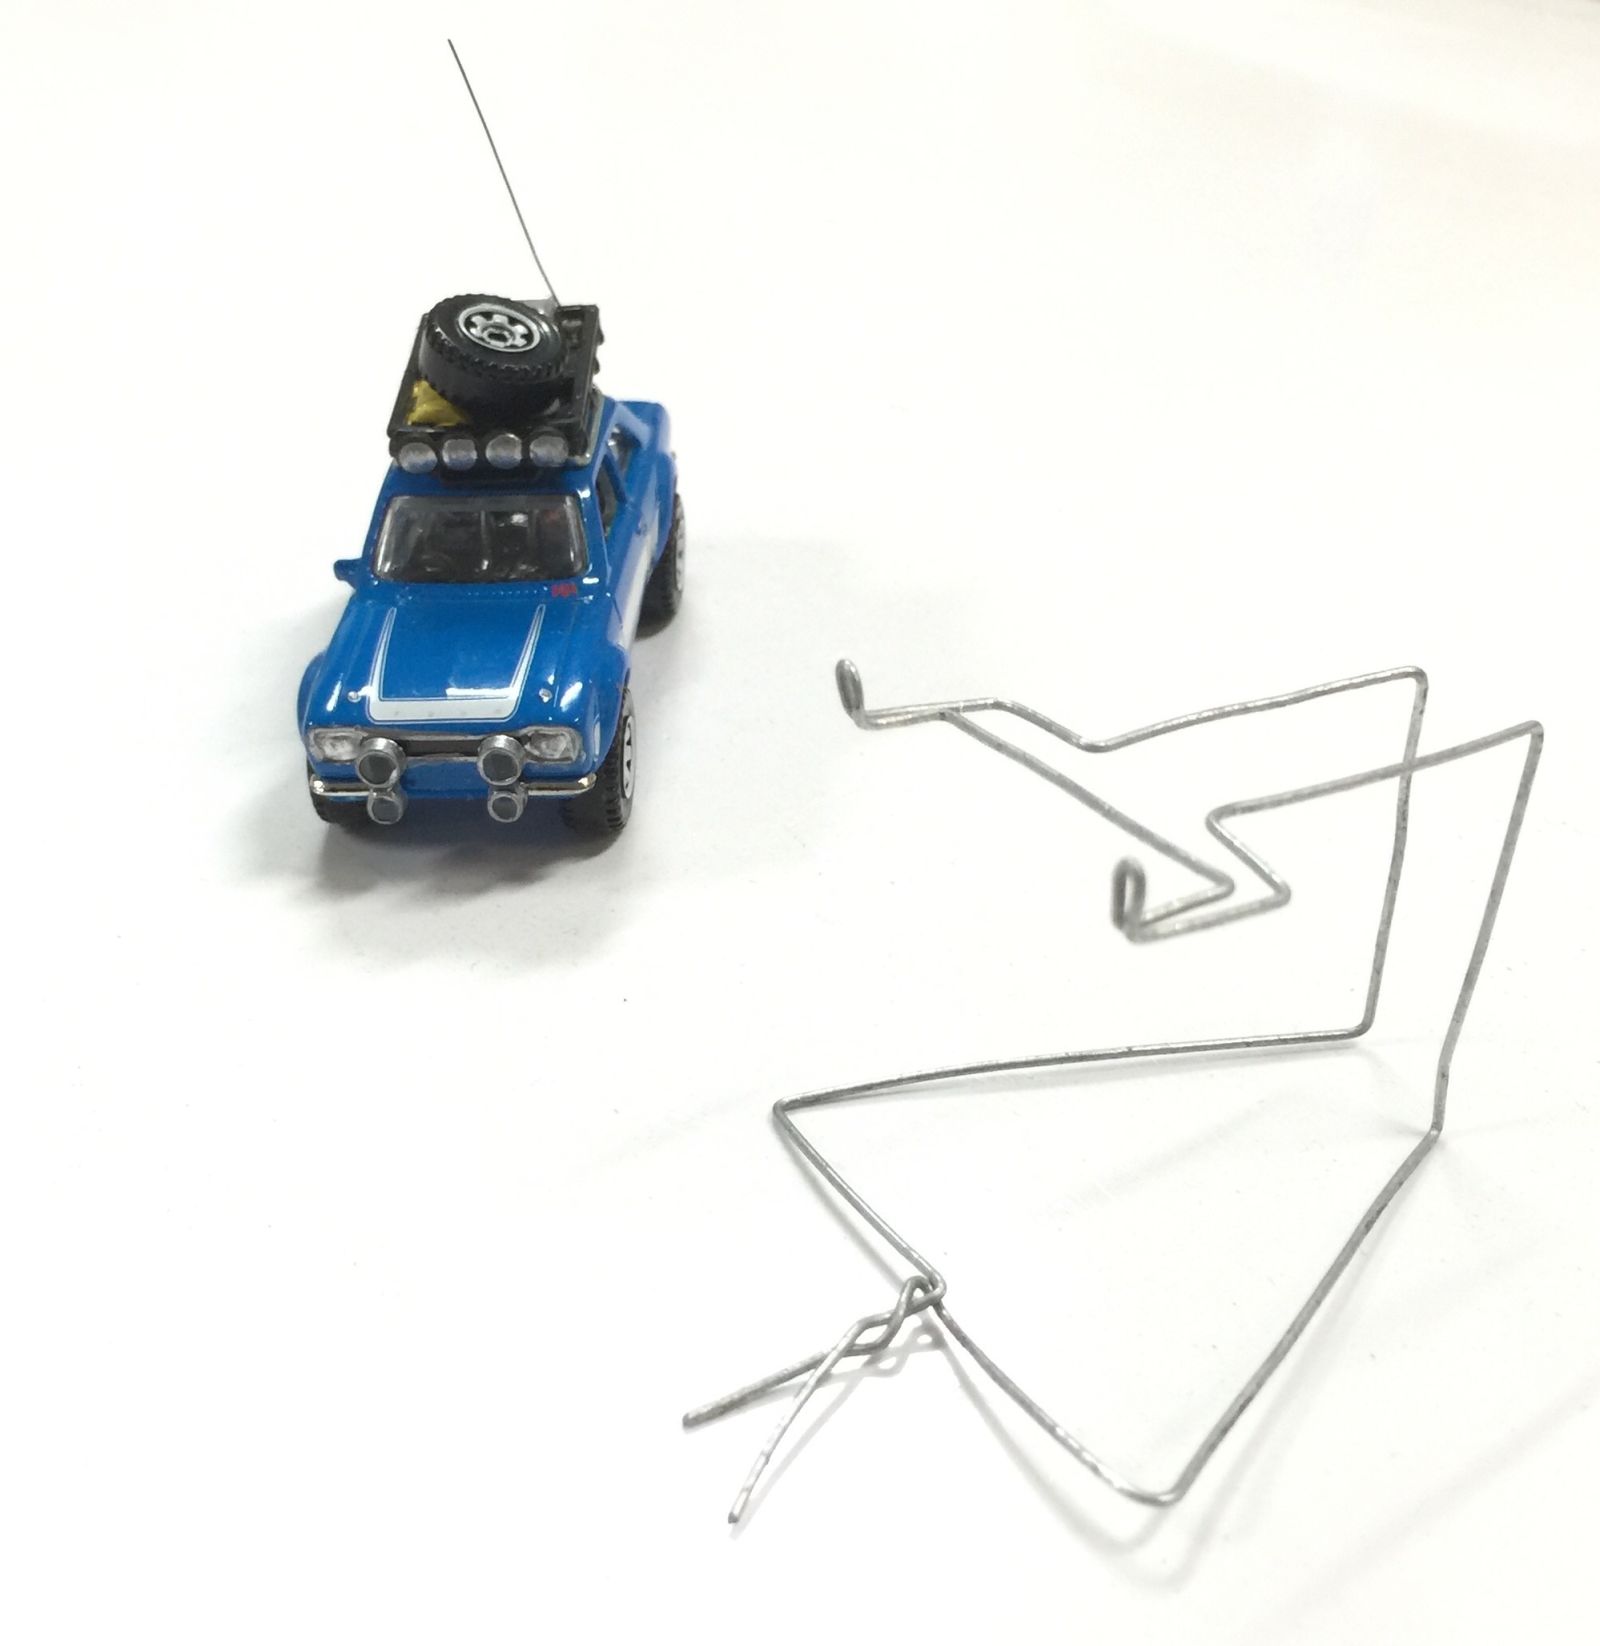
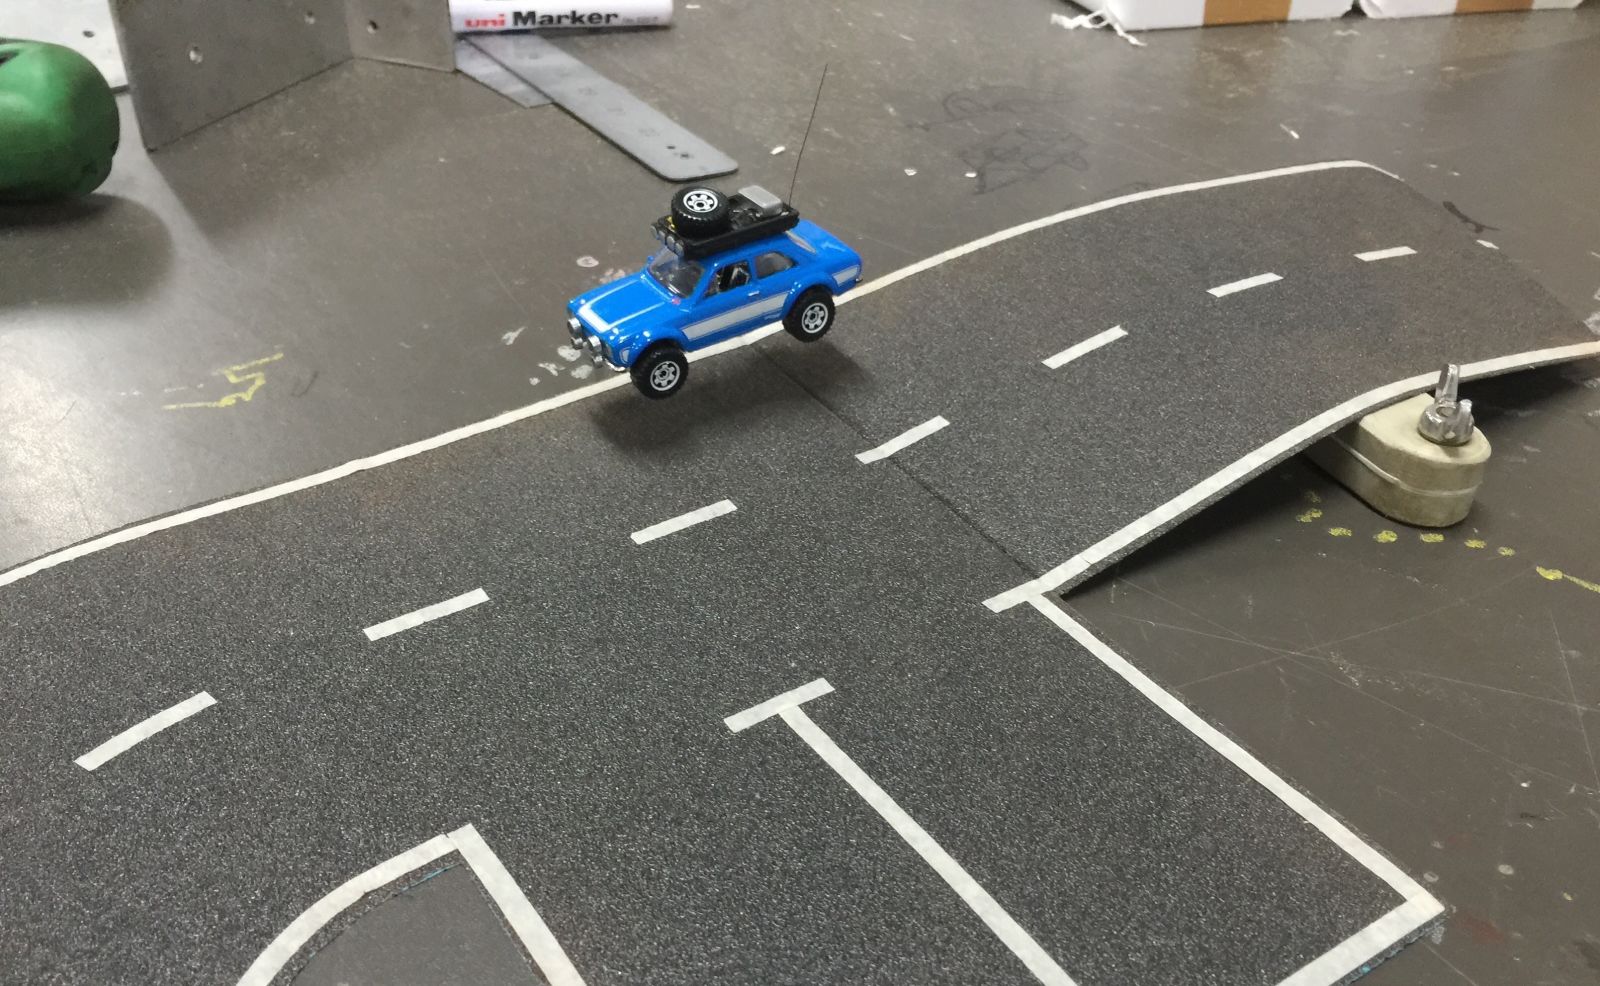
So there you have it, a simple wire frame to support the cast. Careful camera placement is a big part of this. An eye on the shadows helps in not giving up the fact that there is a support as well. The frame I’ve used requires some way of hiding the base. In the sand and dirt that’s easy and when it came to using the ‘sandpaper’ black top I could tuck the frame under the ‘road’. If you wanted to do this using a normal diarama it can still be done but the frame would be different from this design.
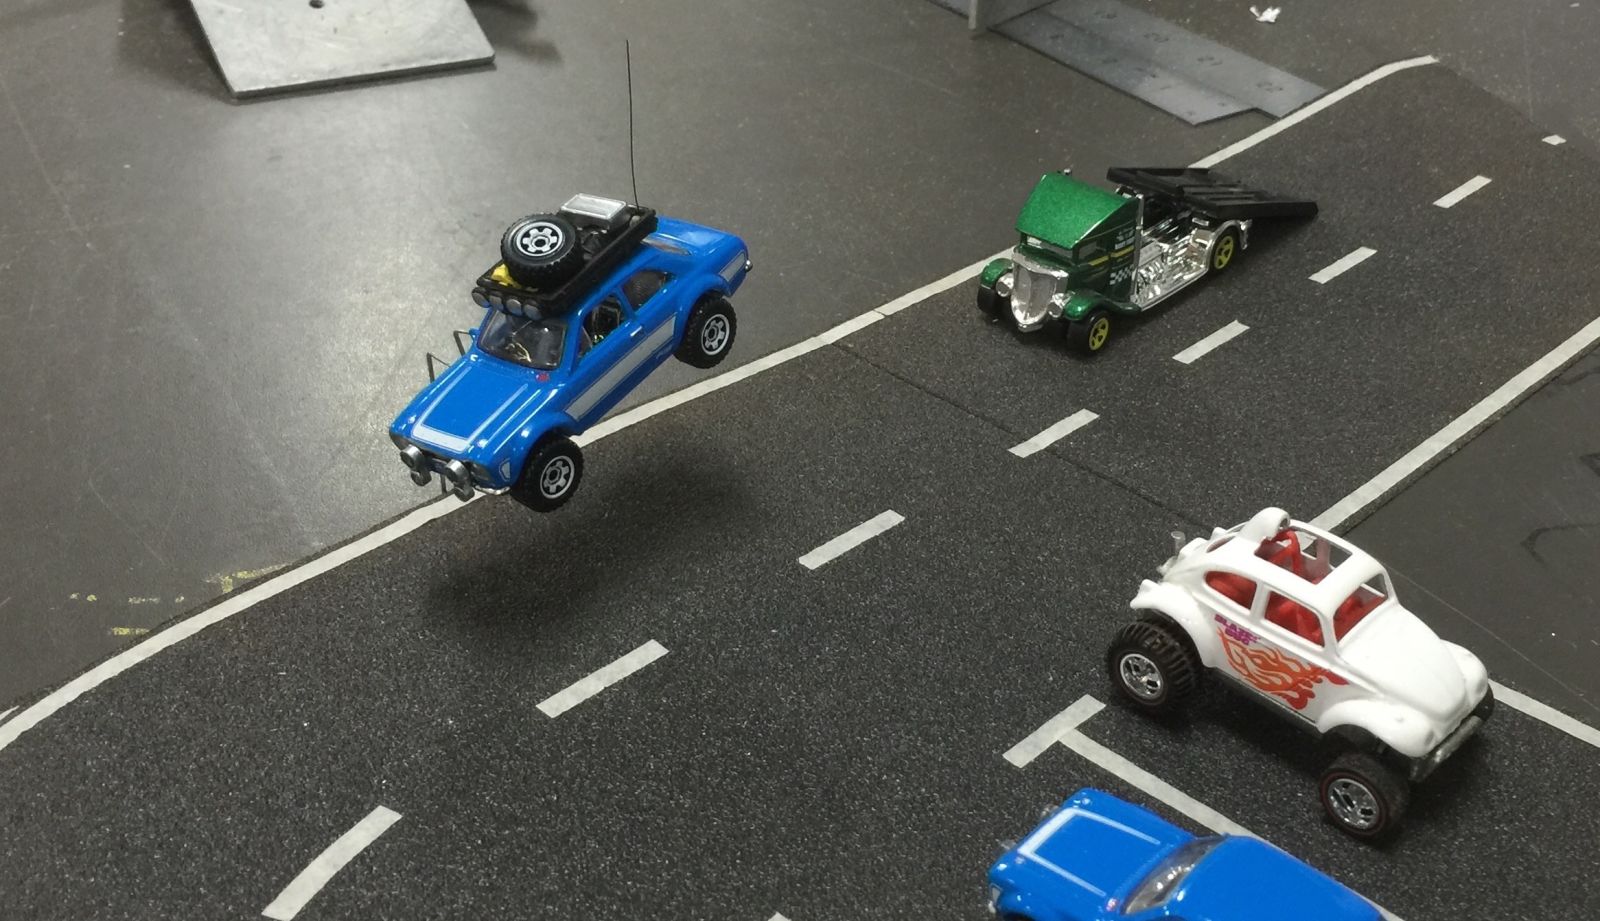
Ok, show me your jump shots!!!!