
In about 40 minutes this Chevy UTE/Pickup went from brand new out of the pack to looking like a beat up aged and weathered work truck. I captured the entire process on film. The video ended up split into 4 parts as I had difficulty loading it as a full length clip.
As usual I am mute during the clips. There is background music and I do cough once. So pay close attention and if you need any further info feel free to ask of course. One thing I like about this is the random outcome and the fact it’s very difficult to mess up, I mean it’s supposed to be messed up! If you give this a try and find you are not happy you just wipe it off with the Acetone rag and start again.
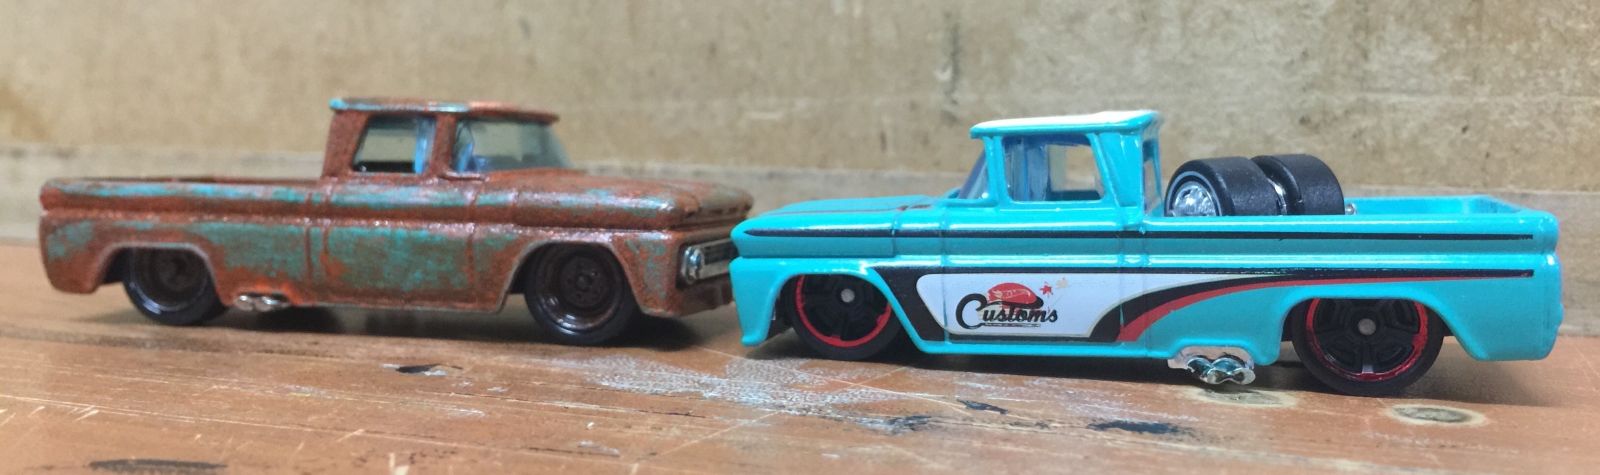
In case you didn’t see the finished custom and it’s patina sister car.
Part 1: I start off the video after the cast is apart. The interior was painted first in matte black and set aside. Next I used a Dremel with a wire brush attachment to remove most of the tampos and rough up the rest of the paint. It depends on what look you want as to how much of the tampos are left. This last one I left a fair bit of the artwork on the cast but the first one I completely removed all traces of the tampos. If you don’t have a Dremel a similar result can be had using acetone to remove the tampos to your liking and some fine sandpaper to lightly scuff the surface of the paint.
Part 2: Once happy with the state of the tampos and paint I sprayed a light coat of matte black then with an Acetone rag soaked I dab and remove a lot of the black. This is to start the build up of ‘years’ of grime and begin adding some texture. Then a light coat of Orange on the interior and set that aside again. Next a light coat of the orange in the body and attack it strategically with the Acetone rag. Straight into another light coat of the black. I then do those same steps a few times adding and removing paint as I felt the need. Anyone that has used pressure pack spray paint will be aware of the dreaded big drops that can and do usually cause headaches when trying to get a good finish. The opposite is true for this paint effect style and the random large drops are actually a good thing in this case.
Part 3: Once happy with the layers and partial removal of the orange and black paints it was time to get arty. Using the same two colours I sprayed a small amount of each on a bit of old cardboard and used that to mix random amounts of the colours the create various shades of rust/dirt. Obviously having the two colours allows any shade ranging from bright orange to full black. The mix ratio will allow all kinds of orange/brown shades. I try and build up the paint in areas that naturally collect grime and flaky rust. Once the paint gets tacky I dabbed at it with a crappy old brush like a hungry chicken pecking the dirt. This creates a nice rough look in those areas.
Part 4: Final finish time! Once happy with the look of the previous stages it’s time for some careful very light coats of orange paint. This is the final stage so when doing this it’s to give a speckled finish with the tiny paint drops simulating the surface rust. A bit more rag work on certain areas as desired and its done.
Show me your rusty customs or ‘Crustoms’!
Hope you found this useful, Thanks for looking.