
Approximately half finished now, but I hit a snag and need new/different supplies, so I’m waiting for the next paycheck and to get them (~1.5 weeks). Since I’ve been documenting my journey, I wanted to share what I had before I forget everything, :P.
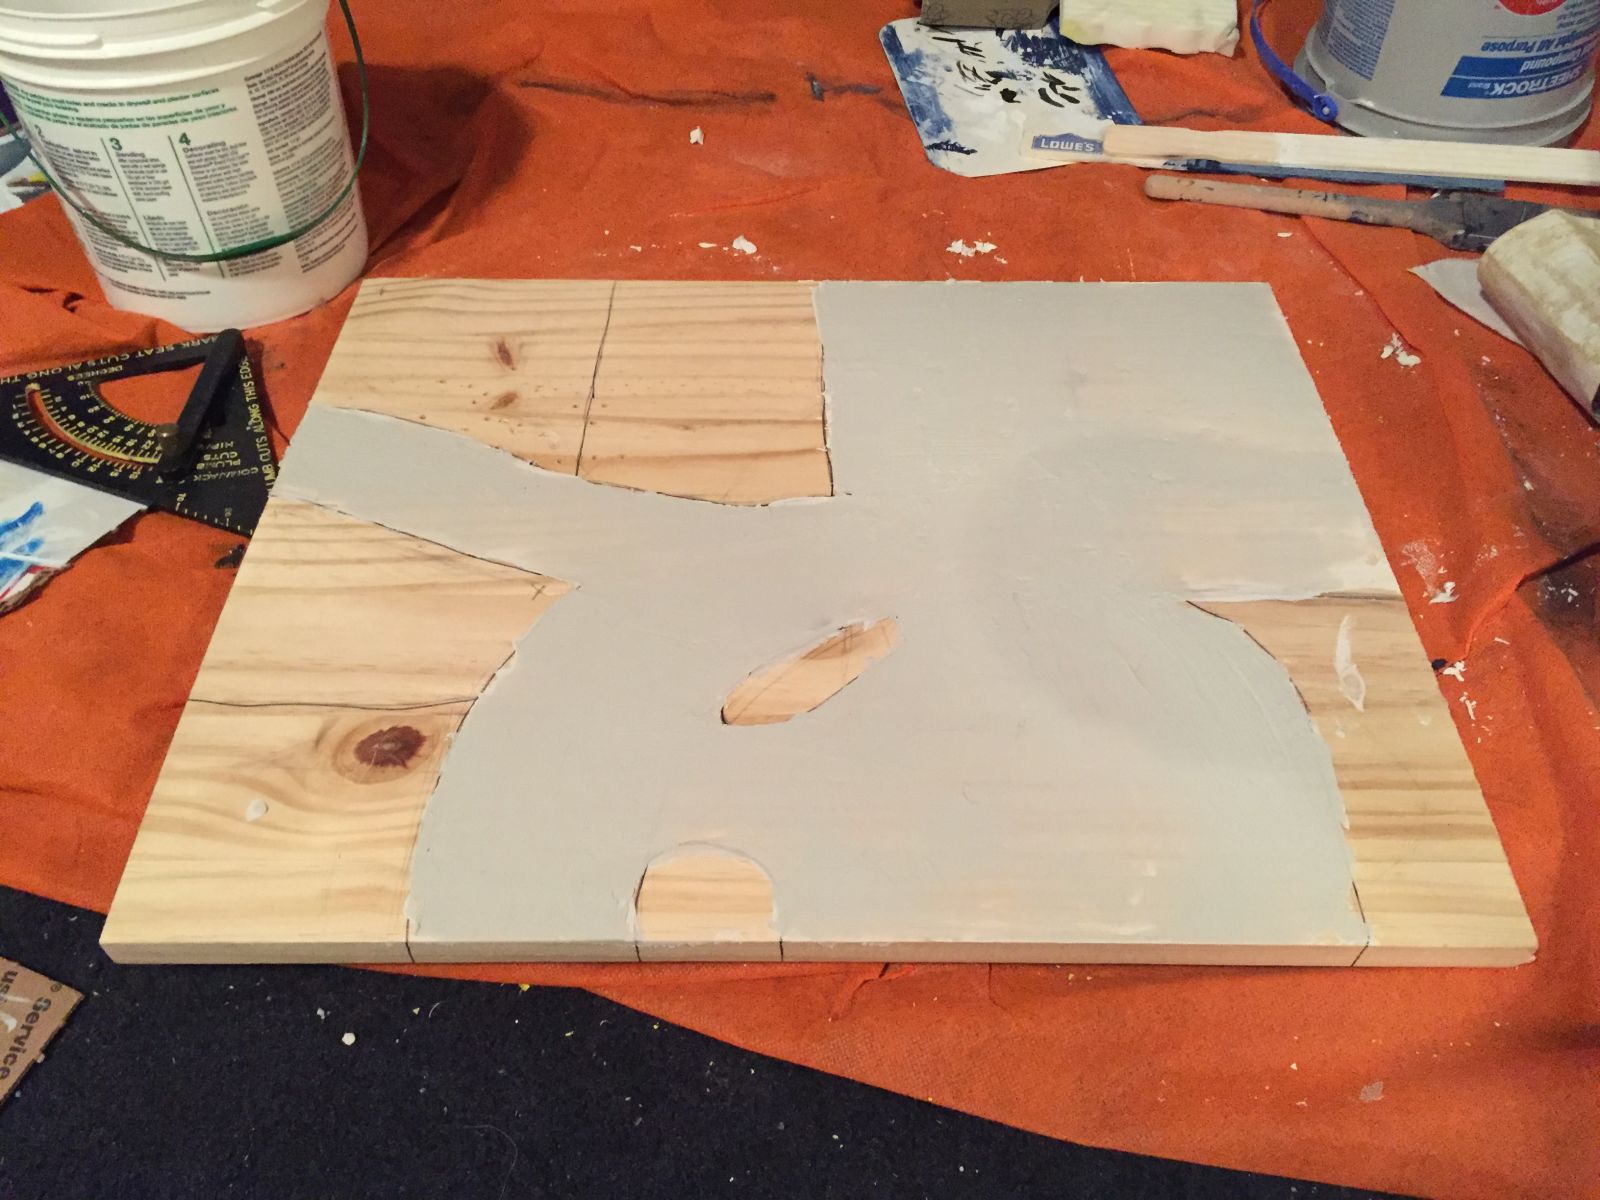
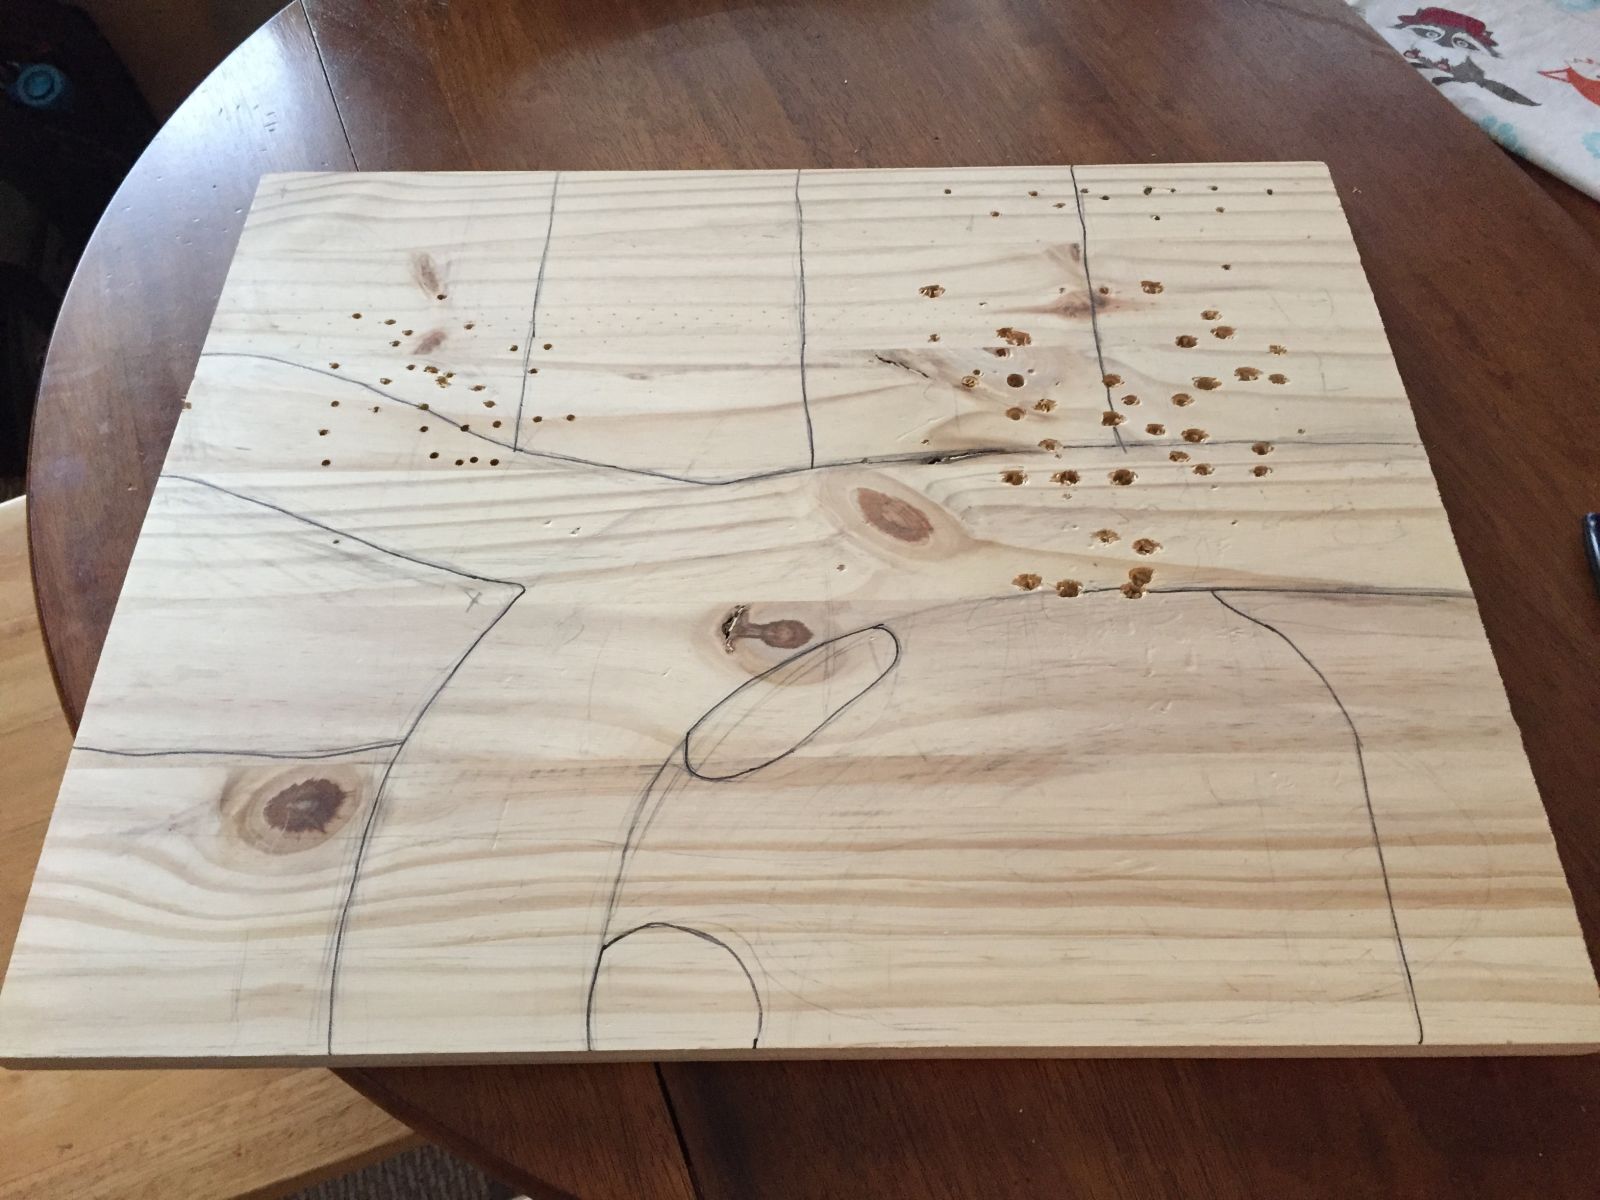
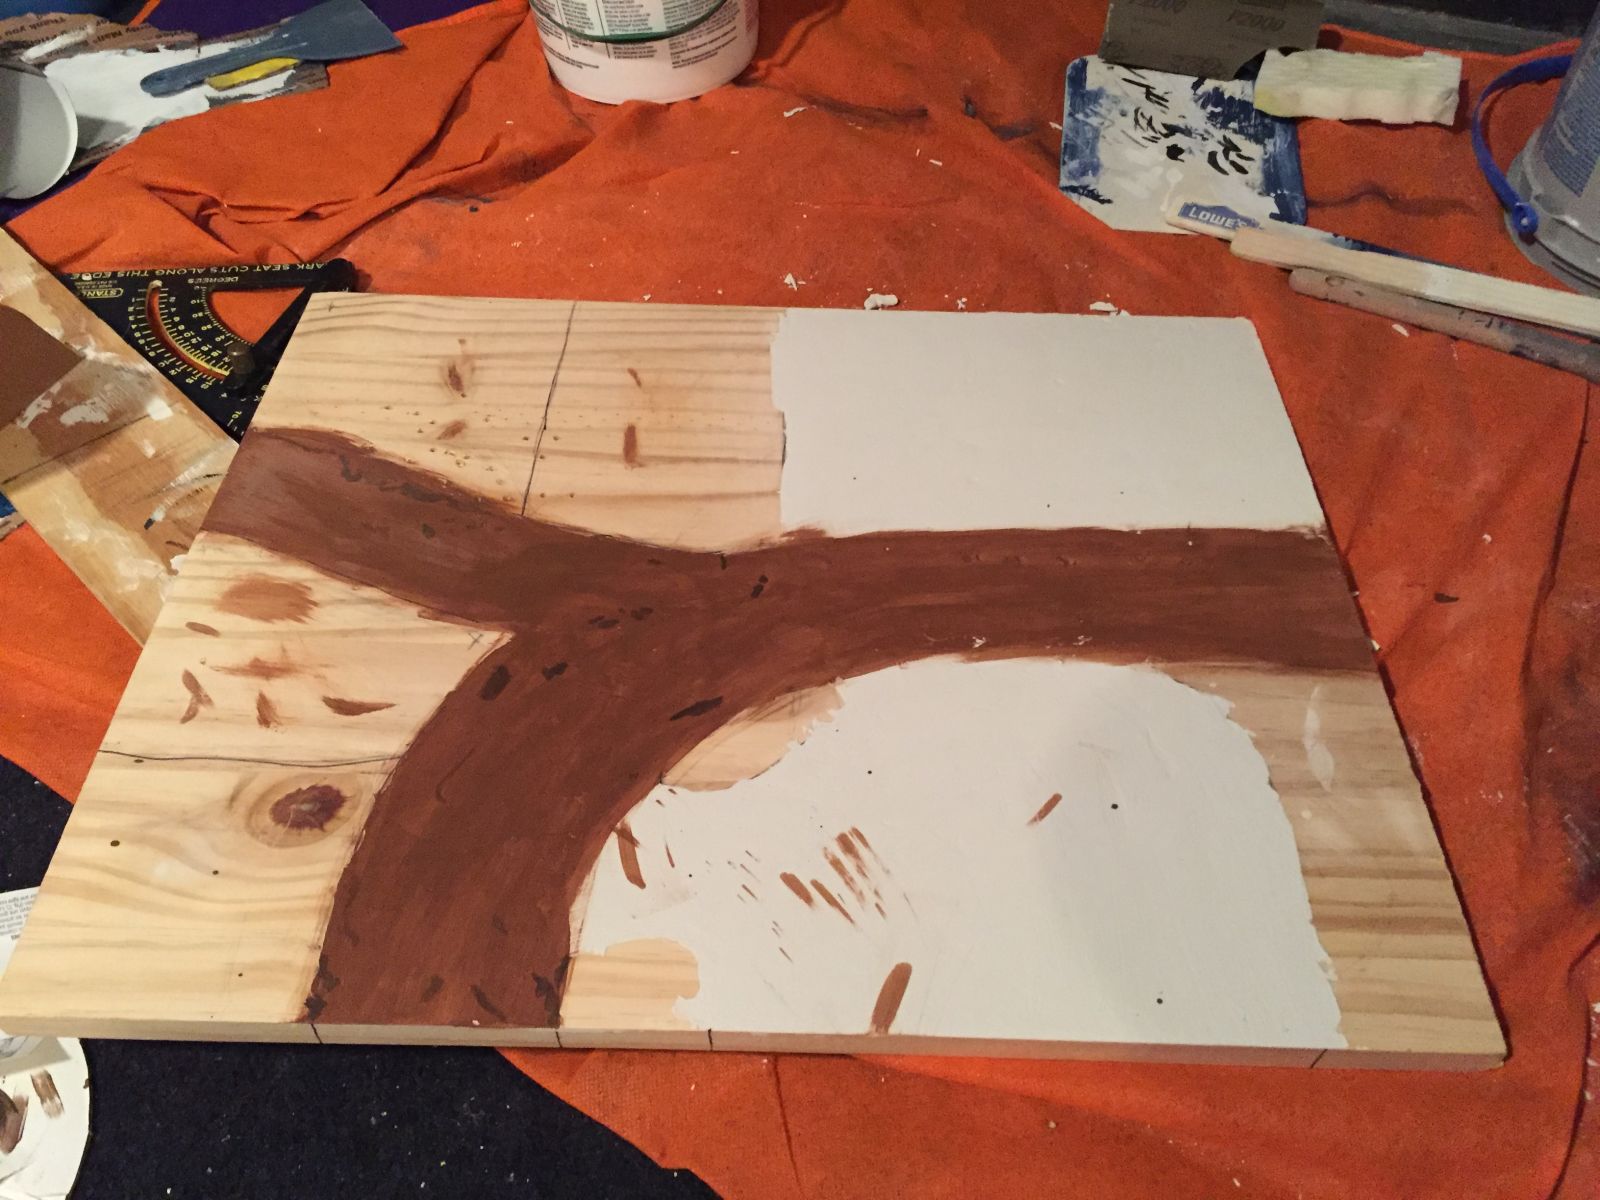
First is a layer of spackle. I made the roads, the parking lot, and covered up those nasty drill holes my wife made from one of her previous projects.
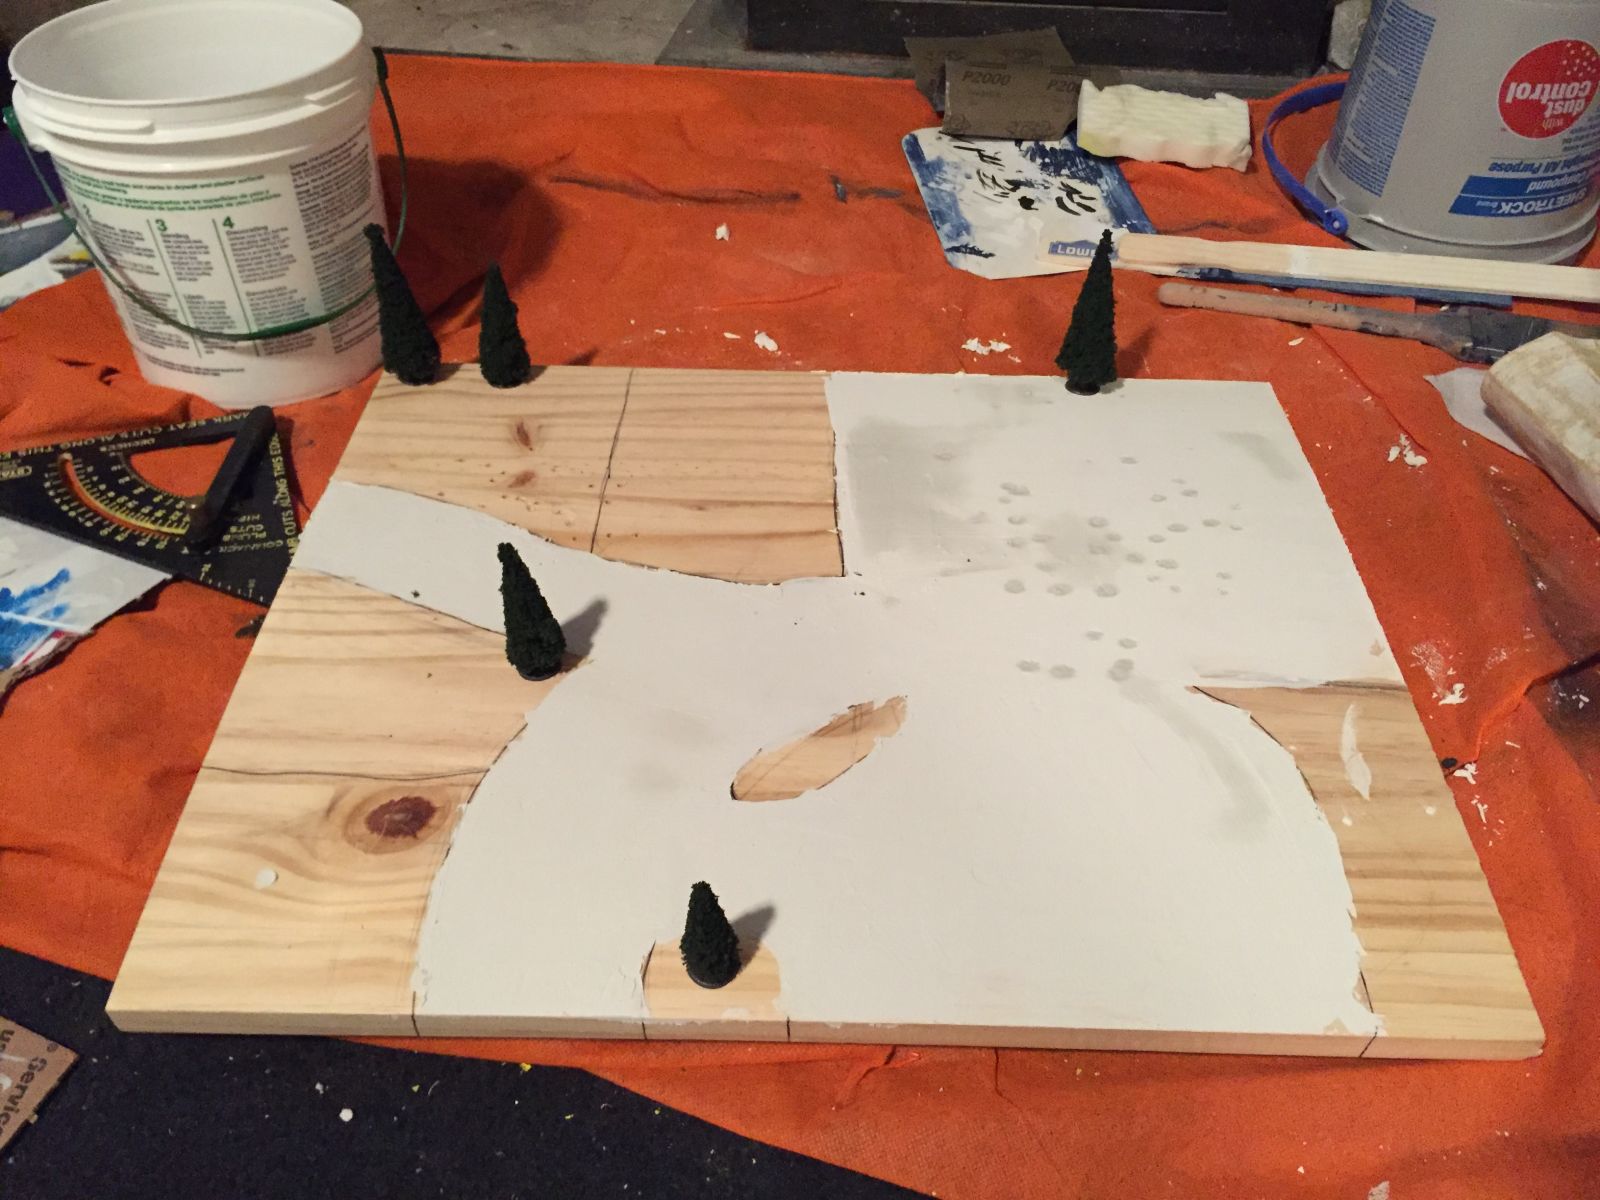
Here we see me testing where the trees might be placed. Also, the spackle didn’t fill all the holes, which I liked. I didn’t completely smooth out the spackle because, as anyone who has ever driven on dirt roads can understand, they are quite uneven. I wanted to naturally define the road.
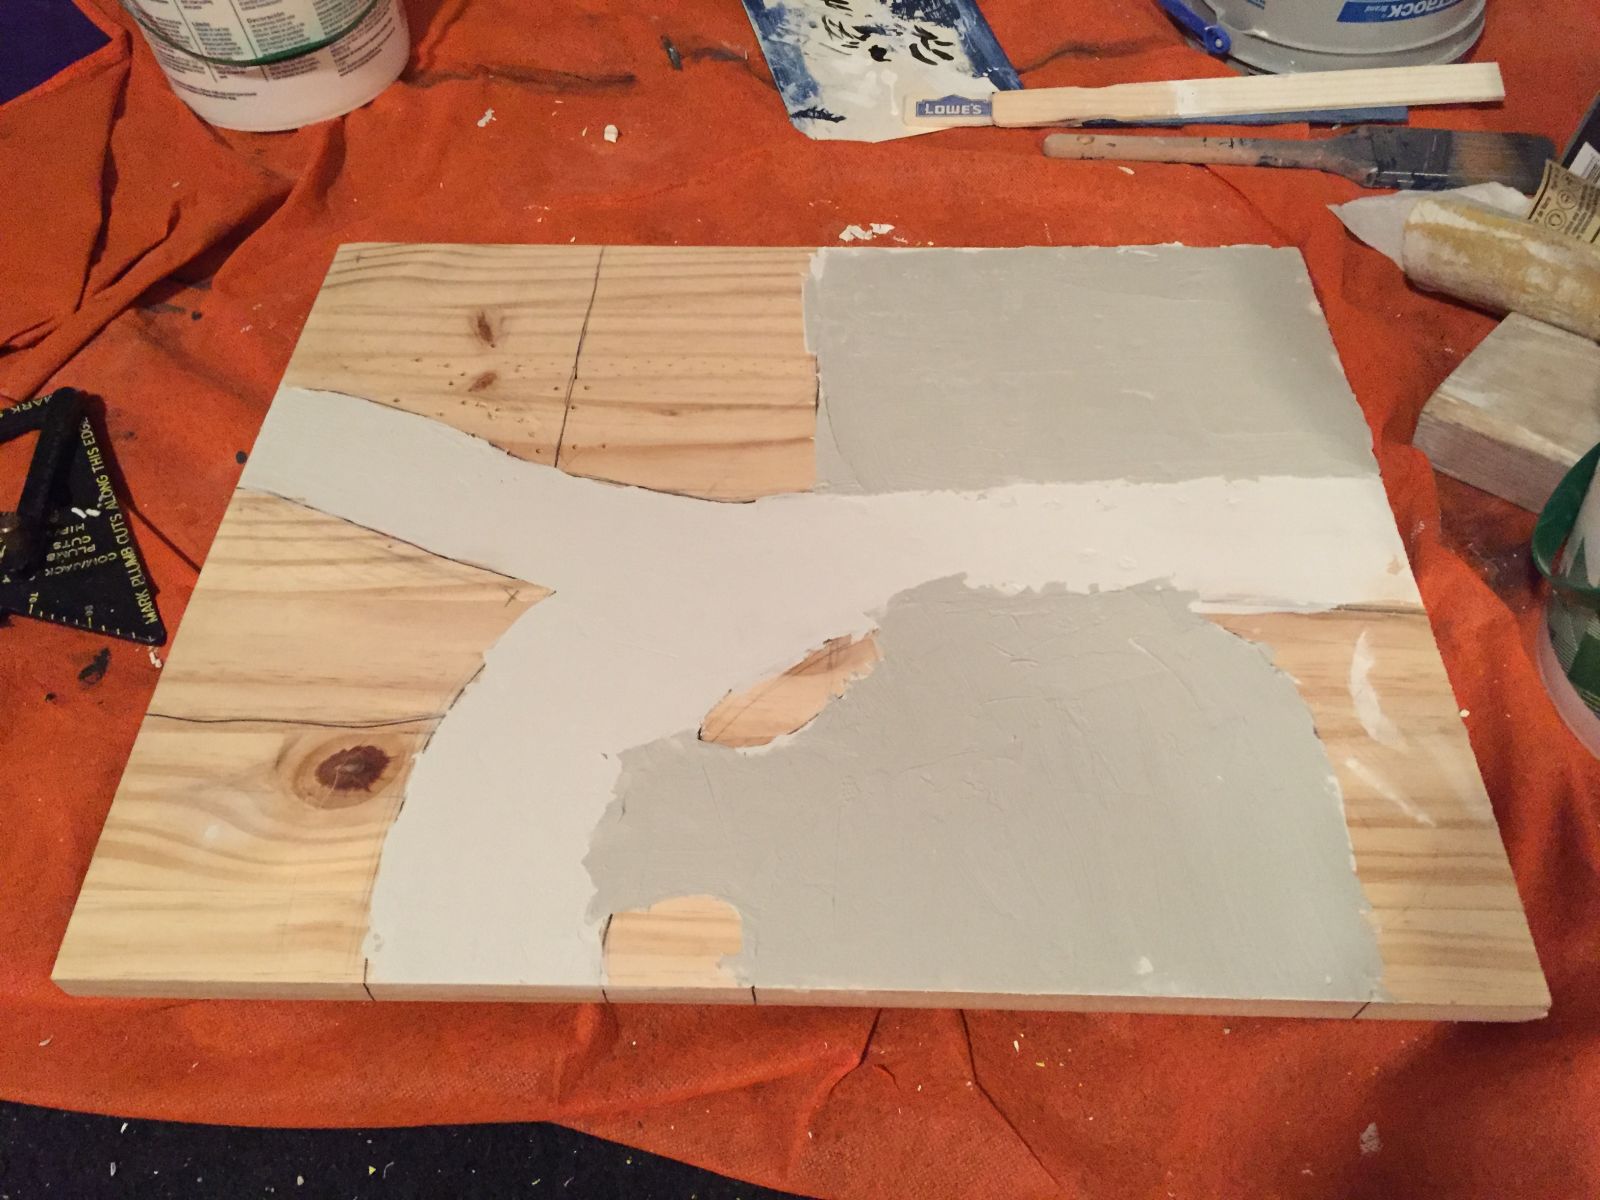
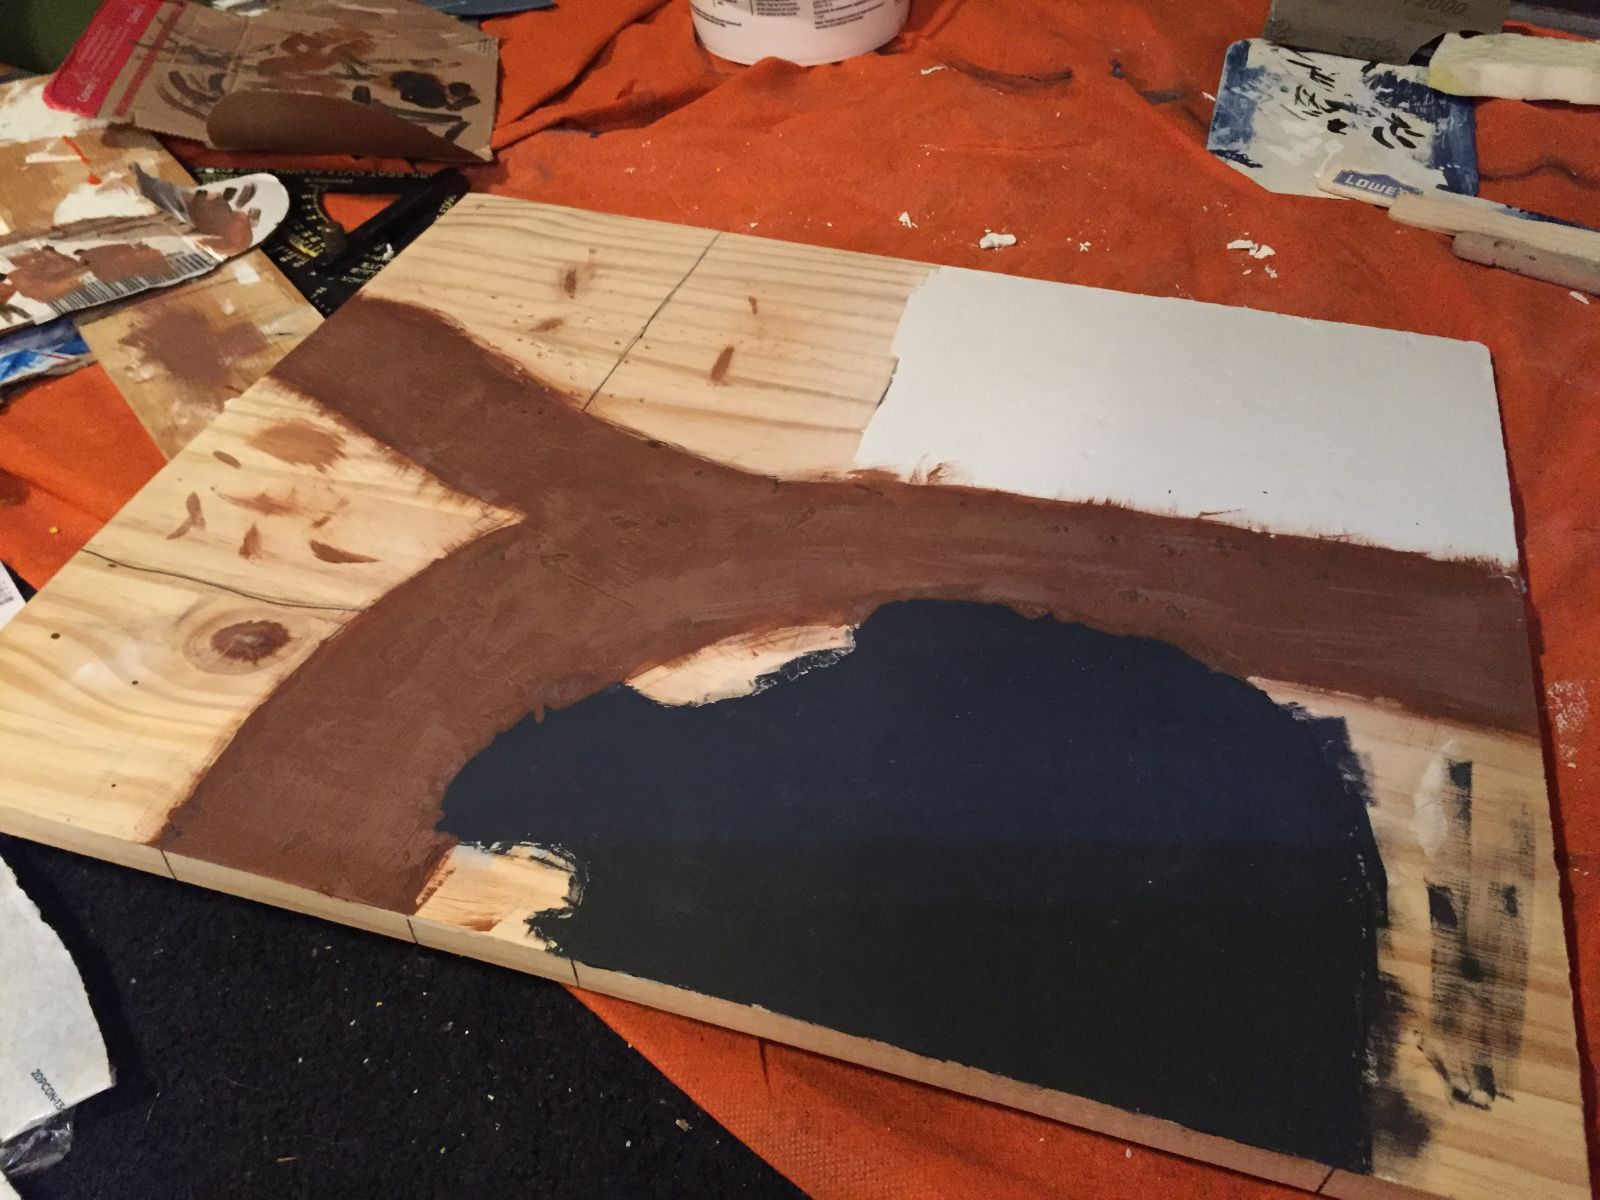
I added a second layer of spackle to the back segment and the paved area. You’re really supposed to do two layers, but I was curious if one was enough, :). One layer seemed to be good, but anything underneath that’s irregular (aka like my sharpie markings), might show up. I added that second layer of spackle to increase the height of those two areas as well, to help define the difference.
Ok, this one is a bit difficult to remember, as I did multiple attempts for the dirt road color. If I remember correctly, I did a layer of brown (Apple Barrel: Nutmeg Brown...it was all we had laying around), then mixed black and brown to emphasize pot holes and other various occurrences on dirt roads. I took a small brush barely dipped in the mixture, and slowly did the dark brown road details.
I then did a second coating of brown. I happened to cover up the small details I just made, but dark colors usually show up underneath. I was really winging it at this point, but you can see contrast on the road, which was my end goal. I thought dry brushing white would be too awkward, so I had to make my own mixture; one squirt of white and three of nutmeg brown creates a light brown. That’s how I got the light brown contrast on the dirt road. I also did the blacktop in pavement color, then dry brushed it white.
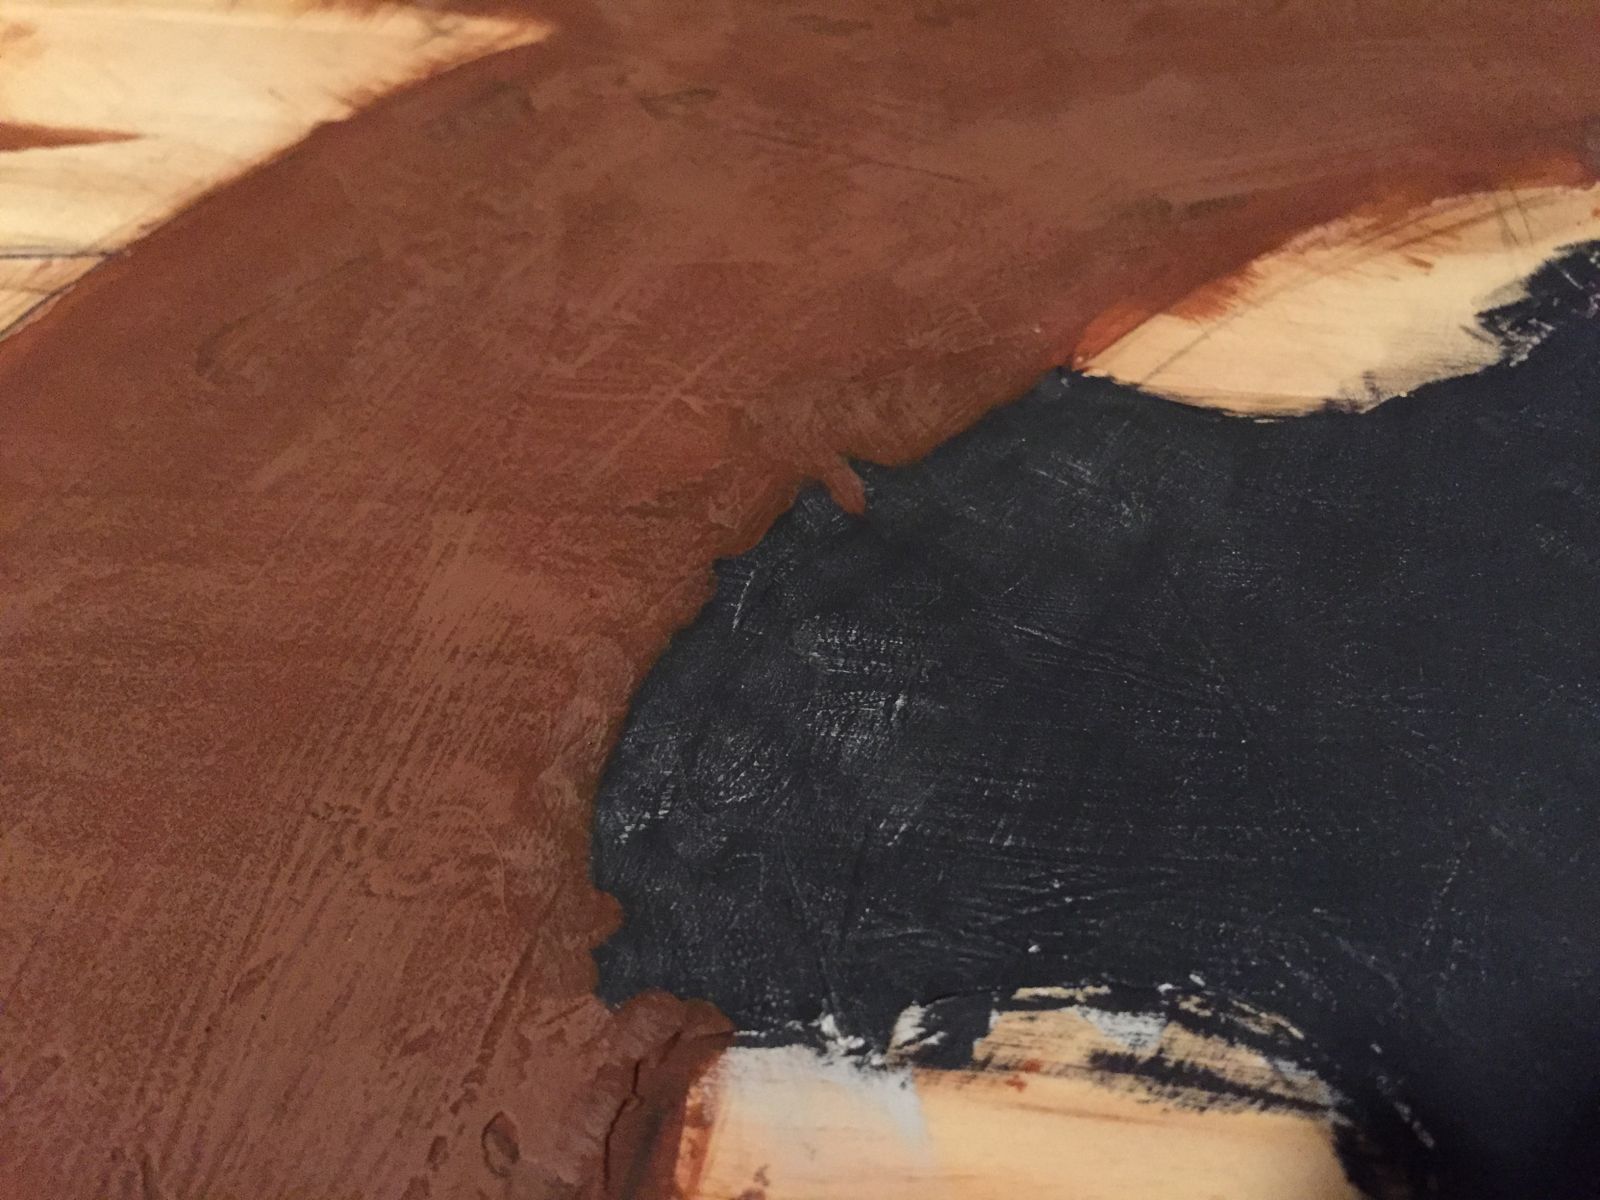
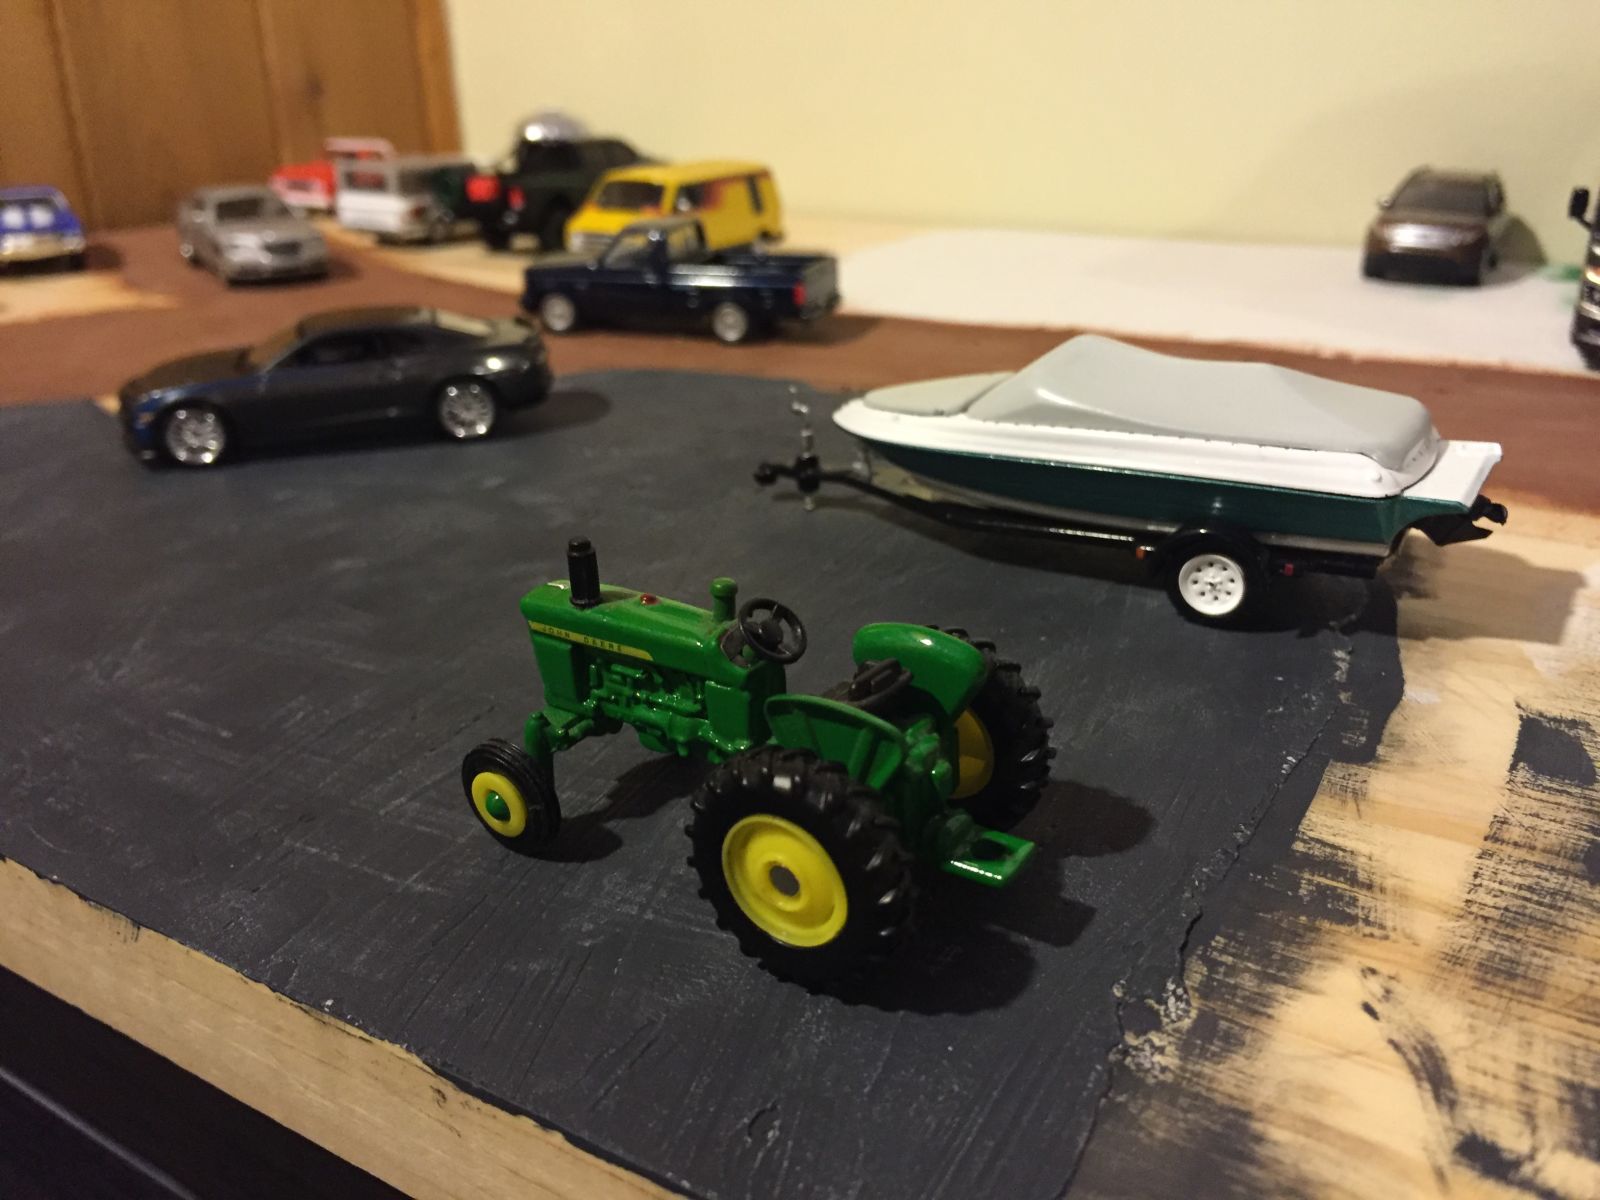
I think this edge is really cool. The other entrance has details like this too.
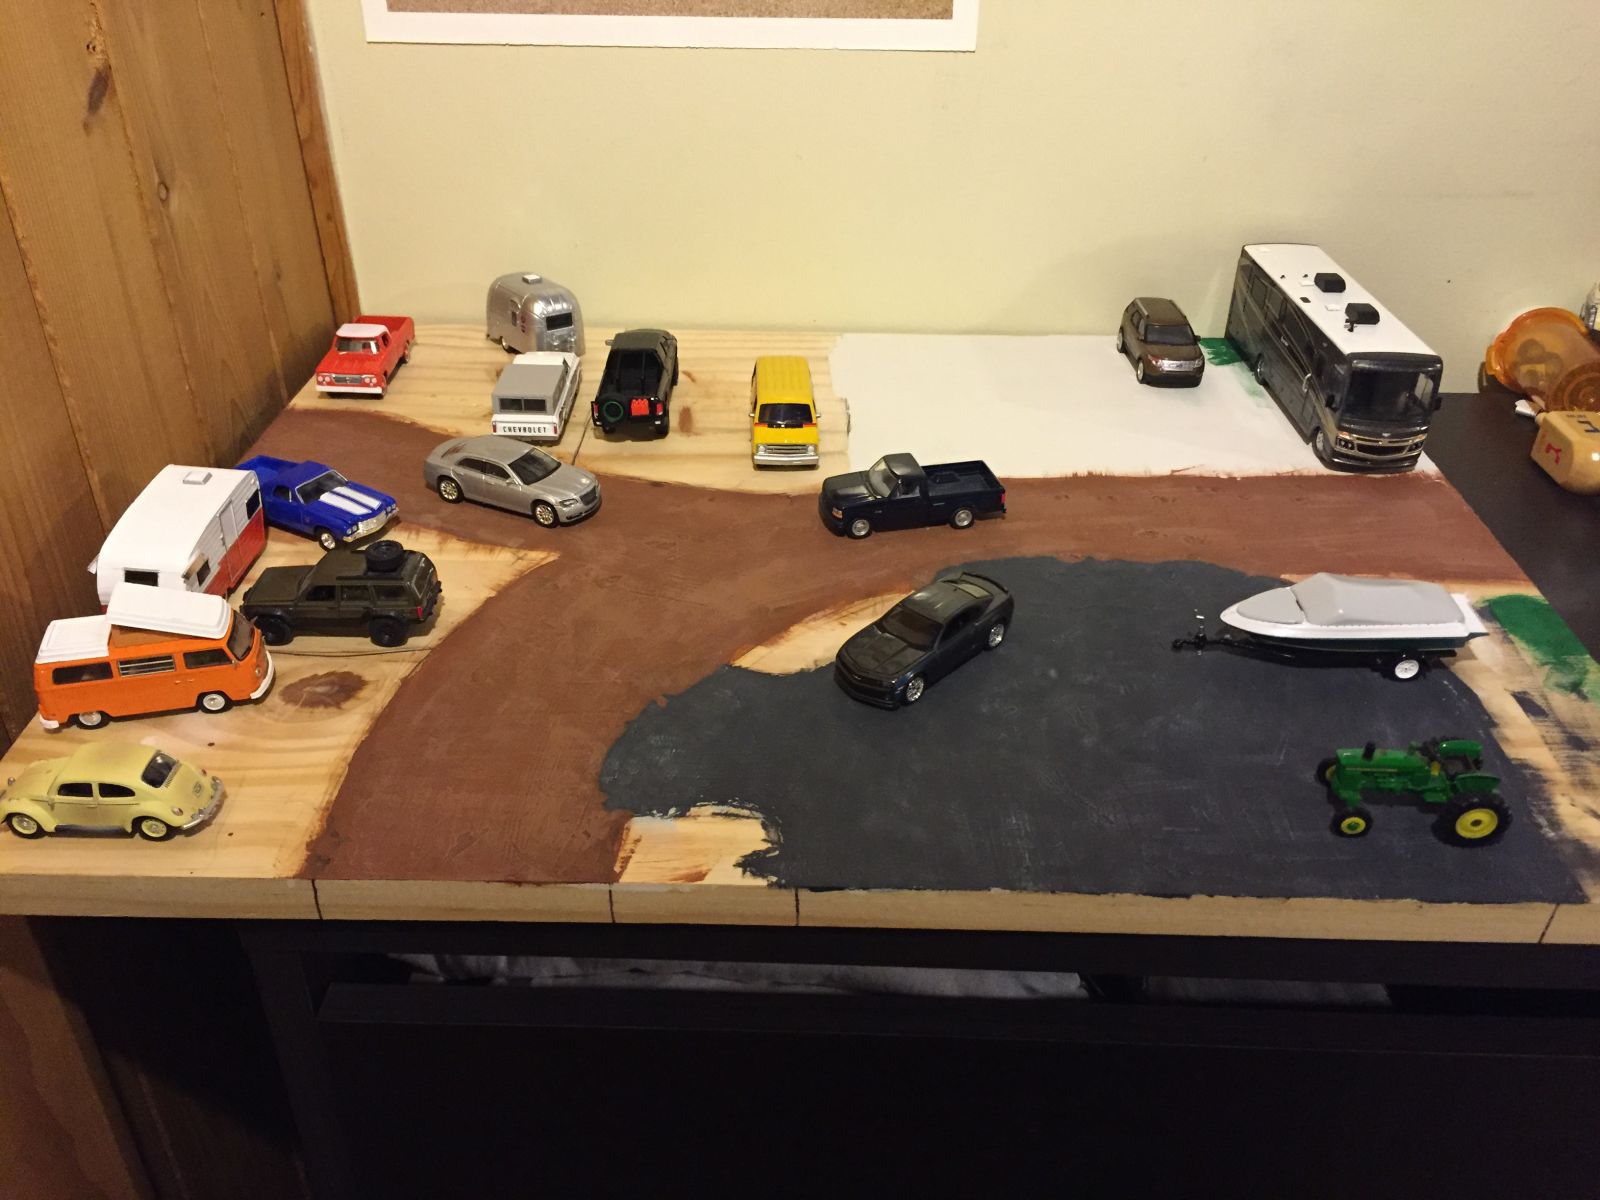
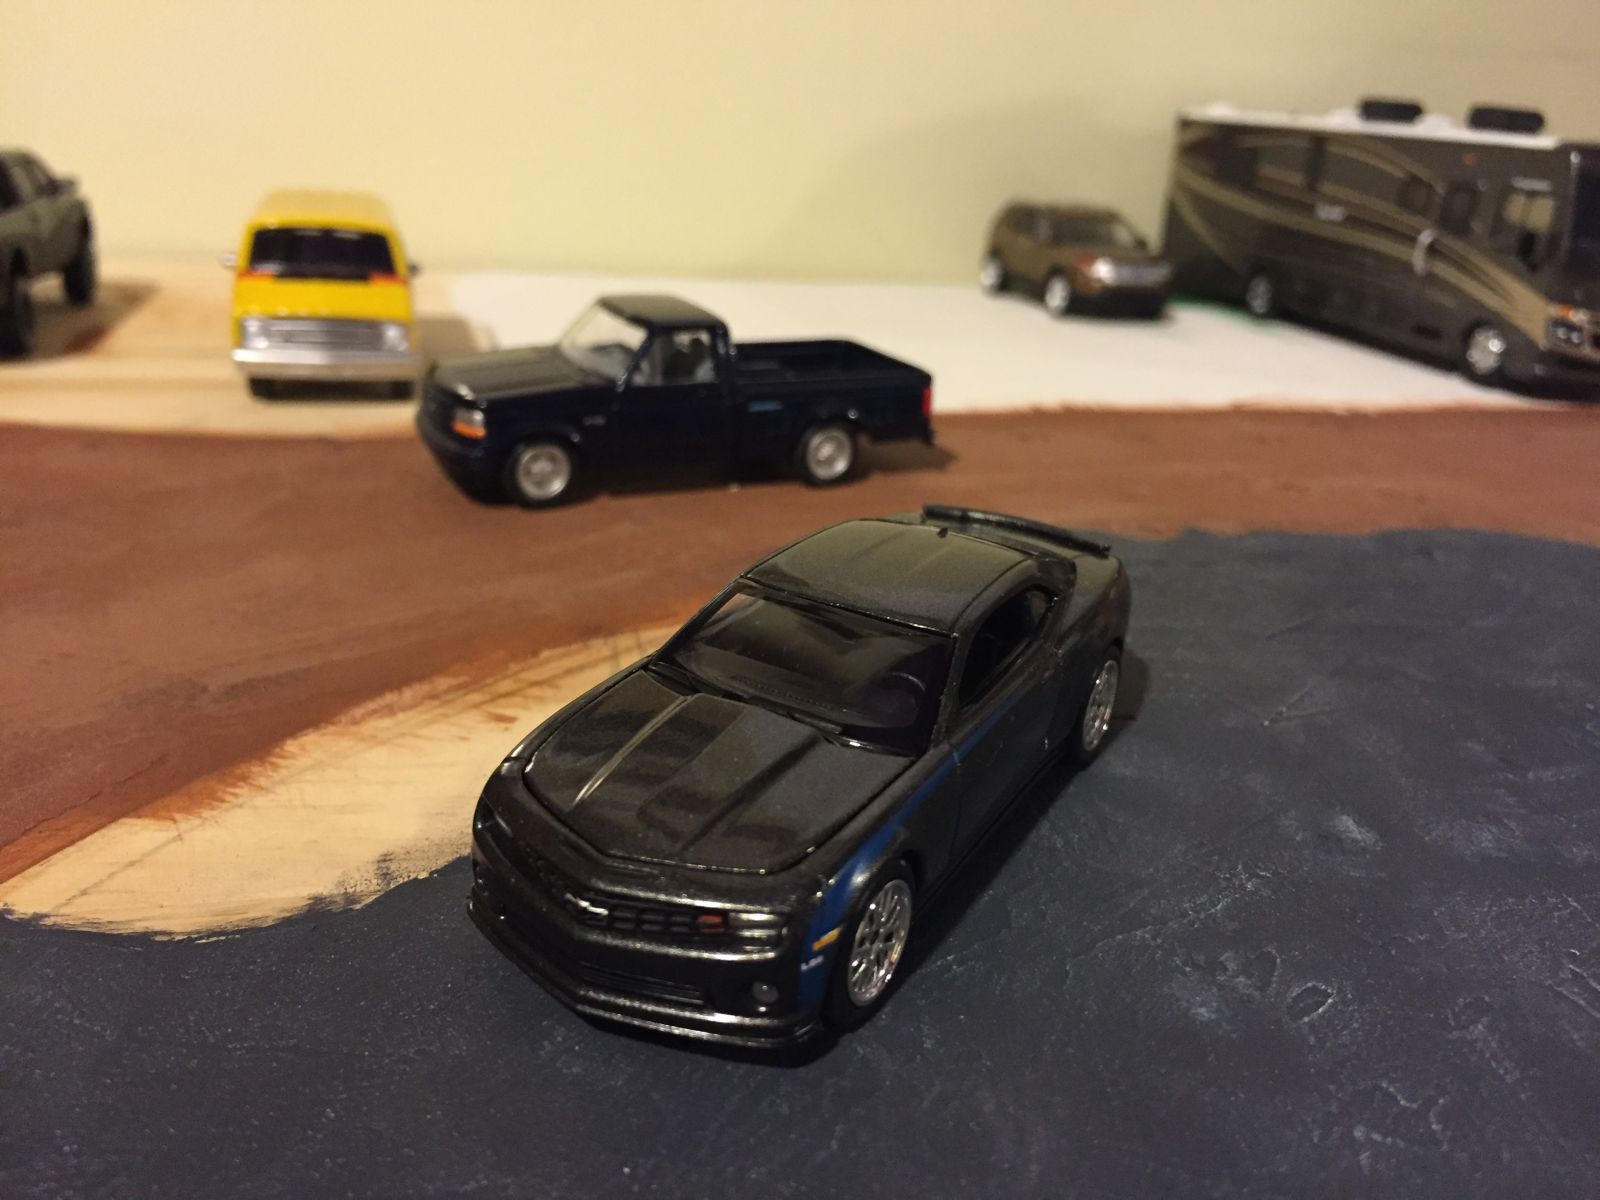
And this is where I am. Originally I was going to lay down sheet grass, but I’ve recently felt that it would of been too straight forward, too consistent. I’ve been RV camper for the majority of my life, grass is never like that, :).
I want to push my boundaries and try something different. I’d like to get my hands on some model grass powder, so I can shake the grass on it (with an adhesive obviously). Again, the next paycheck.
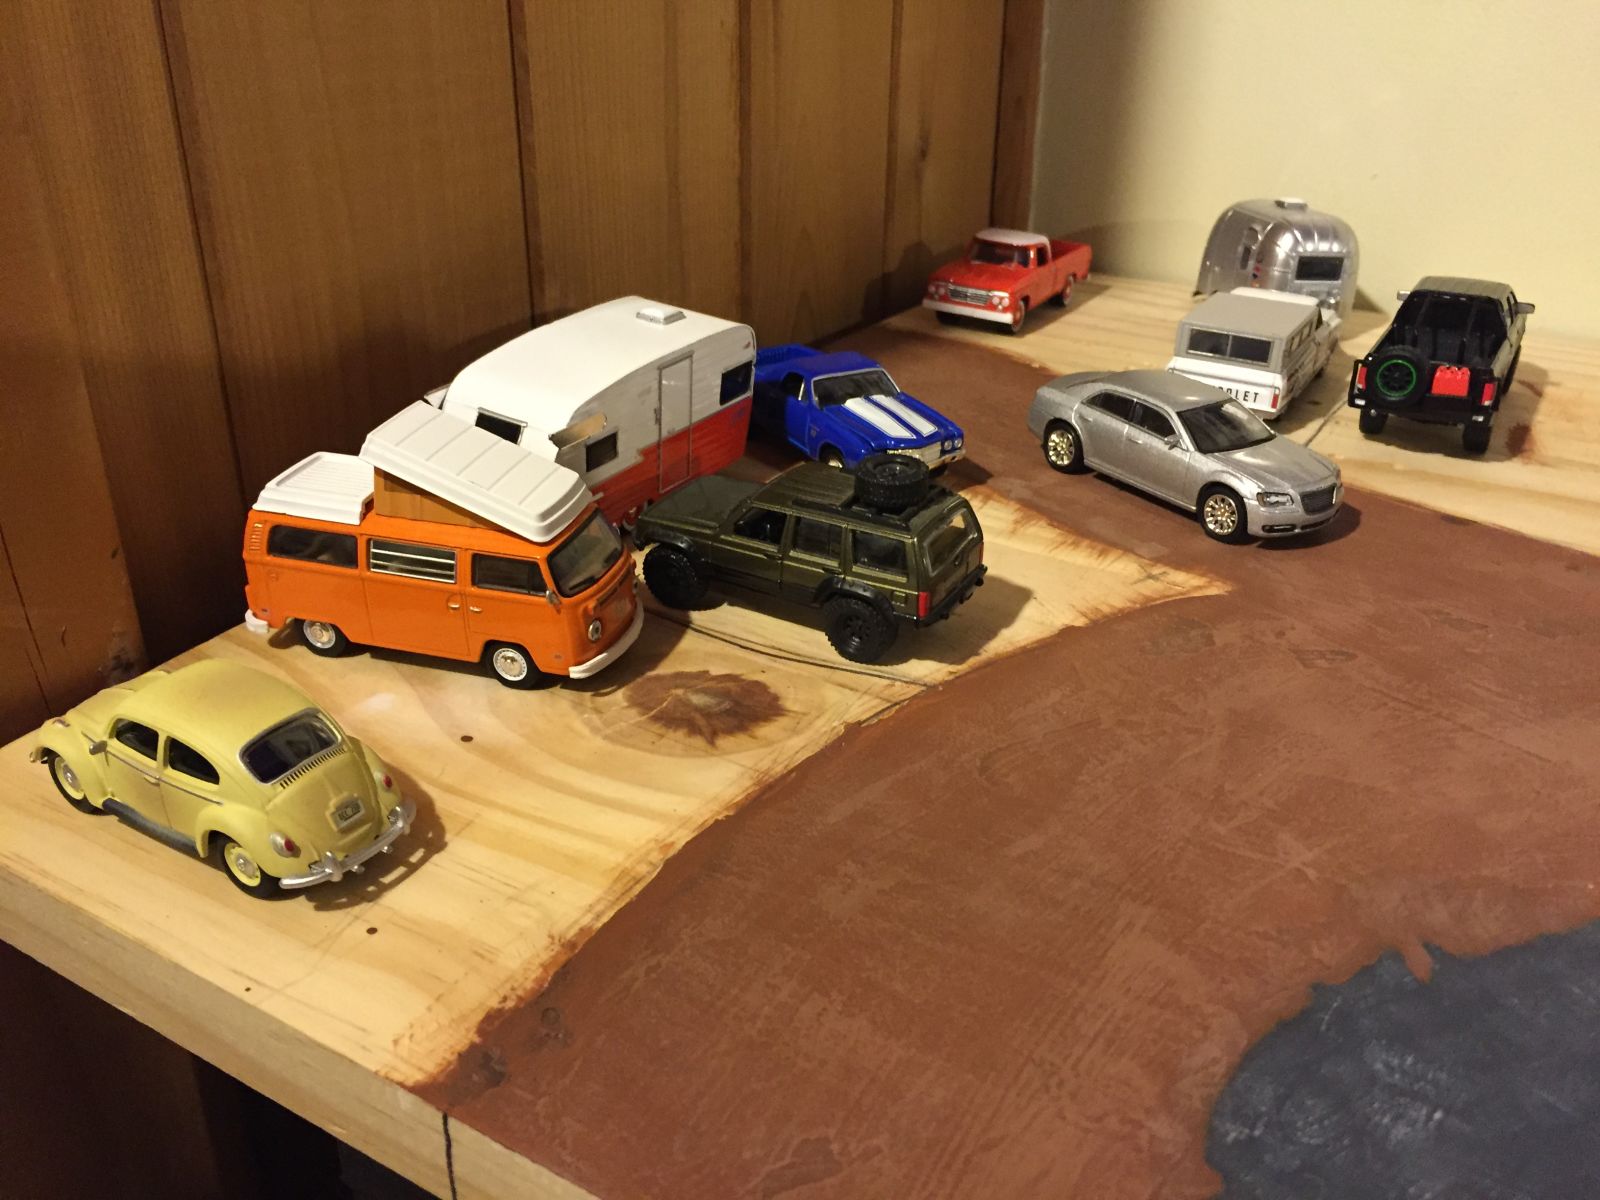
In the meantime, enjoy these pics and pretend there’s grass there!
And you might of noticed a lack of a parking lot diorama, that’s currently being changed up a bit, ;).