
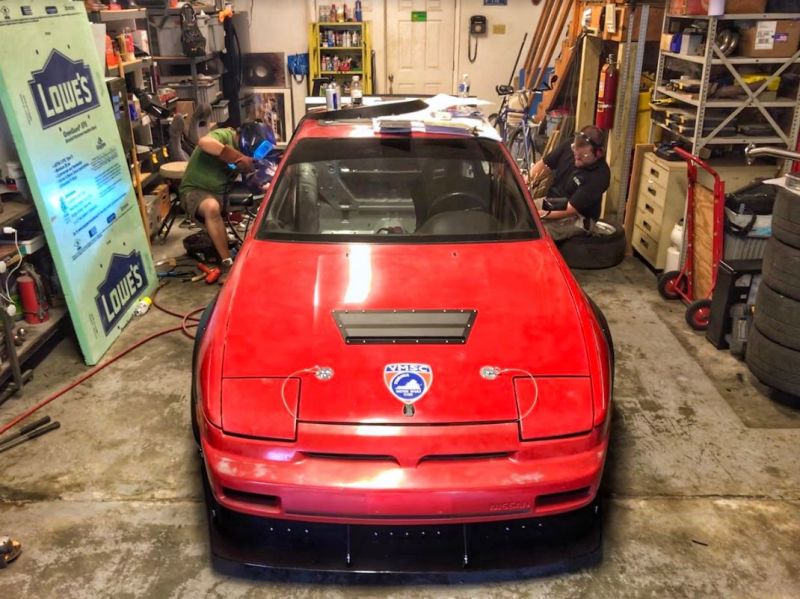
Is there better way to spend a hot, humid weekend than in the garage with your friends, wrenching on a racecar project? I submit that there is not. This time the project at hand is an S13 track car that is in need of more room for race rubber, and revised low-speed aero for autocross.
Billy’s S13 has been an ongoing project for the last two or three years. Still running the stock KA24E, the focus has been grip and handling. The main mods on this car are wheels, tires, brakes, differential, coilovers, and weight reduction. In an ongoing effort to maximize the platform before upgrading power, it was time to make room for some wide Hoosiers by way of adding fender flares.
For more content like this, check out The Daily Downshift

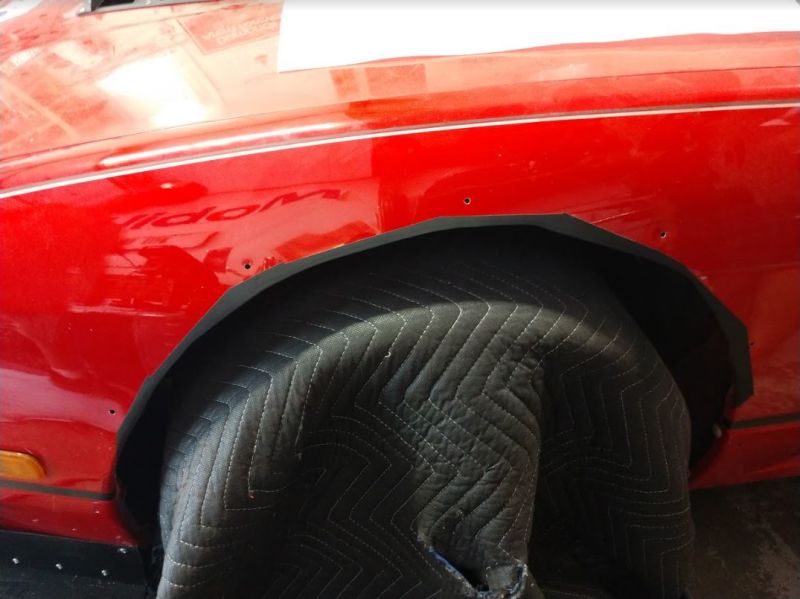
The first step was to place the flares in the desired location, drill holes, and hold it in place with Cleco temporary rivets.
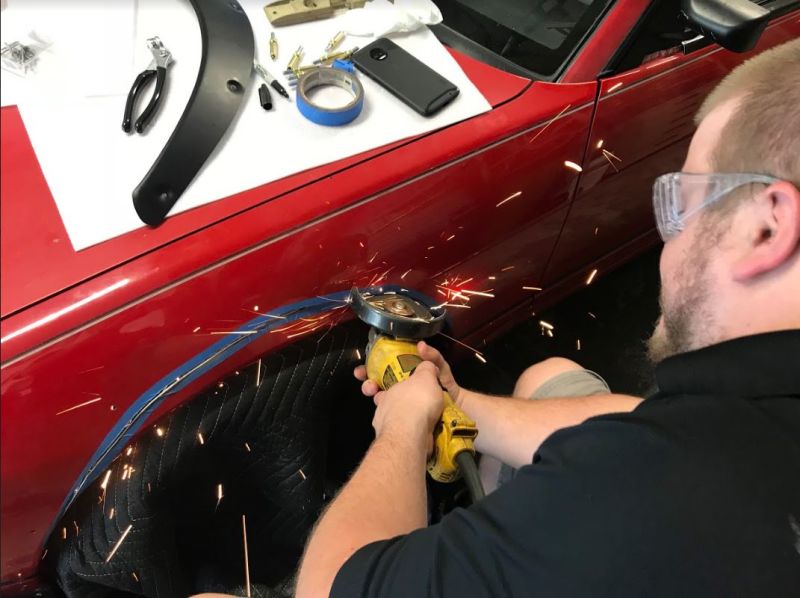
Once the holes are drilled, remove the flare and mark where you want to make your cut. Now it’s time to start throwing some sparks with your trusty angle grinder.
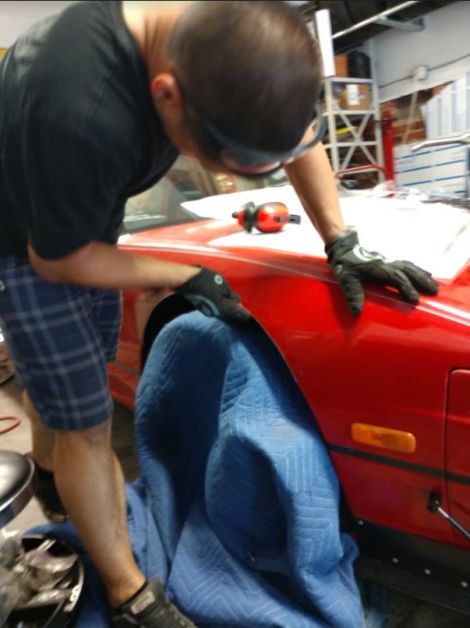
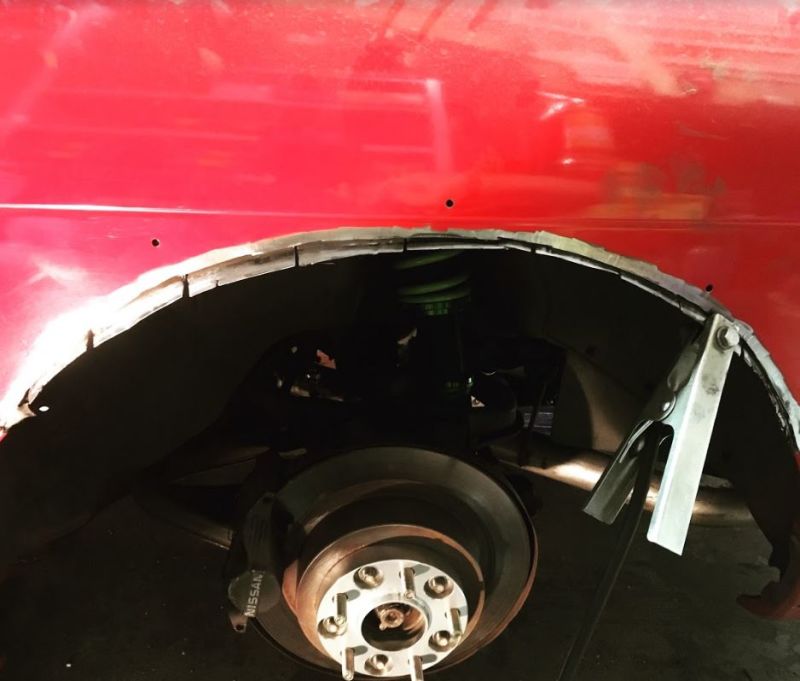
It’s a good idea to go over the cut line with some hand-sanding to smooth out the edge.
Make sure to paint the cut edge to prevent rust in the future. Remember this will be covered by the flare so it doesn’t have to look perfect as long as there’s no exposed metal left to corrode.

Now it’s time to rivet the flares in place. These flares are made of aluminum, and we put universal door edge guard trim around the top edge to clean up the look.
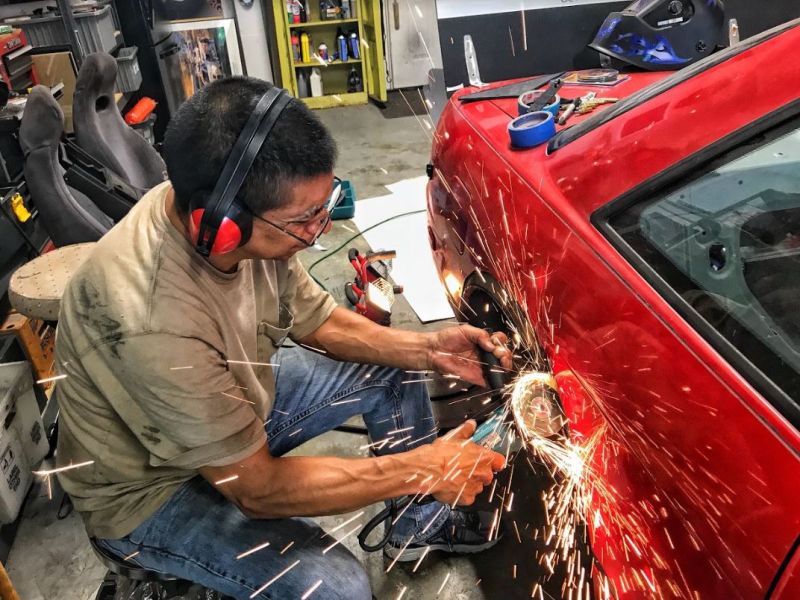
The rear flares are a bit more complicated, as the fender is two layers of steel rather than one. The first few steps are the same, mock up the flare, drill your holes and cut the top layer away. Also note- please wear eye protection. Billy’s using his best safety squints here, but definitely wear safety glasses or a face shield when grinding or cutting.
For more content like this, check out The Daily Downshift
Next, put some cuts into the inner layer, then hammer the sections up to meet the outer layer.
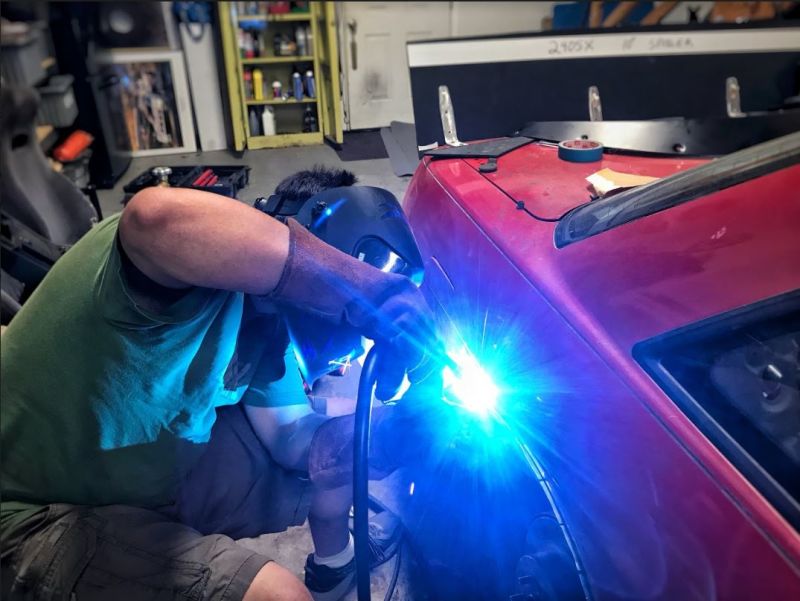
After cleaning everything with a wire wheel, carefully weld the two layers together. Go slow and move around a lot to spread the heat out and avoid blowing holes through the thin metal.
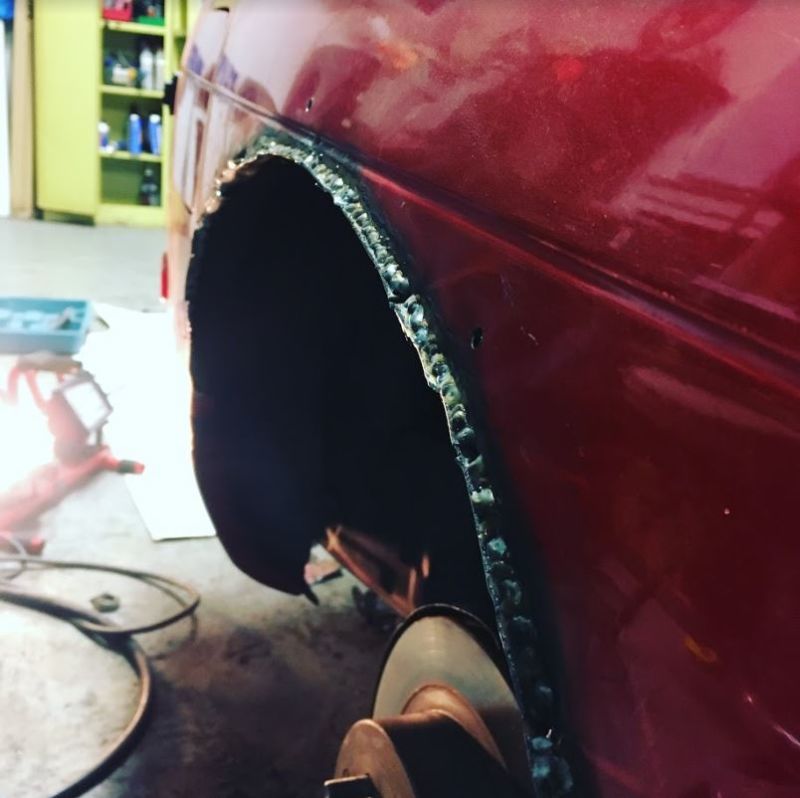
Here is the fully welded fender. Once the weld cools, it’s time to clean up the excess material, hit the area with some paint, and then you can mount your flare.
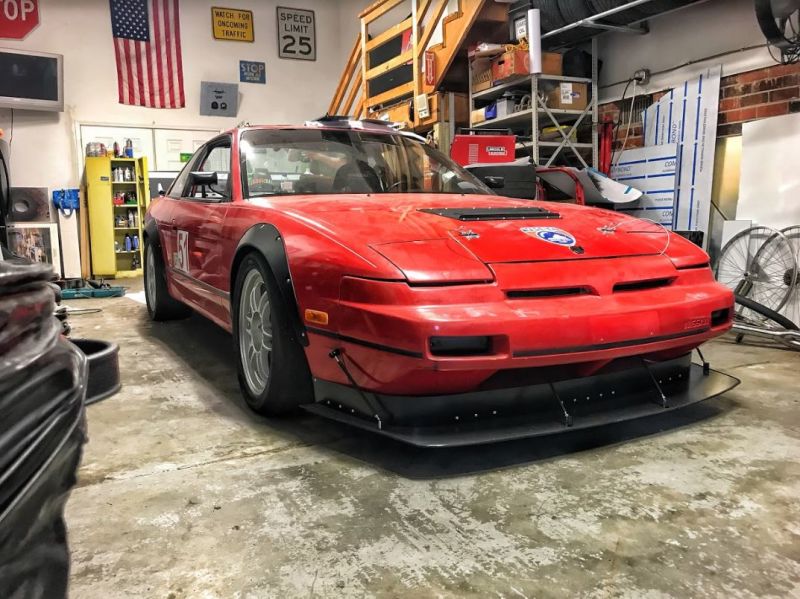
The flares really complete the visual package for this car. Billy had already re-designed the front splitter and added the hood vent earlier in the week, and now the car looks ready to take on anything he can throw at it.
Now that the flares and front aero were complete, it was time to make a new, bigger rear wing to balance the car out. Using some aluminum stock, Billy shaped some beefy brackets to hold the new and improved spoiler.
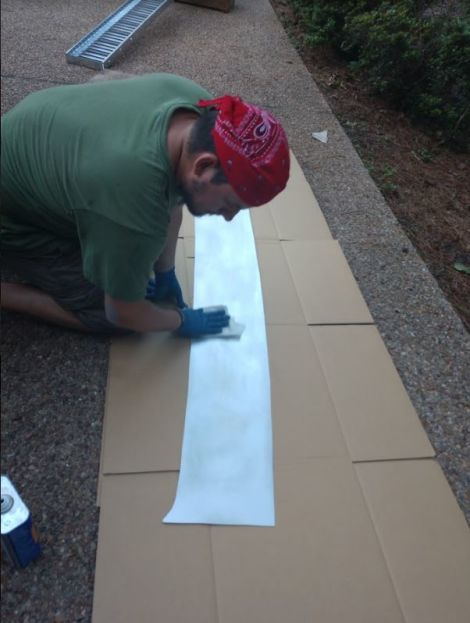
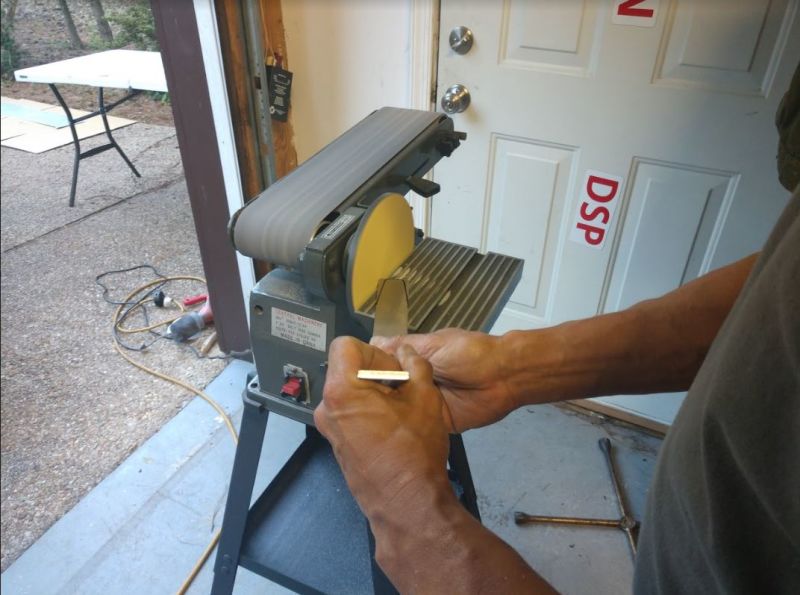
While Billy made the brackets, I prepped the aluminum wing for paint, sanding out any scratches, rounding the corners, etc.

Billy, being a very detail-oriented dude, even matched the curve in the trunk lid with the bracket.
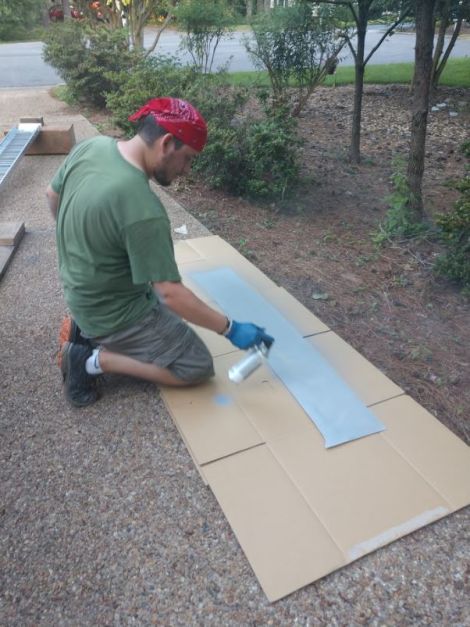
While Billy was fiddling about being OCD about his brackets (I kid, they look awesome) I went ahead and primed the wing.
For more content like this, check out The Daily Downshift
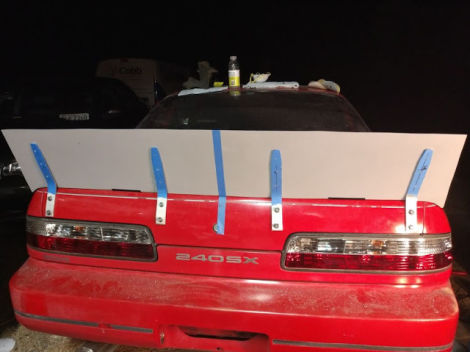
The brackets were mounted to the trunk lid using some M8 rivnuts and 12mm bolts. After getting the spoiler mocked up in place with the Clecos, we decided to call it a night.
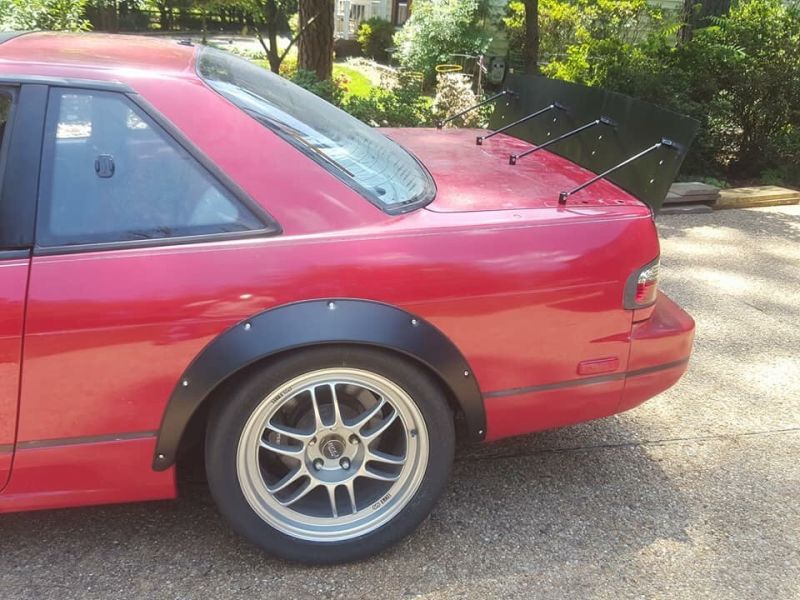
Later in the week, Billy finished painting the spoiler and mounted it up with four support struts for added rigidity.
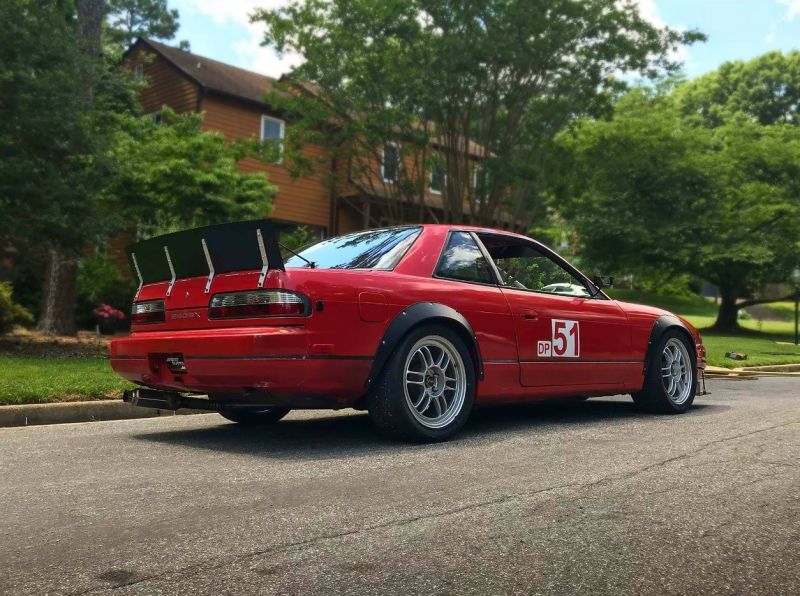
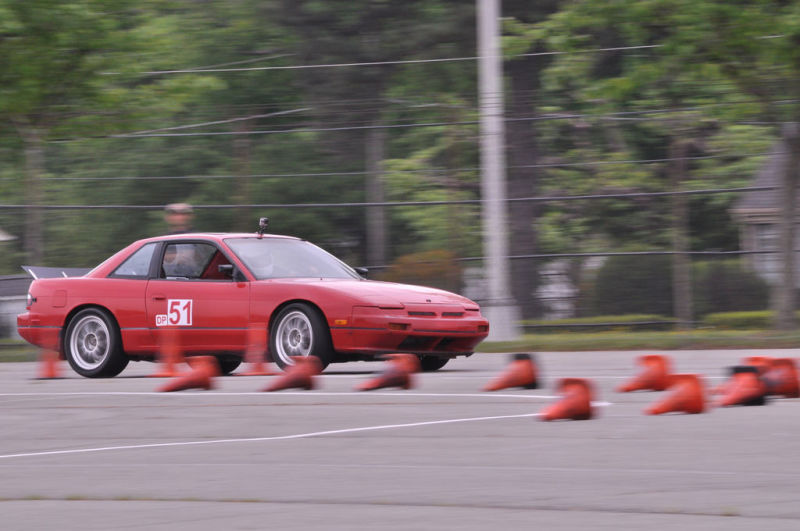
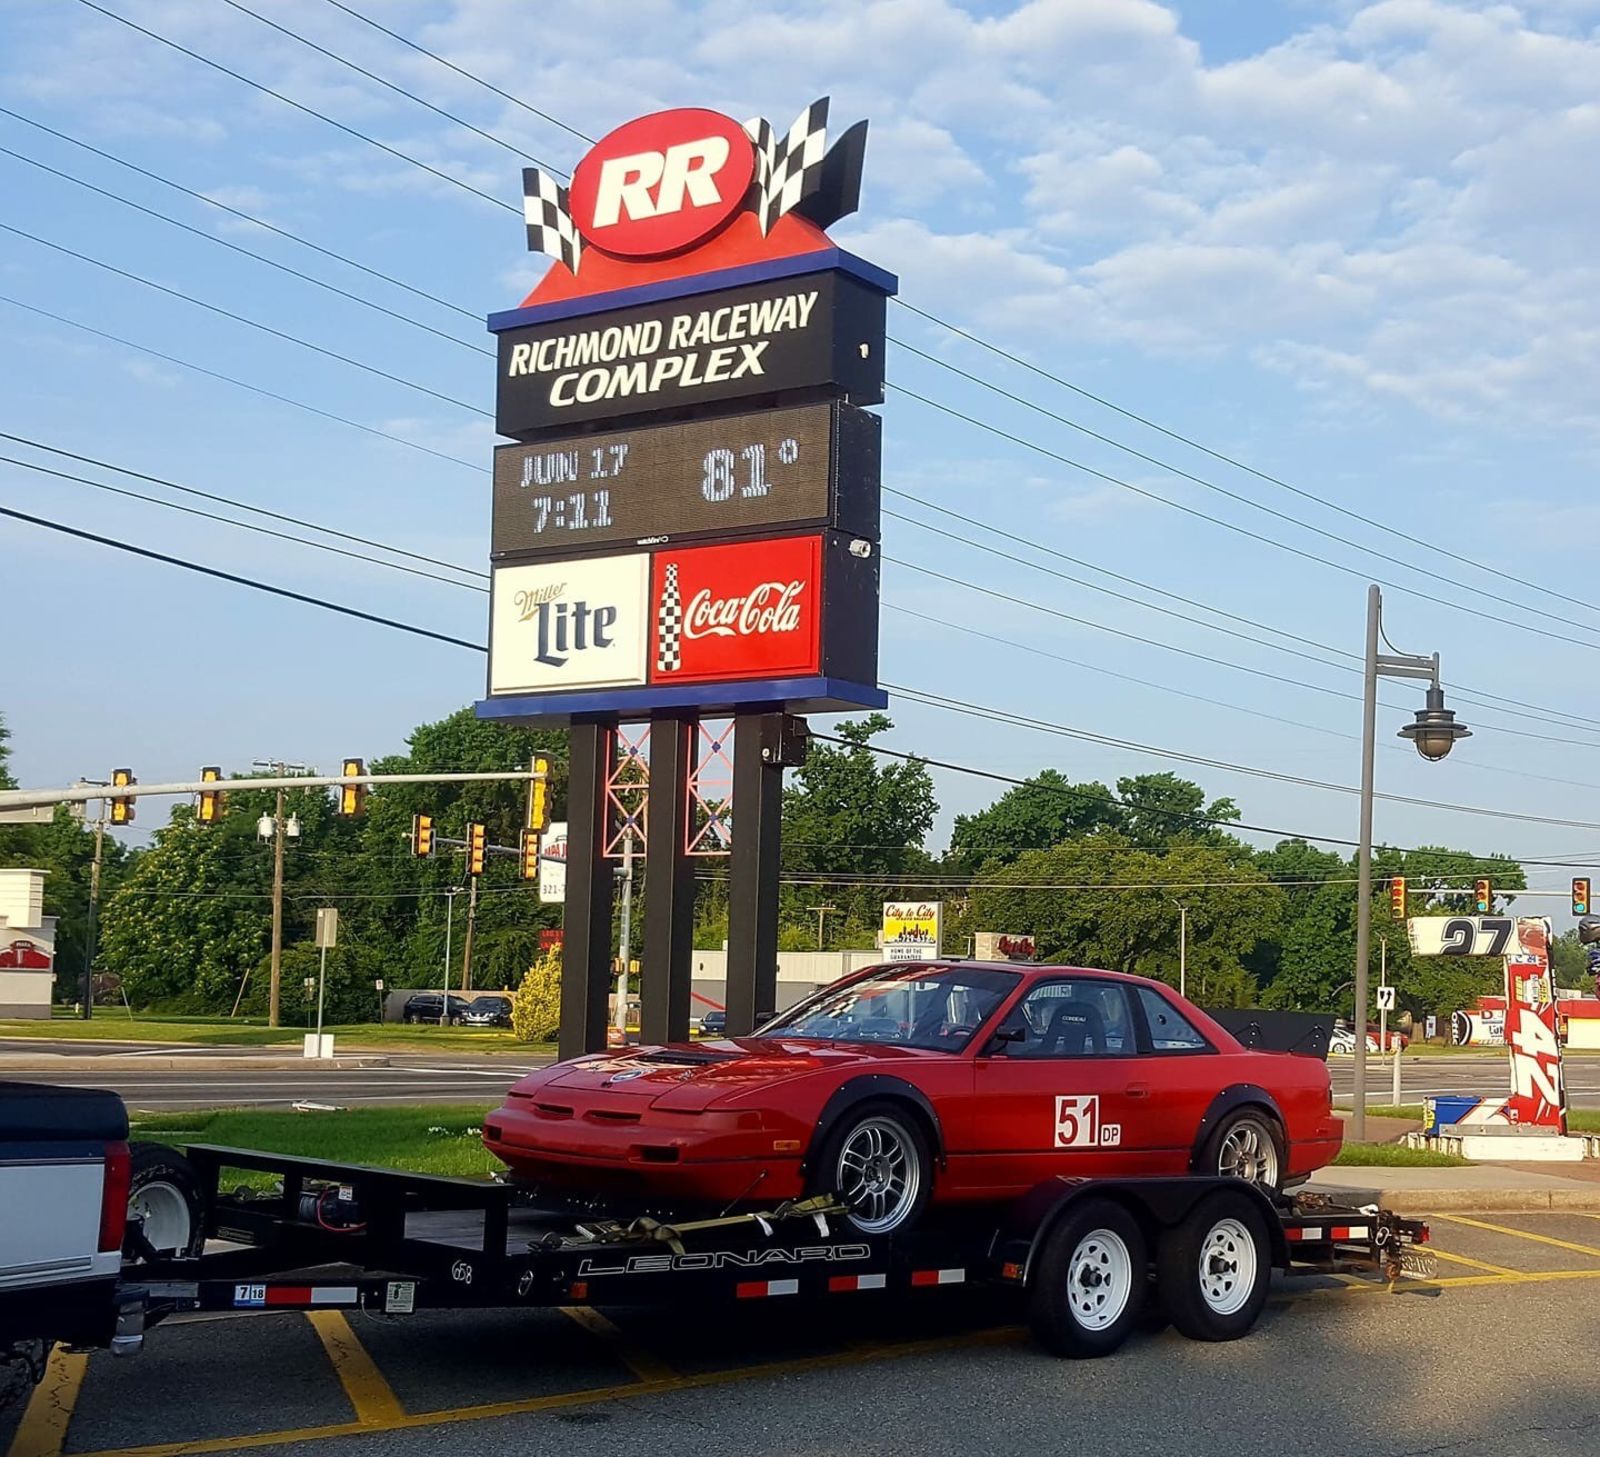
Time for one more glamour shot before loading the car up for autocross!
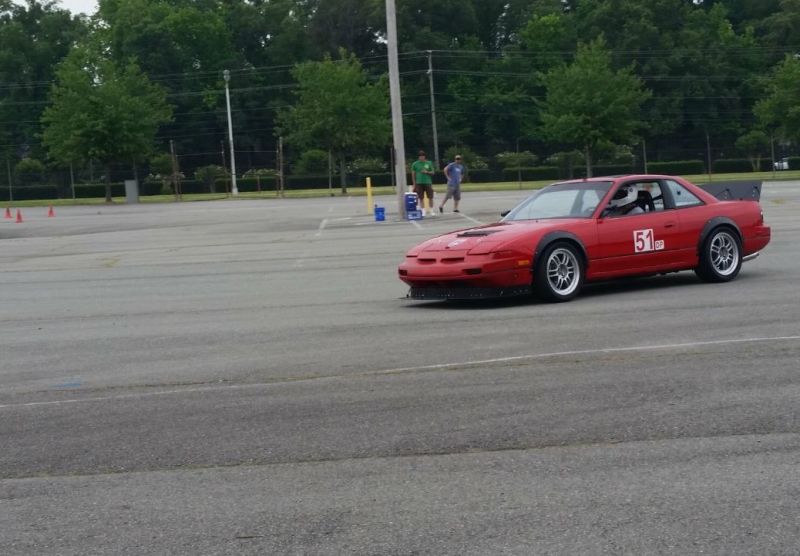
The car did really well and got tons of attention.
Billy drove the car as hard as he could and had a ton of fun, placing 19th overall for the day out of a field of around 55 competitors. Not bad at all. I hope to see him bring this car out to some HPDE events later this year!
For more content like this, check out The Daily Downshift