

With a nice clean workspace, getting the car prepped for HPDE was a much more pleasant experience.
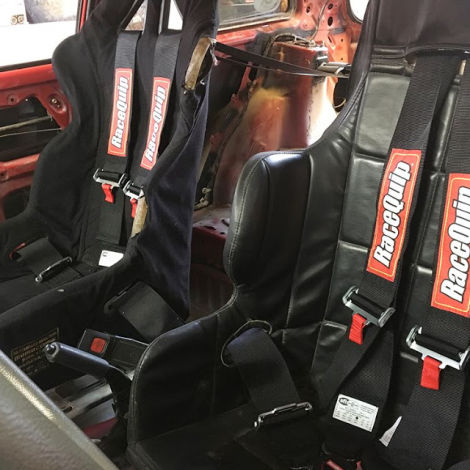
The passenger harness install went smoothly. Now the instructor will have the same level of safety equipment as the driver.

The length of the shoulder straps is a little long, but still within spec per the instructions included.
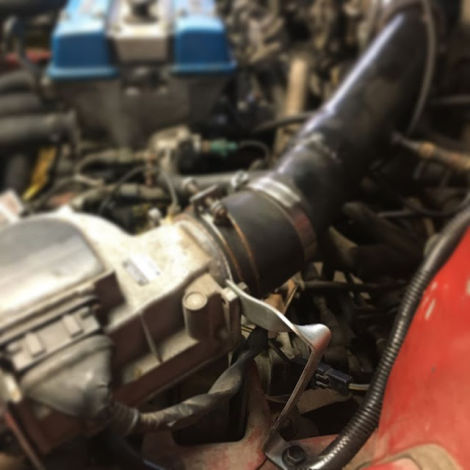
I also whipped up this little metal bracket to keep the intake from flopping around. This was one of those little things that was just nagging in the back of my head for a while.
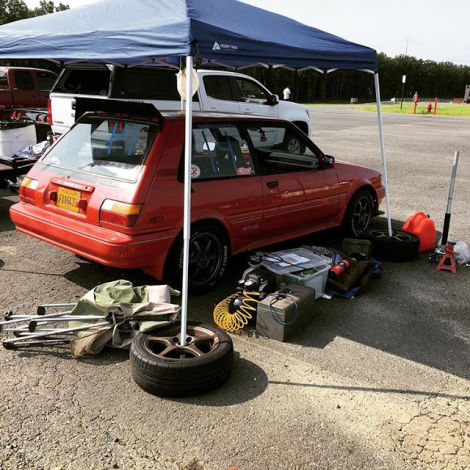
Finally the day of the HPDE arrived. After a brief panic over a forecast for 80% chance of thunderstorms, it ended up being a beautiful day.
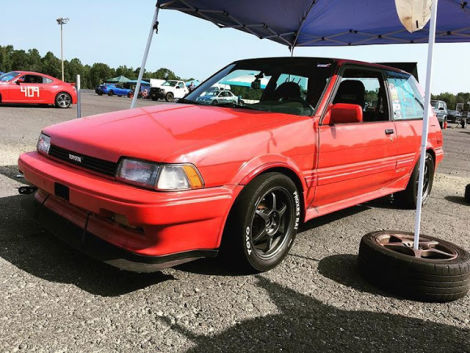
I was really glad to be able to run the shaved RA1's I’d bought used a while back. These tires are so freaking sticky it’s nuts.
In the first session everyone was still getting used to just being on track. Having done a few trackcross events at Dominion before, I was casually familiar with the twistiest section. I was even able to chase down a Chevy SS and a Nissan 350Z, two much more powerful cars.
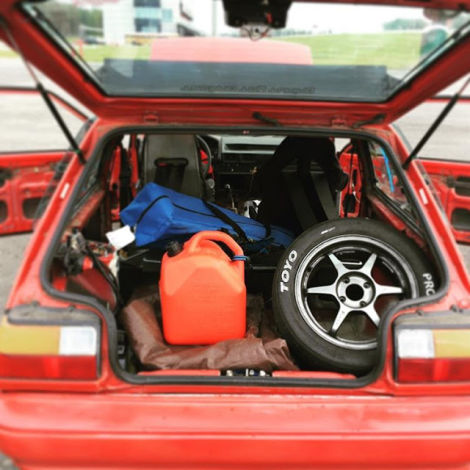
By the end of the day, multiple people had walked by and asked what I had done to the engine to be able to keep up with much more powerful cars. The look on their face when I replied telling them that the motor is basically stock, making around 100 horsepower, was priceless. Lots of people were also surprised that I was able to fit all my stuff in such a small car. Hatchbacks for the win!
Here’s one of the quicker laps I got on camera. I wish I had remembered to record the third session when I got to play around with my friend in his EK Civic, but alas I forgot to hit the “record” button.

The car performed nearly flawlessly at the track. The only issue I encountered was the water temperature gauge going up to 3/4 after being on track for 10 minutes or so. It never went above that, but still that’s not good. Before I even left the track I had ordered a radiator on Amazon. Of course, nobody makes a drop-in radiator for the AE82, so I ordered one for an AE92 knowing I’d have to do some tweaking to get it to fit.

As it turns out, the AE92 radiator is pretty darn close, but there are a few key differences. The most obvious is the upper hose fitting is in a completely different spot. This is not an issue if you just order an upper hose for an AE92. The lower hose fitting is slightly different as well, but not enough to need to change hoses.
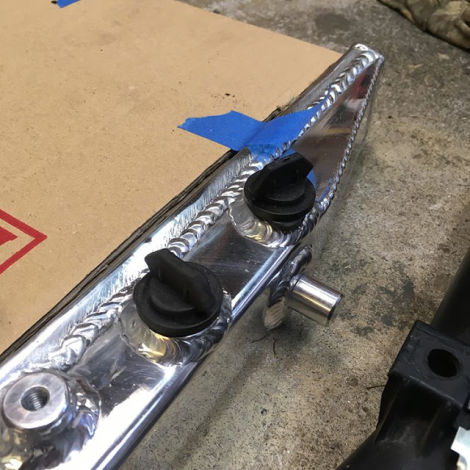
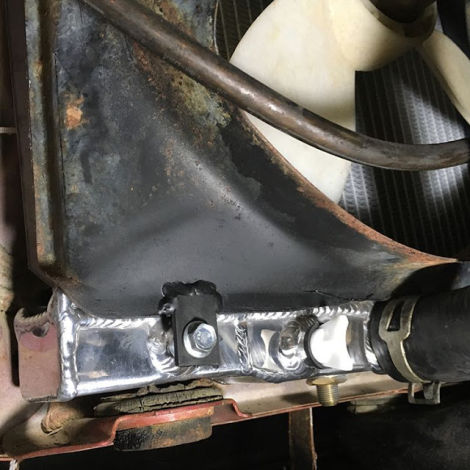
One thing I really don’t like about this specific radiator is these plastic drain plugs. They sit too close to the exhaust manifold for my liking, so I will be replacing them with metal plugs instead.
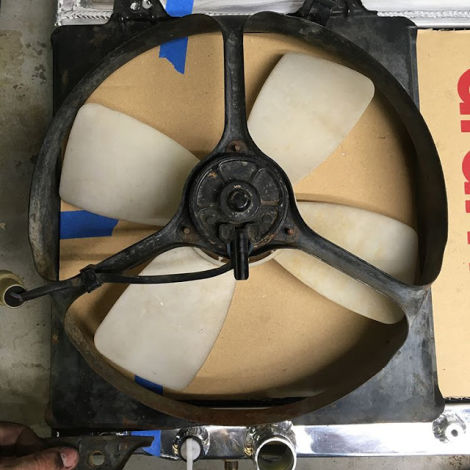
The fan mounting points are slightly different as well. For the top two mounts, you just need to drill new holes a few mm over from the stock ones. The bottom mount needs to be cut off of the shroud, as it interferes with the drain plug and lower hose fitting.
I welded on a little tab in the right spot and now the stock fan is mounted up, ready to rock.

For the upper brackets, I drilled a hole in the radiator support and put in a riv-nut to relocate the passenger side bracket. Both brackets need a new hole drilled and the excess cut off to fit.
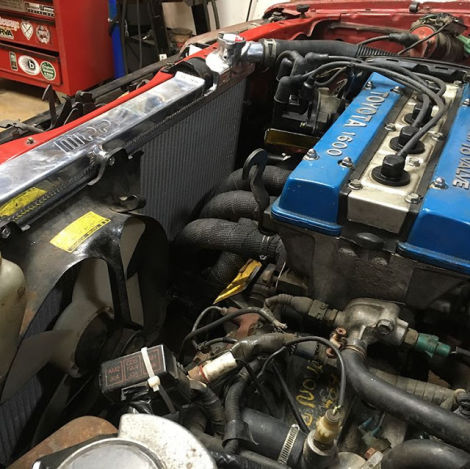
And it’s in! Hopefully this will keep temperatures under control at the track. Having to back it off in the middle of the session sucks. Other than the little plastic plugs and a longer hose for the overflow, it’s pretty much ready to go. I’m really happy with how little modification this needed to fit, and recommend it to anyone with an FX that isn’t afraid of doing a little drilling/welding.