
It started as a floor.
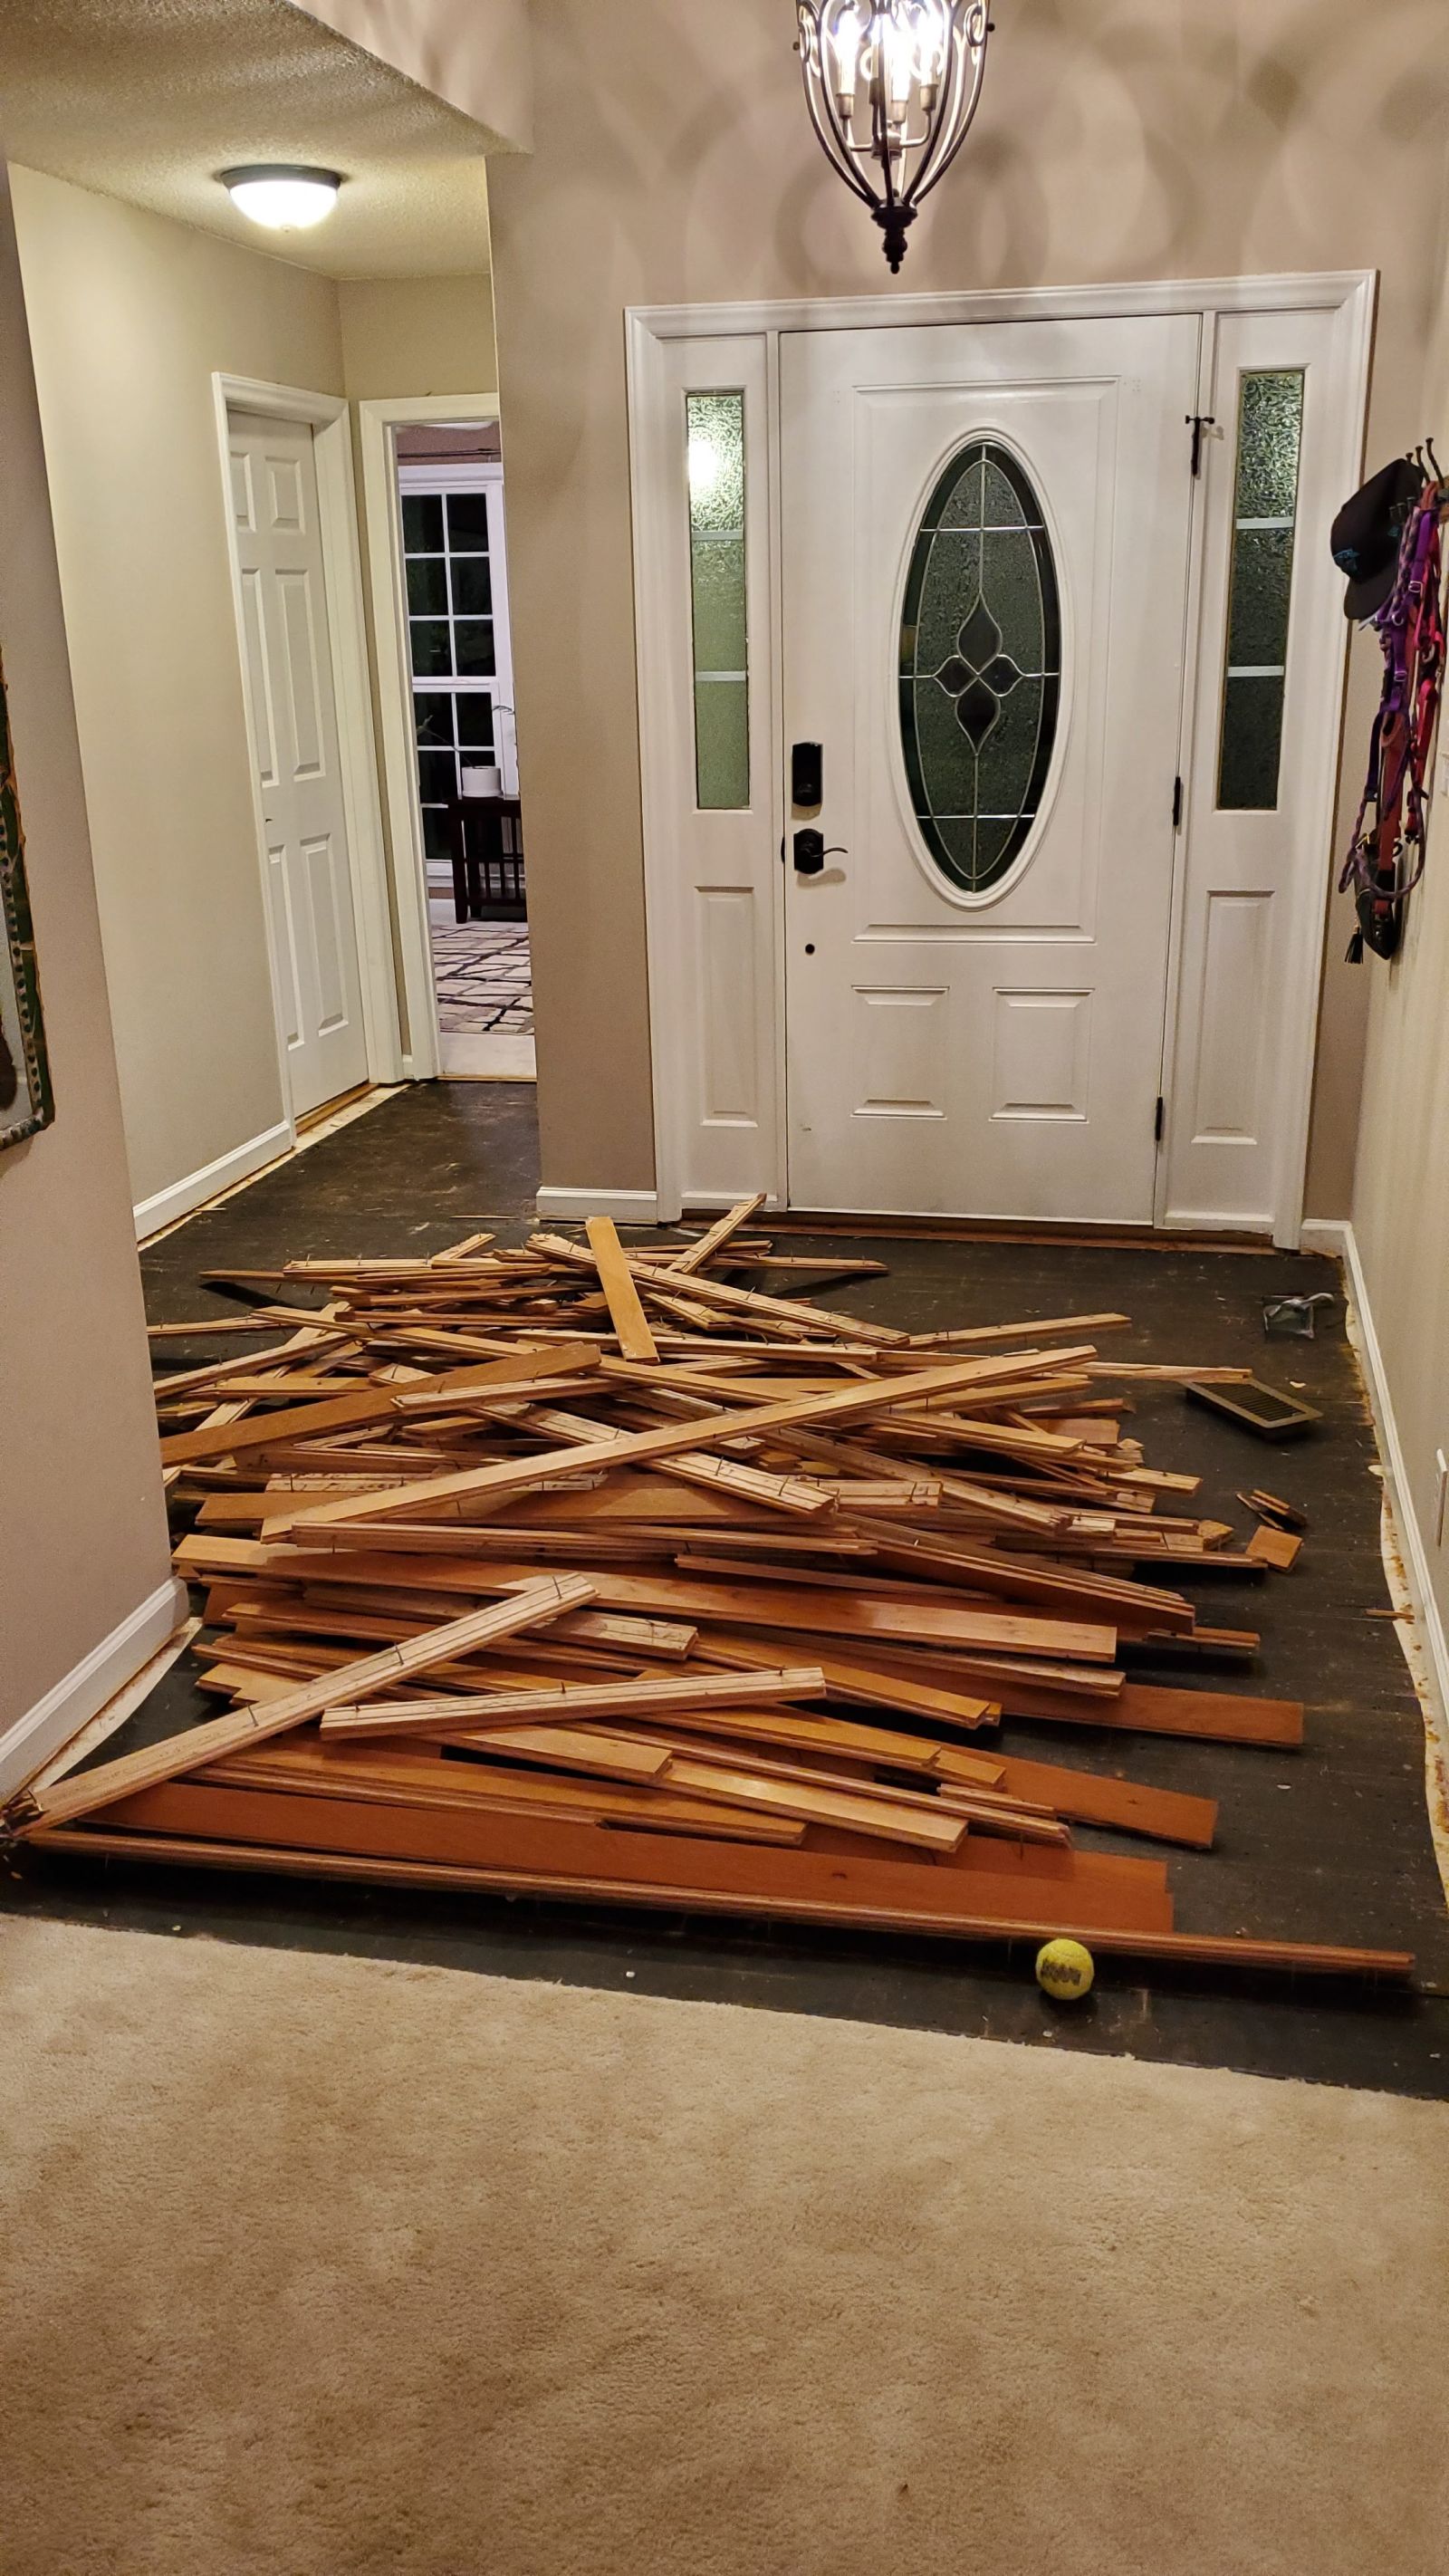
Last year we replaced our floors (by we I mean I), changing a mix of carpet, hardwoods, and multi-layered linoleum out for wood laminate. It was a 3-ish week process from tearout to new floors installed and livable but well worth the effort. It also gave me the starer material for the kitchen island we had discussed from the first time we toured the house.
See, our kitchen is a large open space without a lot of counter top area. The outdated writing desk has become home to a slew of small appliances because who needs a writing desk in the kitchen?? Most meal prep is done on a cutting board over half of the double sink for lack of other usable space. But the floor is wide open!
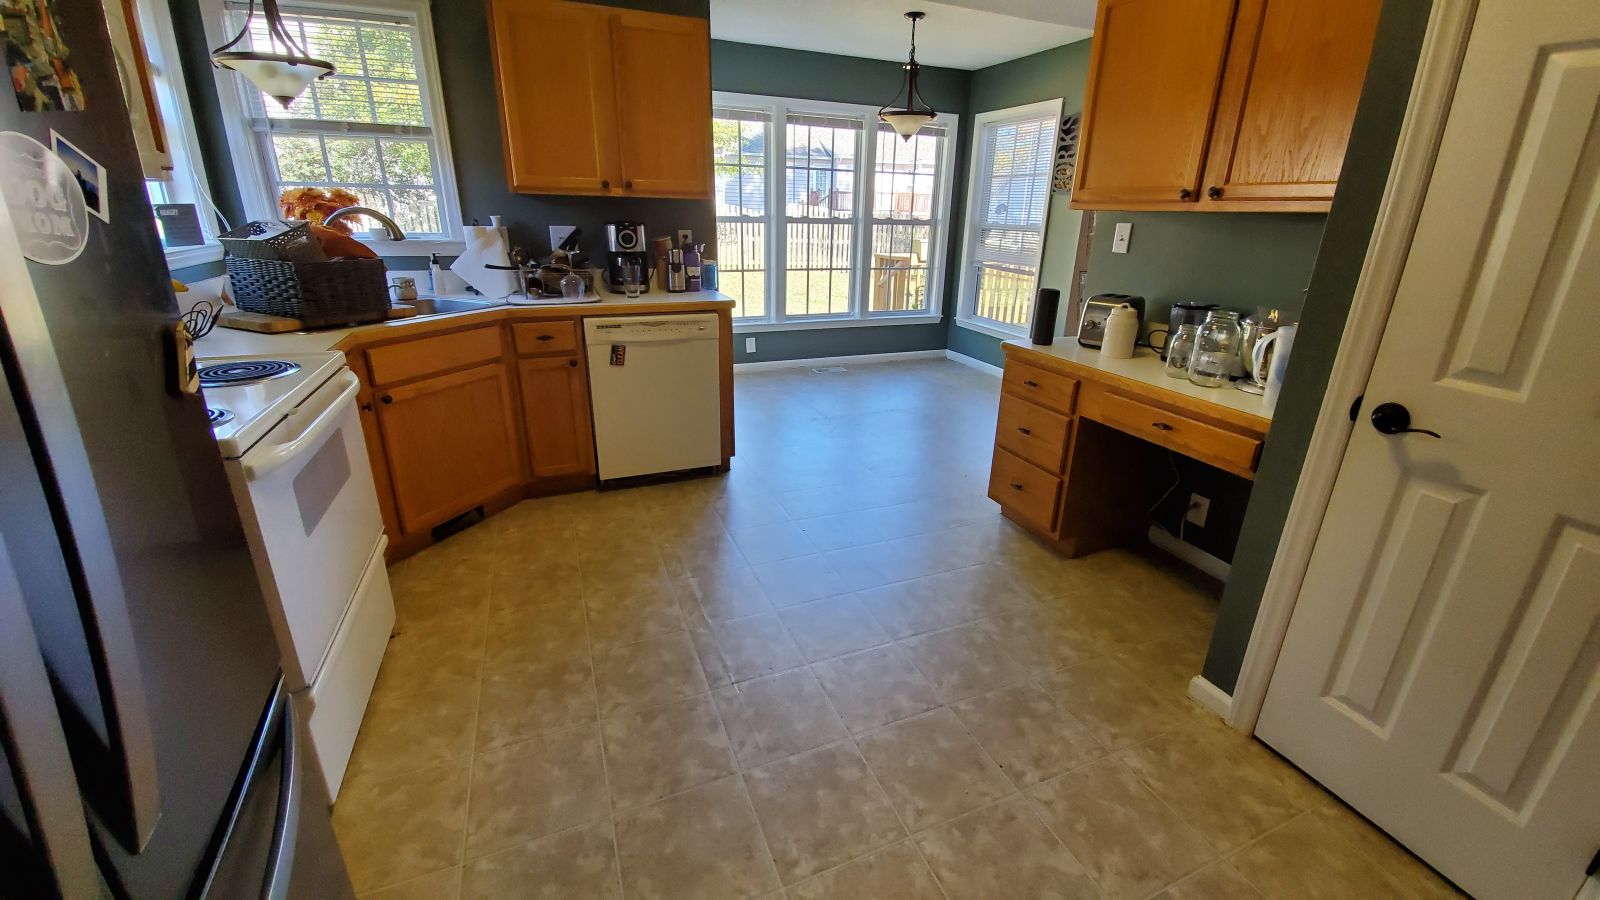
Come on, that’s a wholly ridiculous layout! So much floor (that’s the old floor BTW), so little space...
While pulling up the hardwoods to replace everything I had an idea - what if I can turn this into something? That part of the floor was red oak in good condition and I hated tearing it out but it made sense to with the replacement plan. So I took it up as gently as I could to preserve the pieces and piled them in the garage for later use
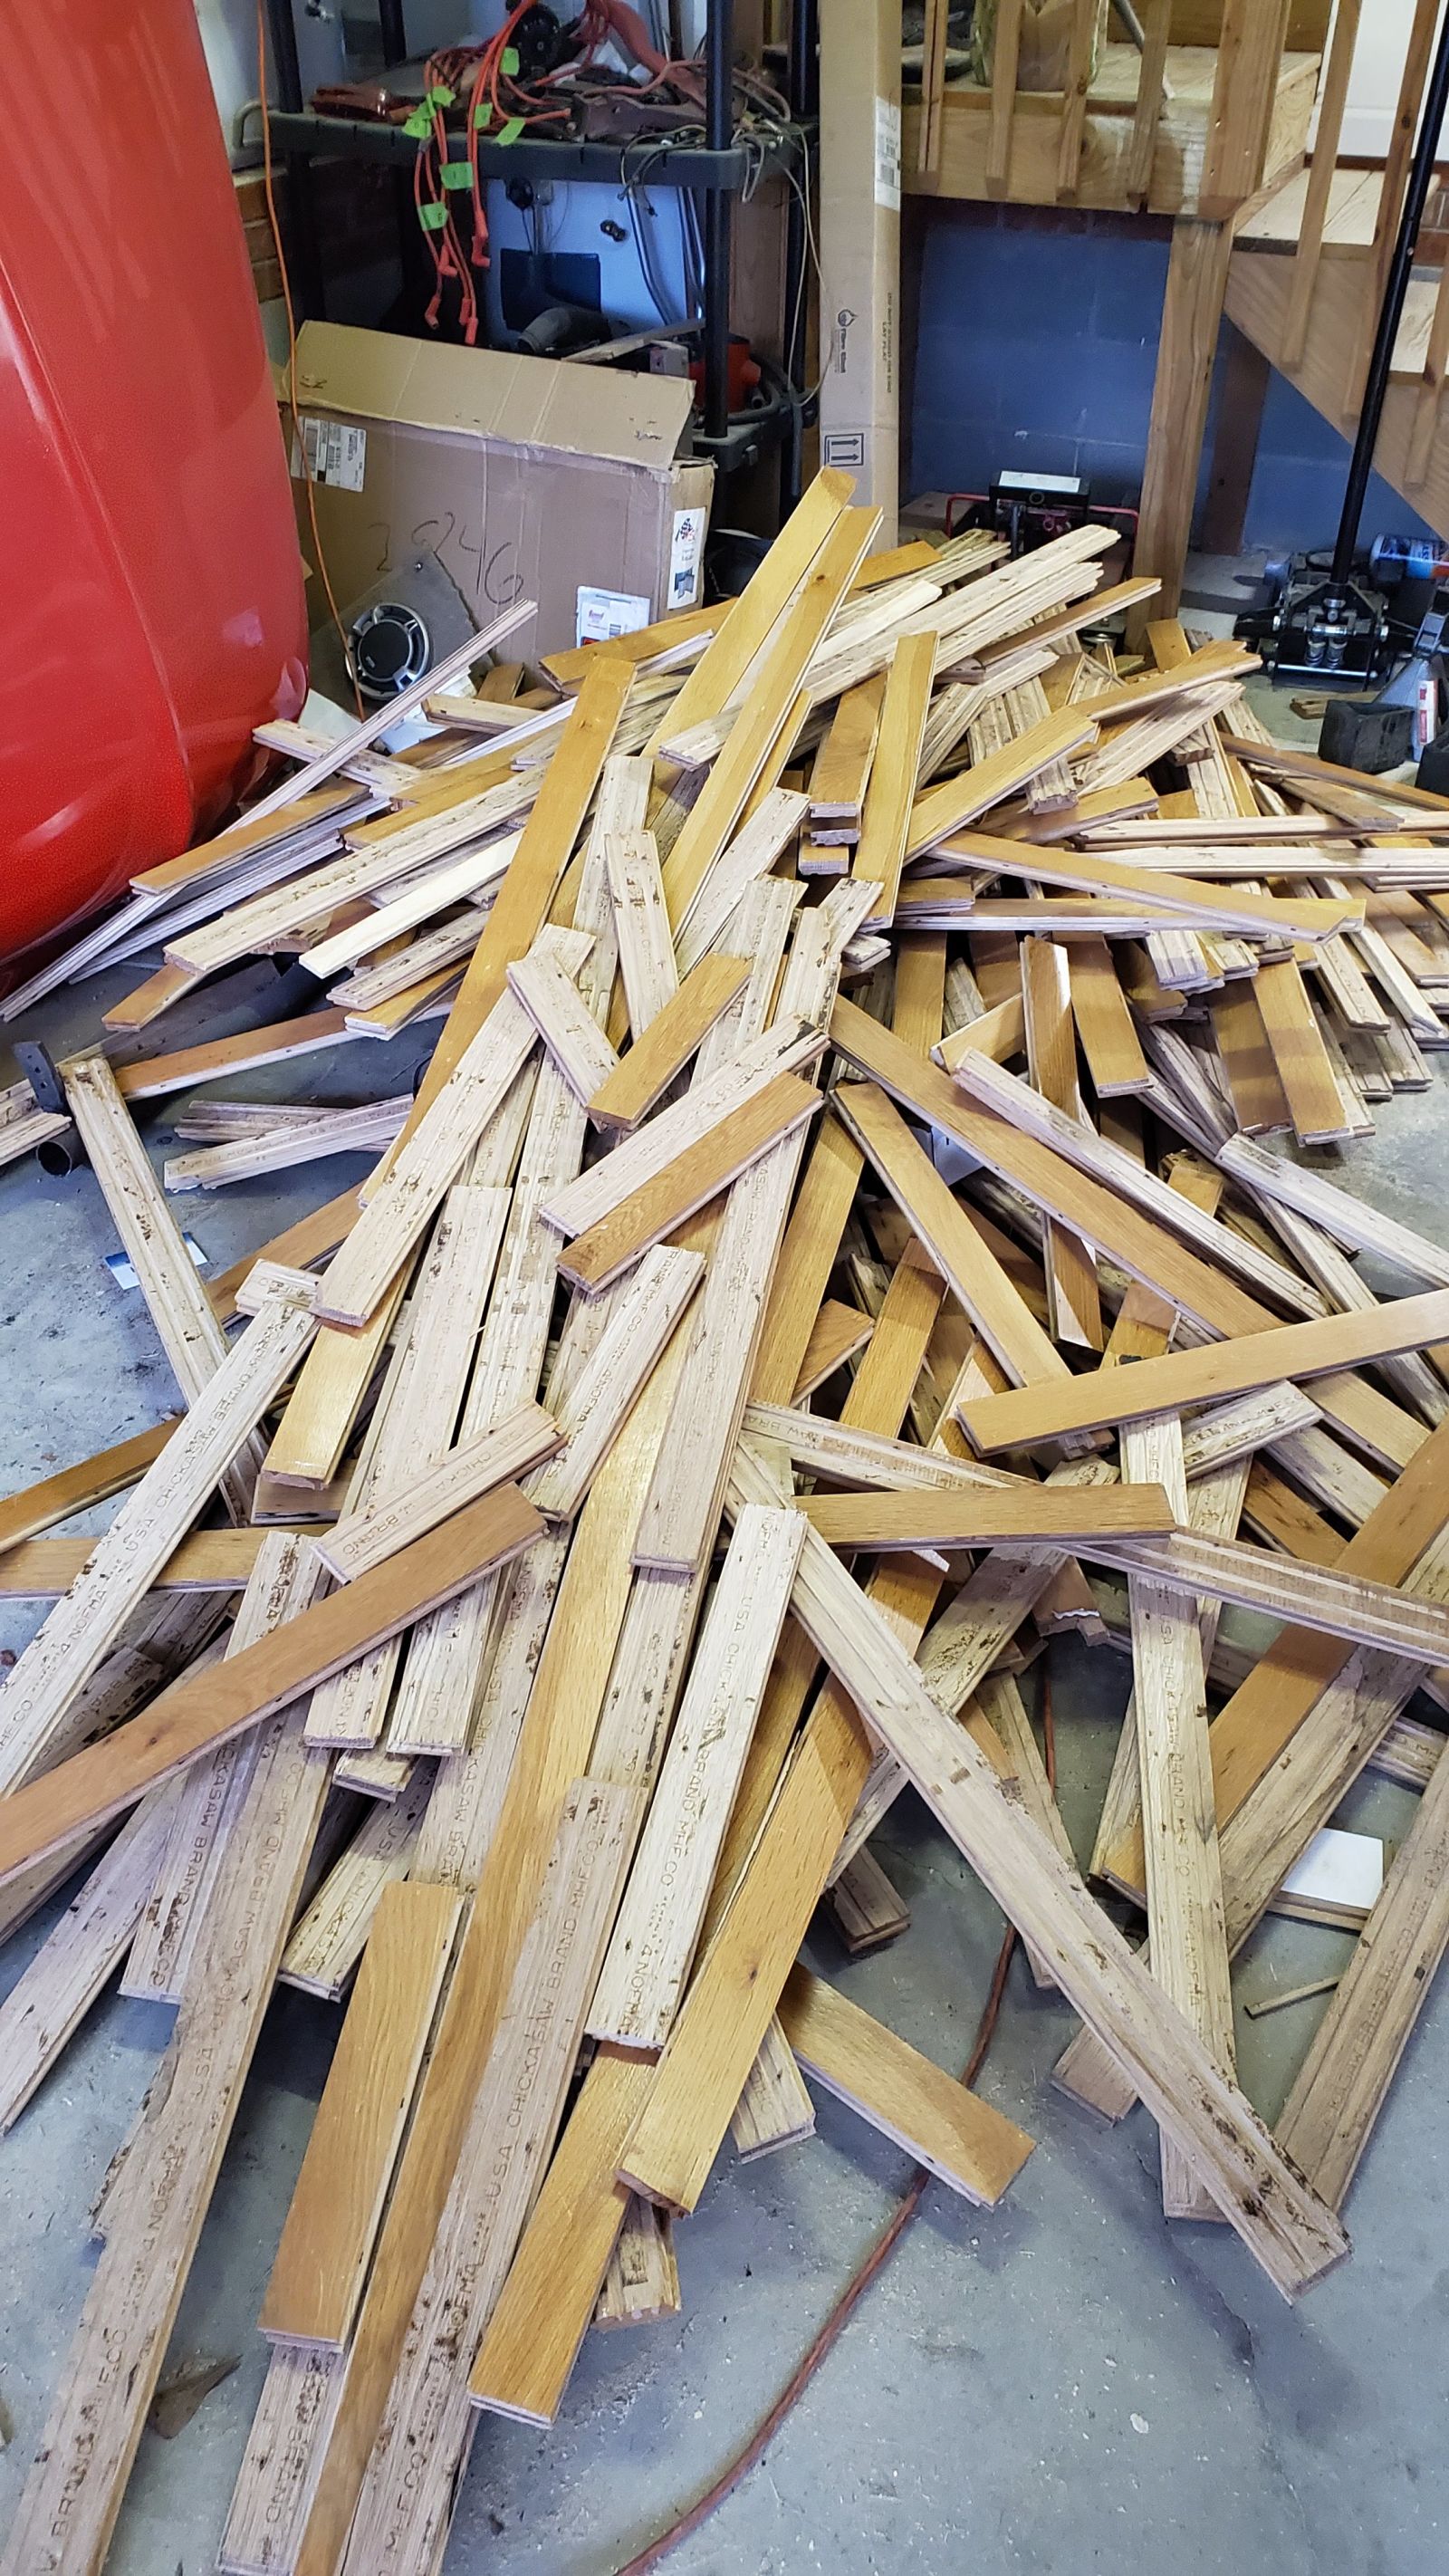
This wood was destined to become something new - the top of our kitchen island.
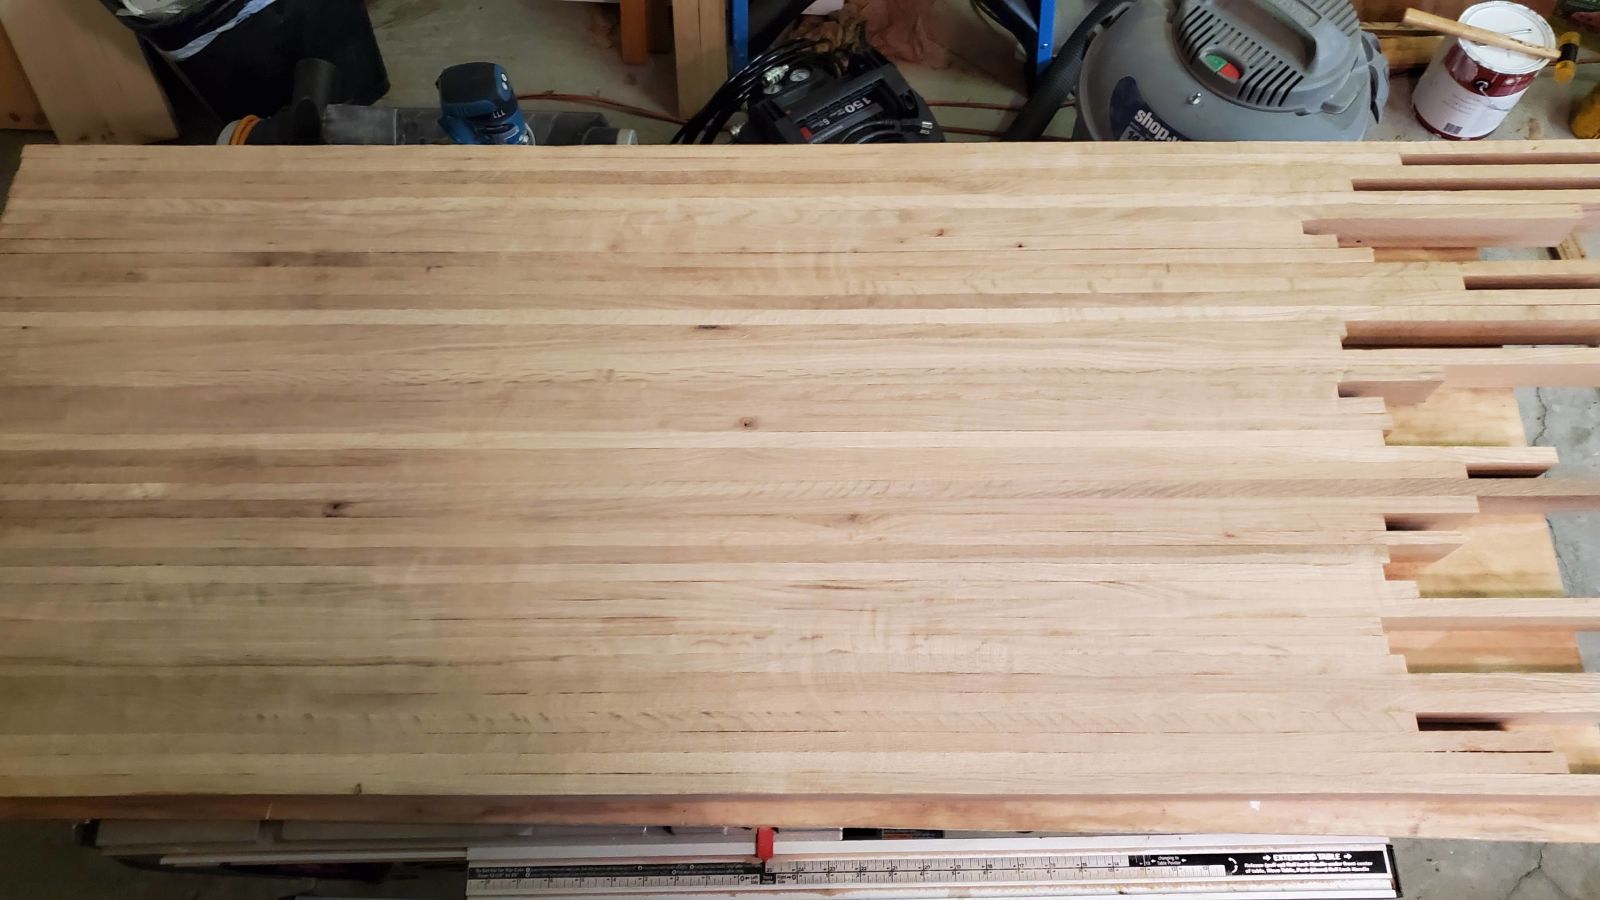
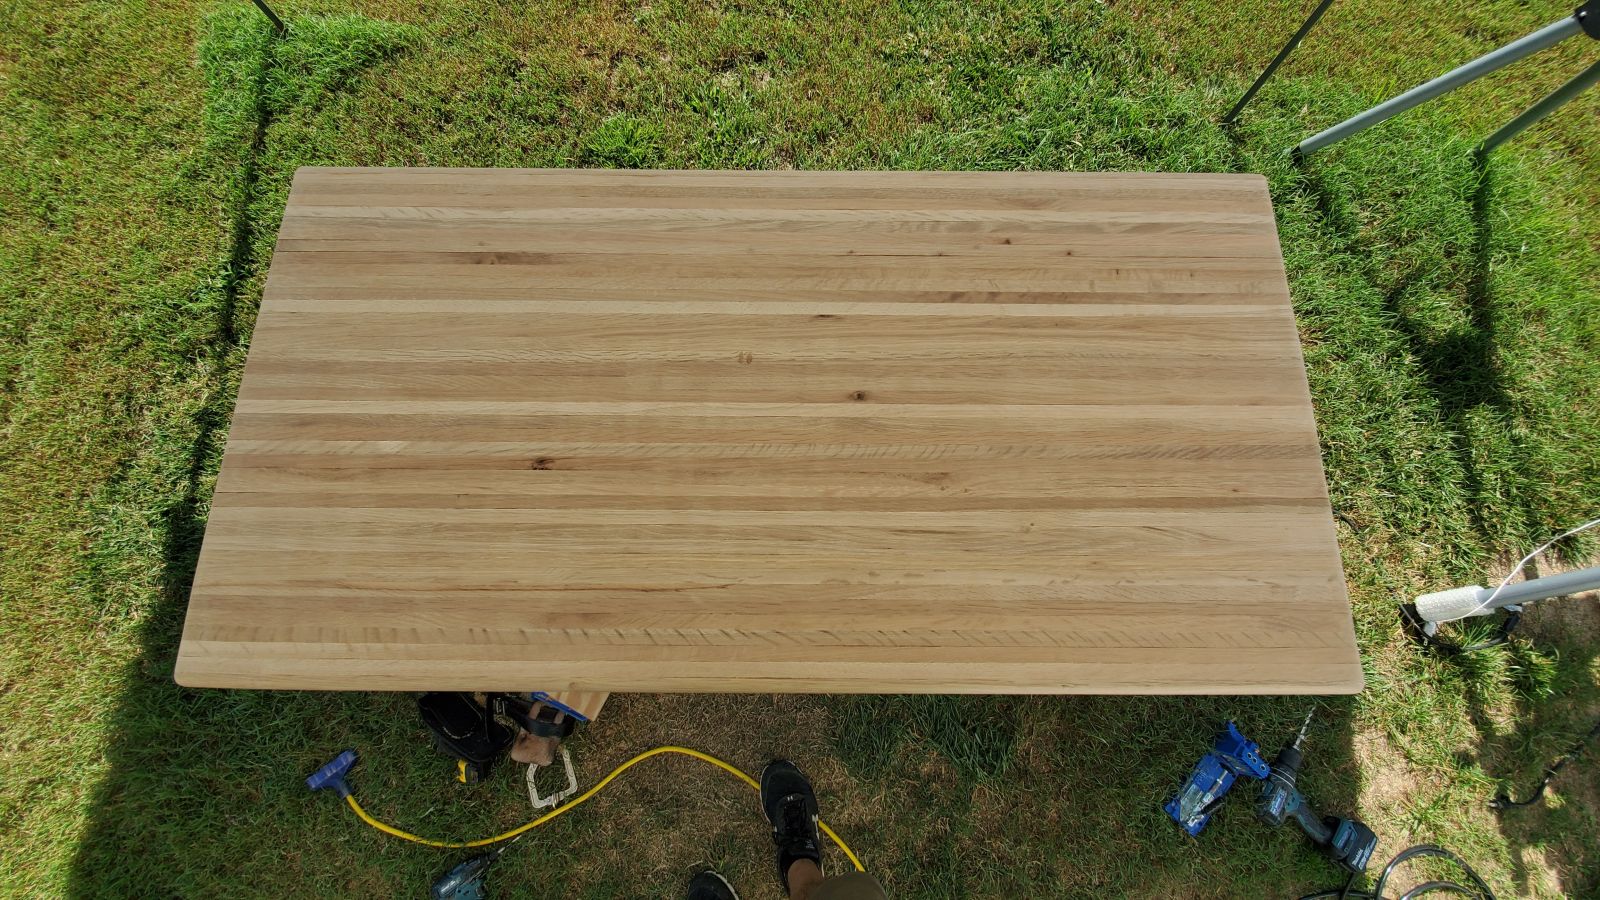
With loving care and a fairly small hammer I removed every nail, ripped the tongues and grooves from the boards, trimmed the ends, planed the bottoms, and sanded the finish off the tops. I laid nearly 50 boards on edge (making sure no nail holes were facing up) and glued them together.
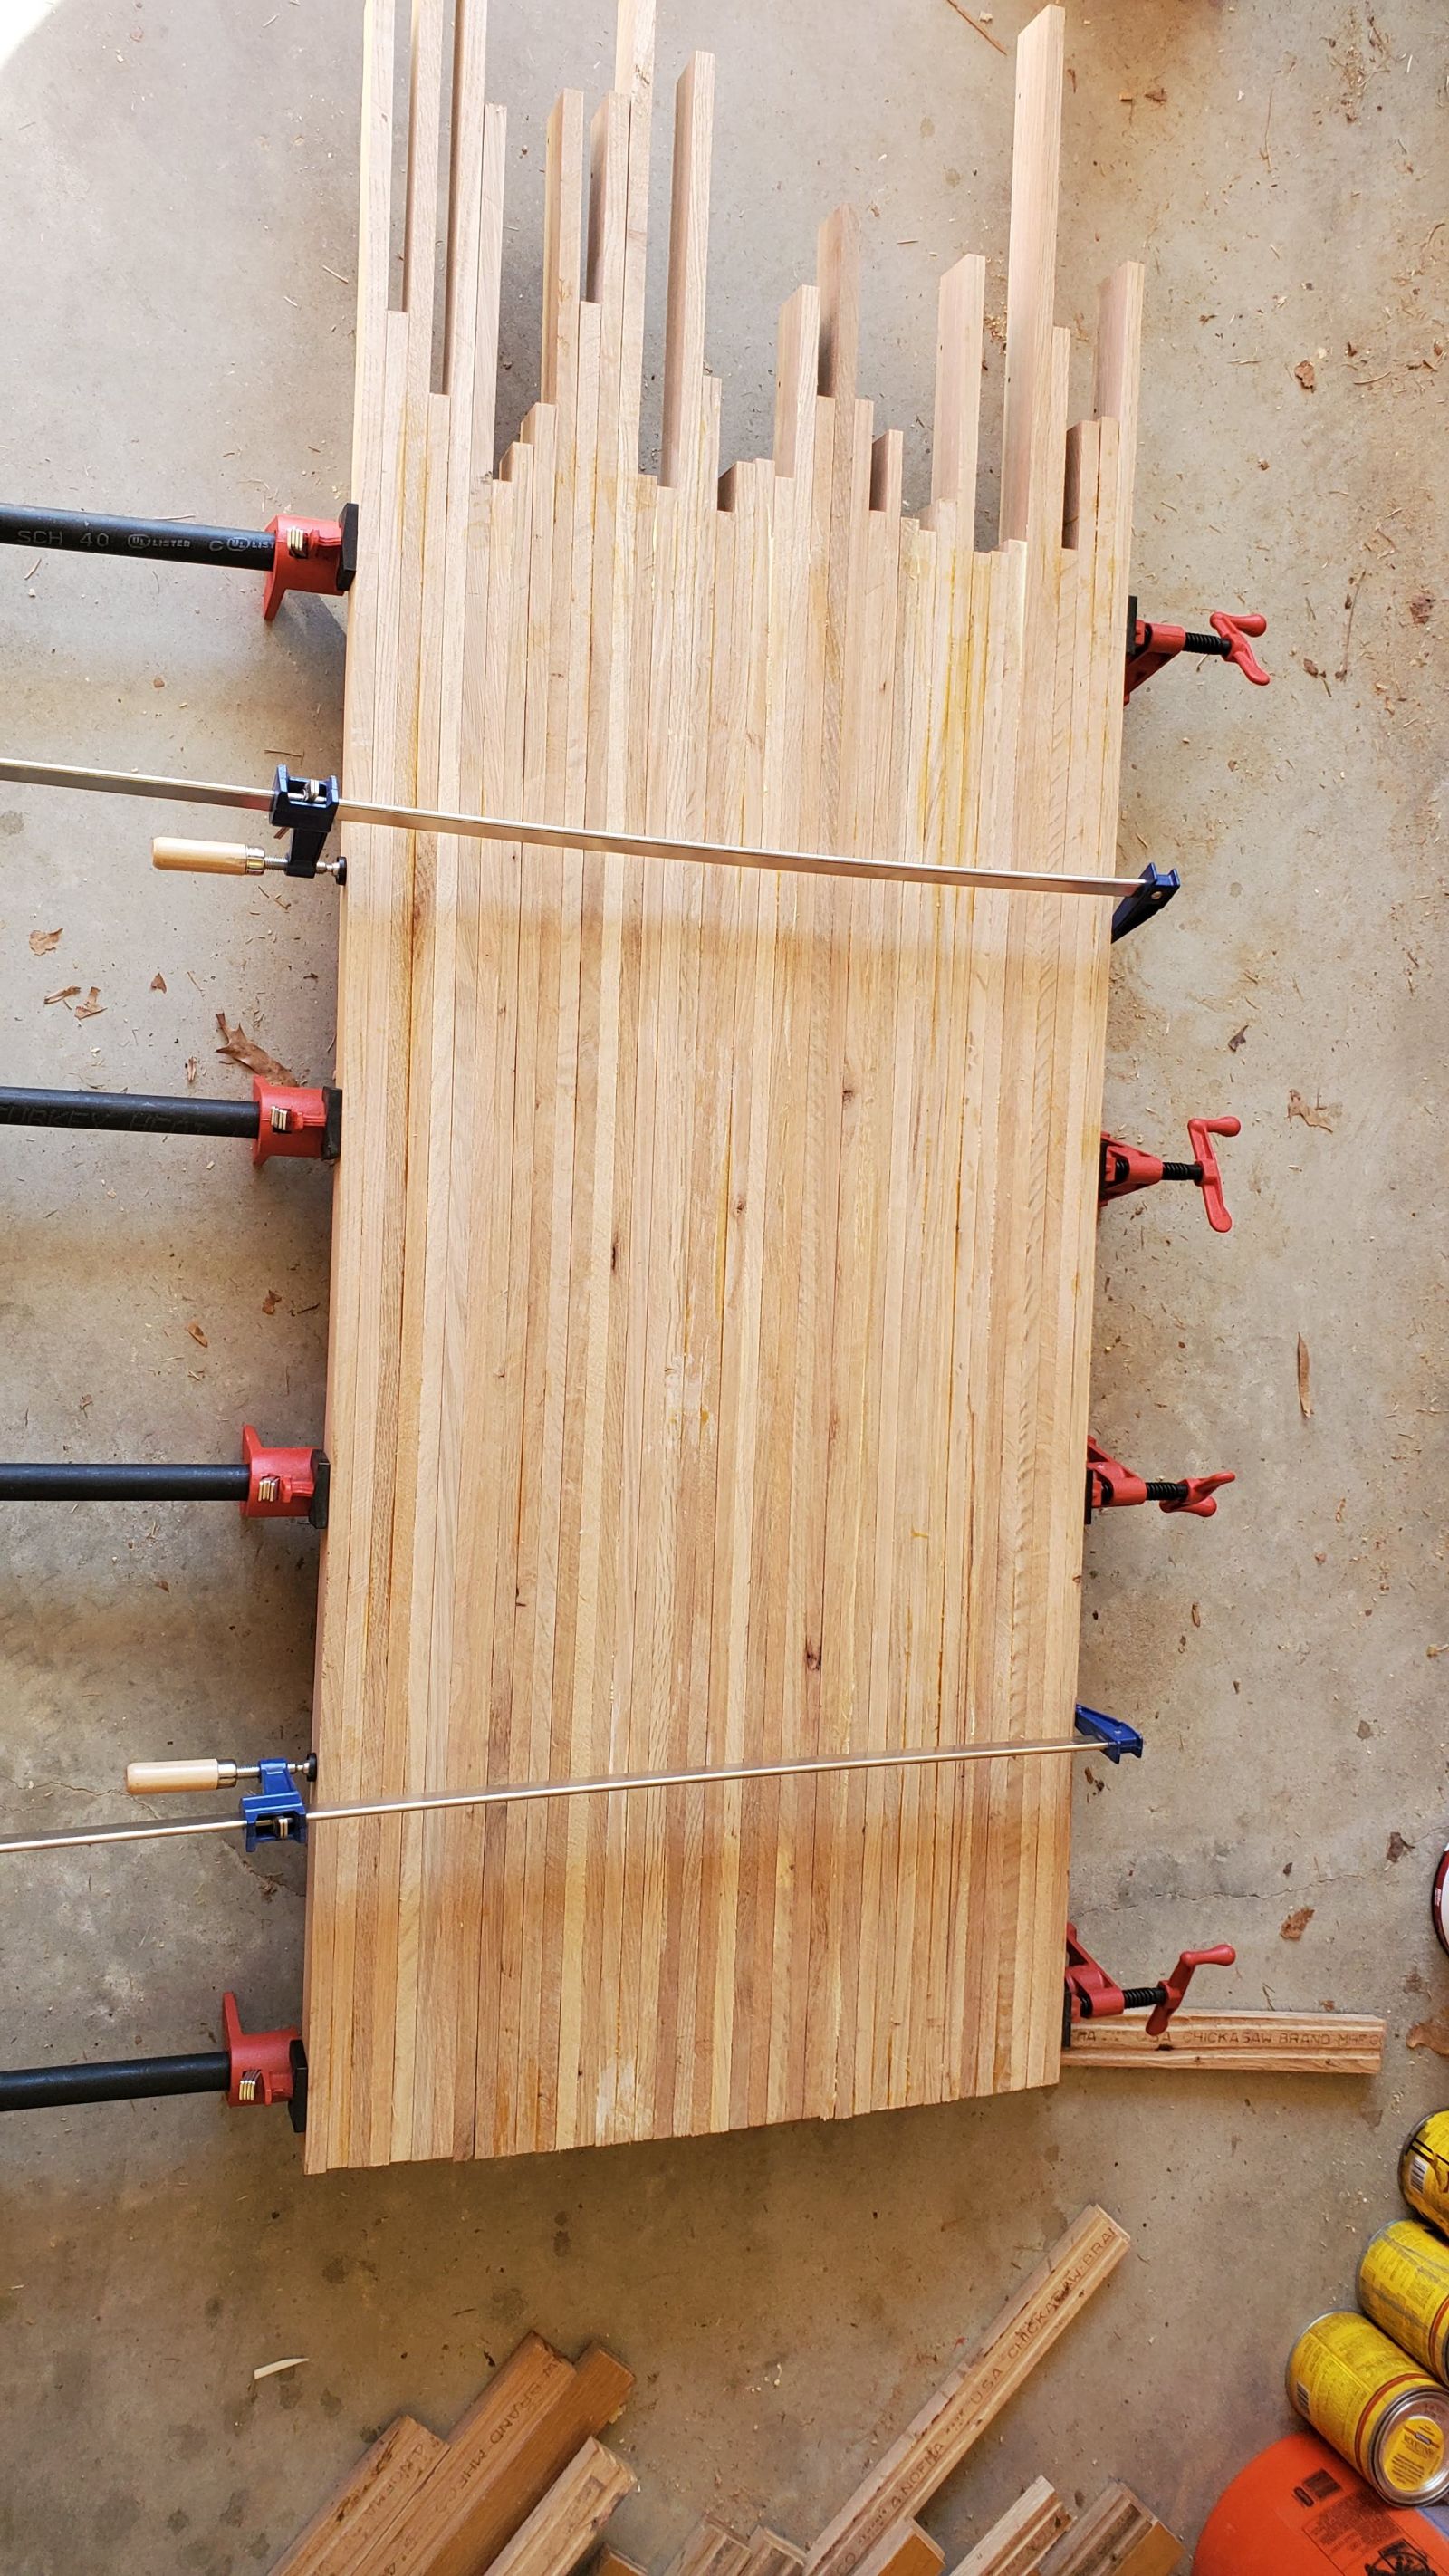
The top was disappointingly not at all flat but a 40 grit flap wheel took down the larger hills and an orbital sander make it a workable surface finish.
And with that done it sat for 6 months, because reasons.
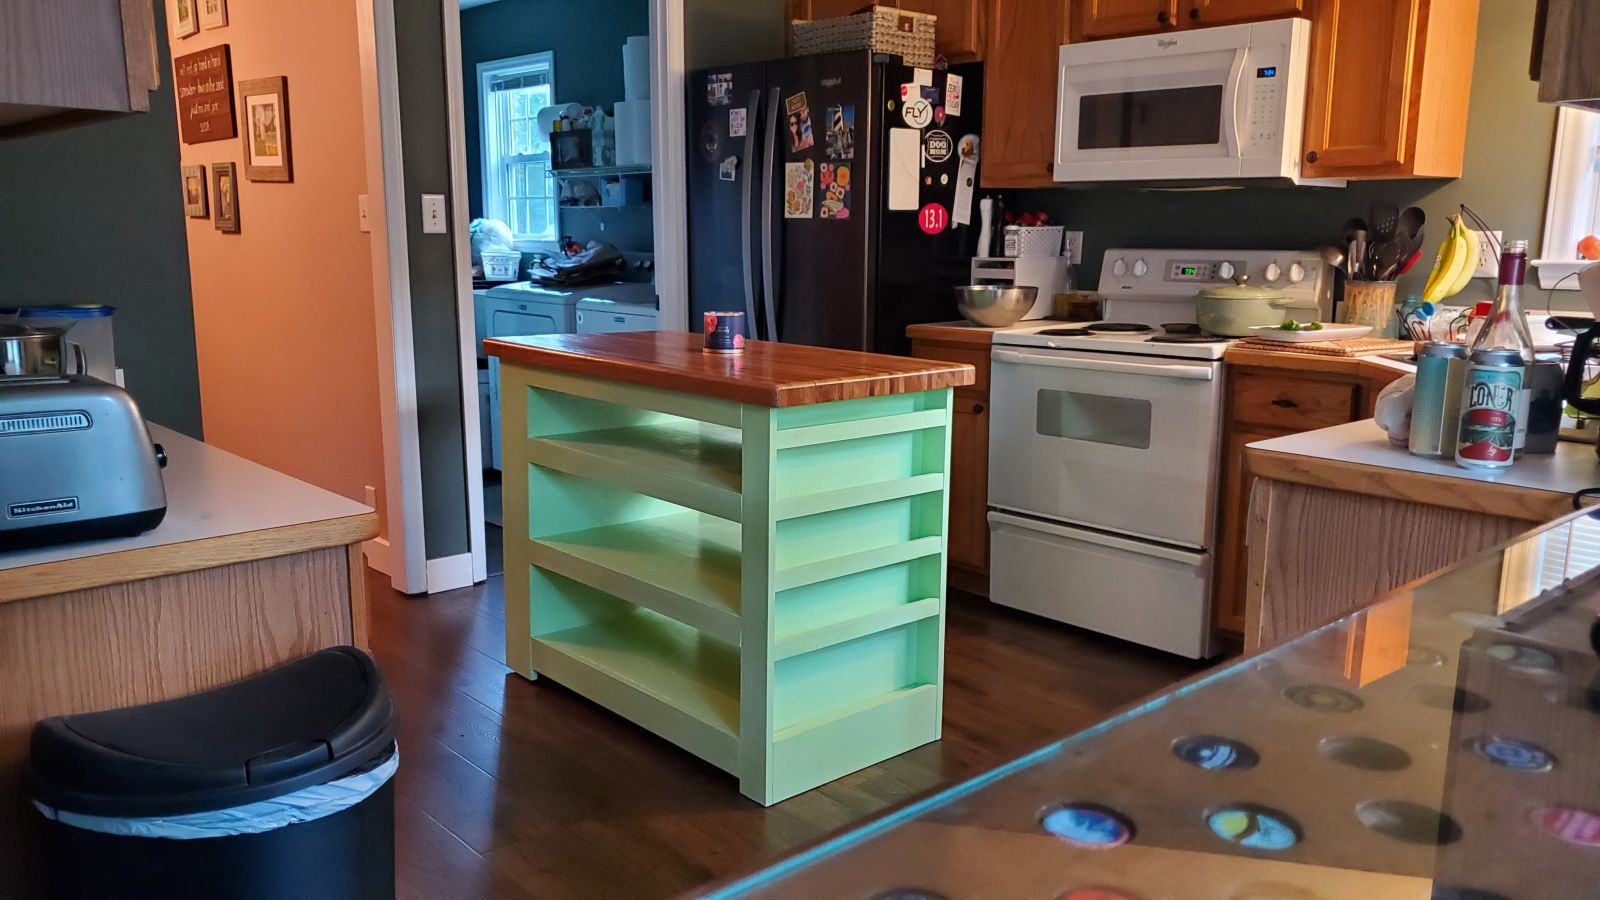
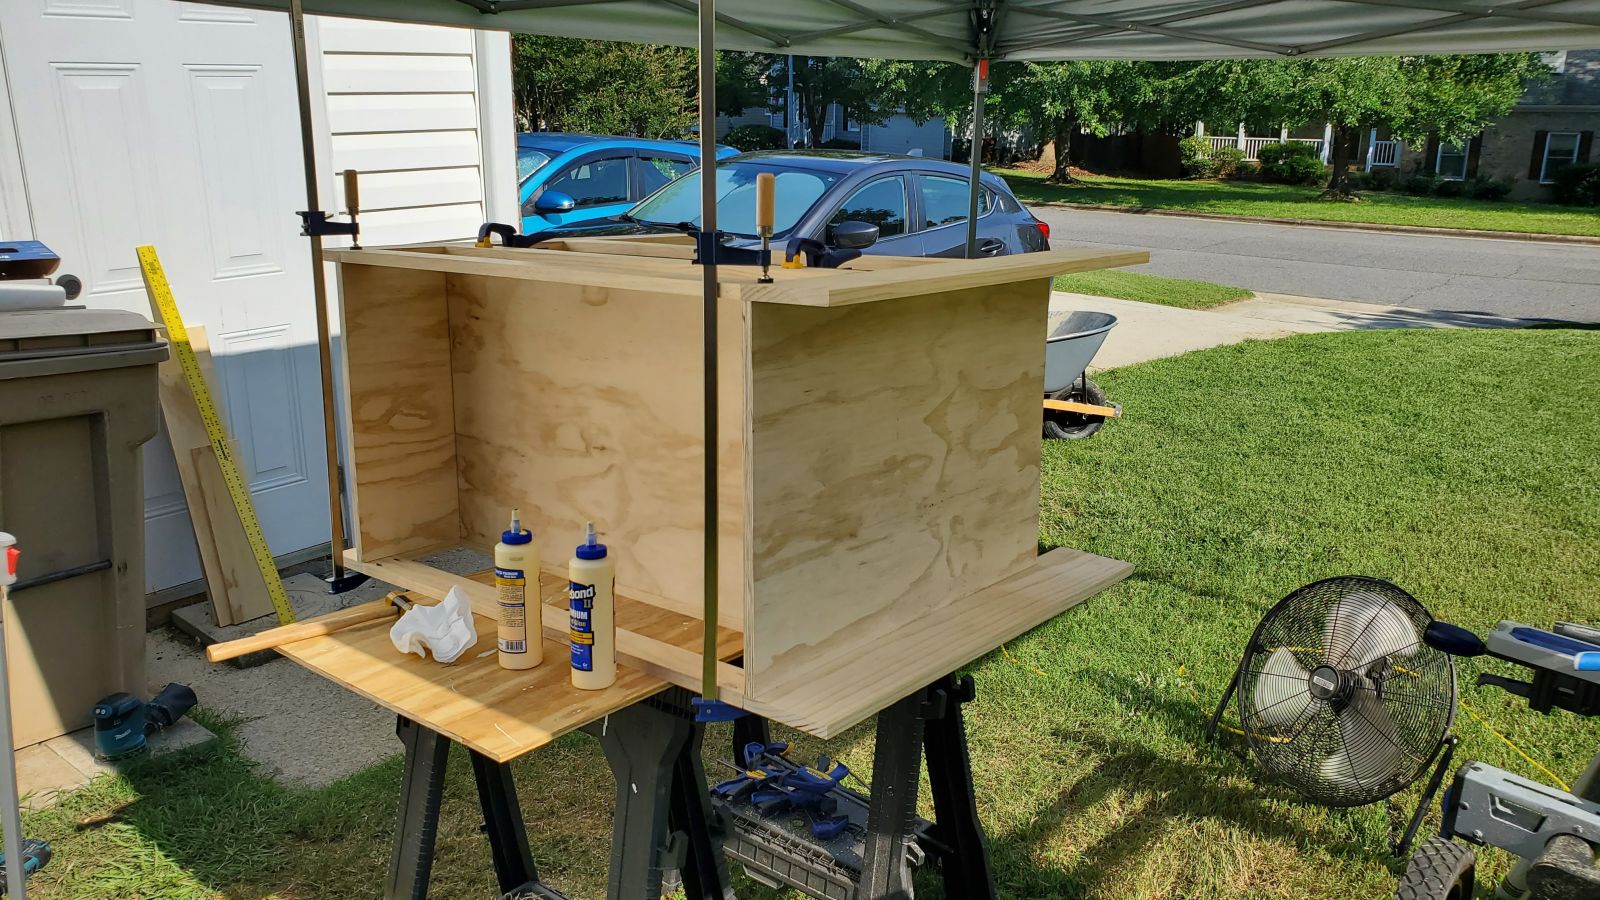
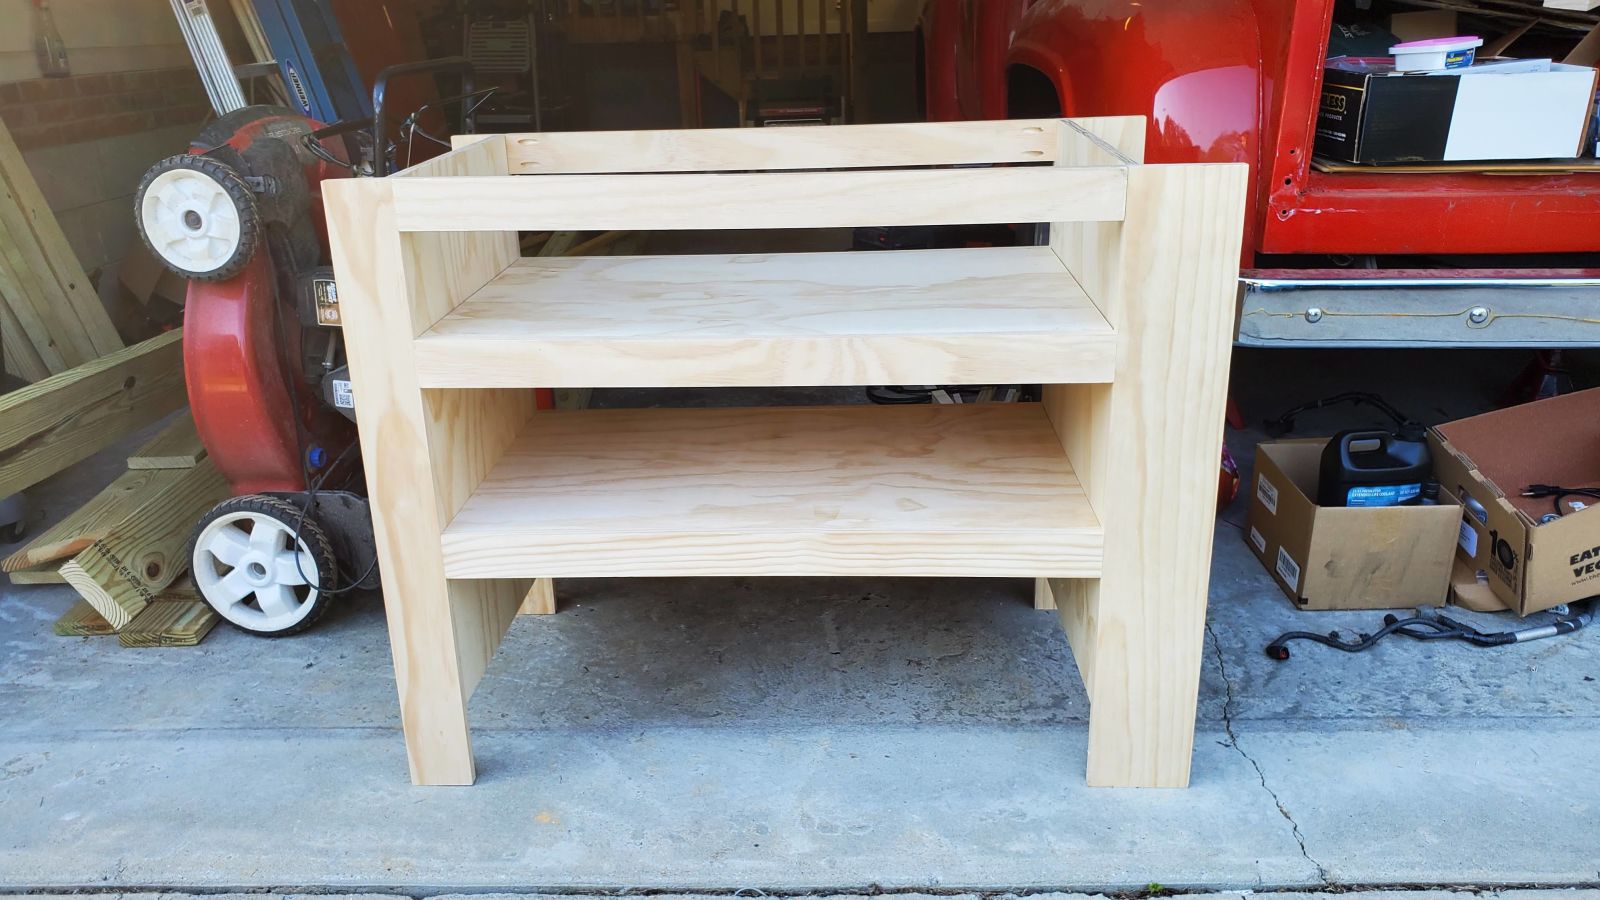
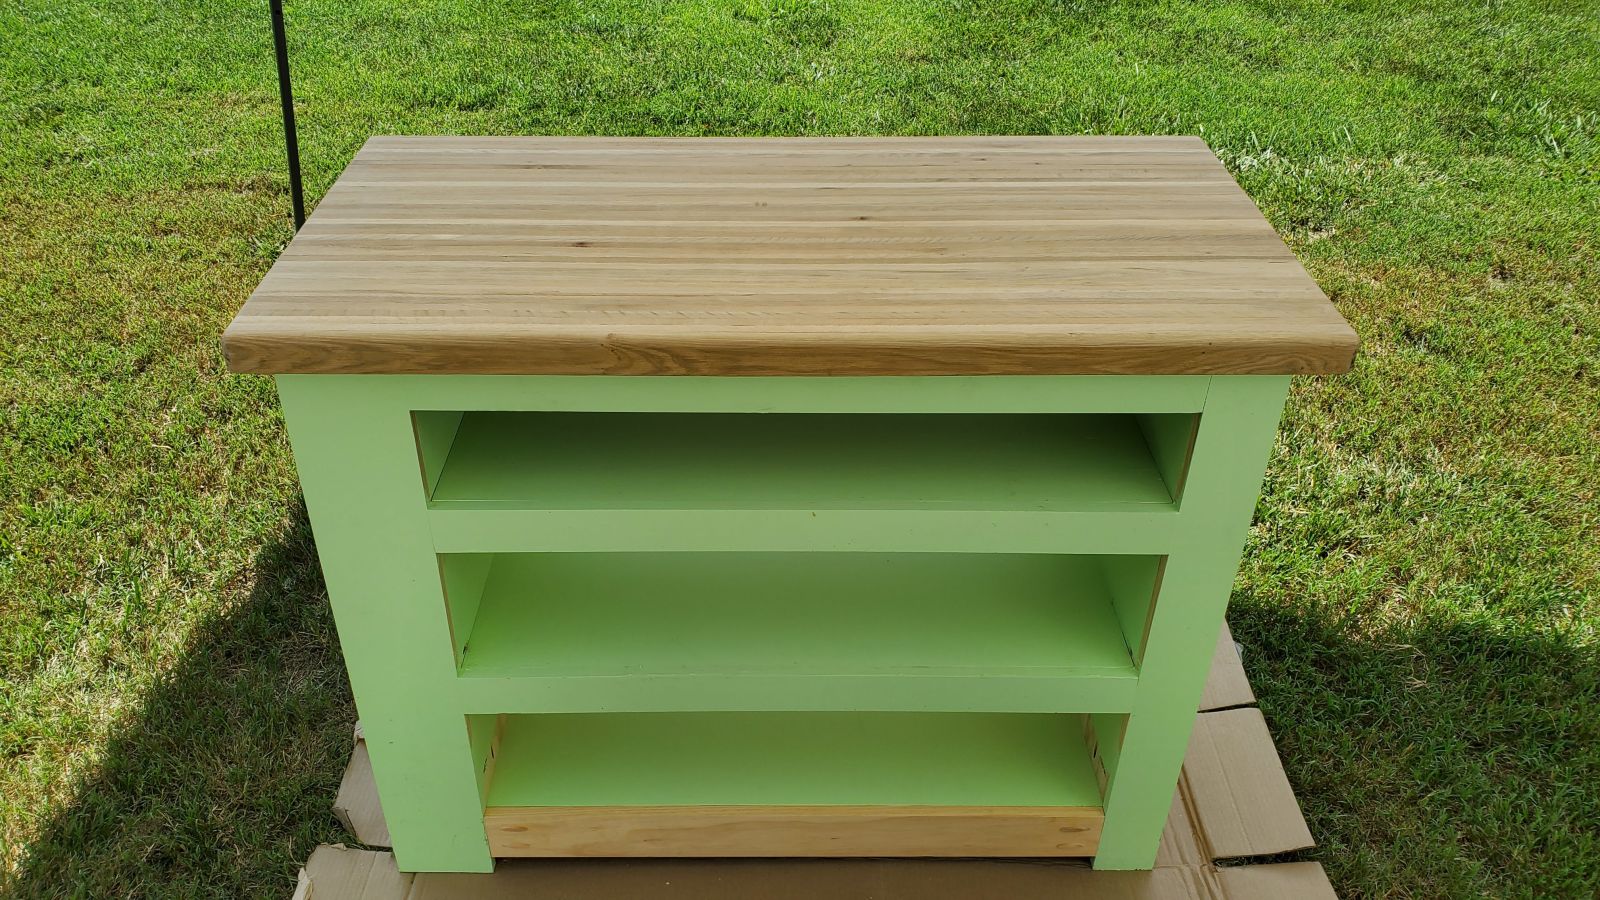
Once the deck was built (see my Houselopnik thread) it was time to revisit this project. I made a base out of the finest pine project boards Home Depot has to offer and painted it an obnoxious shade of green. The top was cut to size and the corners and top were routed with a 1/2" roundover bit. Danish oil brought out ever detail of the wood and a polyurethane coating (or 5) is sealing every inch of the surfaces.
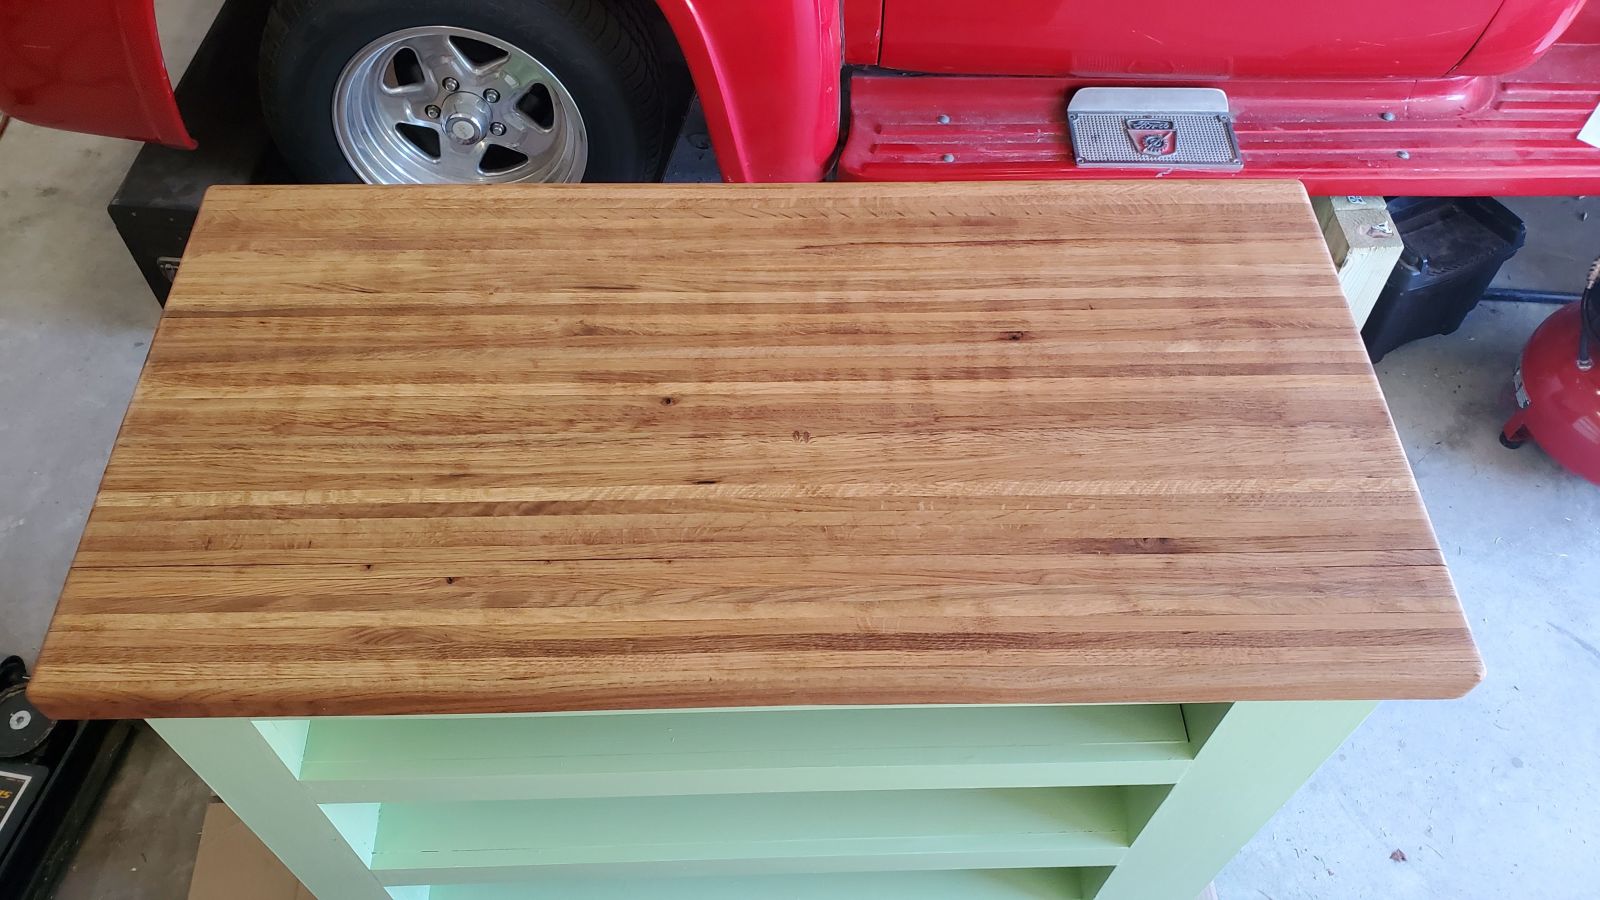
And as of Sunday night it resides in its final resting place, our kitchen!
The top and shelves are curing for a few days before being loaded up but so far it fits right in, even if it’s a bit bright (I love the color, the wife is not 100% sold yet but I think she’ll come around).