So the total install took me 17 hours from popping the hood to aiming the lights. In that time, I went to a parts store 5 times, had my wife get starbucks twice and swore many, many times.
Keep in mind I have never, ever done anything mechanical in my life other than light bulbs/fluids and other minor things. I chose to do this job as I didn’t trust anyone else to do it for me and I wanted to save the $500-$1000 for install. I have done more intense things on the truck, but this is a different game.
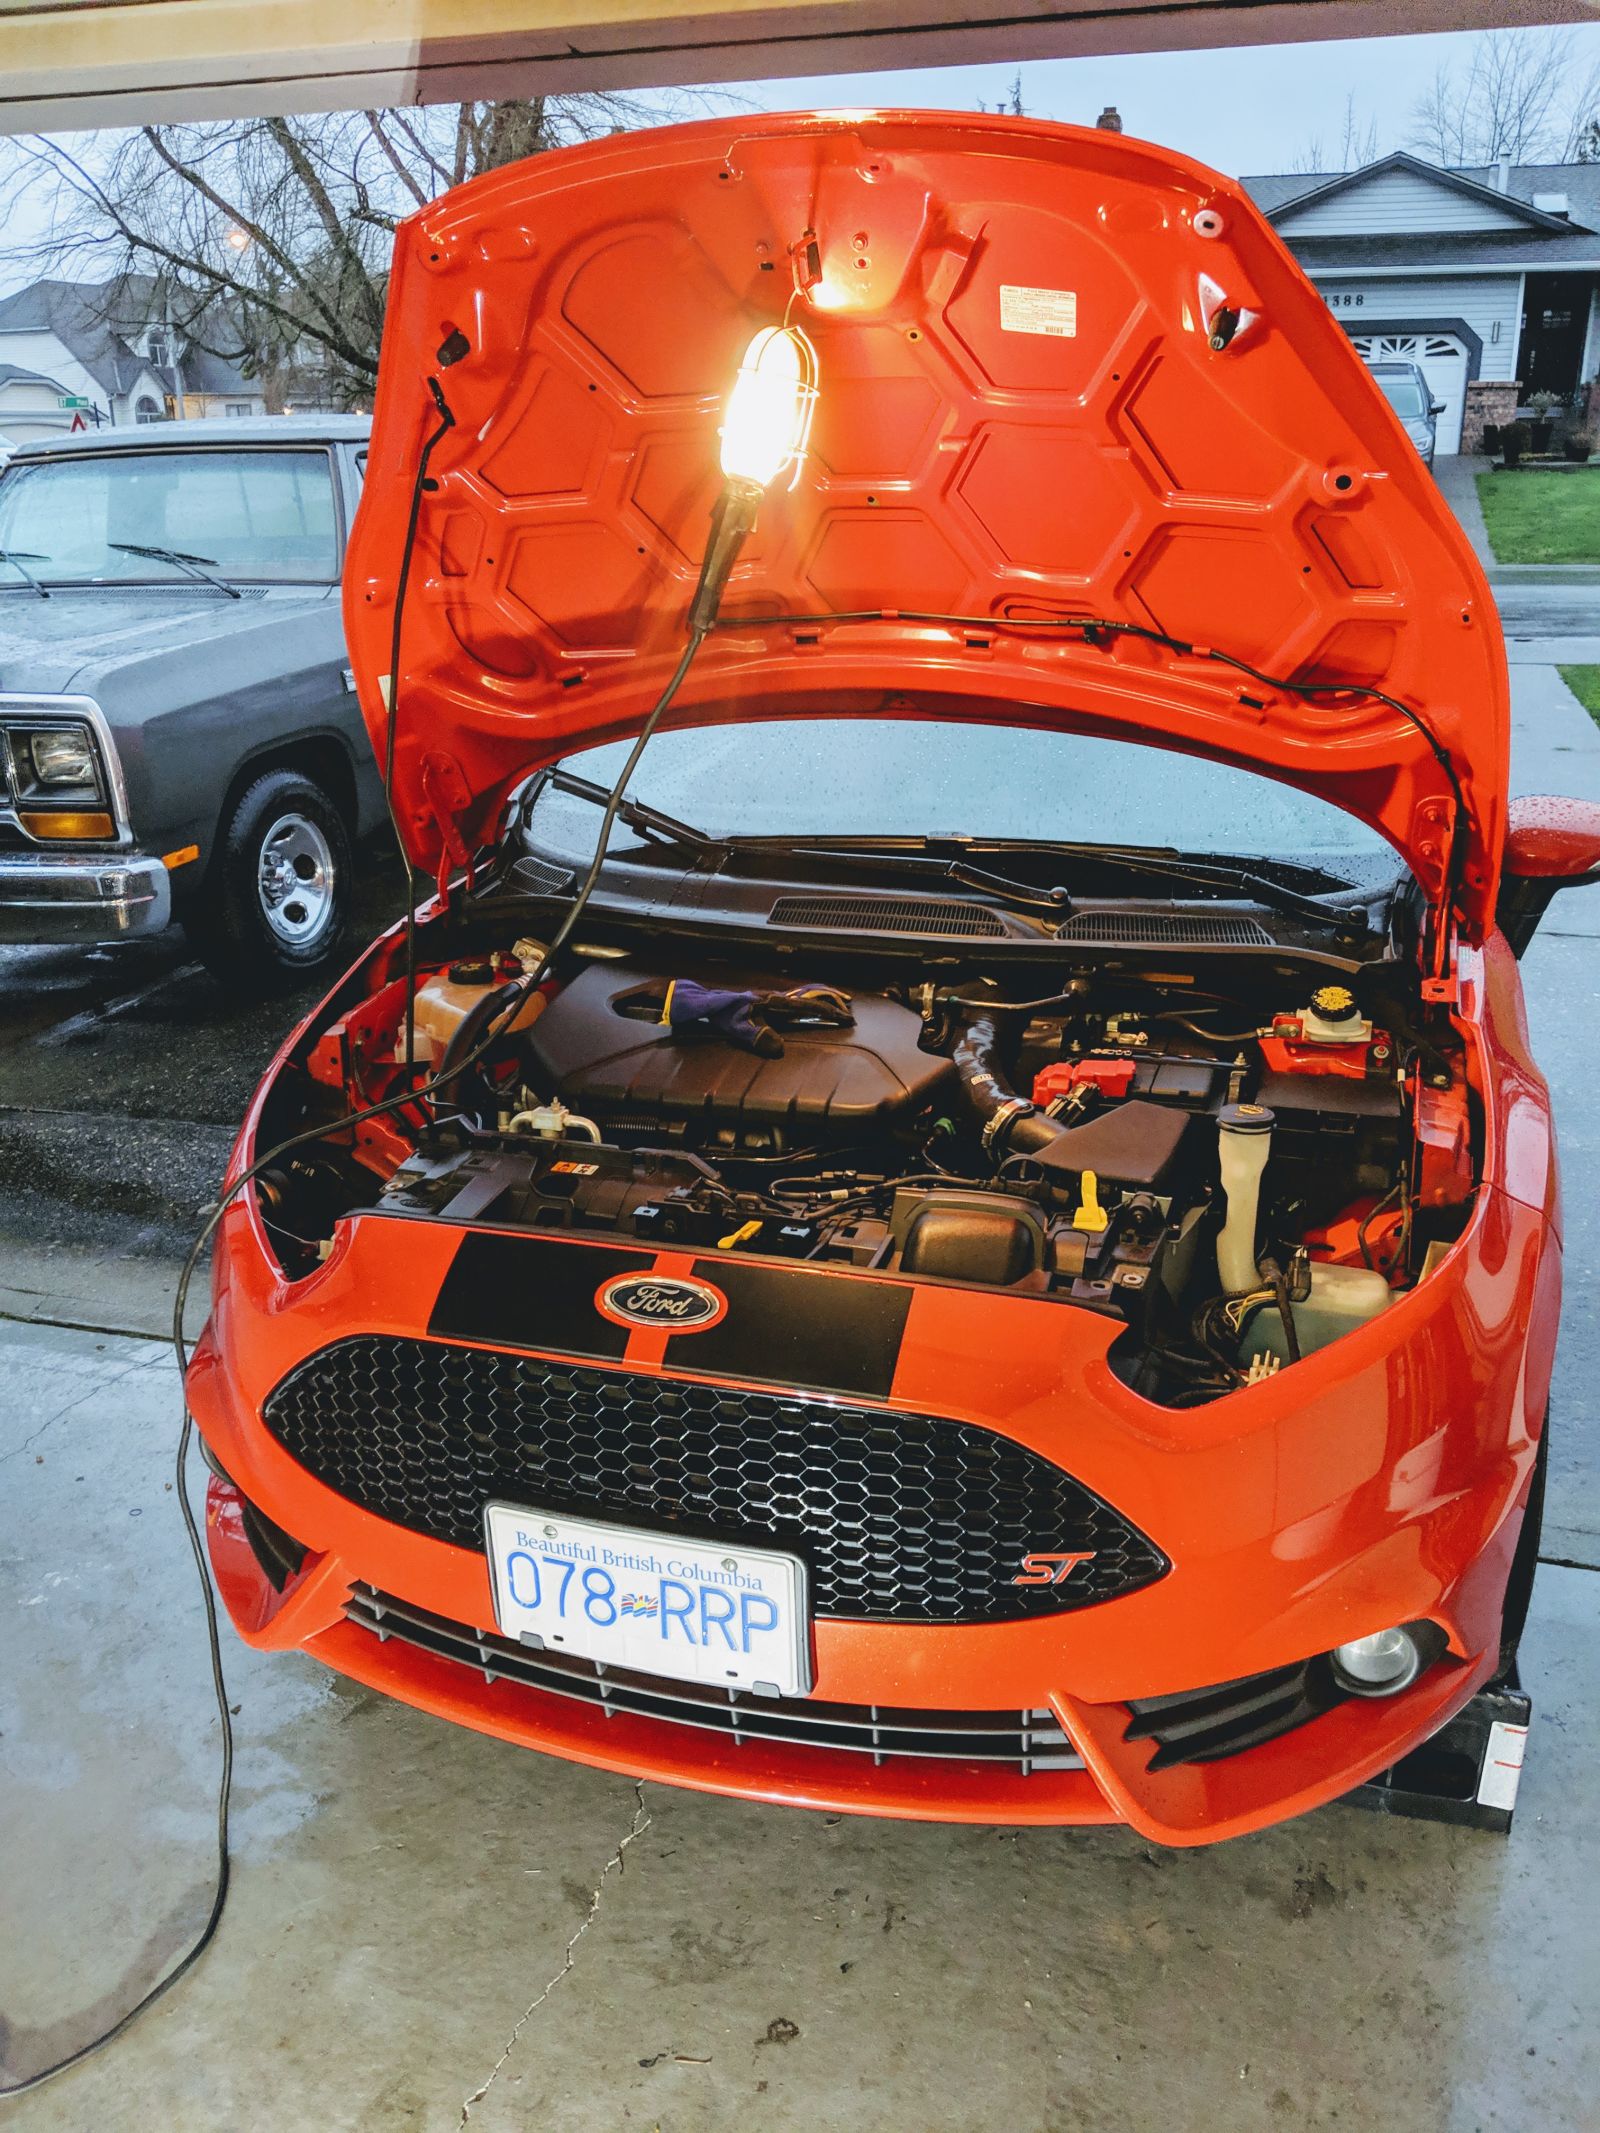
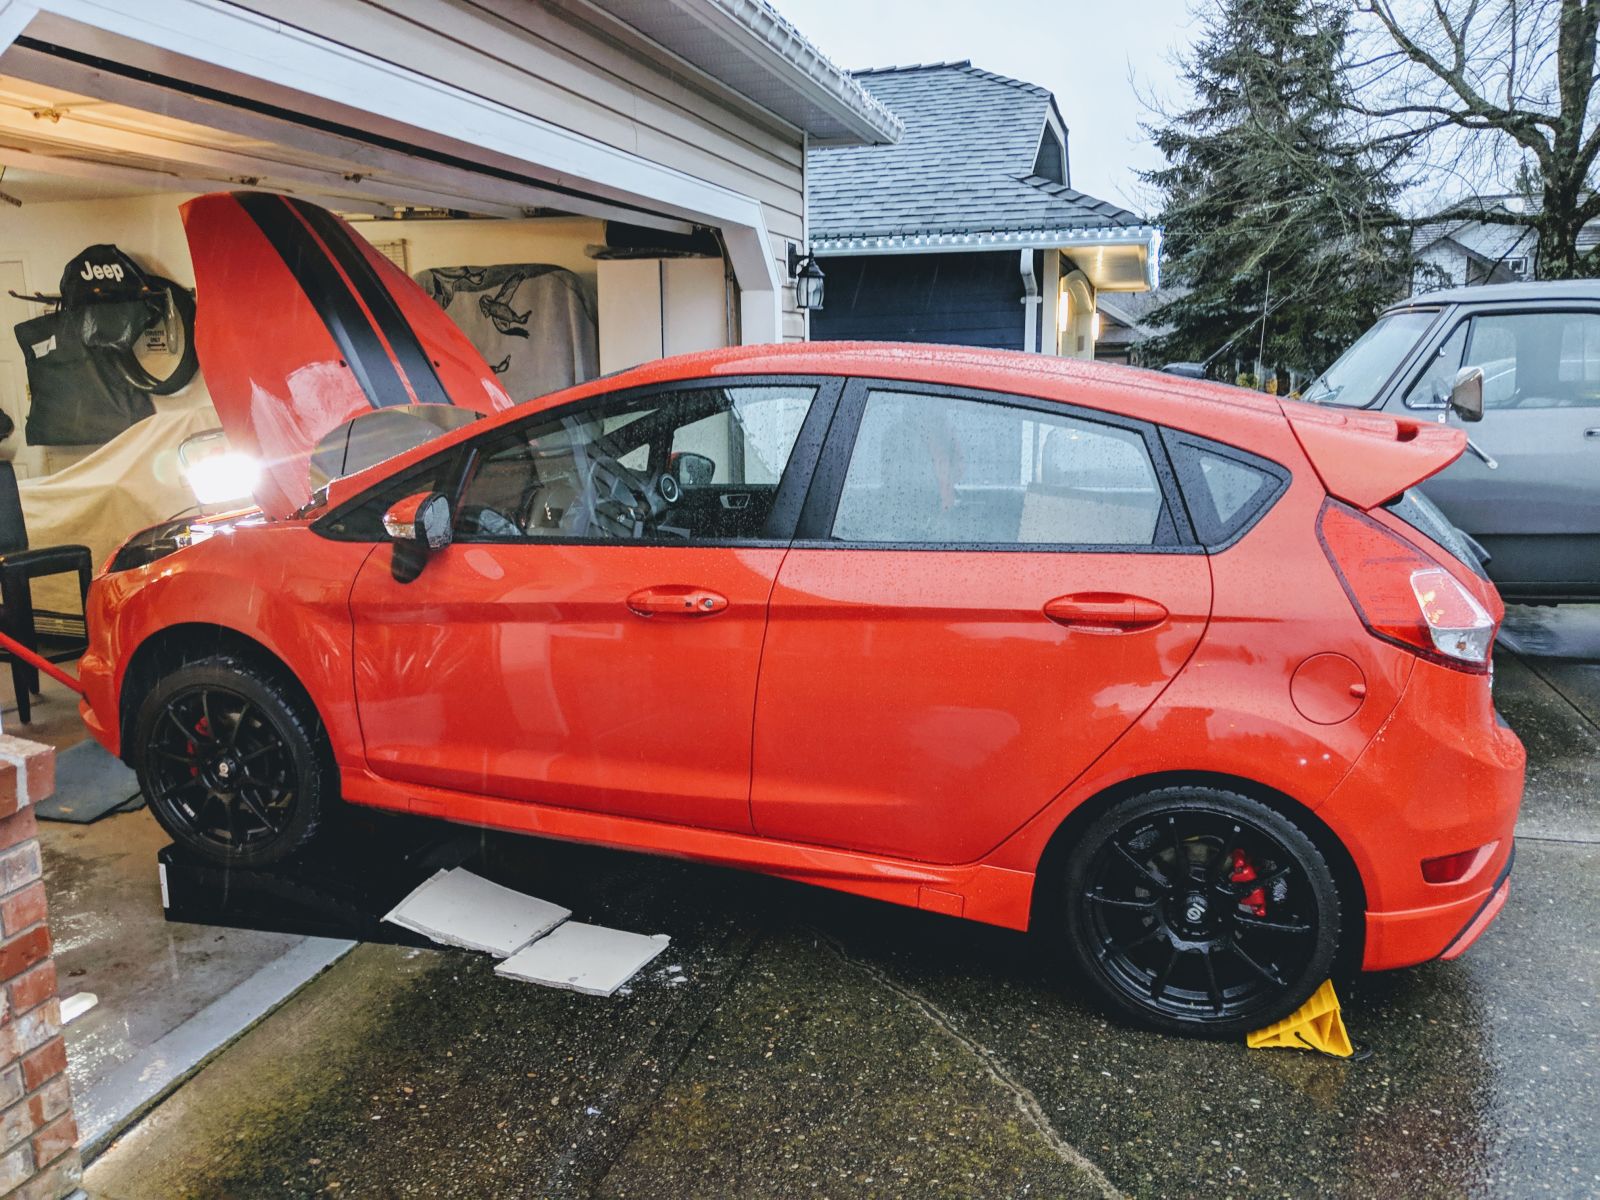
Teardown
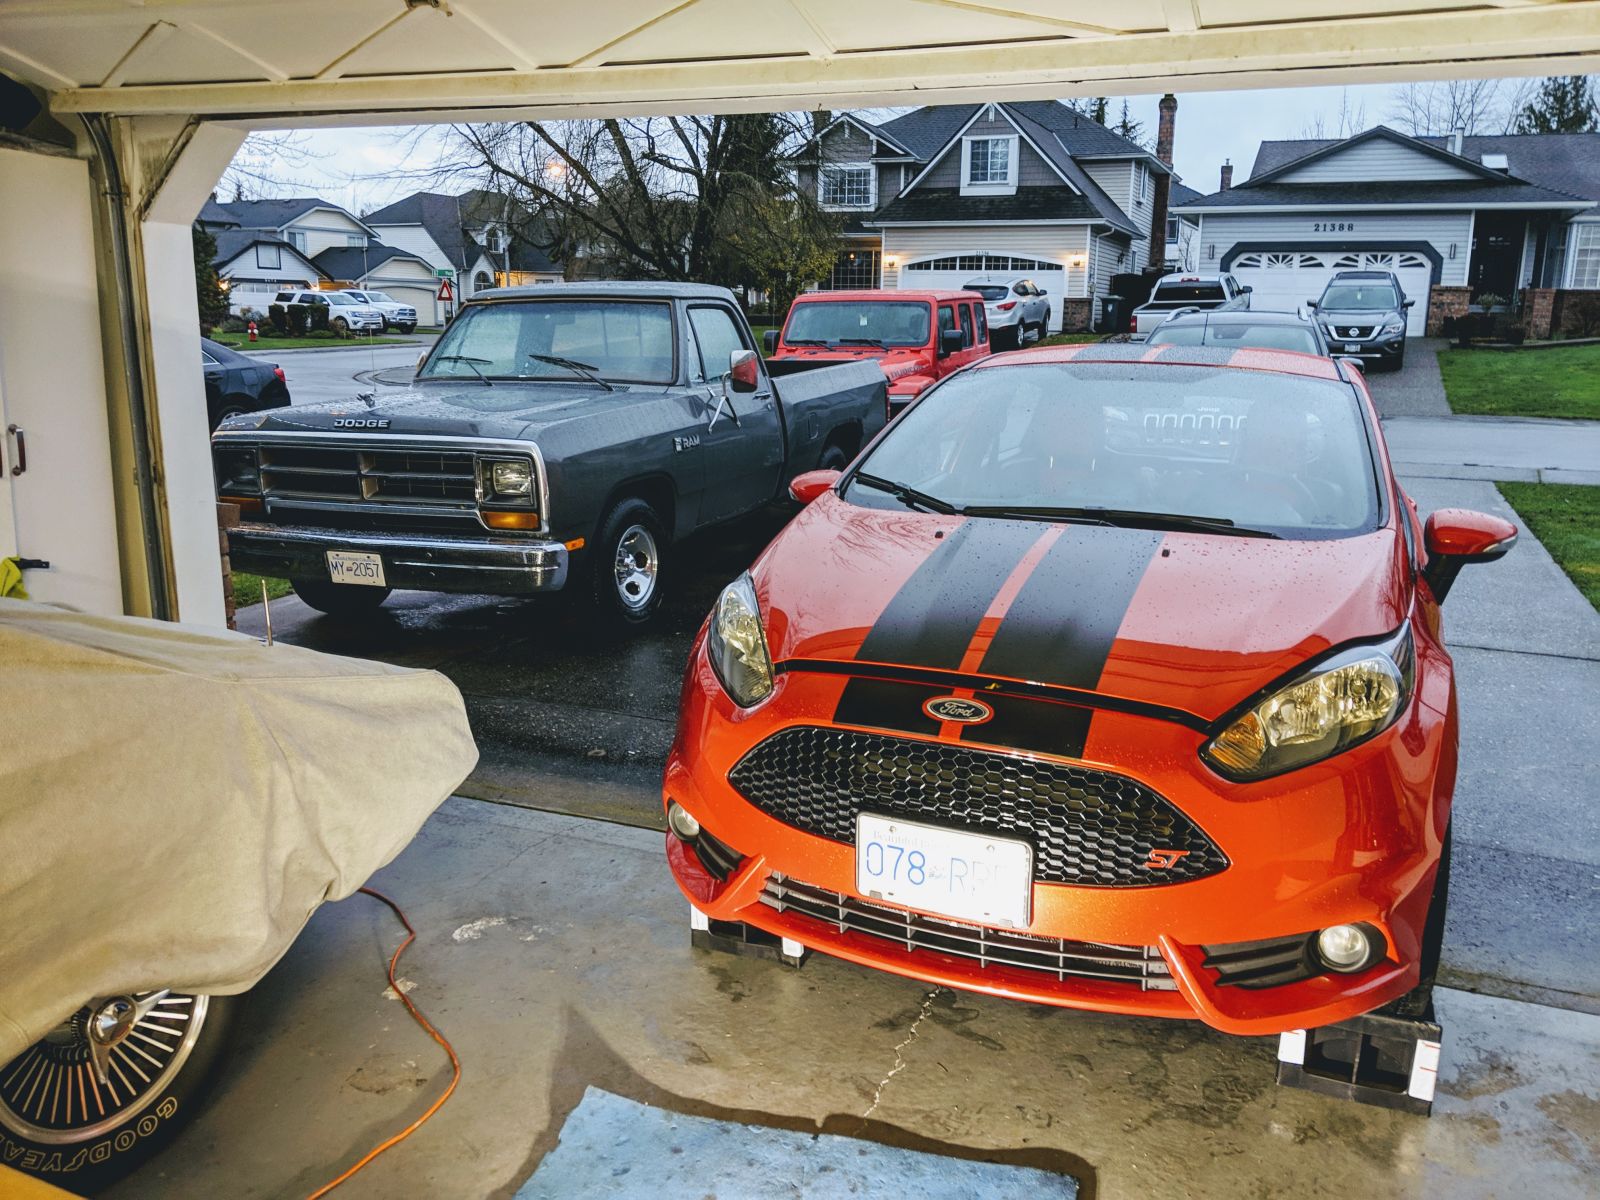
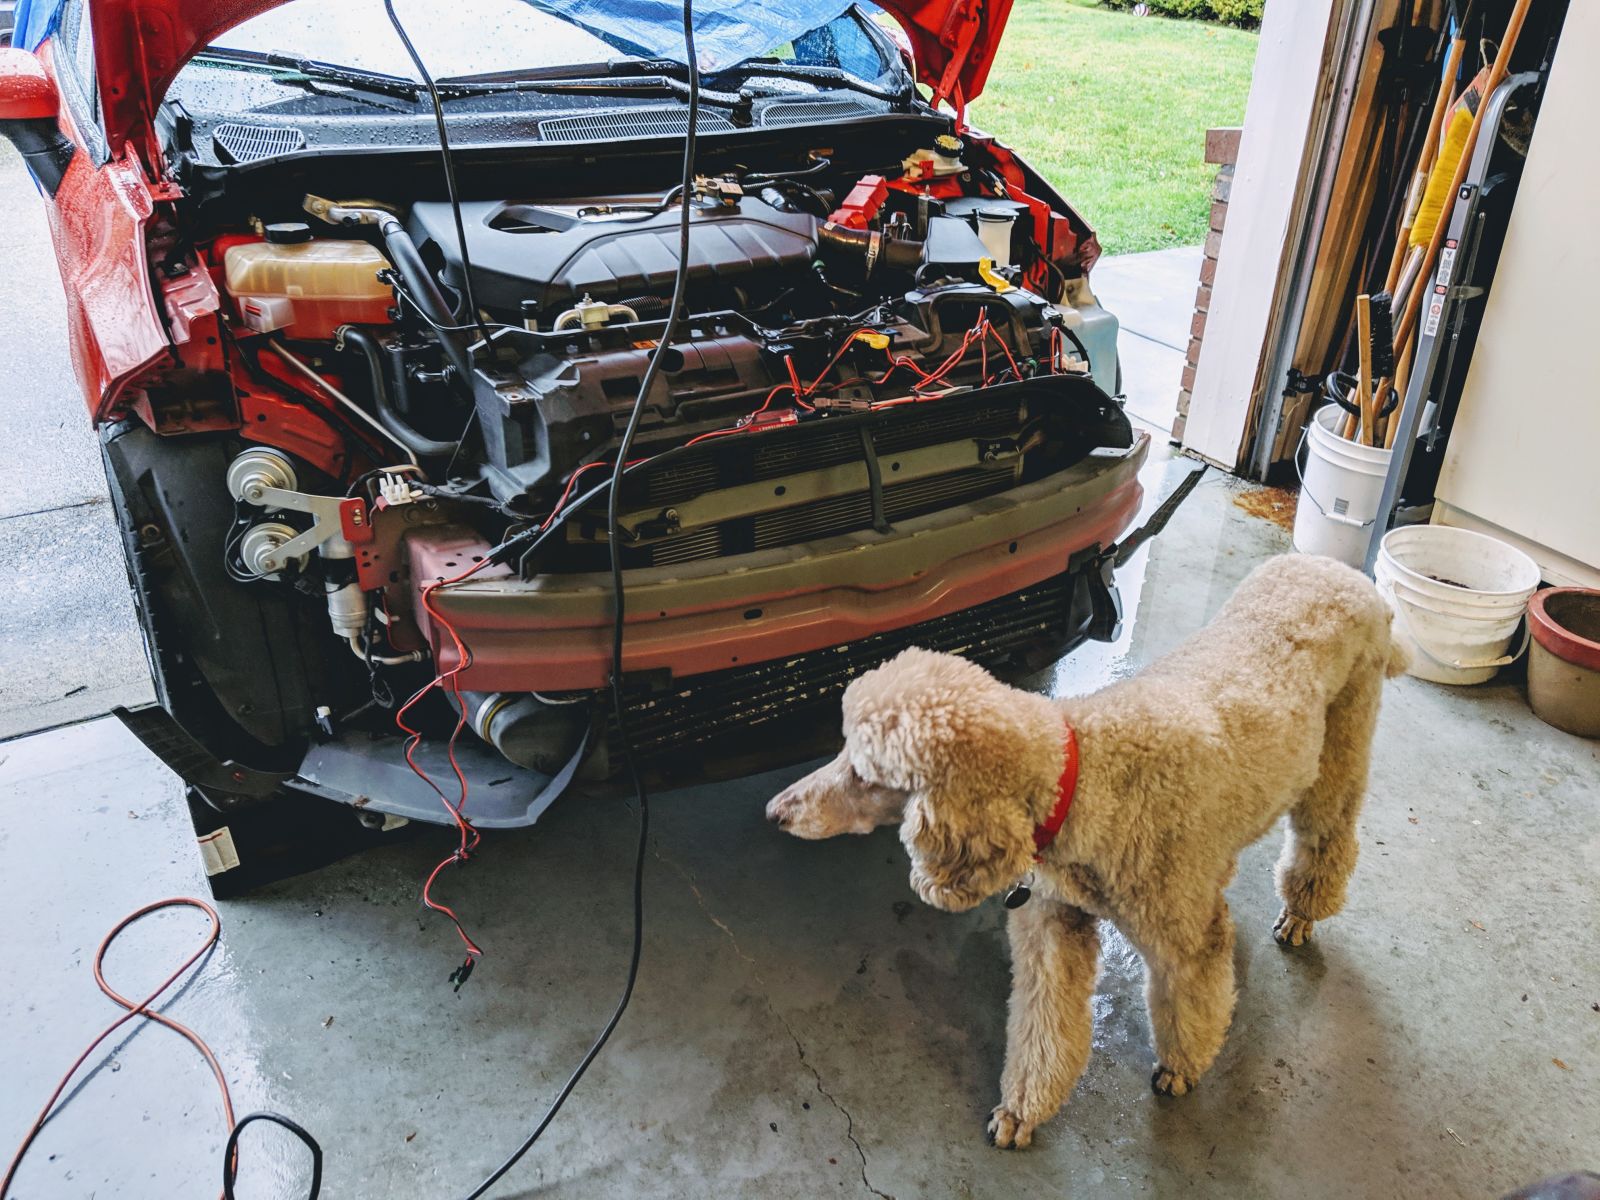
This is the before picture, hood popped. Put the car up on ramps, the car is so low I needed to use wood to lengthen the run up so the front bumper cover could clear.
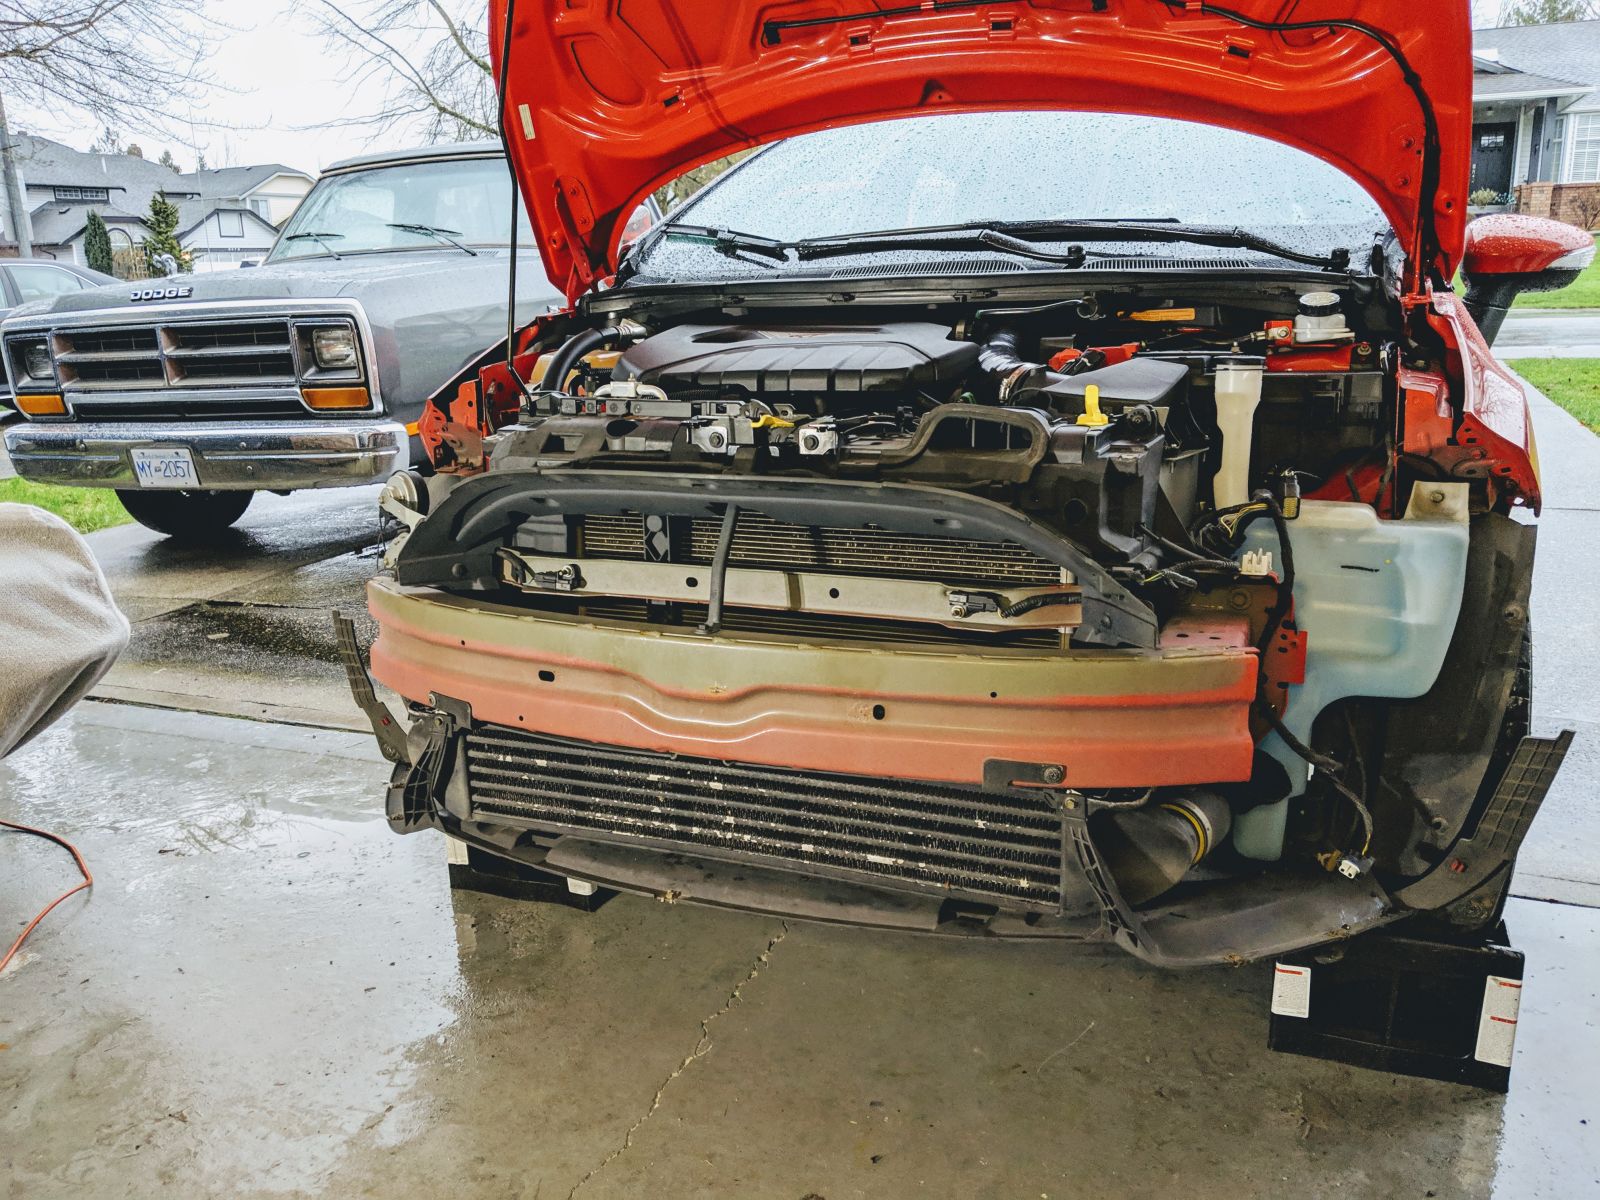
Lights come out!
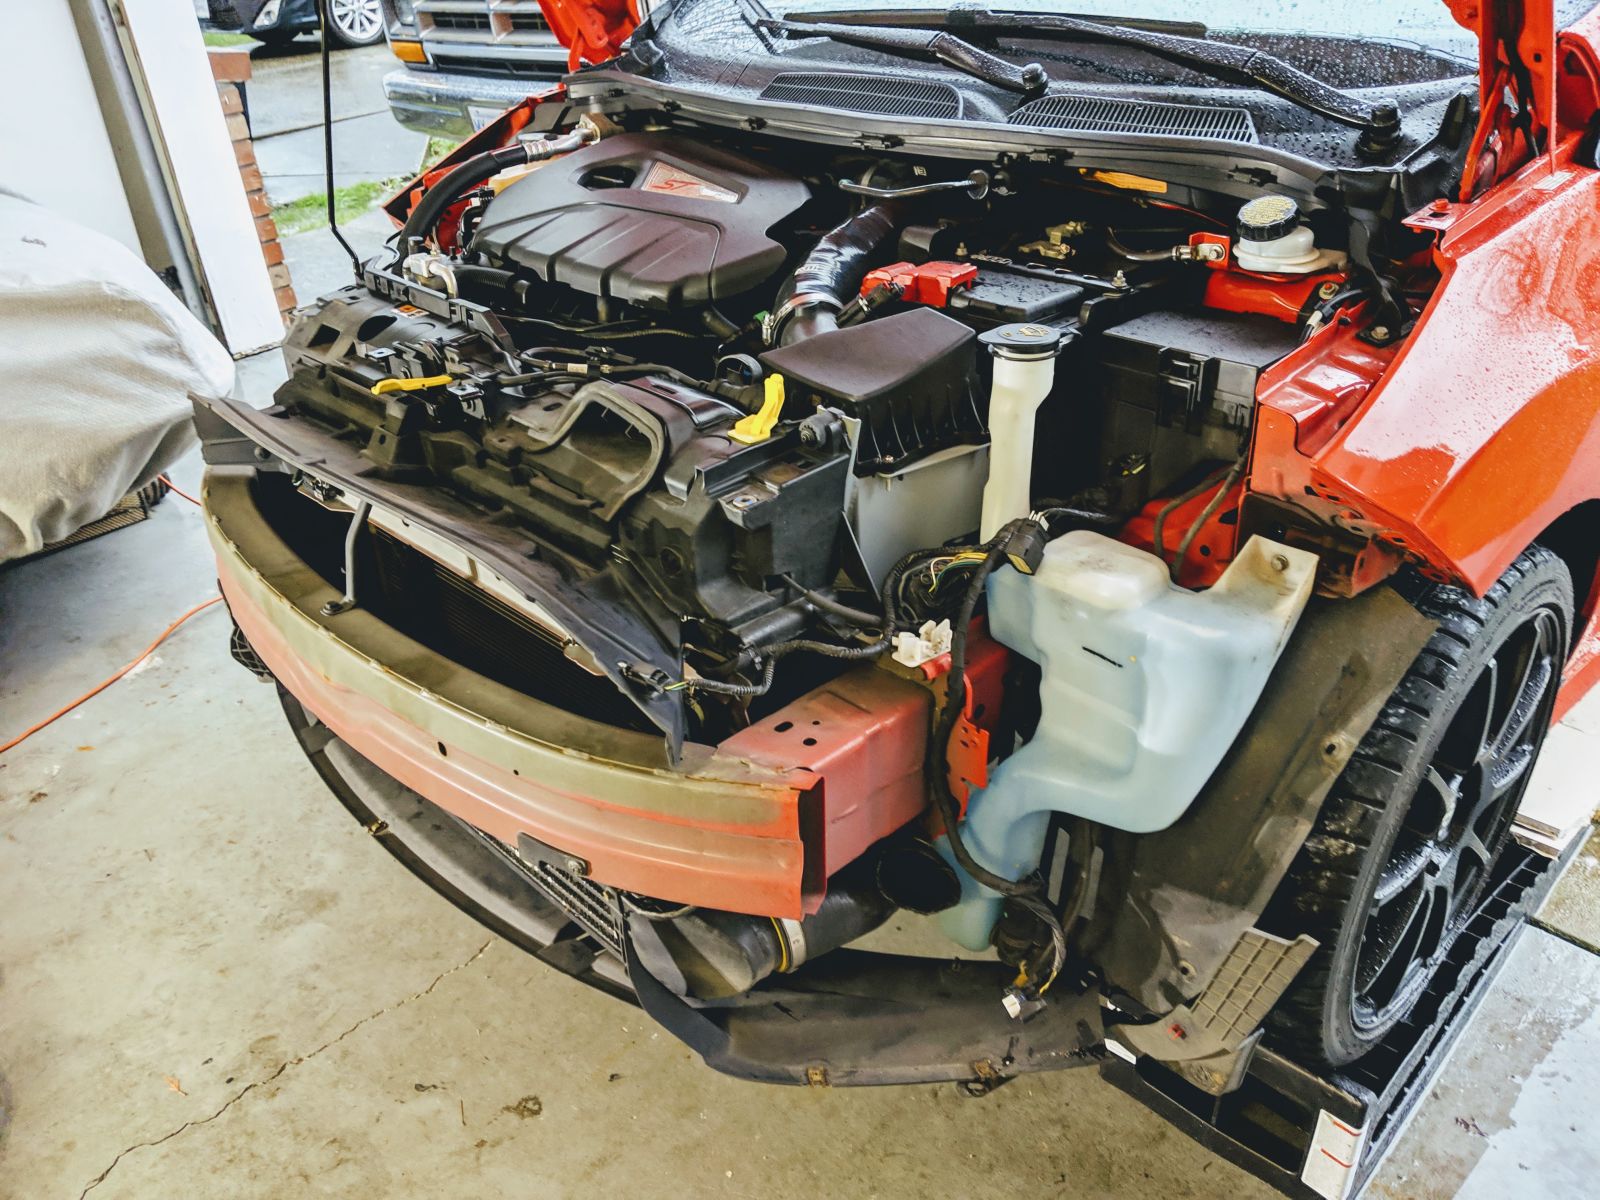
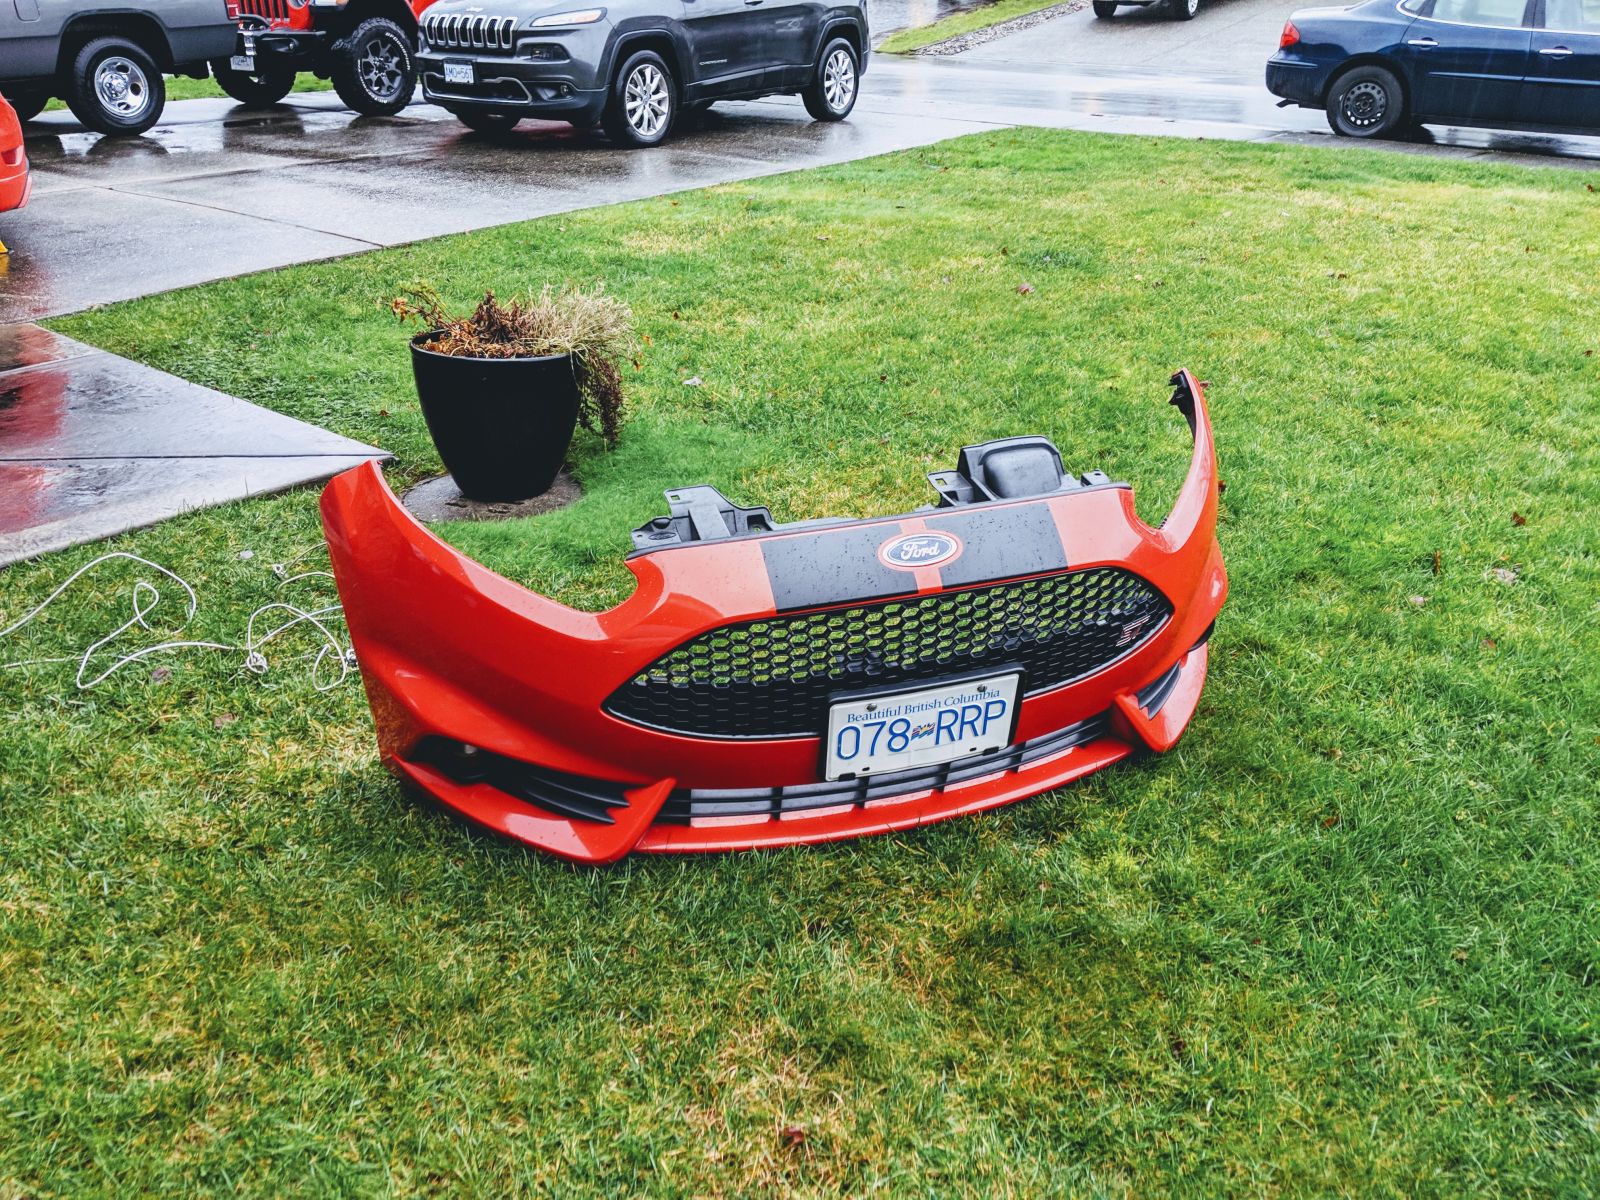
Off with the bumper!!!
Wiring
I ran a thick cable through a small hole in the firewall, removing the rubber grommet that was in the hole, which I saved for use later. I pushed the cable into the insulation/sound deadening, pulling it out from near the top of the clutch pedal (quite hard, given I had to push my fingers through a tiny hole to get to the firewall and cable).
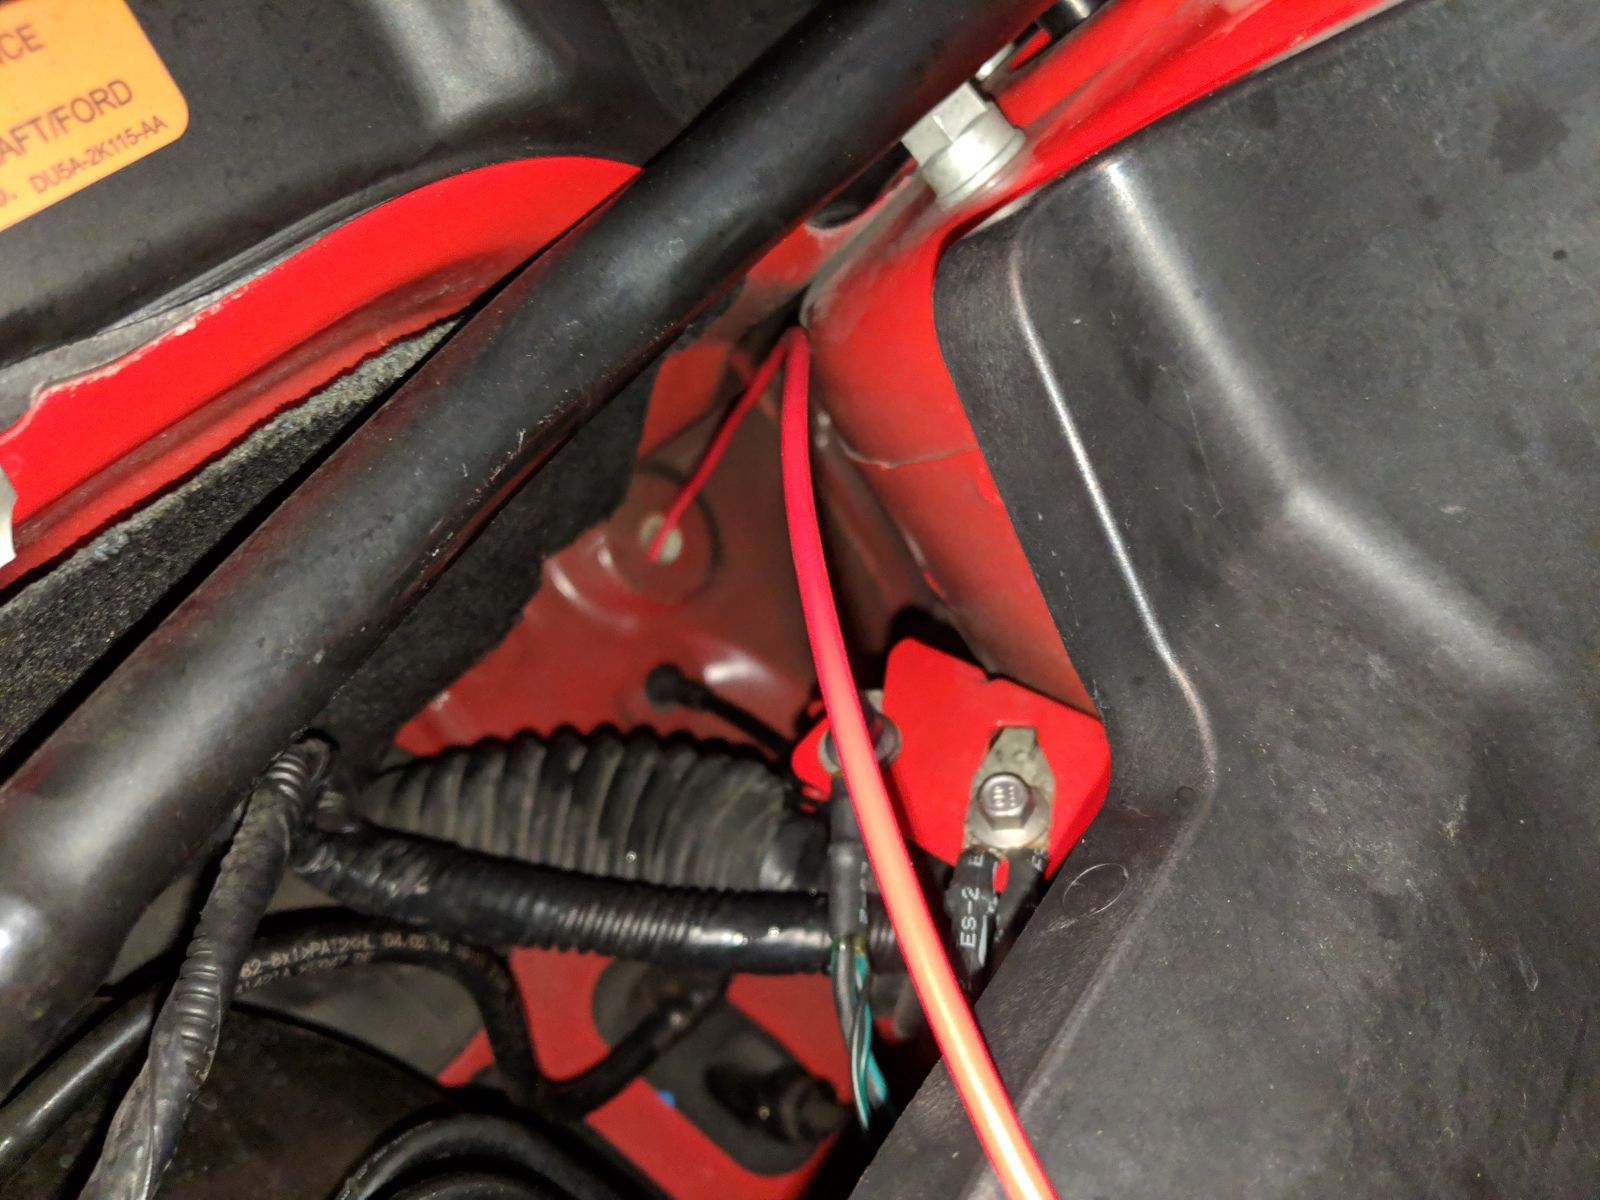
Once I had the cable in the car, I attached the 3 switch wires to the other end of the cable (staggering them to make the package smaller) and wrapped it in electrical tape. I pulled the cable through the hole and presto! the wires followed.
I then took apart the centre stack (seat controls/ traction control) as well as the area around and below the shifter. I ran the wires under the drivers side carpet and into the centre tunnel pulling the cable/wires into their final spot.
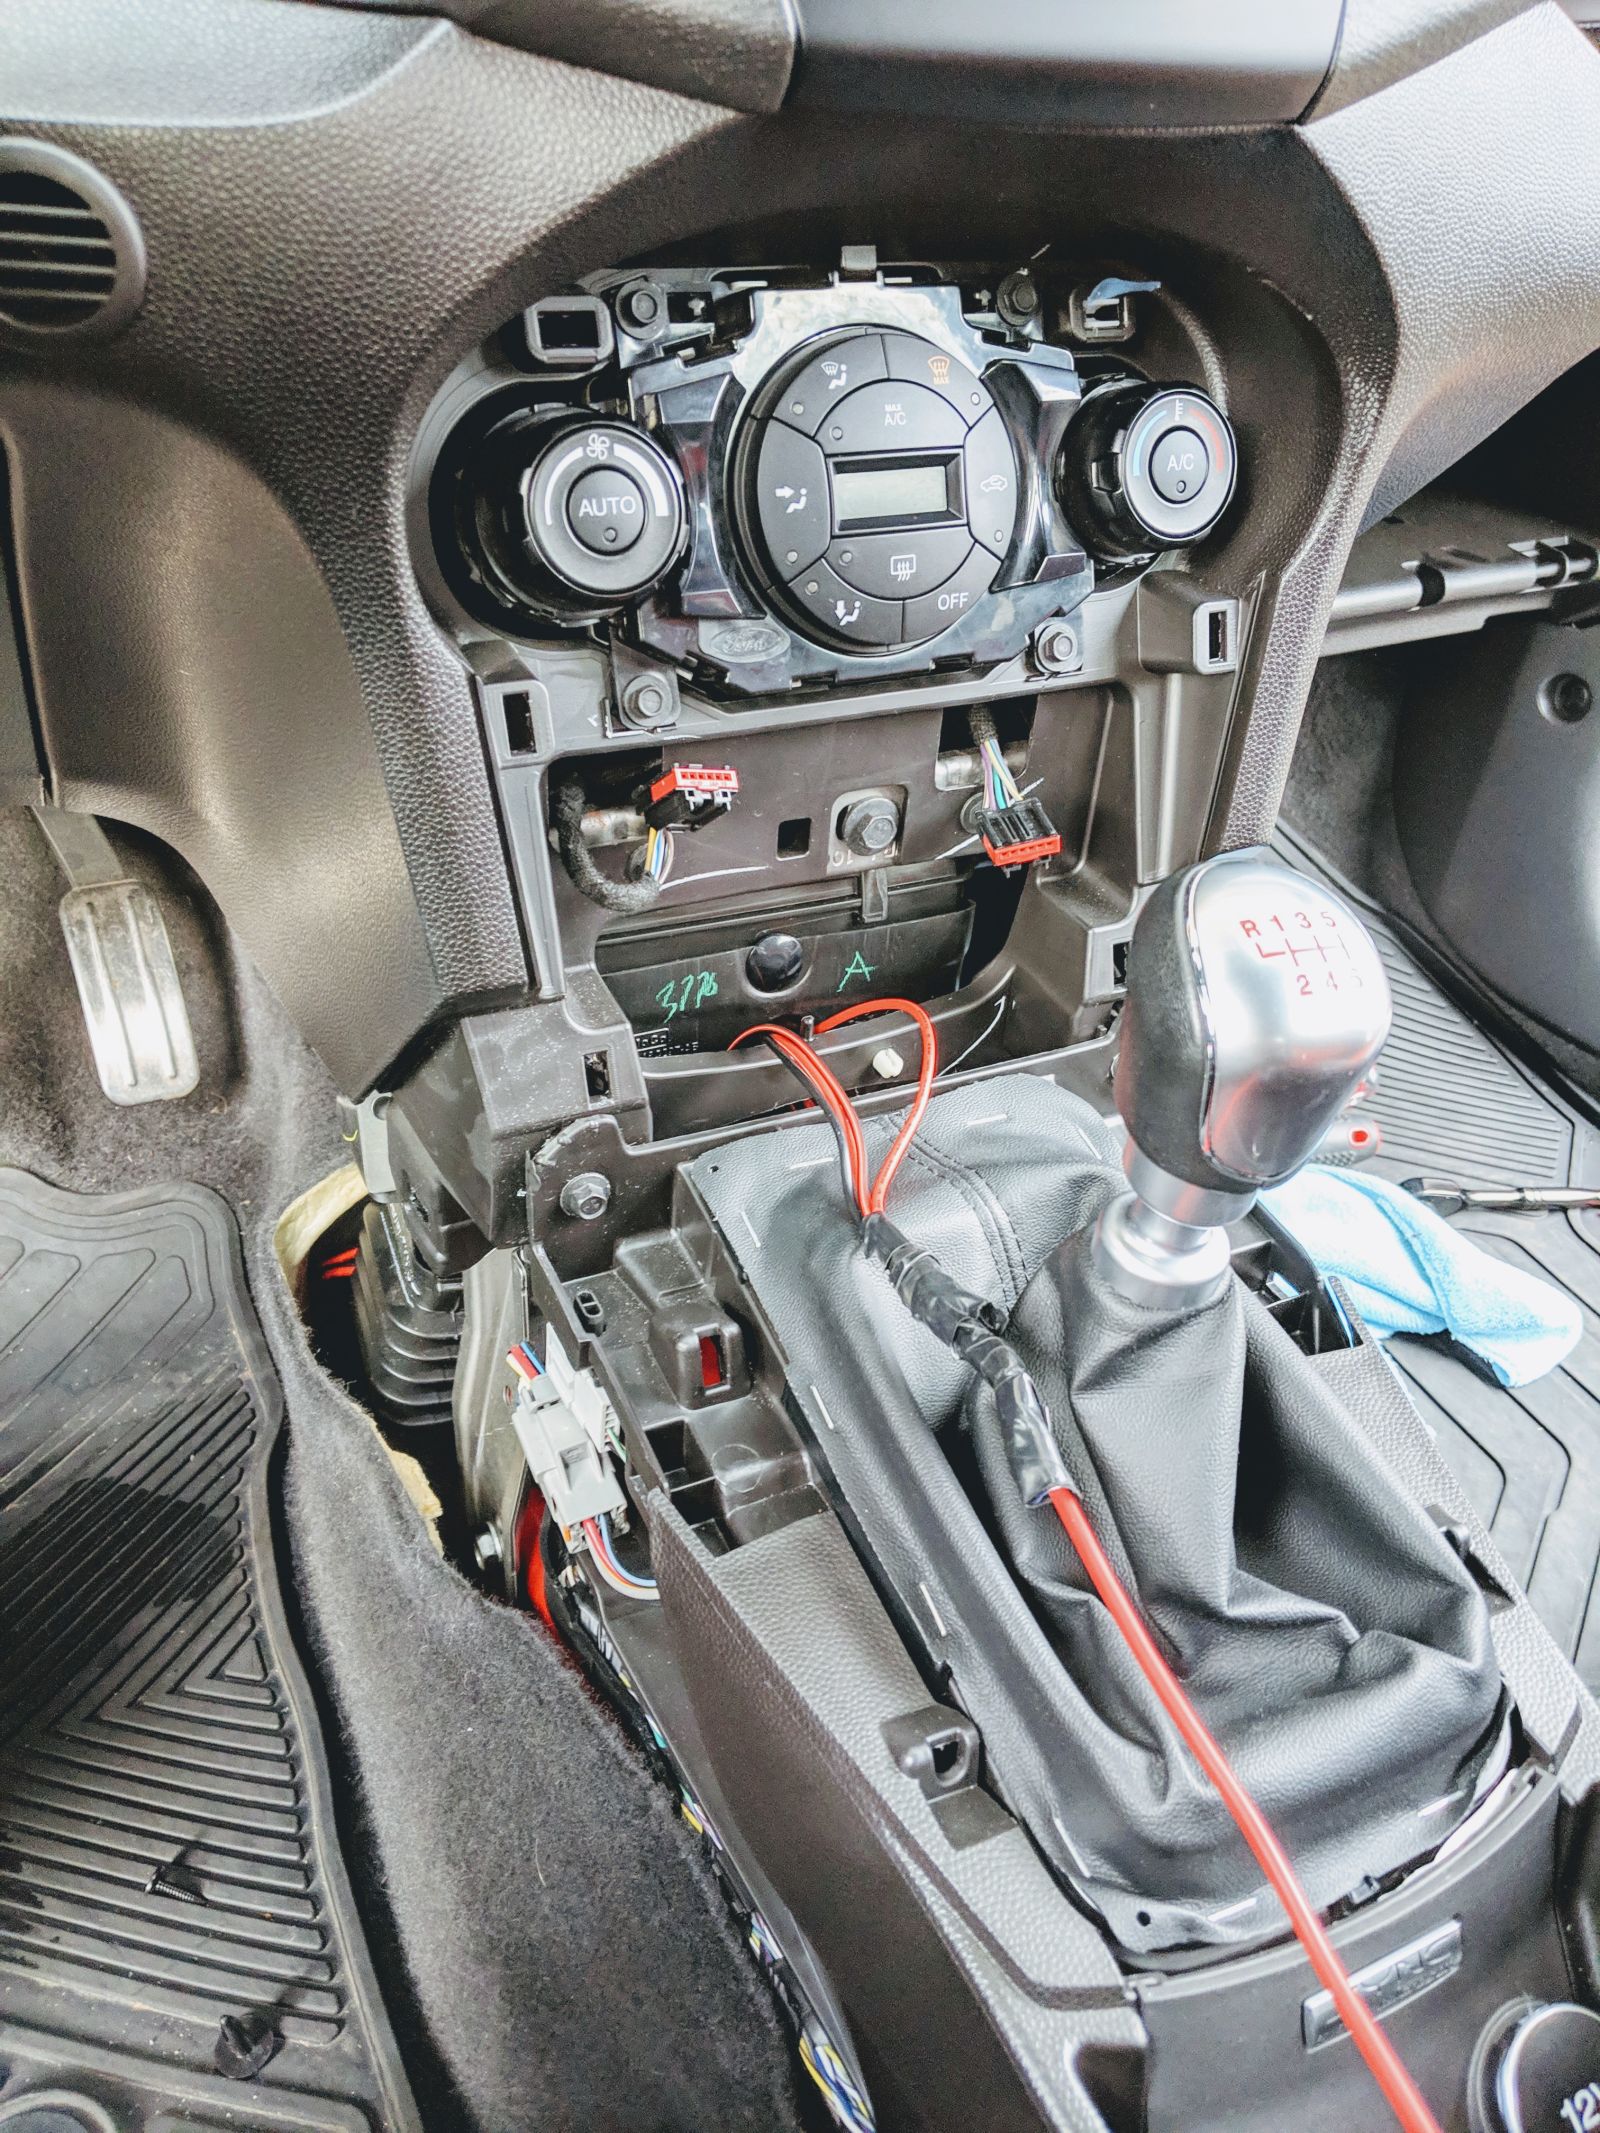
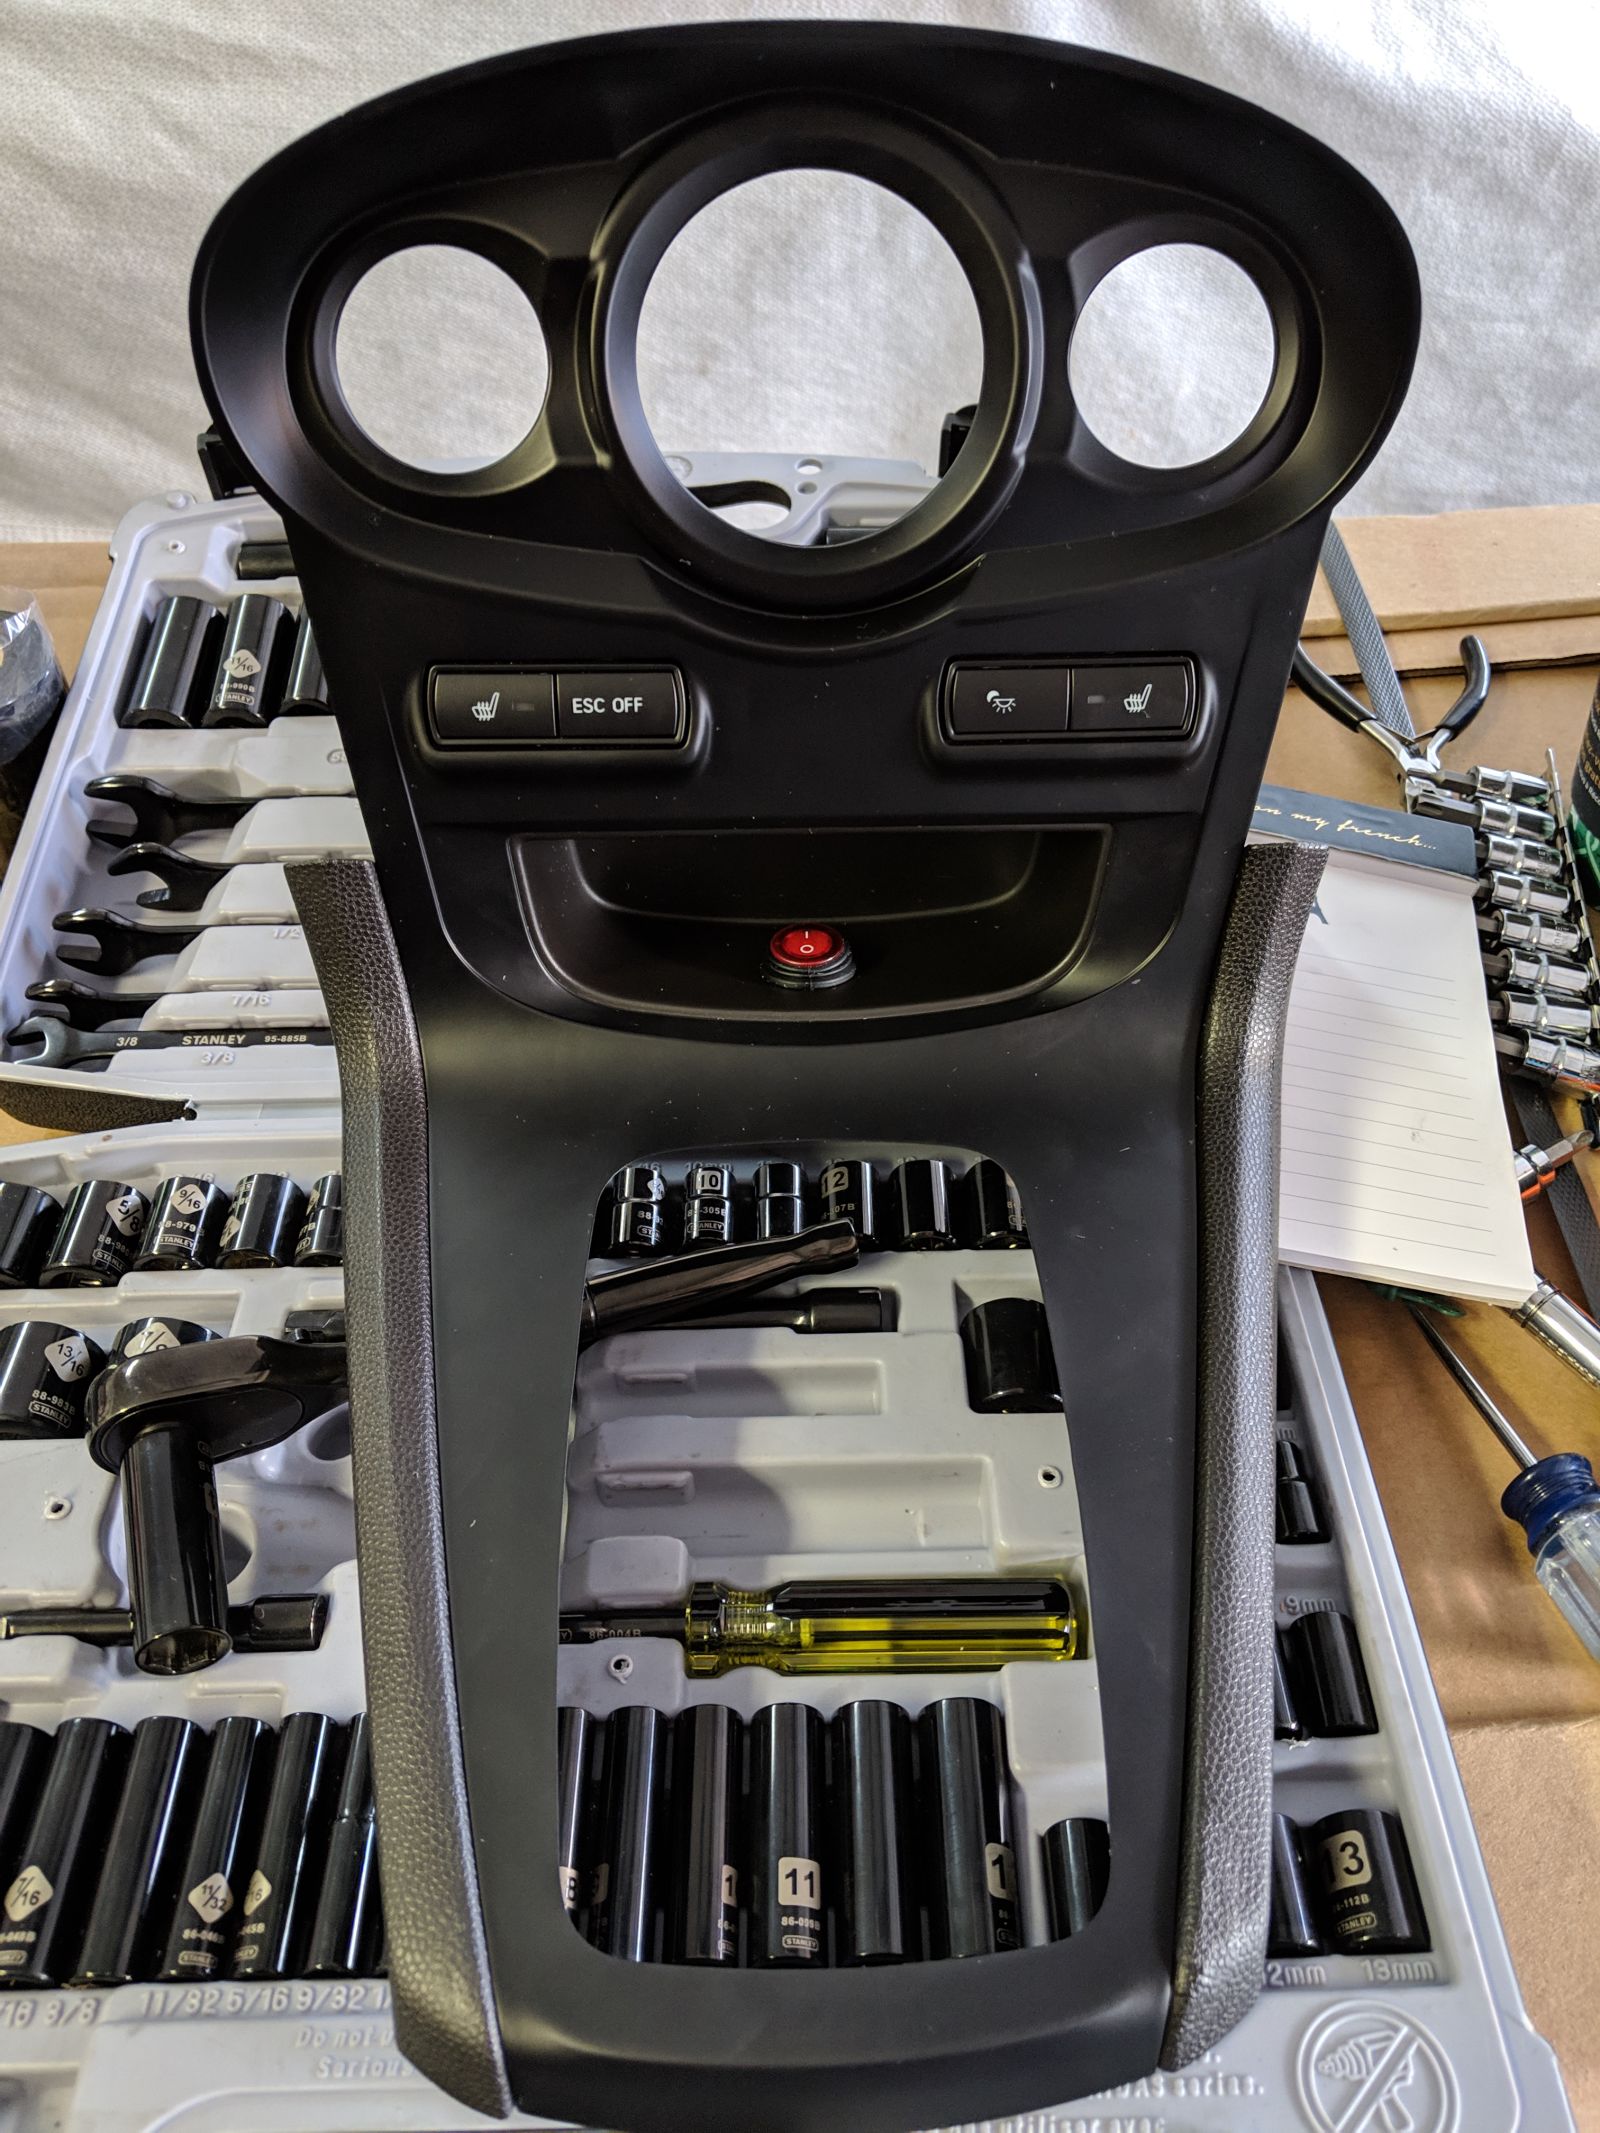
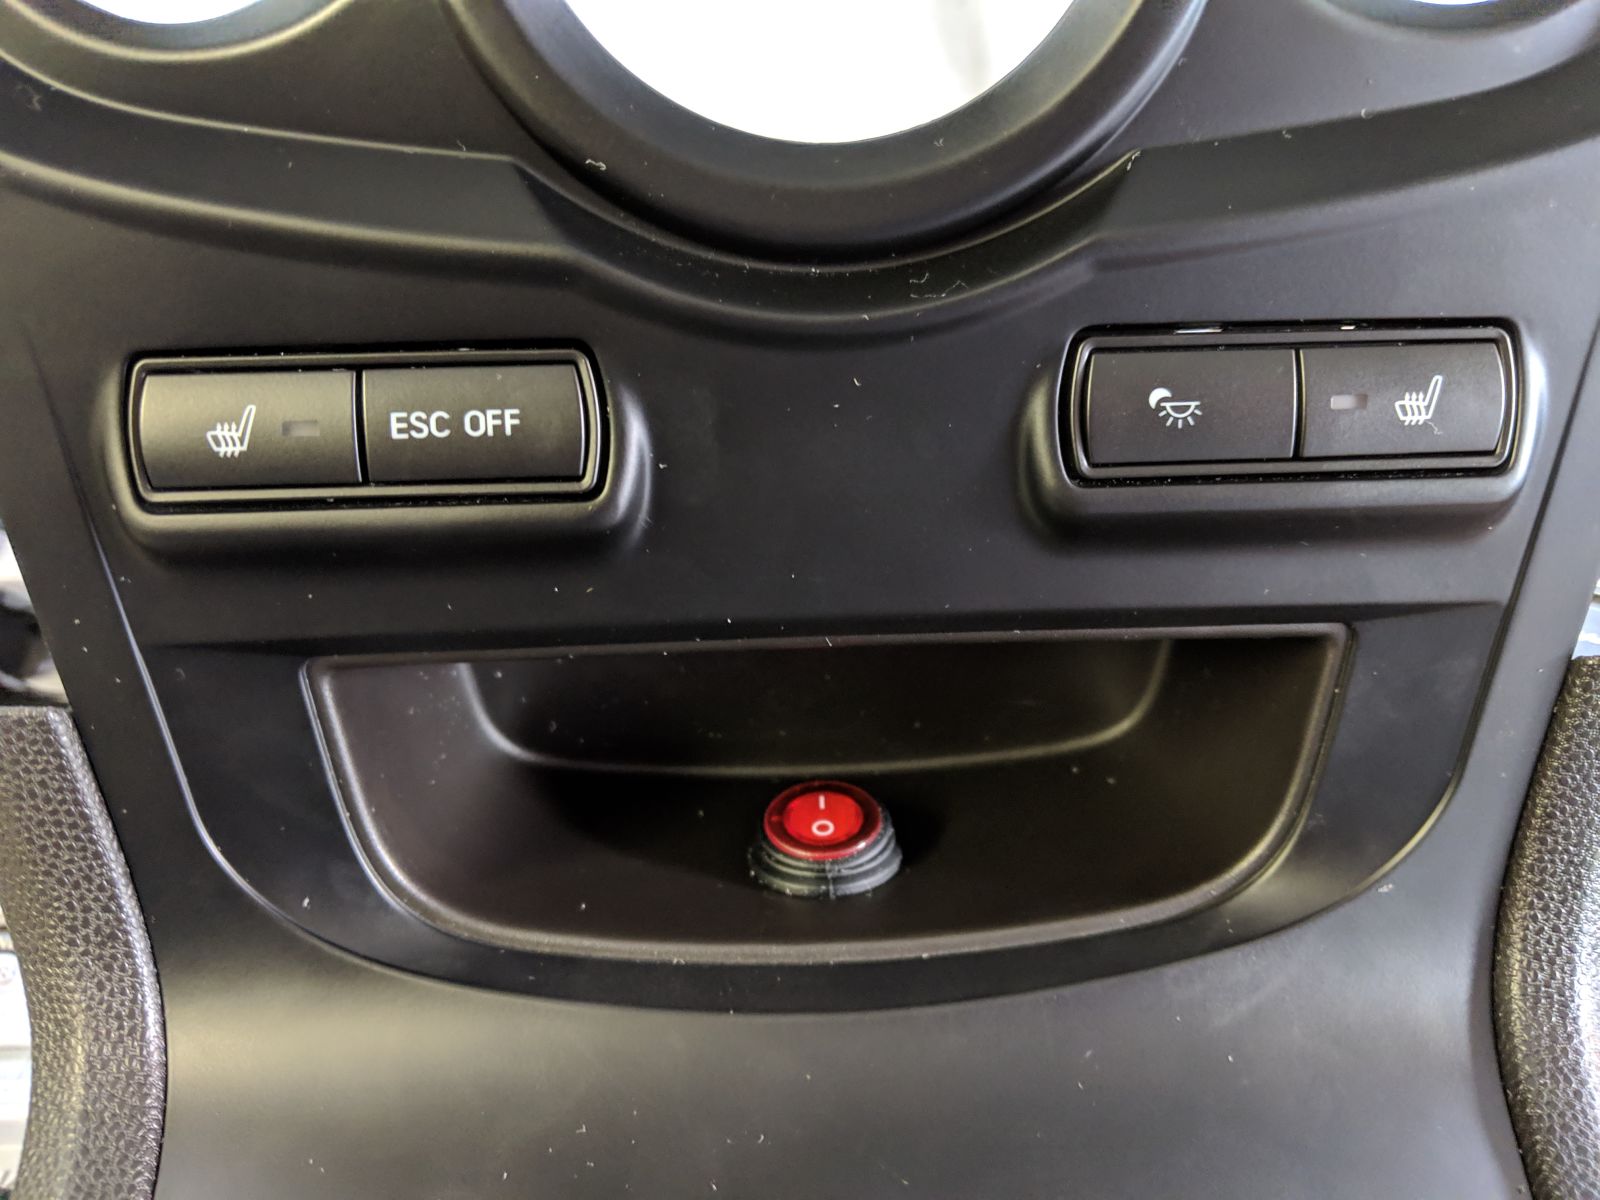
I then drilled a hole in the base of my centre stack to install my switch. I chose to install it in the Fiesta’s useless cubby hole.
On the exterior, I hooked the power leads up to the battery and after about an hour and a half of faffing about due to a defective part, I was set to install the light plate on my grille.
Installation of the light plate was pretty straightforward. Just drill through the solid part of my grille, put some bolts/nuts in and it was on. I installed the mounting brackets, and test fitted a light. The cables for the lights were fine, but the connectors were too thick to fit through the honeycomb grille, so I made some “modifications” to the plugs as I was not willing to cut my grille.
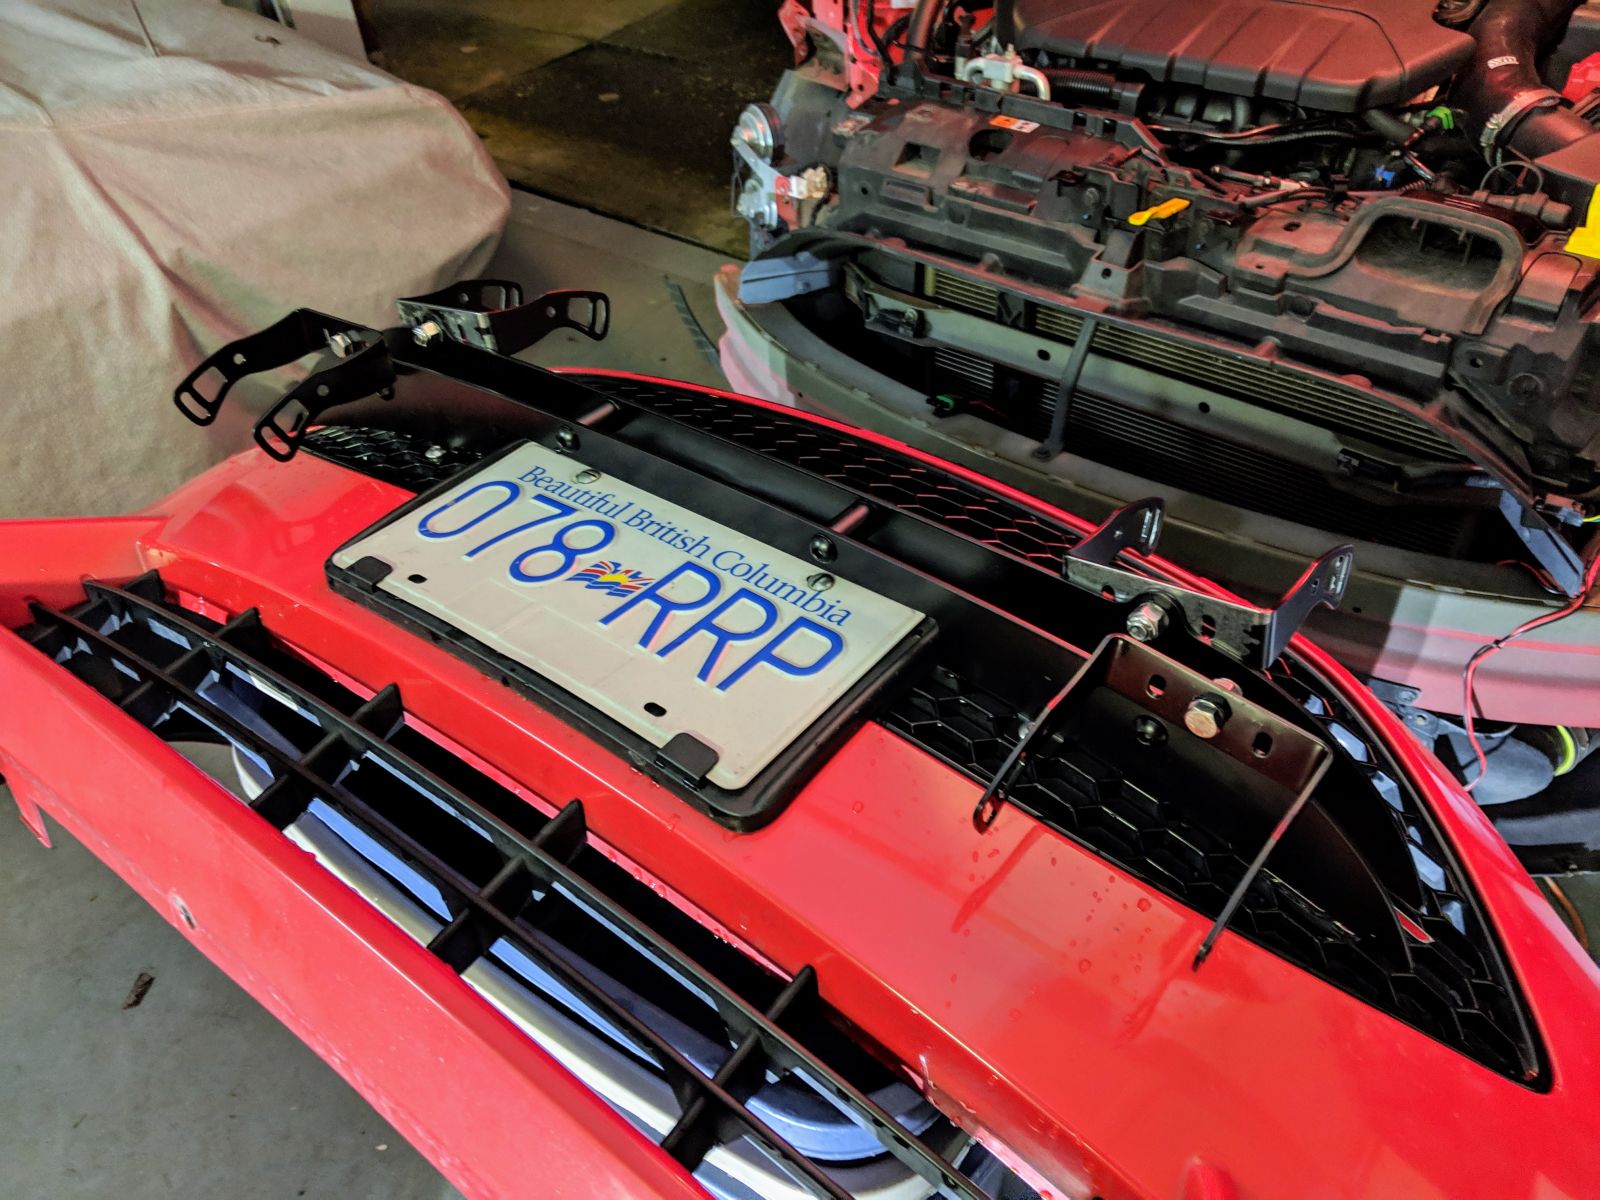
For the lower lights, due to the sealed section of the grille, I had to drill some holes and use a dremel to bore out a section of honeycomb.

I ran wires along the actual steel bumper, being careful to secure things with zip ties and electrical tape to protect against fraying.
I then installed the lights for a final time, wired them up and got the the bumper cover ready for installation.
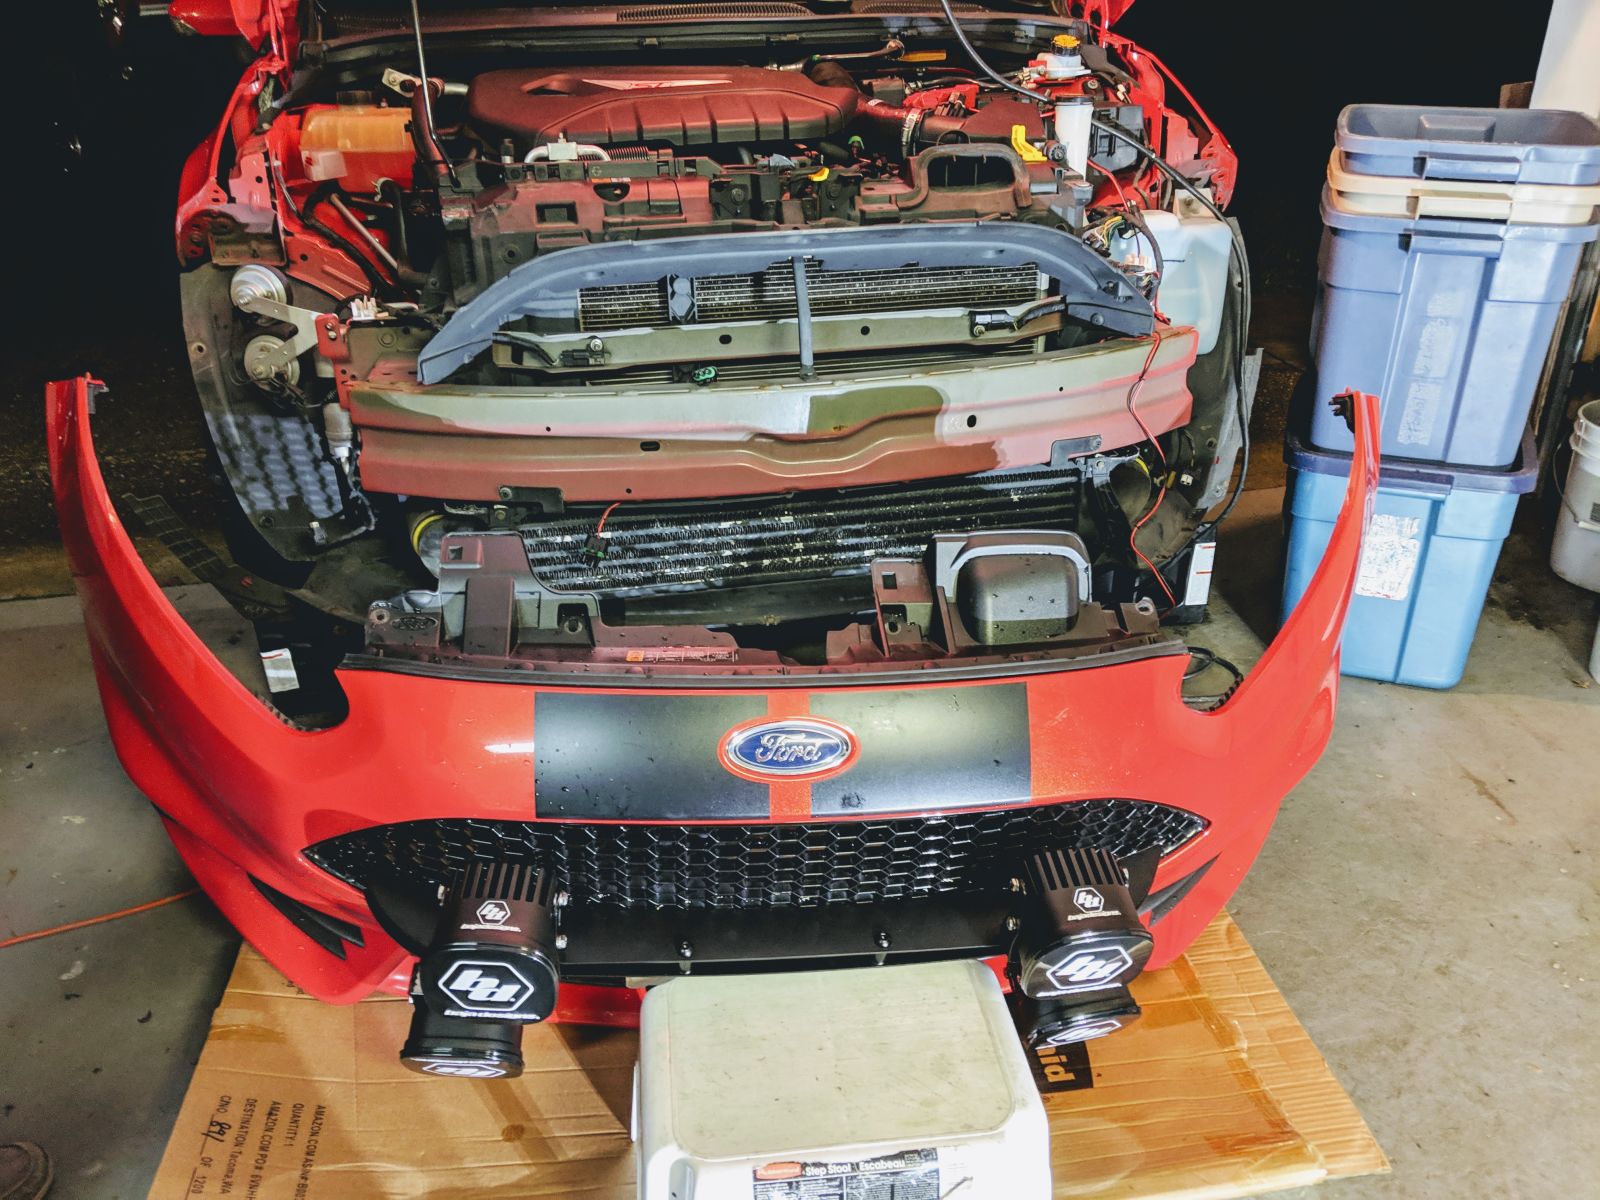
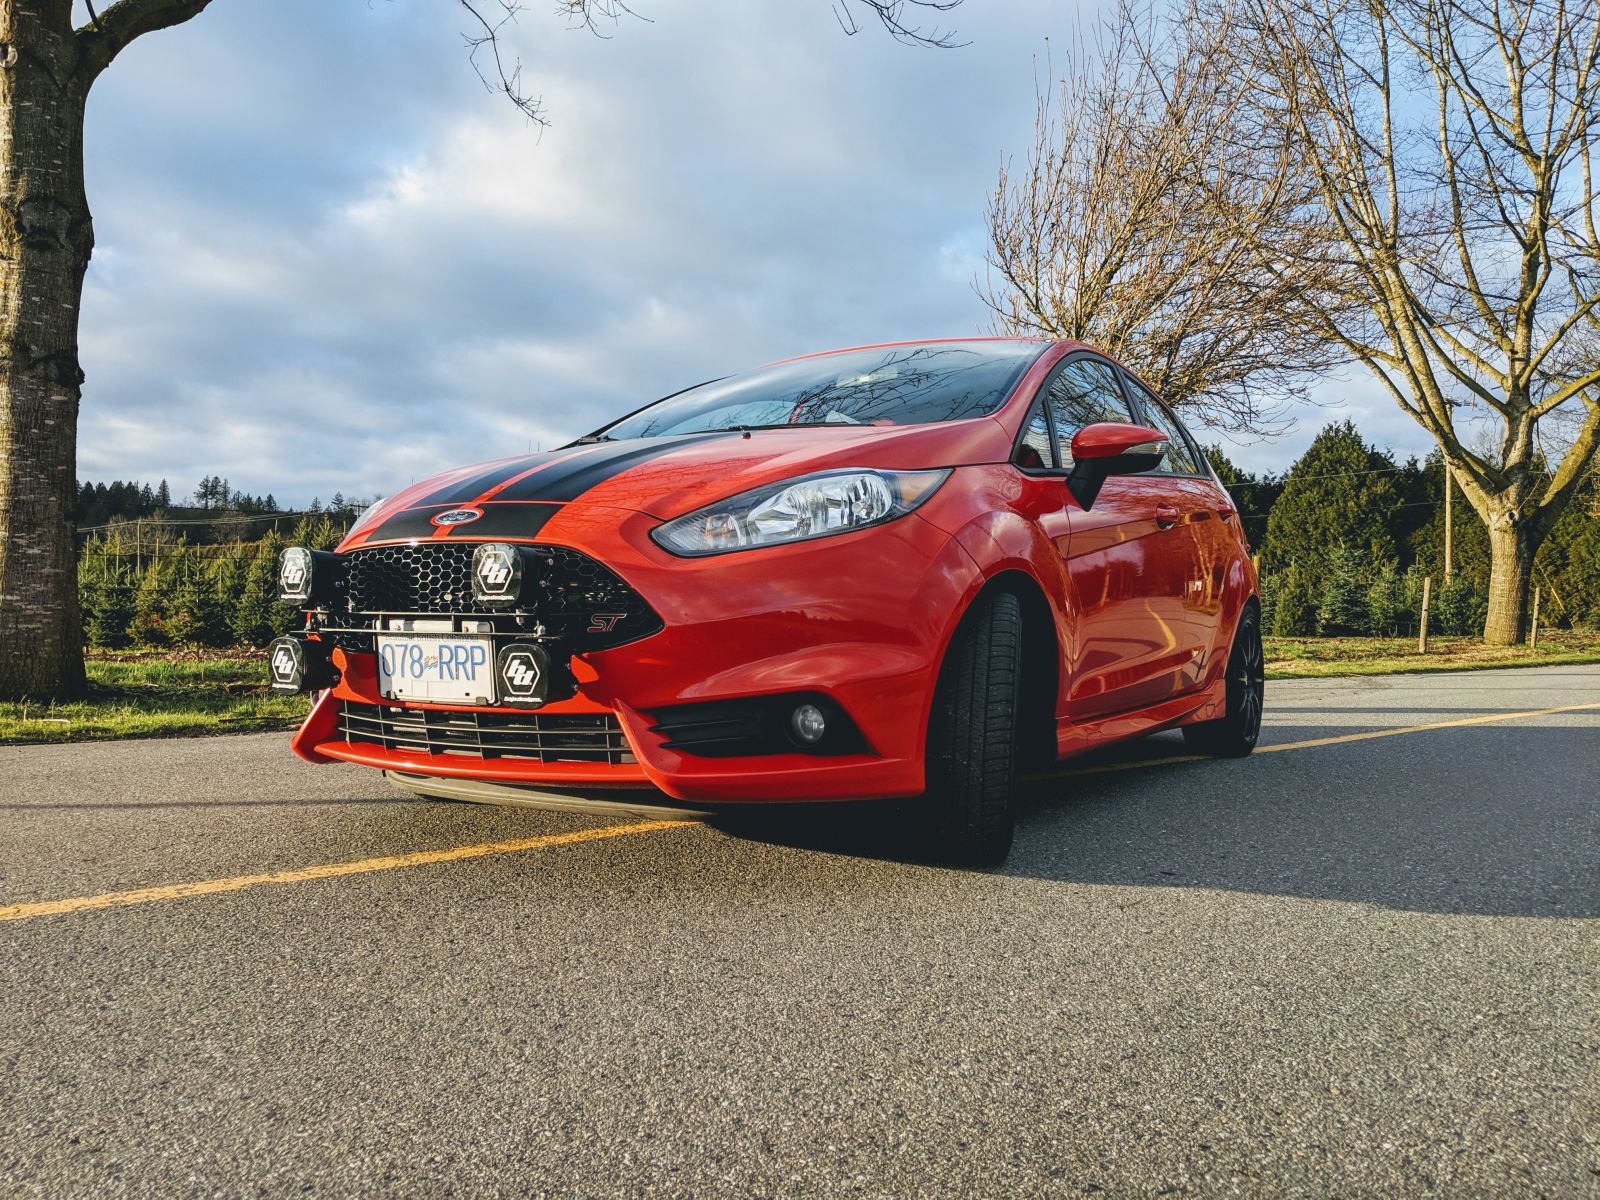
Got the bumper all back together!
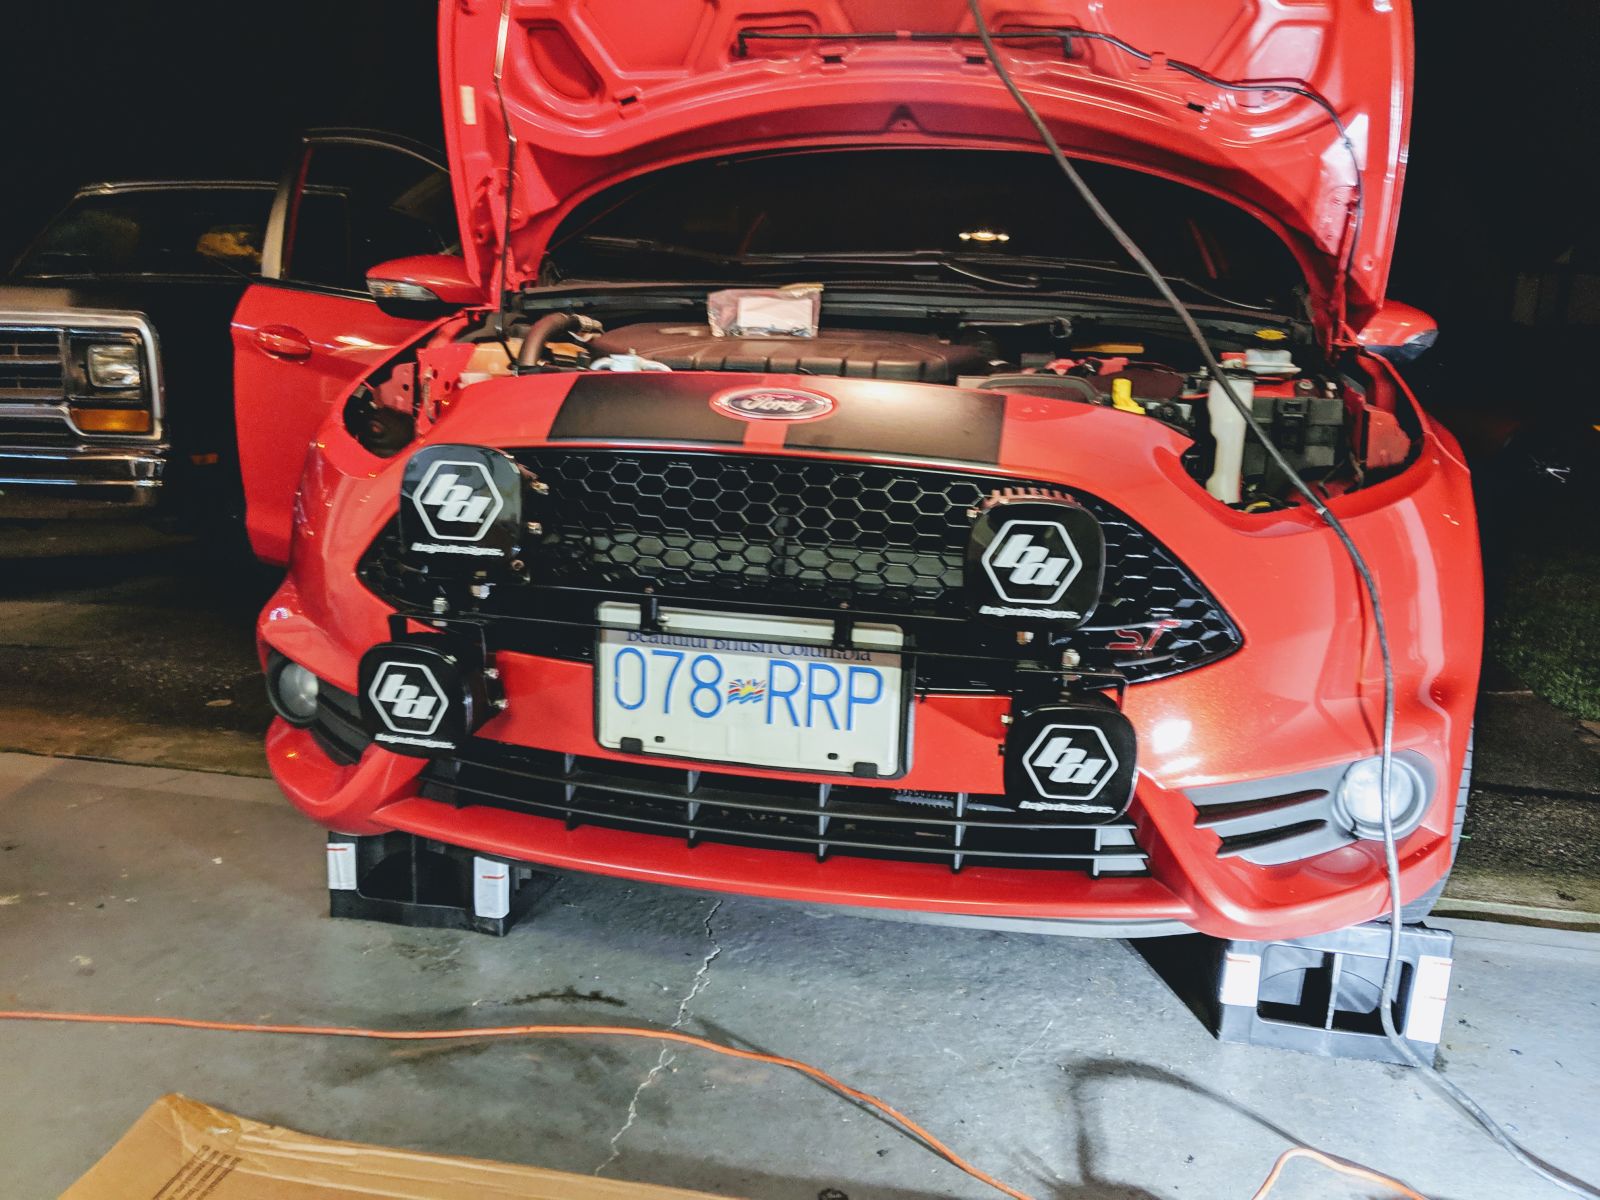
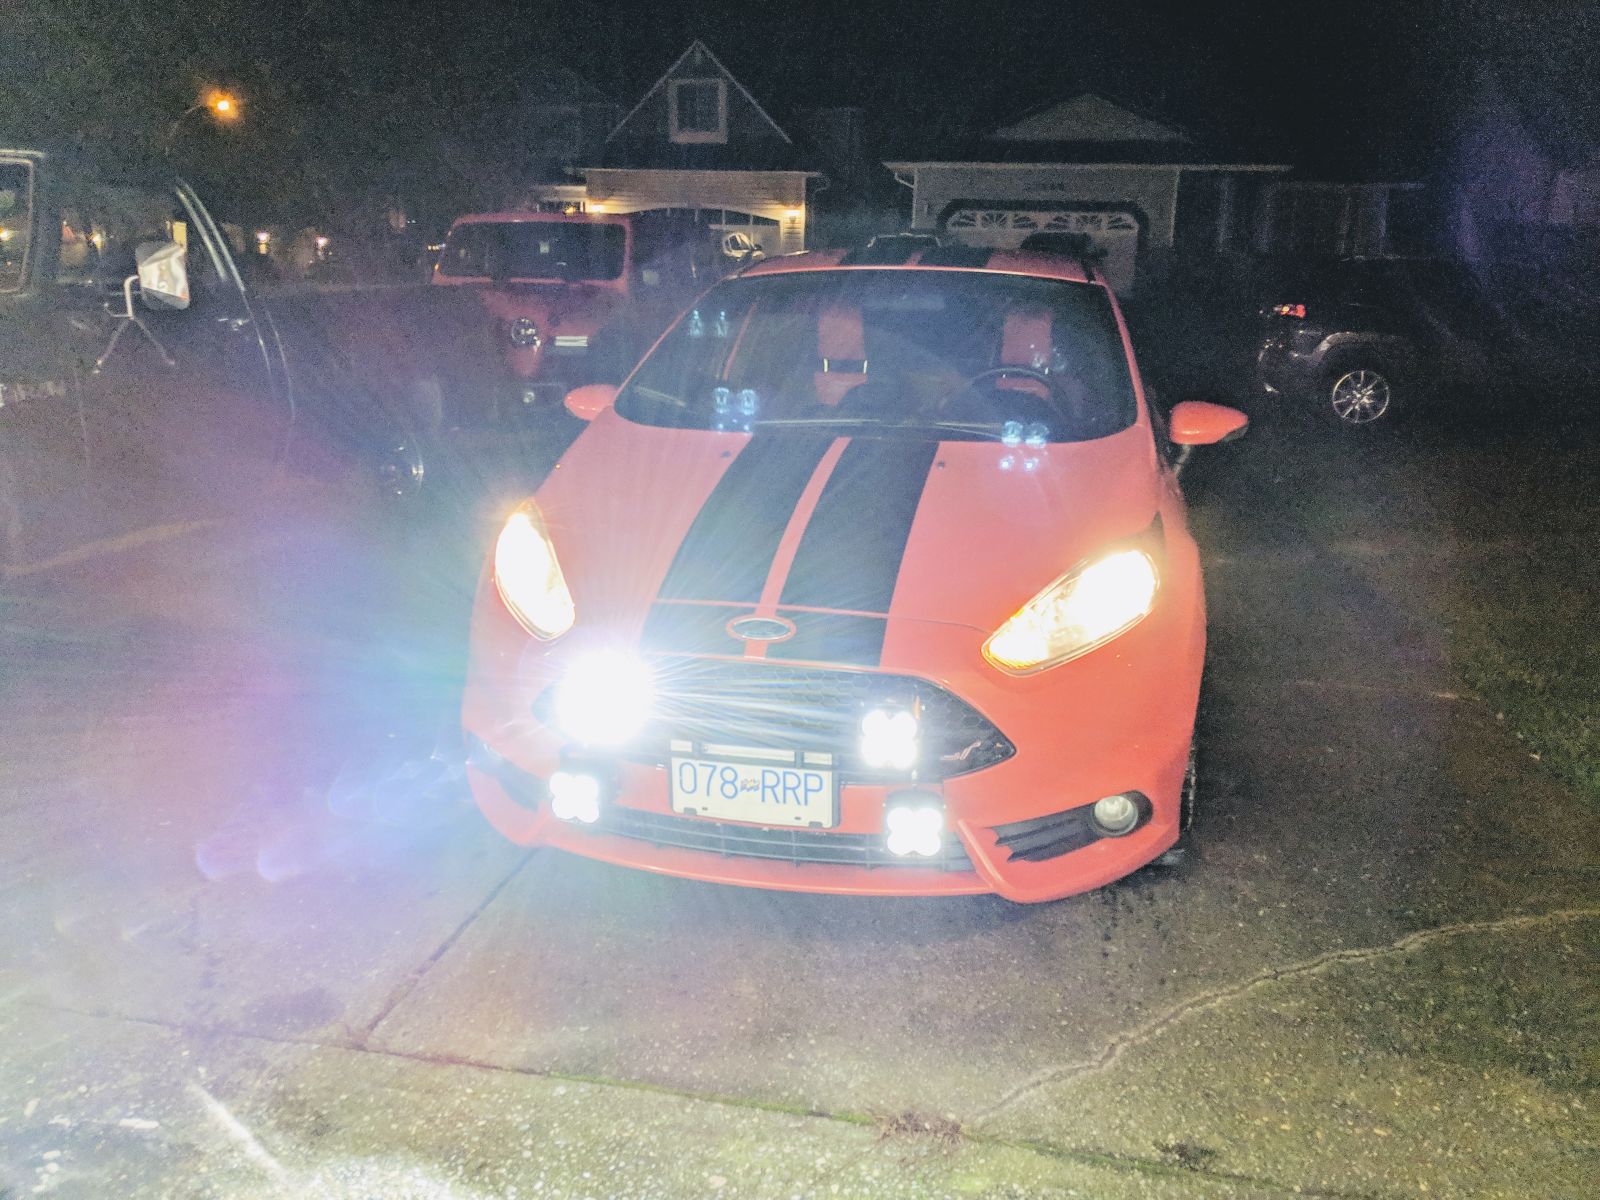
All lit and ready for aiming!