
Reposted from Corkscrewd.blog
SOMETIMES IT’S JUST EASIER TO BUY AFTERMARKET
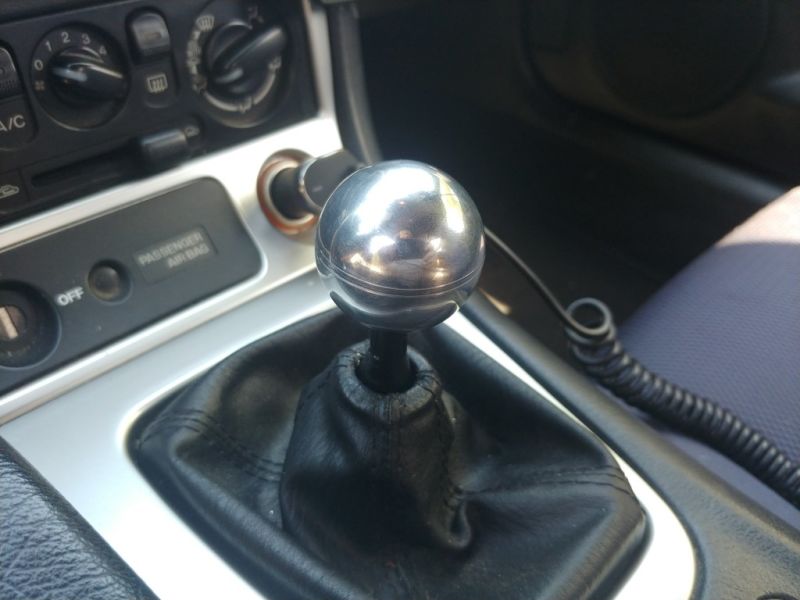
I wanted a new shifter knob. It wasn’t that I didn’t like my current knob. It’s very well designed. It’s just that I wanted to refresh my car’s interior a little bit. The problem was that I didn’t like the look of any aftermarket offerings, so I decided that I wanted to make one myself. I wanted to try some DIY car modification!
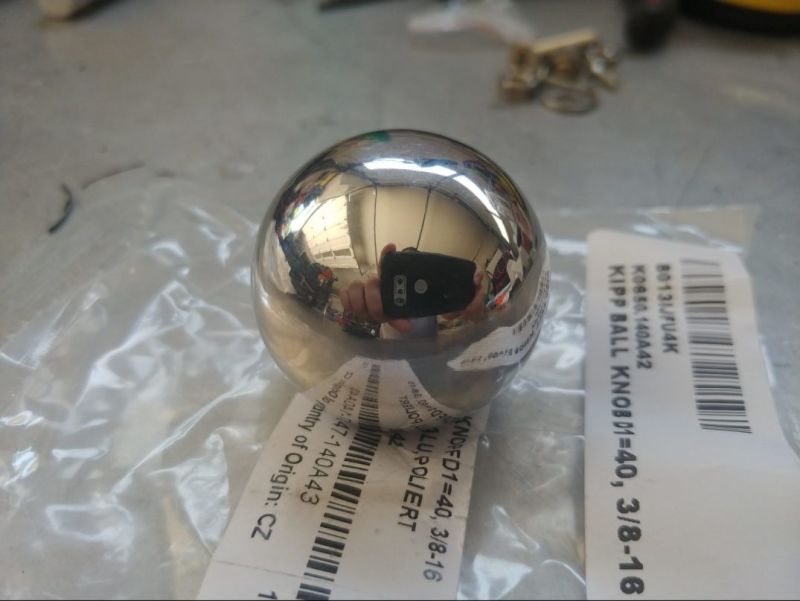
I found this really cool aluminum ball knob on Amazon for a decent price: $16. It was close to the thread size I needed, plus it wasn’t over-sized and loudly colored like some aftermarket gear knobs I’ve seen. I figured I could buy this knob, and then make the necessary modifications needed in order to have the knob fit my shifter rod. The end result would have been a cool, Di-It-Yourself gear knob!
At least, that’s what I thought I was going to end up with. Instead, I’m writing about how sometimes it really is just easier to buy a damned aftermarket part.
WISHFUL THINKING
I had the knob, which was a beautifully polished aluminum. I was told that the natural weathering would make the knob look even better after some heavy use. It was perfect for some DIY car modification! The only issue was that the knob didn’t fit outright, despite the closeness of the measurements. I would have to drill out the excess aluminum and then tap it with the needed threading. So, I went down to the hardware store for a drill bit and an M10 x 1.25mm tap.
I asked an associate for some help, and he gave me the tap and a 25/64 drill bit. Since I was making a new threaded hole, he thought that I could use this bit since it was very close to 10mm (9.9mm). I bought the tools and then I was on my way! After cleaning up the workspace and then prepping the tools, I fastened the aluminum knob to a vice and then got to work with the drill.
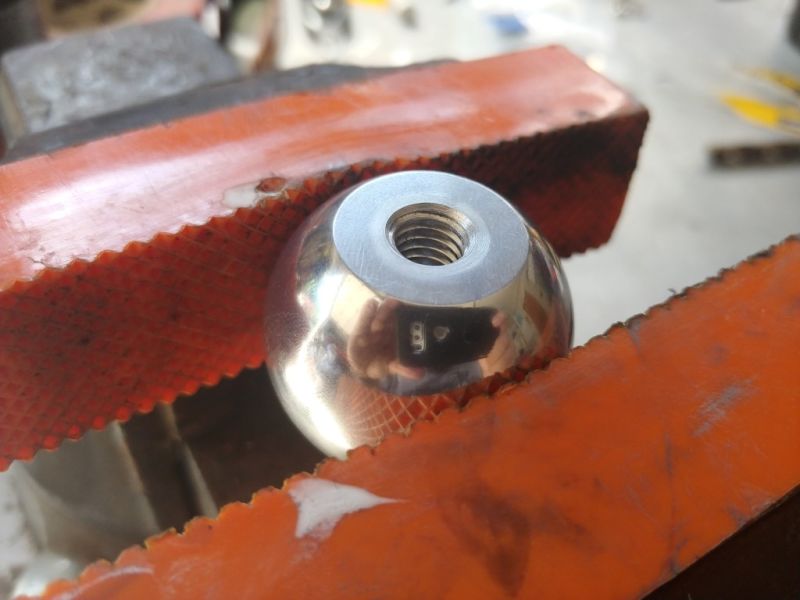
Then, I made a mistake. I was tired of the protective covering slipping when I fastened the knob, so I removed them. The first few seconds drilling out the old threads, the drill caught and wrenched the knob out of the vice. My beautiful polished aluminum ball knob now had a gash because I removed the protectors. I let my frustration known with a string of expletives. But on the bright side, I had been thinking about finishing the knob with a brushed finish instead of the polished look. I could still salvage the project!
MEASURE TWICE, AND THEN MEASURE AGAIN
After I had the old threads drilled out, I went to my Miata and then tried a test fit. The now drilled-out knob slid right over the threads. I became nervous. Did I just completely ruin my project? I went back to the tool and brought out the thread tap, and simply used a crescent wrench to drive it in. It actually worked well, up until I tried screwing the newly-threaded knob onto the gear shift shaft.
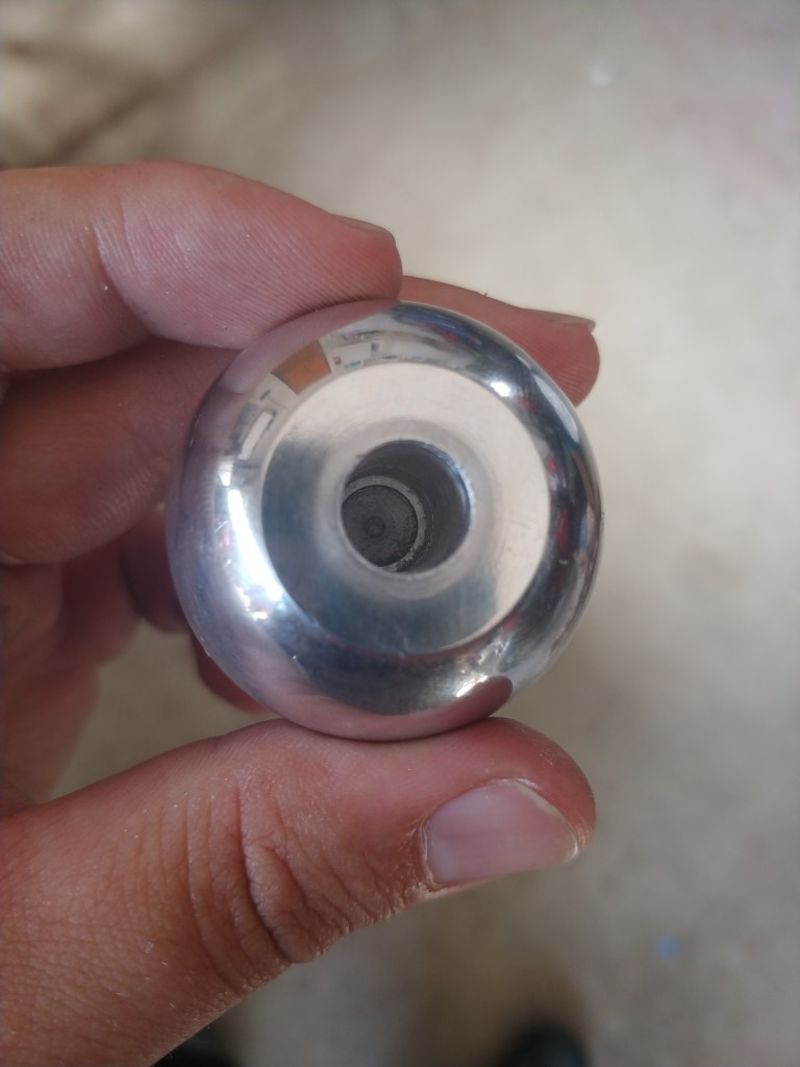
My fears were pretty much confirmed when the knob simply slid down the shaft without gripping. My DIY car modification was completely ruined. I ended up throwing DIY shifter knob hard enough to break Delta-V and went back inside the house for a beer.
WHAT WENT WRONG?
I made several mistakes on this project and it ended up costing me the entire thing. First, I didn’t make sure that the drill bit I used was exactly what I needed. As it turned out, the tap had a recommended drill bit size, but neither I nor the associate caught that. Personally, I think this was the associate’s fault because he didn’t make sure either. Secondly, I didn’t take the proper precautions when fastening the knob with the vice. I had removed the protective covers on the vice because they kept shifting during the drilling process. Removing them not only marred the finish of the knob but ended up causing some damage that I wasn’t completely sure I could polish out.
Lastly, the cost of the entire project ended up missing the point of having an aftermarket-style knob, to begin with. I ended up spending almost $40 for a DIY solution when I could have gotten an already finished, brushed aluminum knob for around $20. Had I decided to simply look for something already available, I wouldn’t be writing this blog post.
LESSON LEARNED
So, let this be a lesson to you if you’re planning on taking on a DIY project for your car: Make sure you have an idea for what you’re doing and don’t rush., and most importantly, don’t make something more complicated than it needs to be.
Now, I have to figure out if I can refund these tools so I can get that $20 shifter knob!
Edit: I decided to try again thanks to the advice of you awesome Opponauts! I’ll post an update soon.