
Reposted from Corkscrewd.blog
AT FIRST YOU DON’T SUCCEED…
In one of my recent posts, I wrote about how sometimes buying a pre-made aftermarket part is a lot less of a pain than taking on a DIY car modification project. I had tried to take a surplus aluminum industrial knob and then adapt it to my car’s shifter for a fashionable, DIY shifter knob.
Unfortunately, I made some mistakes in the small project that basically ruined the knob, and I was forced to concede that it might have been easier to just buy aftermarket. Had I been a little more careful, I wouldn’t have ruined my project.
Well, after posting this story on Oppositelock, the community jumped onto the post and the comments started flying. Each commenter had an idea on how I could salvage the project and offered me encouragement to continue the project. One even suggested that I was lucky because it was “an inexpensive lesson.”
Thanks to that community and their ideas, I regained my confidence and decided to try again!
“…TRY AND TRY AGAIN.”
I had several options laid out to me. First, was the relatively simple method of filling the bore with JB Weld and letting it harden overnight. When it was hardened, I could take the correct-size drill bit and then drill another hole. Then, I would re-tap the hole with the thread tapping tool and voila; knob fixed! The only issue would have been making sure that the plug stayed in place during drilling, and making sure that the drill was perfectly center on the plug.
Second, I could buy some Helicoil and re-thread the hole to the needed thread size and pitch. This would have been much simpler than the JB Weld method, but I would need to buy a specialized toolset in order to do it. Seeing as the needed coil was just part of a standard toolset, I wasn’t about to shell out more money for something I was going to use only once or twice.
The third option was the simplest option: just but another knob and try again. The knobs themselves weren’t that expensive. Plus, they were less expensive than the other two options. So, I ended up just buying another knob to try again.
PATIENCE IS A VIRTUE
When the new knob arrived, I was ready. I had already gone to my local hardware store to exchange the drill bit I was sold. Luckily for me, they were more than willing to take the old bit back and give me the correct size! I had set up the workspace and made sure there were no shavings from the last attempt to mar the finish on the new knob. Also, I had slipped on some covered for the vice I was using so that it wouldn’t damage the knob.
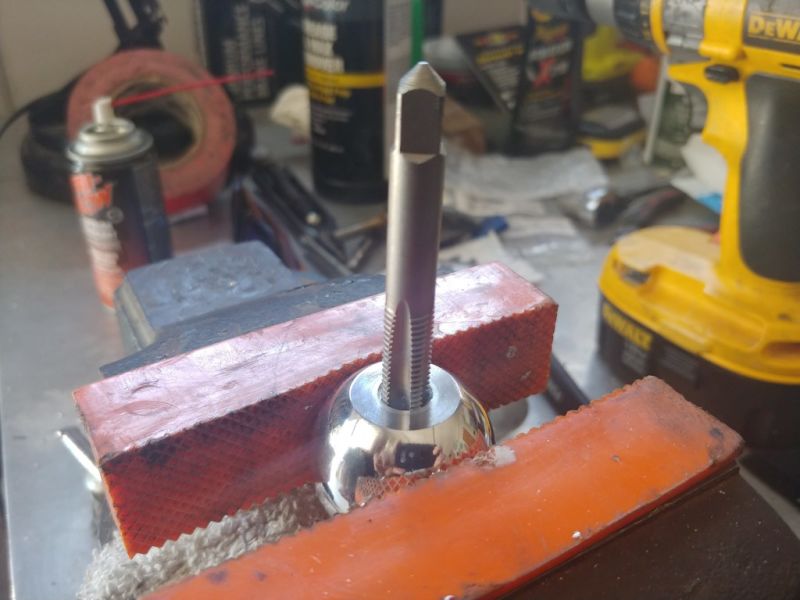
Then, I got to work. The used the new drill bit and bored out the old threading from the knob, backing out every now and again being careful not to let the drill catch. The drill only caught once or twice, but thanks to the covers over the vice, there was no damage done to the knob when it decided to “walk.” It was slow and painstaking, but I managed to pull off drilling everything out!
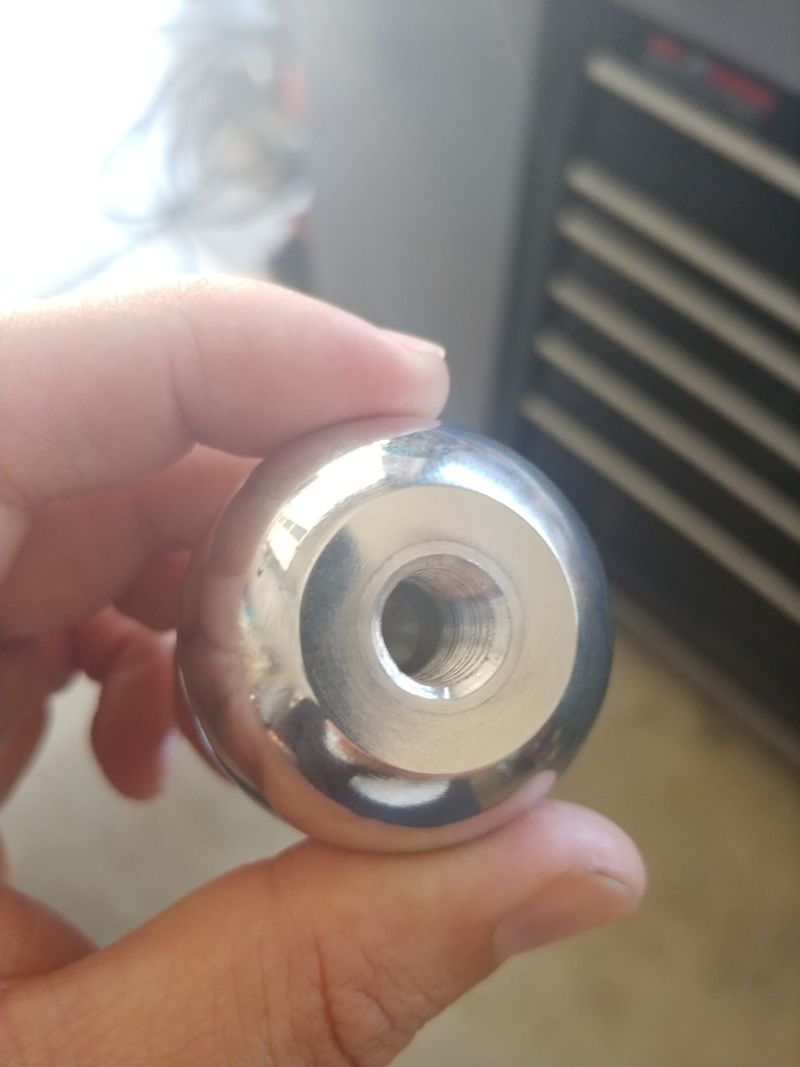
Lastly, I took the thread tapping tool and gently threaded the fresh bore inside the knob. This part took even longer because I didn’t want to accidentally cross-thread the bore. My patience paid off though: I successfully re-threaded the knob!
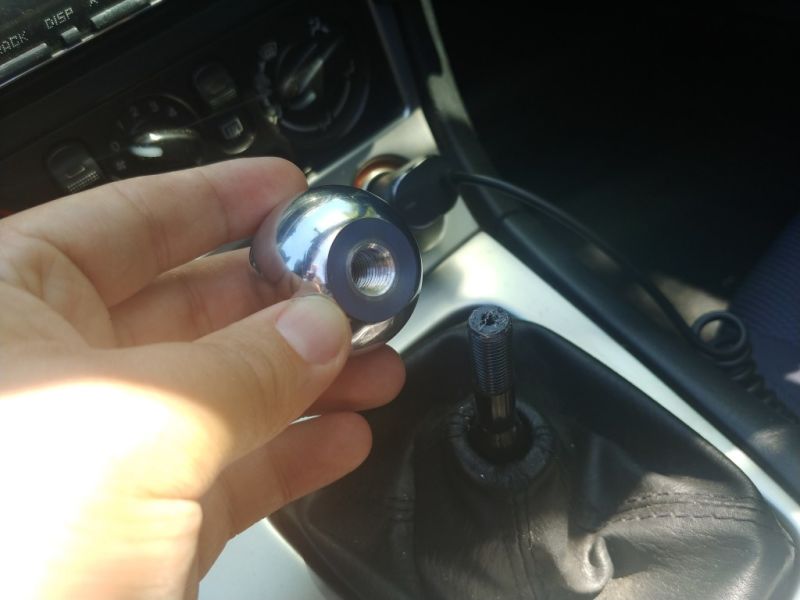
Now, was the moment of truth. I practically ran toward my car and threw the door open. I swiftly unscrewed the old shifter knob and threw it into my glove box. Then, I held my breath and gently screwed the aluminum knob onto the stick.
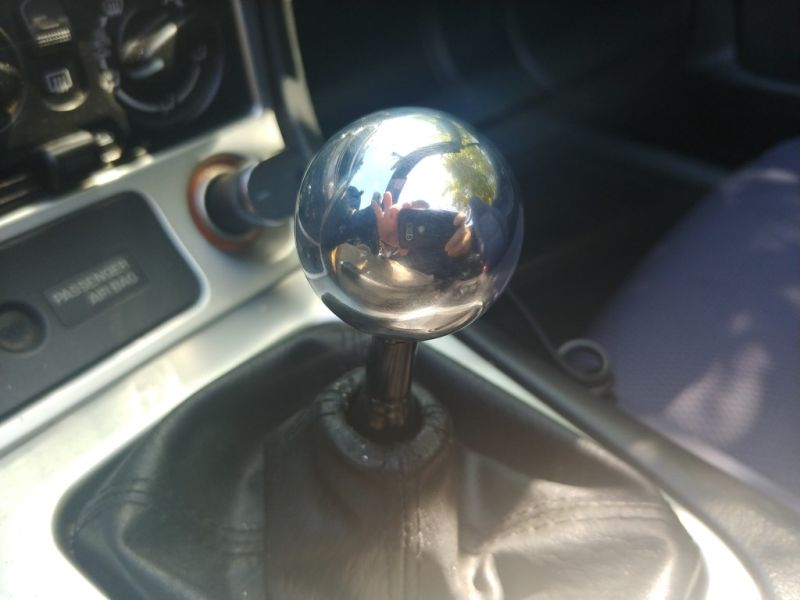
IT FITS!
I finished screwing the knob and then stepped back to admire the work. It was then that I noticed that the new shifter knob accidentally matched with the chrome rollbar that came with the vehicle. At first glance, it looked like the knob was meant to be there! Ecstatic, I hastily put my tools away and went for a spirited drive through some of the country roads nearby to test the new knob.
I have to say, shifting is a joy with this car now with the new aluminum knob! Also, even at 100 degree days, the knob tends to stay cool so long as I park in the shade!
LESSON LEARNED
After my first attempt, I gave up a little too easily. I blame it on being frustrated that “my brilliant plan” didn’t work out the first time around. But, making mistakes is a great teaching tool. I had learned that if I took a step back and realized what went wrong, I would have the knowledge to succeed the next time around. All I needed was the encouragement from more knowledgeable people to try again.
So thanks Oppo! I’m enjoying my new shifter knob now!