And now for something a little different! Originally posted on Corkscrewd.blog
One of my hobbies other than shooting photos at car events and blogging is scouring local thrift shops for vintage camera lenses. Any photographer will tell you that there’s nothing quite like vintage glass. Why bother with an Instagram filter when you can get the look you want straight out of the camera? Using vintage lenses doesn’t just give you the opportunity to be creative with your photos. It can help teach beginners the fundamentals of photography. Plus, you won’t have to break the bank! So, here is my guide to shooting with vintage lenses.
Finding Vintage Lenses
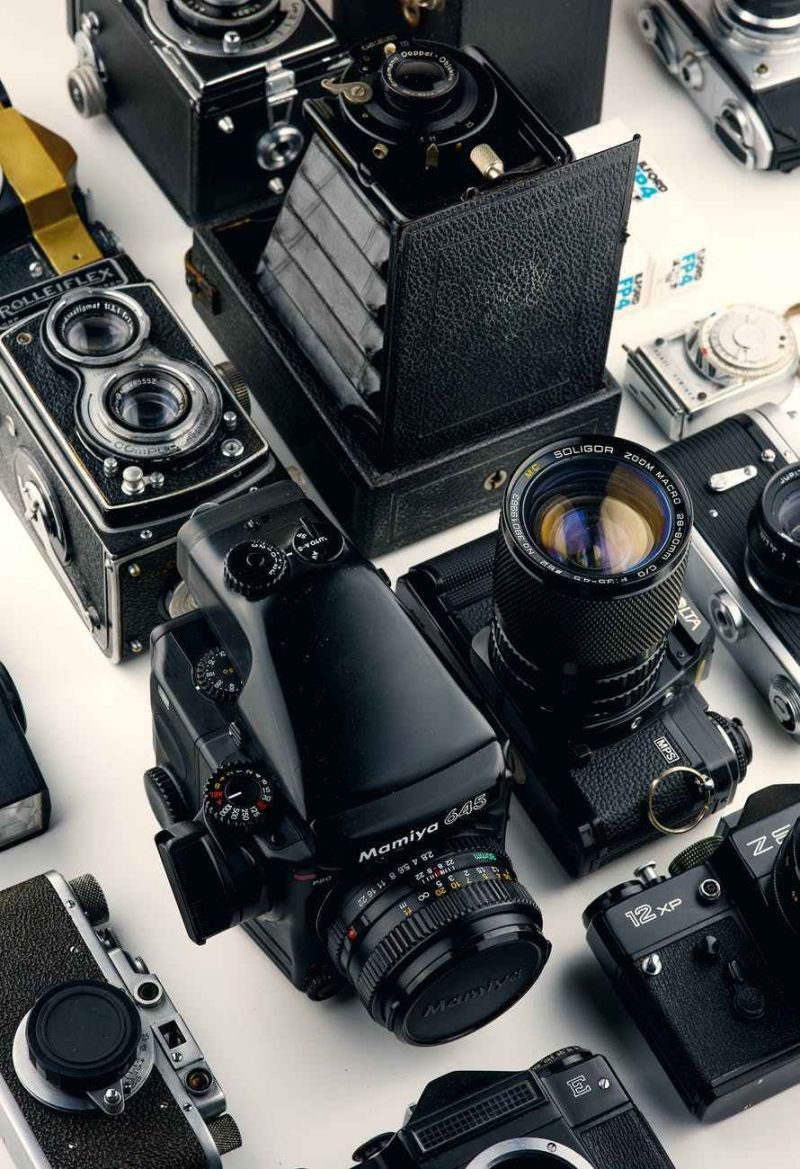
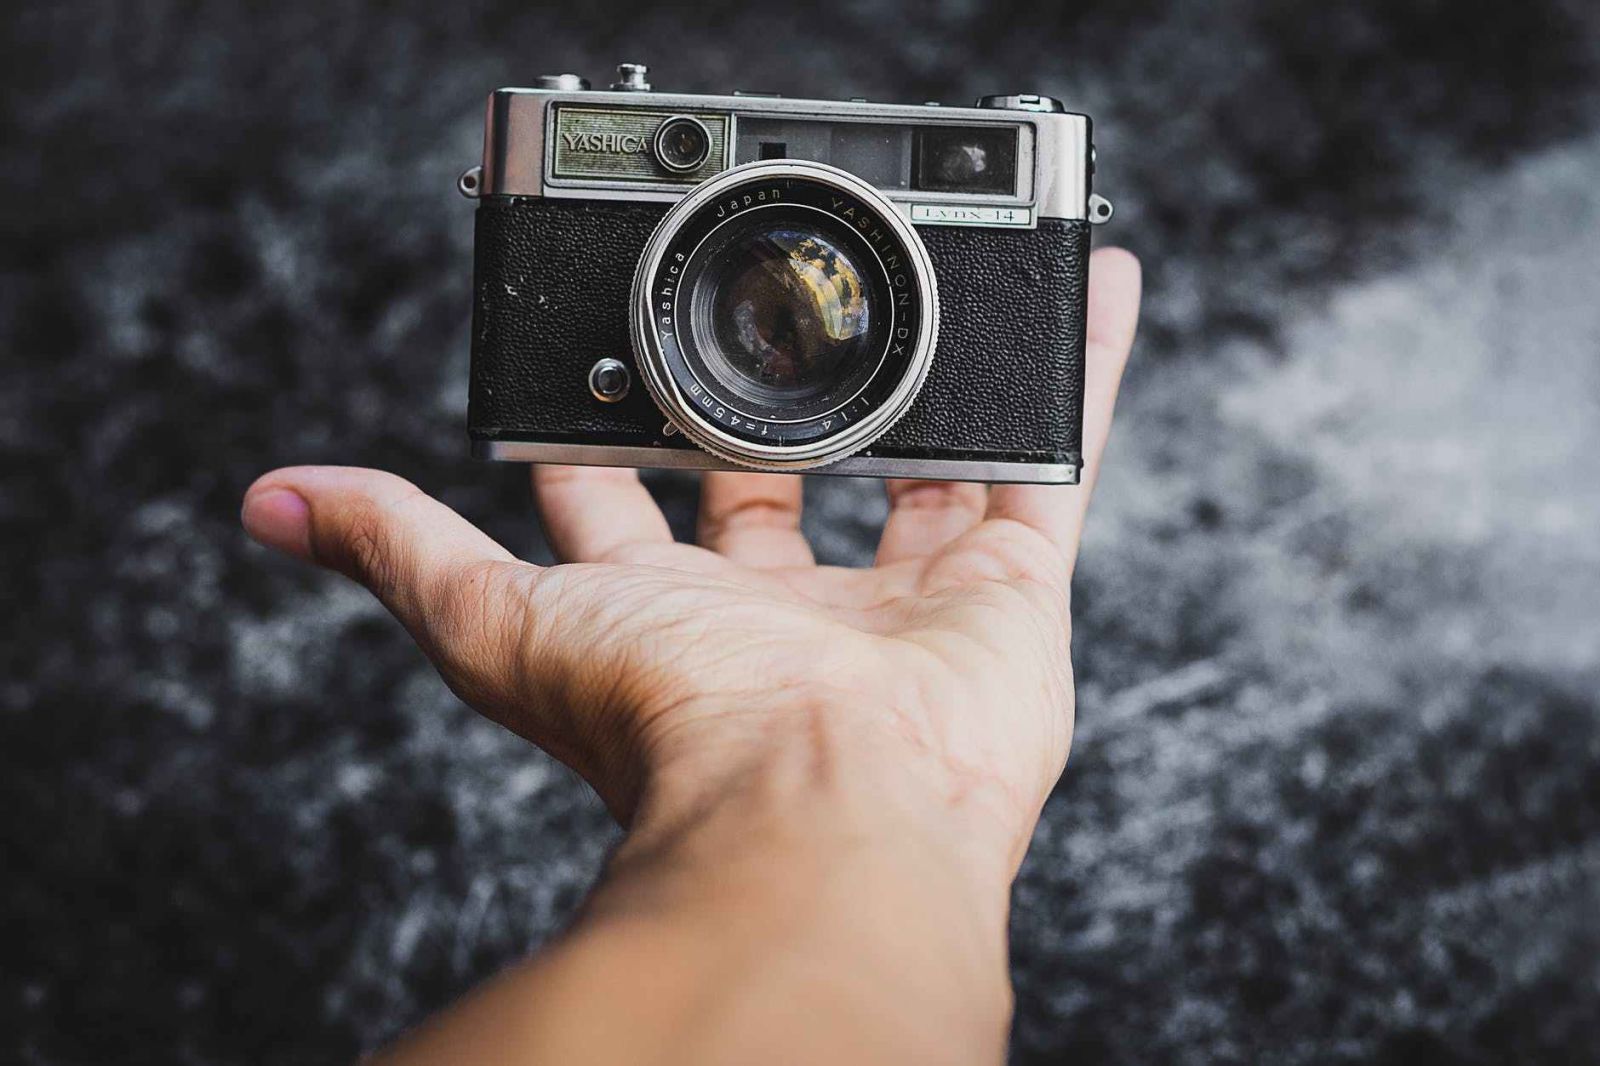
Finding an interesting vintage lens to shoot with is as easy as heading down to your local swap meet or thrift store. The majority of my lenses I’ve either acquired from Goodwill or as a trade at a flea market. You can usually find old cameras and lenses behind the glass cases at Goodwill or The Salvation Amry. You could also find them near the Audio/Video equipment next to vintage camcorders and projectors. In fact, you could even use old 35mm projector lenses as a camera lens, but that’s another story.
If the thrift stores don’t work out, sometimes you can find some interesting vintage lenses or even whole cameras at a flea market. I’ve often found some interesting stuff just laying around for cheap at some of the swap meets I’ve been to. I’ve even made trades for some lenses I had for something at the flea market. This can be a bit of a crap shoot though since more often than not the quality of the lenses depends on several factors.
What to look for in a vintage lens
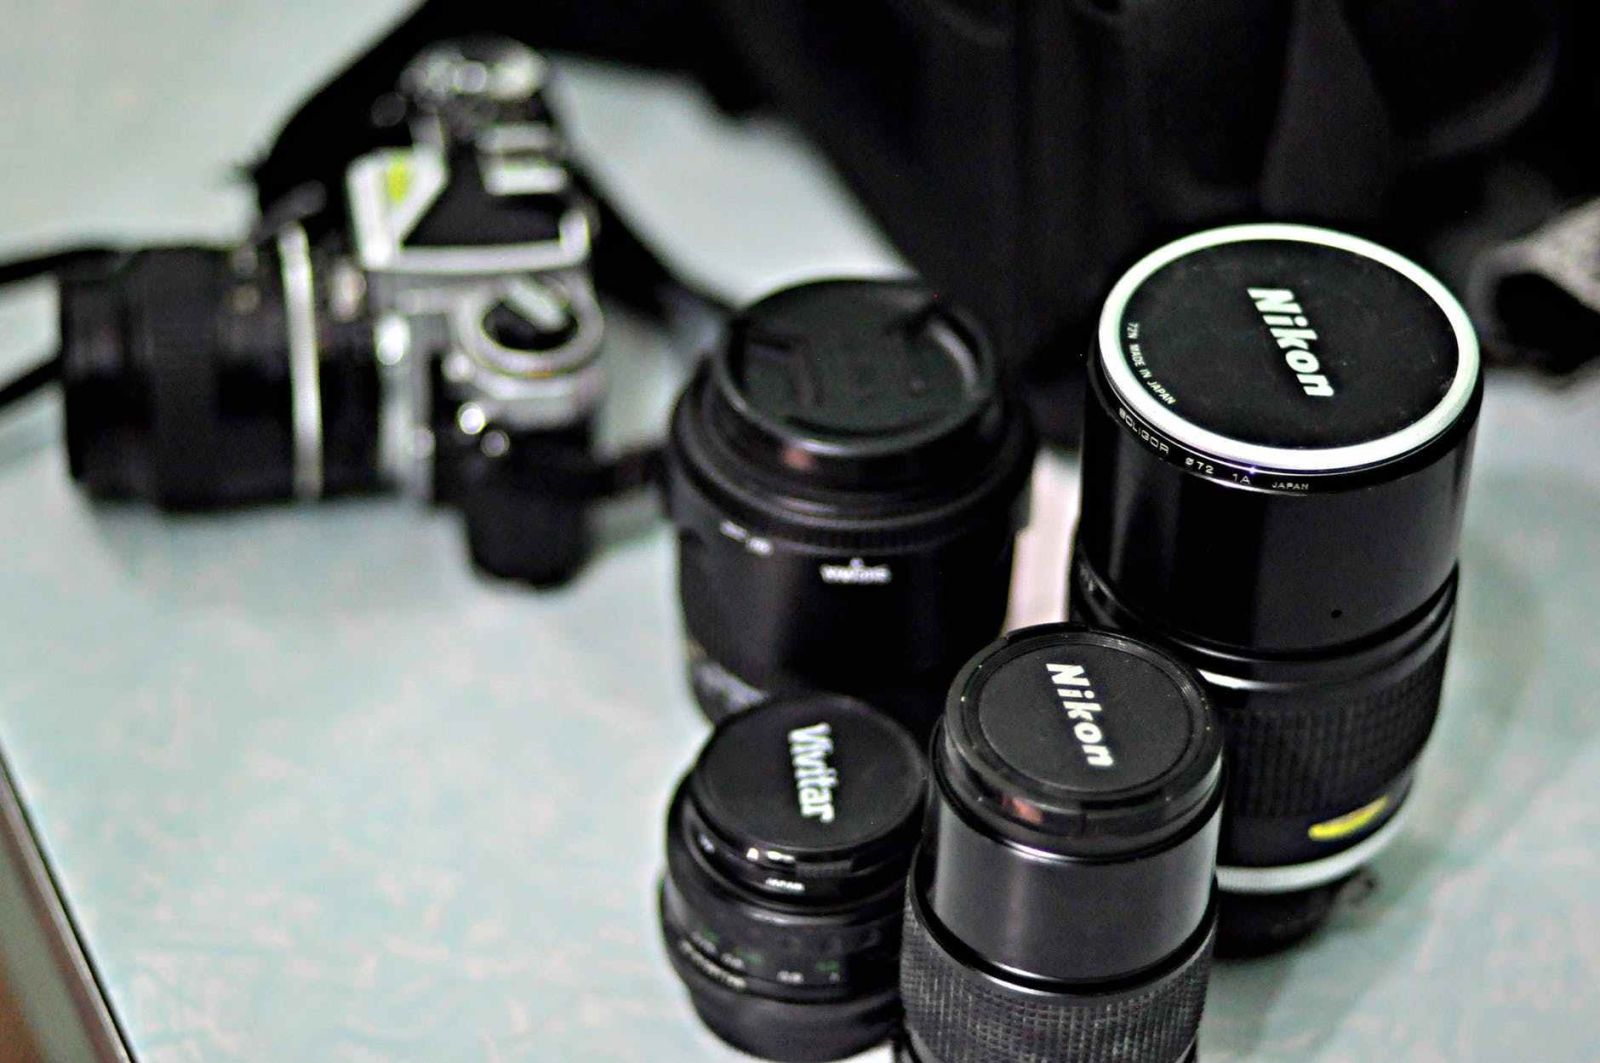
When I find a vintage lens I like, I always check for the following:
- Condition of the body, glass, and mechanics
- Type of mount
- (Optional) Novelty
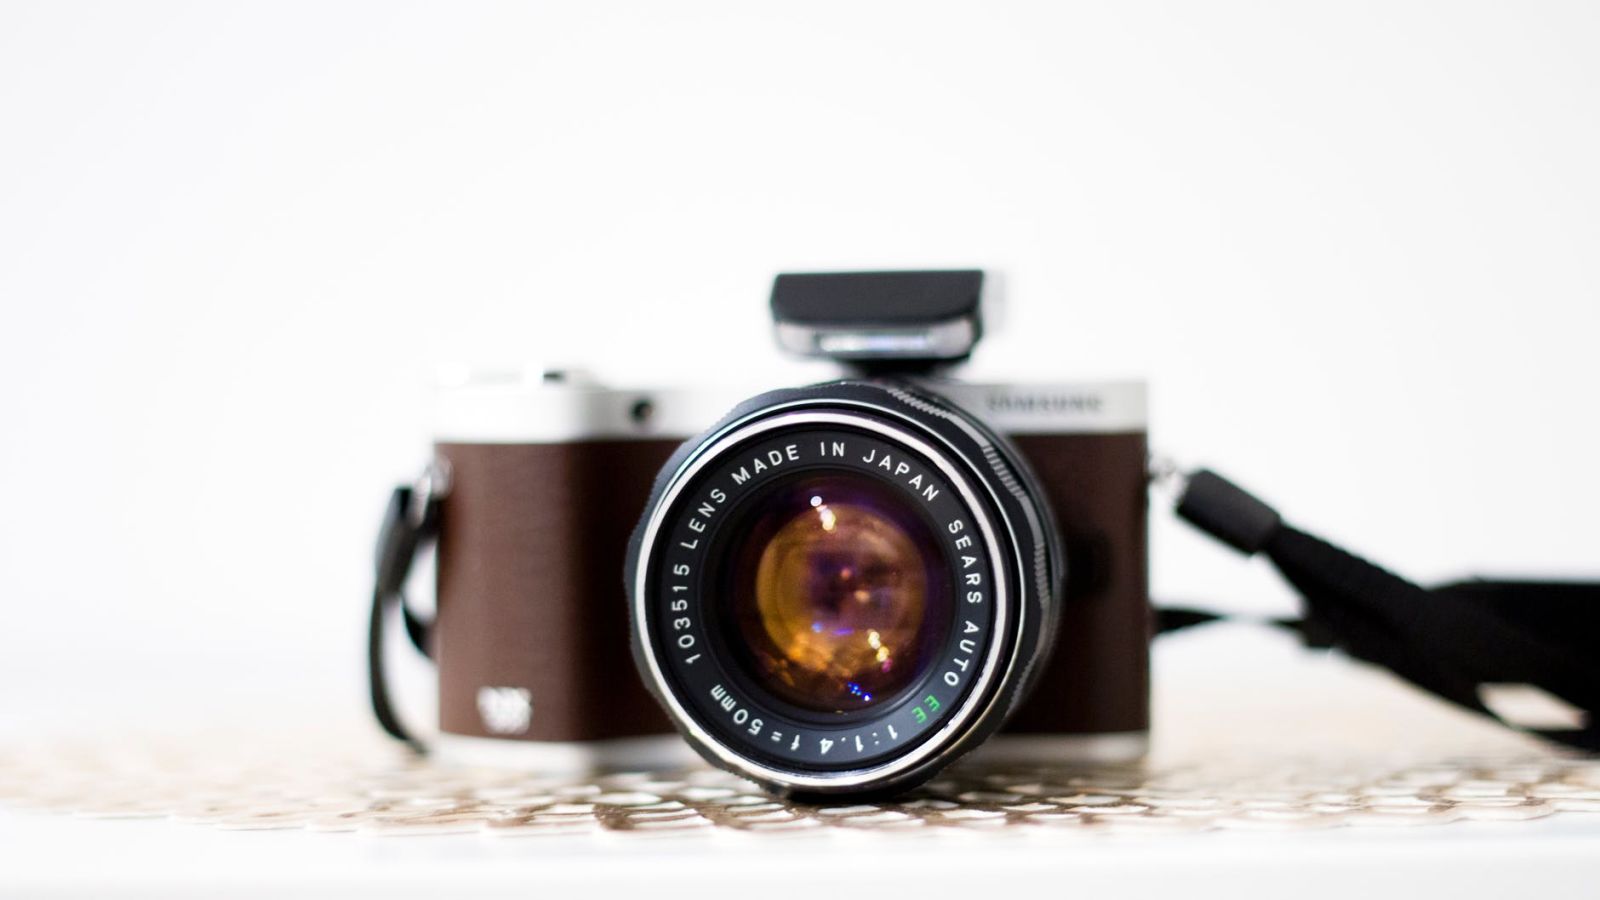
The most important thing to look for is the condition of the lens. I often look closely at the quality of the glass, the body, and the mechanical components. If the glass looks hazy or looks like it has “hair” in it, then the lens is no good. Moisture might have gotten inside the lens and a fungus is now growing on the glass. The body of the lens could have some scratches and even some dings in it while still being usable. But, if the mechanical components are affected by the damage, then the lens is also no good.
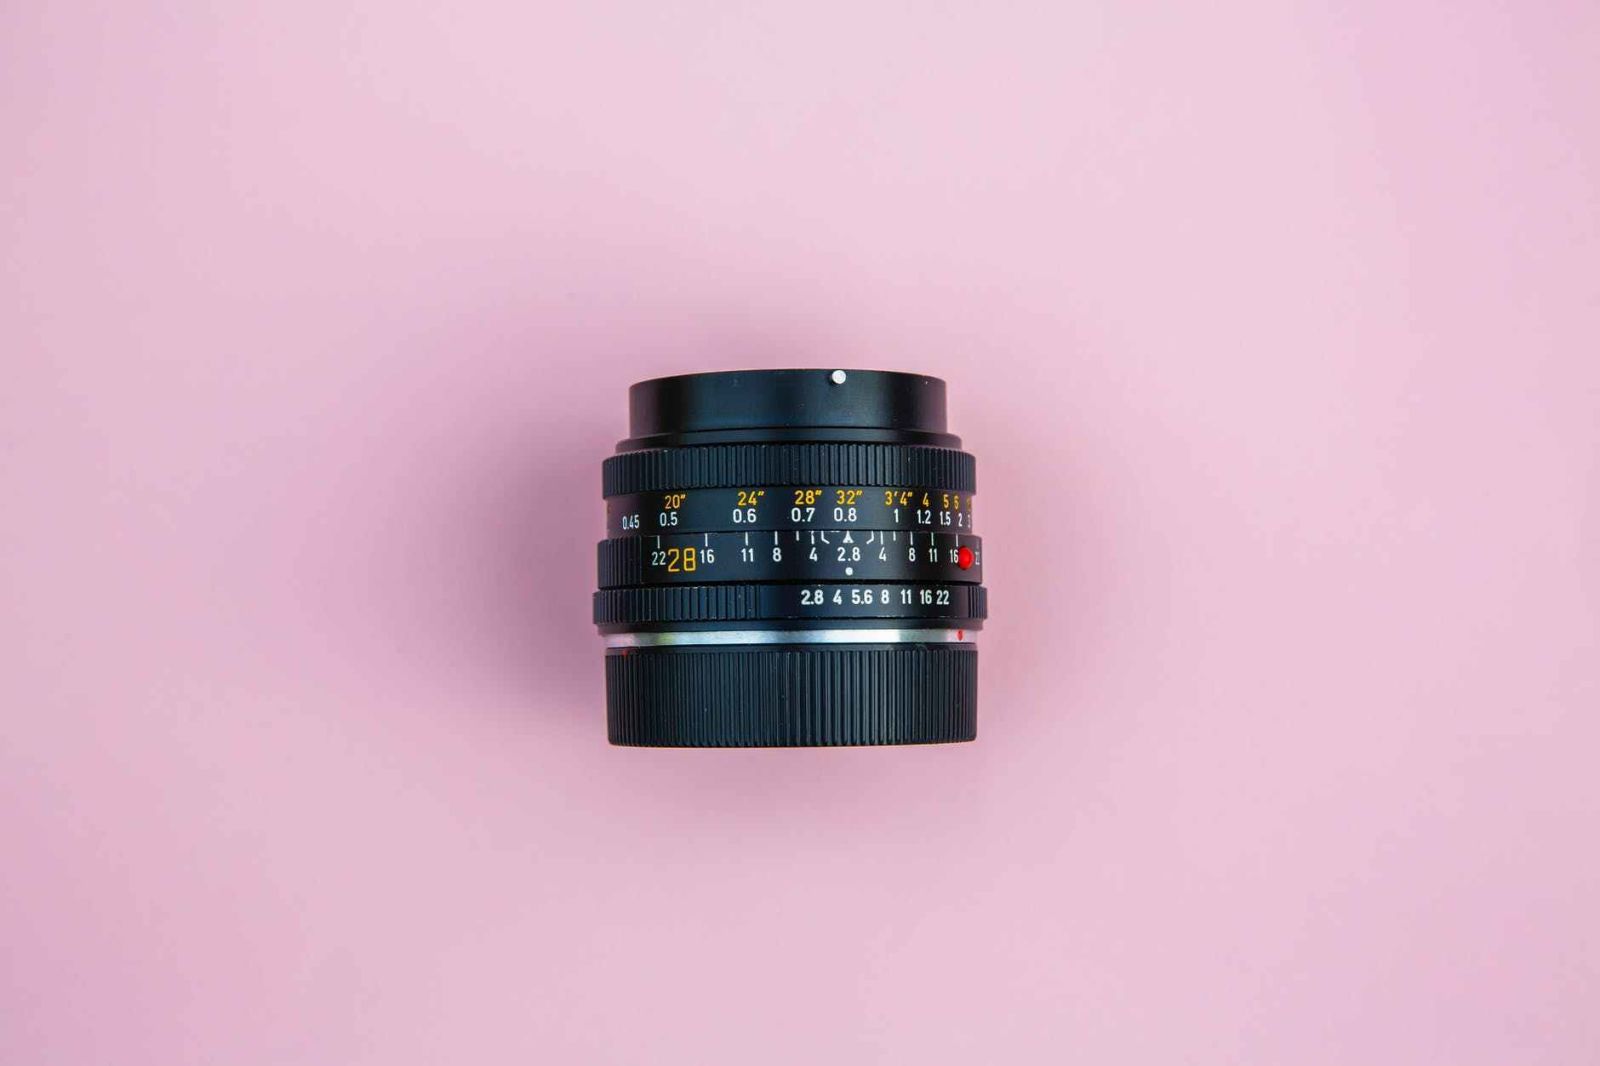
Second, I look at the lens mount. This part isn’t quite as important as the condition of the lens since there are aftermarket conversion kits available for adapting a different lens mount to your camera body. For example, I use a Fotodiox Canon FD & FL to Canon EOS (EF, EF-S) adapter with my older Canon lenses. If I’m set on a certain lens, I can quickly check if there are options available to adapt the lens to my camera body. Also, there are resources like AllPhotoLenses.com that will help you figure out the type of lens you have and what kind of mount it uses.
The last thing I look for in a vintage lens is its novelty. This part is completely optional, but I can’t help but pick up a lens which I think looks cool or has a strange function! One of the coolest lenses I have I bought on a whim because I noticed that the aperture dial was broken, but the glass and lens body were pretty much perfect. The lens ended up becoming one of my favorites for portrait photography thanks to its wide-open aperture, zoom, and ergonomics!
Shooting with a vintage lens
Shooting with a vintage lens can get pretty tricky, but the results are almost always rewarding. I mentioned earlier that sometimes you’d have to find an adapter to adapt an older lens to your newer camera body in order to use it. While this can get tricky, later purchases of vintage lenses could be guided by whatever adapters you already own. I’ve already got several for Canon FD lenses, Minolta MD lenses, and Pentax K Mount lenses!
After mounting your lens, you would have to get used to shooting completely manually without the use of autofocus. While you can get adapters that allow you to use the autofocus controls, it’s not quite as fun as doing it the “old-fashioned way.” Setting up your camera to shoot with a vintage lens could require some experimentation as well. I usually set my camera to its “Aperture Priority Mode” since I would be controlling the aperture, zoom, and focus manually. In addition, I wouldn’t have to worry about shutter speed since the Aperture Priority mode automatically adjusts it. I usually set my ISO and my light balance manually, but you could also leave the ISO on Auto. If you’re just starting out with a vintage lens, I would suggest that you start shooting on Auto so you could get used to adjusting the lens manually.
In Conclusion
Shooting with a vintage lens is rewarding, but it does take a lot of work. Sometimes it could take more than a few tries to get it right with a lens. Even then, sometimes the lens you found might not work for you. However, a lot of these lenses are rather affordable, so if a lens doesn’t quite work out, you’re not going to be out a lot of money! Furthermore, a lot of vintage lenses are collectible, so you could trade them at swap meets or flip them on eBay! In the end, using vintage lenses will help you become a better photographer, and you’ll end up with some great photos!