Originally posted on Corkscrewd.blog
Originally, I wasn’t planning on taking on another Do-It-Yourself project. But, I was browsing Craigslist one day for parts for my Miata to kill some time. I wasn’t looking for anything in particular; I just like to browse and see what piques my interest. In my search, I found a listing I had to read several times to make sure I didn’t misread:
2003 Miata SE Wheels – $80
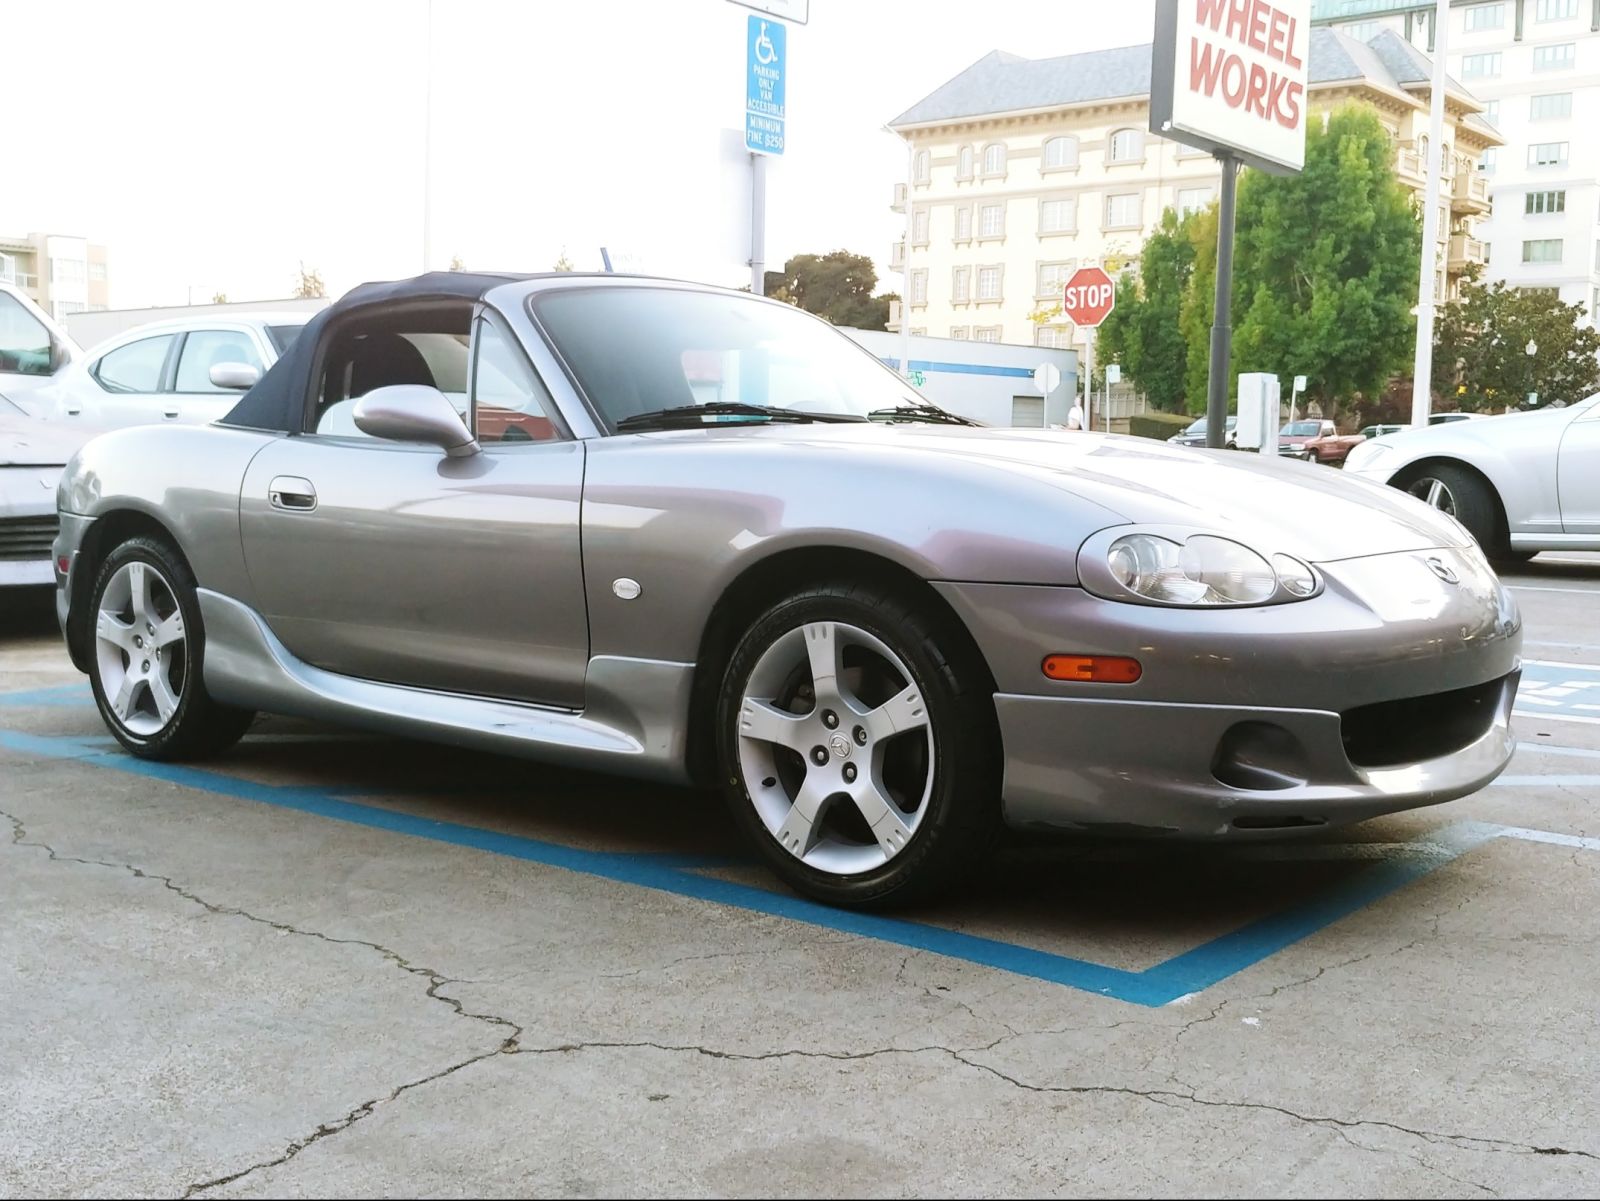
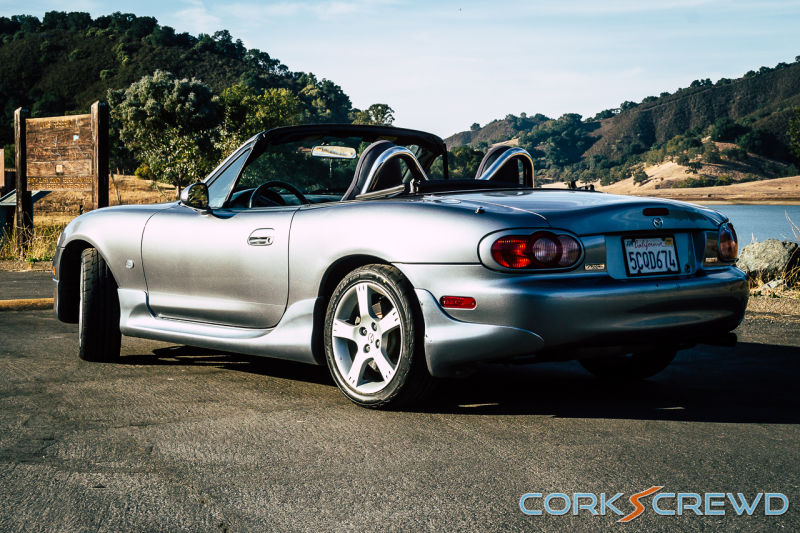
$80 for a set of wheels that were offered on the top of the line Special Edition Miata in 2003? These wheels were what I thought a special edition Miata like the Shinsen should have come with! And here they were in a Craigslist ad for $20 a wheel! I messaged the seller that night and mentioned I had a Shinsen Miata that the wheels would look good on.
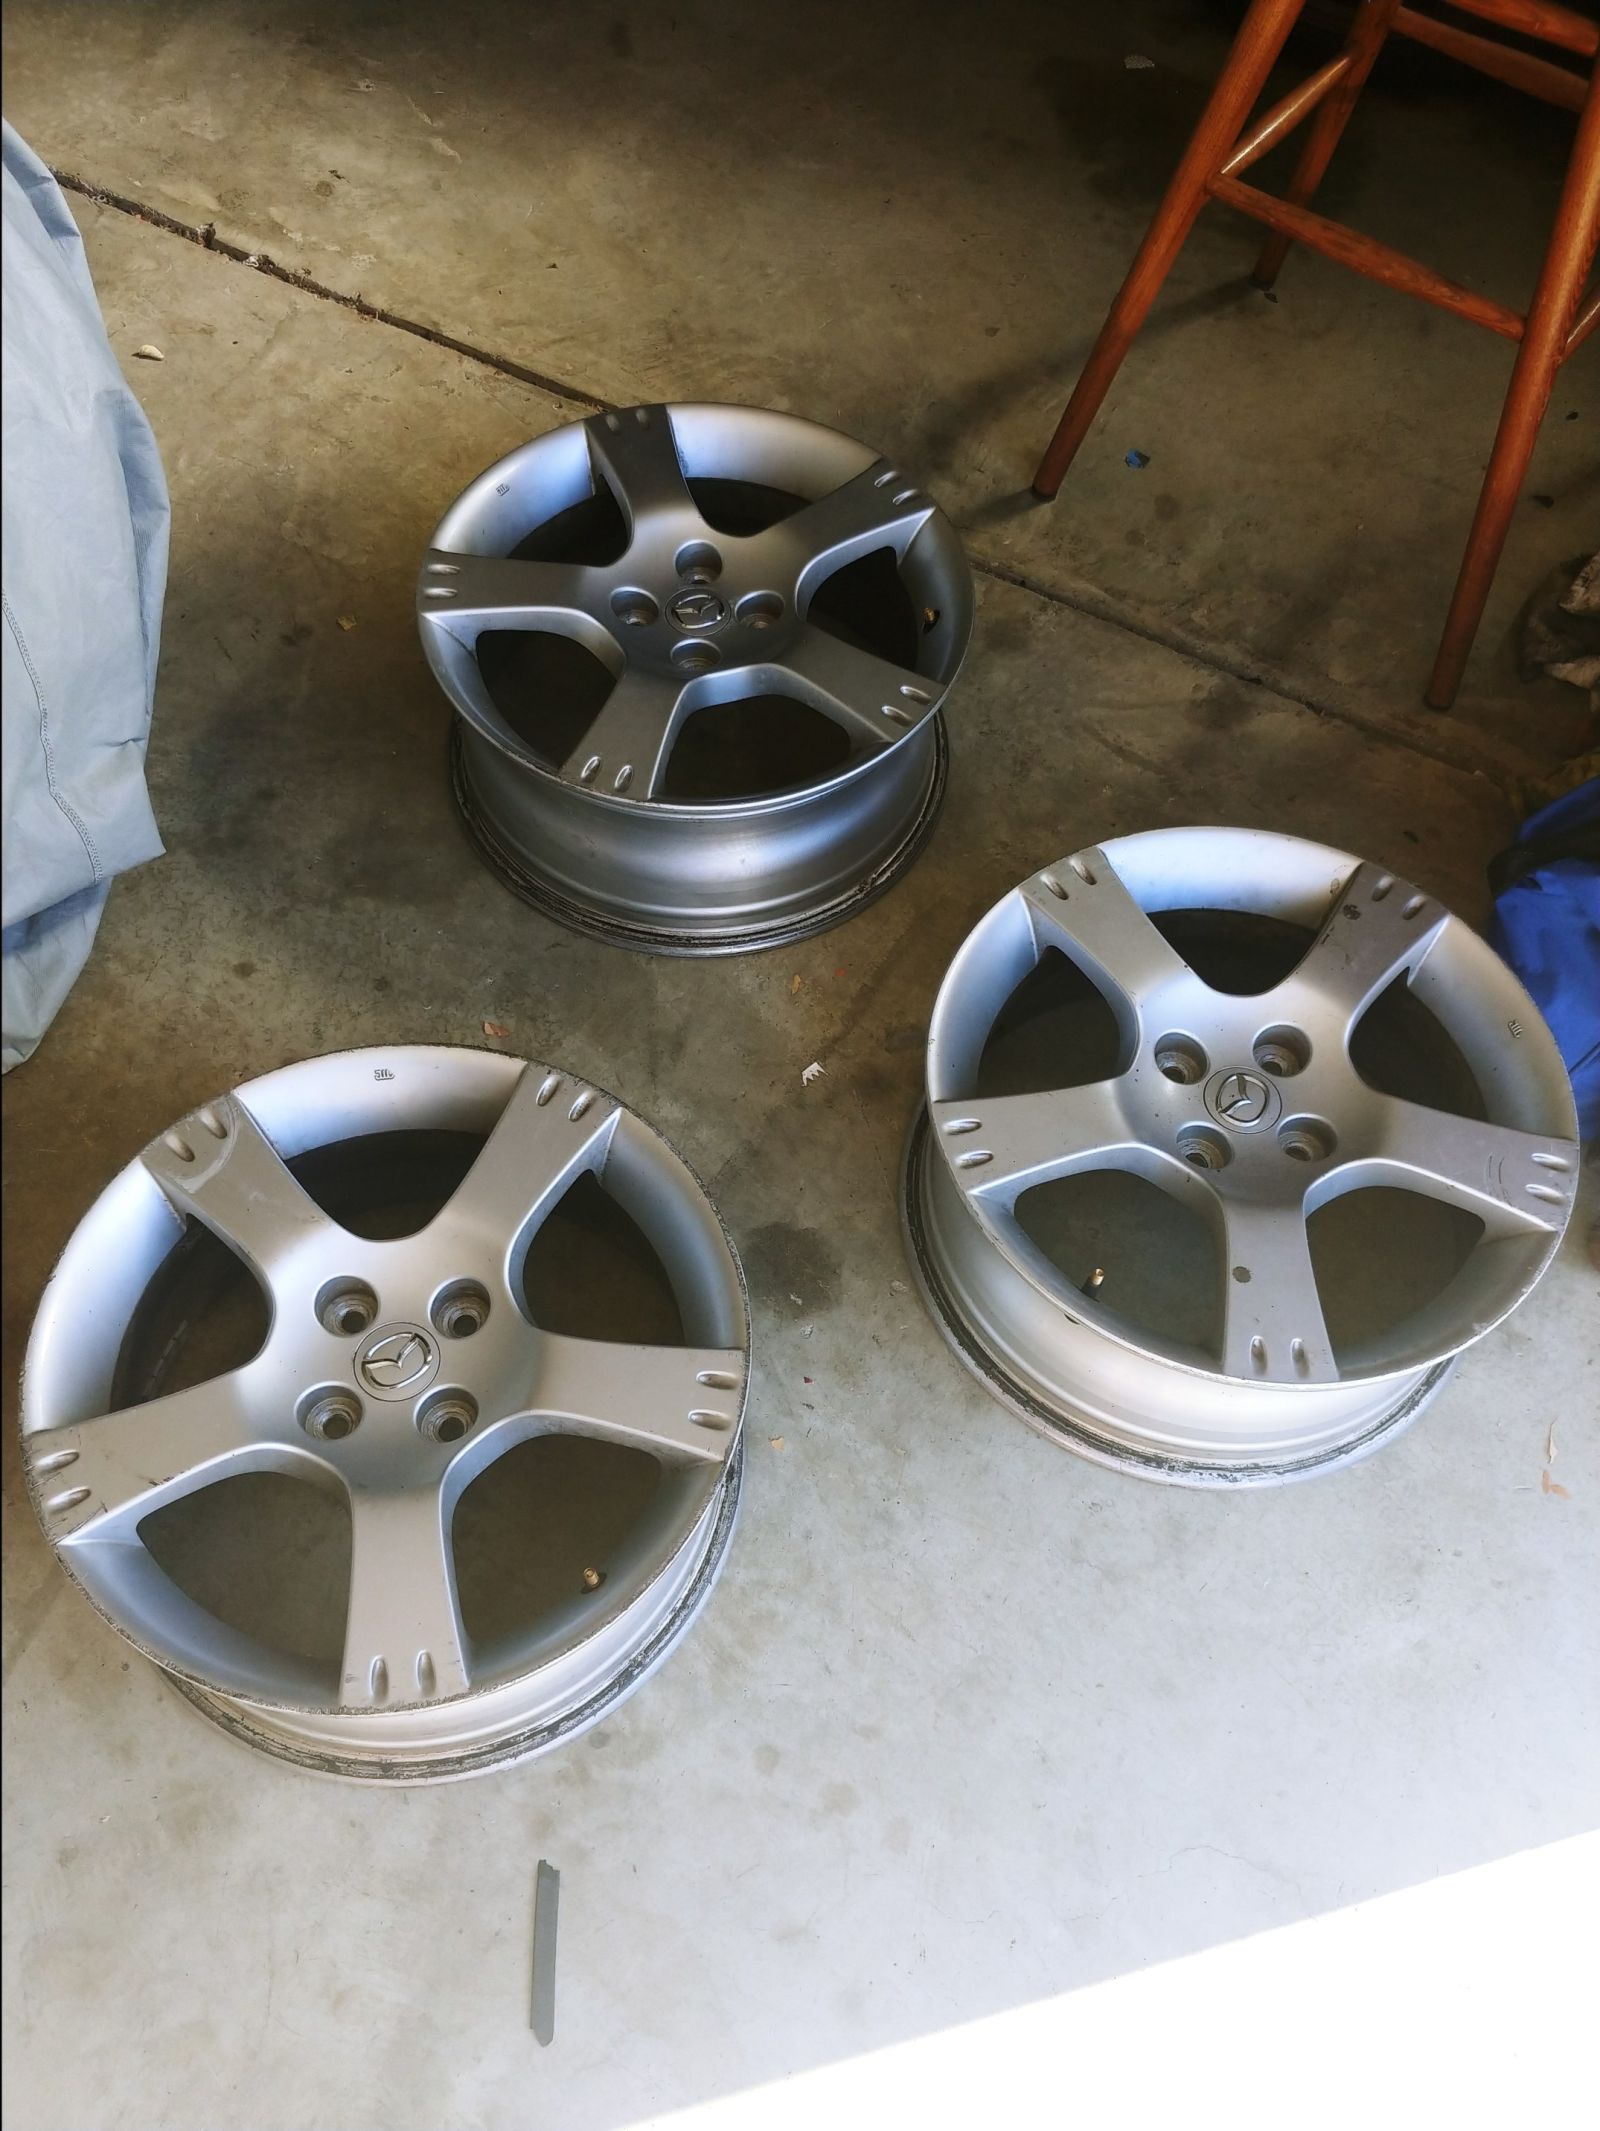
He agreed, so we made plans to meet that night. An hour later, I had a full set of rare OEM wheels for my Miata! There was one caveat: The wheels were badly curbed. They might have been worse than the wheels that came with my car! But I liked the look, so I figured, “why not try my hand at restoring them?” It was time for another Do-It-Yourself Project!
Sanding, Sanding, and More Sanding
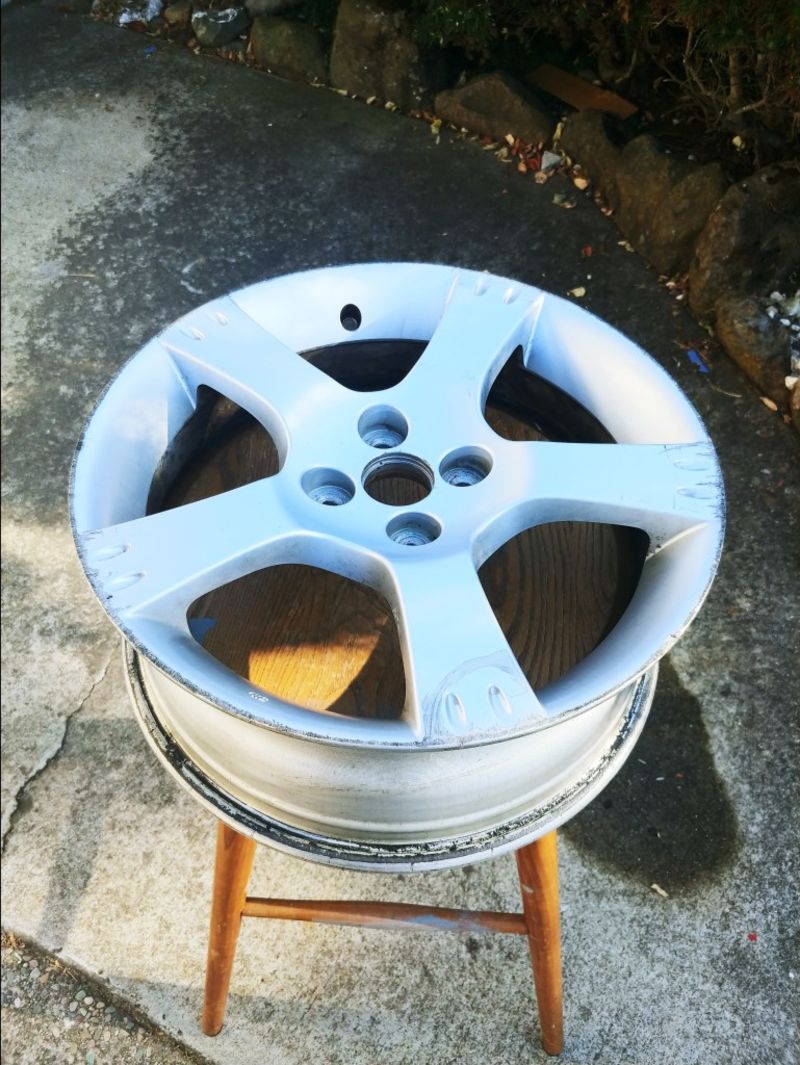
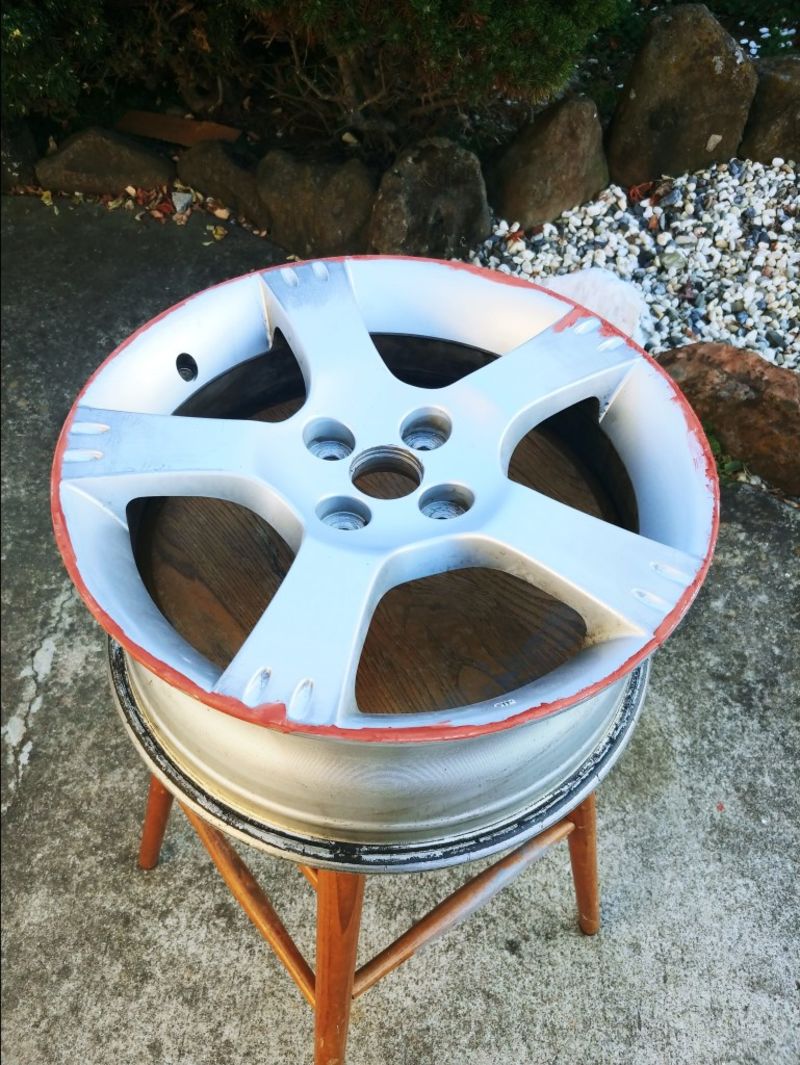
The first step to getting rid of nasty curb rash is sanding. This part is pretty tedious. You either have to put the wheel on a bench and rotate it or move around it while sanding. I ended up using an old stool since it was the perfect size for the rim. Also, it elevated the wheel to waist height, which saved my back. I cleaned the rim with soap and water to get the grease and dirt off. Then after I let it dry, I started sanding down the gouges and scratches with 220 grit sandpaper.
The trick here is to sand down to the bare metal so that the outer edge is uniform all around. I had to take care to sand the outside of the rim as well. This was to make sure I wasn’t leaving any burrs that could shred the tire. I also had to make sure that I didn’t focus on one area too long so I wouldn’t have any flat spots that would show up after painting. After I was done sanding, I cleaned the rim again.
The Name’s Bondo...
Next, was the fun part. And by fun, I mean tedious. It was time to bring out the Bondo! Fillers like Bondo are great for when you need to quickly fill some spots in a surface. It has a consistency between putty and modeling clay. So if you’ve done sculpting before, then you’ll easily take to using Bondo.
I used a fair amount of Bondo to fill in the gouges and scratches on the surface of the rim. The goal here was to make a uniform surface that could hide the imperfections so that I could lay down some primer. I stuck a few globs of Bondo on the edges and scraped away the excess material with the plastic mixing board. Later, I found that just laying on a lot of filler would be easier to sand off once it hardened, and without the risk of taking too much off from the holes the filler is supposed to fill.
Even more Sanding, then Primer!
The next step in the process was sanding off the excess filler from the edge of the rim and making sure that the surface was smooth. I took that same 220 grit sandpaper I used to sand the rim beforehand, and then very lightly sanded the filler. After sanding the surface, I used my hands to feel for any rough patches where I would have to sand some more or use more filler. If I was satisfied with the smoothness, I would move on to laying down some primer!
After cleaning the wheels again with a solution of water and dish soap and letting it dry, I started spraying on a few coats of sandable primer. I chose a sandable primer since it could fill in any imperfections on the surface of the rim. Also, it could fill in any mistakes I made when sanding away the filler. Once the wheel was primed and ready for paint, I washed it off again with dish soap and water.
The Main Event: Painting
This ended up being the most tedious part of the process, but not for what you might think. I had some paint I wanted to use lying around that matched the original finish of the wheels. After spending an entire can experimenting and painting a single wheel, I had to travel to four different stores to try and find the same paint! I eventually found it, but if I had sourced the paint beforehand, I wouldn’t have wasted so much time. Lesson learned; make sure you have all of your materials!
Anyway, I used Rustoleum’s Custom Shop Wheel Paint to get a cast aluminum finish similar to the OEM finish, and I sprayed at least three coats of paint per wheel. This wheel paint has more sparkle than the original OEM finish, but since the Shinsen Miata has metallic paint, it works! The one thing about the paint though was its finish. Once it dried, the surface of the paint was very rough; not like the original finish at all. I tried to rectify this by polishing the primer before painting with high grit sandpaper, but it made no difference. I ended up color sanding each wheel with 2000 grit sandpaper to get that polished feel.
Better Than New!
The result of my “little DIY project” was a set of wheels that not only looked brand new but almost was impossible to tell where the curb rash was from the beginning. In fact, the finish was so good, the technician who fitted the new tires I ordered on the new rims couldn’t tell where the original curb rash was! Not bad for a first-timer!
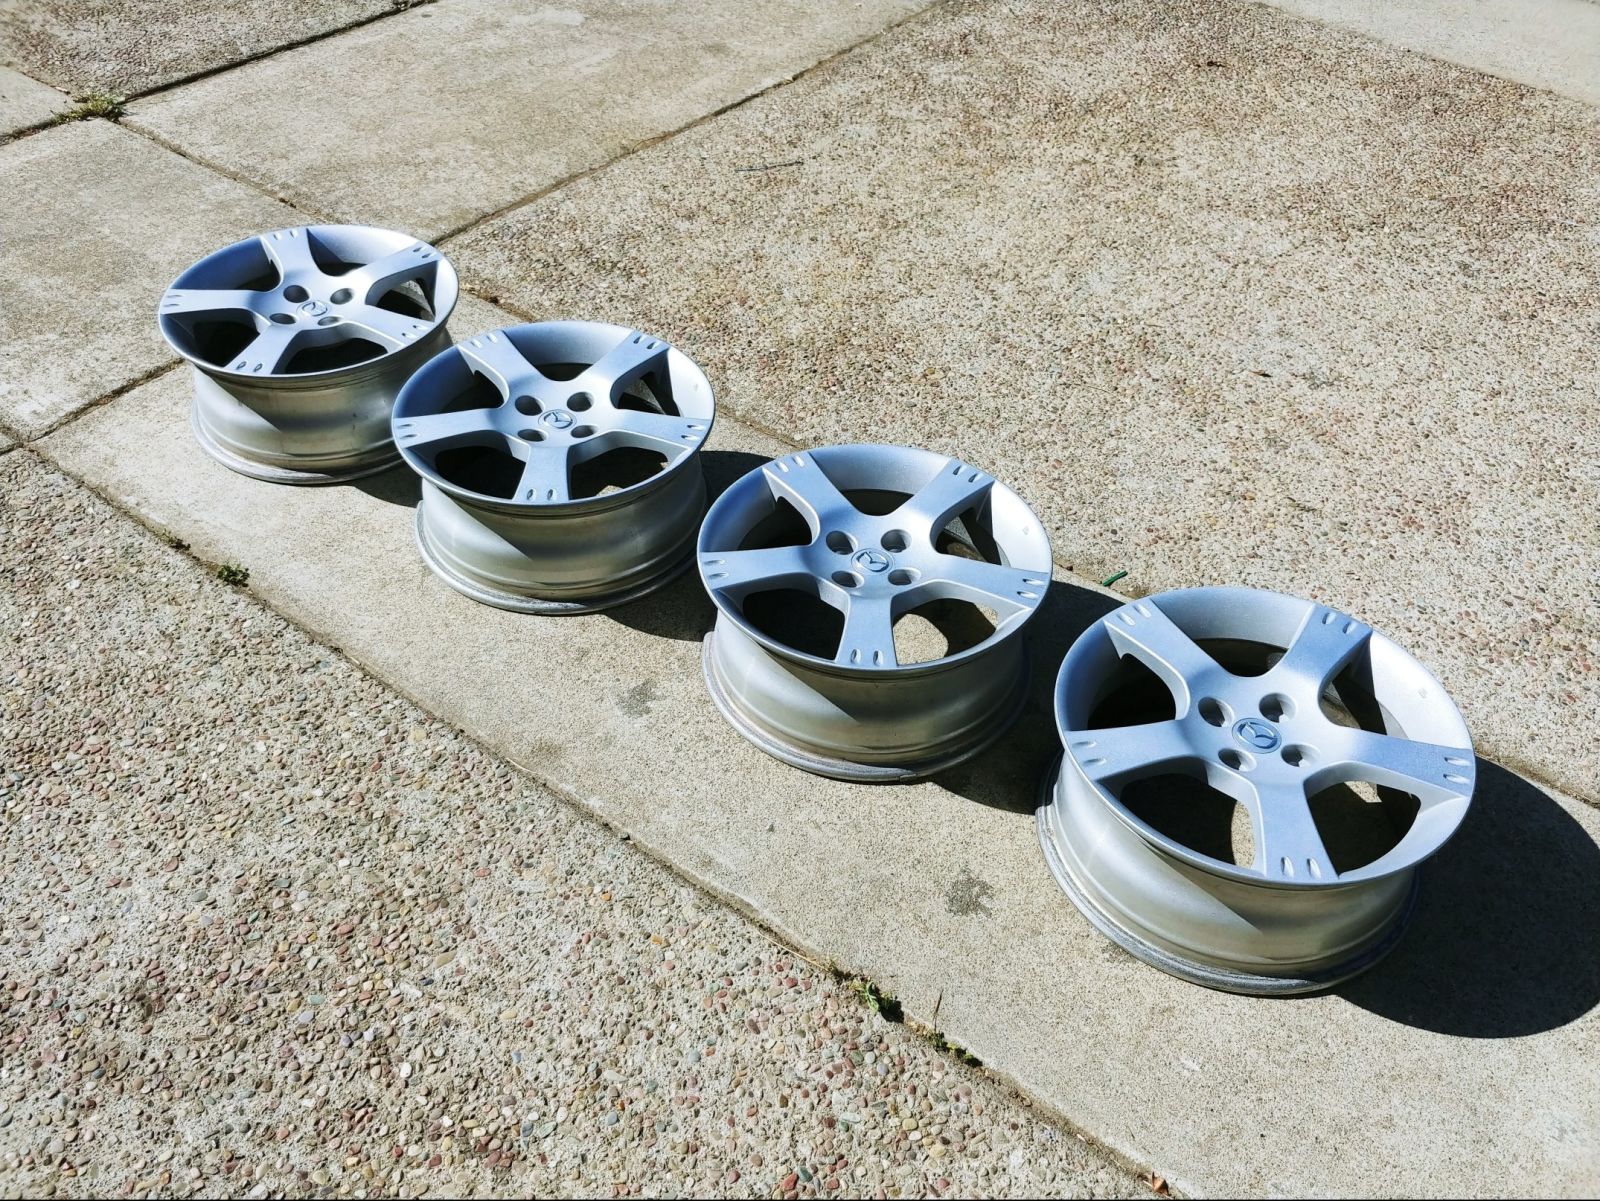
The best part about successfully finishing this large project was the fact that I managed to get everything done the day before the 30th Anniversary Miata Reunion! I set about this project with the goal of having something new done to the Miata, and I managed to pull it off!
What’s Next?
Now that the wheels and tires are finished, the next step is taking on another Do-It-Yourself project I’ve been putting off: Repainting the front bumper. Since I bought the car, the front bumper’s paint has been peeling in places and there are huge scuff marks under the bumper from the previous owner’s Auto X sessions. It might be worth replacing the front valence altogether with a new one, but who knows? Maybe I could save the whole thing and keep the car as original as possible?
Let’s see what happens!