
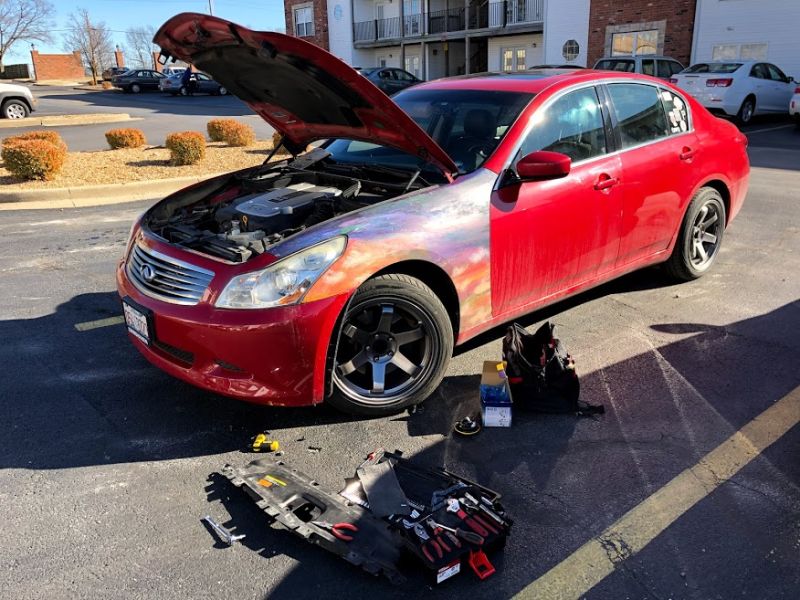
Horns are a super easy way to upgrade your car by replacing the generally weak sound from the OEM horns. Overall cost for this upgrade was less than $25 and took about 1.5 hours on a fairly difficult install (relative to other horn replacements). I highly recommend this for anyone and it’s easy for anyone to do.
Items you will need:
10 mm and 12 mm socket
Ratcheting socket wrench
Flat-head screwdriver
Pliers
Very small screwdriver
Step 0: Disconnect the battery. Anytime you work with electronics, always disconnect the battery or risk injury or damaging your car.
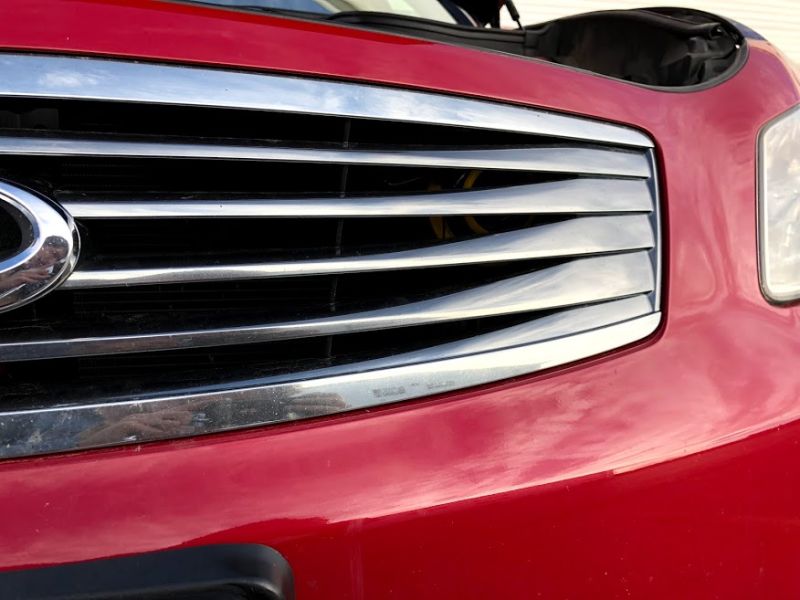
Step 1: Locate the horns. On the G37, they are located under the radiator cover on the driver’s side, right behind the grille. The other is more hidden, as it is behind the driver’s side wheel liner.
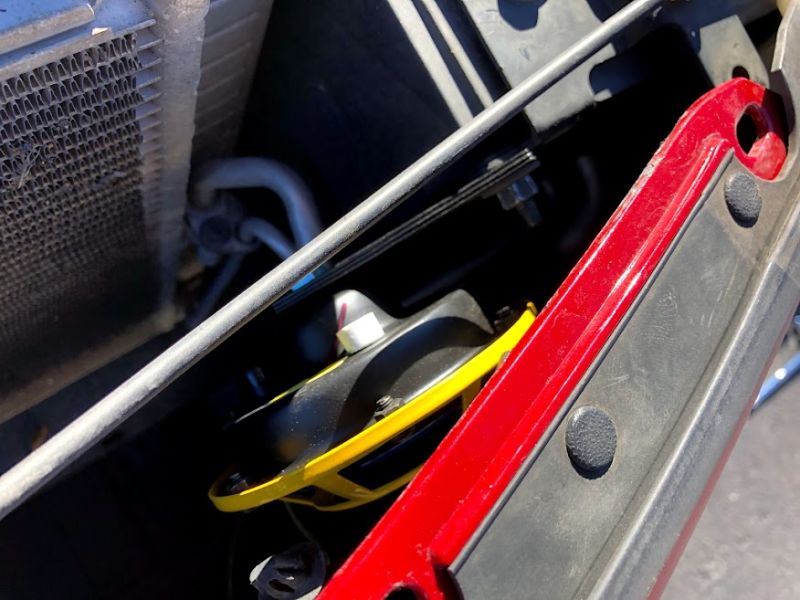
Step 2: Get to the horns. In the G37, this is more of a process than actually replacing the horns. For the upper horn, the radiator cover needs to come off. It’s held on by plastic clips that you can use a flat head screwdriver to pop off, 10 mm bolts, and sheer will.
Additionally, there are a few cables held in by clips that you will need pliers to get off. Once you get it off, the horn is clearly visible.
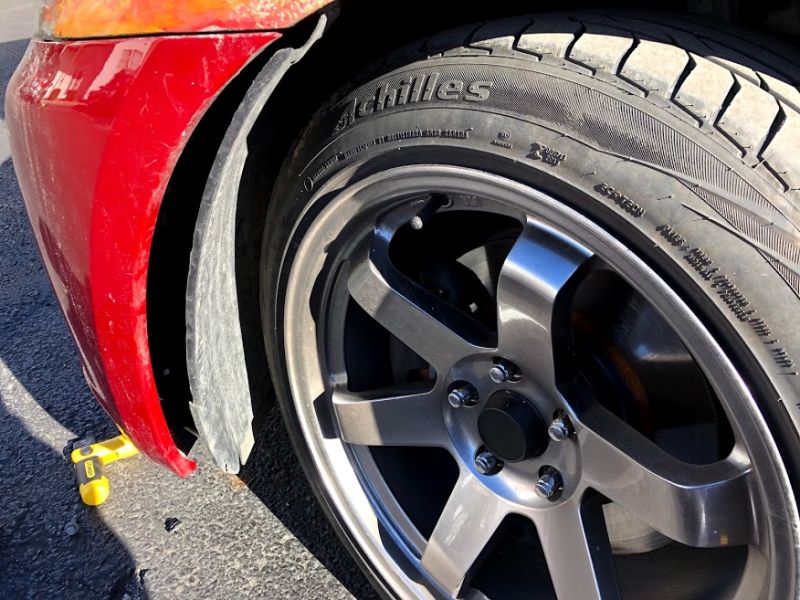
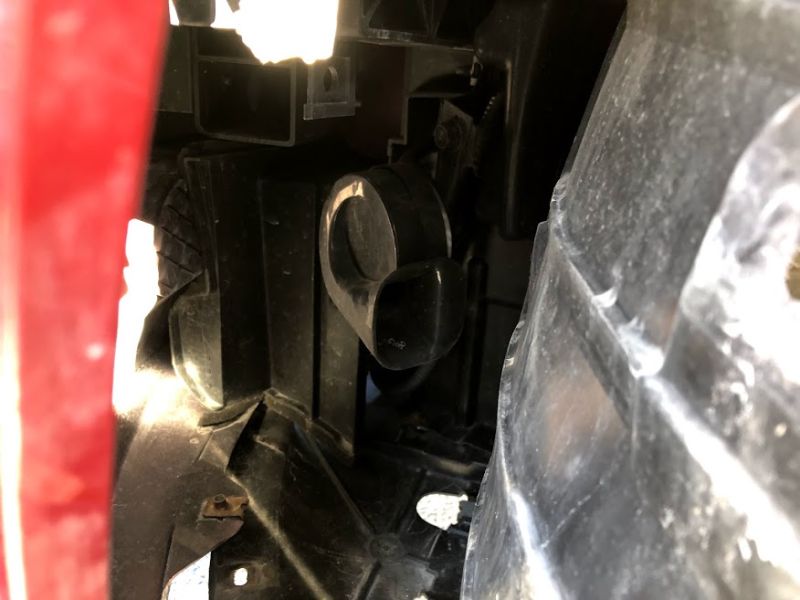
For the lower horn, you will have to remove the wheel liner/part of the under tray. It would be much easier with the wheel removed, but it’s still doable.
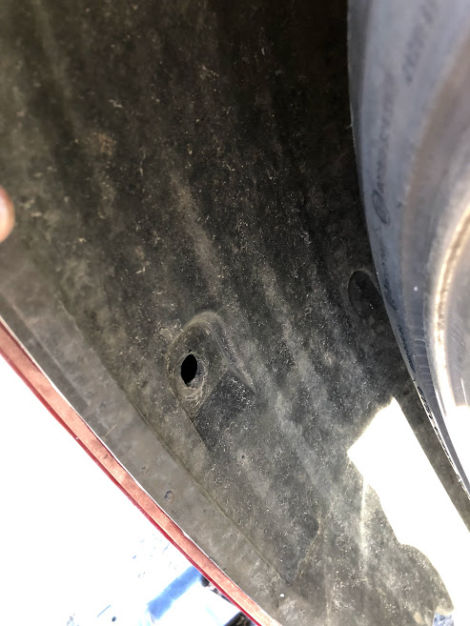
A plastic clip holds the liner in. I believe a bolt might also hold it on, but my liner is damaged in that corner.
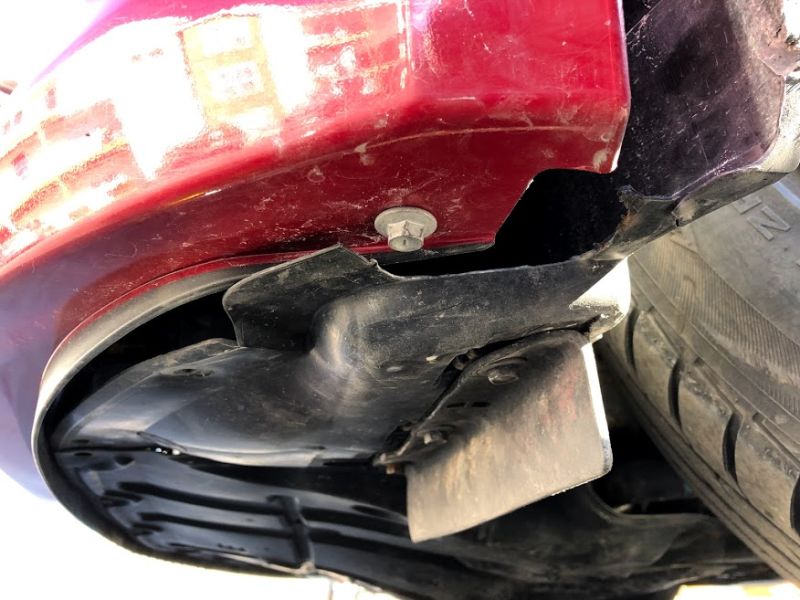
The under tray is held on by 1 clip and 2 or 3 10 mm bolts. It’s a pain. And of course, the under tray is part of the wheel liner.
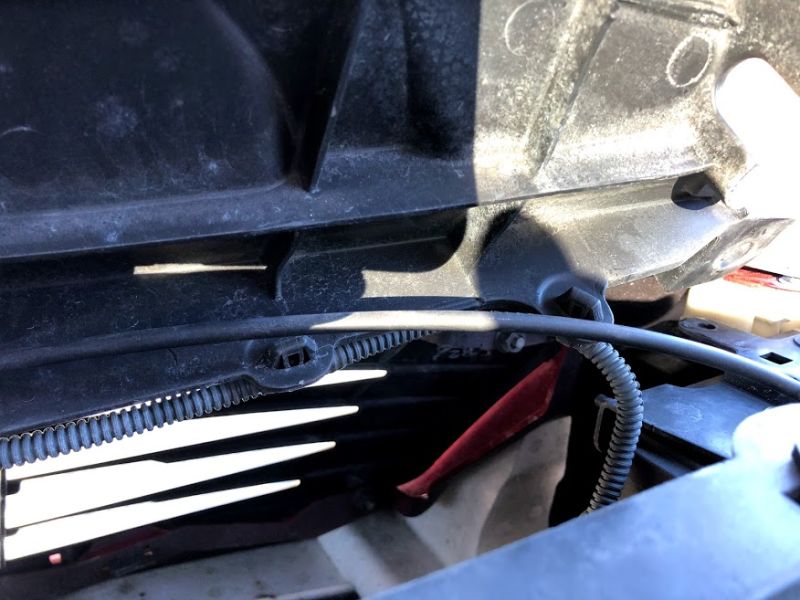
Step 3: Swapping the horns. This is the easy part. The upper horn is held on by a 10 mm bolt and the power cables. The clips snap on, so you will need a very small screwdriver to get them off. Simply swap the cables and you’re set.
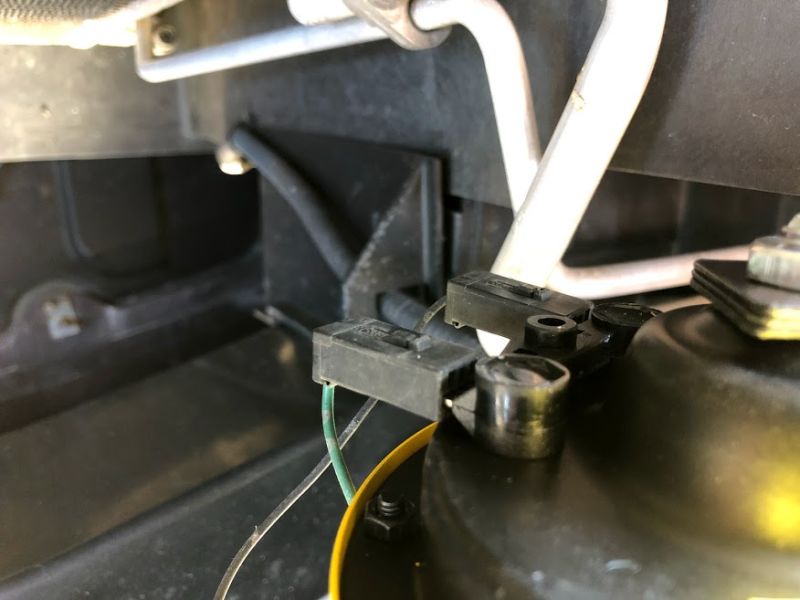
The lower horn is held on by the same cables, but much dirtier. Also the bolt is a 12 mm, not a 10 mm. No clue why they changed it, but be aware of that.
Step 4: Reconnect the battery and test the horns. If they work, disconnect the battery. If they don’t work, make sure the cables are snapped into place.
Step 5: Now you can put everything back together. Just make sure not to drop your 10 mm into the engine bay like I did.
Thank you for reading and I hope it helped!
As a note: this is a simple plug and play. There is also a way to properly wire the horns, so they work in conjunction with oem, or replace but with more power. This was something I did not want to dive into, but also keeps the horns from their full capabilities. I might do this at some point, but I have no experience wiring and did not have time or resources available.