
I ordered this kit from Toytec for a 3 inch real suspension lift.
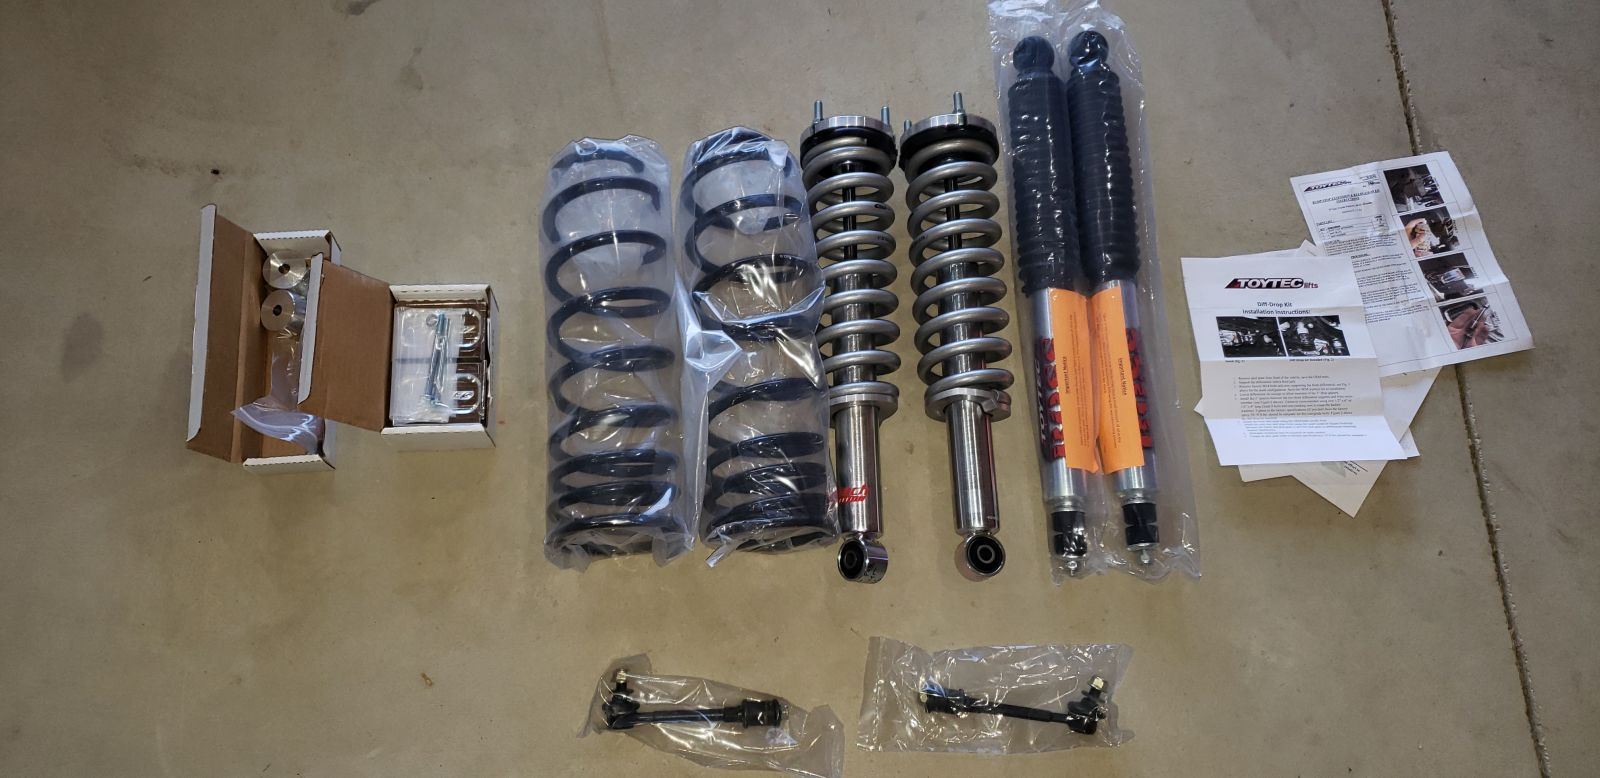
It didn’t come with the sway bar links, I ordered them after I saw this......
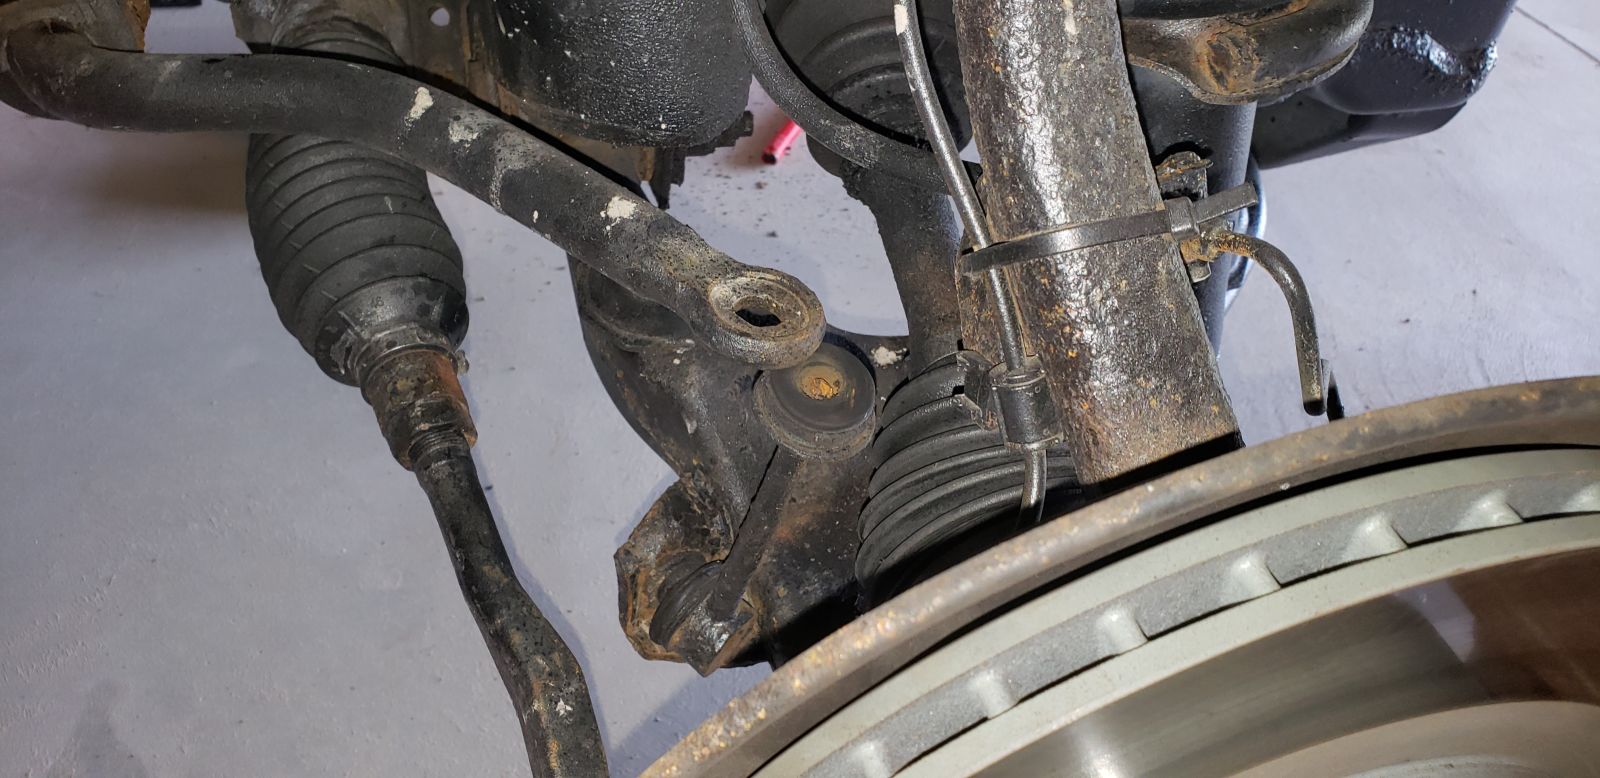
....and then broke the other side as well taking it apart. (I also need to do something about those brake lines mounted with zip ties.) Getting the old coilovers out was pretty easy. Just unhook the sway bar, undo the big bolt on the bottom, and then the three nuts on top, grab a prybar and yank. Soon you have this:
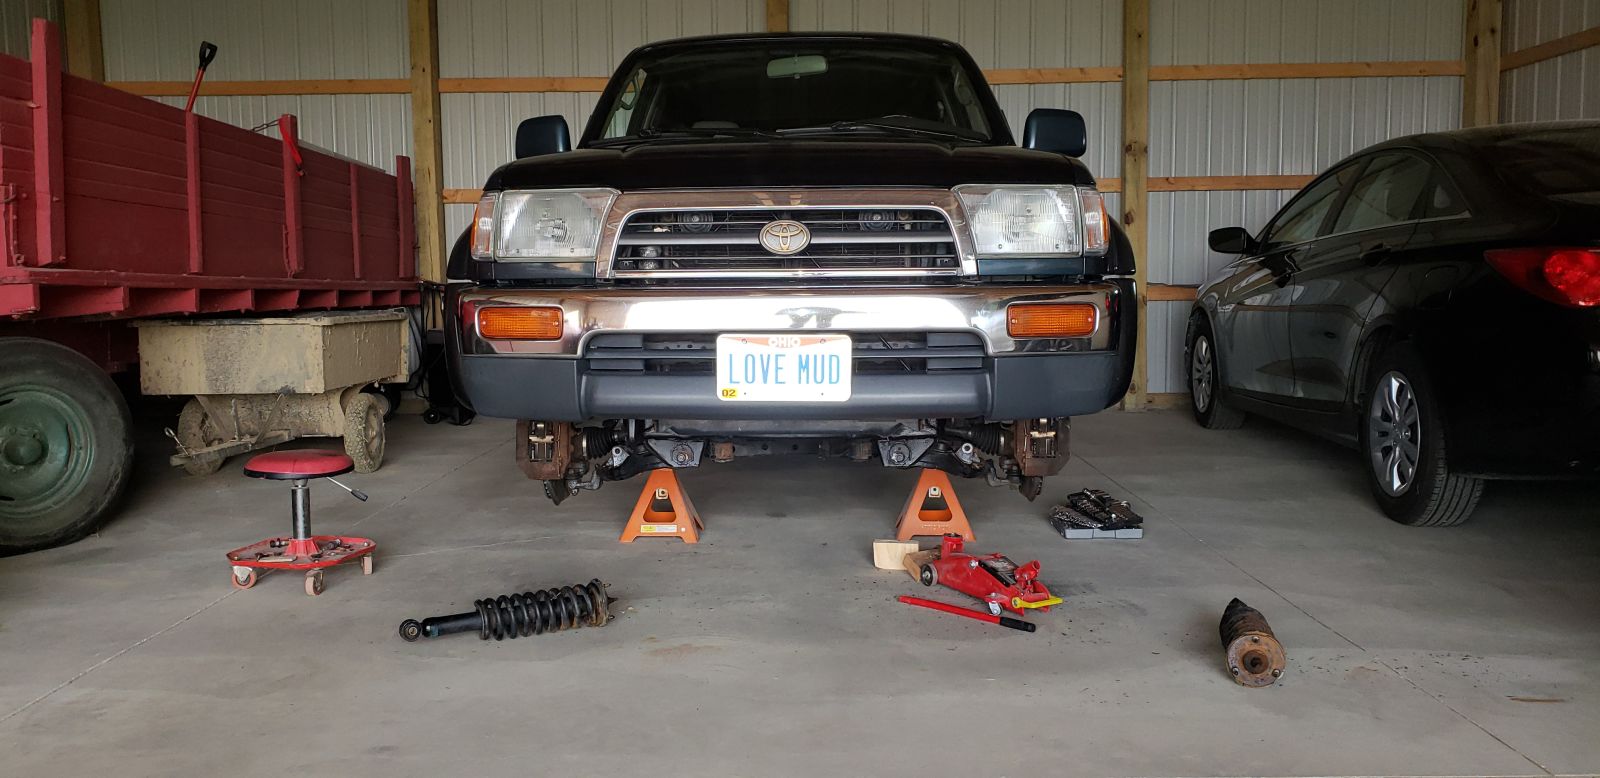
Here’s the old compared to the new:

You can see that it’s quite a bit longer, which is of course the point, but also poses a problem when you go to install them. They don’t fit. You’ll swear that it’s never going to. I tried prying and prying, but didn’t even come close to getting that bottom bolt to line up. Anything long enough to pry the control arms down far enough would hit the floor before you ever got there. So I went to Autozone and borrowed a set of spring compressors, only to open the box when I got home and find out that I got the wrong one and it wouldn’t work for coilovers. So I did some googling and ended up doing this:

Sorry for the sideways pic, but whatever. When I first heard about this method, I thought it sounded sketchy as hell, but after doing I would say that it actually is probably the best option. Spring compressors make me nervous as hell, and I’m not even sure you could get it in there with them on anyway. Lifting the vehicle up and having a friend pry while you insert could end in disaster. But this setup was surprisingly stable. The top of the jack rests perfectly on that lock nut, and the whole thing is wedged nicely in the fender well. On the first side I was a little nervous cranking it as far as it needed to go, but after doing it once the other side was a breeze.
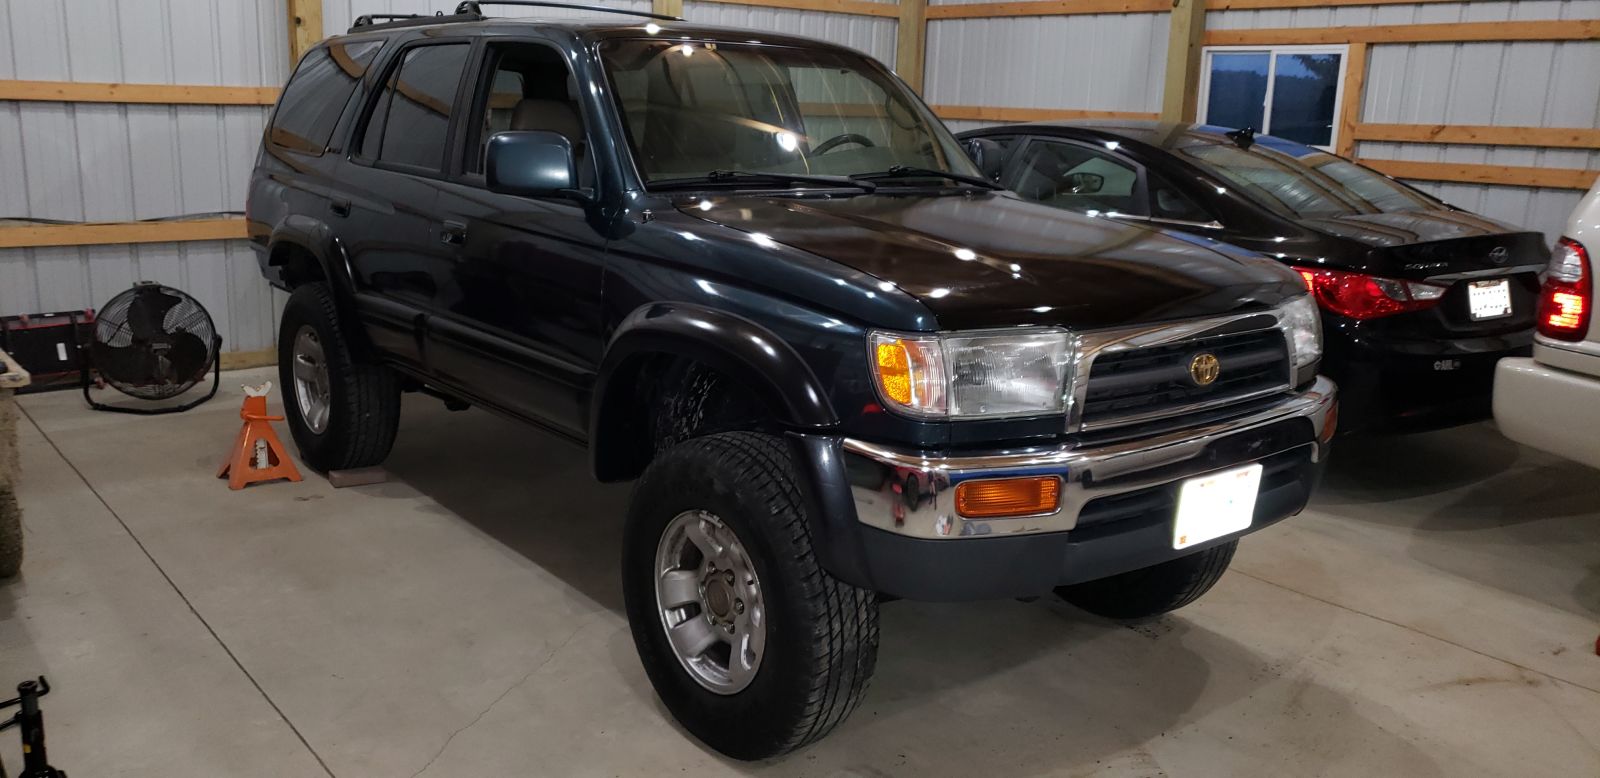
So now the front is done, and I’m working on the rear. Plus I have the diff drop, and bump stop extensions. Here’s how she sits now. It made quite a difference on the front!
I also finally decided to whip out the POR15 I bought a few weeks ago, on the hottest day of the year, which went well with wearing long pants and sleeves and then donning full paint coveralls on top of that. I know that if you get any of this stuff on your skin, you’re stuck with it for a few days, so I was extra cautious. My plan was to slather the stuff all over the entire under side, but it’s just so tricky to work with (it’s so thin!) that I ended up settling for just the frame ,cross-members, and some other obvious bits that I could reach. So I still have some Rustoleum rattle-canning to do in other spots. Plus I’ll go nuts with undercoating later as well.