
Catching up, I’ve been working on my new fuel system.
The problem: Fuel starvation/aeration seemingly half an hour into running the car. I sent the pump to DW for a R&R and they found nothing wrong, being a good company they did send a new pump along. When I went to install it, I noticed not much flow from the line feeding the fuel pump compared to when I pulled the fitting at the tank. Inline filter was suspect. I pulled the filter to find it about 1/3 clogged.
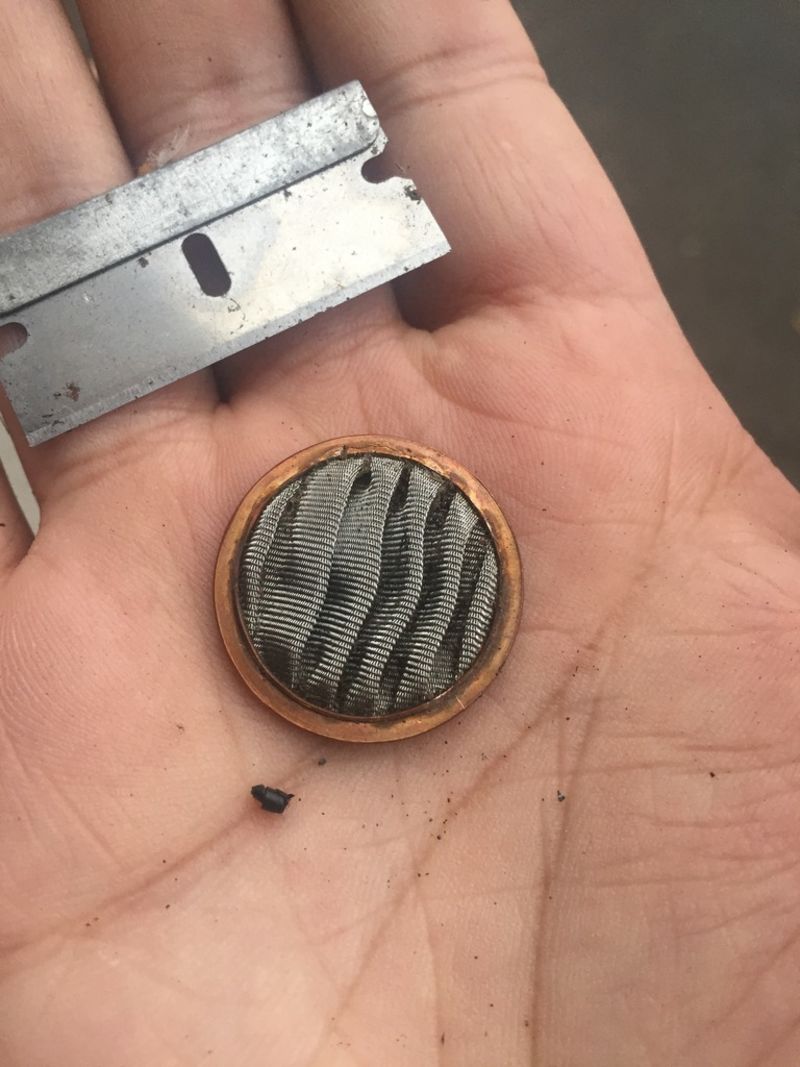

This is even after some cleaning. Some fine particles, and some big particles from when I drained the tank and filled a container. Fail/win I suppose. The fact the filter kept the pump clean is definitely a plus, but I was kind of embarassed that wasn’t the first thing I checked. Definitely answers the question as to why the car would run ok after it sat. It wasn’t cooling of the pump, it was the particles being redistributed back into the cell. After about 30-40 minutes depending on the amount of fuel in the tank it would all be sucked towards the outlet again.
In for nickel in for a dollar, right? I was already invested in this with the ridiculous amount of driving I did to acquire the tank.
Once in a while amazon does weird things where they have returns or low stock and they mess with the price, I got two tie rods for less than half price this way, similarly I found a pump assembly I wanted for half price so I bought the spectra 3369m. This is for the V6 which is what I wanted as it does not have the built in fuel pressure regulator, but boasts the same output of 50gph. However I was not sure if I could trust the rating, so I bought a racetronix LS1 fuel pump kit. However, it seems not only is the missing fuel pump regulator the only difference, they also removed the jet pump on the V6 model. The racetronix page waxes poetic on the benefits of the system, so off I went to buy a V8 housing. I cheaped out here since I only needed the physical housing and didn’t care about the electronics. So all in about $250 for everything.
Now as aftermarket companies do, everything was a little different. Some changes minor, a little clearance too tight here, a little height loss there, not a big deal since the pump is retained by a rubber sleeve and is just a matter of sliding it up and down and using a little bit of lubricant to get it to seat.
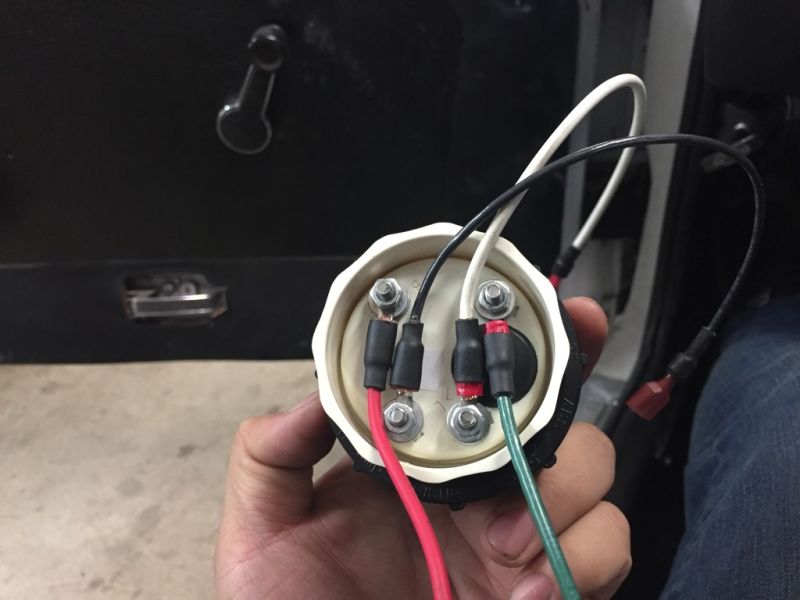
Some changes a bit more major like increasing the hose size of the return to the same size as the feed (somewhat of a plus in my book) and redoing the electronic fitting size....The problem was that the factory used the same size terminals for the fuel level (float) sender to send power to the pump. Given the amperage draw the aftermarket companies decided to change that and go to a much bigger terminal for the fuel pump. Racetronix did something a bit in the middle where they used nice thick gauge wire, but left the tiny terminals as there pump is a plug and play for the stock system. I was so excited to buy parts from an american company that had instructions in english and step by step pictures, but it seemed they didn’t think anyone would replace the factory system with an aftermarket one.
The dilemna was do I use the plug from aftermarket which is thinner gauge with bigger terminals, do I use the supplied plug from racetronix and buy another top with the thinner terminals, do I try to make a splice to combine the thick gauge with the big terminal, or do I try and just put on the big terminal on the big wire.
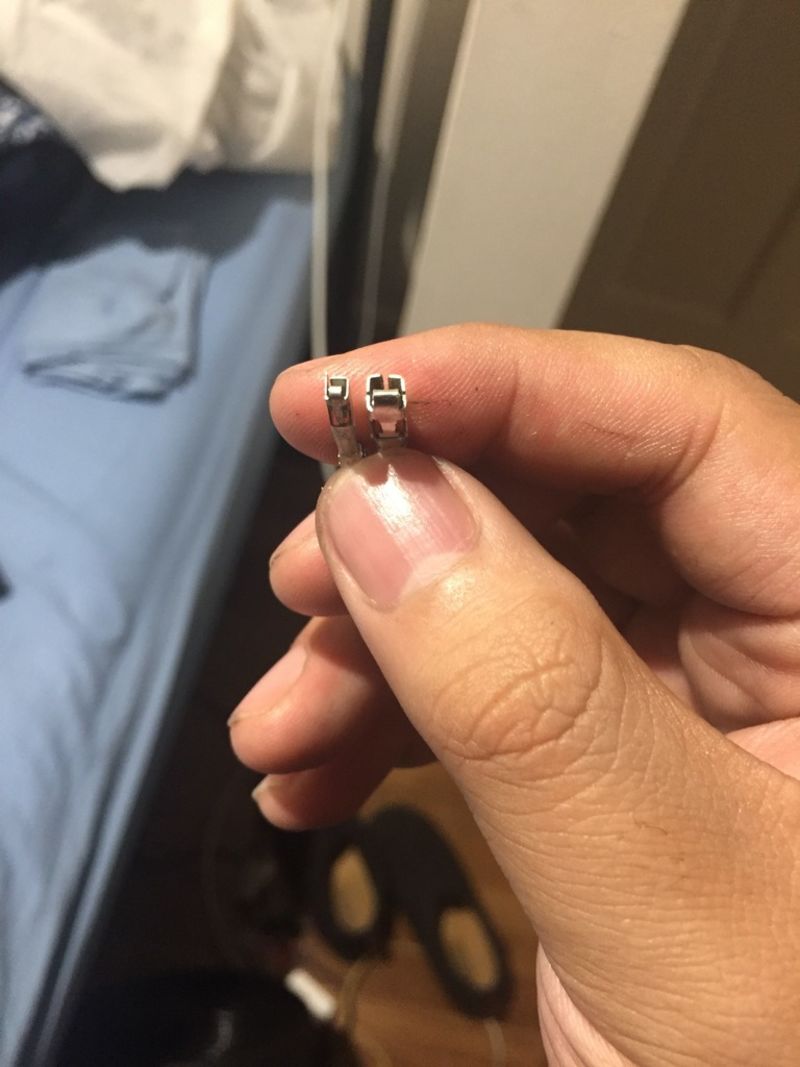
I have the correct tool to get these on, but finding the terminal was another problem. Resorting to sorting through catalogs of generic plug manufacturers seemed daunting. So the decision came to reuse the terminals. I’ve become quite adept at undoing these now. Involves cutting the wire, grabbing a few strands and pulling them through, then inserting a tiny screw driver to pry the prongs up. Apply too much force and you can snap the connector, so care is needed.
In the end I managed to snap one, and get two to crimp with one more as a spare. All in the sake of peak power fuel delivery efficiency.
Install came next. In some ways I knew I was always going to have to replace my fuel cell. I made it so that it was hung on hangers and then slid in with a hinged hatch covering the gap. Removing some seam sealer and undoing 4 bolts let me drop the tank. My plan was to utilize the main frame and the top brackets, but after test fitting we found it would sit really low, like lower than the diff. My friend convinced me to integrate the mounts to the frame, and looking online I found people would bend the tabs on the straps up to gain some additional clearance.
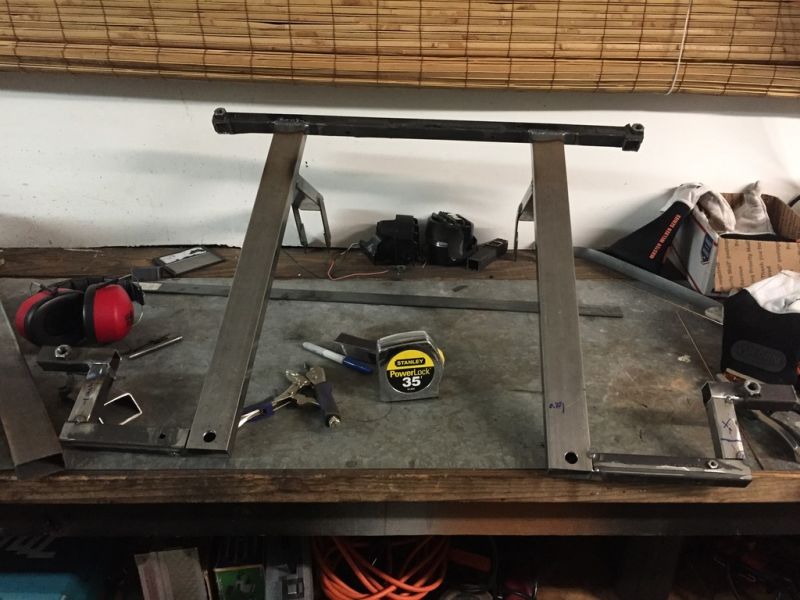
First iteration. A real slap on the forward moment. The fore to aft length was too long so it would not slide into the brackets. A bit of adjustment and here is the result.
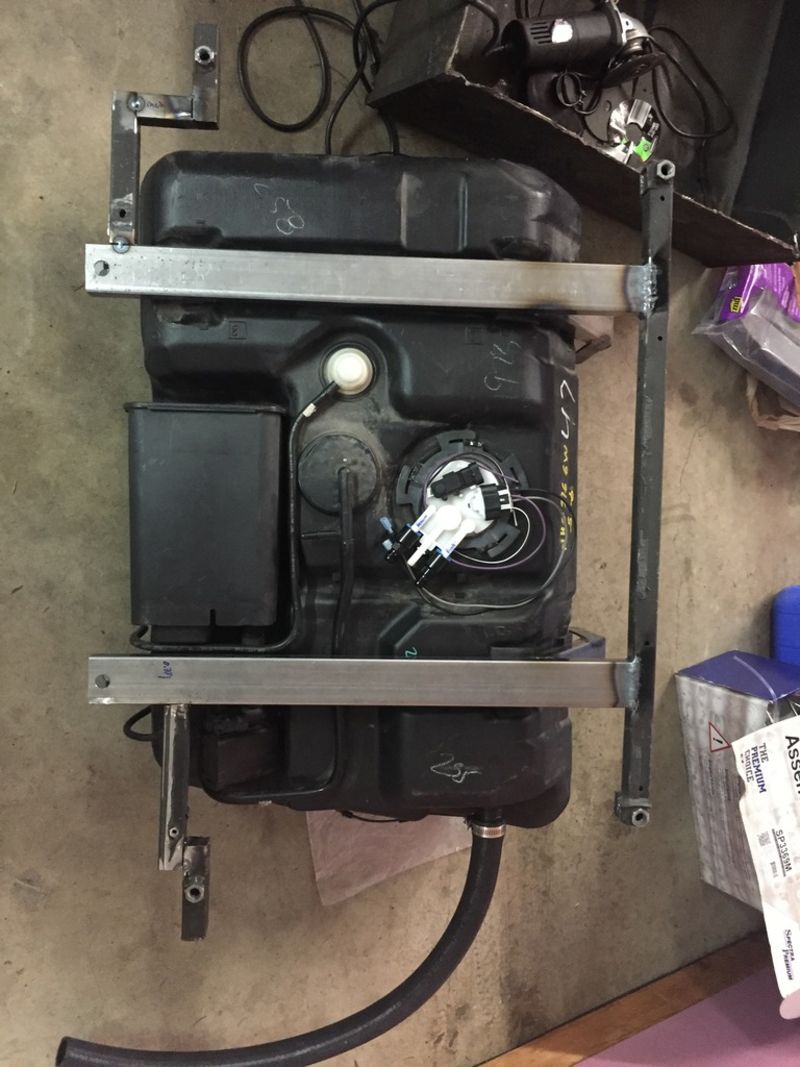
The piece slides in in a very specific orientation. You also have to push the rear skirt of the car to fit the straps, but everything bolts in and can be removed as required.

Also came time to wiring up the fuel gauge. The GM one is an odd 40-250 ohm range. As most people don’t use the GM range finding a gauge that could do the range was a real challenge.
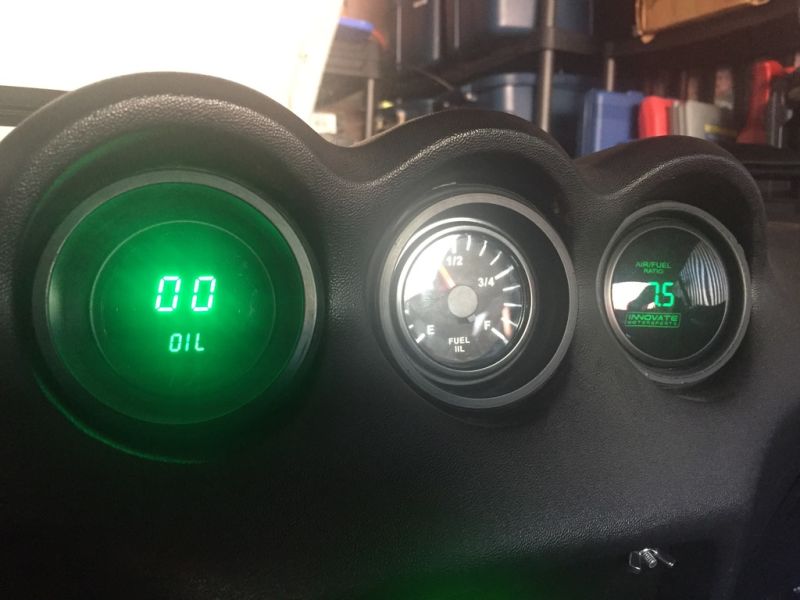
Found this guy on ebay for a reasonable price. The dip switch diagram was backwards, but it seems to do the full sweep.
Also getting quite good at this wiring thing if I say so myself.
Was also surprised to find that this gauge is a bit more than advanced then I realized. Not only does it dance when you start the car, it also has a nice LED illumination which makes it look real smart. As the gauge also gets low the brand name changes to a yellow color and I think it even starts to buzz the motor.
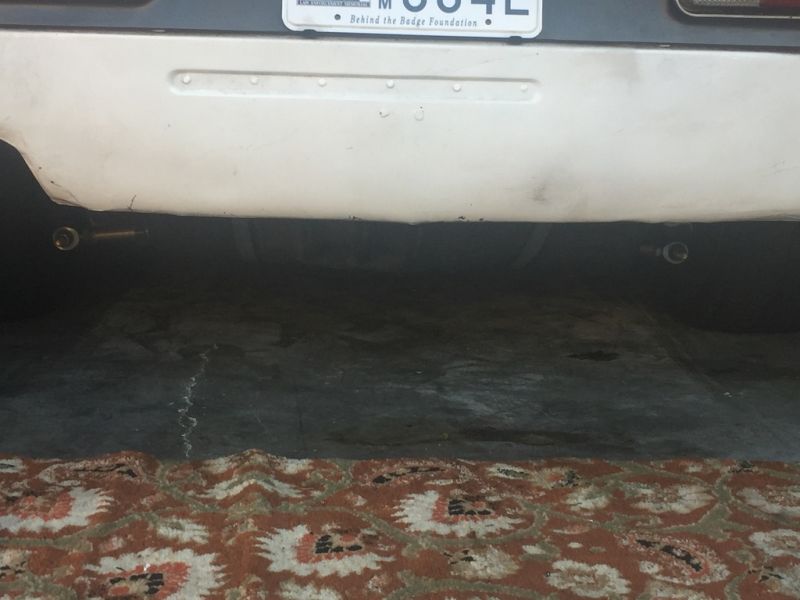
No more hoses hanging out the back, and the noise is quite reduced. A little concerning as I’ve grown accustomed to the whine telling me all is fine, but this has its own merits.
R154 package sale - -2100
Fuel tank - 50
Fuel baffle bucket and pump - 100
Racetronix pump - 150
Steel - 50
Fuel gauge - 50
Total spent - 31282