
Story time, this is a long one. I wrote this up a while back and just got around to adding pictures and editing a bit, please excuse the dust:
Been a while. Life has been progressing. I made the decision to go back to school. I was thinking I applied too late in the cycle this year so I was half heartedly expecting not to get in. My plan was to spend another year just working, saving up money and such and finishing the car up. Unfortunately/fortunately I got in to a program a few hundred miles away.
I had made some plans if I stayed locally, a local shop/car storage place is looking to hire, and I would be a decent fit, with the benefit of being able to store the car there at a reduced fee and pay for it by working a bit on the weekends. Alas, I don’t think it would be a good idea to continue having such a large money pit while being on student loans. The benefit is this may help pay for school for a year or two or maybe just make it so I don’t have to take out loans for daily expenses.
That means the car will have to be ready and presentable to potential buyers. Things that I’ve dismissed or worked around will have to be addressed as to not be off putting to potential buyers. It is very strange to think from someone else’s perspective. One I couldn’t easily do so I drafted the help of a friend.
Onto the update. To set the stage the plan was: Wake up, pack parts, go to a friend’s house, wrench on the car taking care of a small list I had prepared, then get back before lockout hours at the garage where the car is stored, then take my online test before midnight.
On top of a list a friend made of visible exterior things to do, I decided there were things only I really know or care about that I should address.
One such thing is a tune. While I have played around with the tune, the truth is I have been in eternal stasis waiting for the car to be ready to take to a real tuner. I decided it was time and got the ball rolling on a remote tune from a forum member. He decided to pick this day as the day he would take me through all the settings and set up the base tune. While deeply thankful, that put an unexpected dent in my schedule.
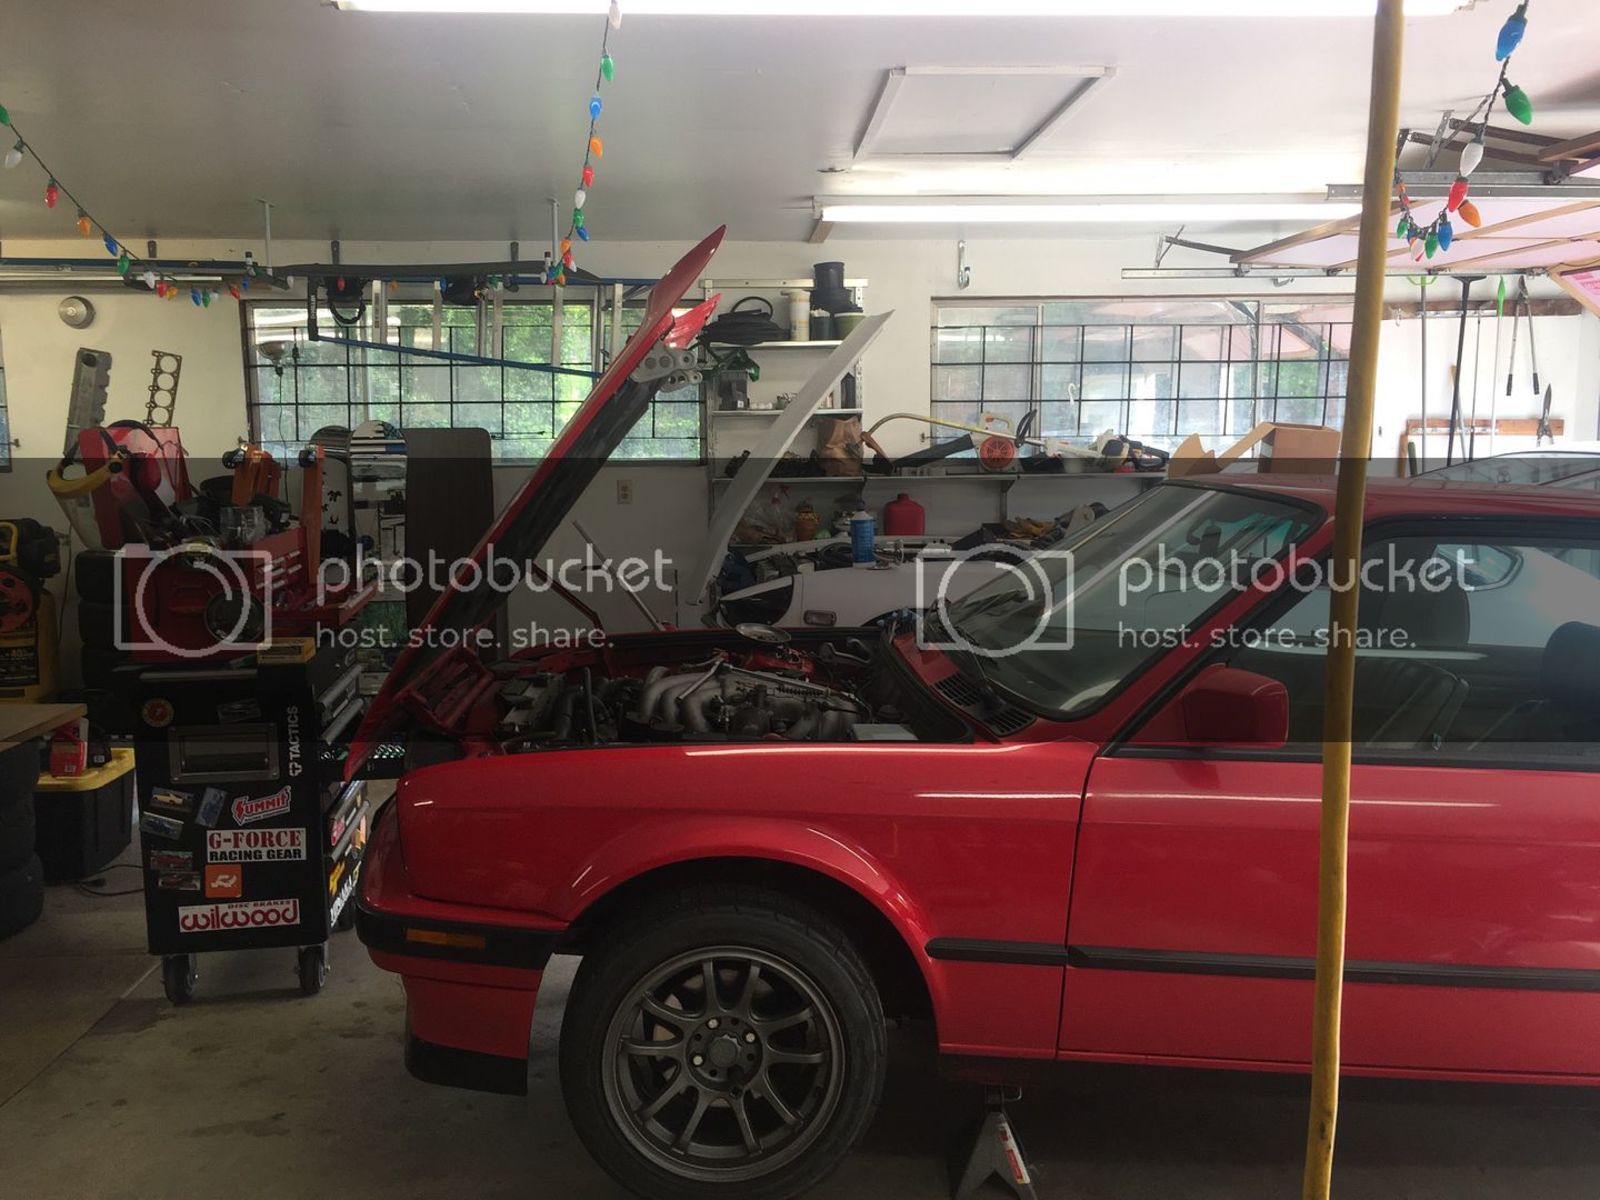
Arrived and assuming the position, “twinning” done right in my book.
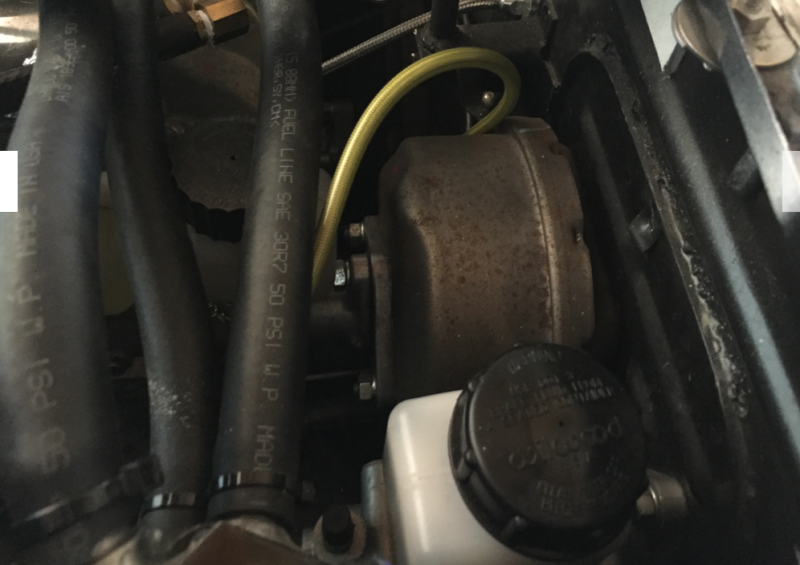
Another such thing on the list is that I know the T-bolt clamps are not ideal. They are a pain to remove, a pain to install, and can actually cause problems because of the way they function. I ordered some really nice worm clamps based off of Alpha Tuning’s recommendation. They build like 900hp GTR’s so they probably know a thing or two.

Much better and cleaner in my book.
Onto the pedals. A friend planned a drive in a couple weeks which may be the final send off for the car. While everything works, all the pedals could be improved. The clutch line I managed to make work using two 90* adapters with banjo fittings. The fittings were slightly off so I always suspected fluid wasn’t traveling smoothly. Not sure if that was rational or not, but something to address in my mind.
I ordered a new line from ISR that is one piece from the clutch master to slave. One simple banjo on the slave side and a moment of panic when I realized the taper was wrong on the clutch master since I changed to a wilwood, but remedied with the included 3 an fitting adapter included in the wilwood kit I had saved.
The accelerator pedal was pretty oddly setup it is traditionally a linkage setup that I converted to a cable setup, this made a bend in the pedal that made it more of pushing down with your foot than forward, some time spent in the vice and several test fits remedied that solution.
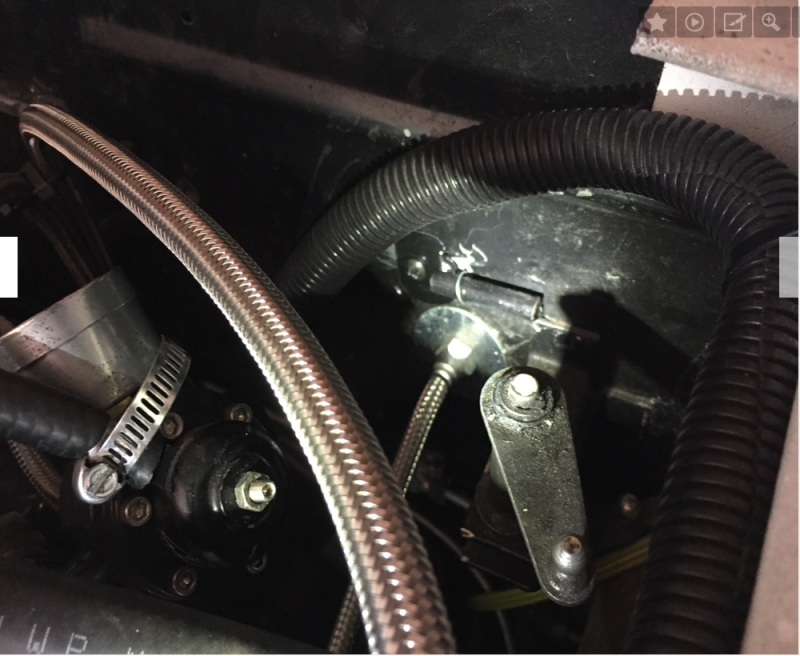
This was the remedy to another, weak return spring meant the pedal was hard to modulate, I added a third return spring, but had clipped it to the unused choke cable.
Now a dedicated key shaped piece with a nut-sert to hold the throttle return spring.
Last pedal, the brakes. On the Z cars you can play lego to a degree like with older subaru’s. One of the popular mods when switching to the 4 pot Toyota front caliper was to use a master from a 280zx turbo. For a limited span they made a similar design to the factory 7/8, but with a slightly bigger bore of 15/16, useful in a direct swap situation with the bigger brakes. Unfortunately one thing that is not mentioned (at least often enough) is that they changed the pushrod inside the booster from 1973 and on. The booster in the post 73 cars all stick proud of the booster, the pre 73 cars stick in side the booster.
I realized, I never did check mine when I installed it as I bought a new booster which came with a sticker that said it was preset from the factory. The dead zone in my pedal is a bit on the ridiculous side as a result, the brakes are there, but you would move the pedal a good 2-3 inches before you felt anything. Not bad once you get used to it, but if you use it after a while (say like a long freeway drive) you would be alarmed when you go for the brakes and nothing happens for the first few inches.
There is a bigger booster that came in the later cars that was supposed to be a direct swap that I bought, turns out the bolt pattern and the interior clevis were different. However since this is supposed to be the later specification for the push rod set from the manufacturer that makes the booster, I measured it and replicated it in my car. I found it to be 22mm.
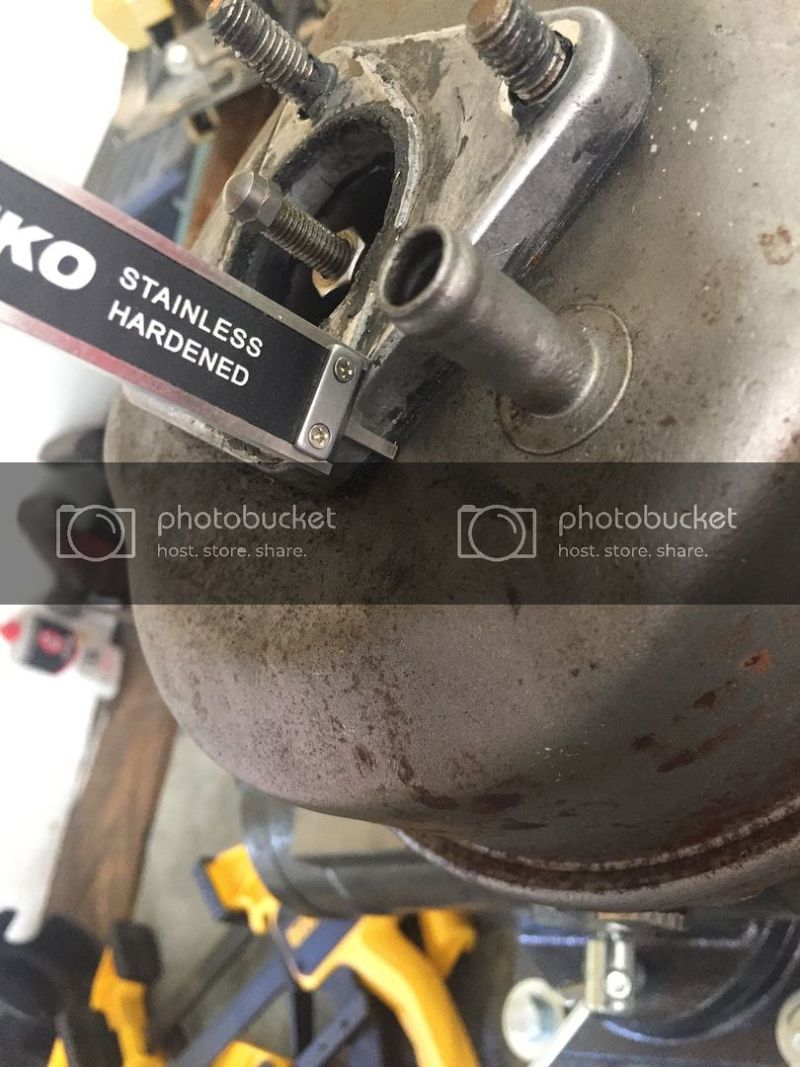
And my booster had a 9mm or so spacer that came with the master.
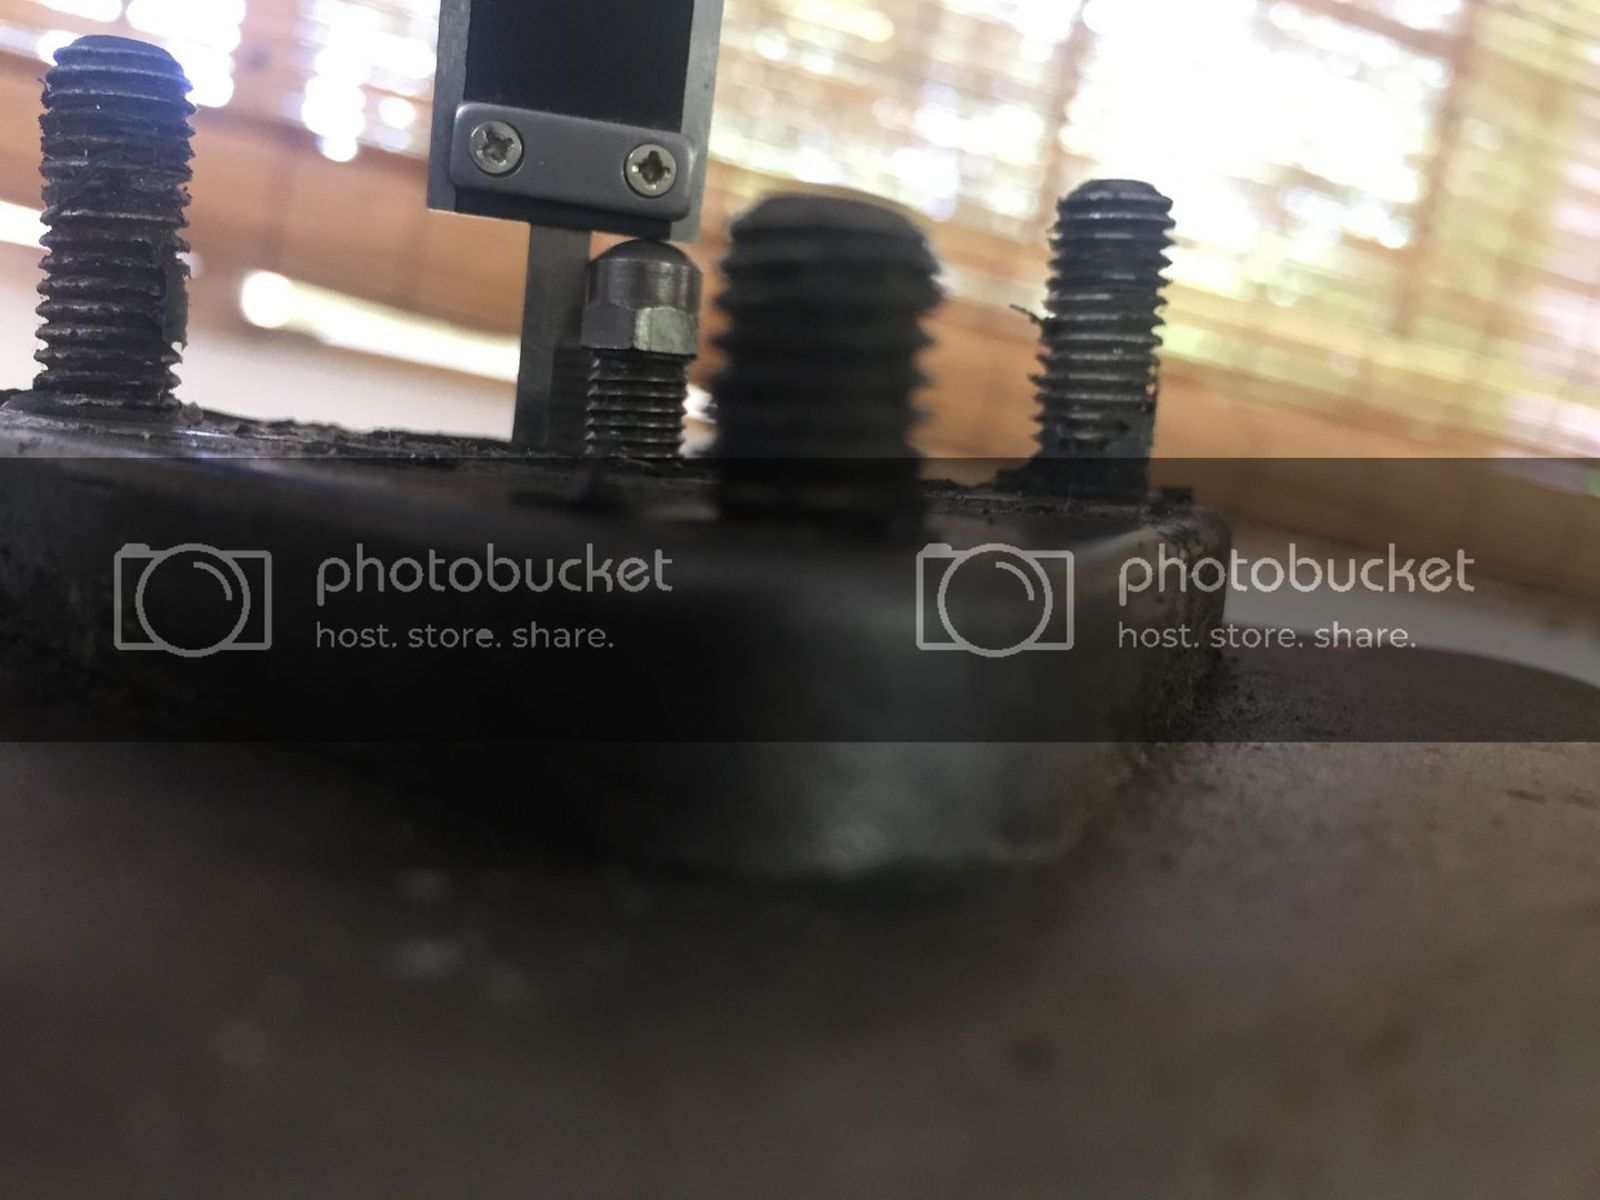
So I made the end stick out 13mm for a total of 22mm. I think it was around 6 or 7mm prior.
Simple right? Nope....
Played with the internal adjustment on the pedal side until it released repeatedly, then took it down the street and hopped onto the freeway.
Time to mark this as the 3rd time I’ve broken down on the freeway. I was able to get on the freeway fine with beaming confidence in my new firm brake pedal. I slowly squeezed it as traffic slowed for merging traffic, and as I turned on the junction I suddenly felt the car struggle to go up hill. I gave it gas and I could hear the turbo spooling up hard even at a low engine speed. This would be the brake boosting effect, I put in the clutch to shift up and the engine jumped up in rev as the load was released from the clutch that was moving at a certain speed against the now dragging brakes. I pulled over and even on an incline found the car was not rolling down hill, I got out and tried to roll the car down hill even and found the car sat defiant. Since I had gone to a friend’s house who has tools, I decided I didn’t need to bring any other than my ratchet set and I needed a wrench. I gave him a call and he said he was on his way. I wish I would have taken a picture as the car did pose a striking image sitting on the shoulder, but I felt I shouldn’t reward stupid behavior.
That was the mistake, apparently you need an extra mm or two to account for mating surfaces, as you drive it would push fluid, but not leave enough slack to disengage the cylinder allowing brake fluid to travel back causing it to continually build pressure until it fully locks.
A state patrolman stopped by, whether called in by another driver or seeing me on the side of the road. He asked what was wrong and I told him the brakes suddenly grabbed and I was waiting for someone to bring me a wrench. He said he understood and I went to go wait by my car, he asked me over the loud speaker:
“is that a datsun?”
I nodded
“a 240z?”
I nodded
“that’s a classic!”
“It sure is”
My friend arrived with his tool box. I was hoping I would be able to get away with adjusting the pedal, but I knew that wasn’t going to be the problem. I sent my friend on his way assuring him I knew my problem and luckily was able to pull my master with very little effort thanks to the wrenches he brought, thankful of the slack I had left in my lines, the room I had left to get my arms around the engine and intake, and the ratchet set that I insist on taking with me everywhere went down all the way to 7mm for the adjustment nut. In my intelligence I had used red loctite to secure the booster pushrod adjustment nut, but with enough adrenaline and cars passing you by and a looming time limit of an online test, a pair of pliers can be just as good as a pair of vice grips and red loctite is mere child’s play. I adjusted the push rod shorter, and just for good measure a bit more, reinstalled the master and pulled the car out of gear to luckily feel the car roll backwards down hill. I parked, packed up and got ready to merge onto the freeway.
I made it back onto the freeway only to realize I never hooked up the booster vacuum. A part of me wanted to test the brakes now in case I needed them, and another part was telling me not to push my luck. I managed to get almost all the way without having to go near the brakes, when time did come to use them with the sloppy adjustment on the inside, the lack of vacuum it was a modest suggestion of slowing. Luckily I pulled into a flat spot, reconnected the vacuum and was able to make it back on time, get home, and finish my test. Quite a day.
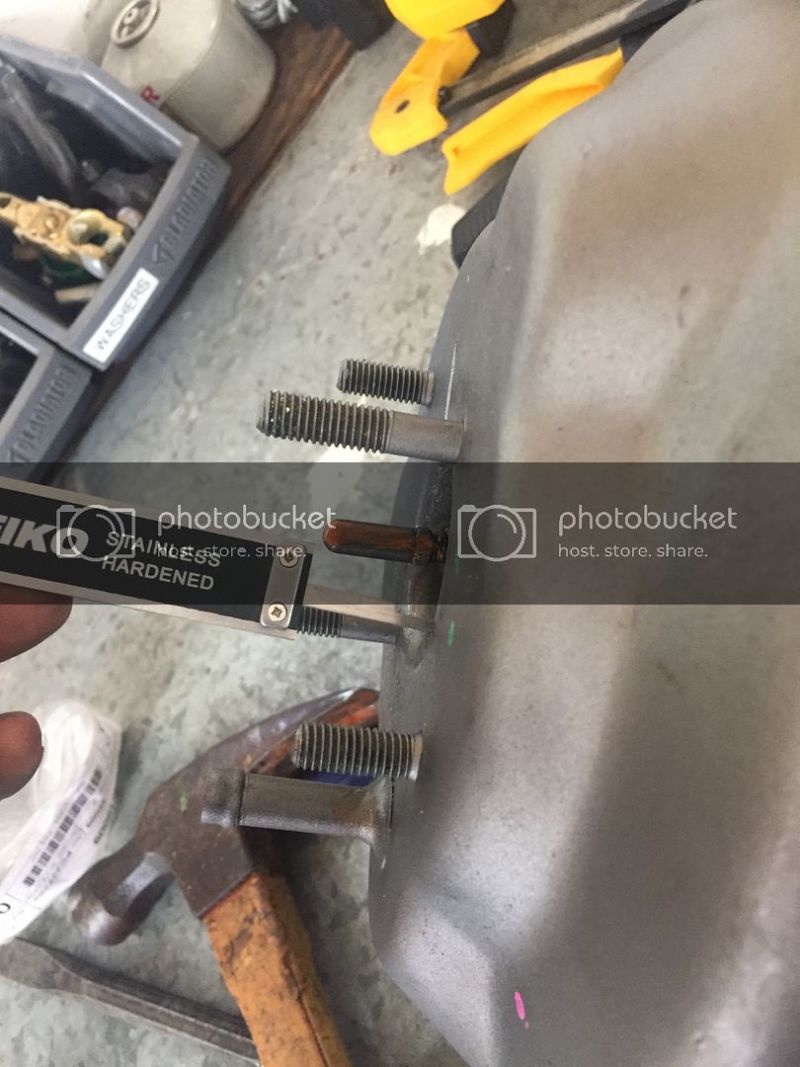
Safely back, next on the list was to revisit the gas tank. The install I am pretty happy with, but the straps aren’t quite bottomed out and so the bolts are in, but under tension instead of bottoming out on something. Some oversized nuts solves that problem.

Hard to see, but the strap ends now bottom out with a bit of compression rather than staying secured through tension alone.
Another odd problem was due to the diameter of the hose and the route that it took, filling gas required me to partially pull the handle as anything more than 1/4 would trigger the flow back and shut it off. It is remarkable how difficult it was to find a 1 inch diameter fuel rated hose. Luckily some searching found a jeep hose with plenty of bends, and I ordered a stainless steel tube to use as a coupler where needed. Now the gas can be set and locked like a normal car.
With that addressed the gas situation is pretty much rectified. Now onto the interior. Other than the fact it is in need of touchup where the paint has worn away, it just needs pretty much more of it. Some carpet for the floor and trans tunnel, maybe some weather mats for the floors, and the cleaning up of the wiring inside.
Lessons learned:
Finally using the nutsert tool I bought years ago, truly awesome!
Take a minimal tool kit, always...
Good friends should truly be cherished.
Jeep hose - 20
Hose clamps - 50
ISR clutch line - 50
Tune - 150
Subtotal: 270
Total spent - 31552