
Rust in vehicles is not really an issue in Australia. Unless there was a clear design fault (like Holden sills) or vehicular misuse. Our rust issue is due to the former.
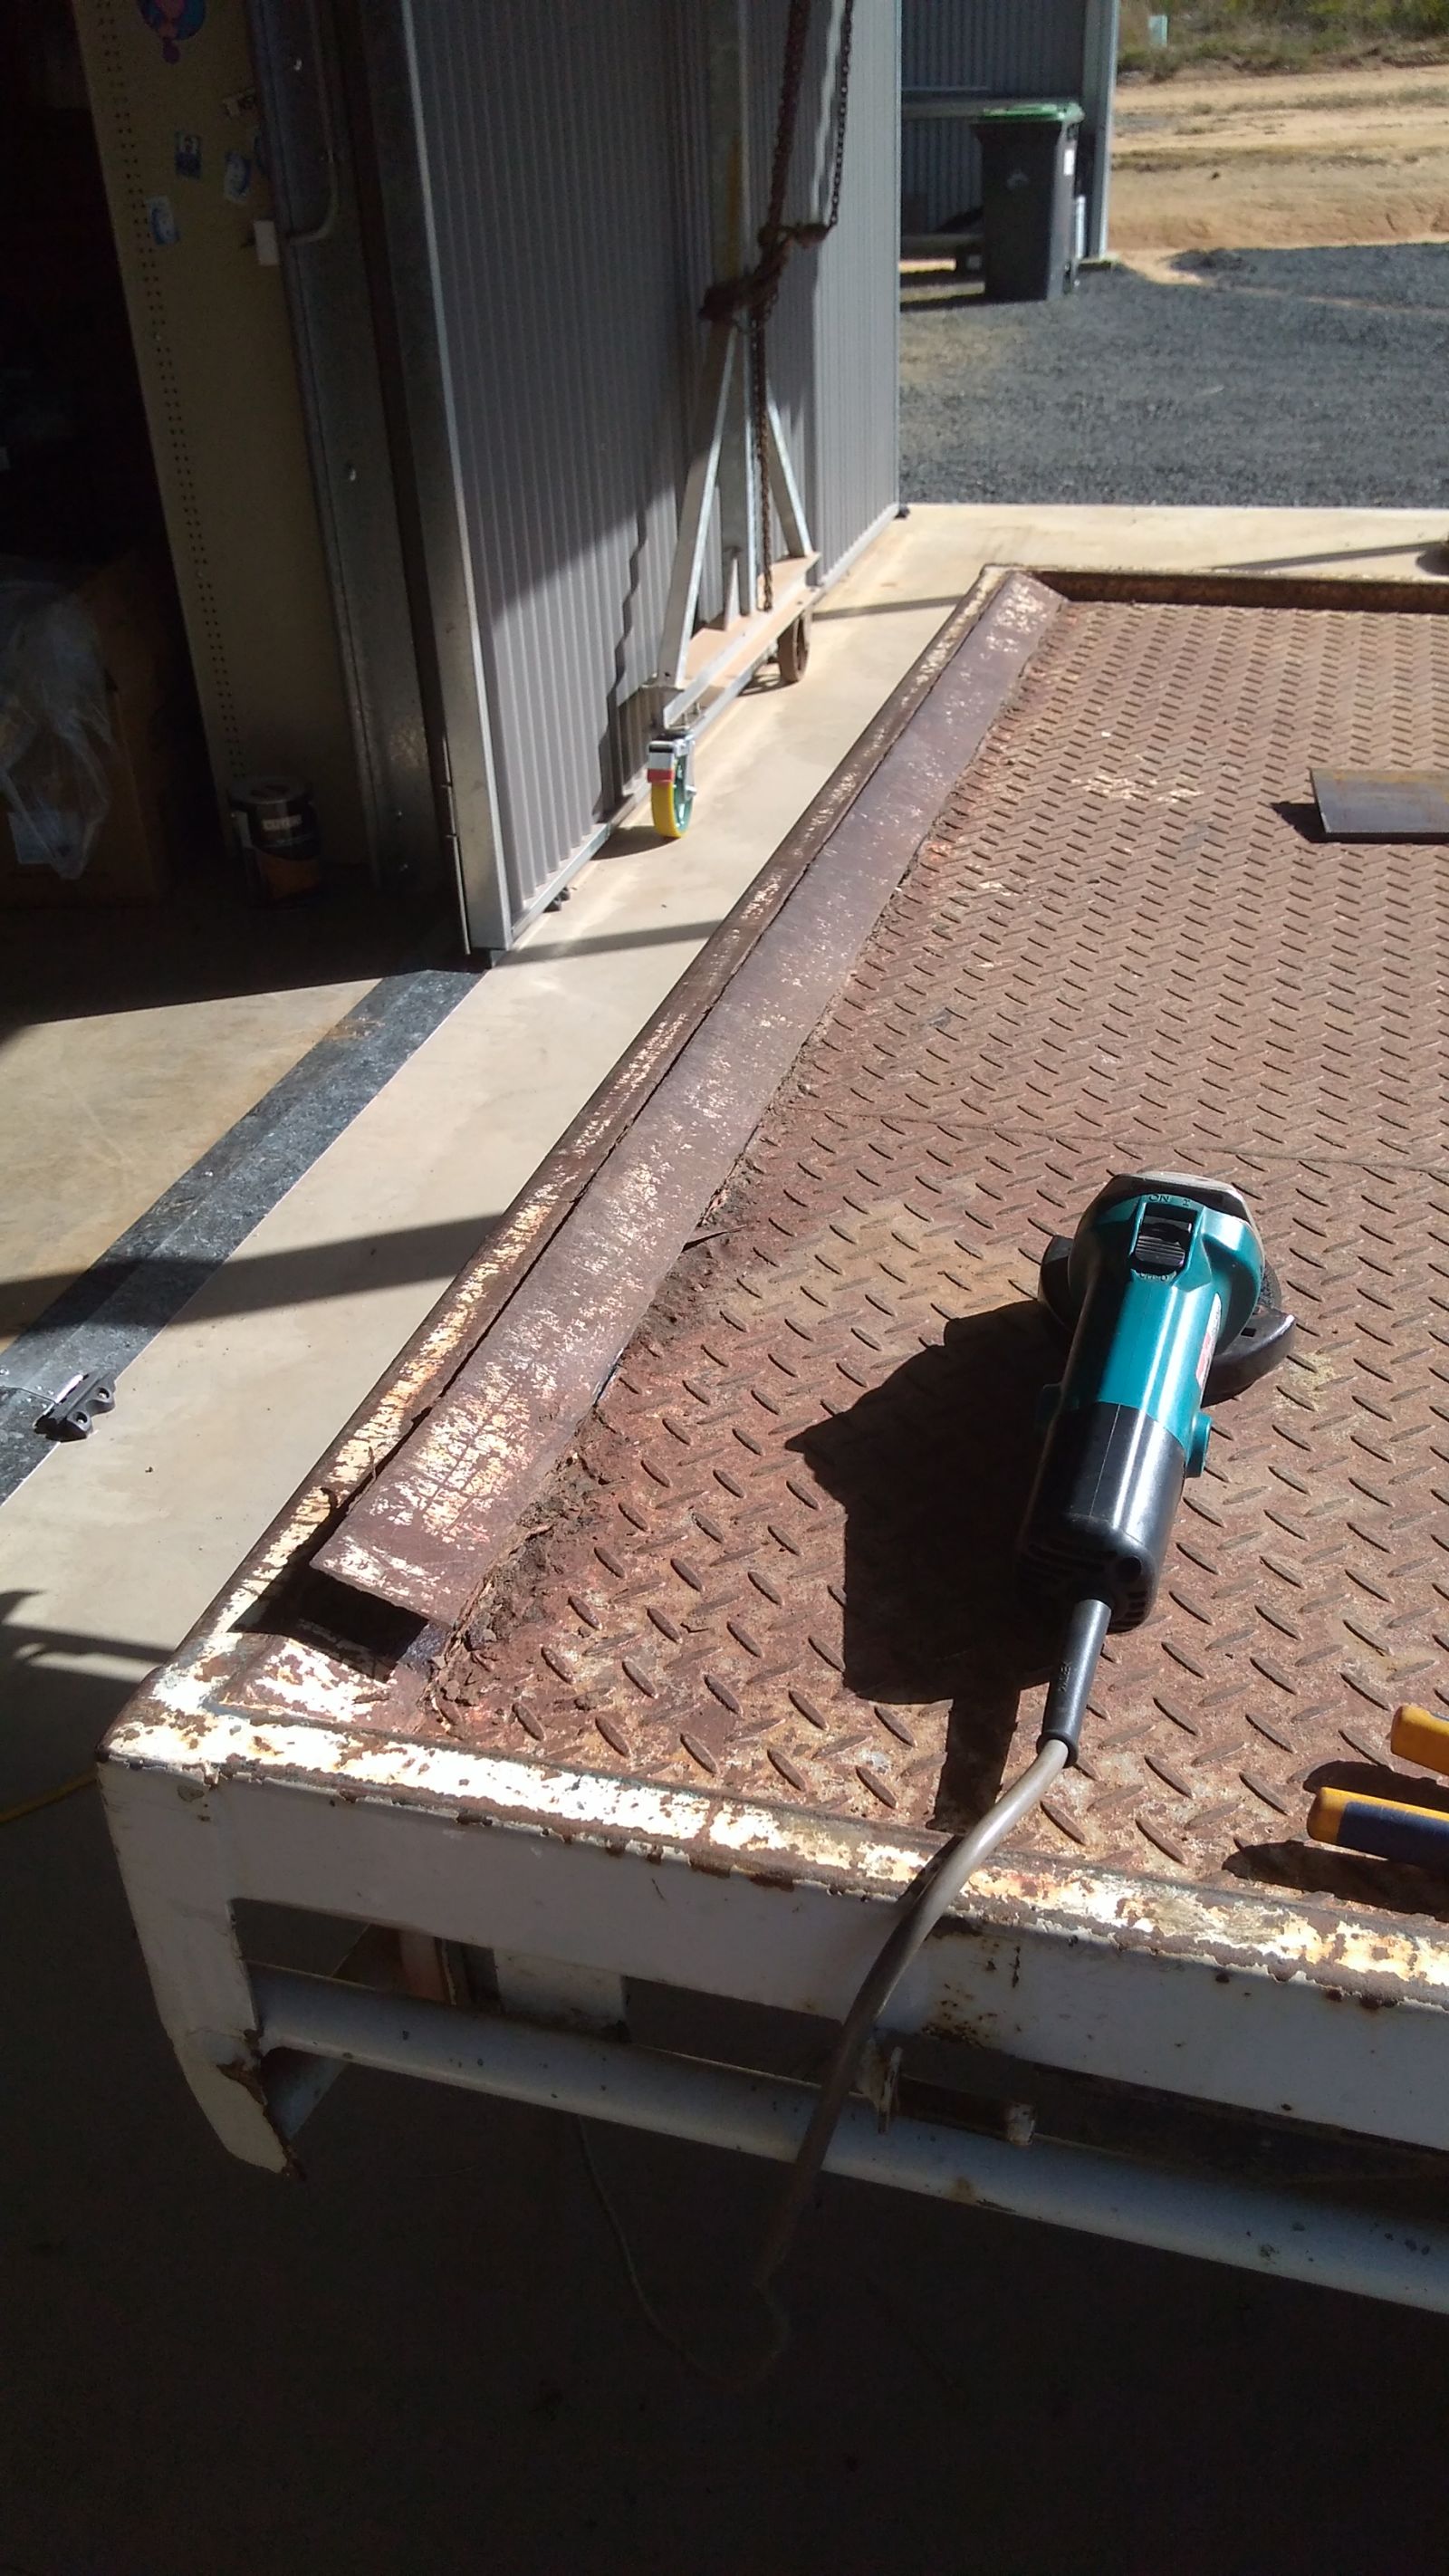
The conversion of the flat bed into a tipper back in the day saw the addition of a 75mm wide strip of 3mm steel plate to the rear of the tray to help things slide off as the tipper lifted. Unfortunately, whoever welded this strip on only strip tacked it rather than fully welded it. Water, dust, sand and other general crud was able to build up underneath it in the closed in space. Fast forward nearly two decades and we clearly had perforation issues.
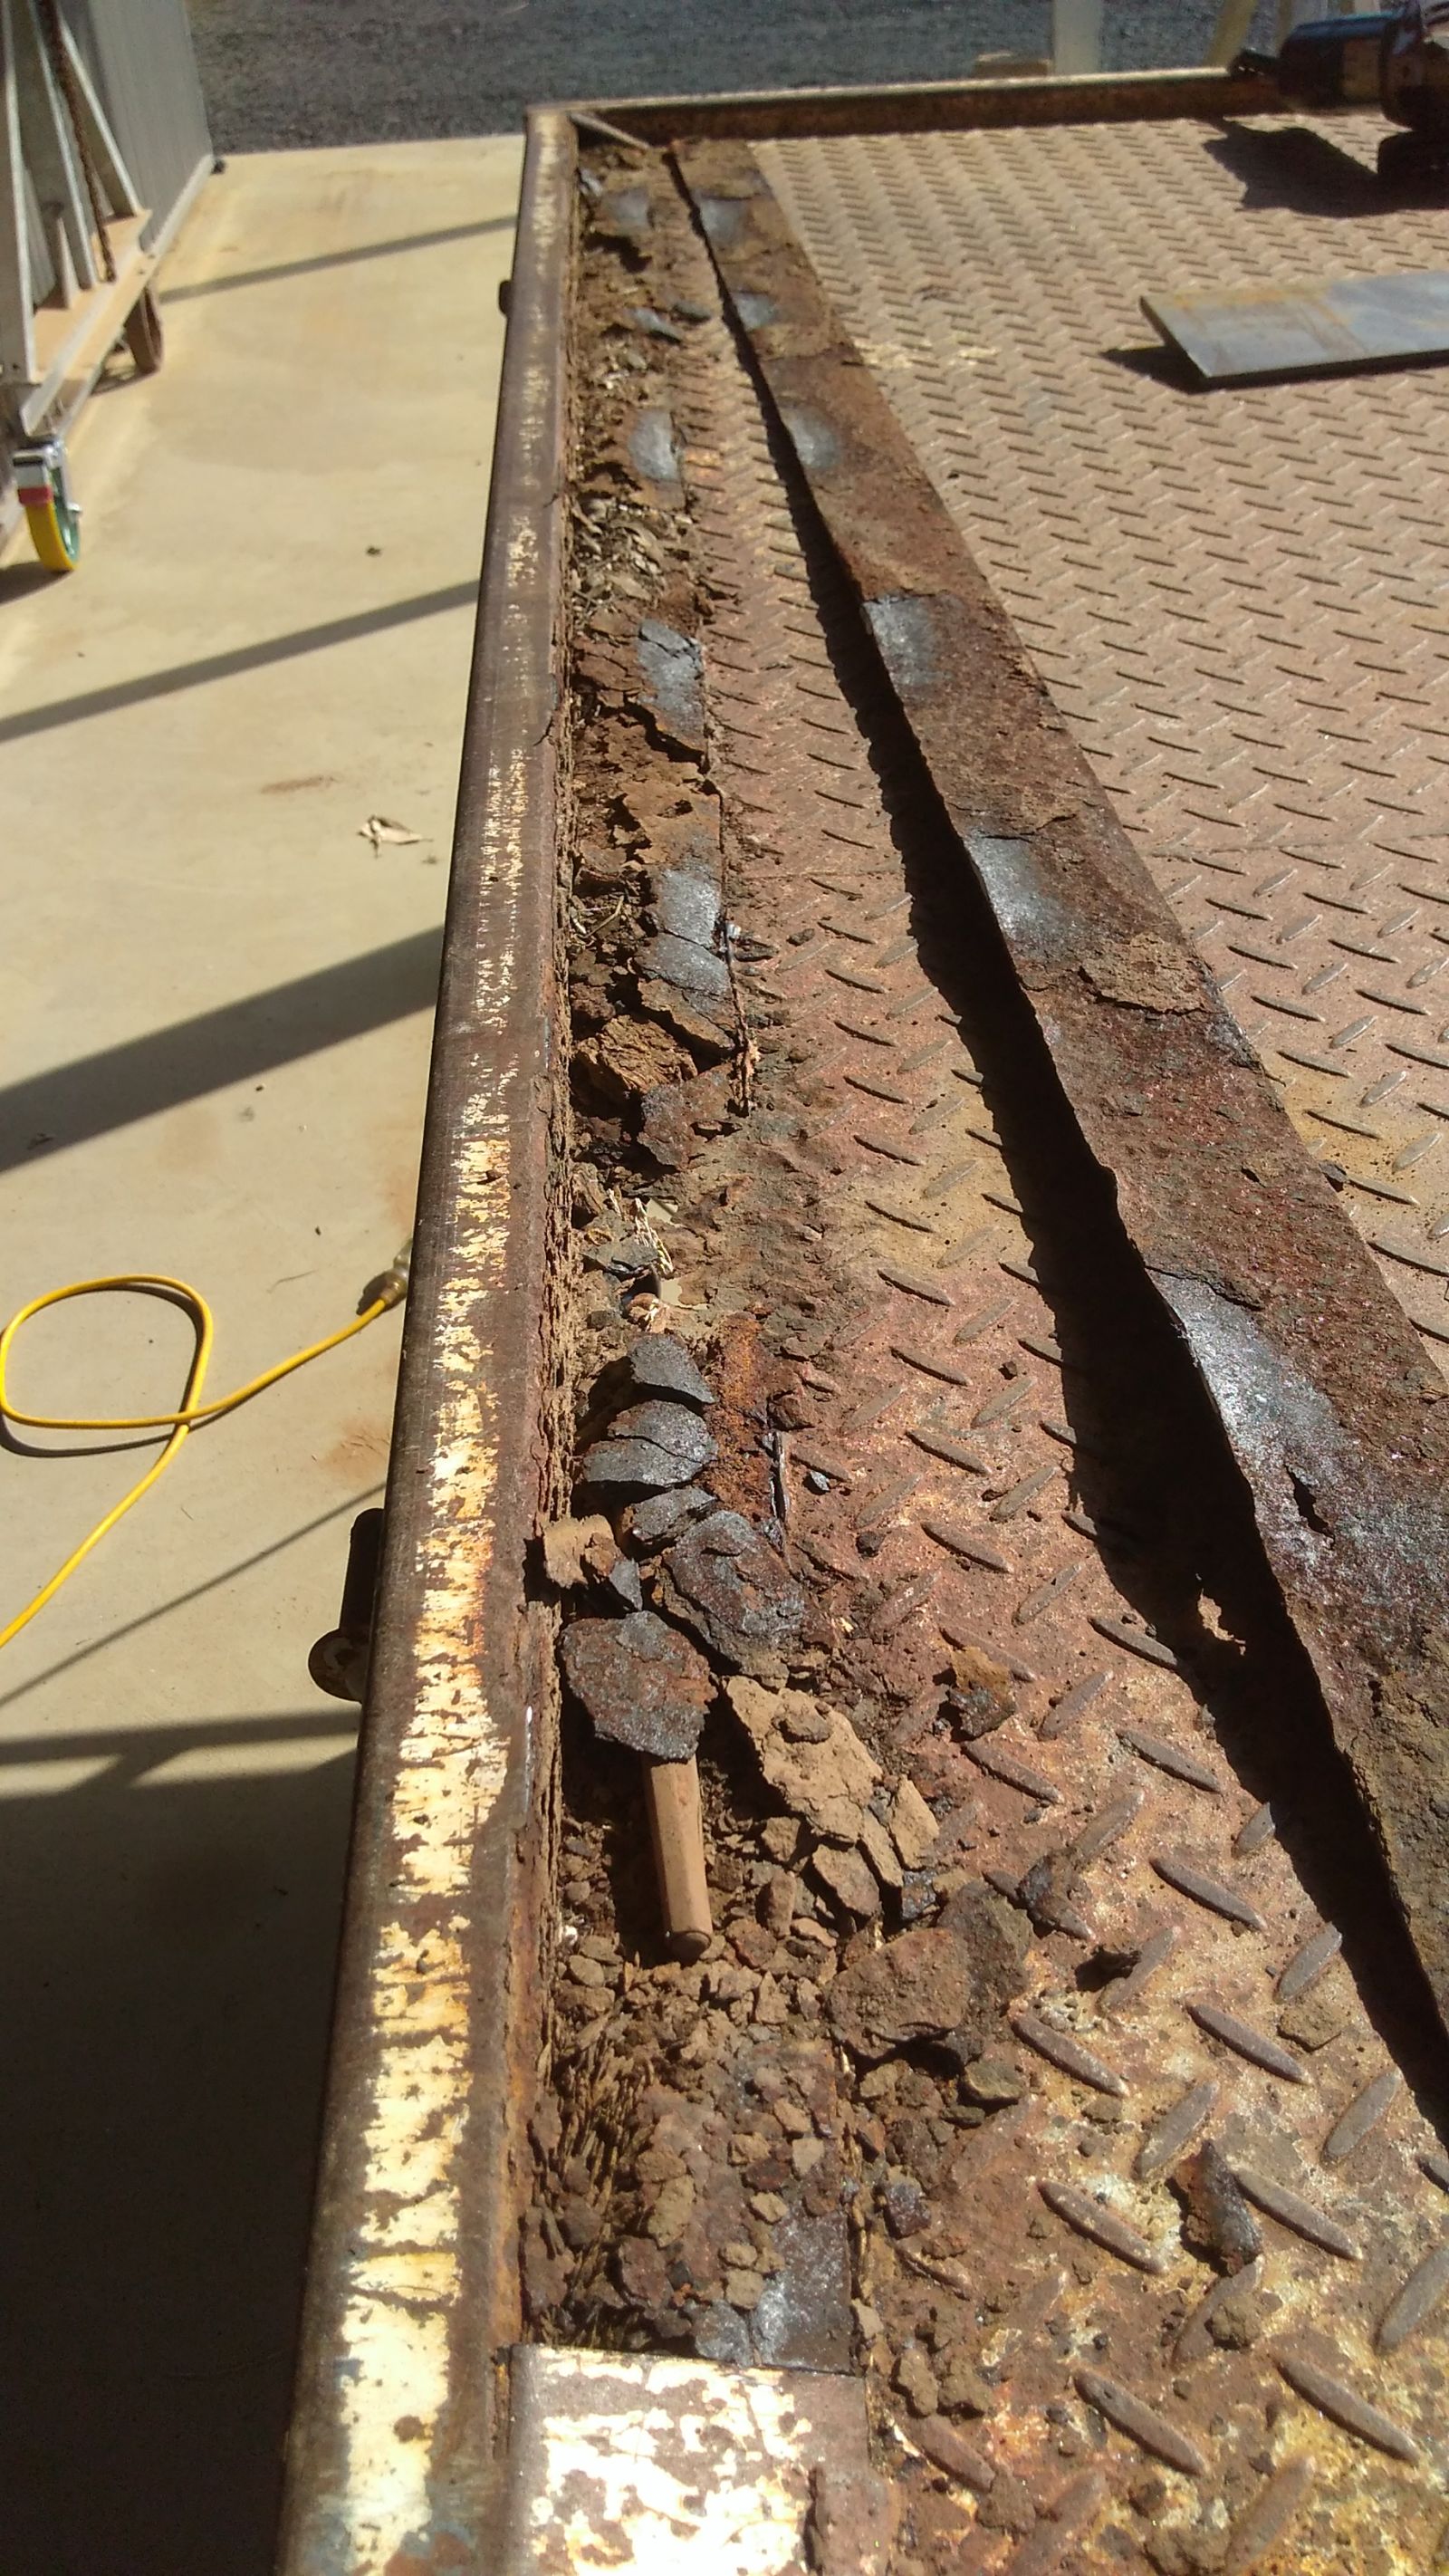
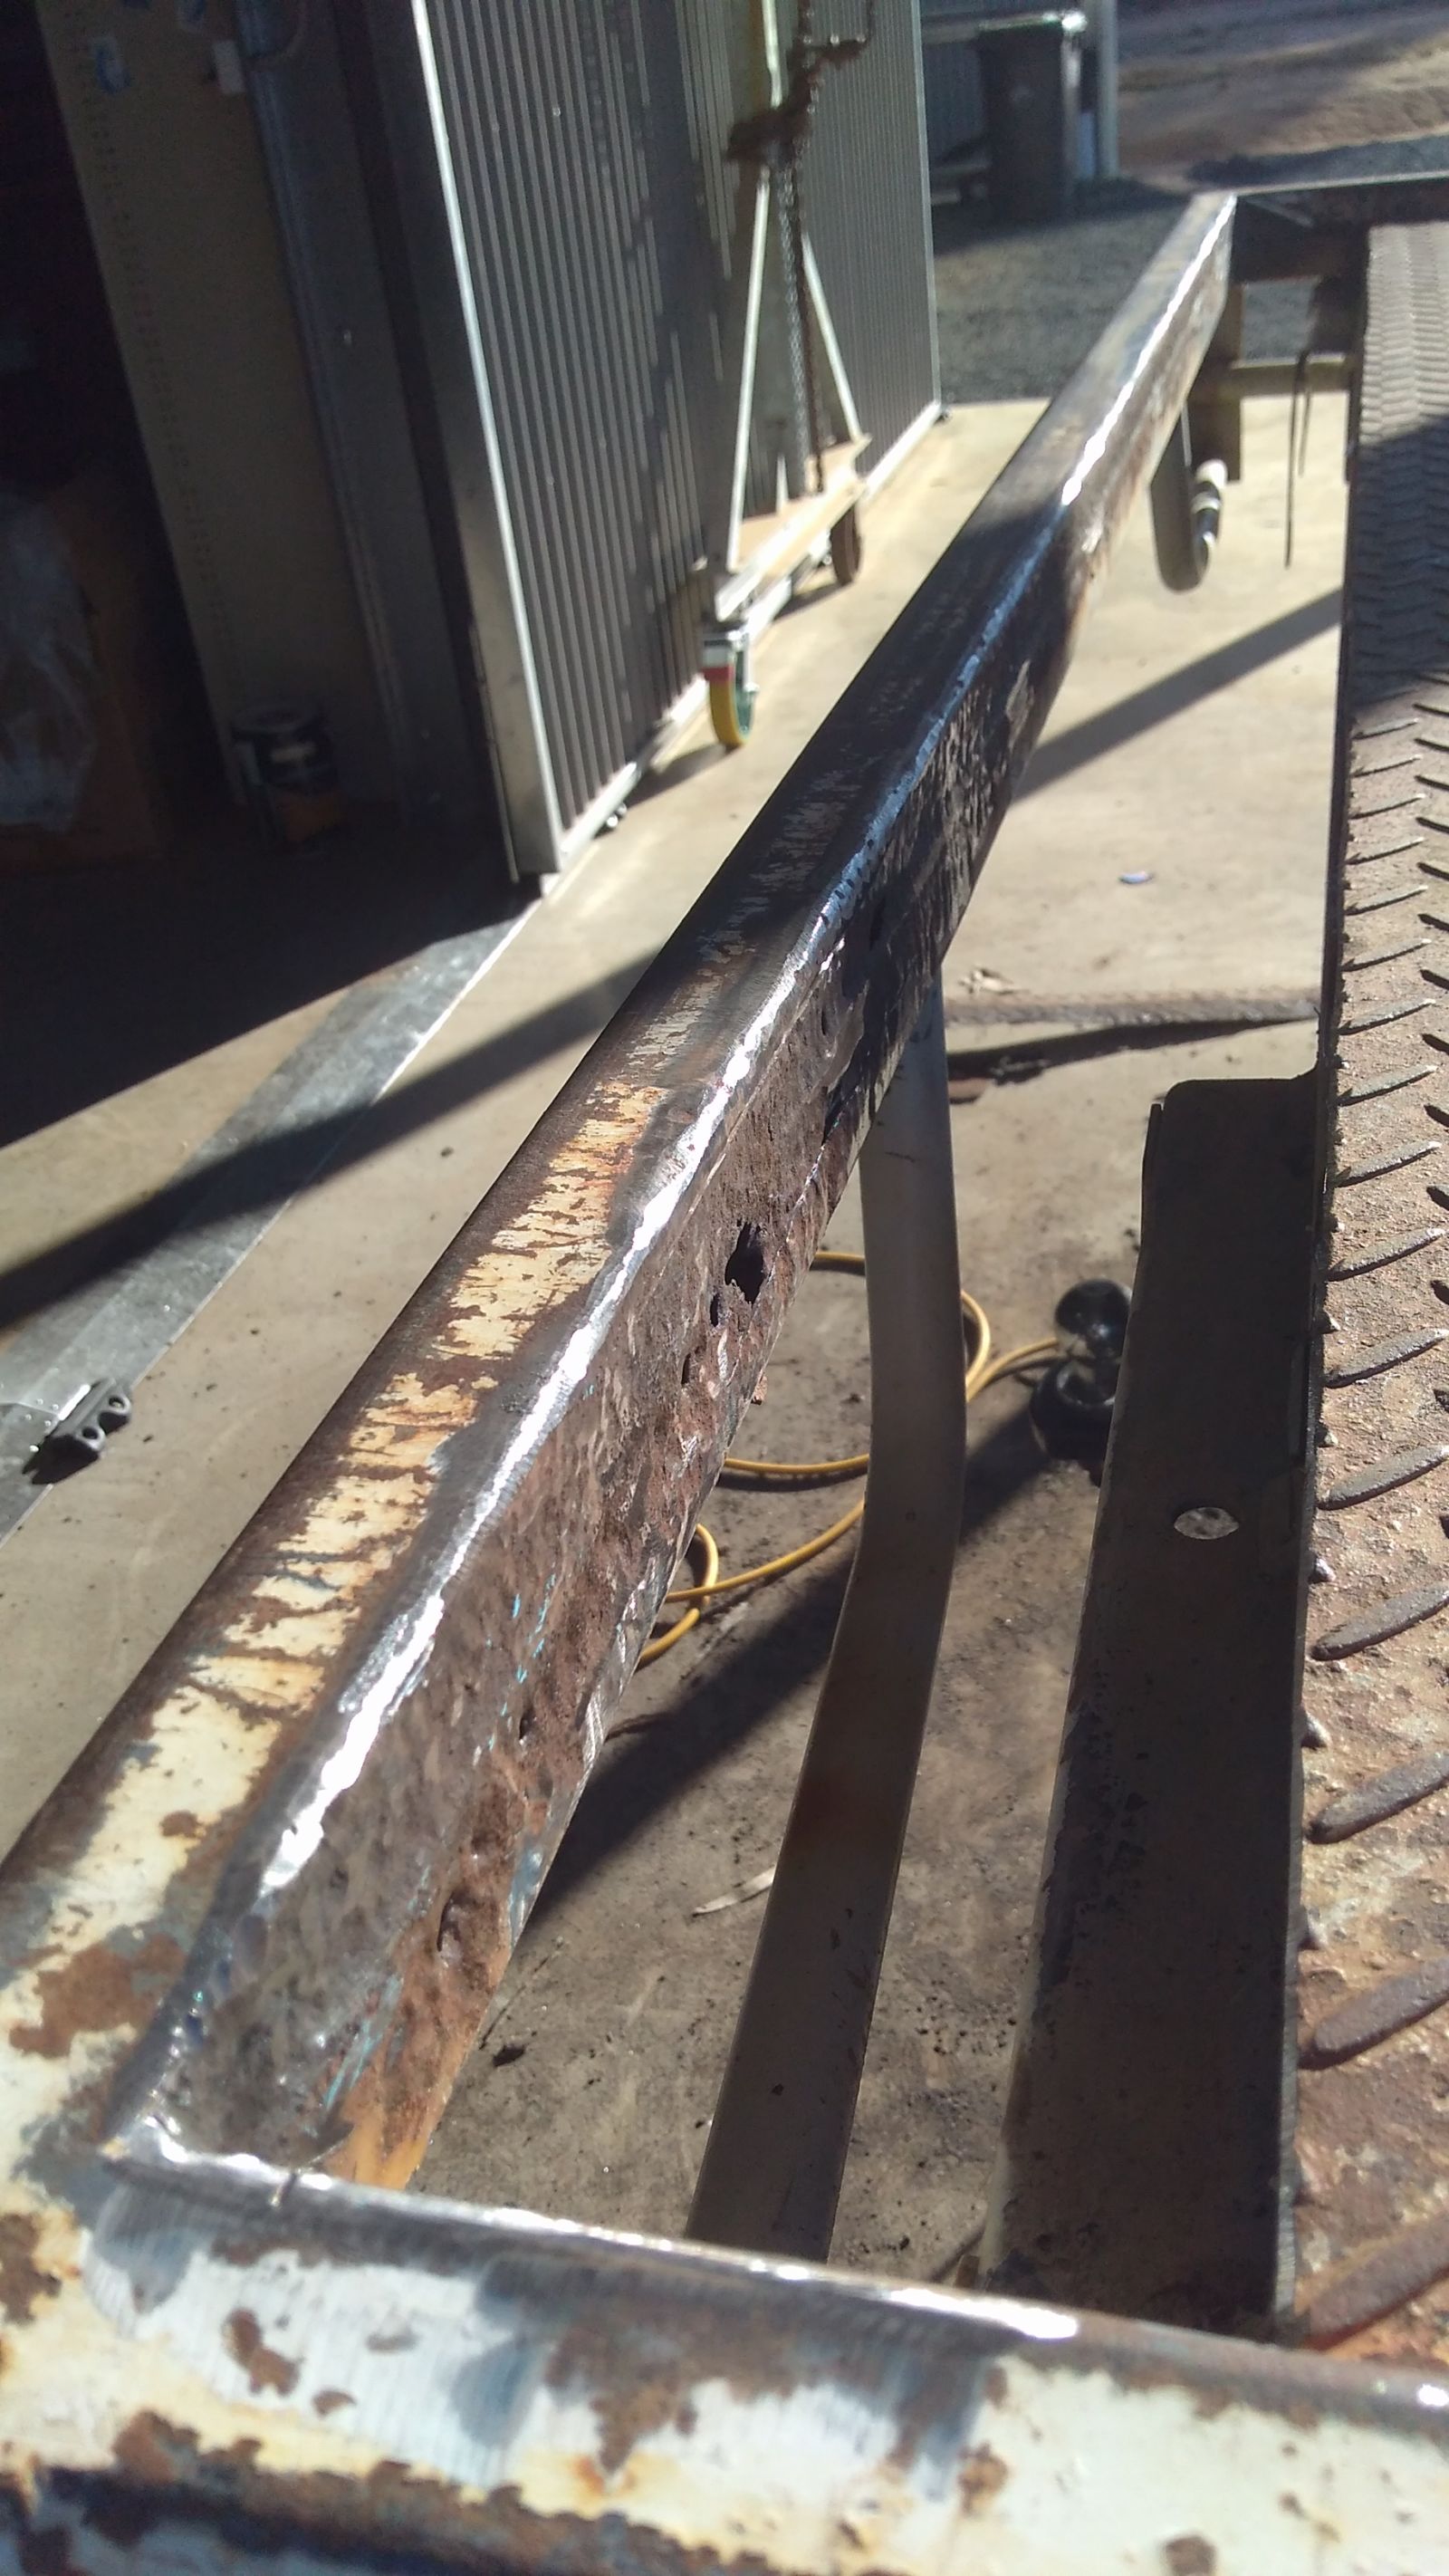
First trick was to cut away the old strip to see the true extent of the damage. But that proved to be insufficient...I had to shovel out the trapped oxide and then bash away with a needle scaler and welding hammer and then clean up and...
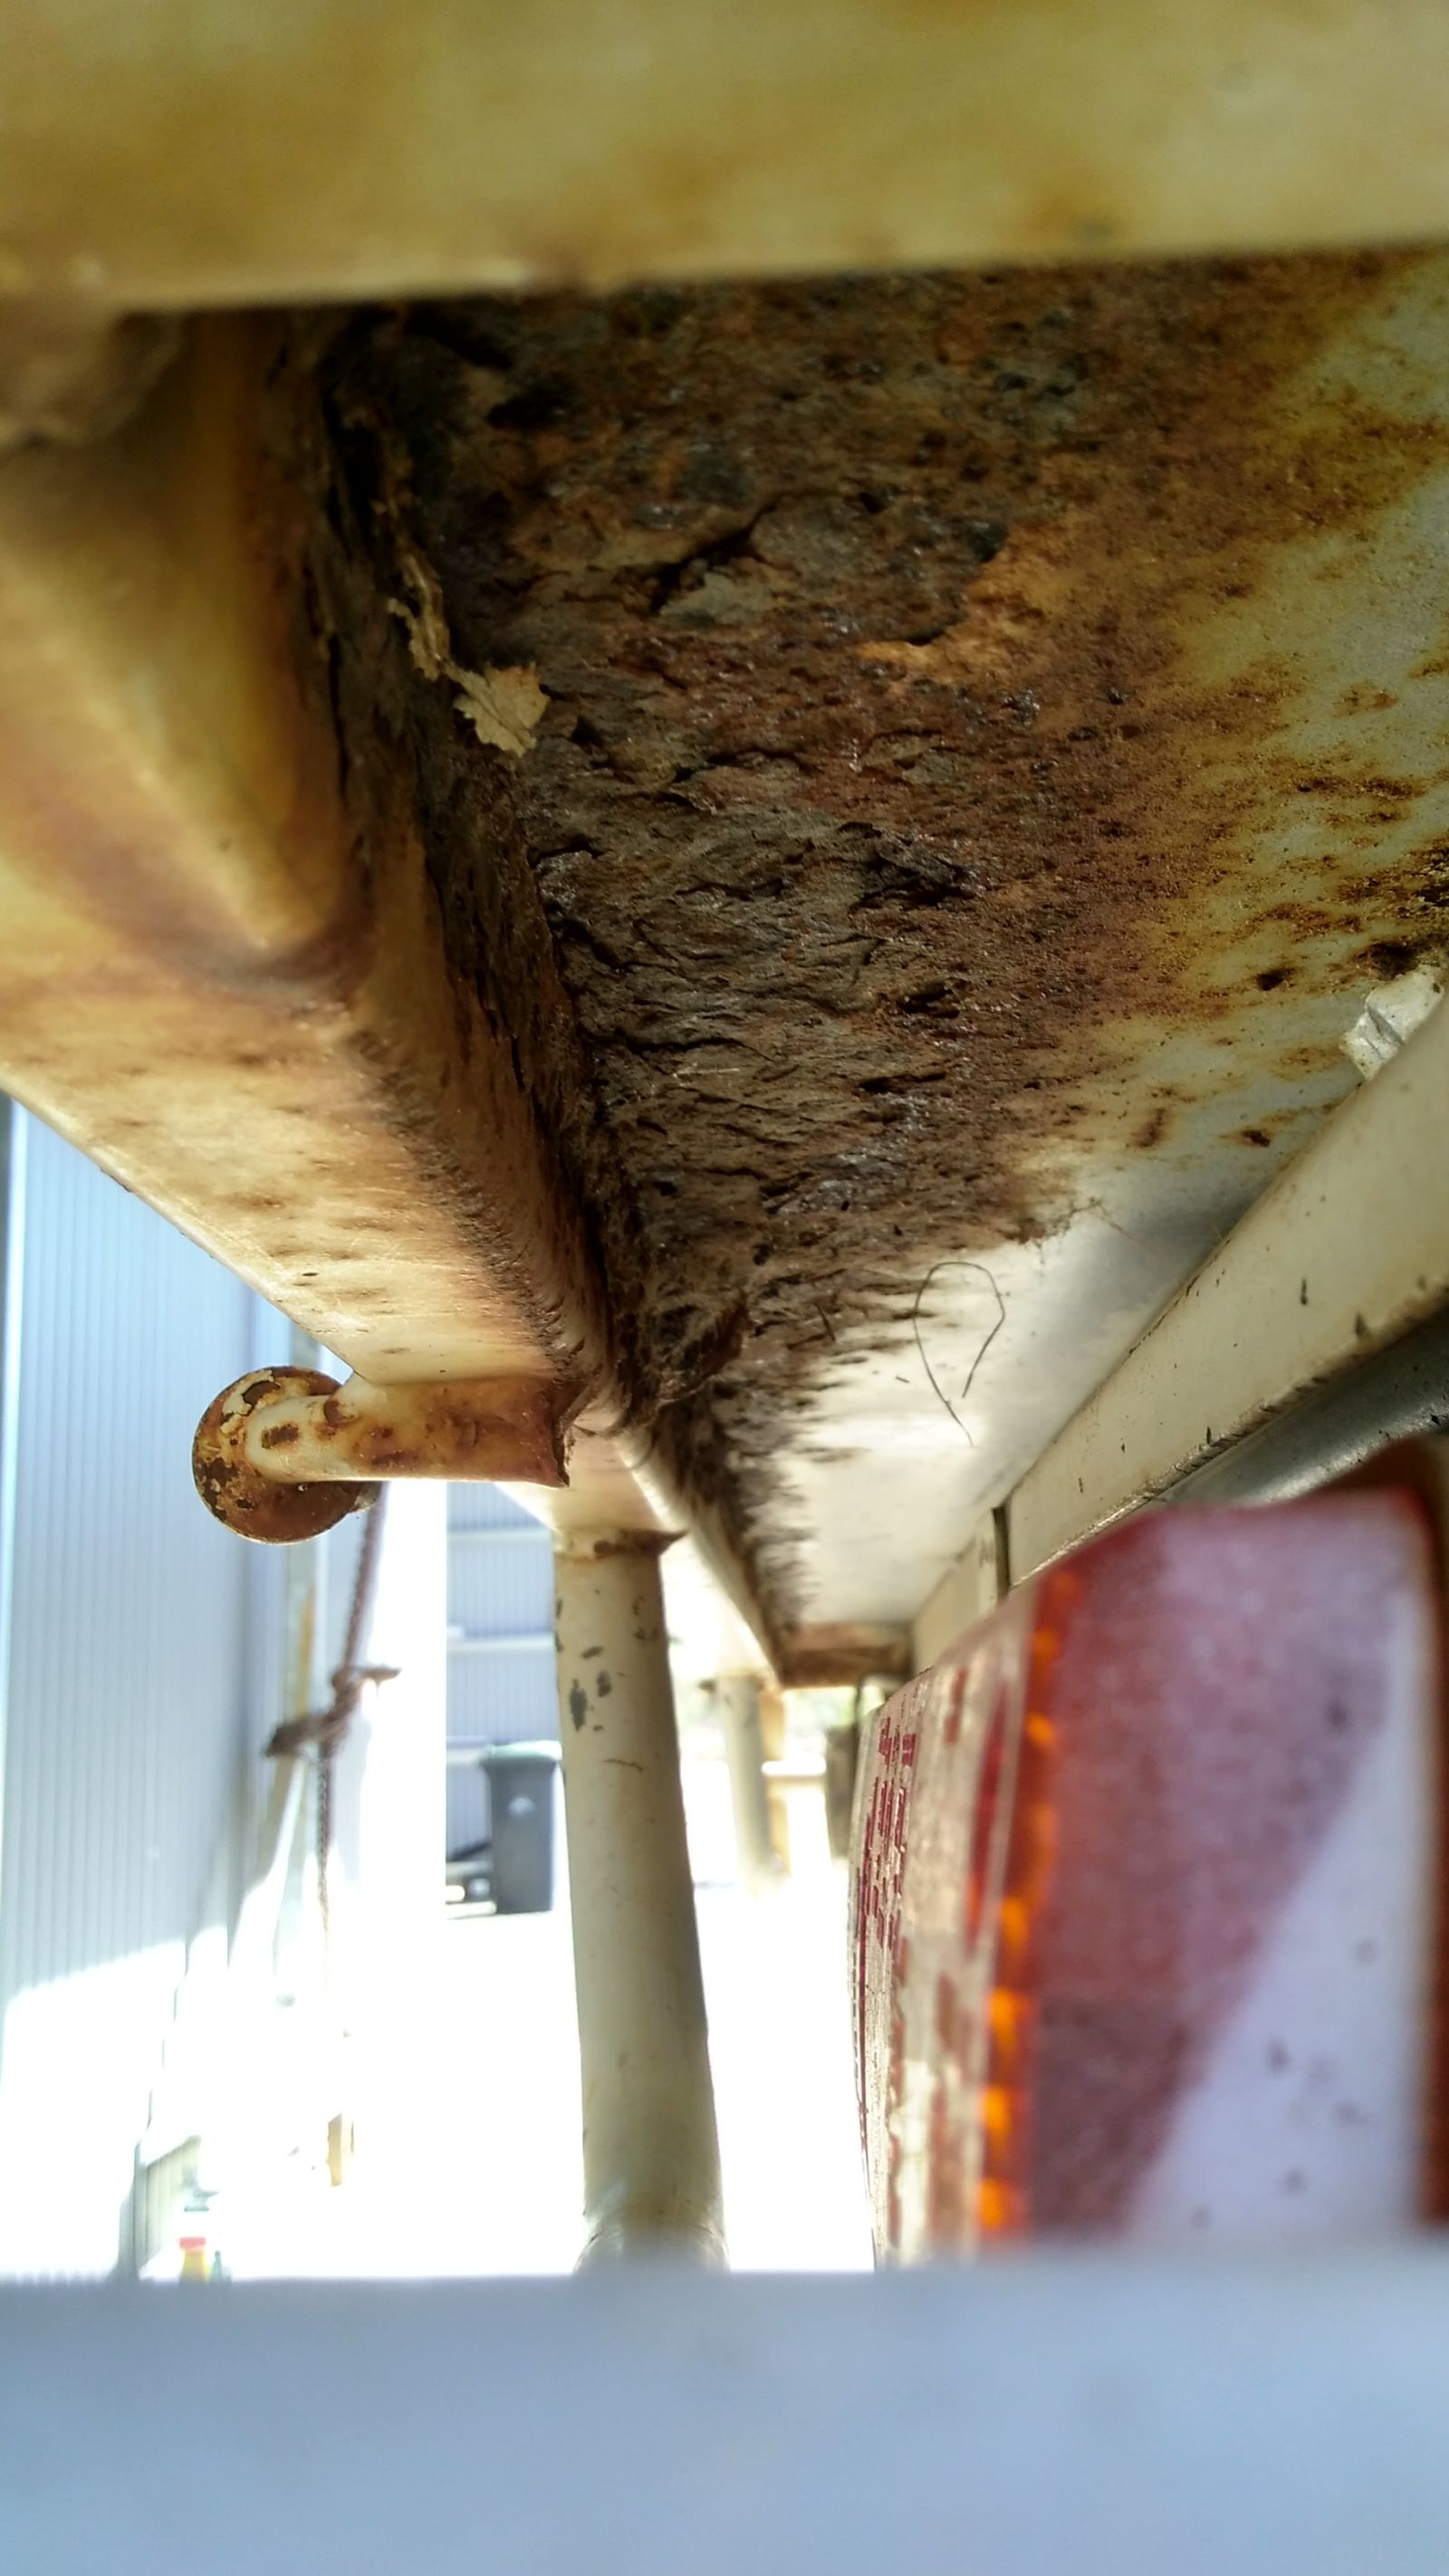
...it was a bit worse than I’d hoped. Not only was the deck holed but so was the frame...bugger. On the upside, a needle scaler is an excellent tool.

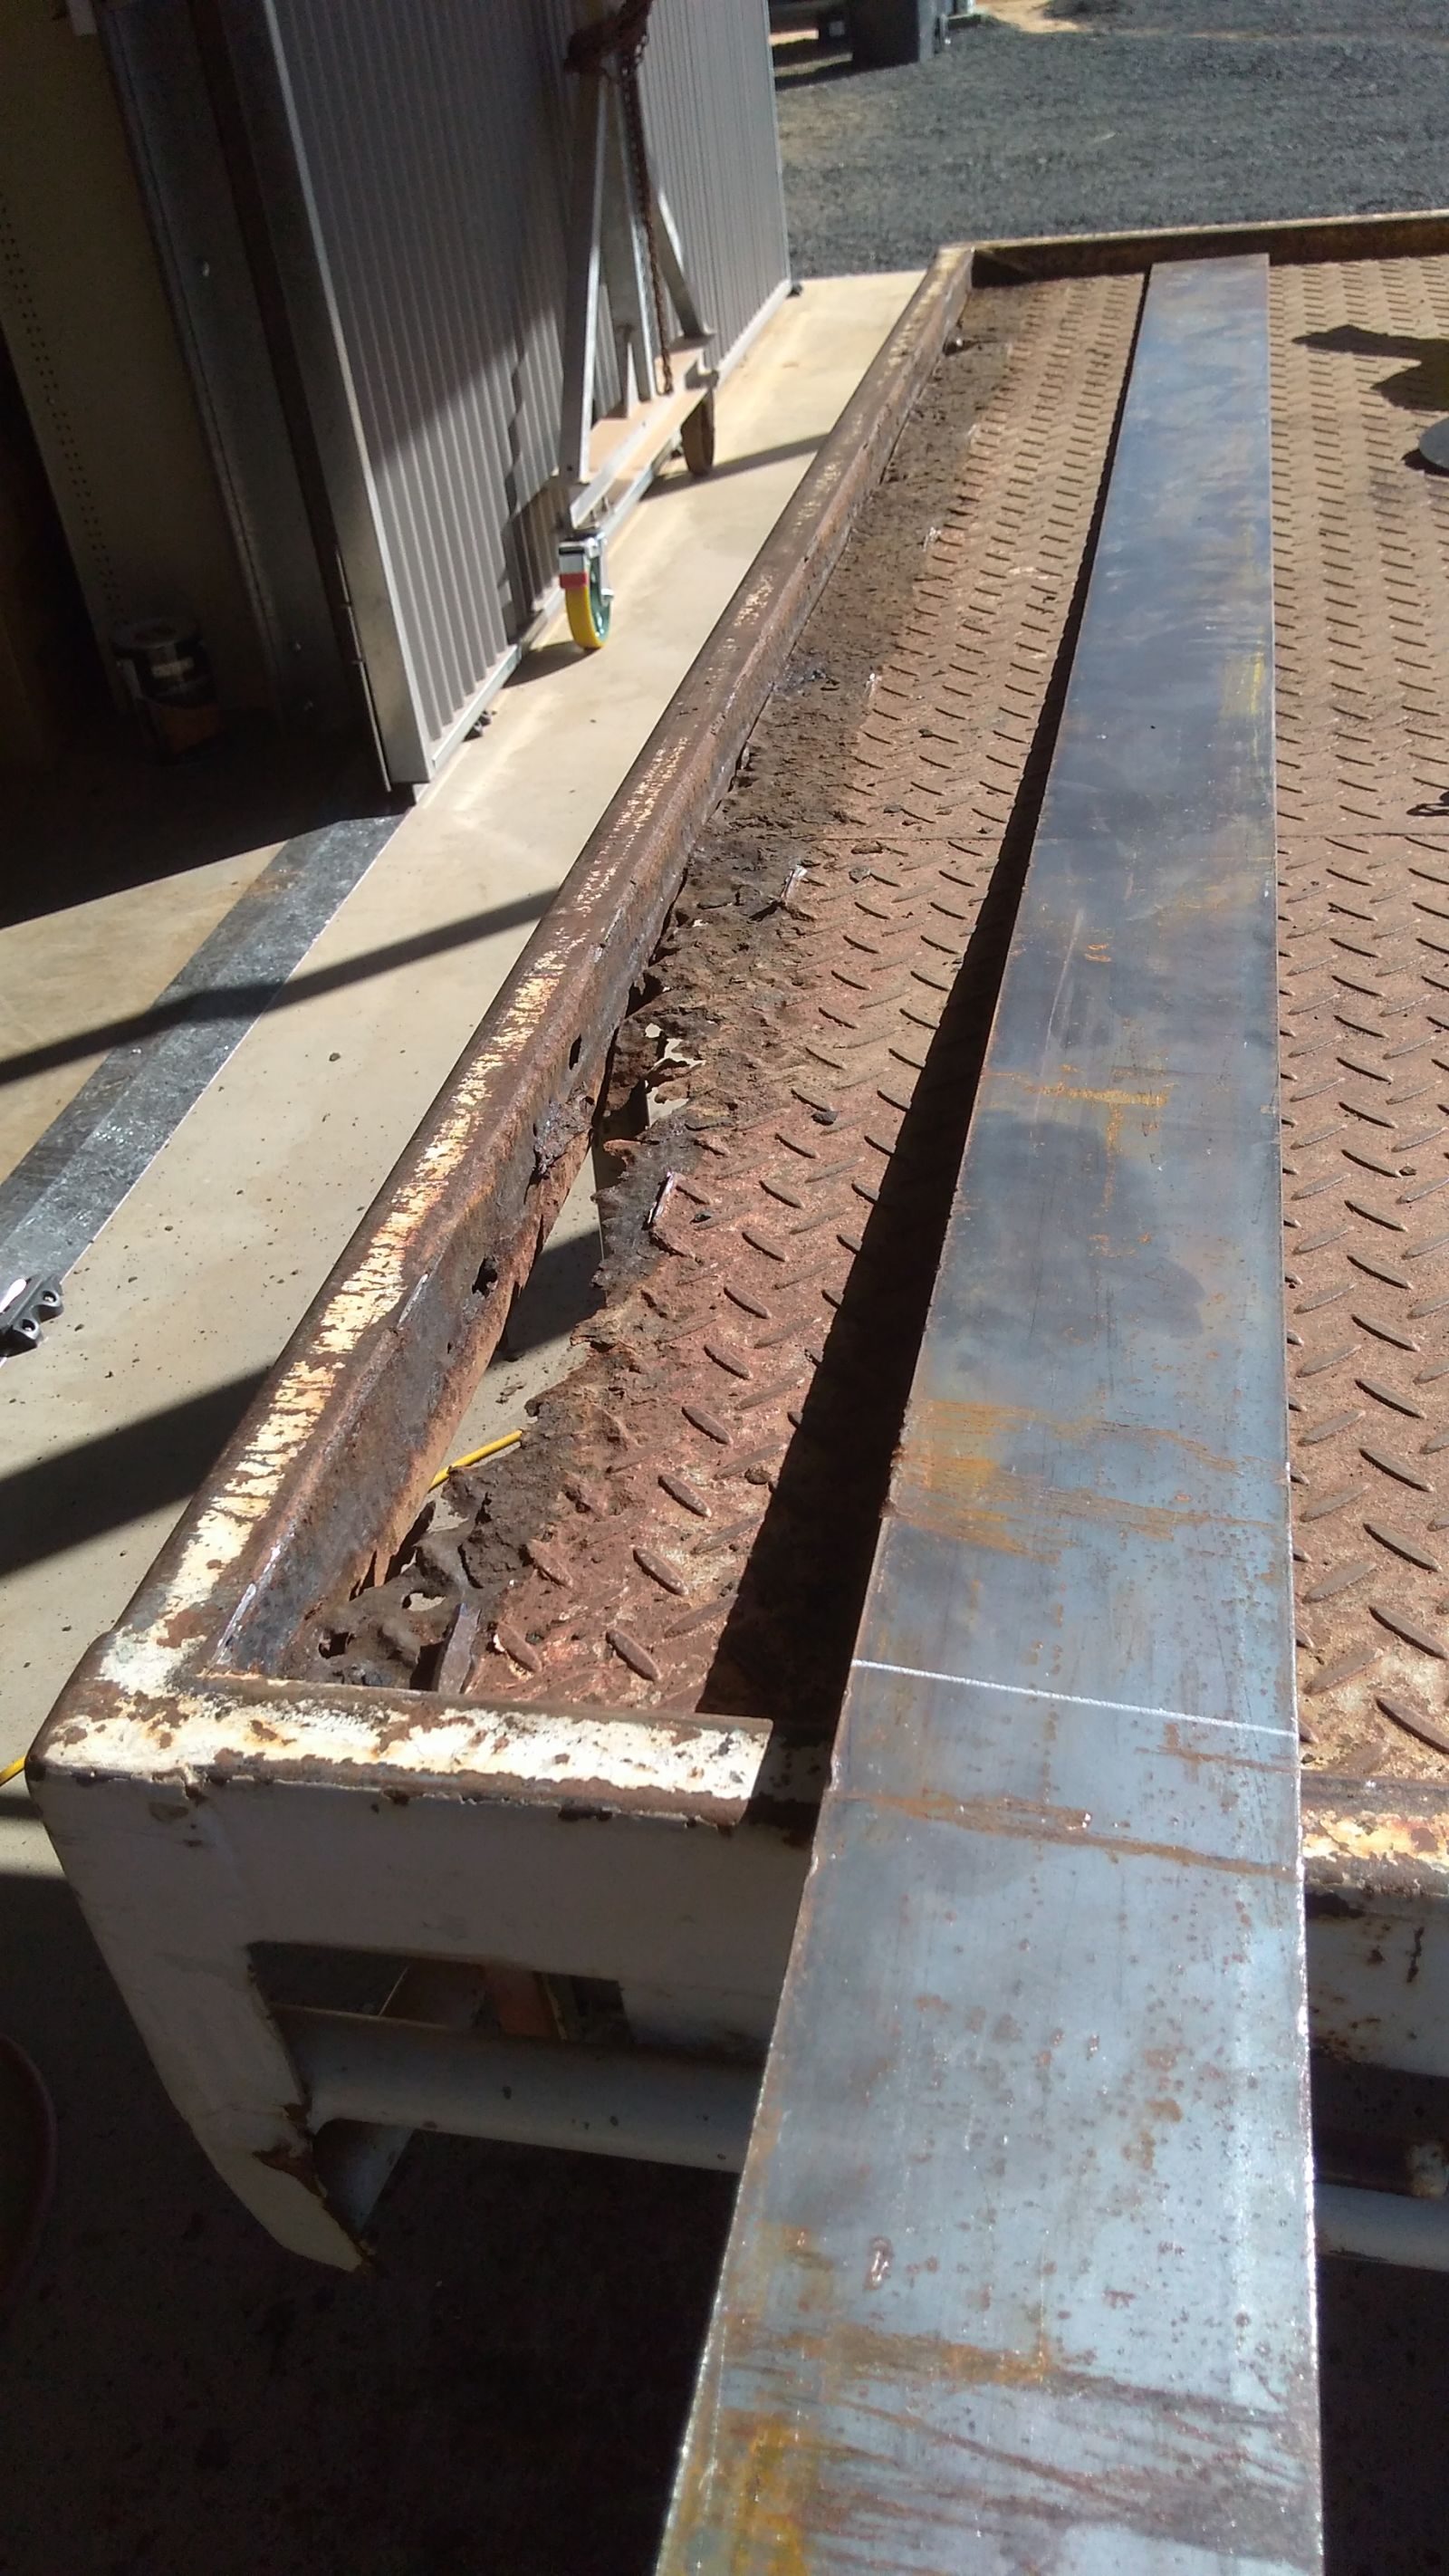
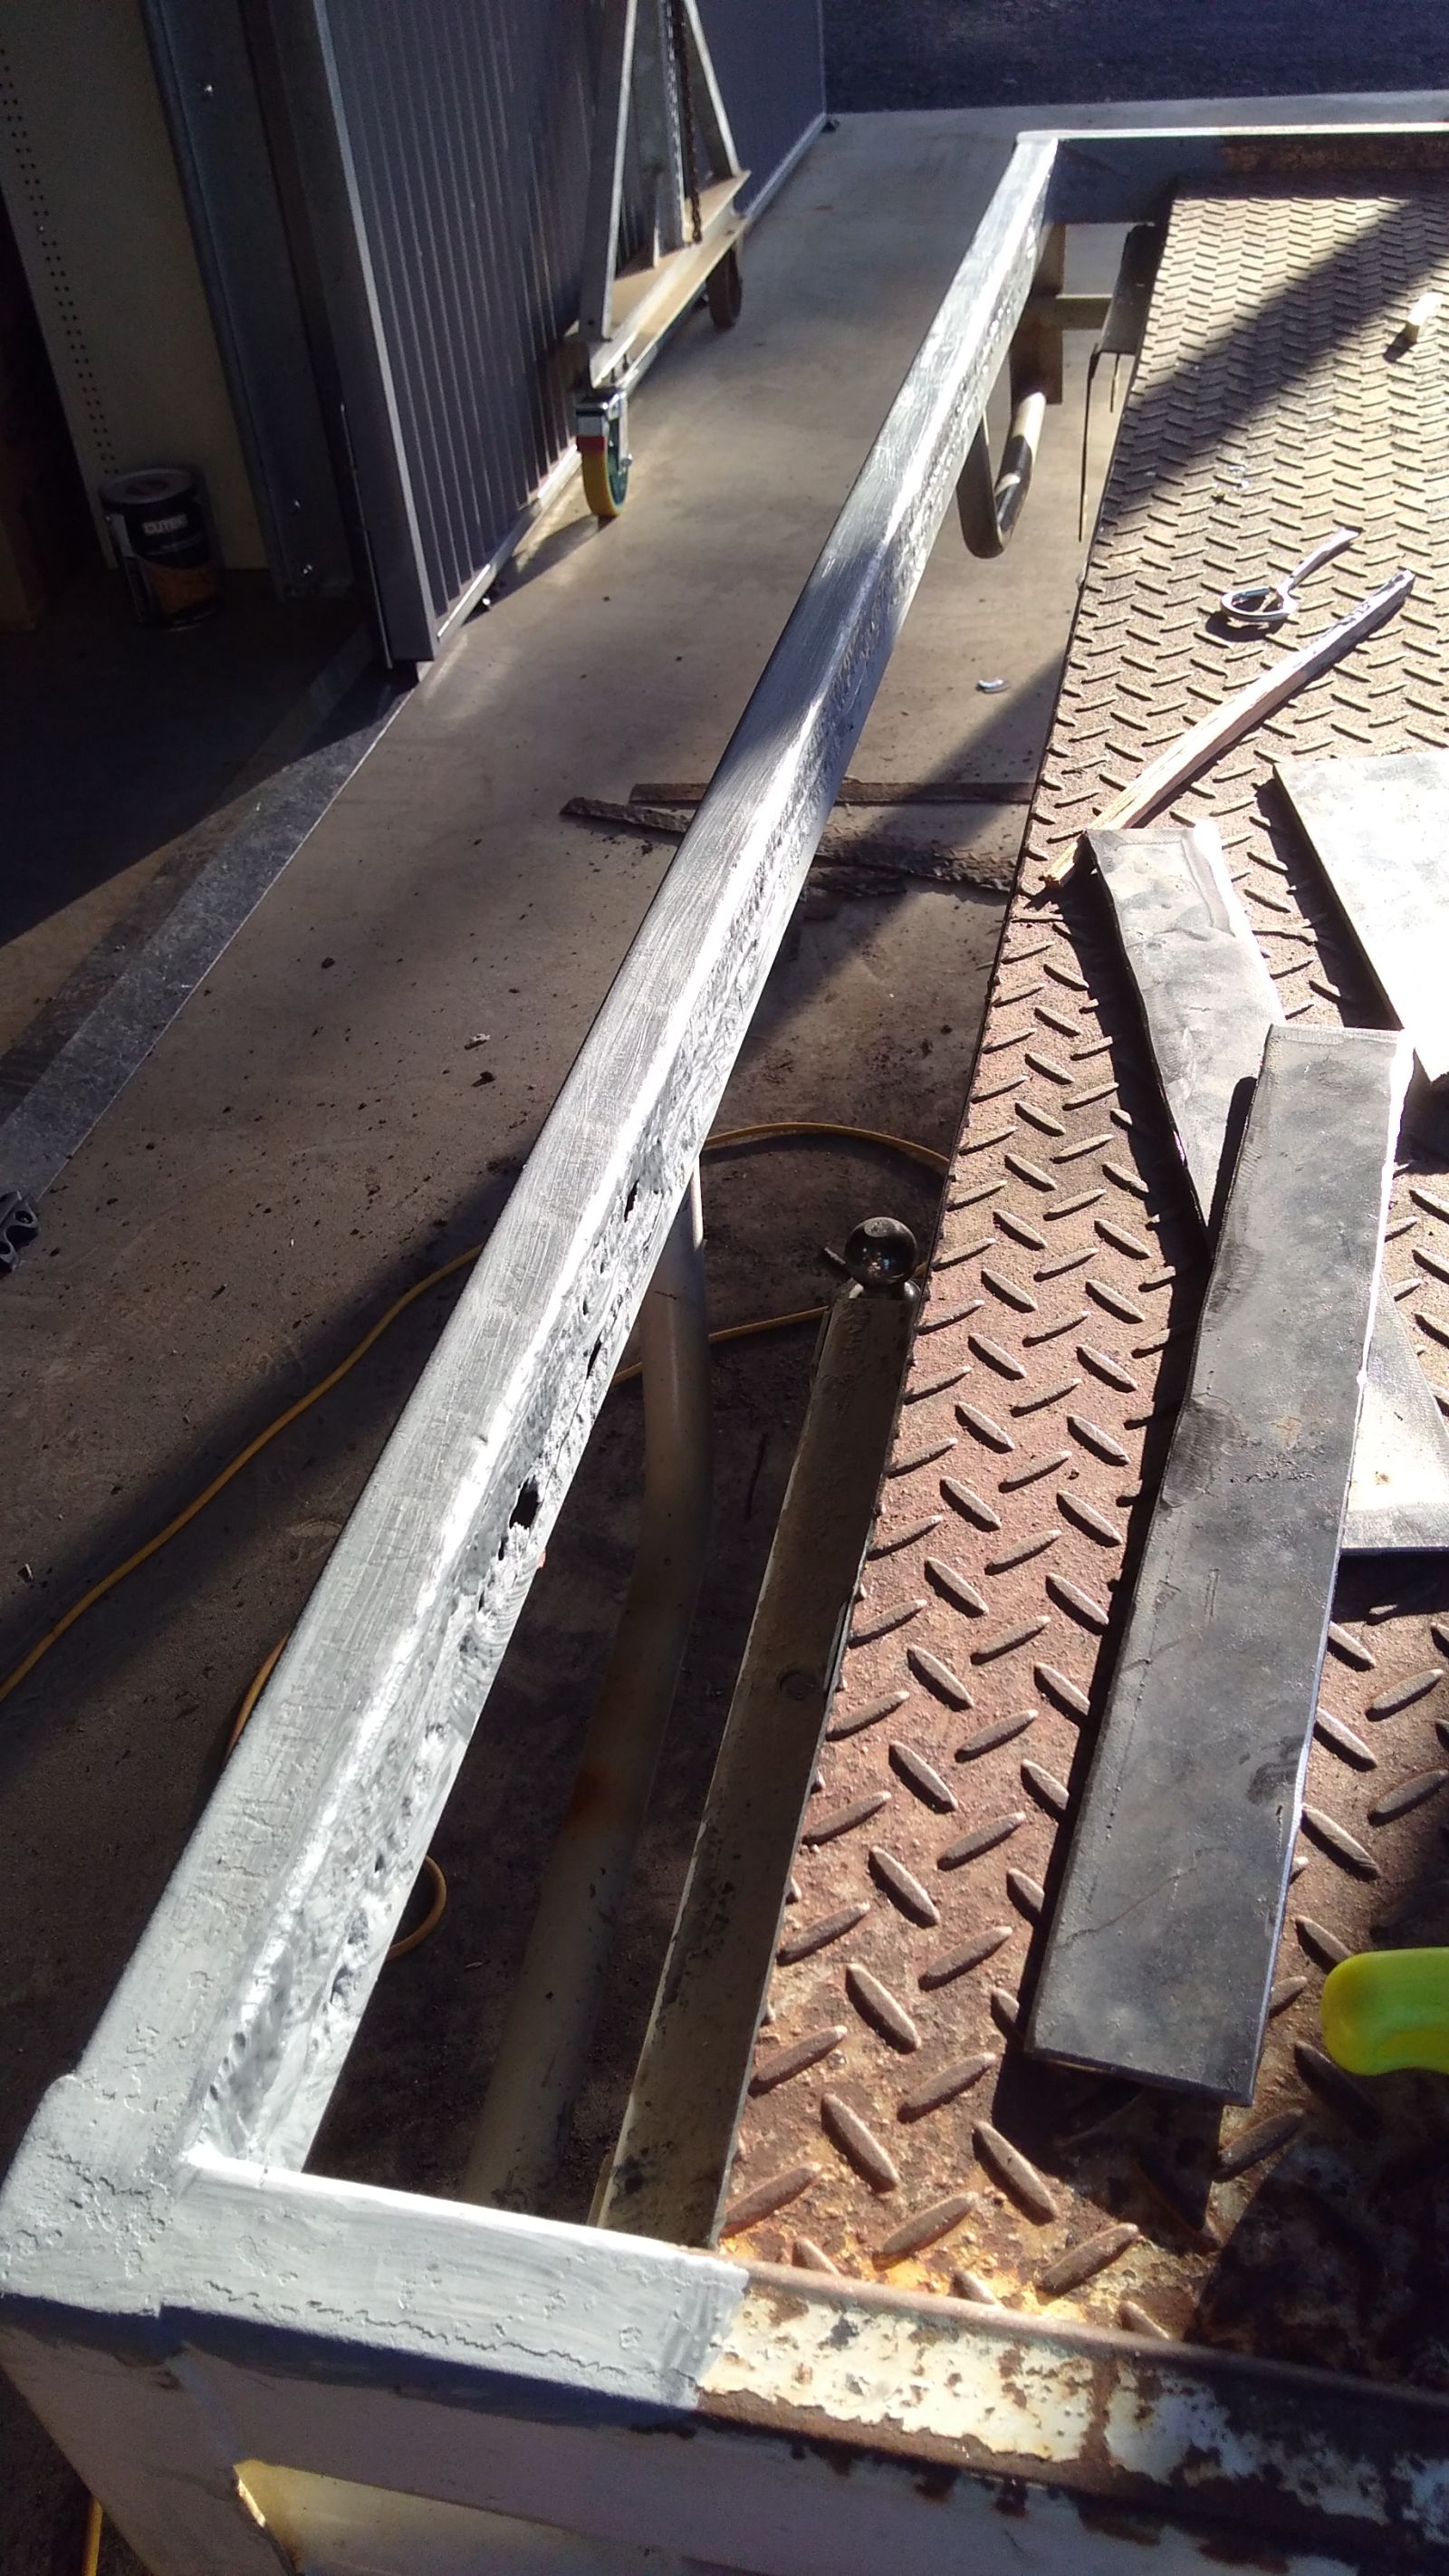
I cut the damaged section out and have a length of 100mm wide 5mm thick plate ready to go back in. This time fully welded and with no encapsulated space. A bit more of a clean up with the scaler and grinder then a coat of zinc paint as a weld through primer.
After some drying time taken up by making some patches from the dead bit of deck... welding. Suffice to say that I am an out of practice and largely self taught welder so the results speak for themselves. In my defence however, there’s some seriously patchy metal thicknesses here and a few impurities so one expects beauty to be ground into being...rather than simply welded there in the first place!
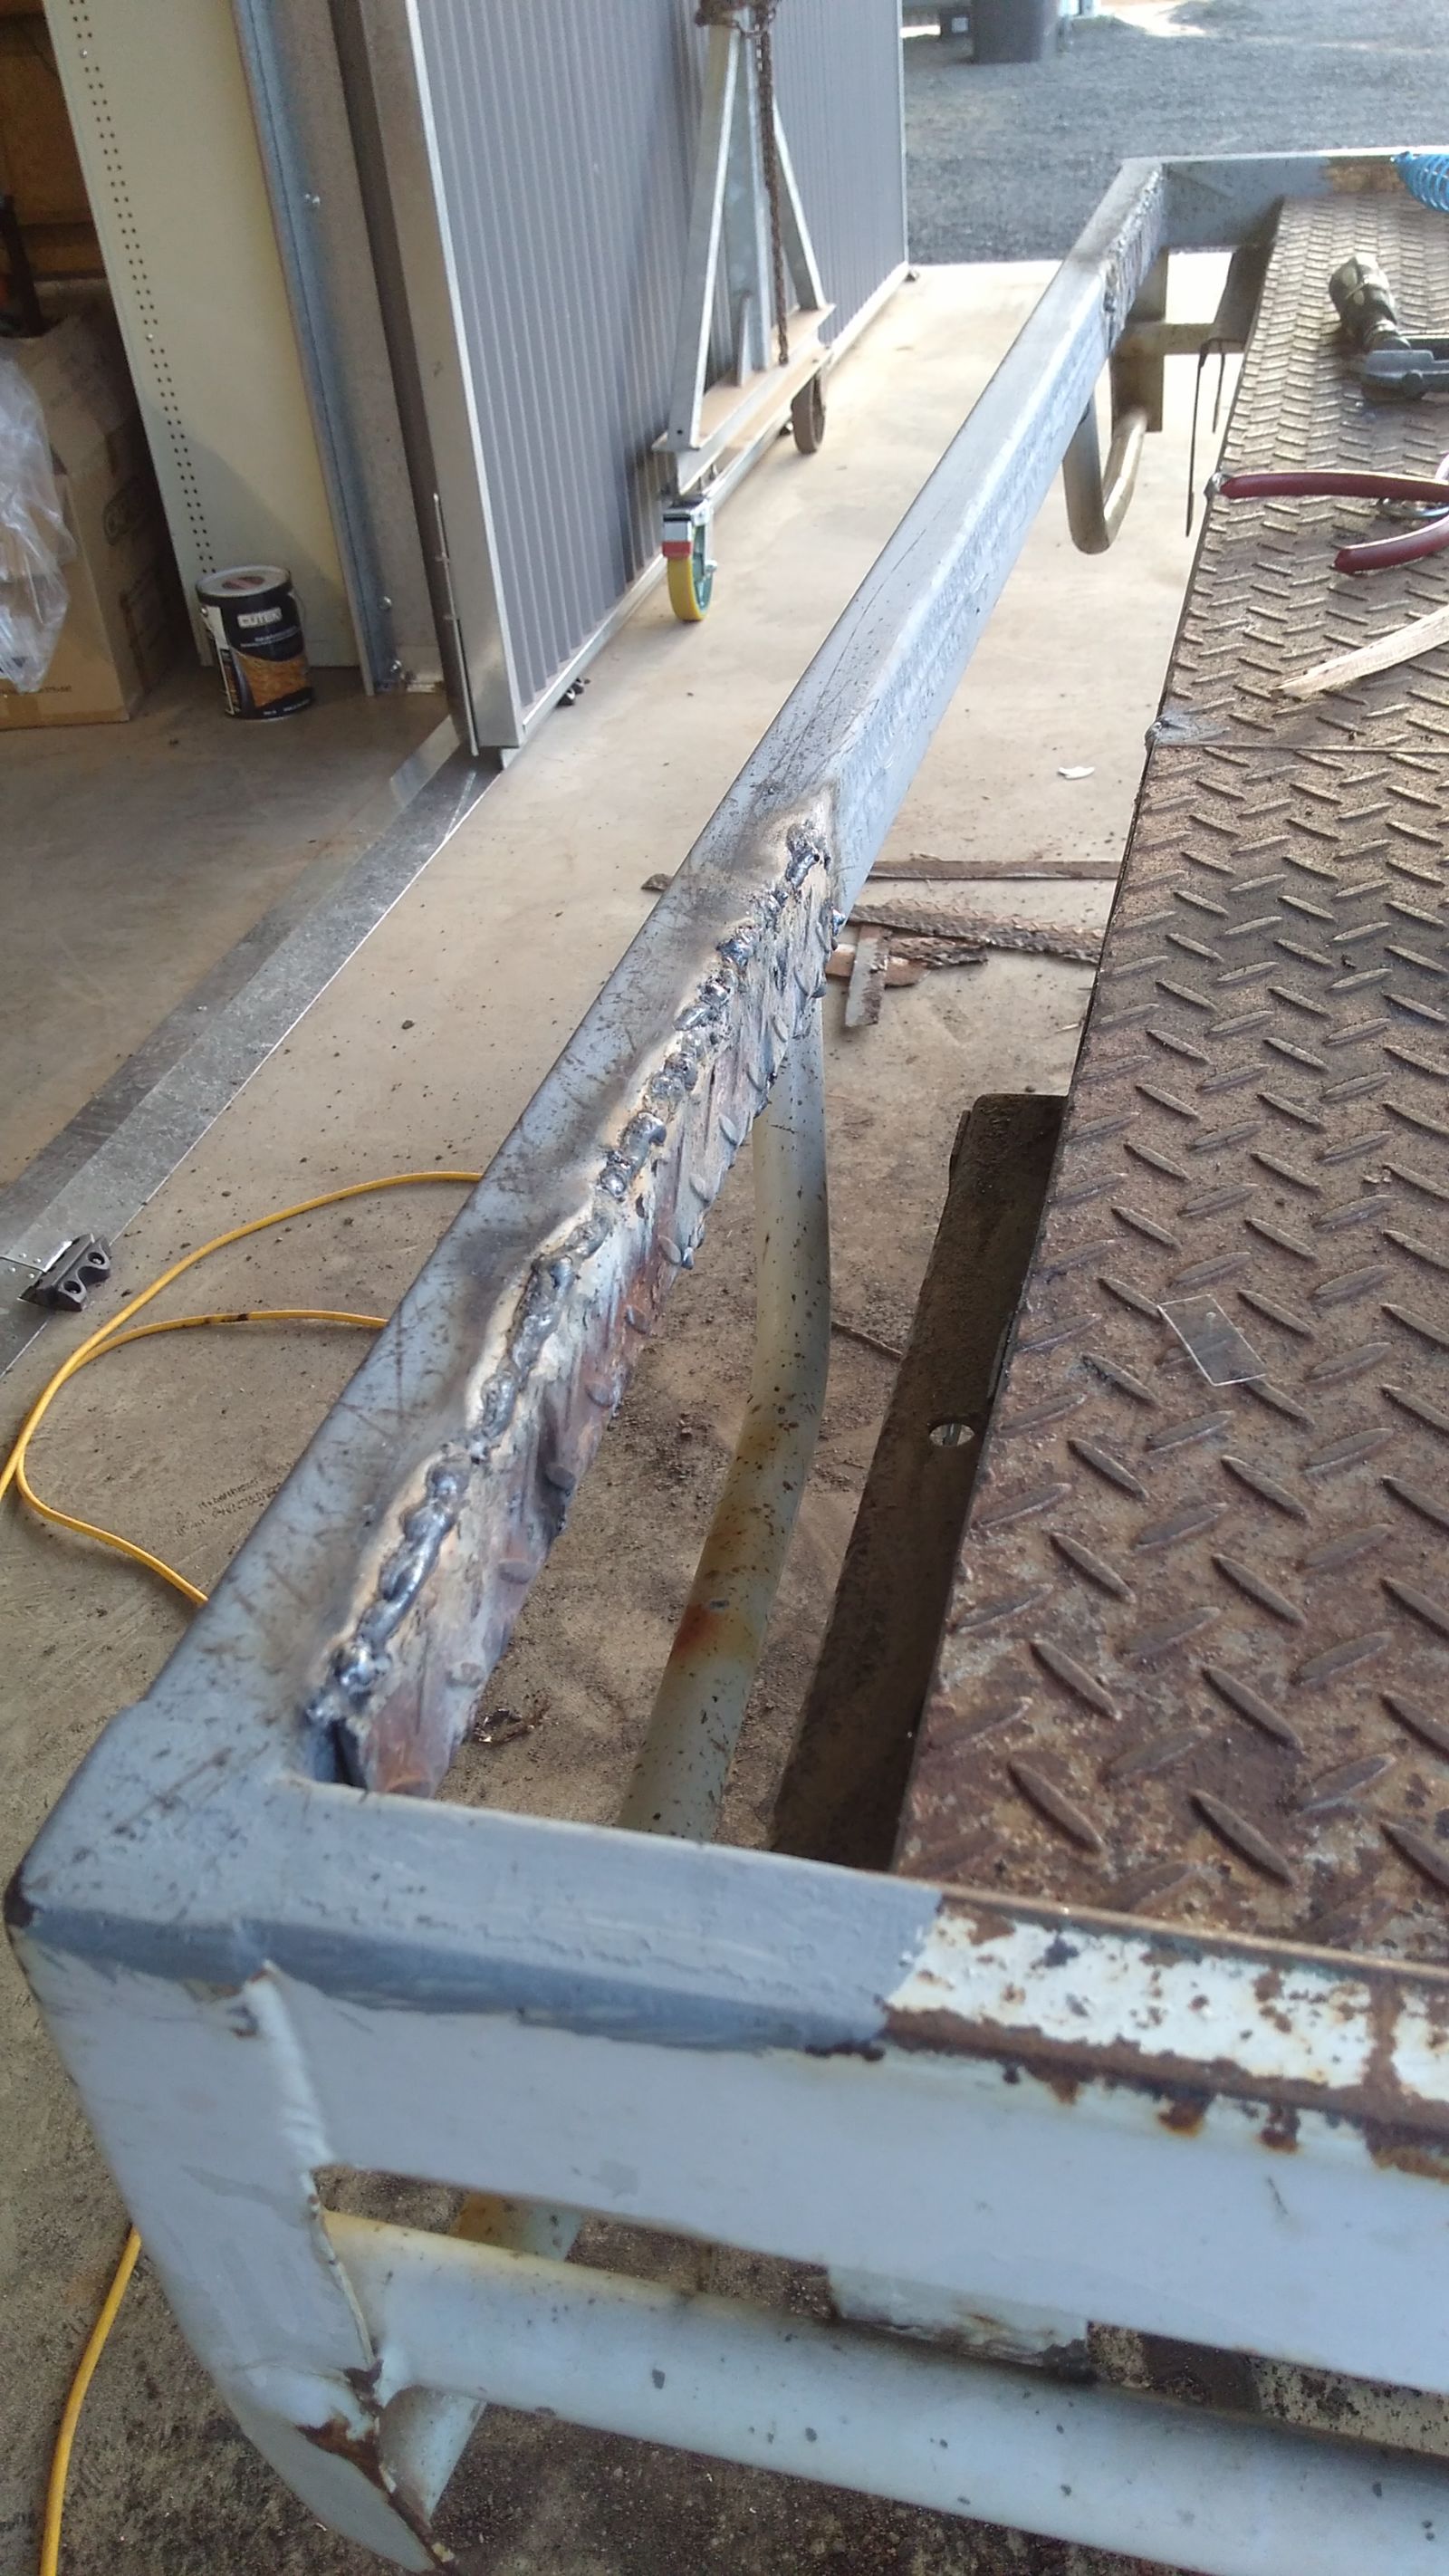
Suffice to say that we got somewhere today. Tomorrow I'll finish and tidy up the patches, give it another coat of zinc and then fit the new strip. Expect lots of grinding to follow...and more paint.