Today's Hackery

Illustration for article titled Todays Hackery

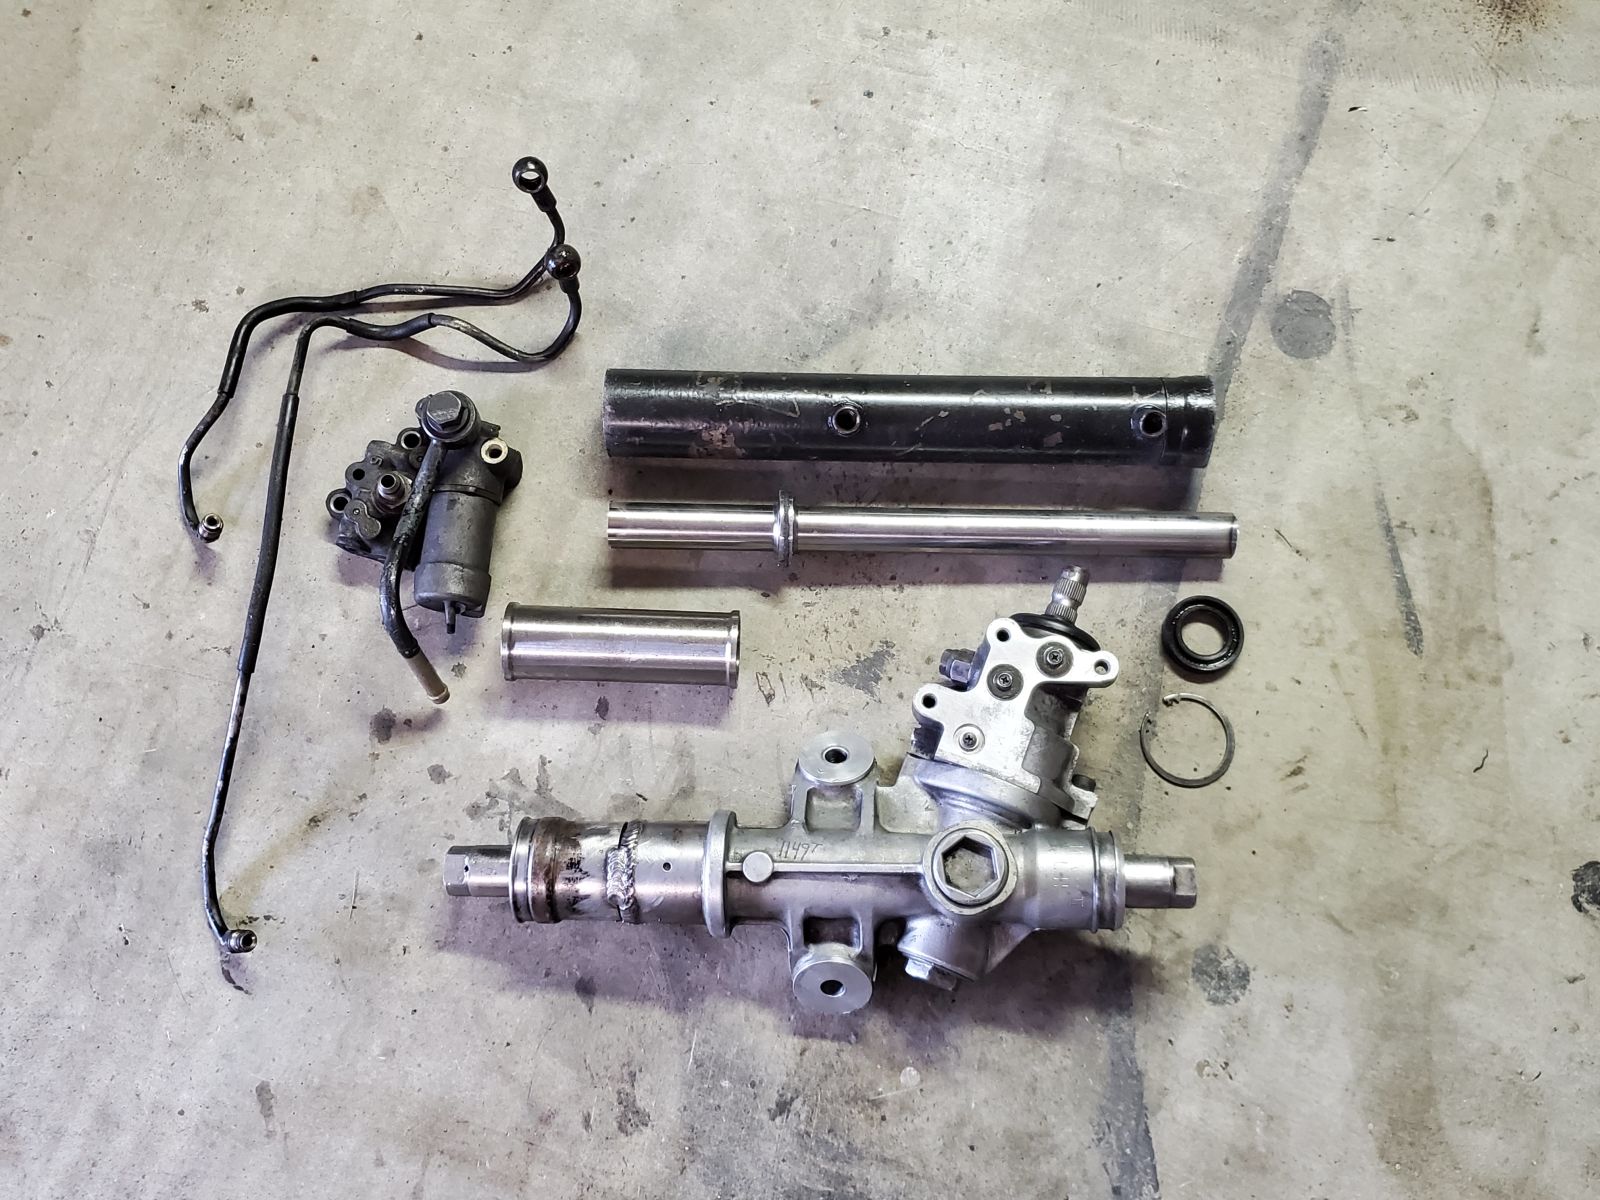
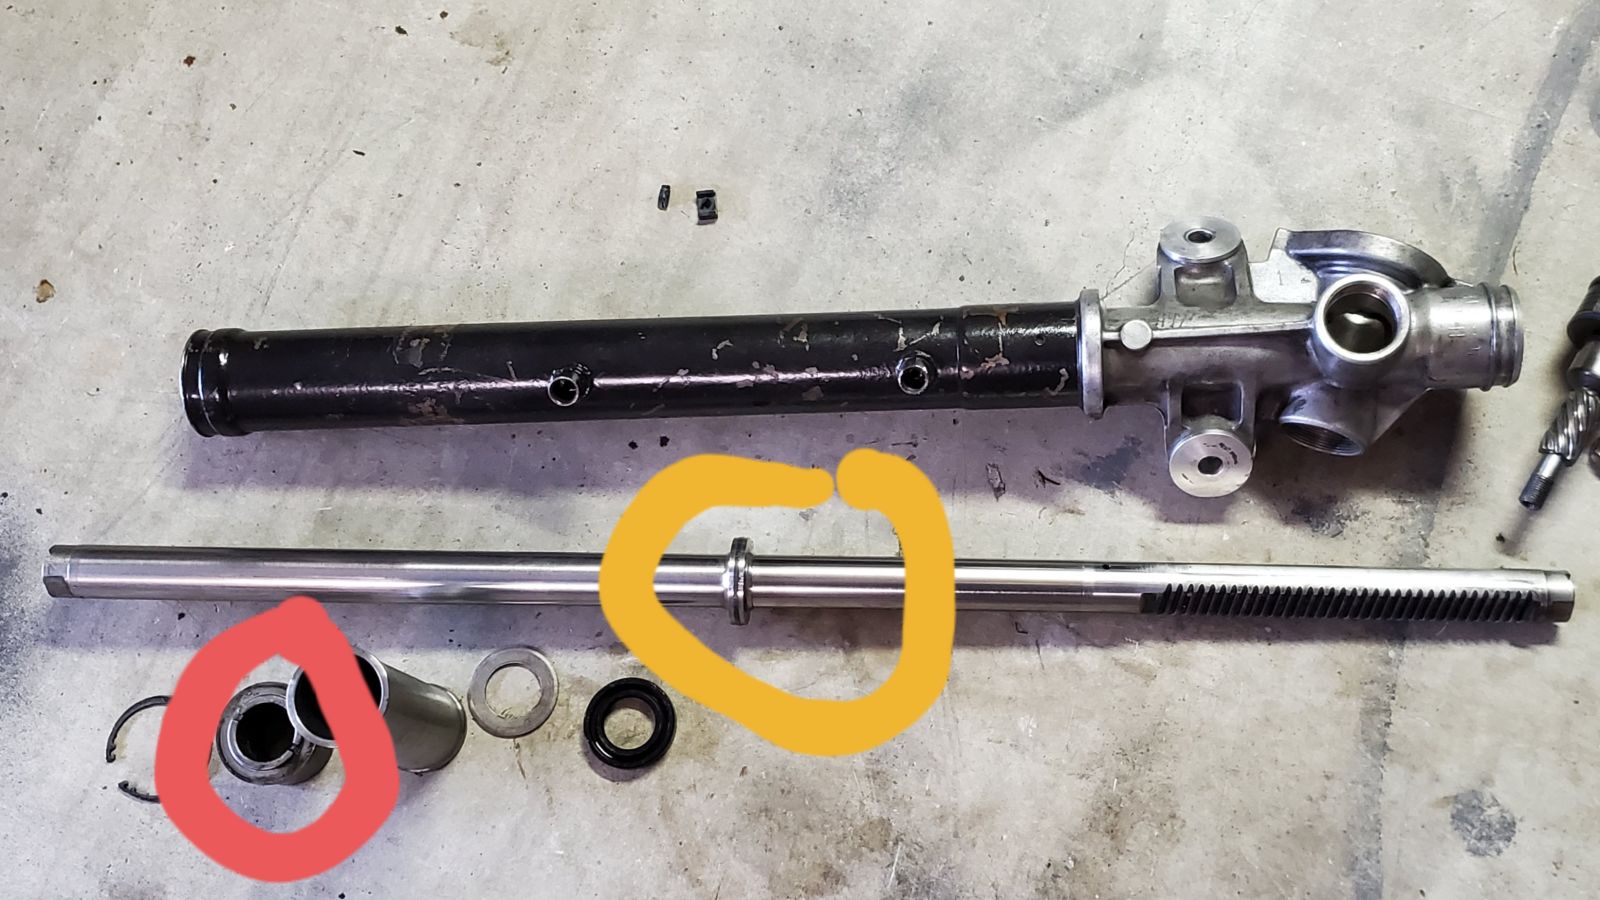
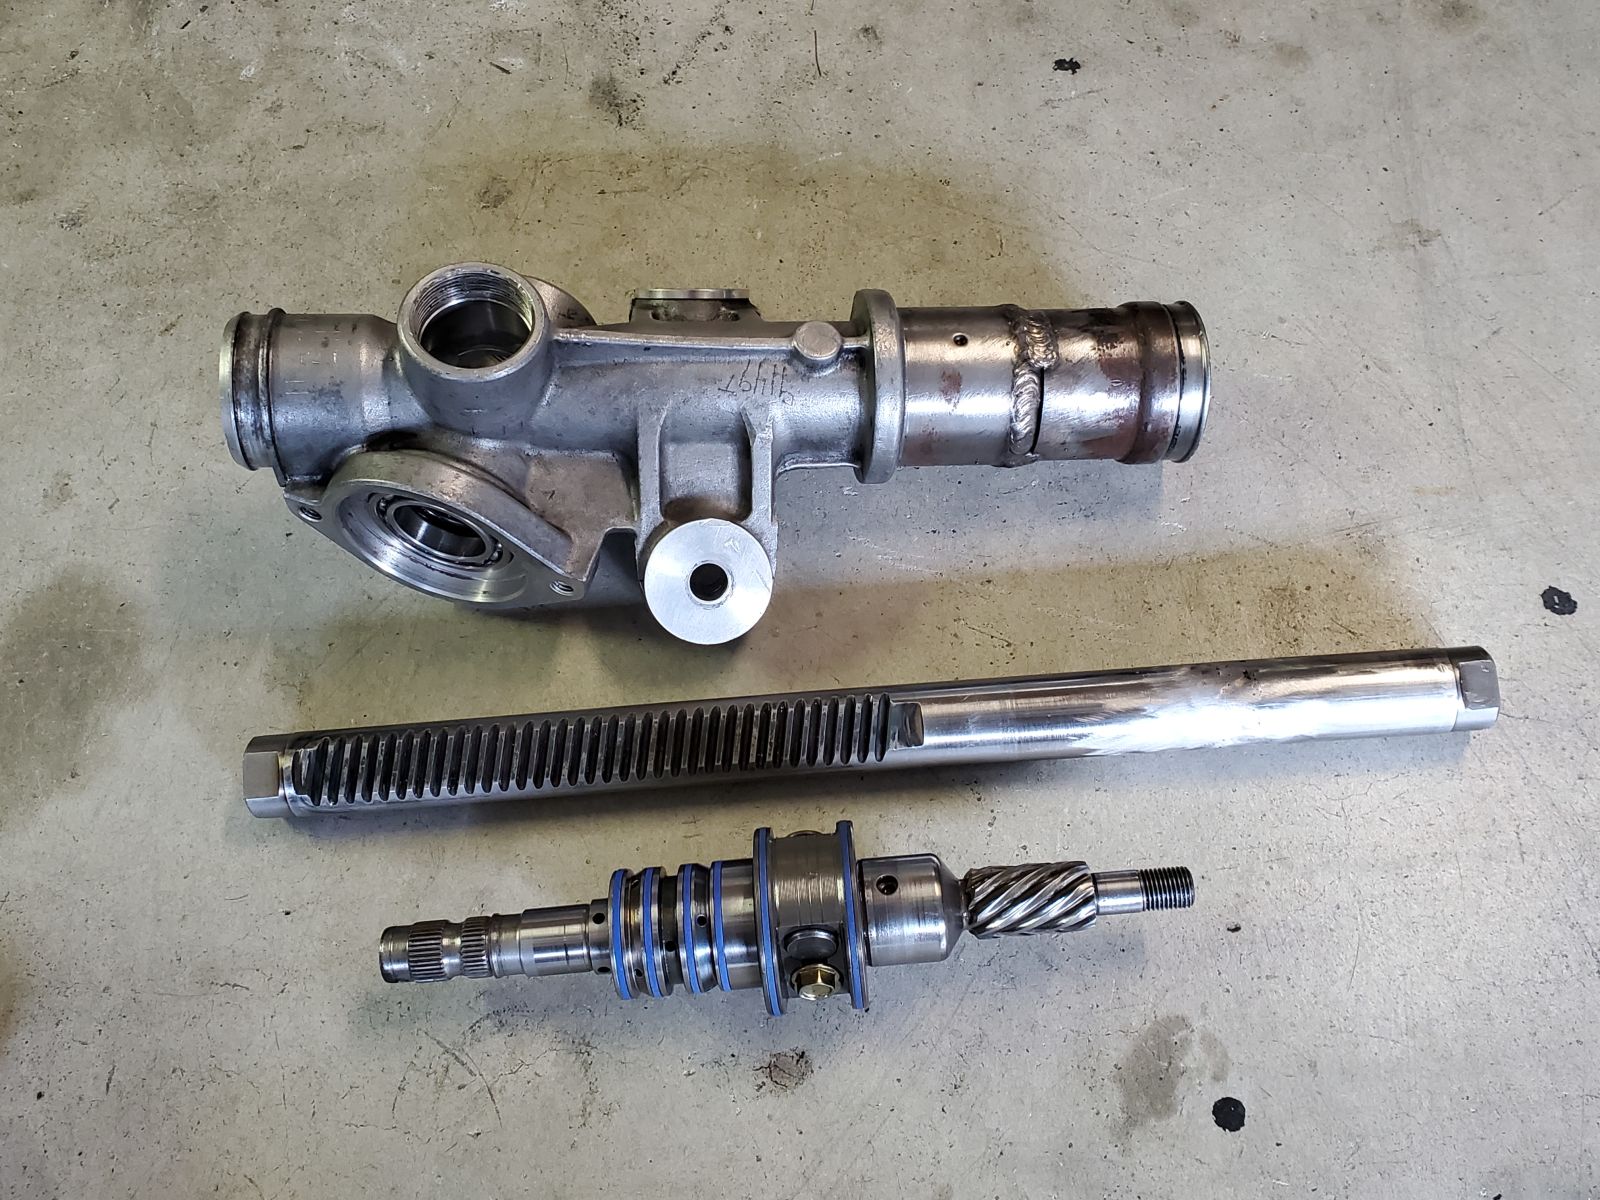
Shortened and de-powered the old sc400 Steering rack.

Illustration for article titled Todays Hackery
Advertisement

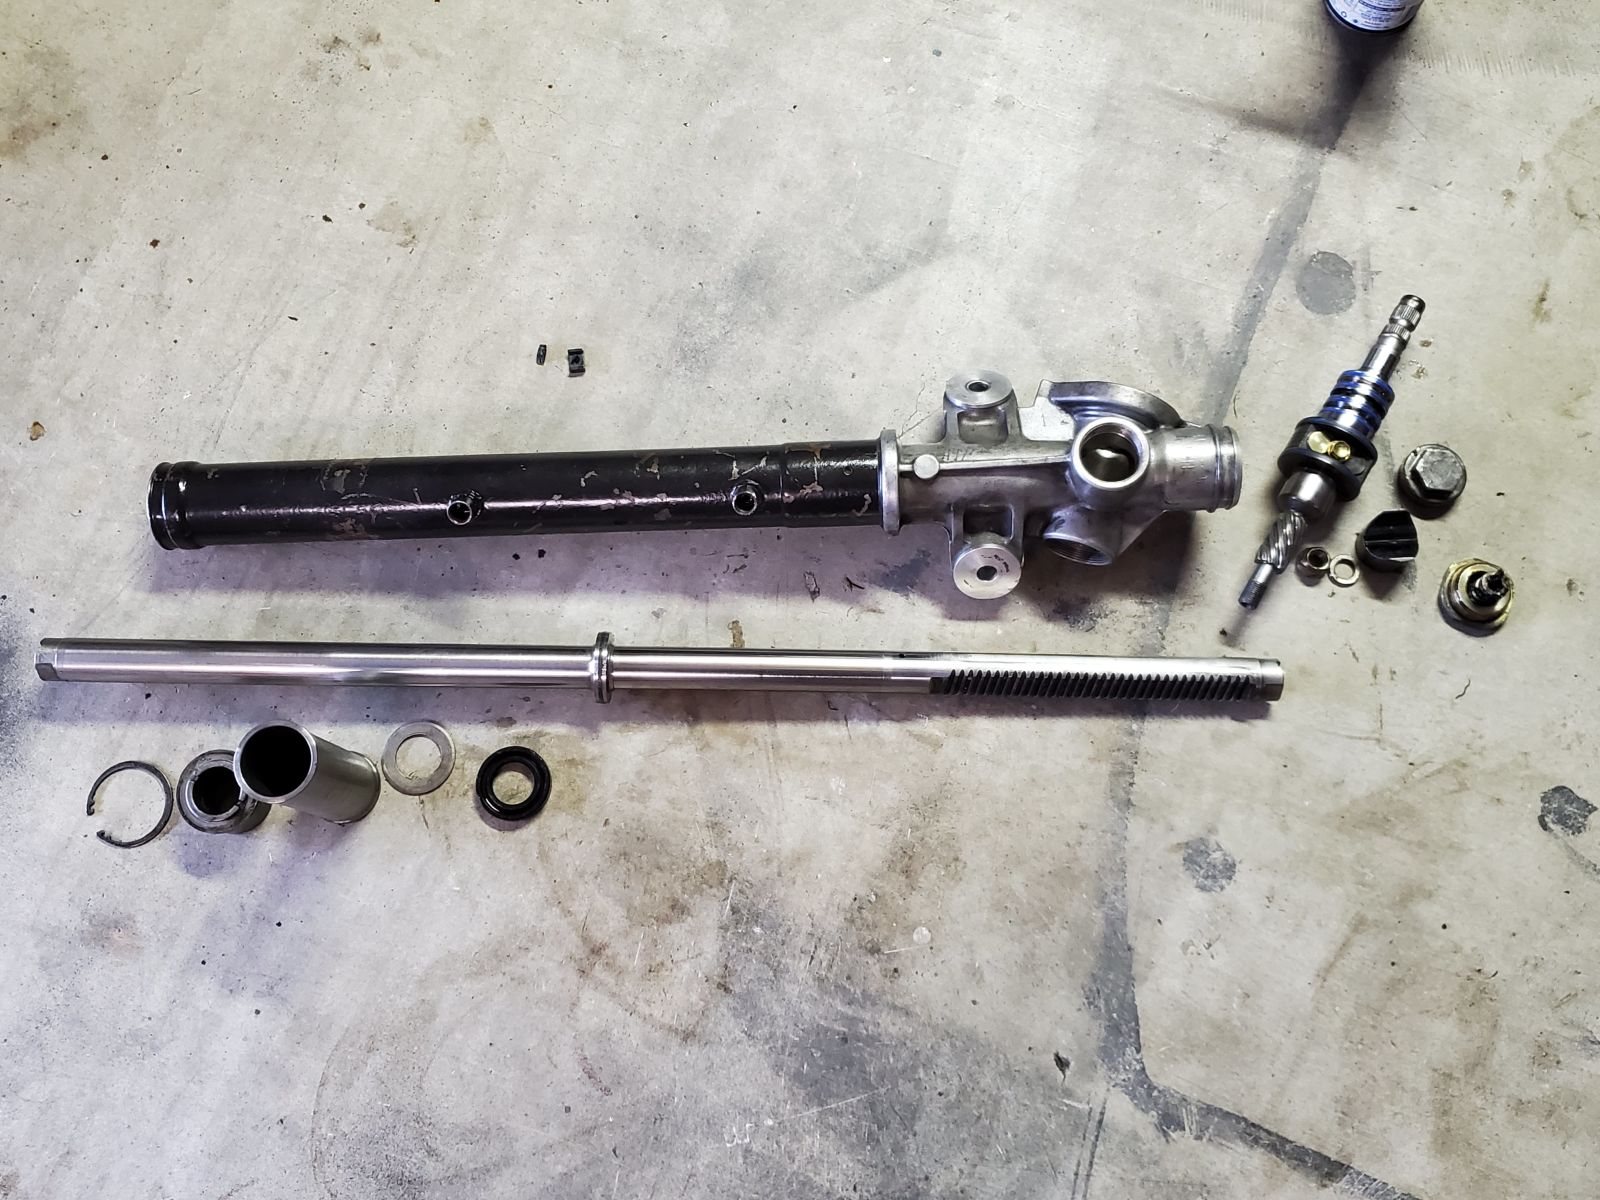
Its gone from roughly 29" to 15.25", the process was; tear it apart, cut out the middle section (orange circle), weld the end back on at the desired length, screw around with welding its centering bushing to the body (red circle), fill it with grease, leave off the variable pressure system, and plug its holes with interior screws.

Without bushing (red circle) the only force holding the rack center is pressure between the steering shaft and pressure spring pushing on the back of the rack.
Advertisement
The end of the rack housing is rewelded just over the bushing with 3 beads rather then a weld going all the way around.(its only purpose is to hold the dust boot and its already hammer fitted)
Illustration for article titled Todays Hackery
Advertisement
Illustration for article titled Todays Hackery
Advertisement
Good ole suspension nuts fill the space for the banjos to bolt tight

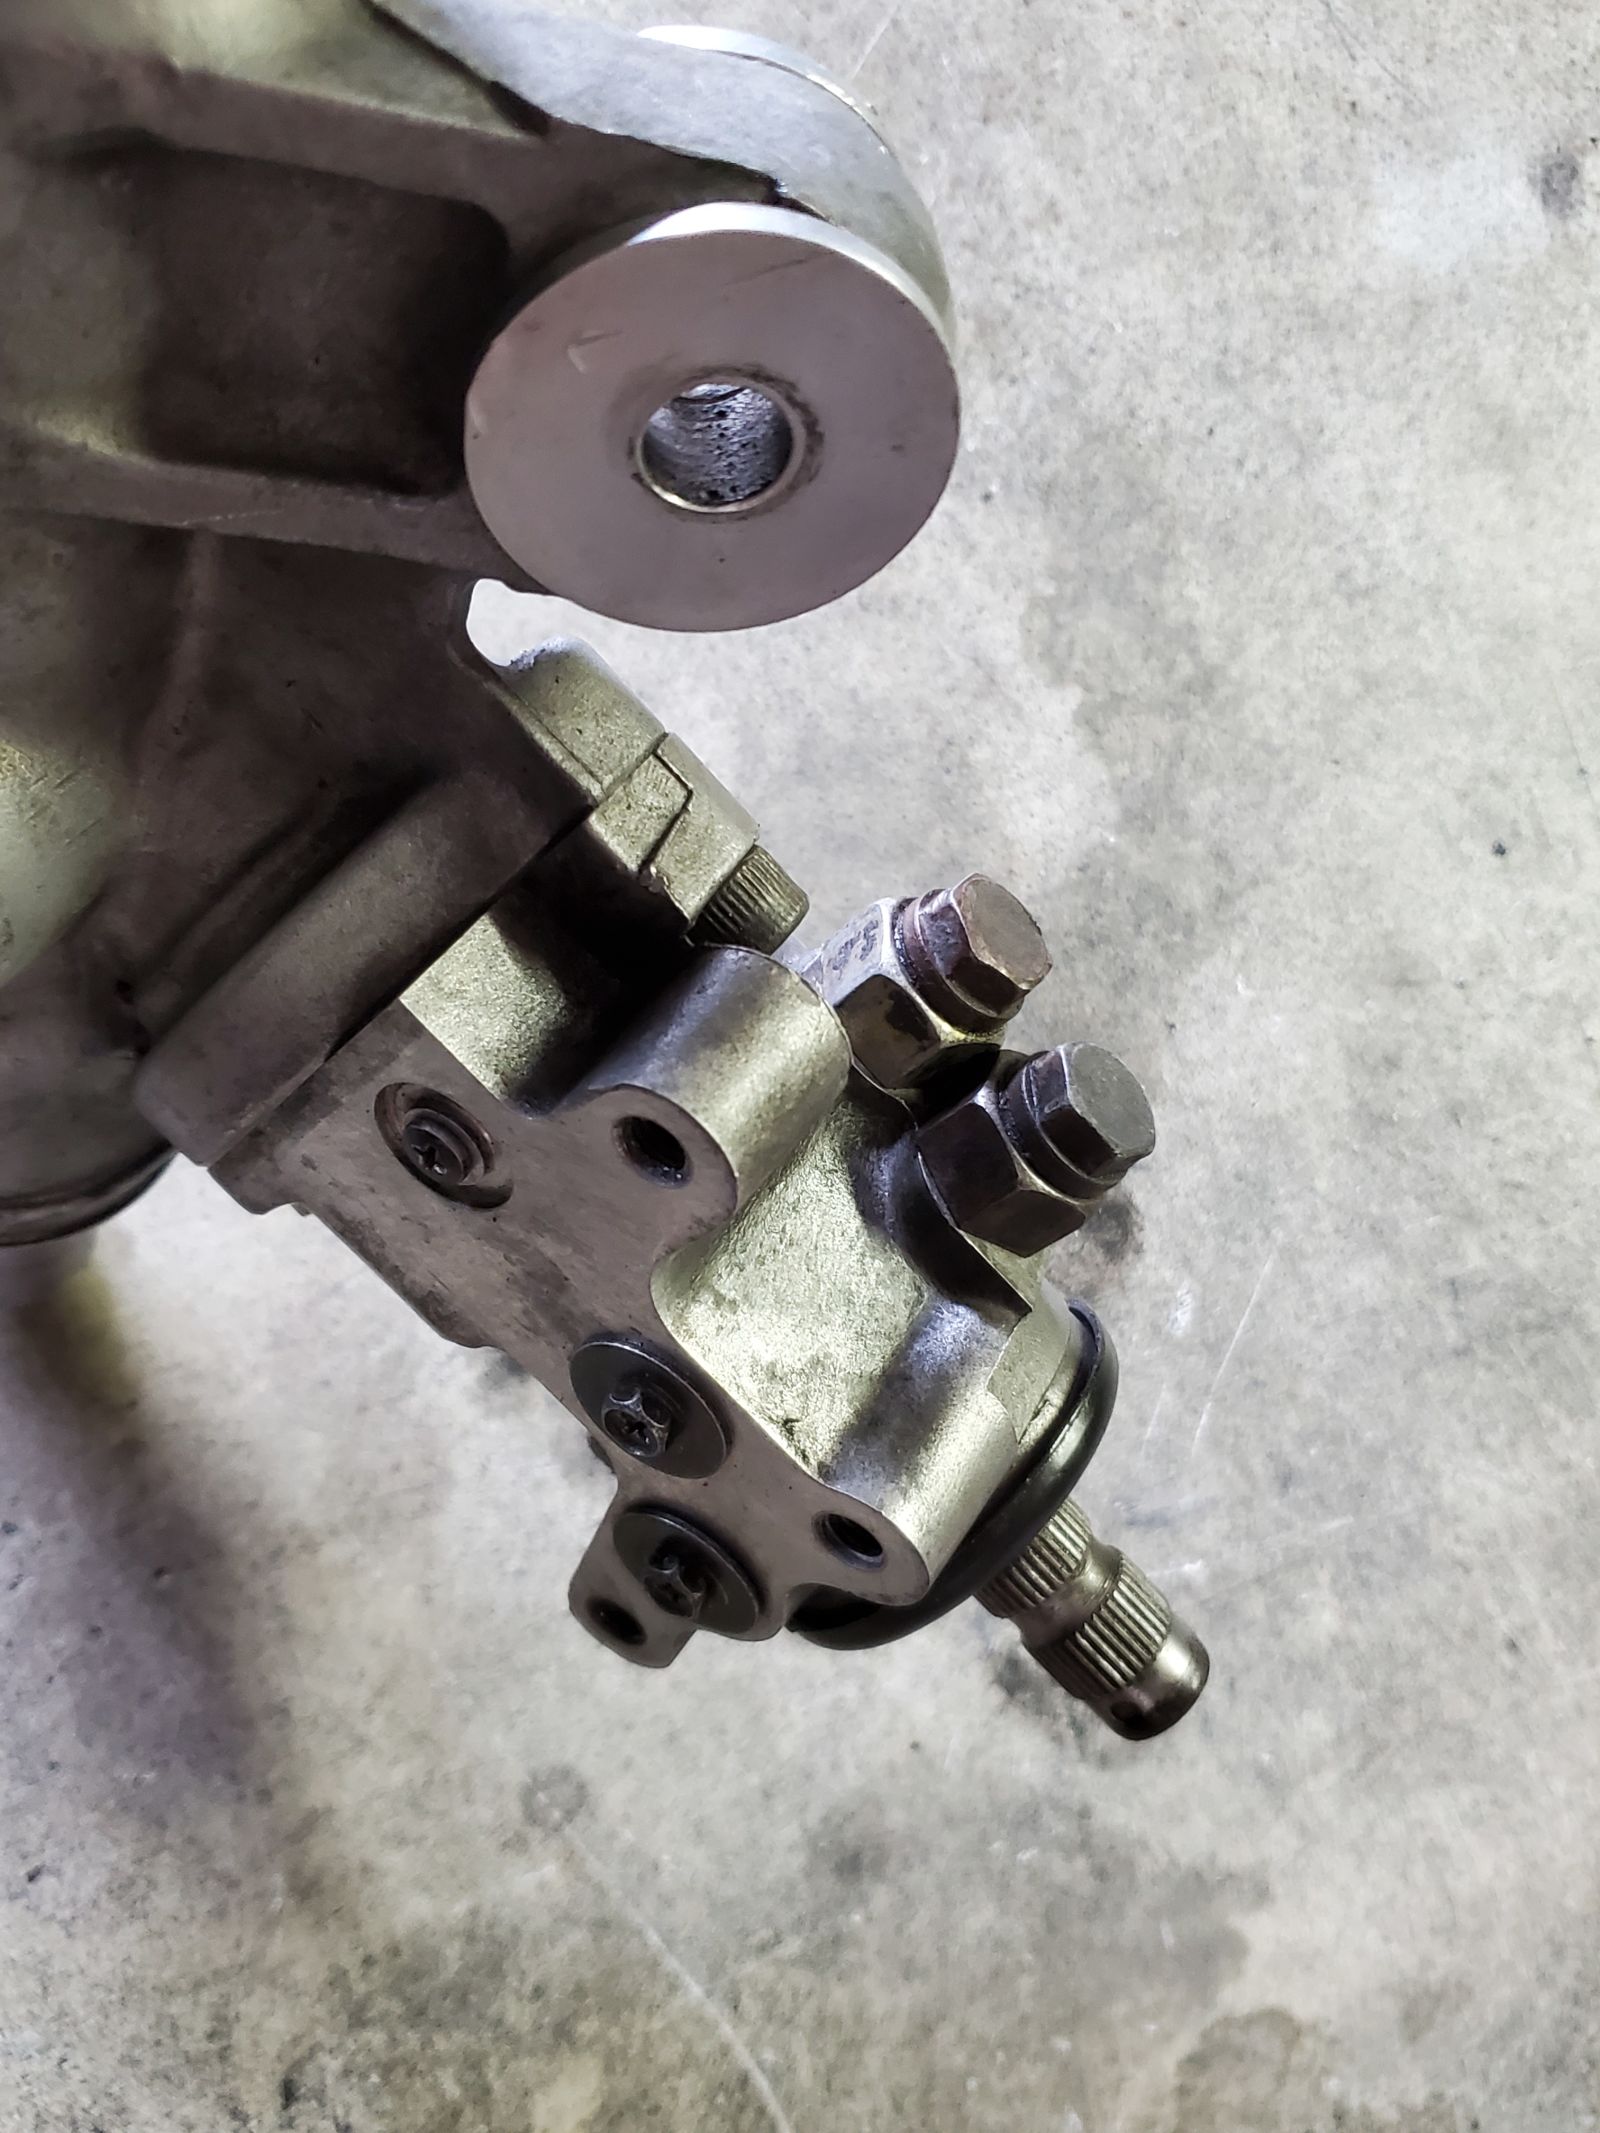
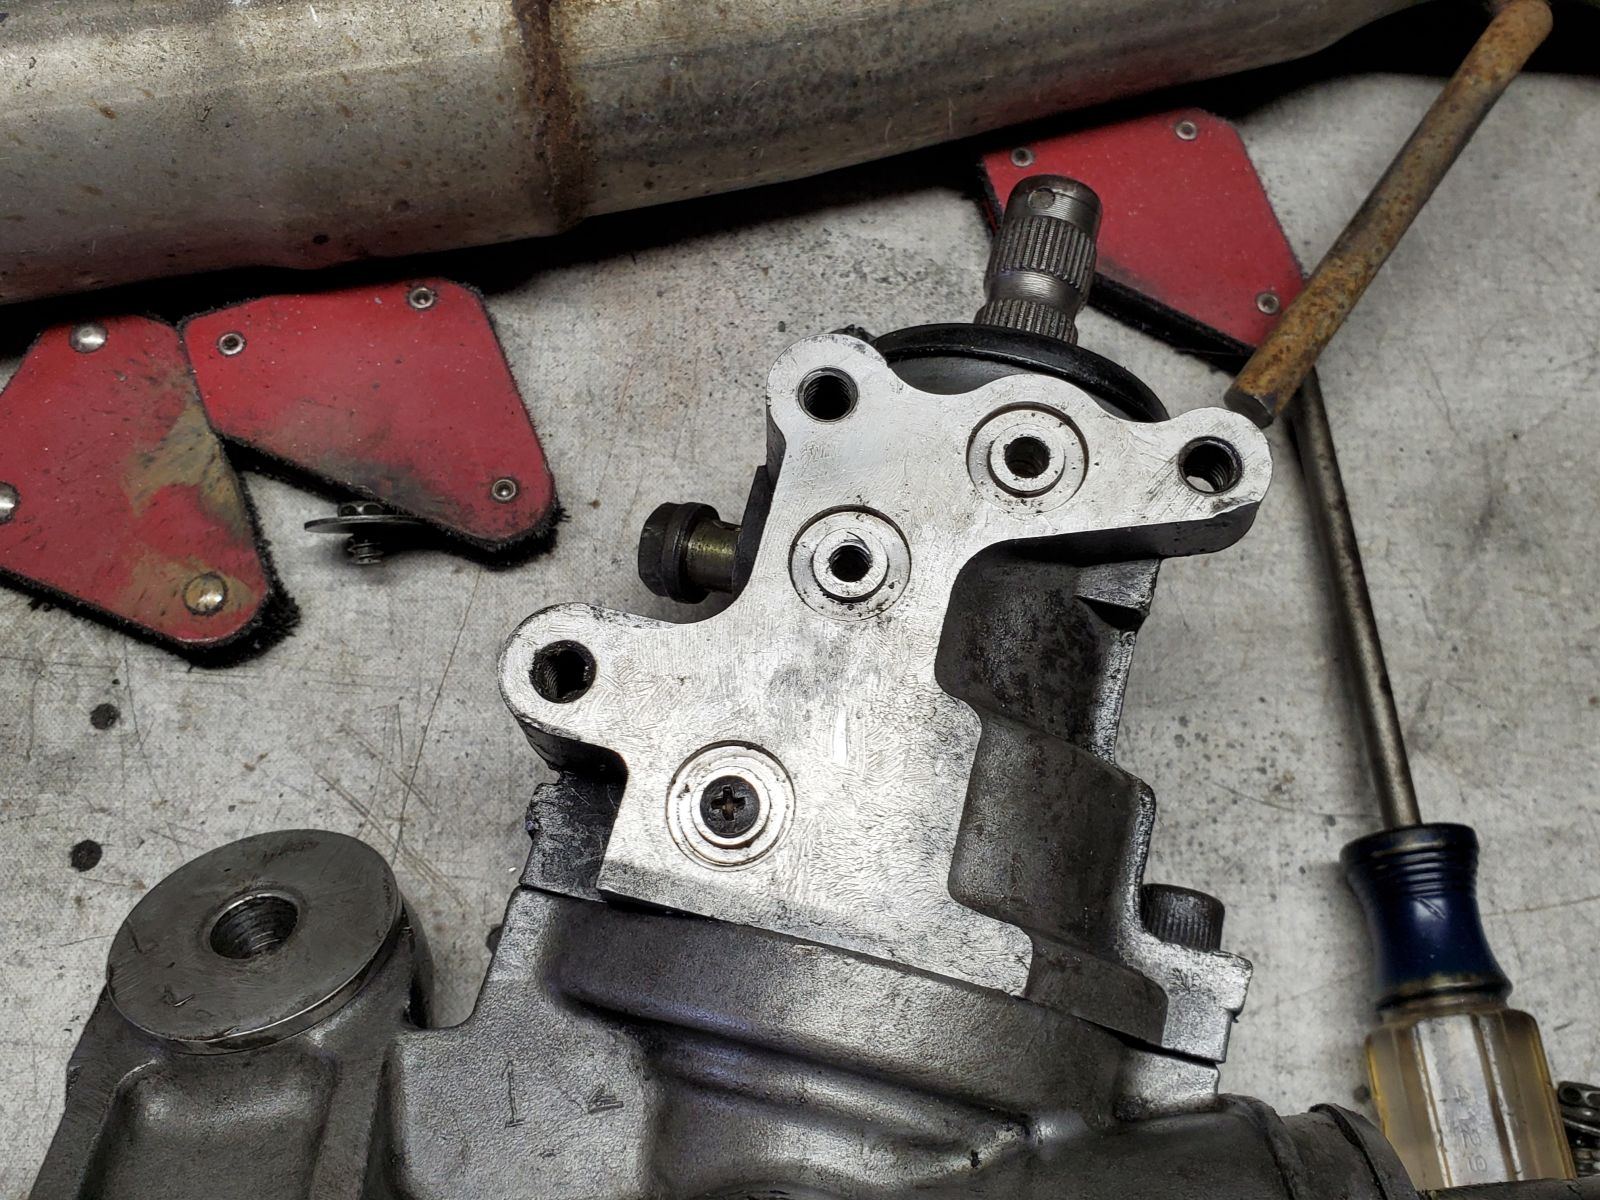
With nothing under pressure all that needs to be done is plug these holes to keep dust out, nothing some parts bin screws can’t fix

Advertisement

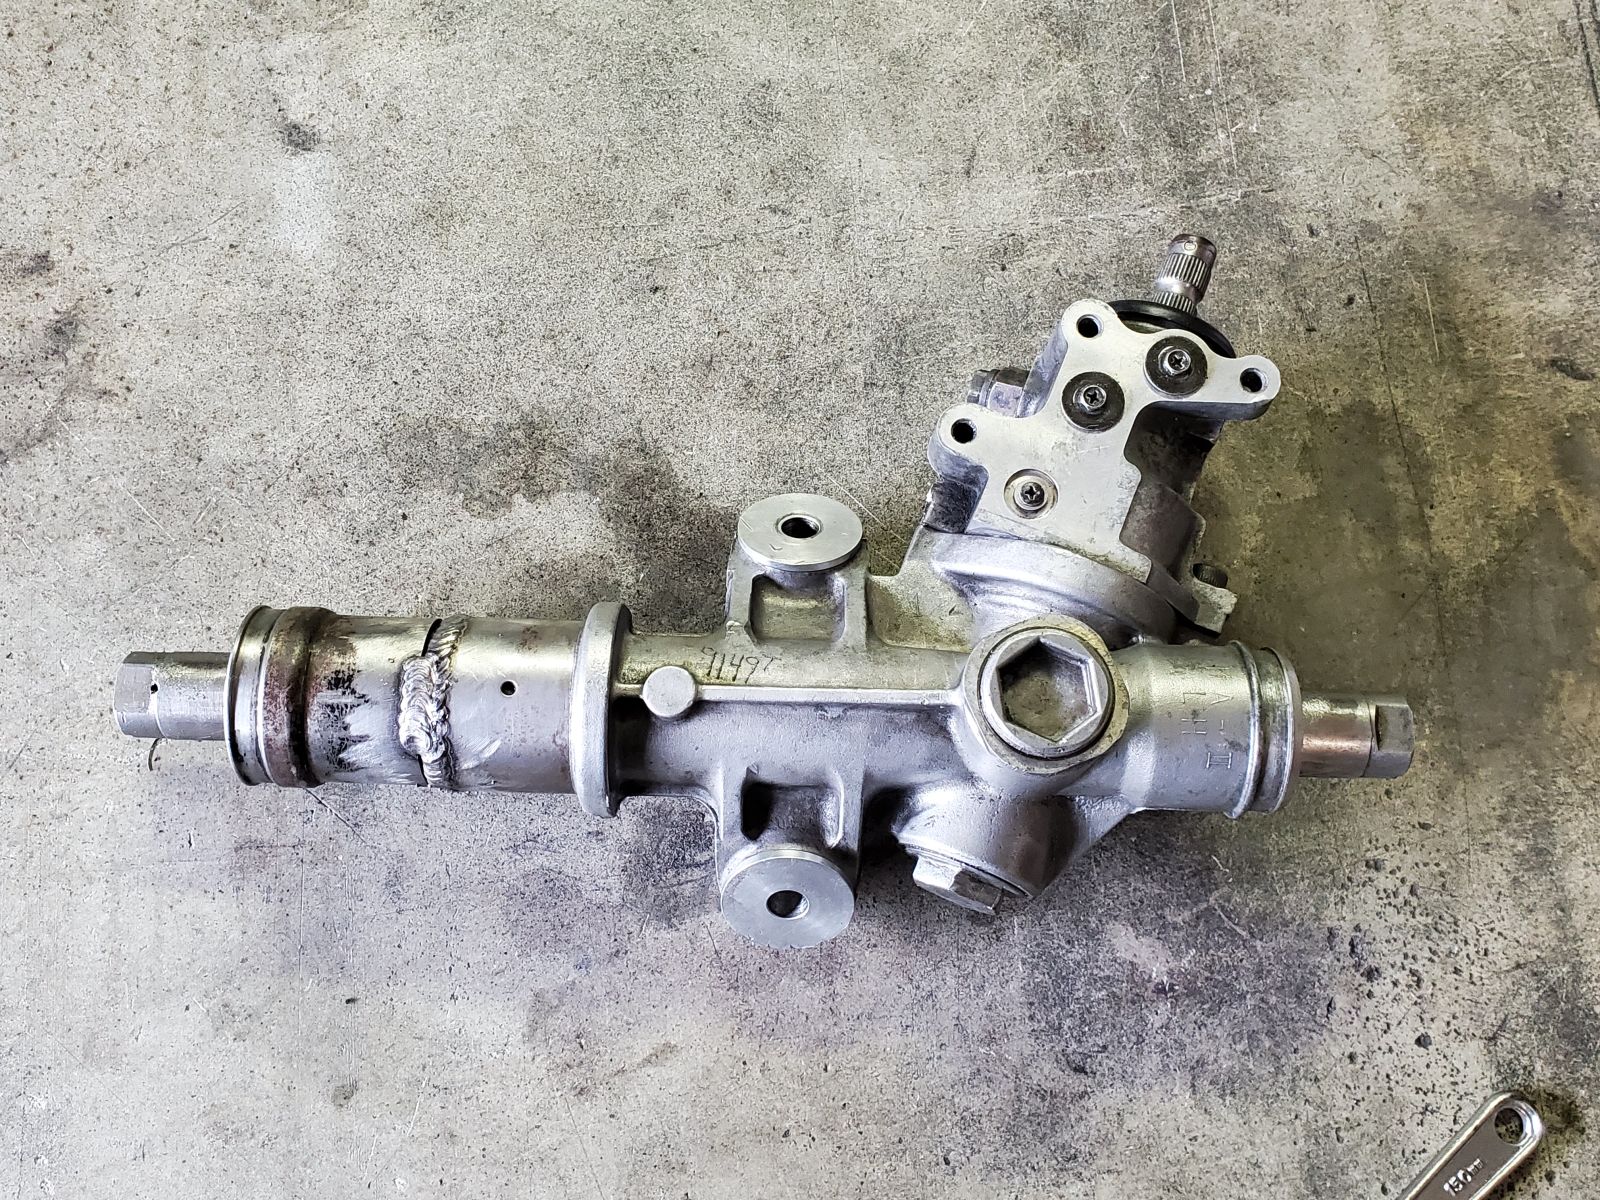
All that’s left to do is paint the steel section of body and its ready to mount up.

Illustration for article titled Todays Hackery