O R G A N I Z A T I O N / New Workbench

In less than 24 hours I did something that would normally take a couple weeks. If you read my post from yesterday, then you know that I’m a bachelor for the week. This is the reason for my pace.

I forgot to take an initial pic, but in case you’re wondering it looked like a larger pile of wood before I built that first box
Advertisement

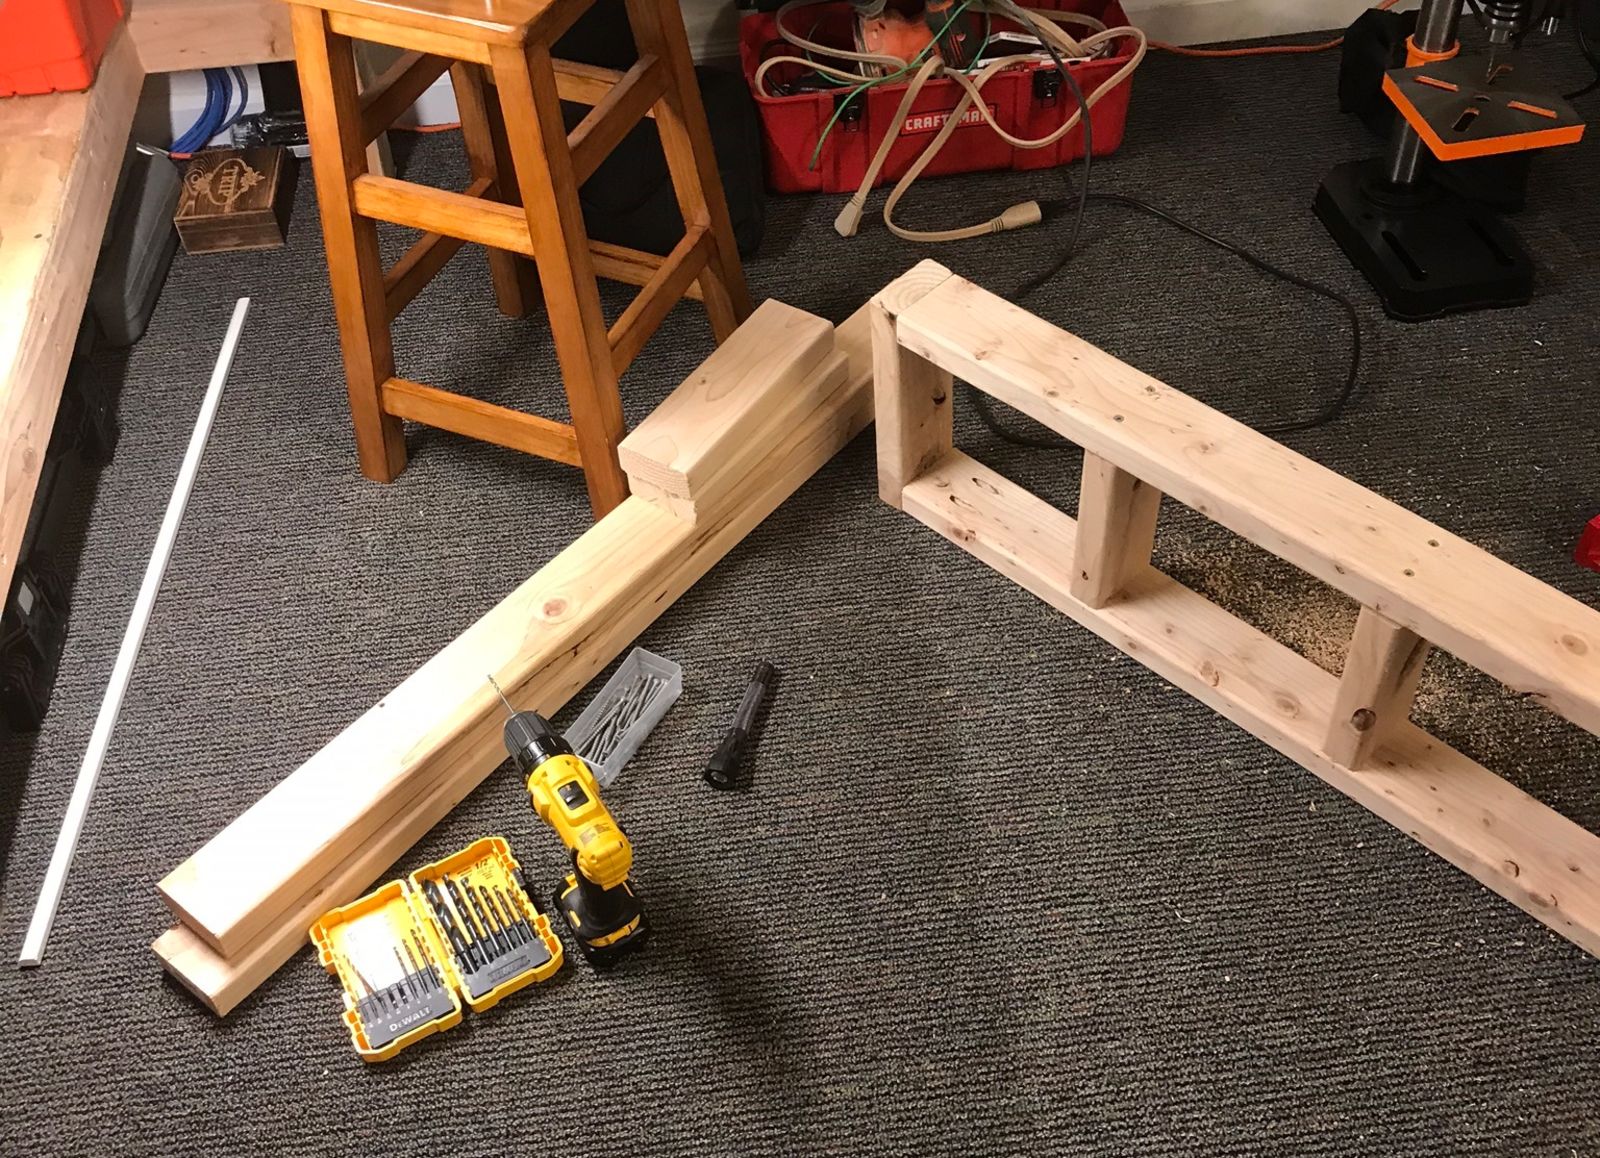
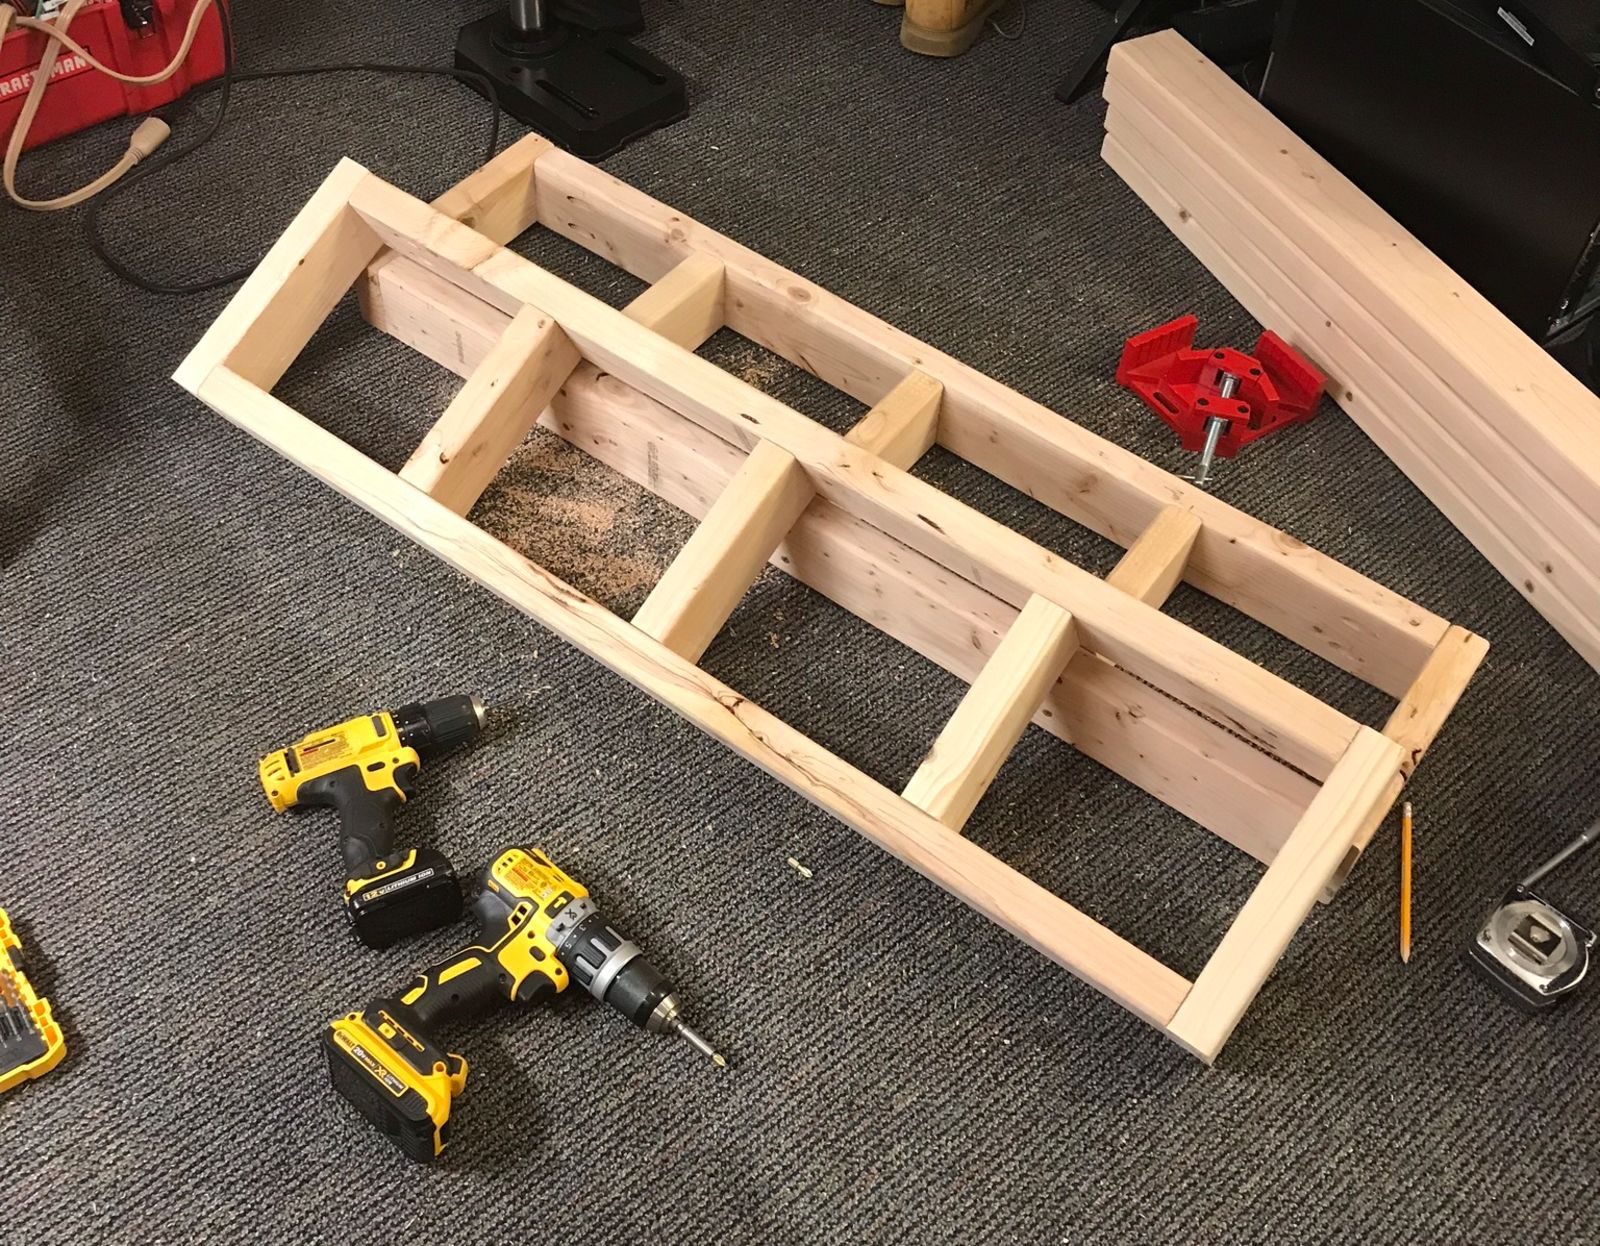
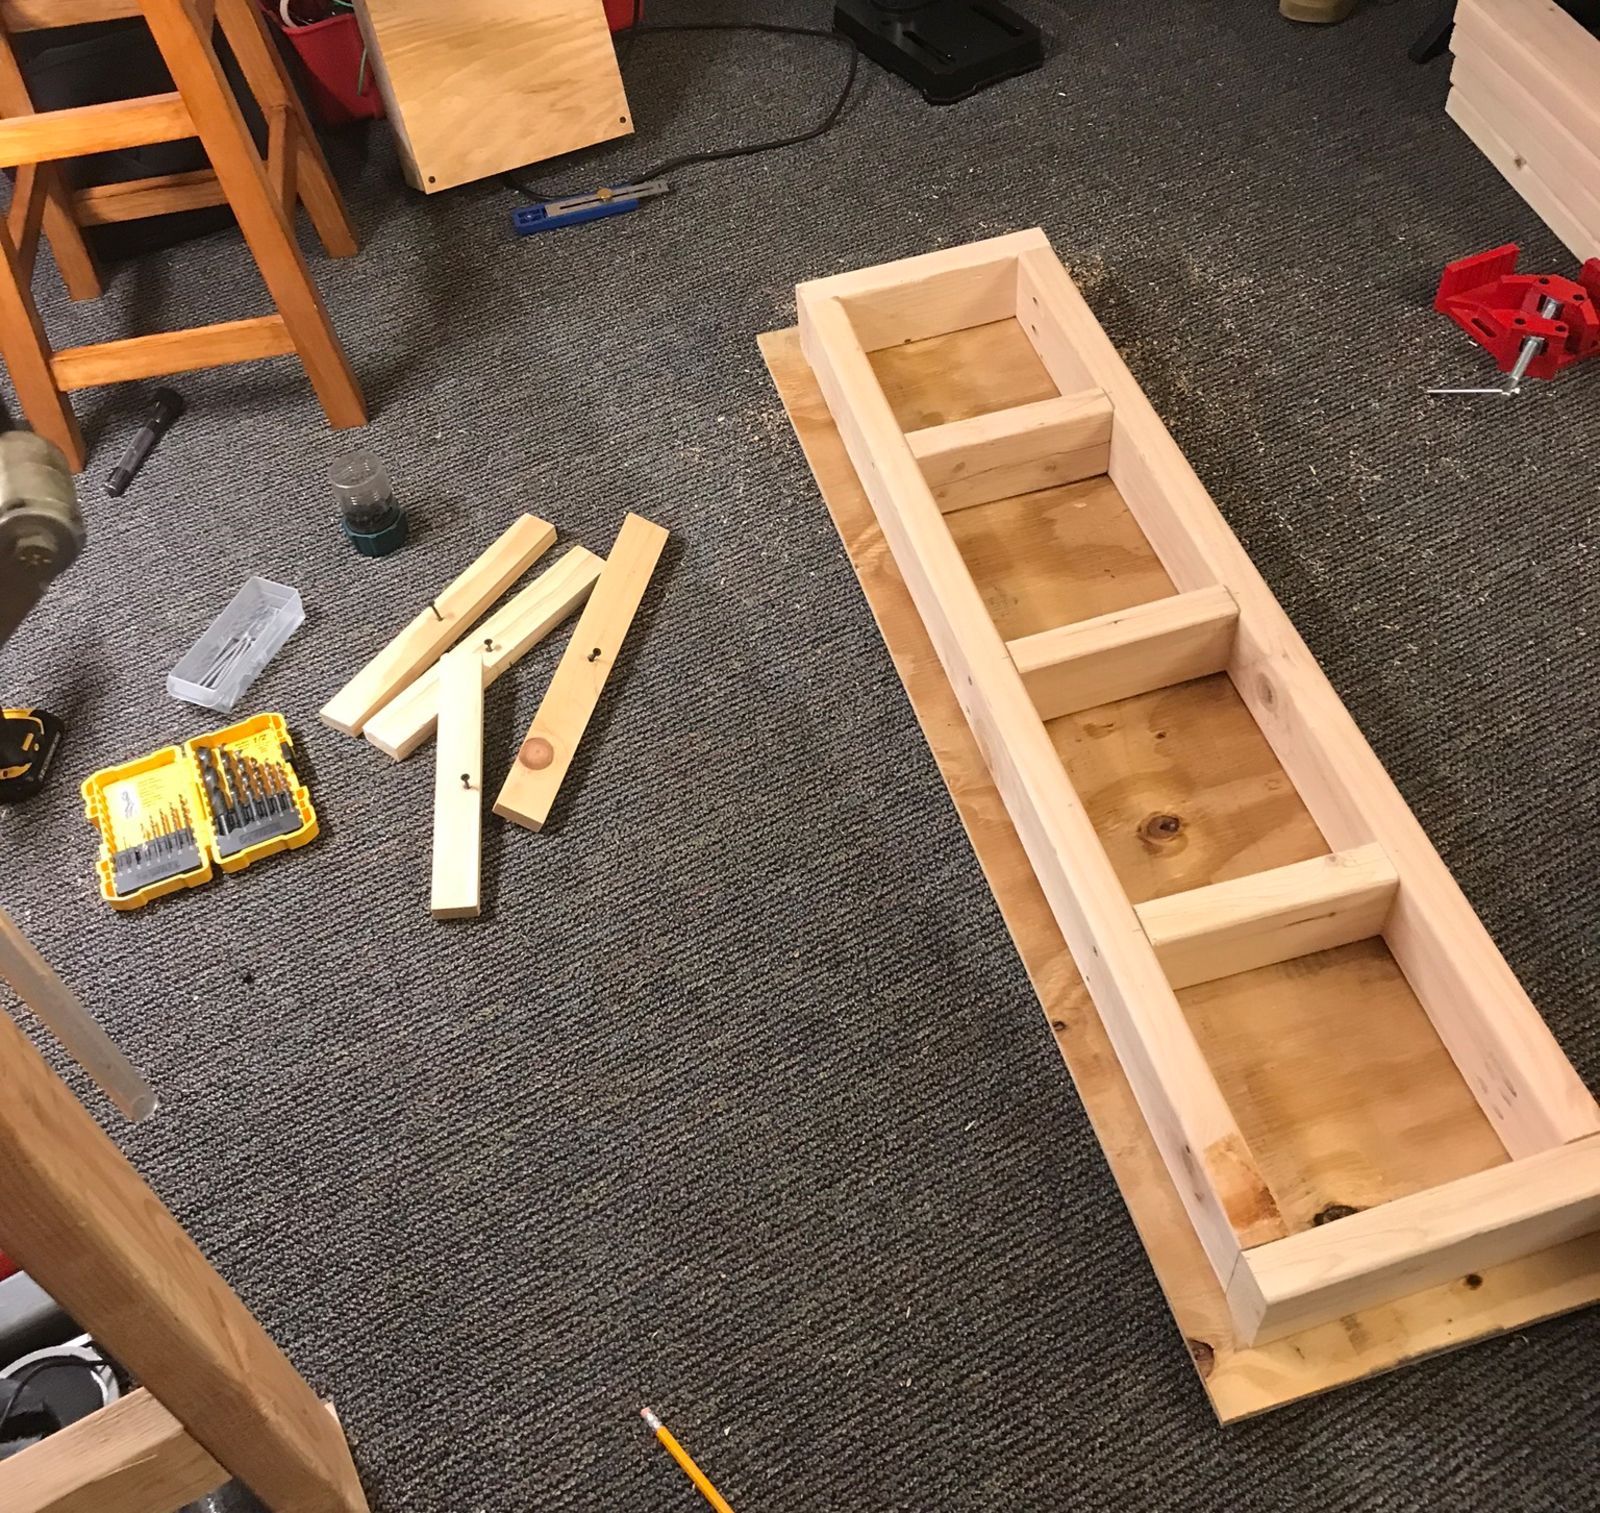
Anyway, I made all of the cuts I had planned for the workbench. Quickly entertained my parents for dinner. Then got to drilling all of the pocket holes and assembling. PSA: if you build things with wood and don’t have a pocket hole joiner...you are missing out. 

This dog will not leave my side
Advertisement

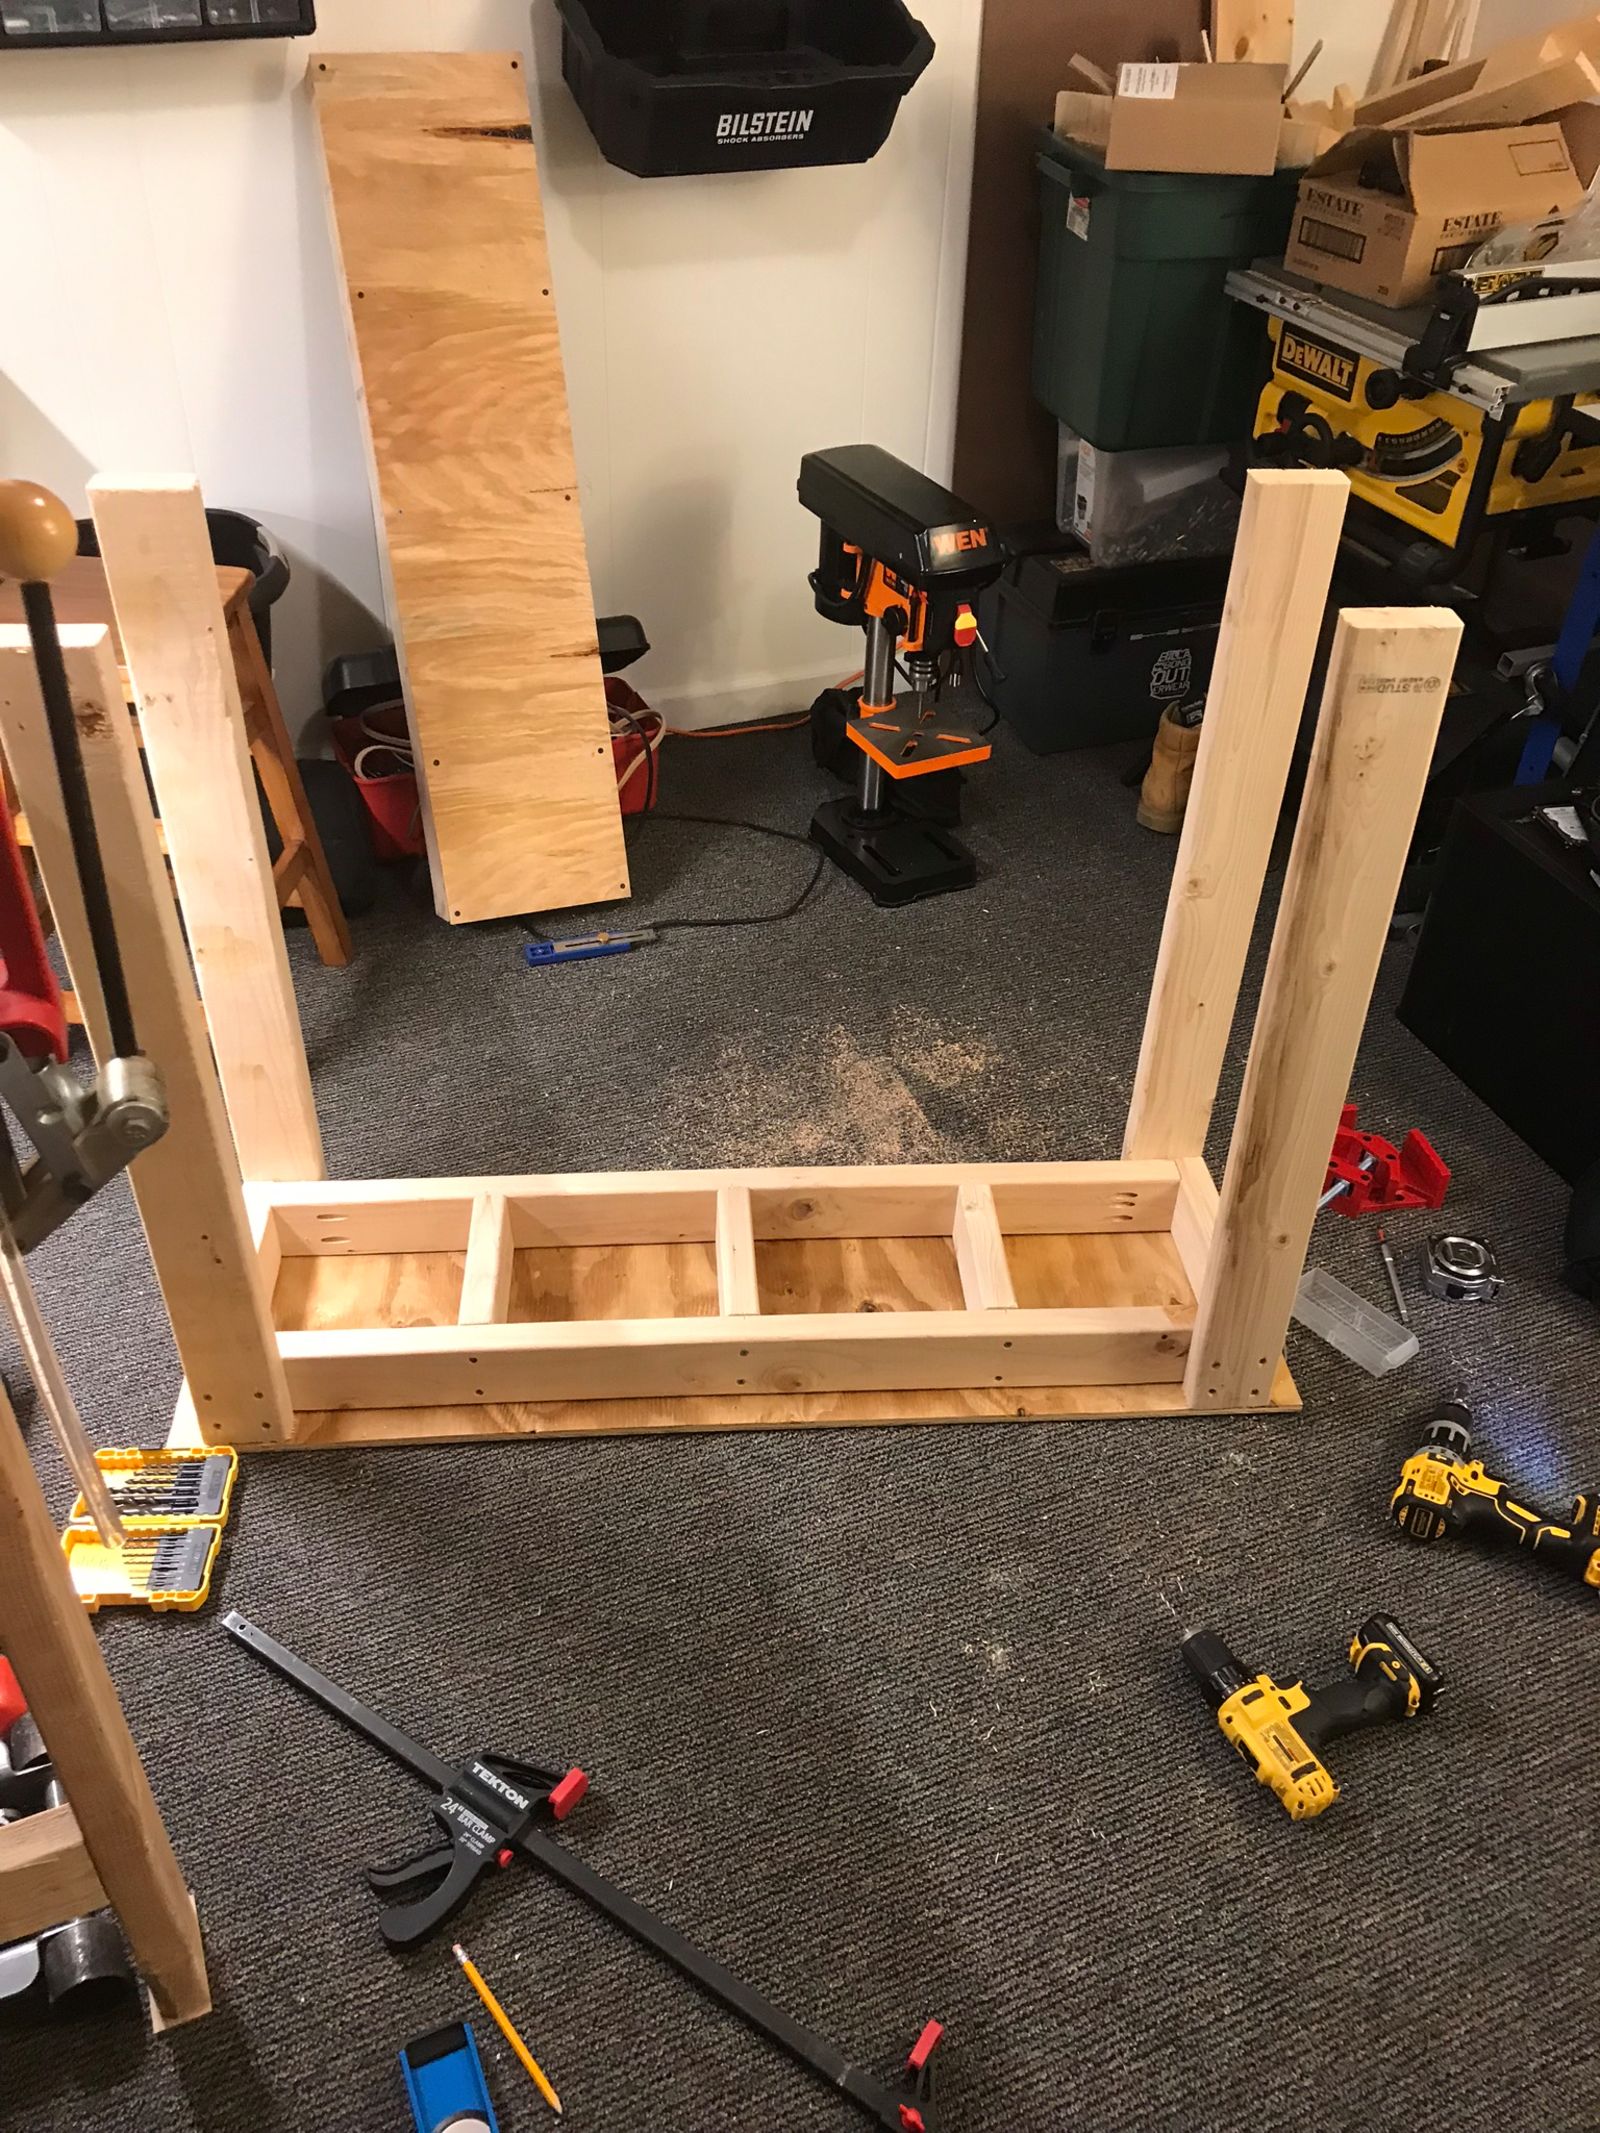
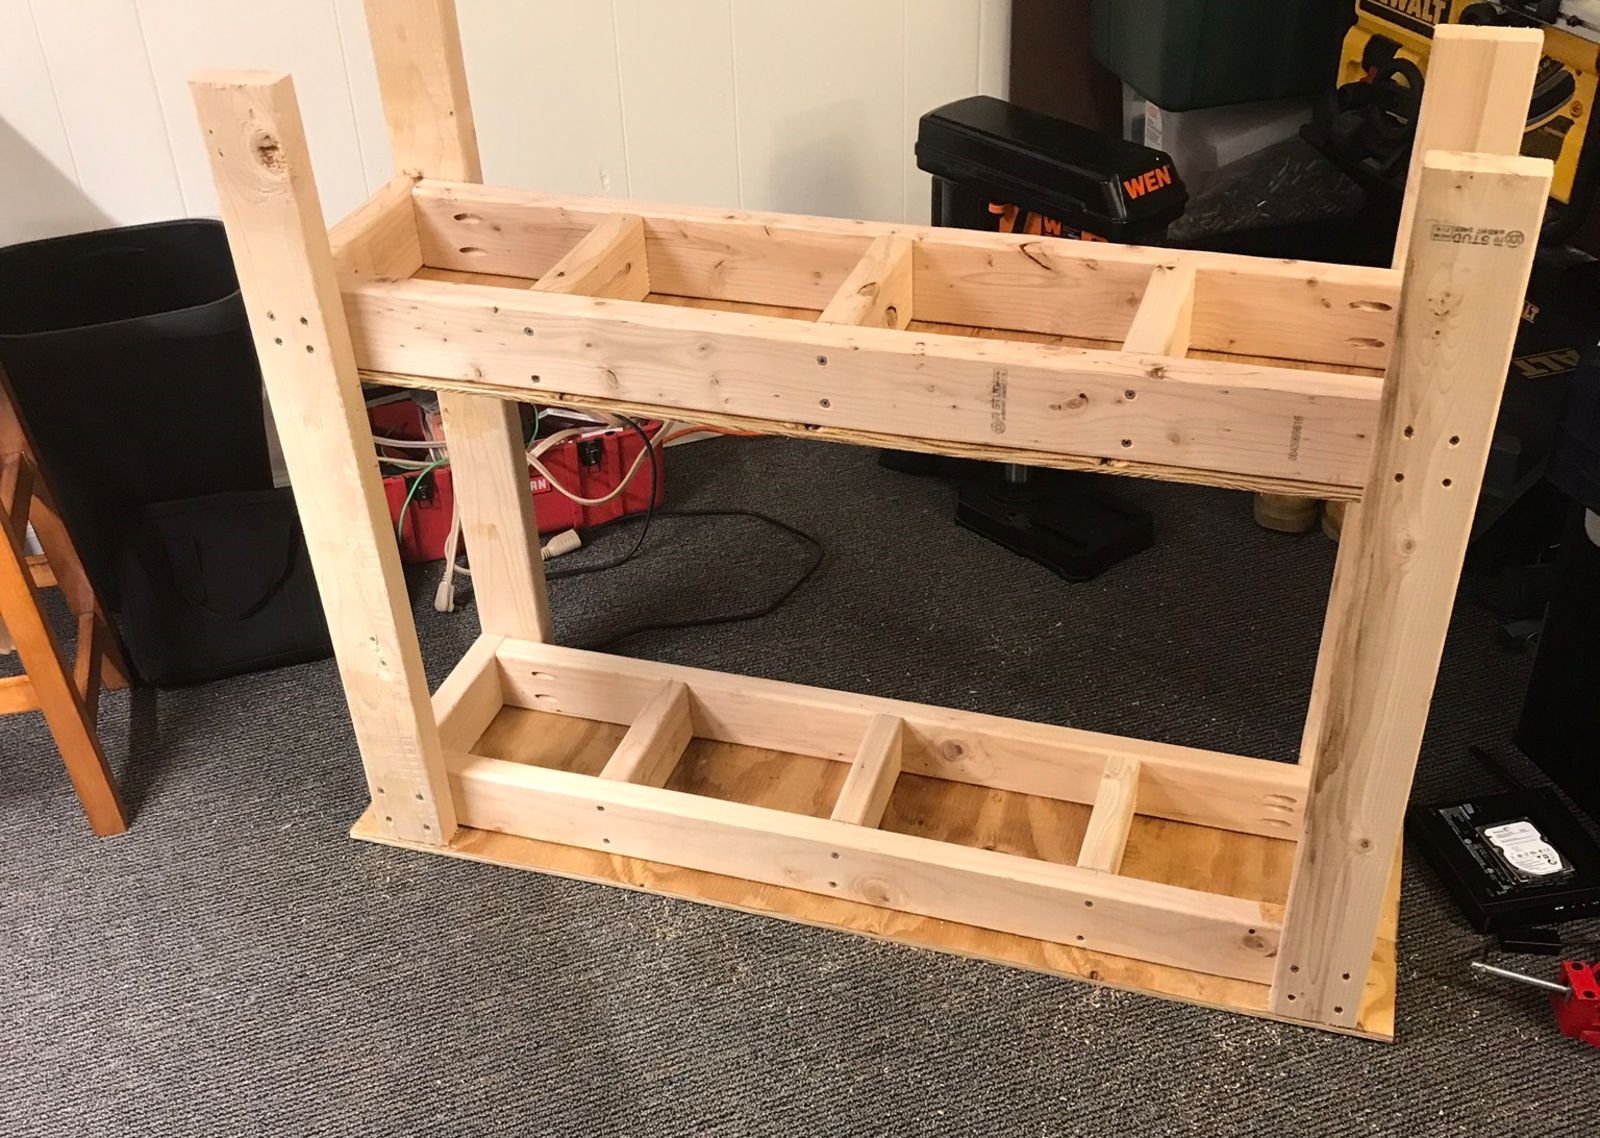
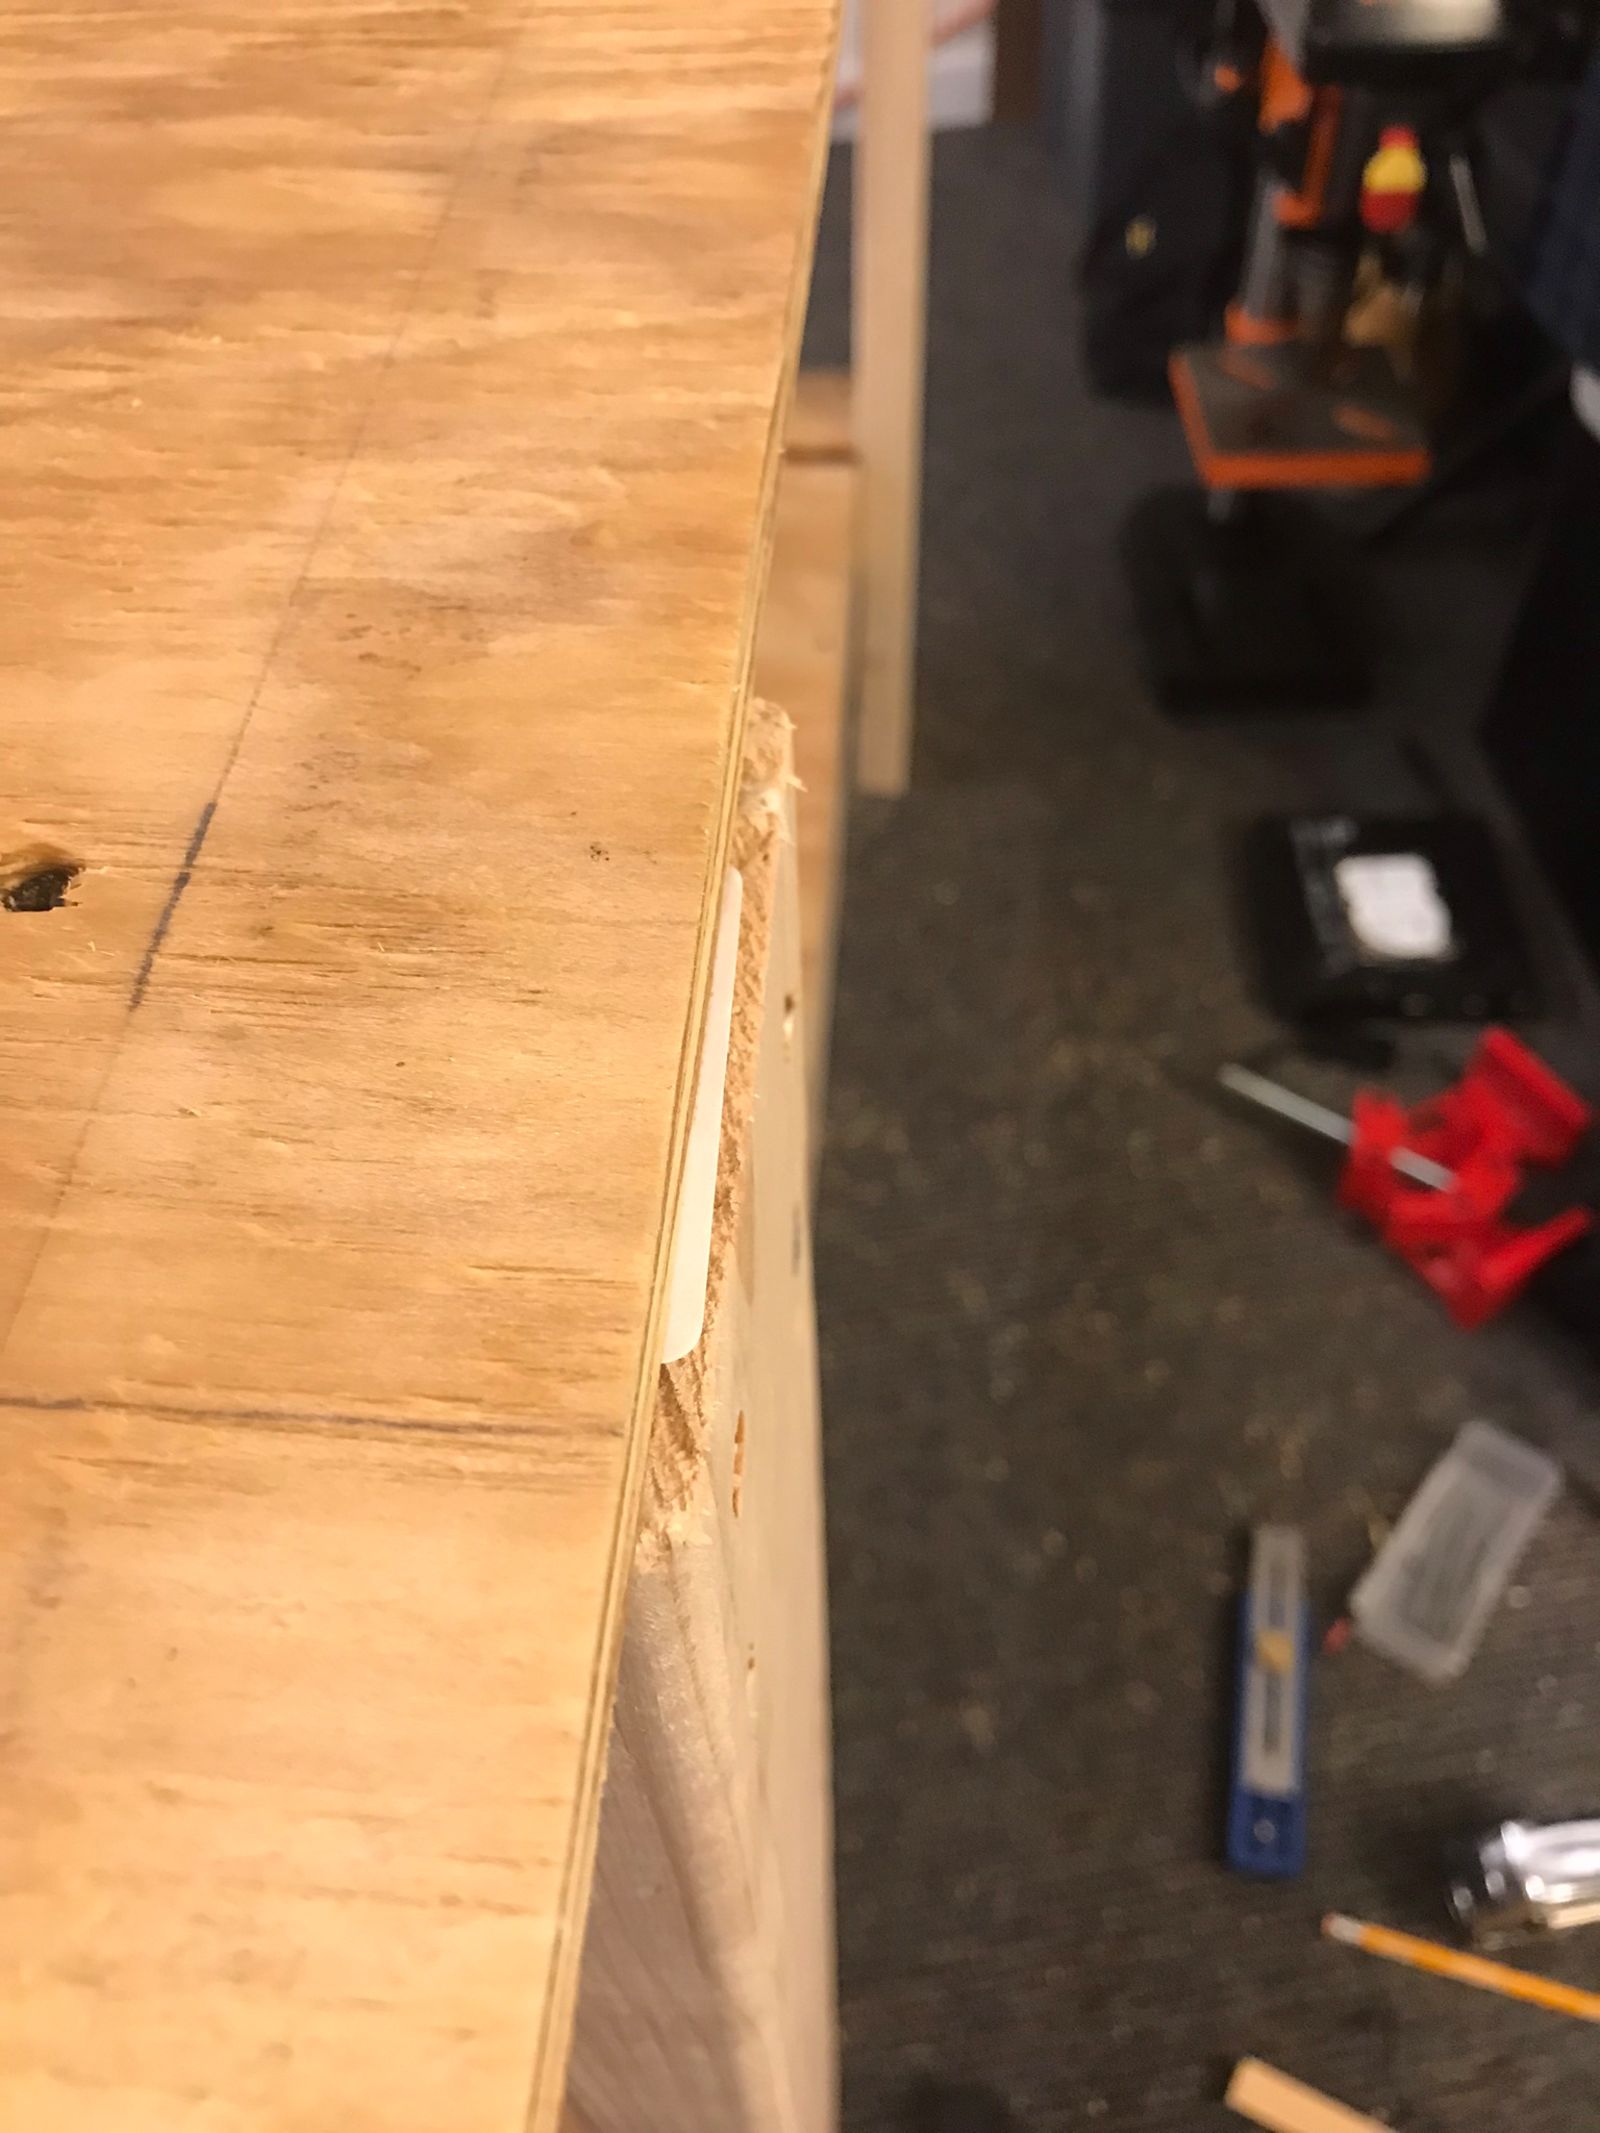
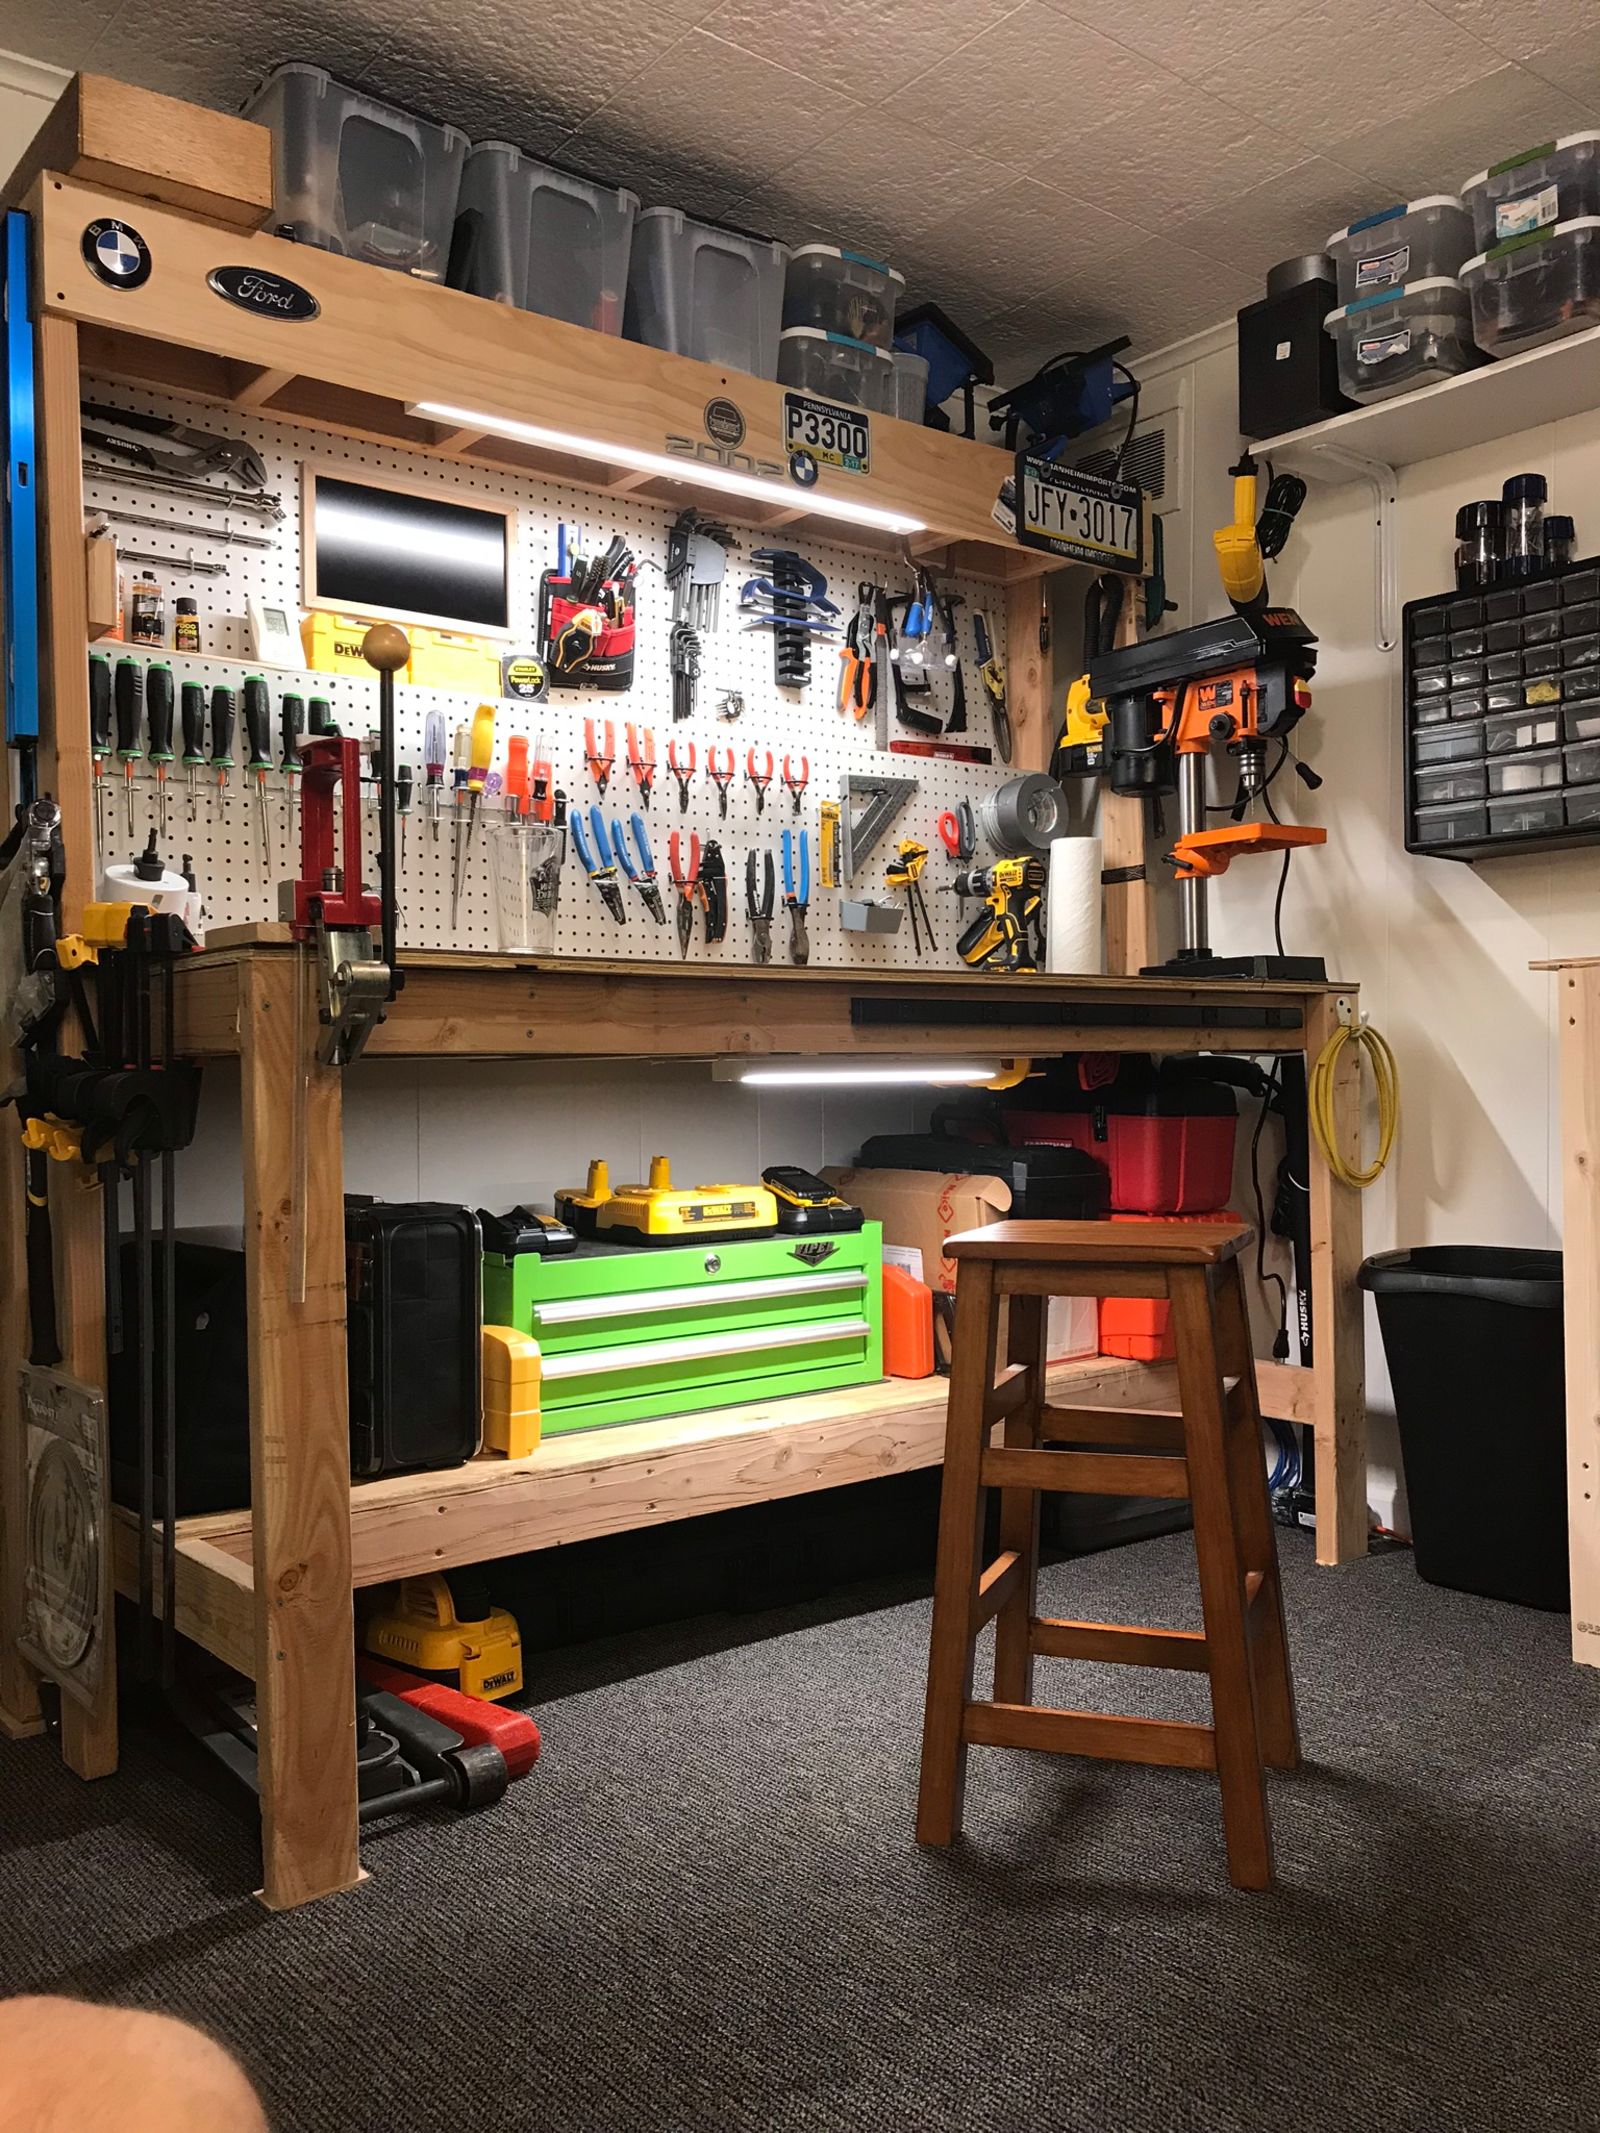
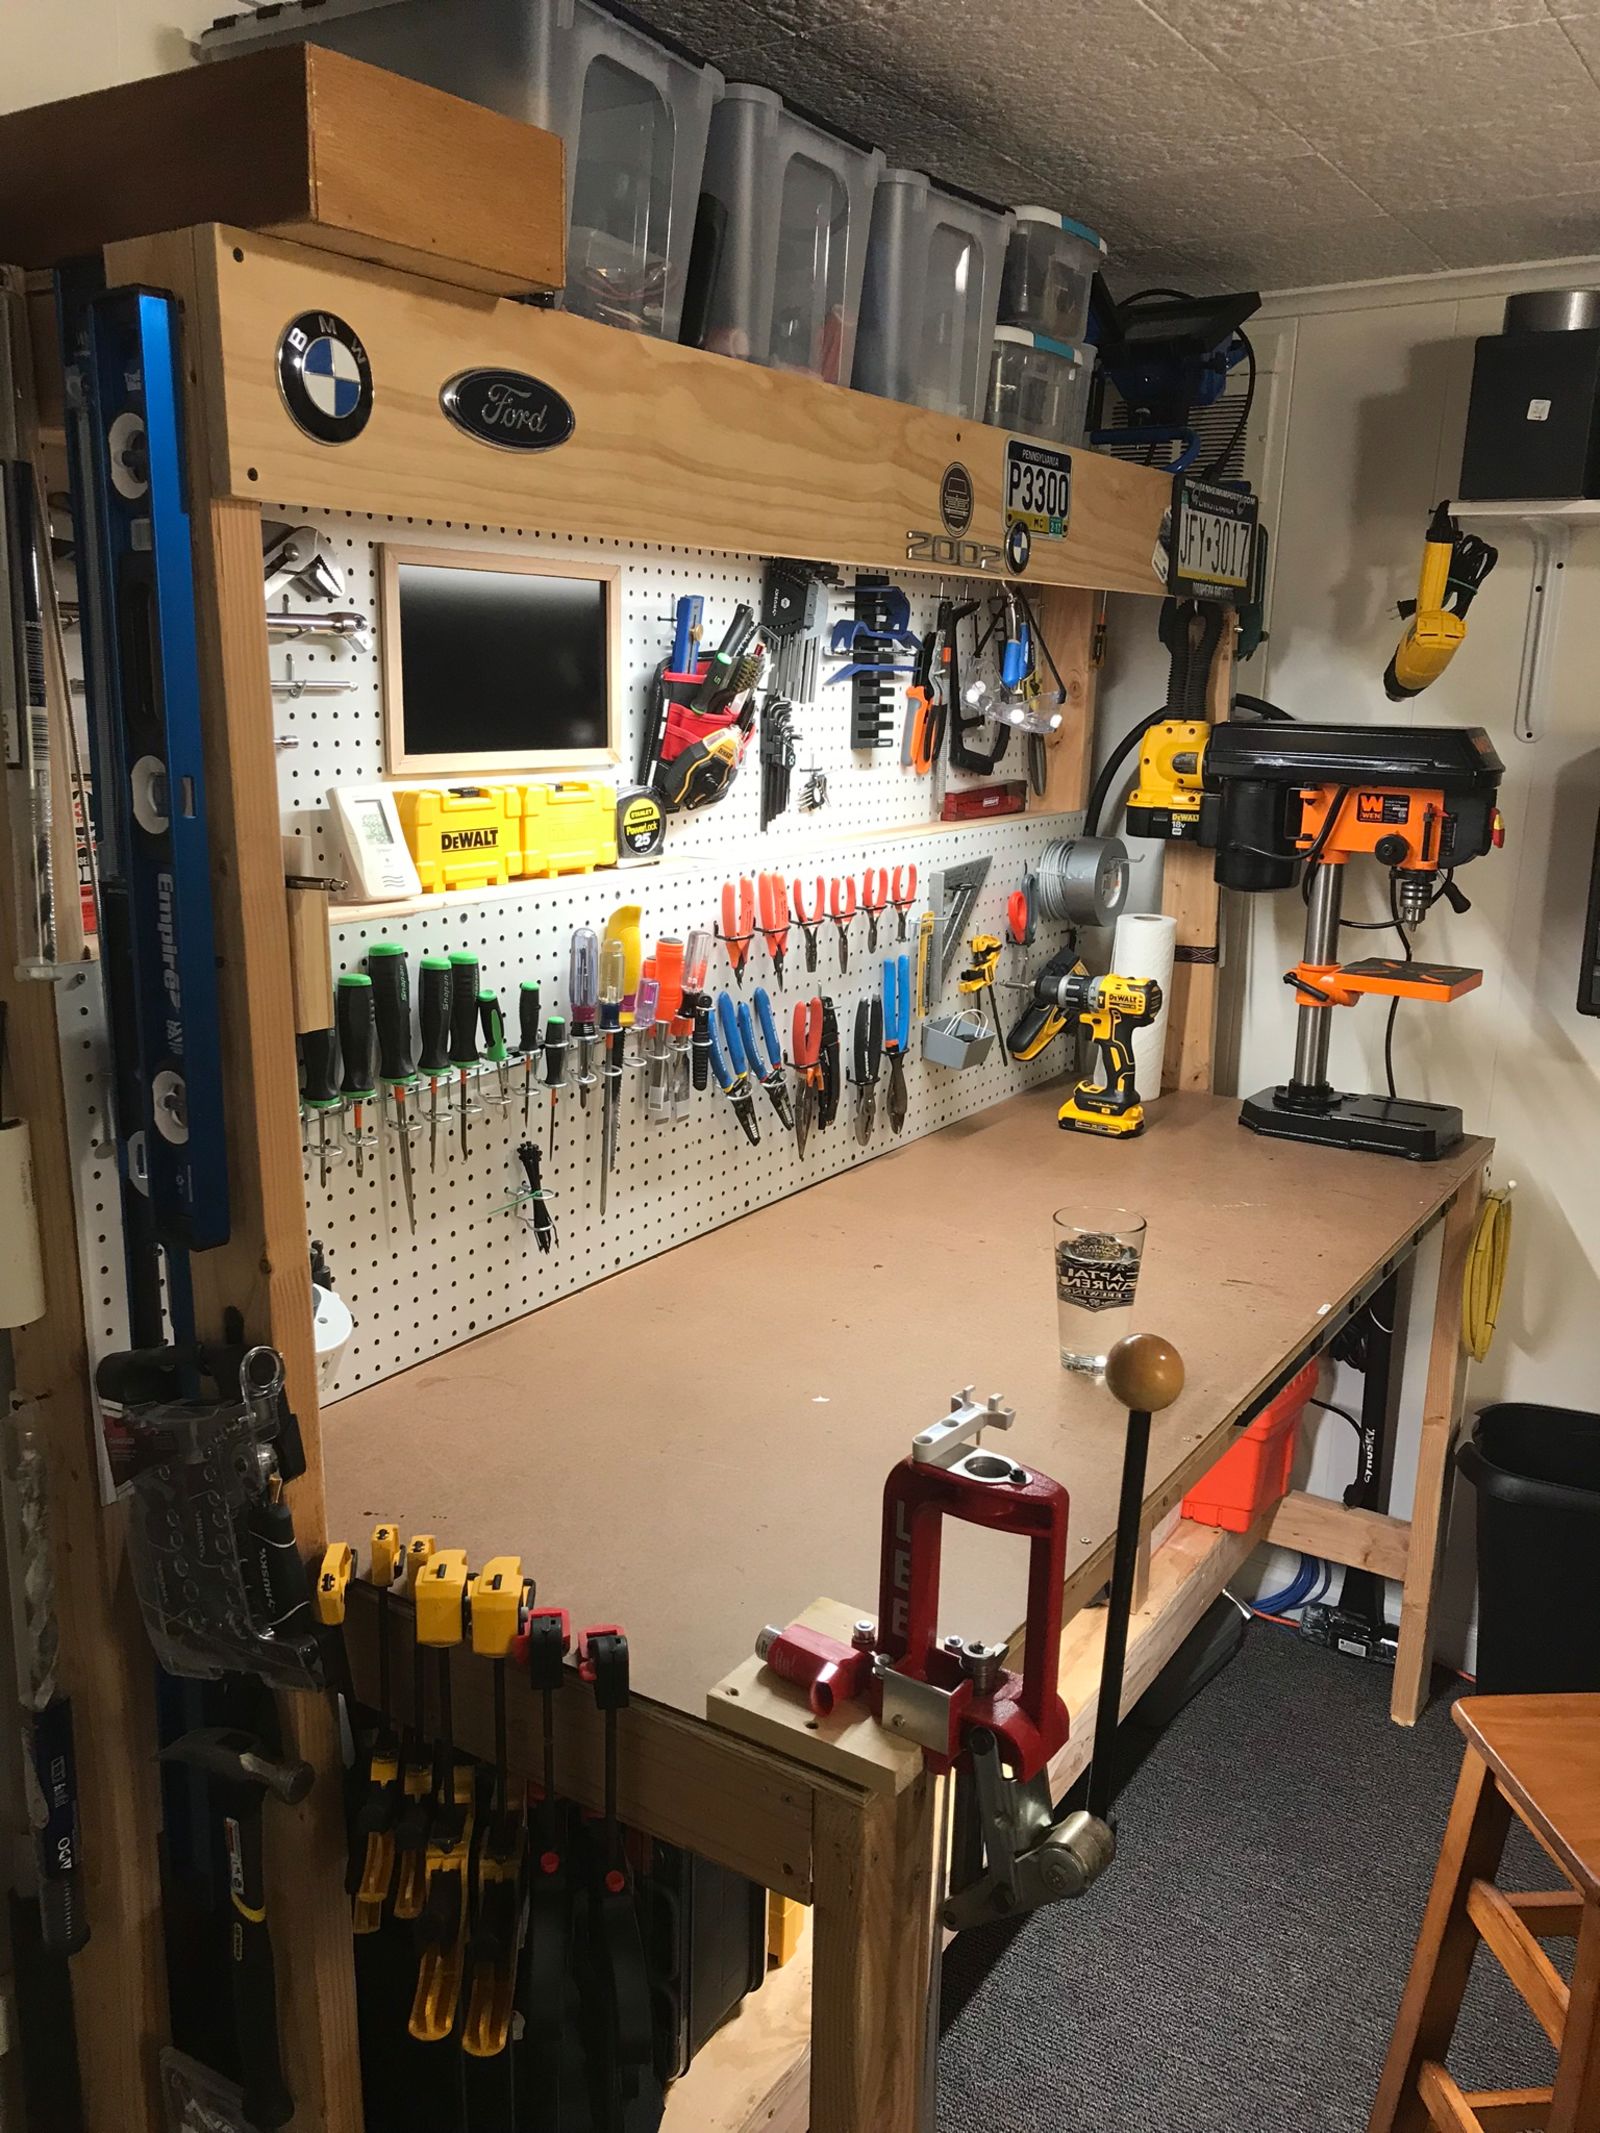
 I finished everything but the Masonite tops. Even after measuring so carefully the top came out just a little crooked. So I sank a screw in the center and removed all of the surrounding screws, adjusted, set with a few new screws, then sank all the old ones back in. It also turned out taller than I intended, however I have to cut and brace for the casters I’m going to add, so I will fix that then.

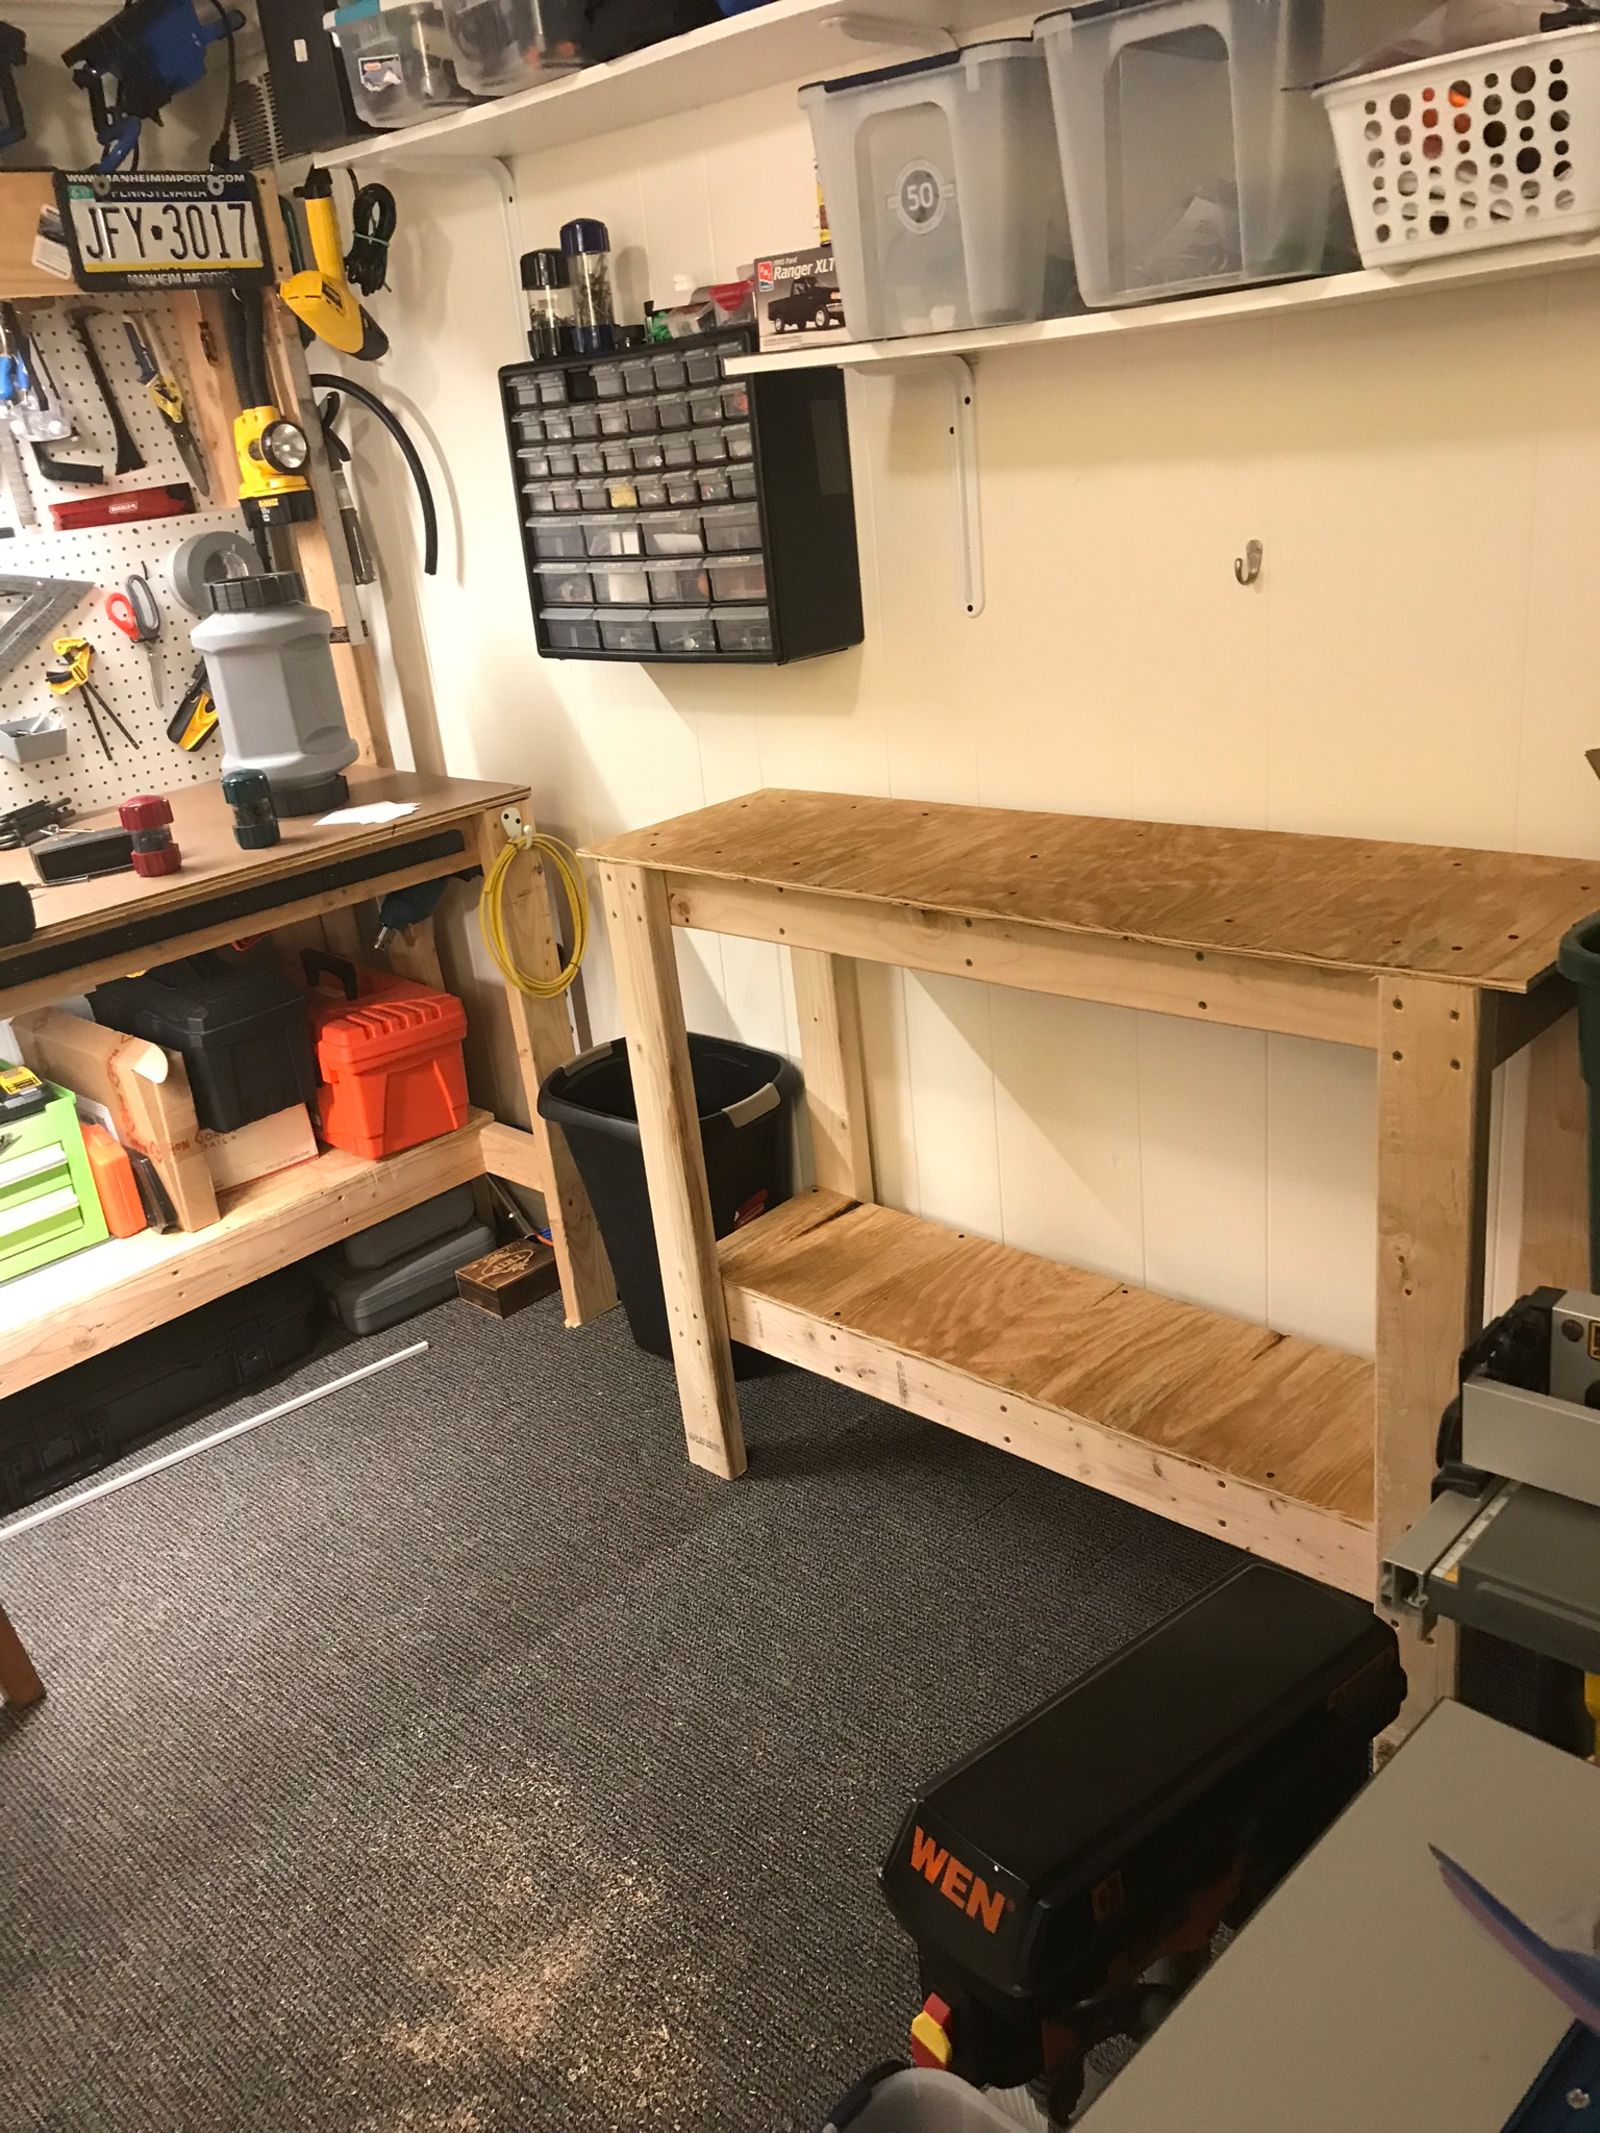
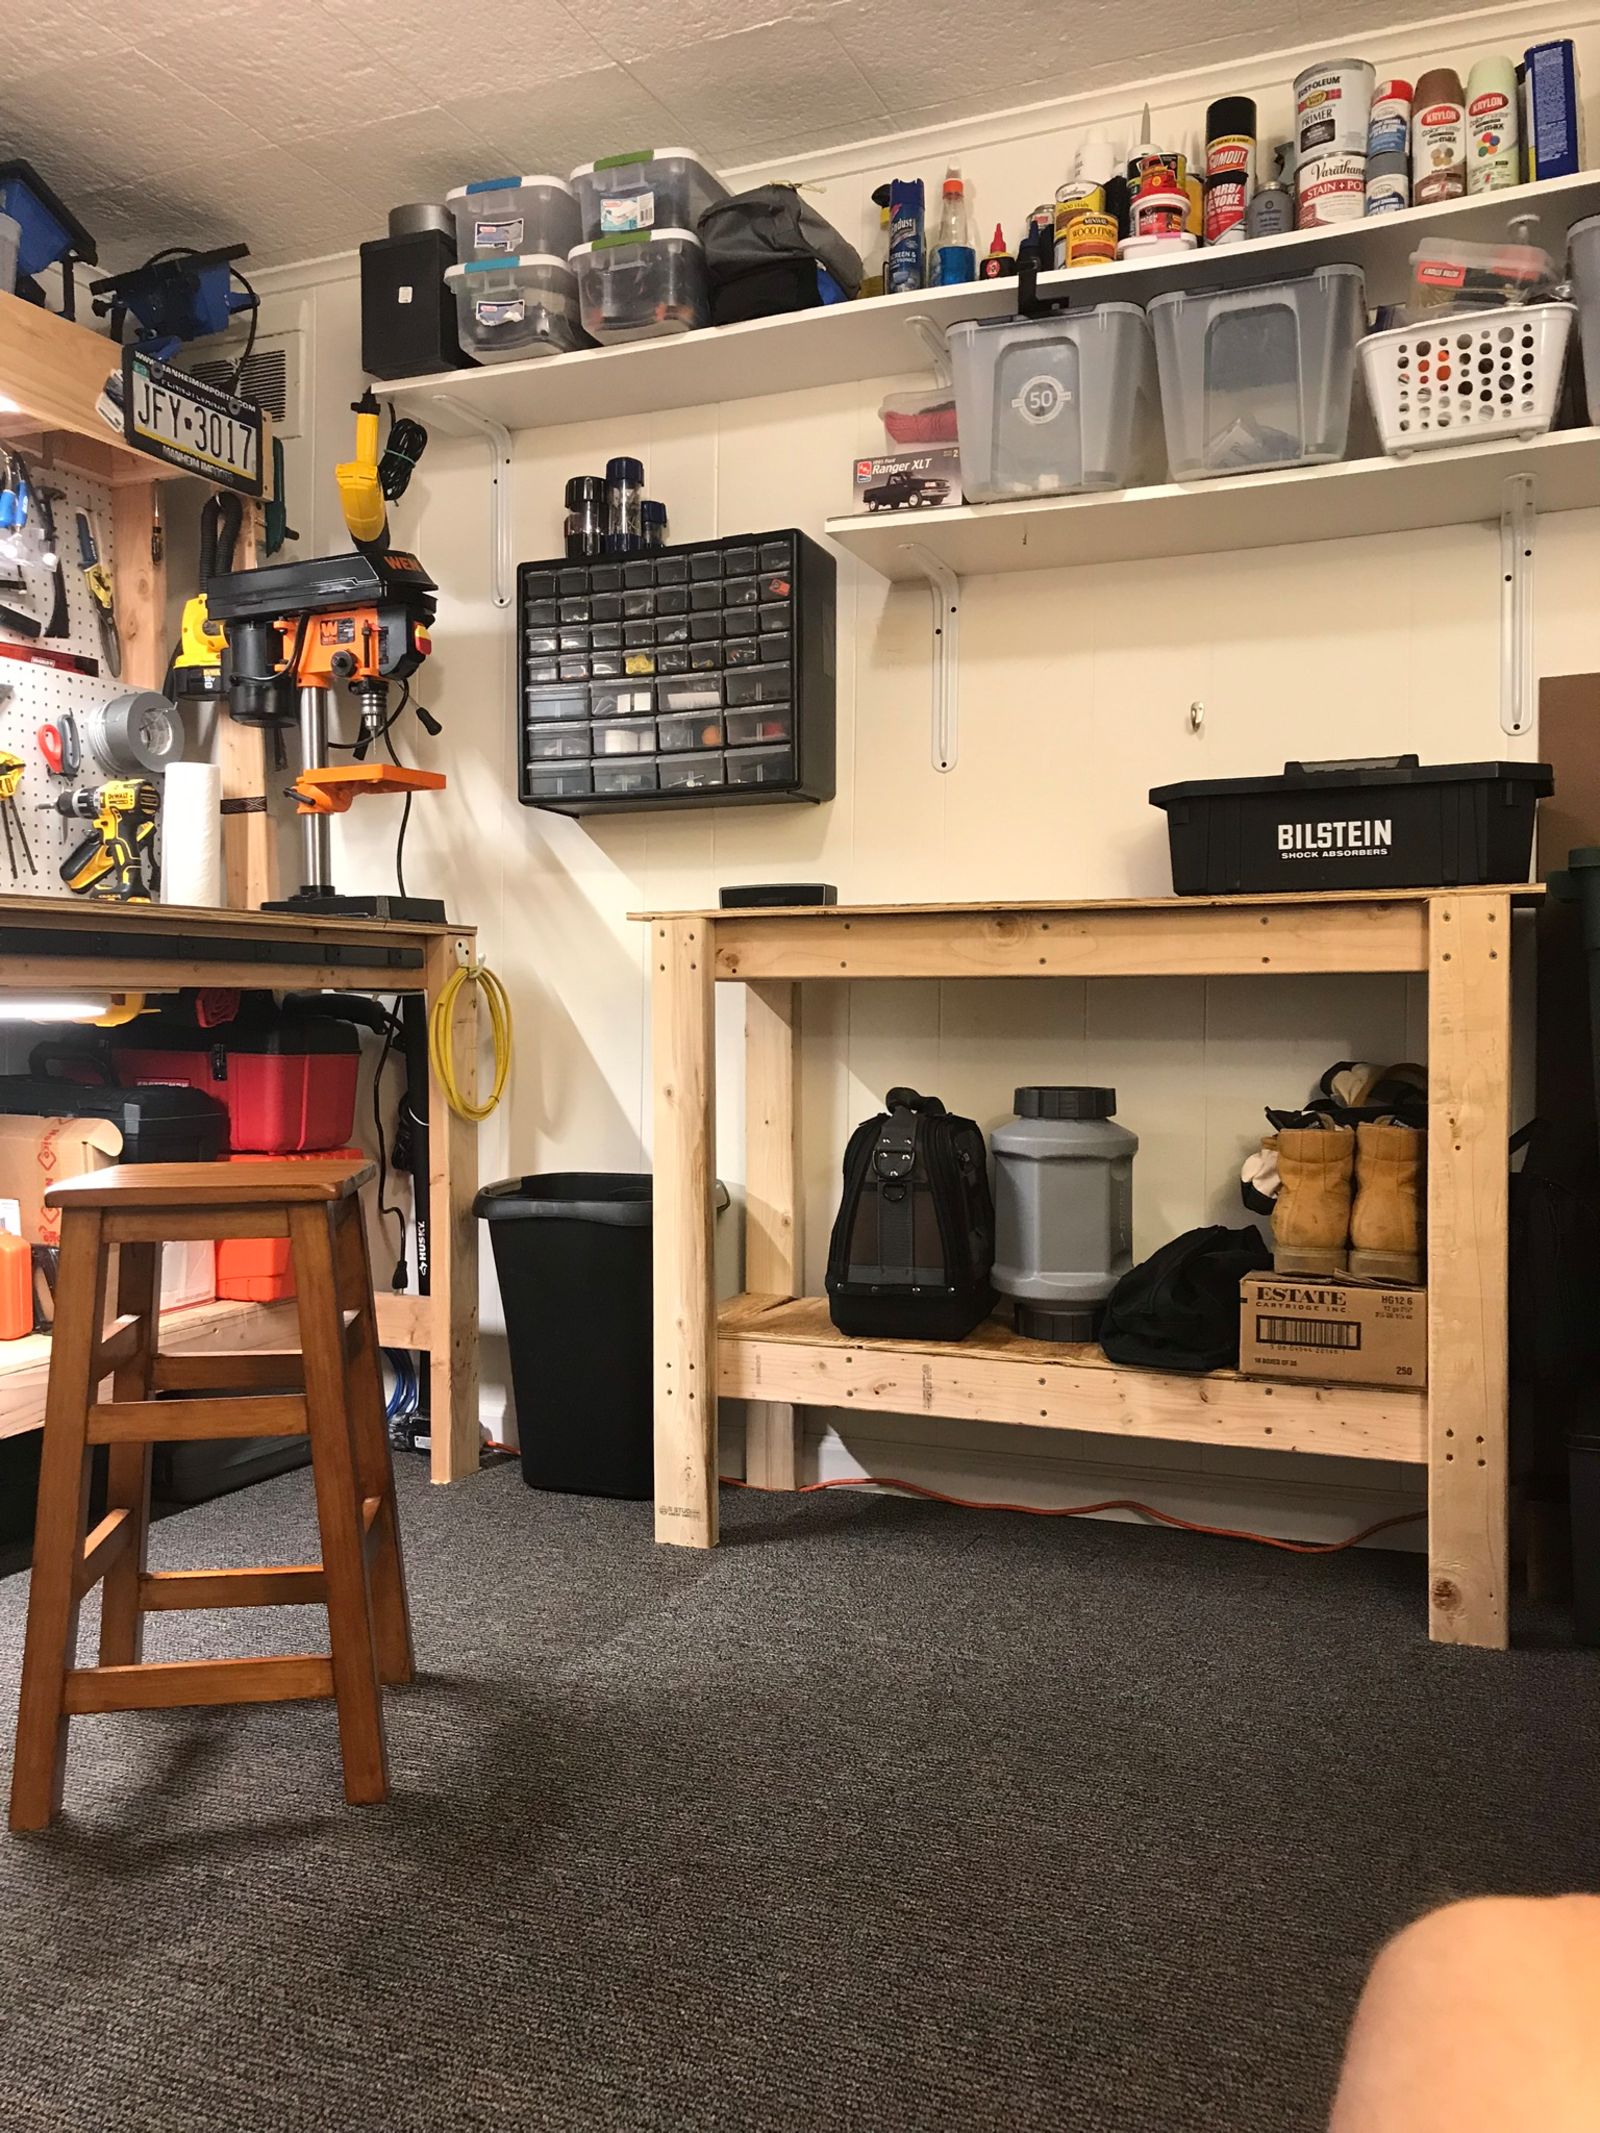
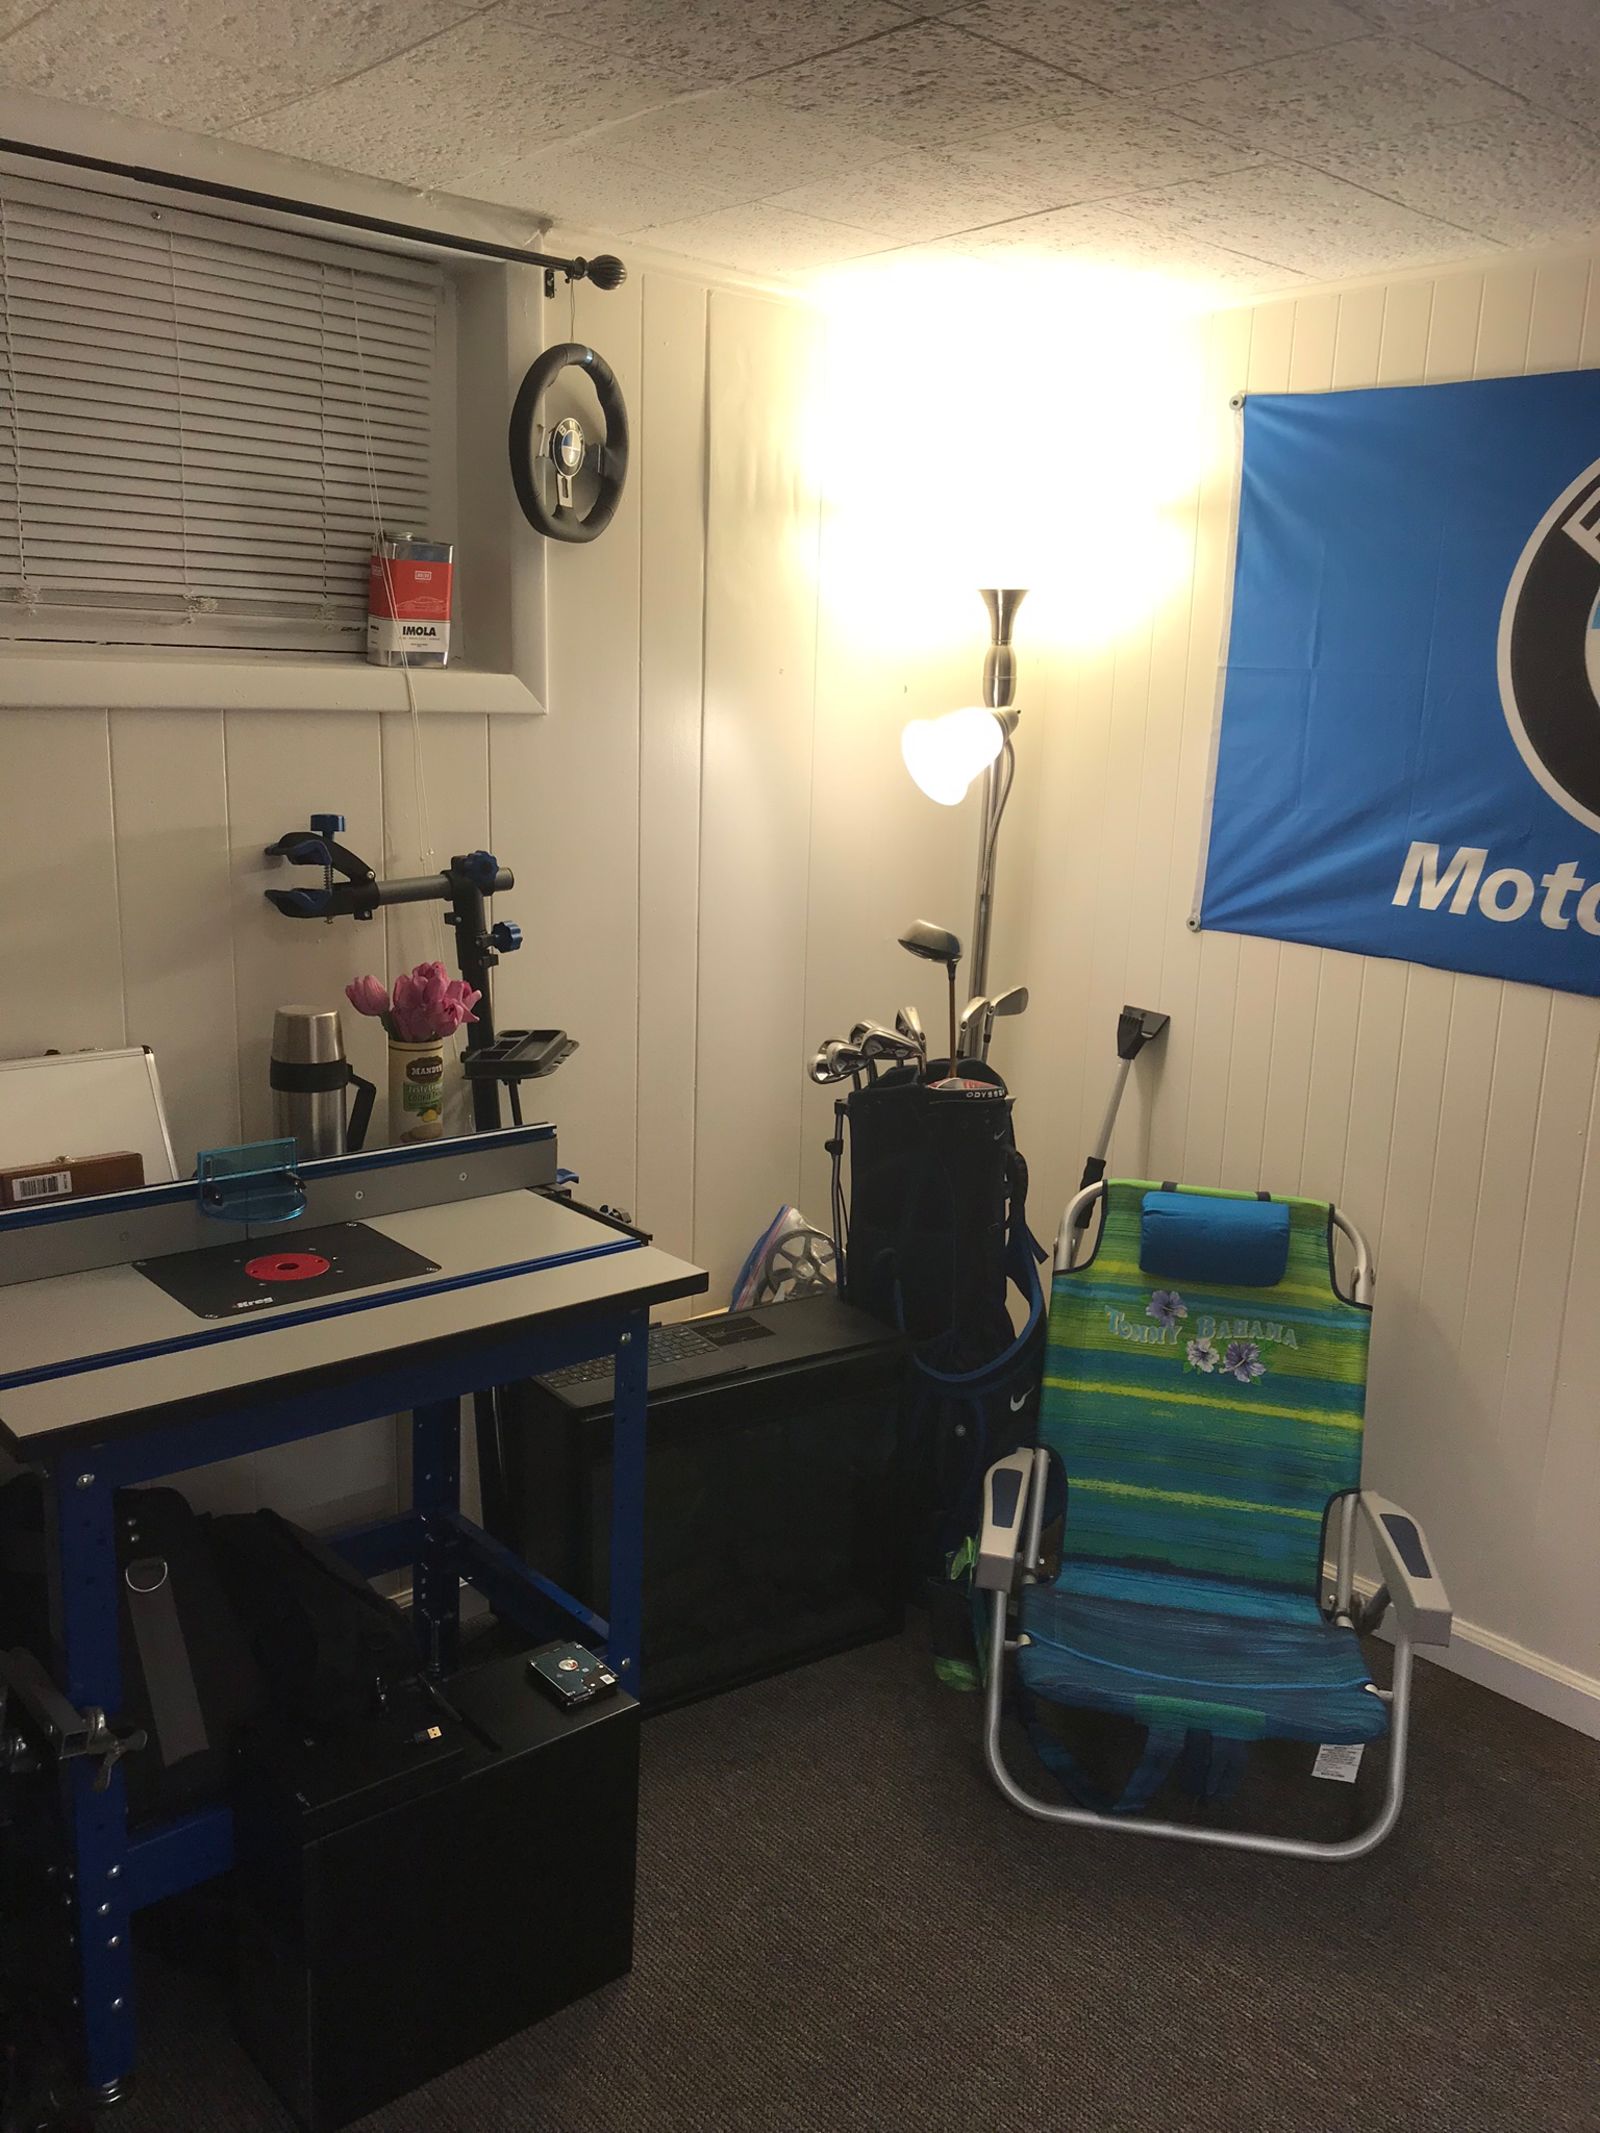
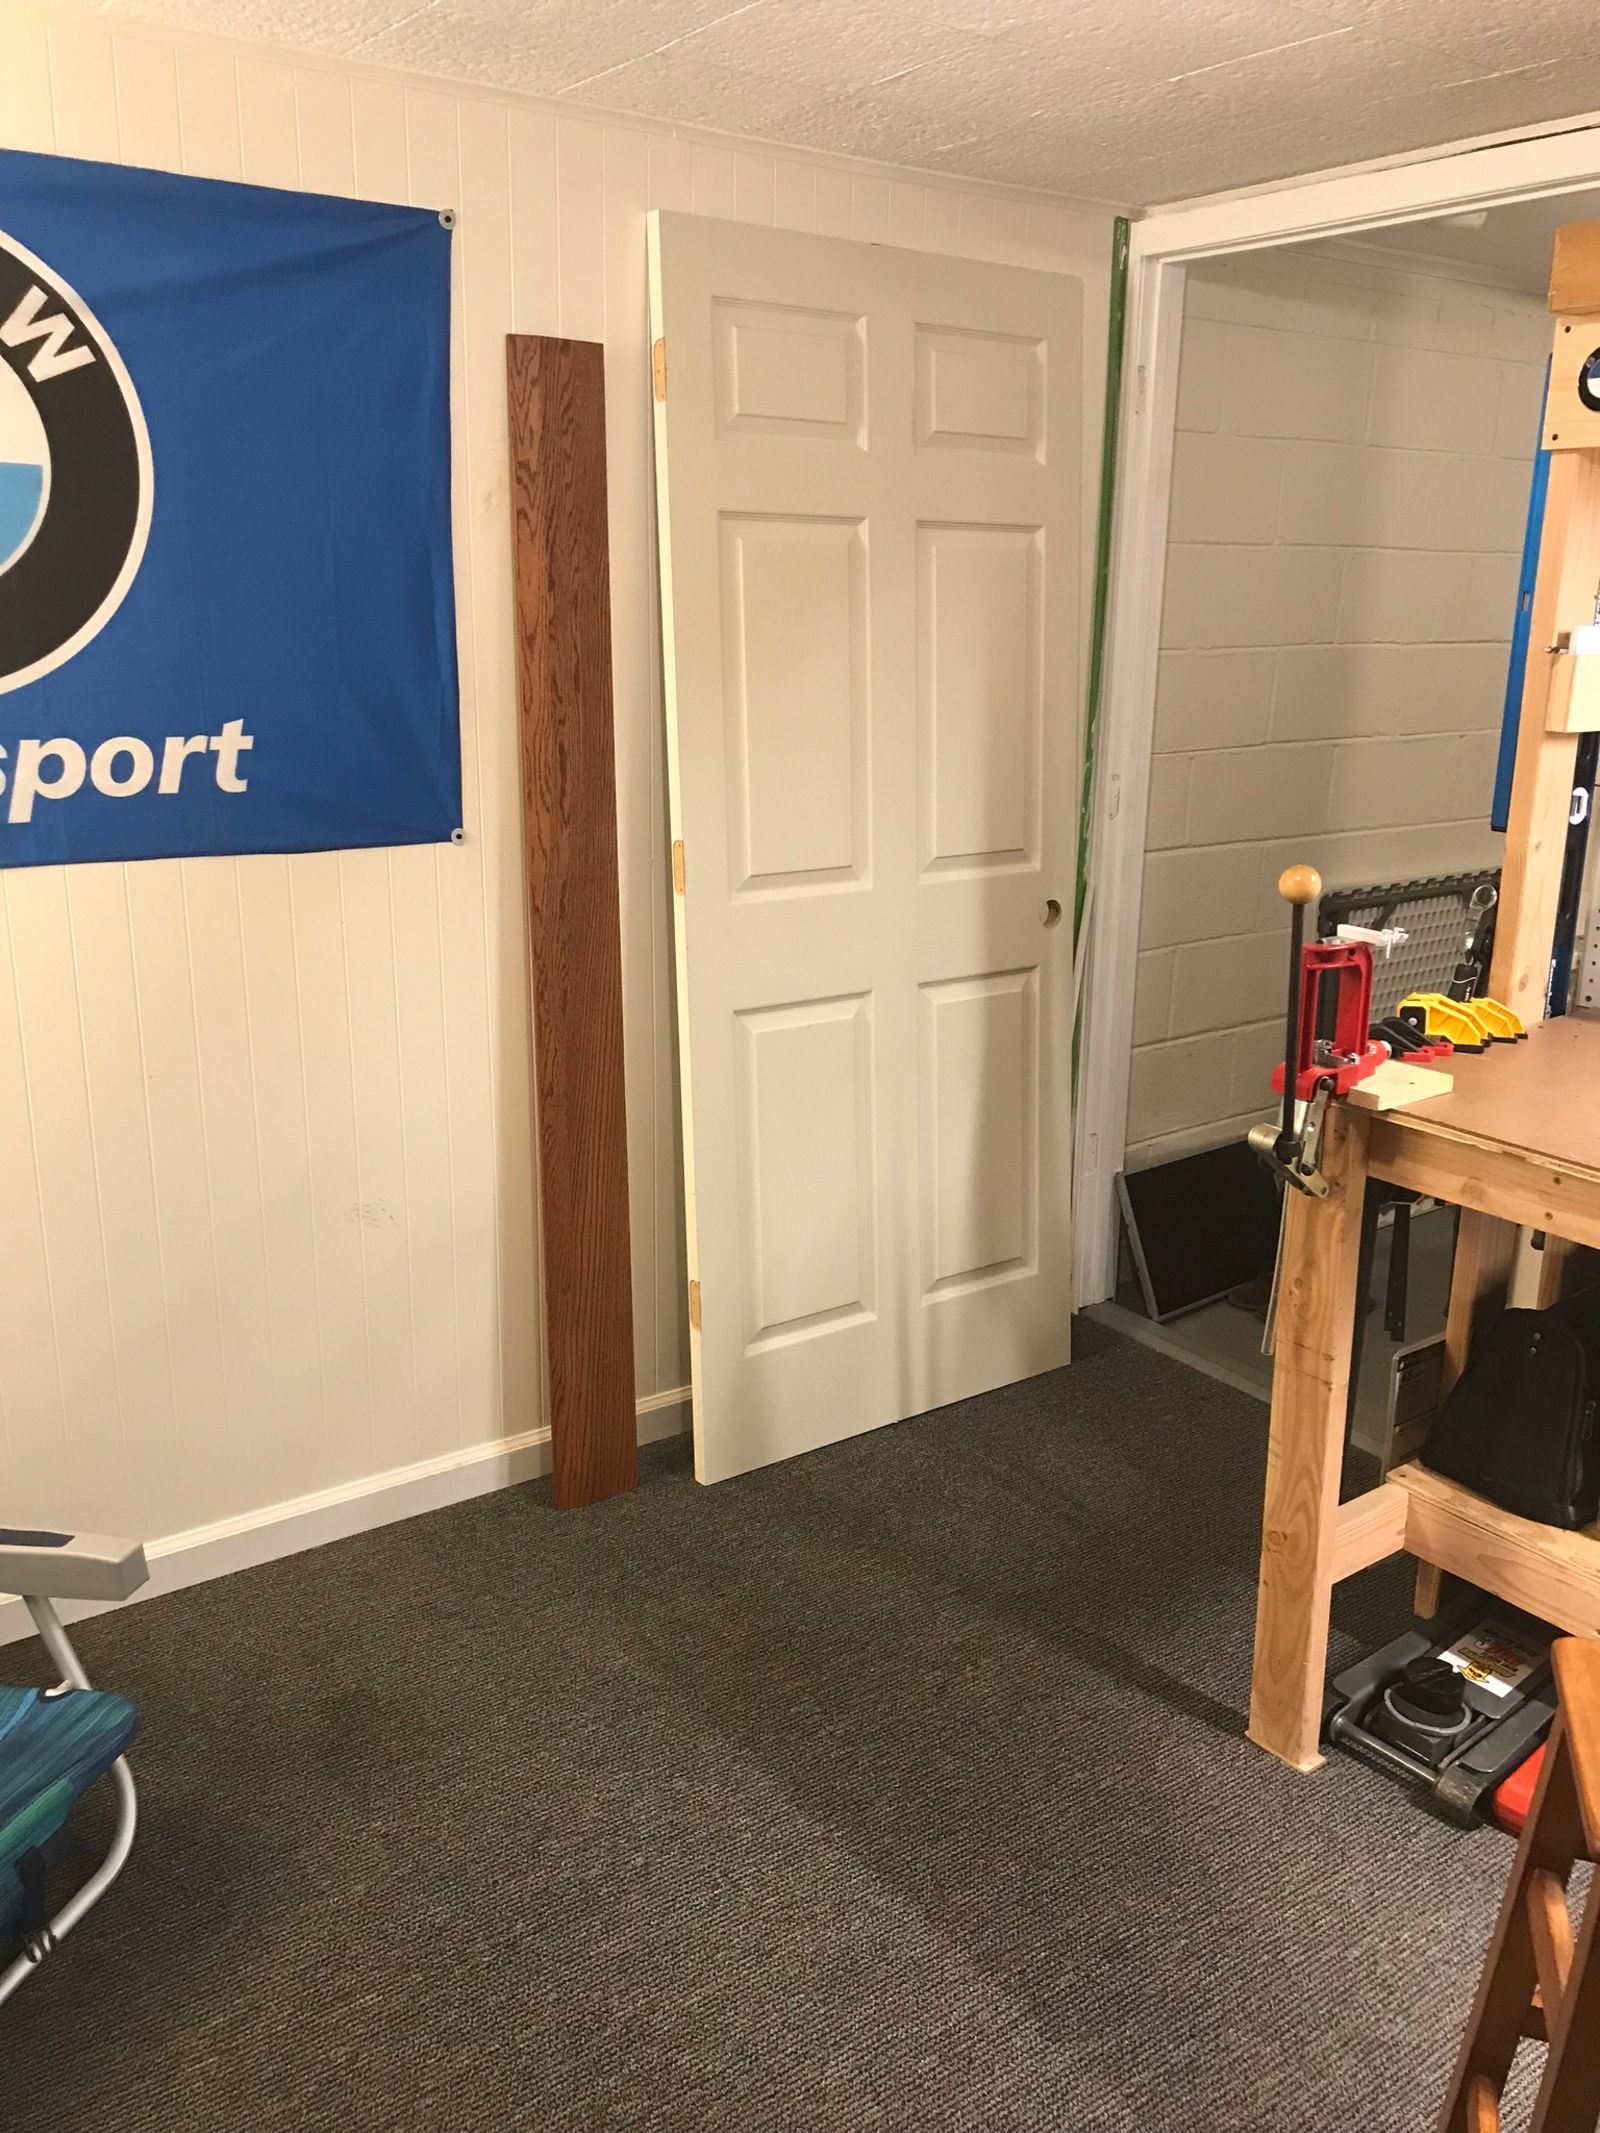
After that I decided to do a quick cleanup of the shop and snap some pics. It fits perfectly where I pictured it, and it will be super useful, especially once it’s on wheels. I might close the bottom, and put doors on too.

Advertisement

Anyway pics if ya like.

One for drilling holes, one for sinking screws
Advertisement
Those pieces of wood off to the left are what I used to secure the top after I measured it. those pieces aren’t perfectly straight, and neither was my top when I first turned it over...How about that?
Legs on
Legs on
Advertisement
Some janky temporary supports that I made for the bottom shelf
Done
Done
Advertisement
Crooks
Crooks
Fixed
Fixed
Advertisement
Right where I needed it
Illustration for article titled O R G A N I Z A T I O N / New Workbench
Advertisement
Illustration for article titled O R G A N I Z A T I O N / New Workbench
Advertisement
Illustration for article titled O R G A N I Z A T I O N / New Workbench
Advertisement
Illustration for article titled O R G A N I Z A T I O N / New Workbench
Advertisement
Illustration for article titled O R G A N I Z A T I O N / New Workbench
Advertisement
Illustration for article titled O R G A N I Z A T I O N / New Workbench
Advertisement
I bought a custom pre-hung door when we first bought the house as there was no door to this room. I never “finished” it. So I took the door and hardware off. Trimmed up the frame, patched and painted. Now I just have to paint the door and put it back together. The piece of wood is a threshold that I made for the void that remains from the wall I removed the last time my wife was away. It needs a couple of coats of poly yet.