
I know 3D printers have been around a while now. I have seen videos, ordered things that were 3D printed, even created a file (with help) that I sent out to a company who printed out the item (a switch) and shipped it to me. Still no amount of excitement is lost doing it yourself for the first time.
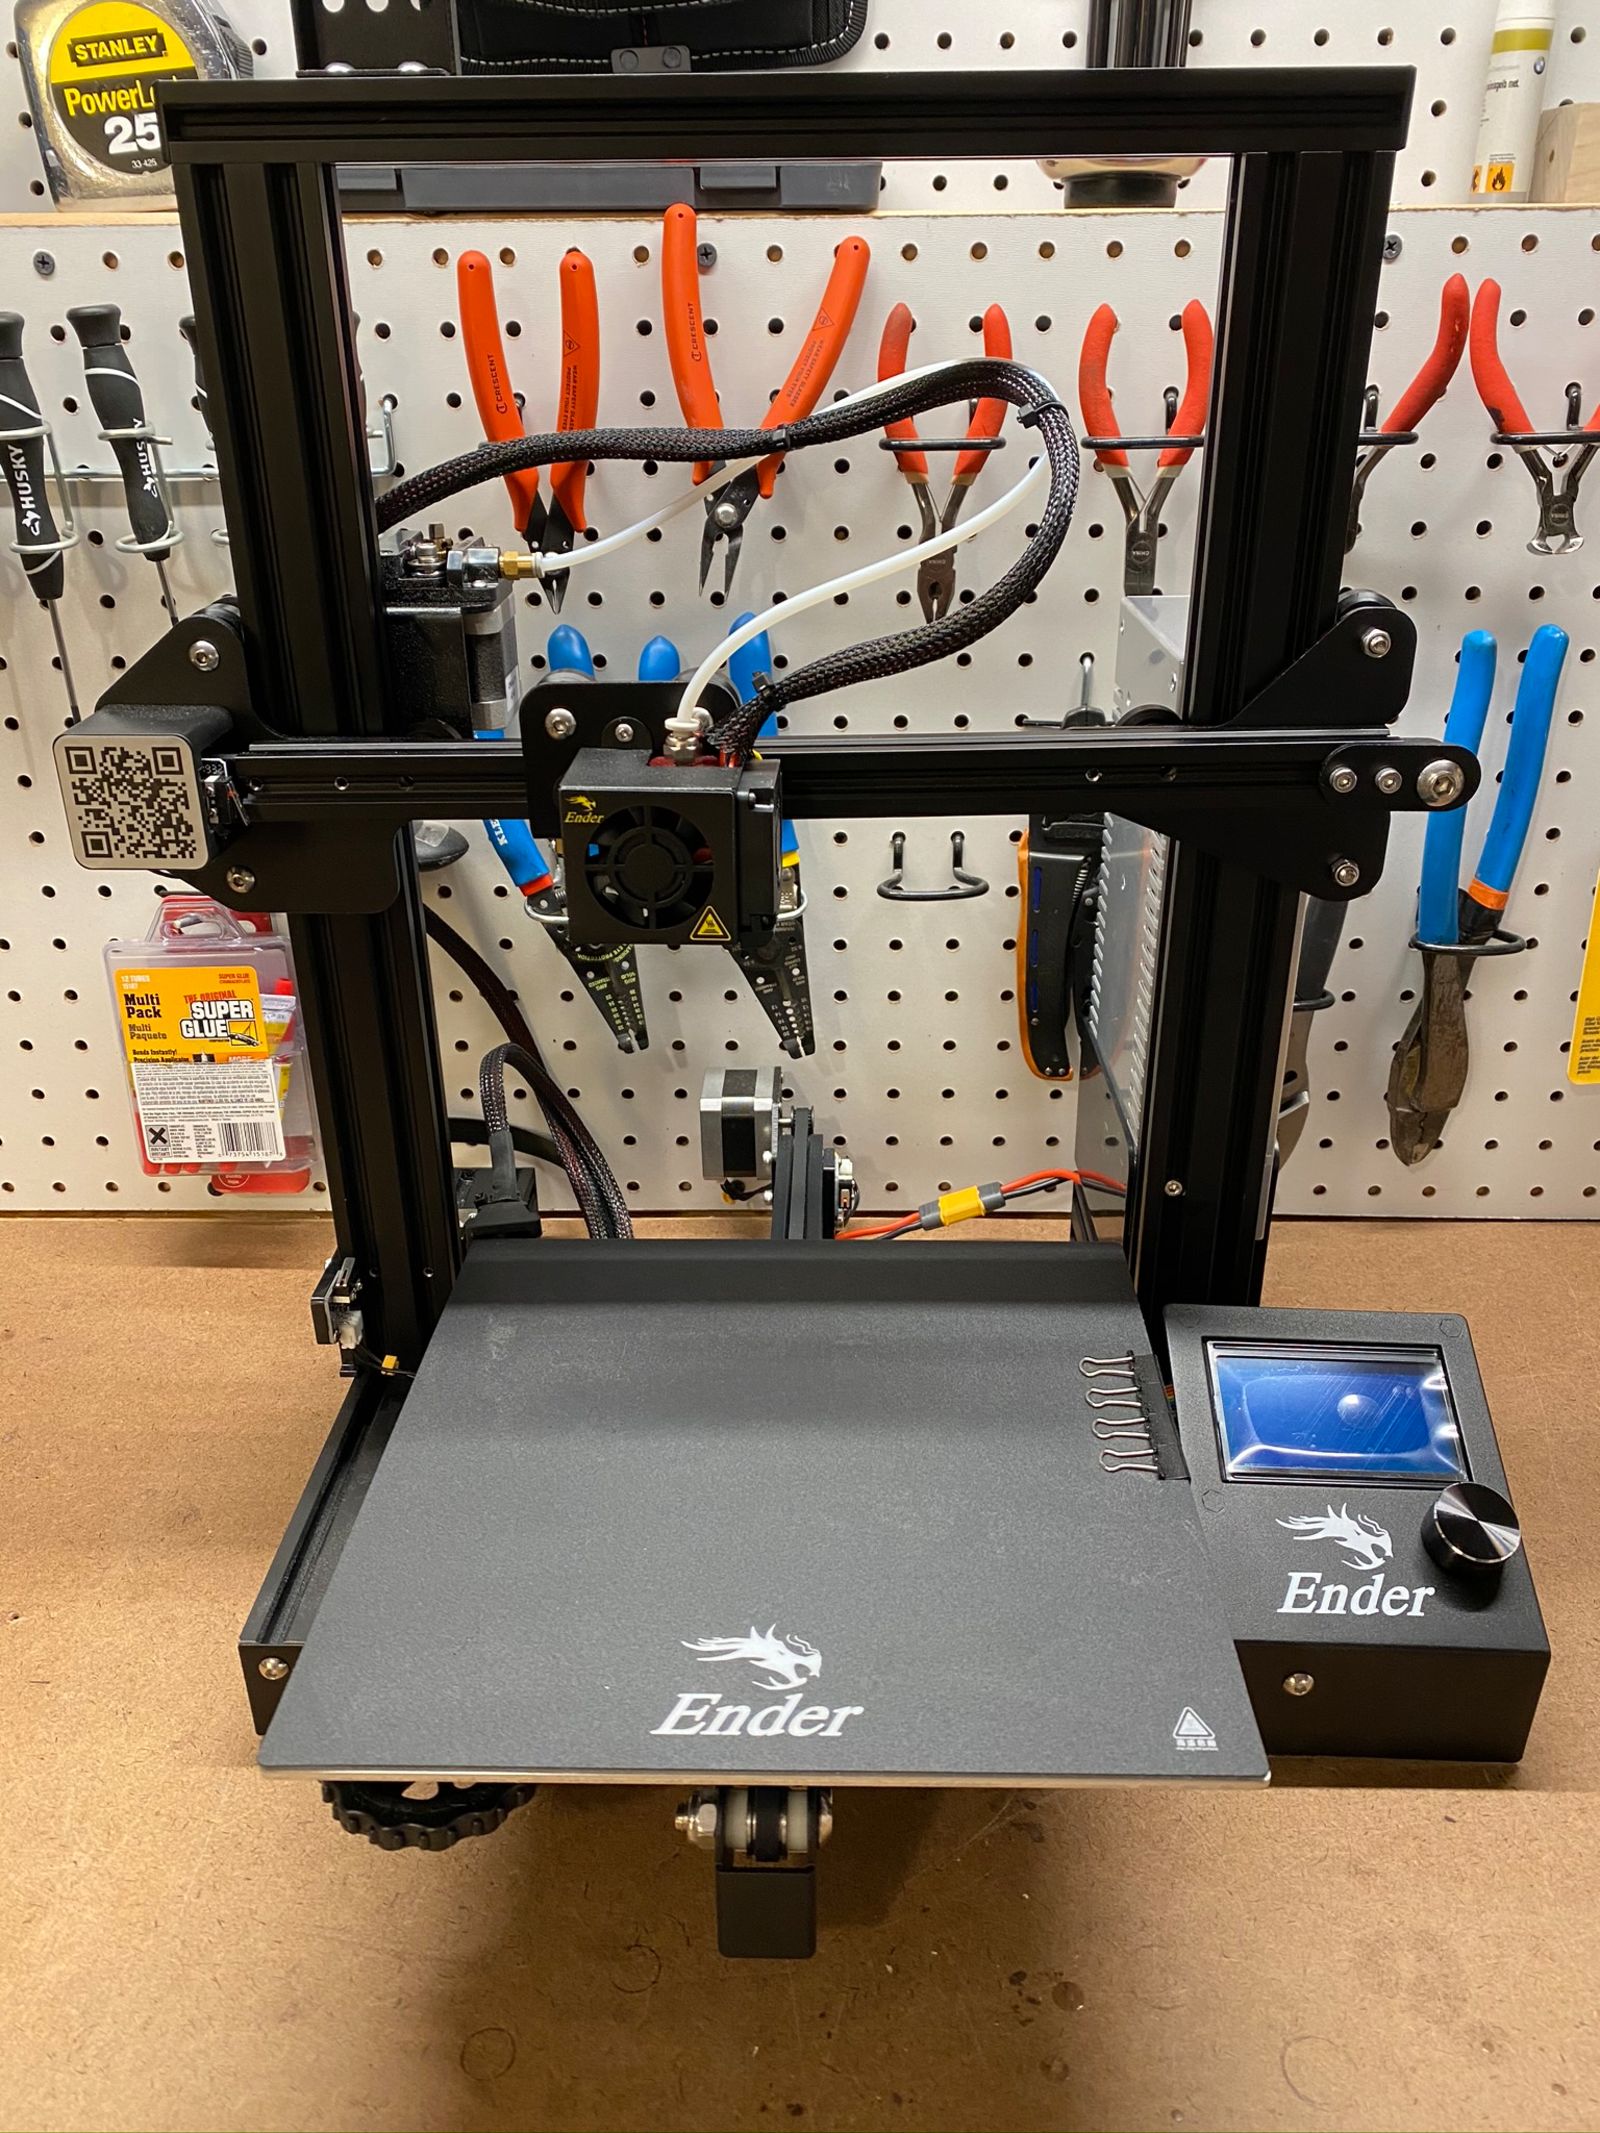
I’ve always thought of 3D printers just like any other printer (a PC peripheral). They aren’t really that at all (at least not this one. Not out of the box anyway) its a machine/robot/automationstation.
Anyway enough shower thoughts.
Unboxing:
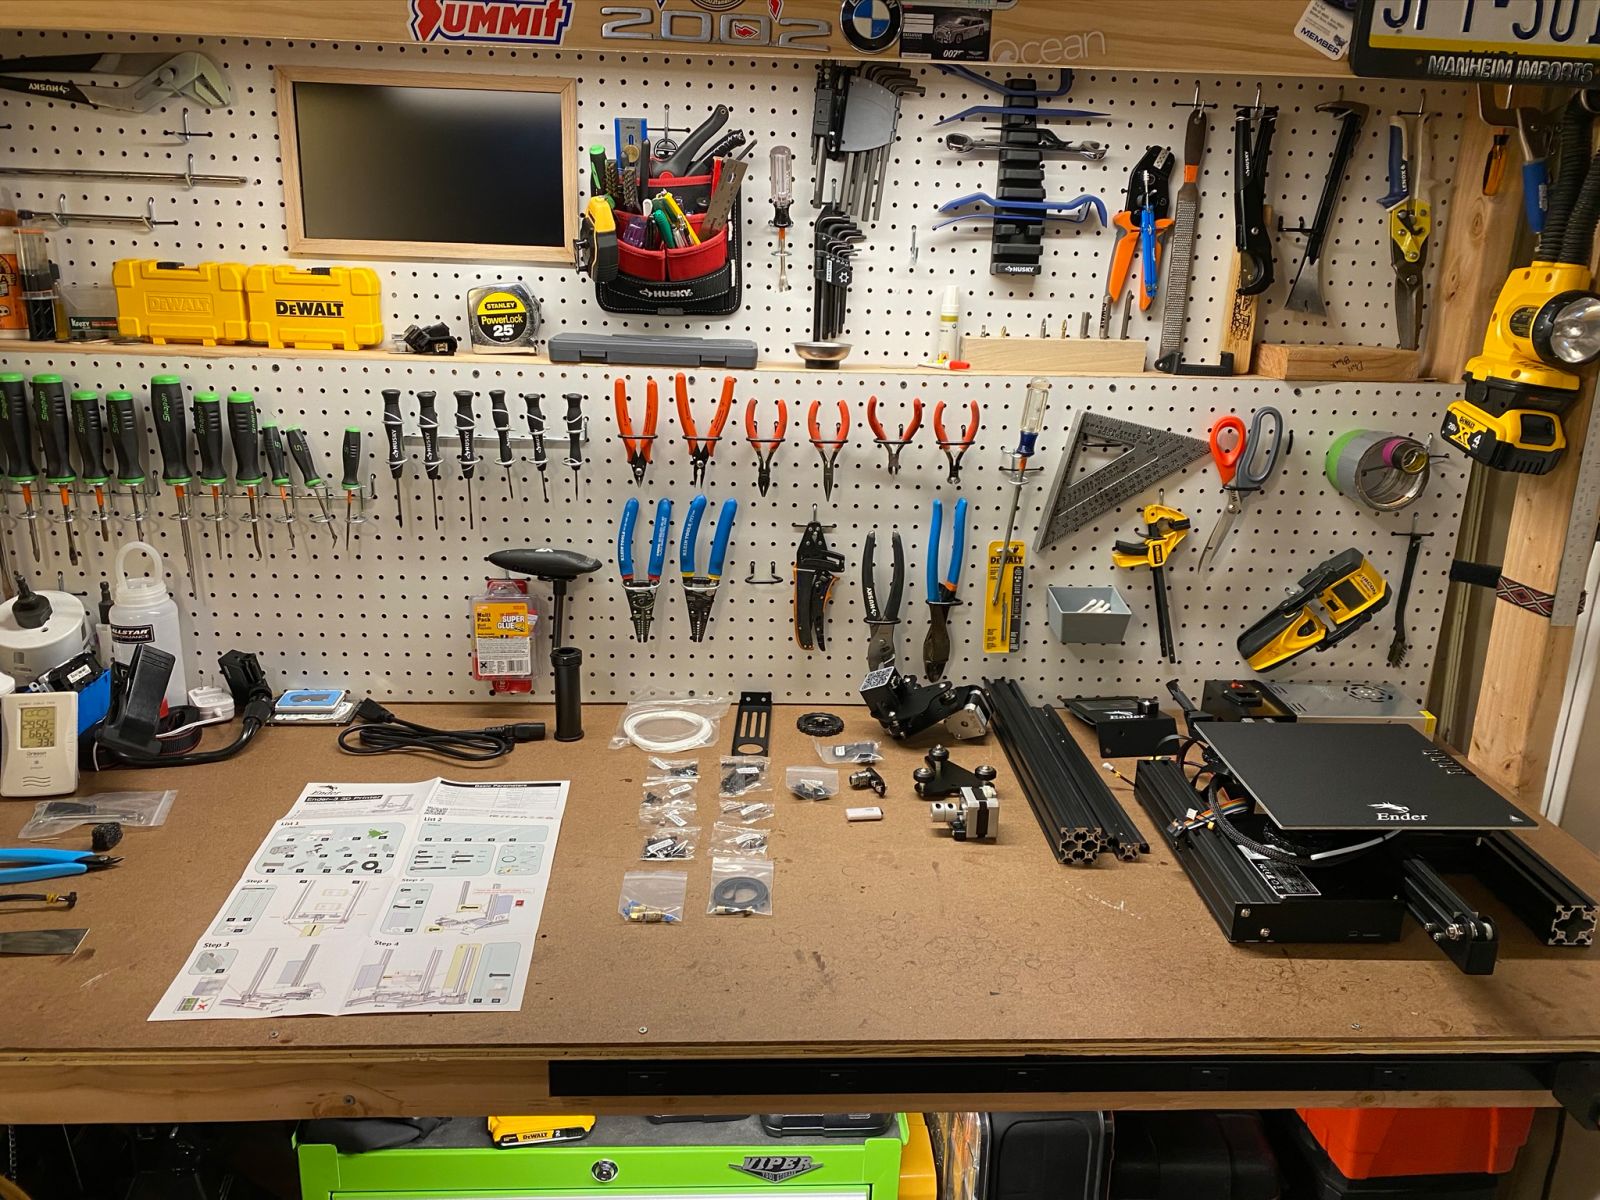
I am a seasoned DIYer, there is nothing I won’t try and break before calling a professional. So even though I knew I’d have no trouble slapping this thing together, there was a slight feeling of “oh wow, ya really gotta do it all here, huh?” as I took inventory of the parts and tools.
Assembly:
There are no words on the assembly instructions, and they’re not great but it the sum of the parts look like more work than they actually are. I’d equate this to assembling a skateboard from the grip tape down, obviously using more care with delicate electronics than I would with a new deck. I honestly had to google a few images of assembled Ender 3's to sort out what the instructions were unclear on.
Slicing...er a dicking around with files so that the models print on your specific printer:
Obviously I’m not up on the lingo yet. I’m using Cura to slice stl files to gcode which is the proper format for the Ender 3 as well as a pretty hot song by “The Ghetto Boys”
I have no idea how to go about creating my own models, or even how to scale models that I download. If any of you have advice or links for resources that would be awesome! I found one for a scaled down S54 engine but the model is way too big for my printer.
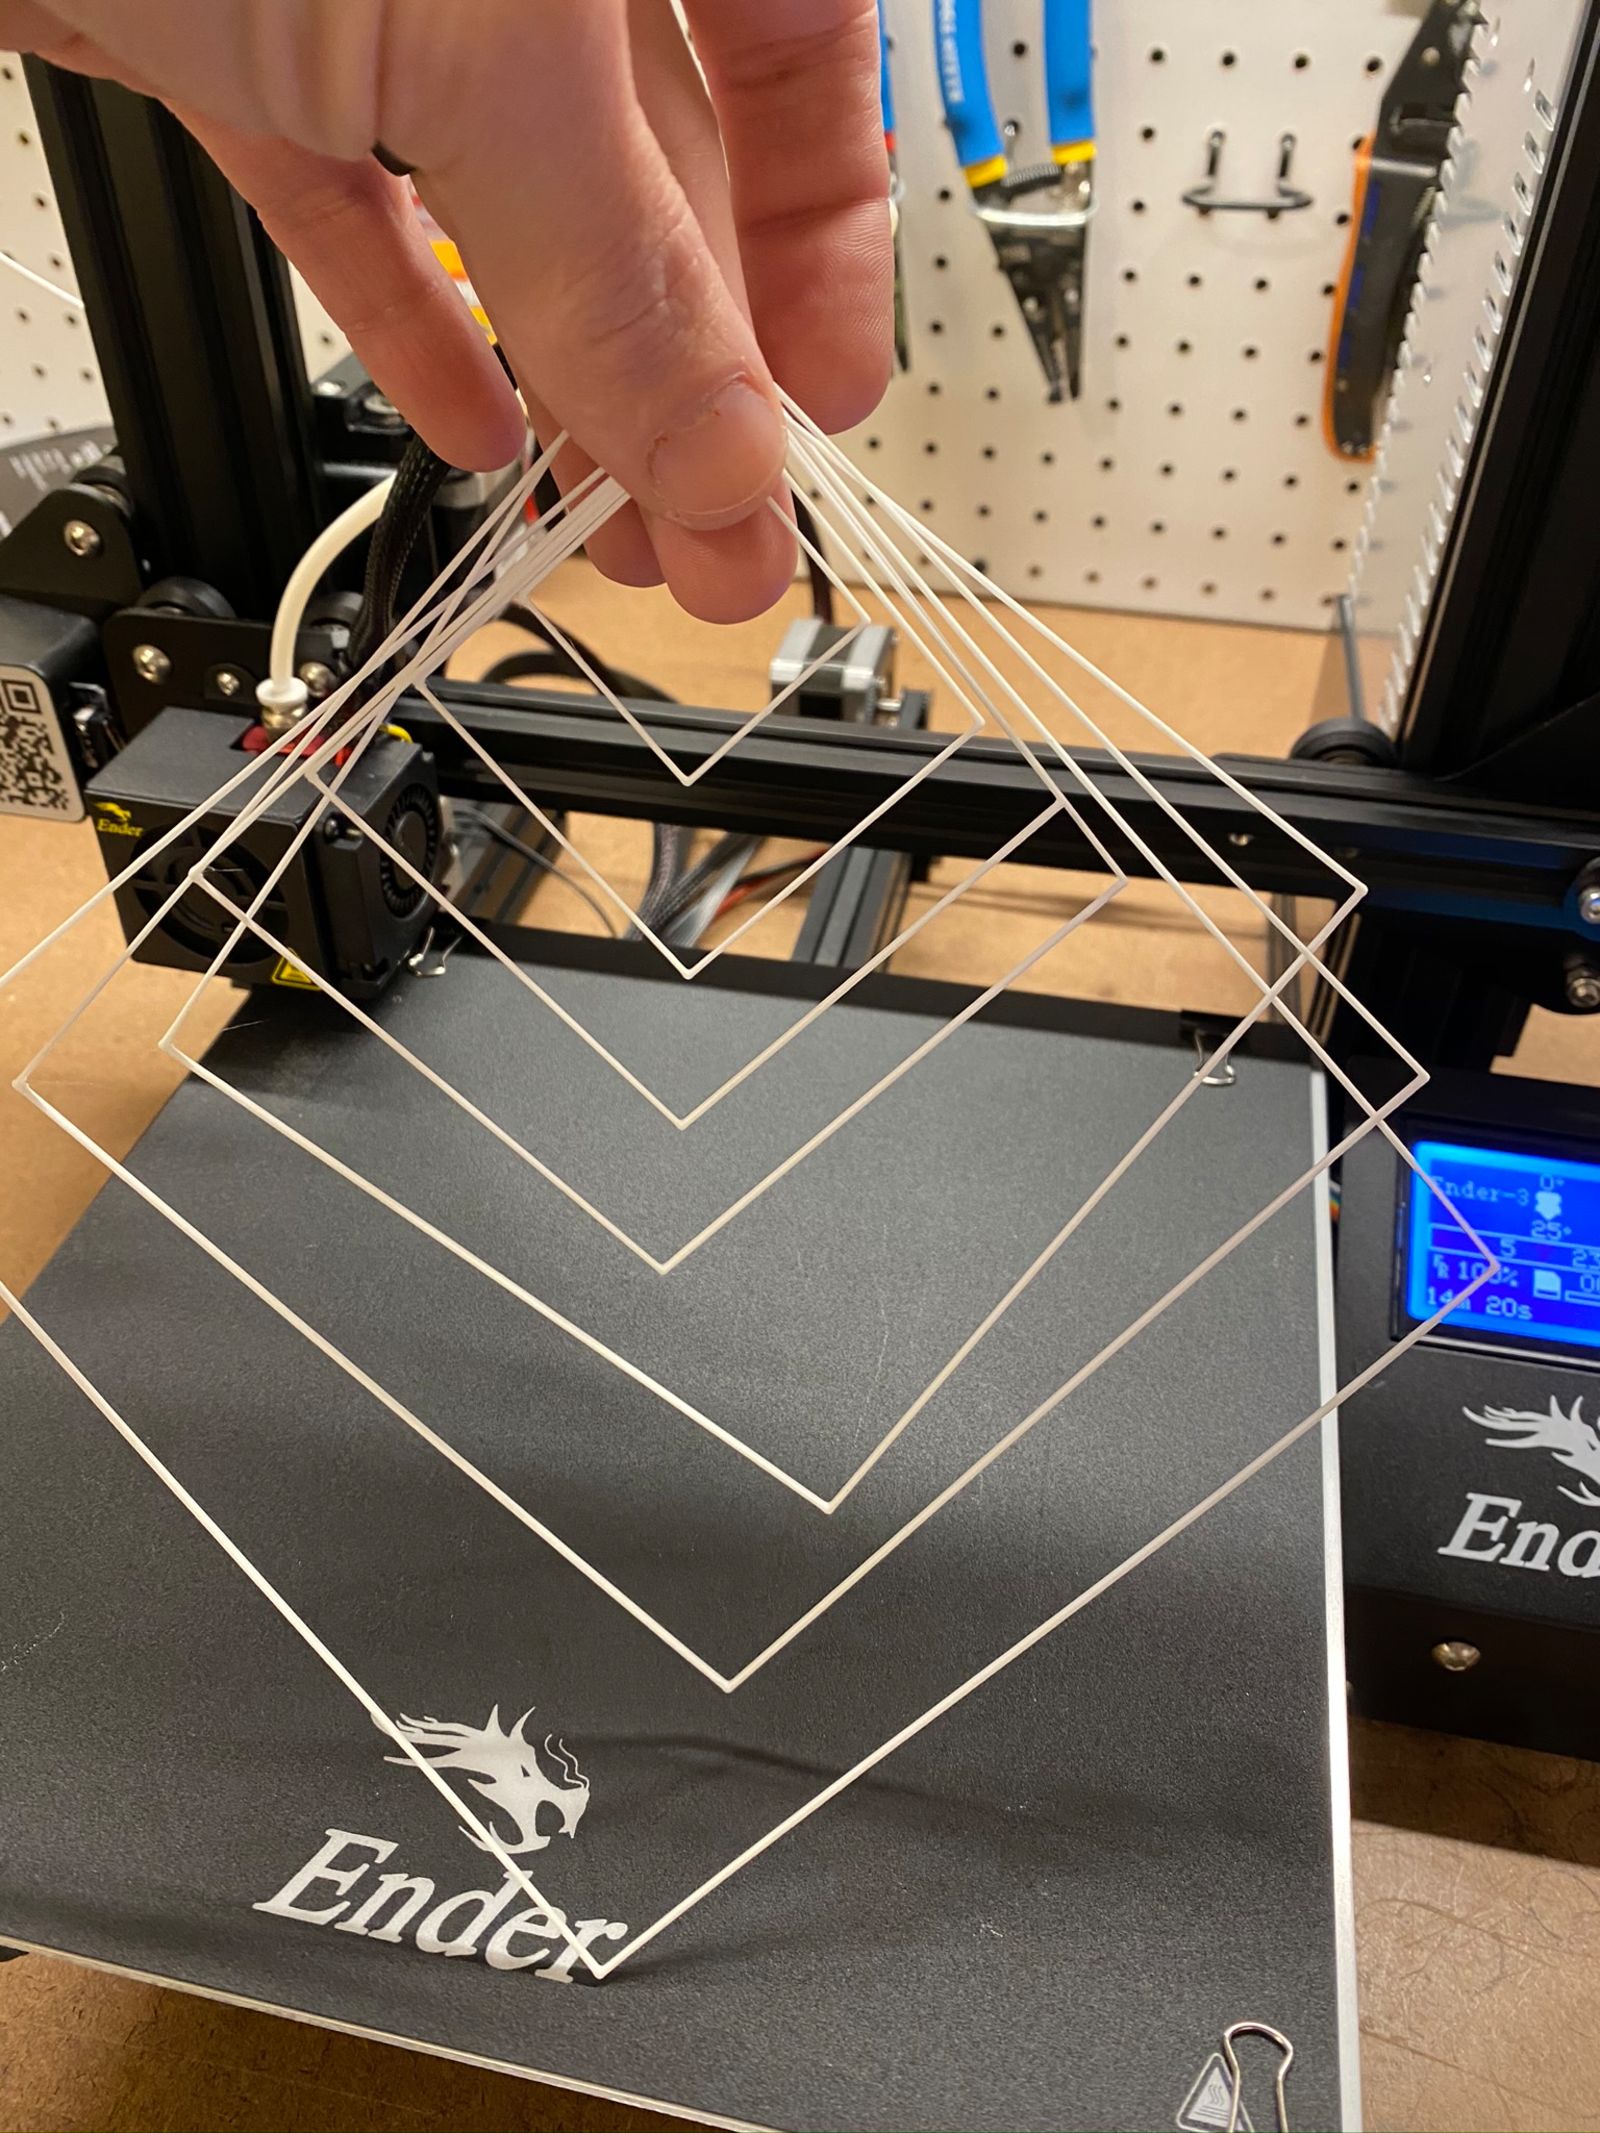
Calibration:
I have to admit, I was dreading this part. I don’t know why because it was so easy. It only took one try. The calibration model that I downloaded printed perfectly. I’m going to try and make a mobile out of it or something. Sorry about the vertical video. I was too excited to think.
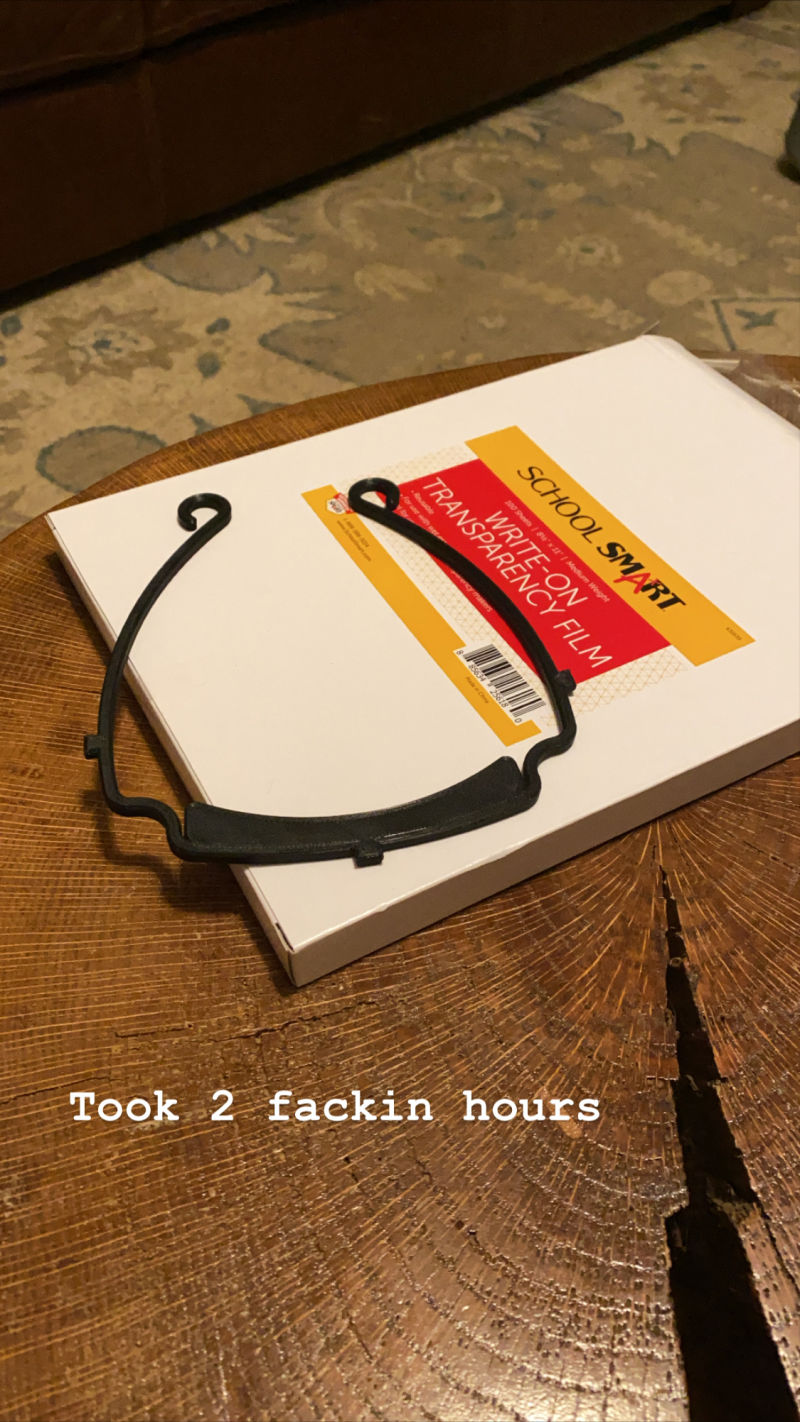
Printing:
I ran off the first face shield frame and it took.....2 flippin hours! I played with the settings and tuned down the quality to get them to print in just under an hour. Actually, the very first one I tried to print got all jacked up because I forgot to clip up the power wires and they dragged across the model and pulled it off the bed while I was upstairs... At least I think that is how it happened.
I know I am supposed to be doing good with this thing, and I am. However I did have to take a quick pause to try some car stuff...
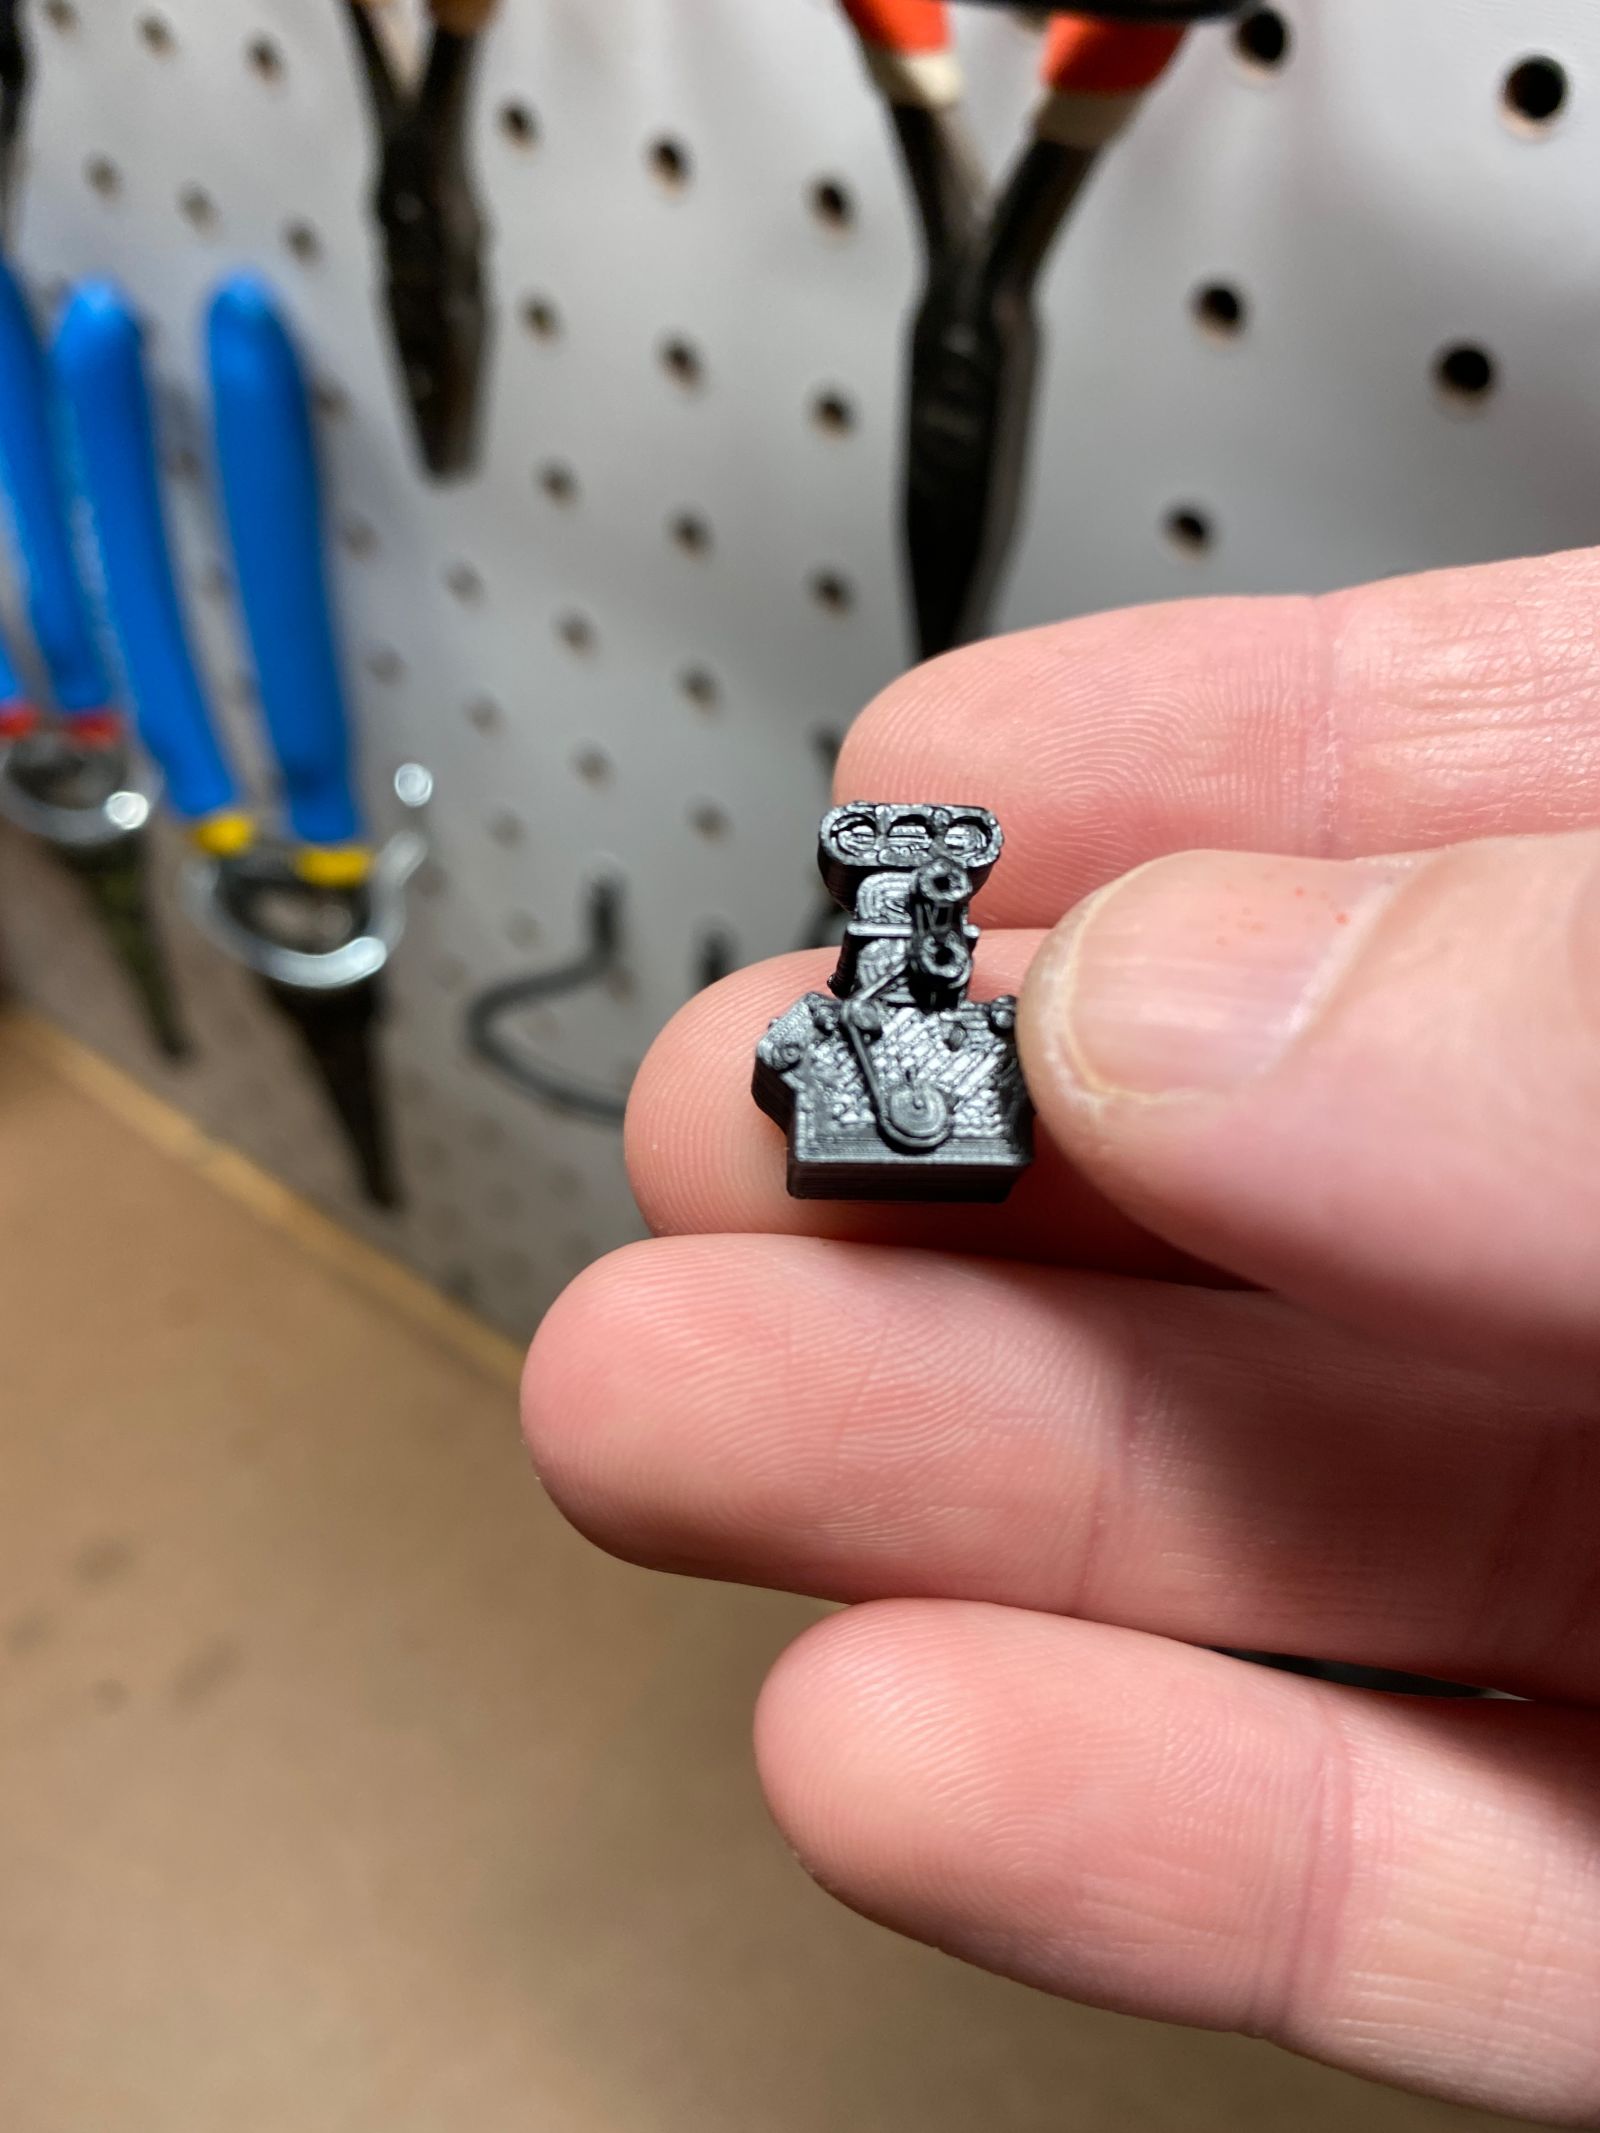
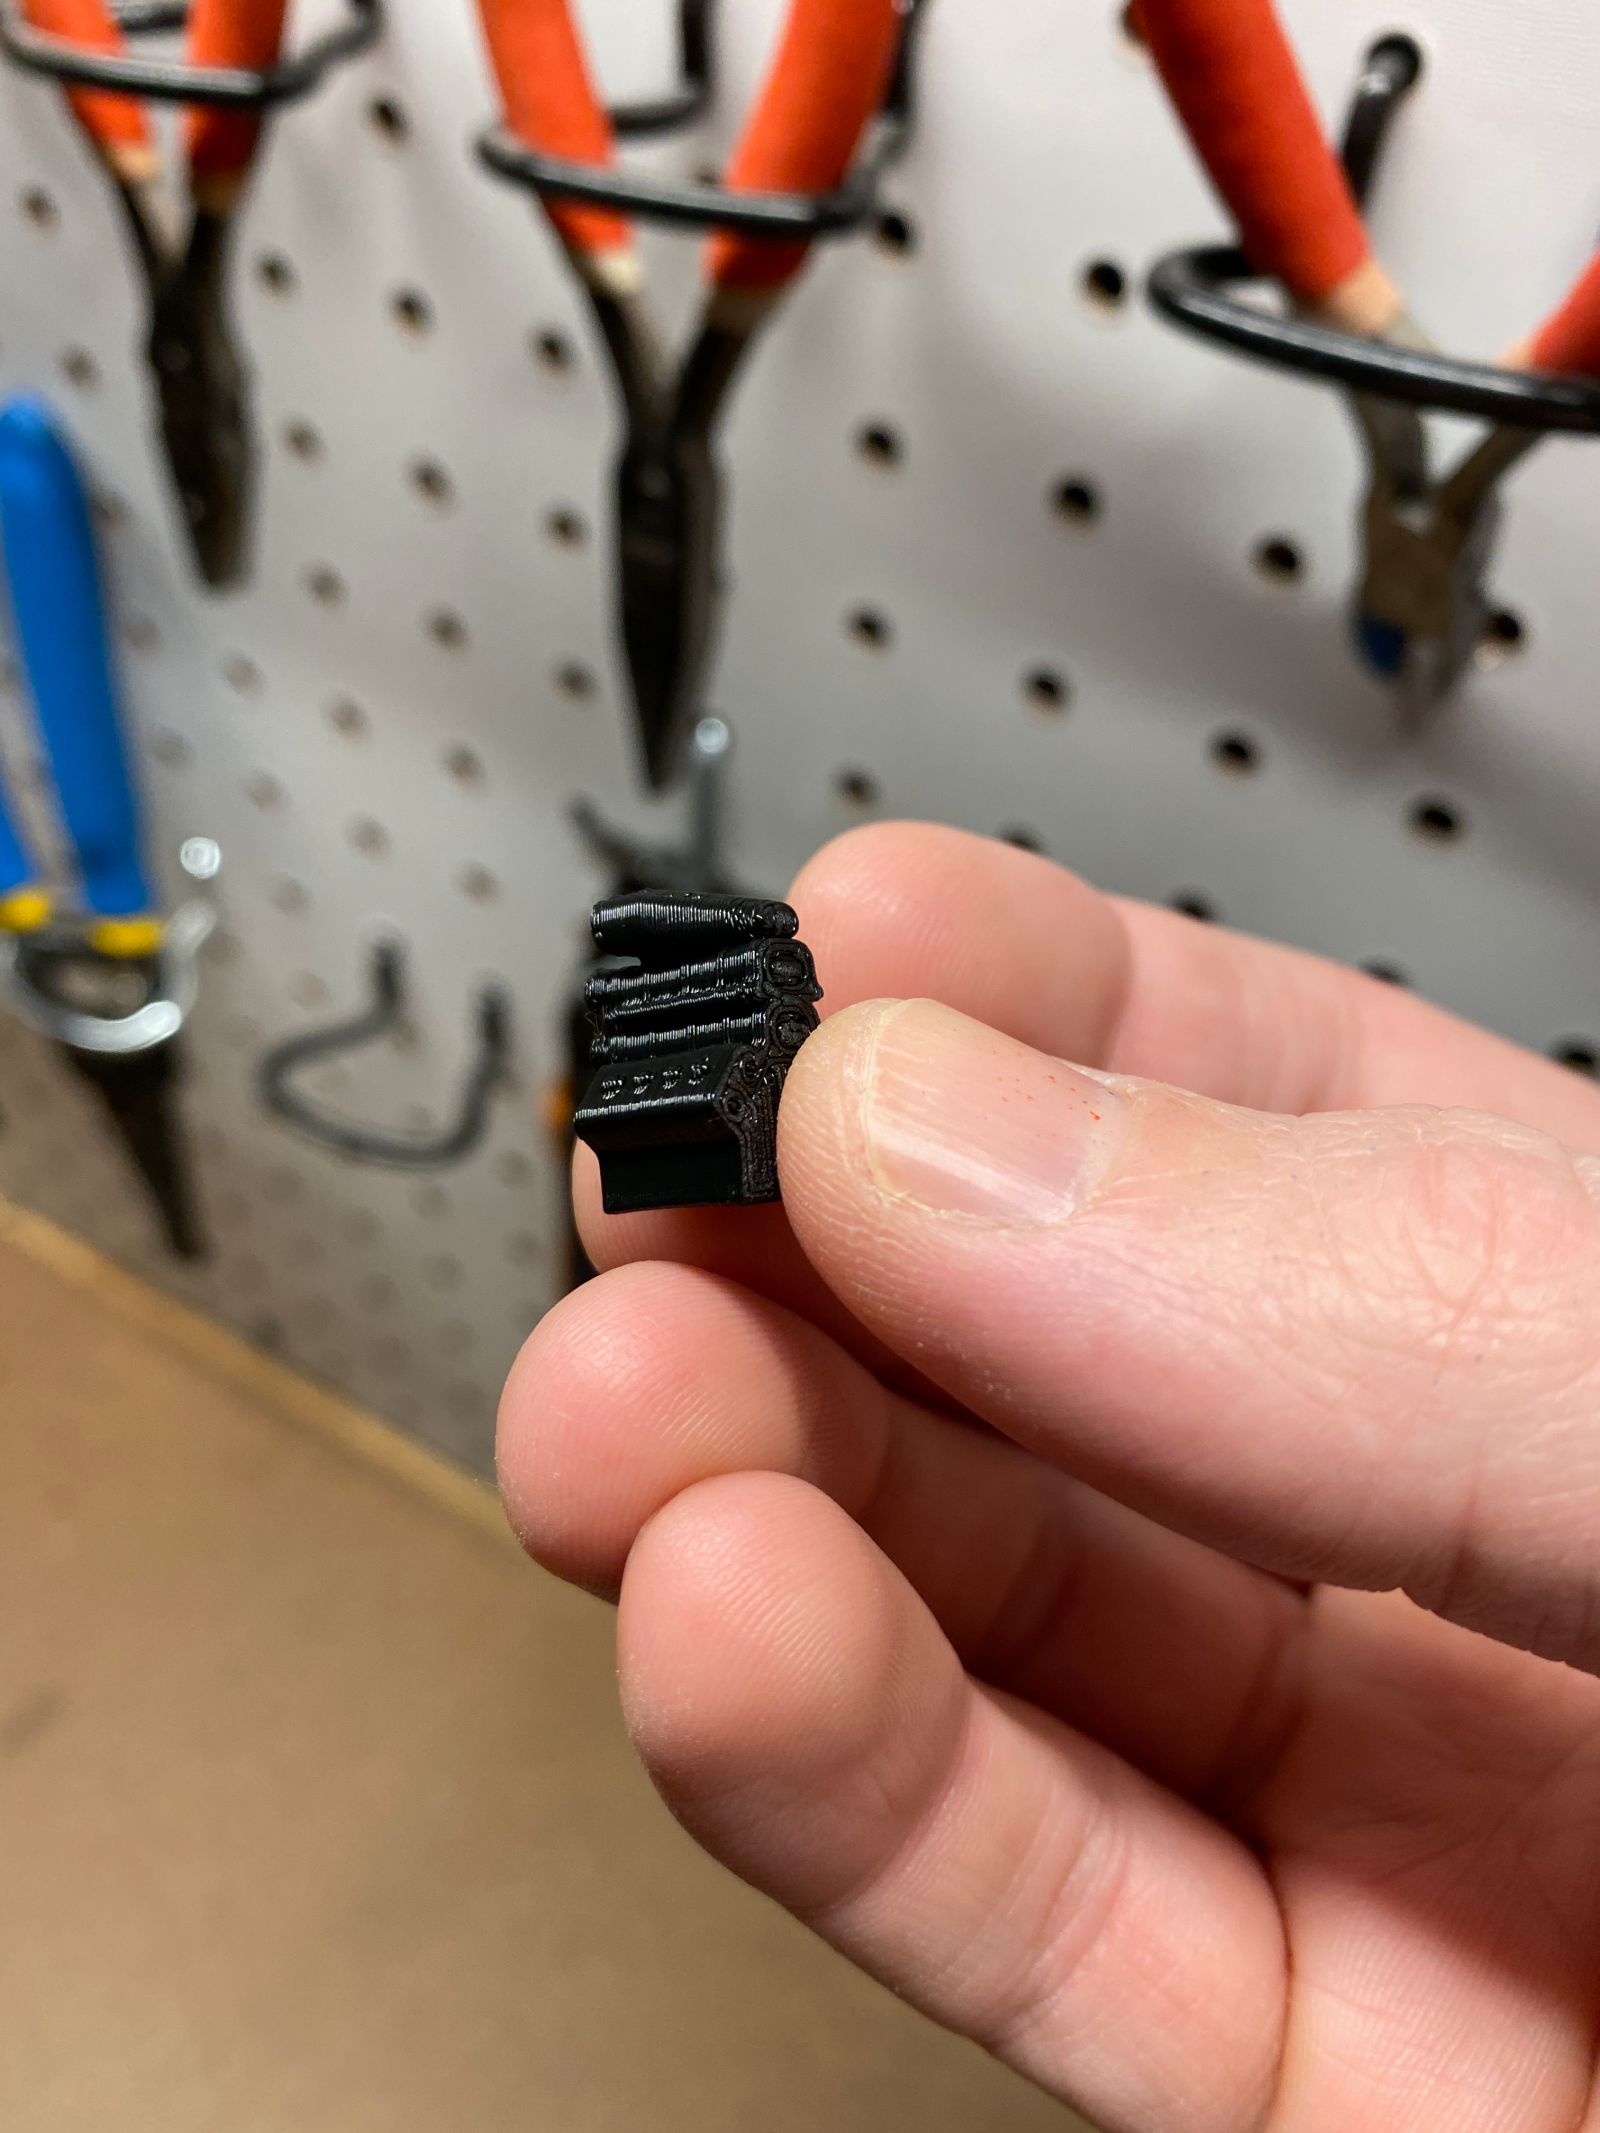
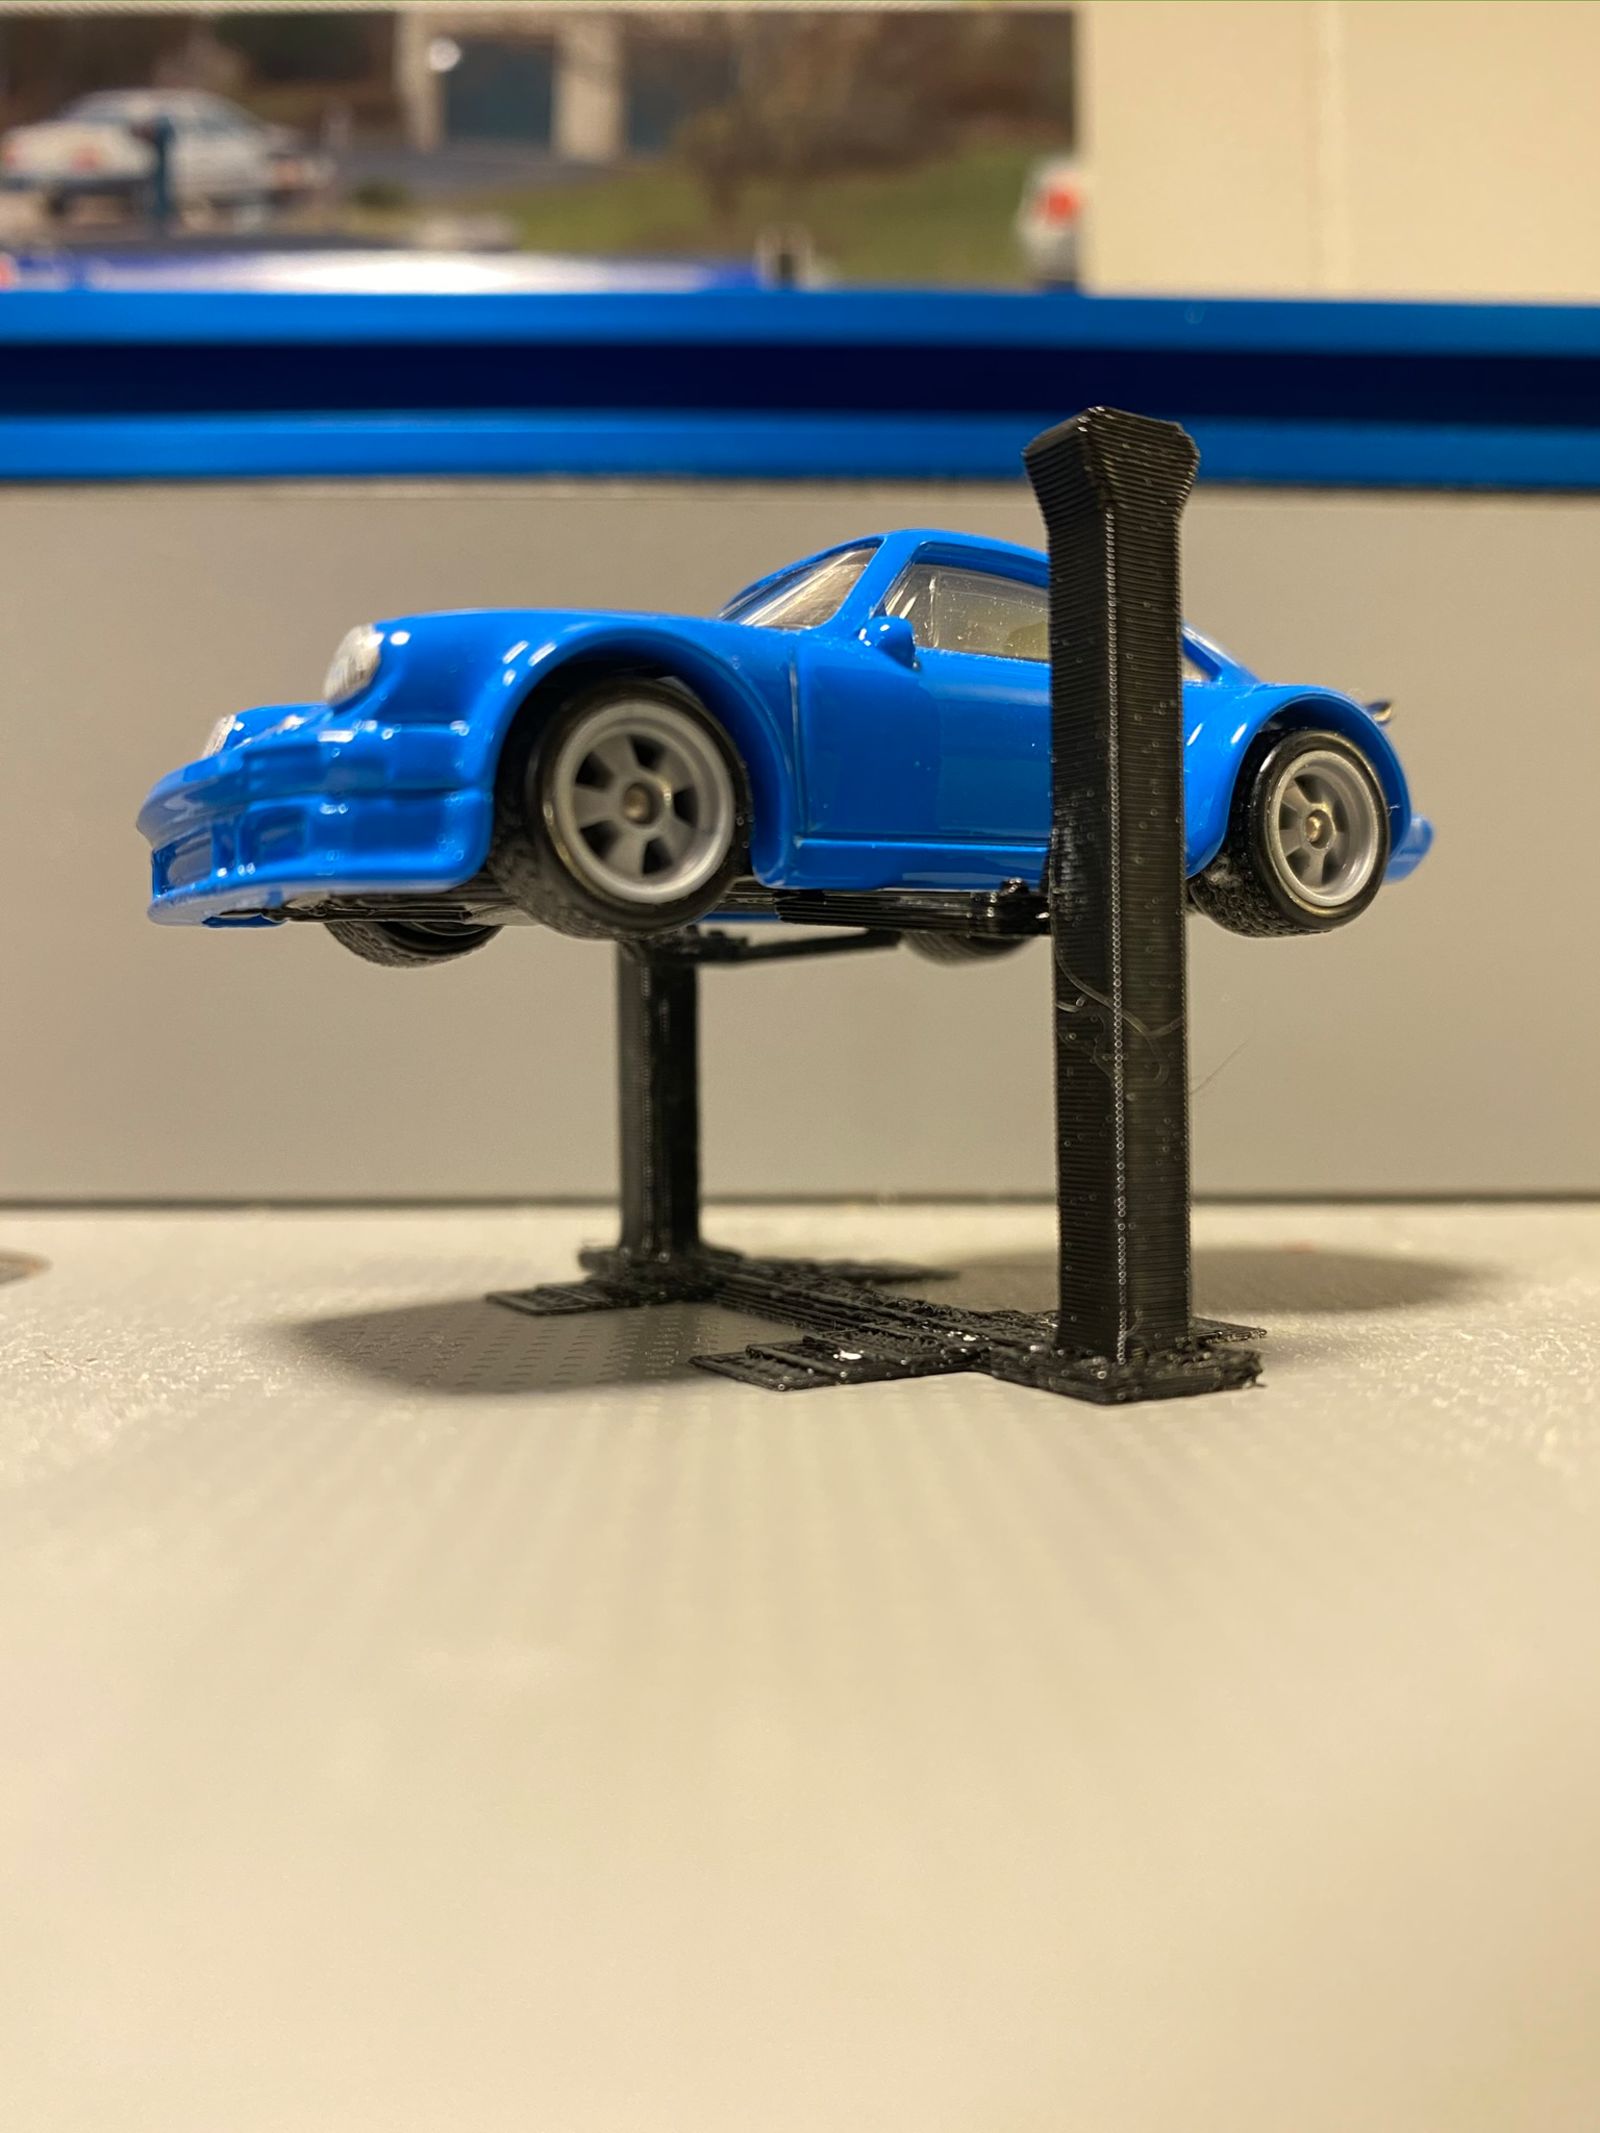
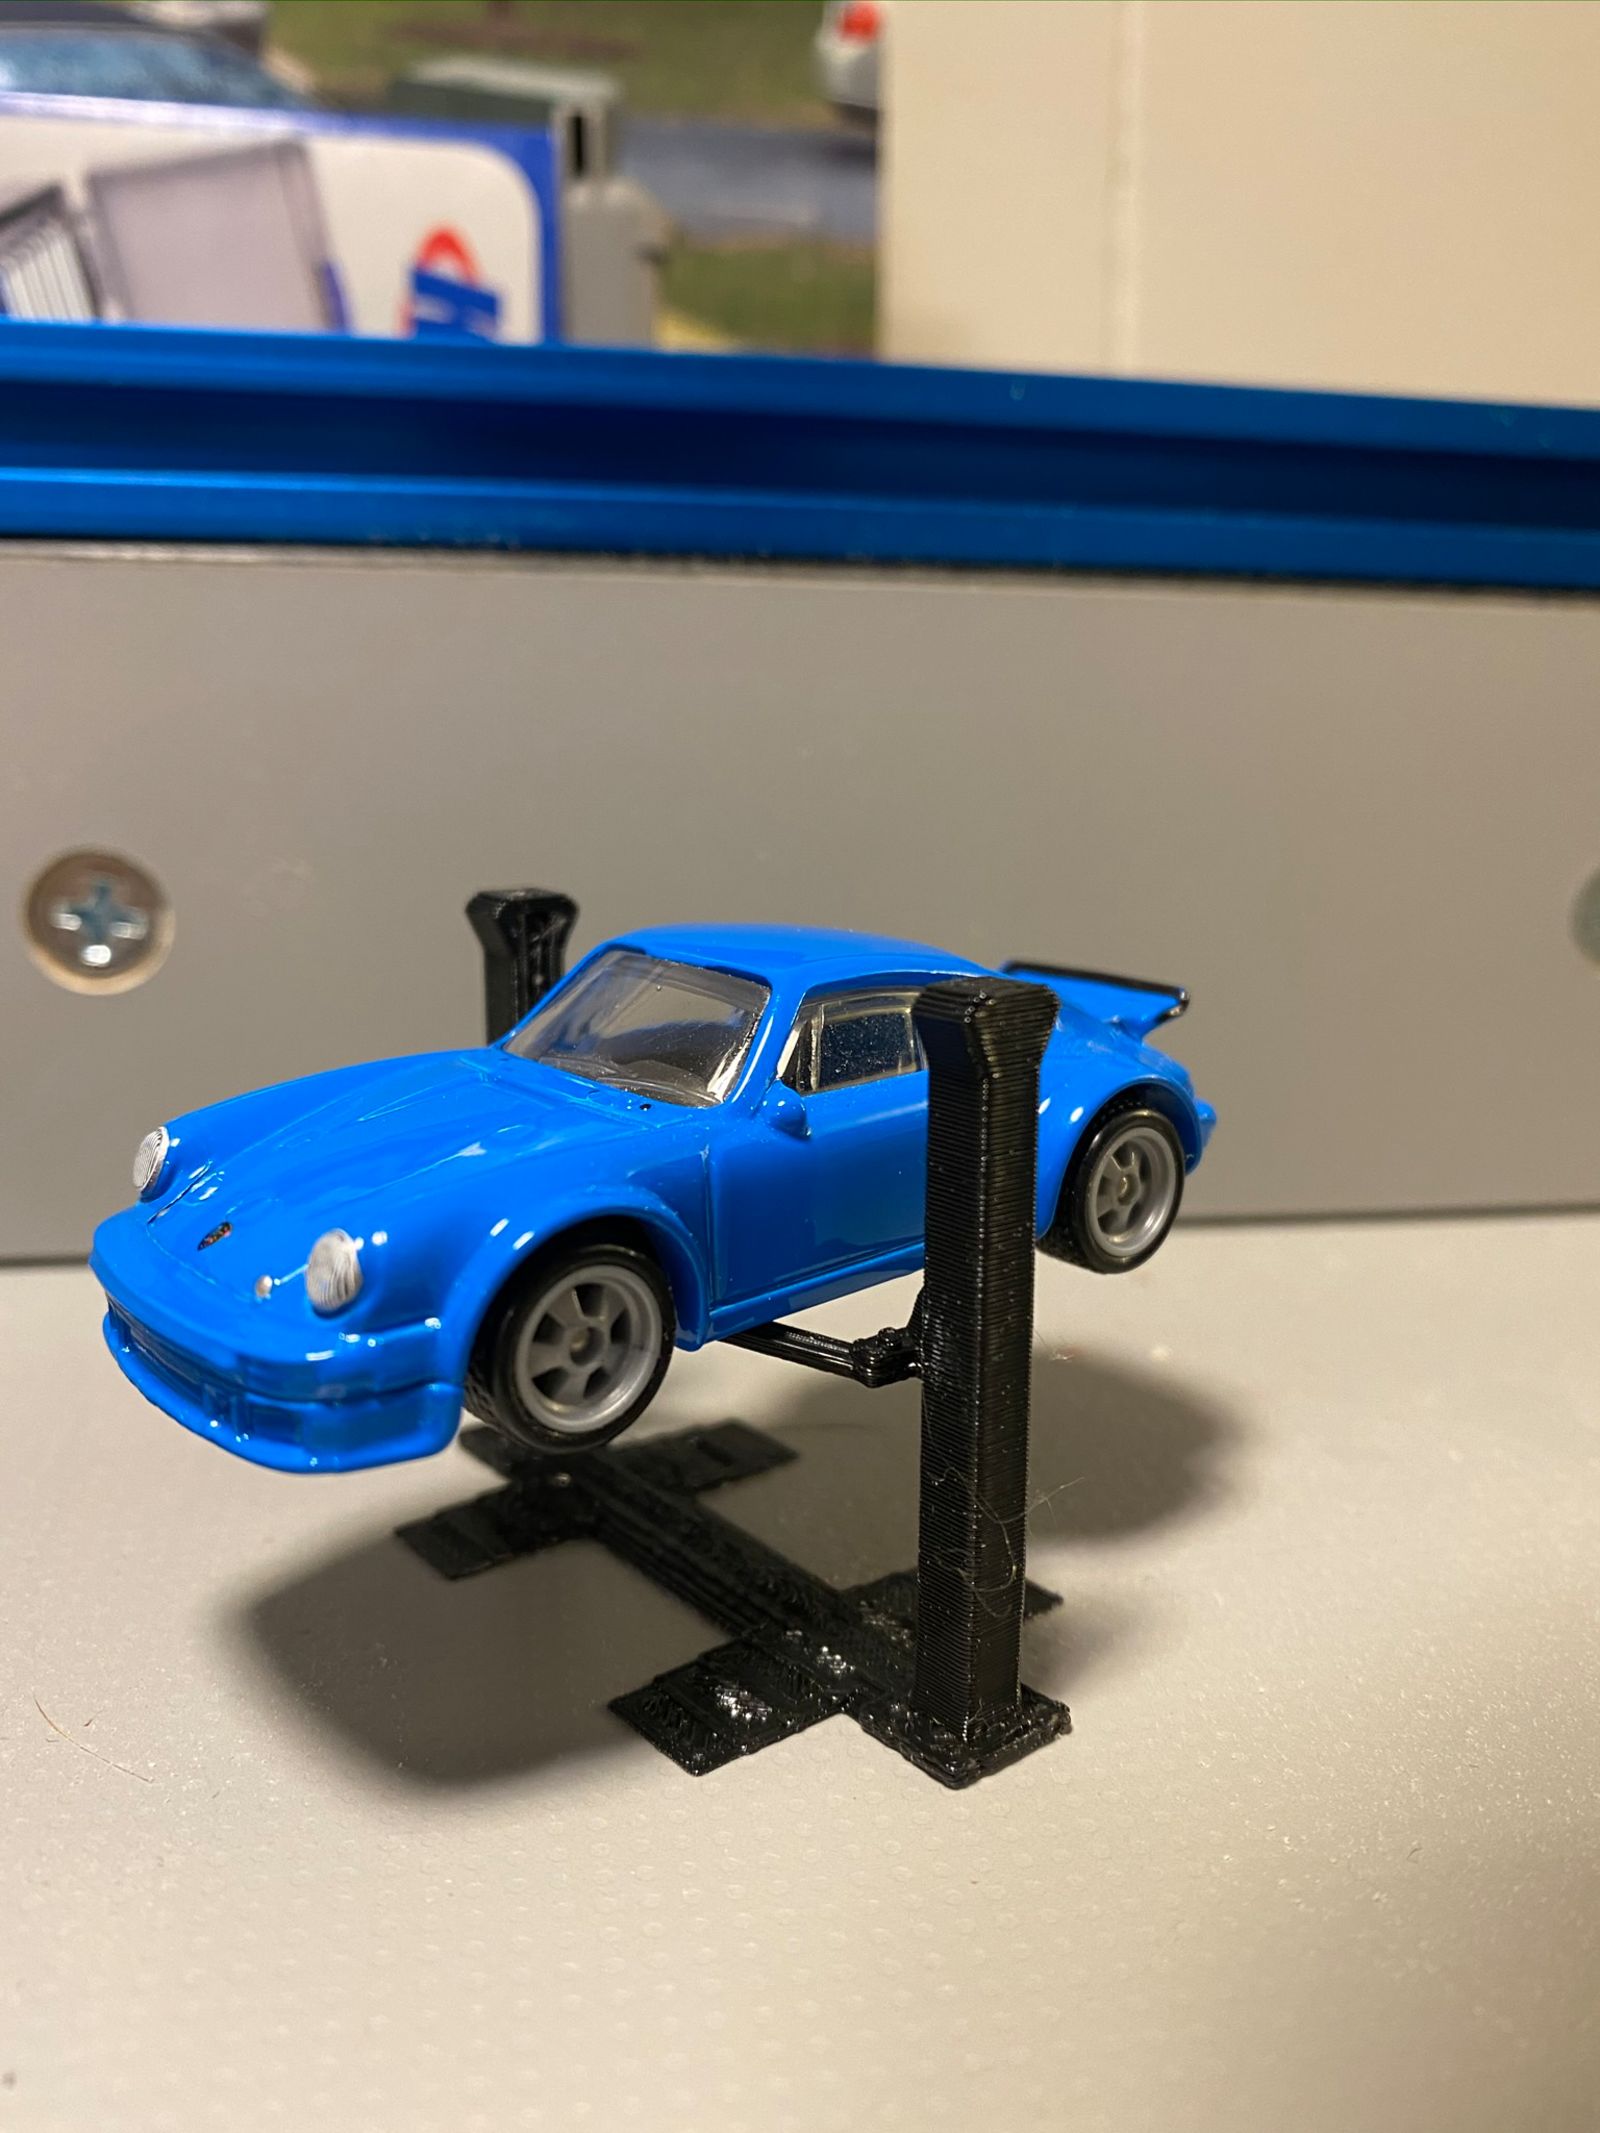
What a fantastic time for me to have picked up modeling as a hobby! I licked off a little 1:64 supercharged V8, and a 1:64 vehicle lift! OMGTHISISSOFUCKINCOOL!!!!!!!
My daughter loves “Masha and the Bear” It’s a Russian kids show, really adorable. I managed to find a 3D model of “Masha” that I’m going to print and paint for her. I’m also in the middle of building her a gigantic dollhouse. Now I can print her all kinds of furniture and accessories!!!
I have mentioned before that I tend to go wild when I get into a new hobby. This time though...it’s exactly the same. I’ve ordered a glass printing bed (partially because I heard they’re good and partially because I melted two holes in mine before I knew what I was doing. As well as the upgraded main board and feeder/extruder components.
It is also super cool how many upgrades you can just print off for this particular machine! Filament feeder, fan guard, etc...
Anyway I’m trying to sneak in little prints here and there between the face shield frames, but a lot of the stuff I want to print will take a really long time :(