Without a maintenance guide for the vehicle, I realized it would be necessary to “wing it.” My first task would be to remove sixteen cylinders’ worth of engine.

This looked relatively straightforward, as both engines essentially sit outside the car already. Looking under the vehicle, I found the engine mounts I’d need to disconnect:

After finding an appropriate screwdriver for the task, I removed the four bolts holding the engines in place. To my surprise, the engines still could not be removed. I realized that the engines and the body of the car were connected directly. Next step: remove the Plum-Crazy-painted bodywork.

I started with the front of the car. Once the three shorter bolts from that end were removed, I disconnected the rear bolt and found it to be identical to the engine mounting bolts. I saved the ones in the middle for last, since I wasn’t sure if they connected to the bodywork or something else inside the car. Turns out they were the last pieces holding the bodywork in place, and also the same length of bolt as the engine mounts.
The body and engines separated cleanly from the chassis, but I encountered a small problem. The flag at the top of the radio antenna would not fit through the hole in the body through which the antenna was threaded. Since it was averse to being rolled tightly enough to fit, I decided to disconnect it from the antenna entirely:

With that, the body was successfully removed from the chassis:

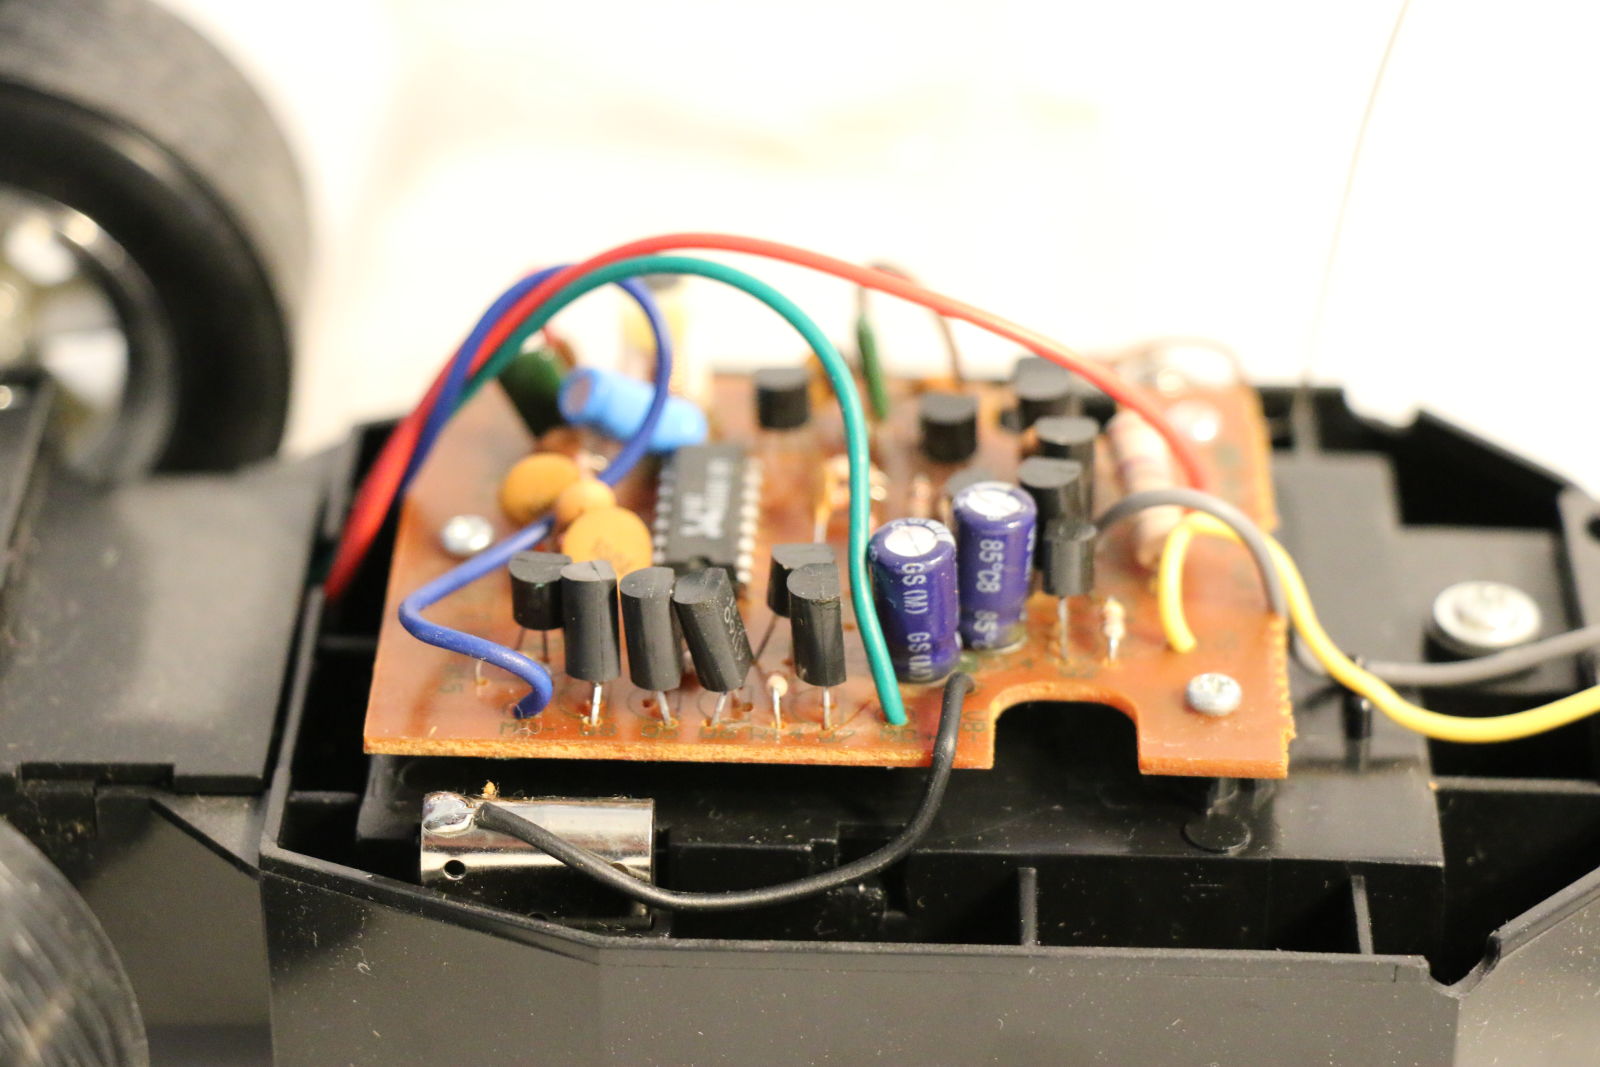
It was a surprisingly straightforward job. Interestingly enough, the electronic components had their own separate cover, not connected to the bodywork. This section seemed to have done its job of keeping dust from entering the more sensitive sections of the vehicle’s ECU, as there was a fine layer of dust on the rest of the chassis.

I’ll be working to disassemble the rest of the chassis next. In the mean time, here’s some more photo-documentation of the teardown: