
As the Genesis Coupe has matured as a tuning platform, some legitimately performance-based builds have emerged. While we would suggest it is still largely ricers who are modifying these cars, more folks interested in building their GenCoupes into real driver’s cars have become involved in the community. One interesting possibility that has cropped up in the past few years because of this is the swapping of parts from the Genesis Sedan onto the Coupe.

Though they look little alike, the Genesis Sedan and Genesis Coupe actually share a lot of engineering between them. While it may appear to be a compact sports car in photos, the Genesis Coupe actually has a colossal 110 inch wheelbase owed to its sedan heritage. Certain suspension components are broadly the same between both cars as well, especially when it comes to the rear end.
Last week we discussed the bizarre shortcomings of the Genesis Coupe’s differential mounts, or more specifically the lack thereof. Further deepening the mystery as to why the hell Hyundai would omit one of the diff mounts is the fact that they included four mounts on the Genesis Sedan rather than the three featured on the Coupe.
The Sedan therefore has a different rear subframe from the Coupe which is superior for more reasons than just the presence of a fourth diff mount. It is stronger and more solidly constructed overall, presumably to deal with the greater weight of the sedan along with the increased power output of the V8 engine option.
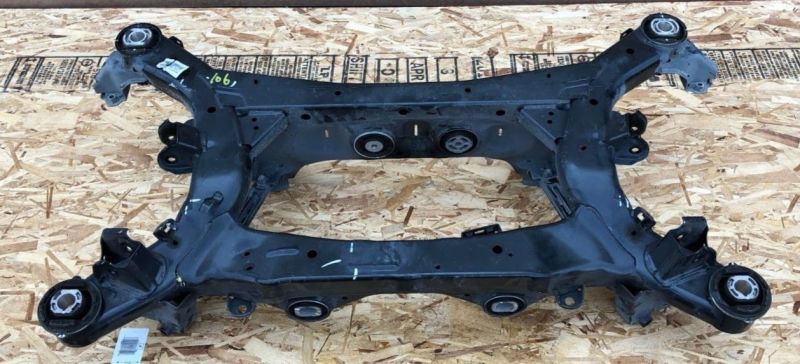
Note the triangulating gussets in the upper inside corners (rear of the car) which are not present on the Coupe subframe. The main legs on the left and right sides are fully welded tube rather than partially welded clamshells. The differential mounts are also much more firmly located.
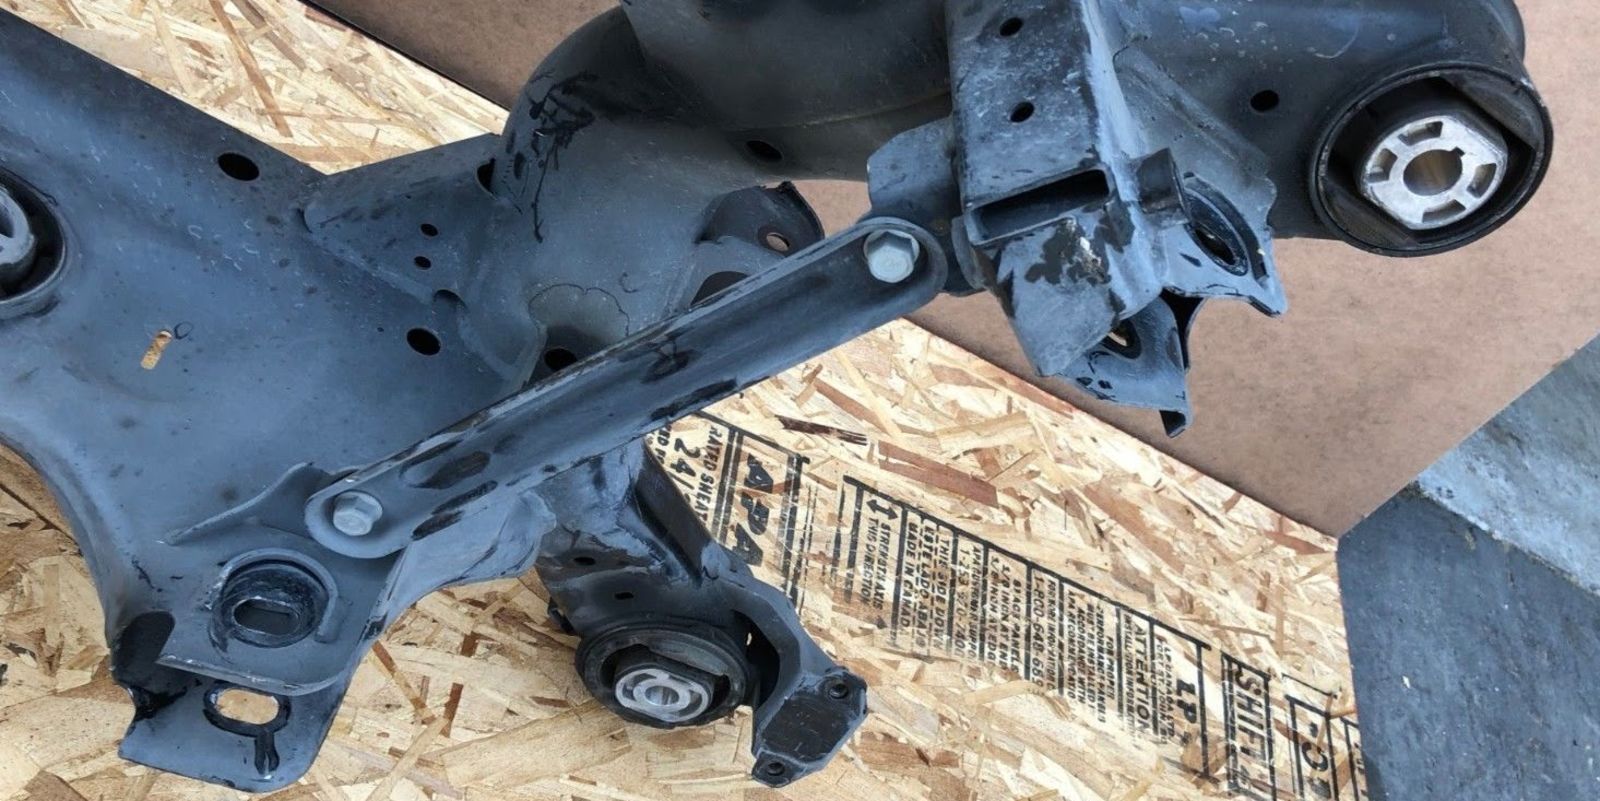
These beefy straps tie the front to the rear, combining with the main legs to create a super-strong box shape on either side of the subframe. This adds a great deal of strength with a very minimal weight penalty and is another addition that is missing from the Coupe subframe.
Even with the increased mass, you can see how the features of the Sedan rear subframe would be desirable to an enthusiast driver of the Coupe.
Despite the many differences, the Sedan rear subframe shares the same basic geometry as the Coupe rear subframe. Critically, they have the same mounting locations and the same suspension pickup points. In fact, it turns out they are similar enough that the Sedan rear subframe will bolt directly into a Genesis Coupe without disrupting any of the Coupe’s standard suspension or drivetrain components.
Well, almost any of them.
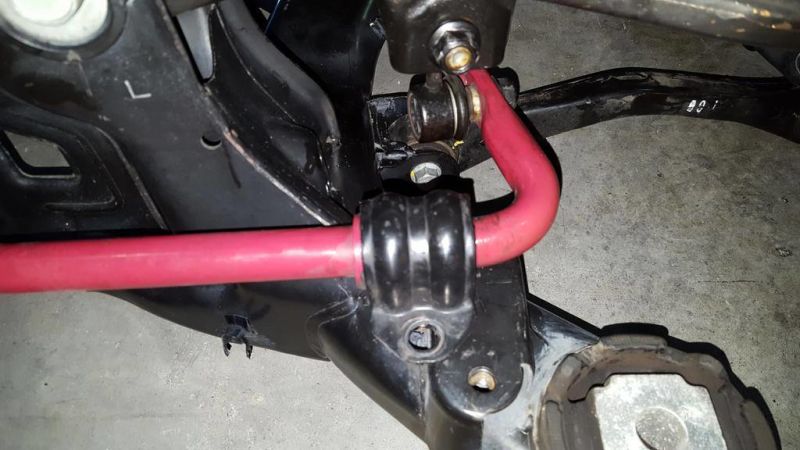
The crucial difference is that a Coupe rear swaybar cannot bolt onto a Sedan rear subframe, and that a Sedan rear swaybar won’t fit underneath a Coupe. It would be highly undesirable to omit the rear swaybar from the Coupe, thus preventing a sedan subframe swap from being a directly bolt-in affair.
This didn’t stop us from wanting to do it though, and the same was true of some other Genesis owners. Over time, some enthusiasts in the GenCoupe community came together to develop a kit that would allow a Genesis Coupe swaybar to be bolted on to a Sedan rear subframe. The kit featured well-engineered brackets and a well-documented installation process.
Sadly, the market for this kit was very small. GenCoupe owners were slow to catch on to the benefits of the Sedan rear subframe and the designer of the kit had stretched himself too thin financially. Sales of the kit didn’t generate enough profit in a short enough time to keep him afloat. The tiny business collapsed and the kits are no longer available.
Annoyingly, this whole drama played out before we were ready to perform a Sedan subframe swap on Project Hoondy. Unlike the situation with the CP-E engine mounts, there were precious few swaybar kits in circulation and acquiring one second-hand just wasn’t going to happen.
Were it not for a stroke of pure luck, that would have torpedoed our dreams of Sedan subframe goodness. Happily, we met an incredibly cool dude on a Facebook group for Colorado drifting enthusiasts. He’s a total car nut and talented fabricator to boot, with many major builds under his belt and a small personal collection of two sweet project cars.
After having a look at our swaybar dilemma, our new friend Andy said “no problem.”
And that was that for the most part. We proceeded to acquire a lovely low-mile 2013 Genesis Sedan rear subframe. Before addressing the swaybar issue, we wanted to beef up the bushings. The rear subframe carries eight bushings altogether: four to mount to the body and four to mount to the differential housing. The bushings already in the subframe we purchased were in quite decent condition, but we wanted more strength than the OEM mounts could offer. One option is to swap them out for solid aluminum bushings.
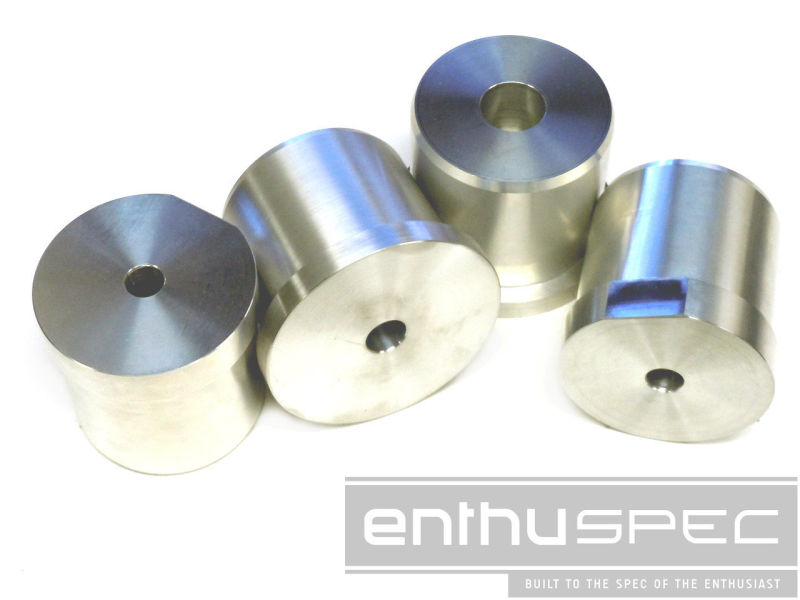
While that looks cool and all, it is straight-up racecar shit and Project Hoondy had become noisy and uncomfortable enough for our taste as it was.
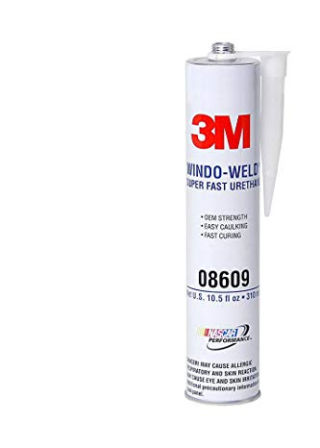
So, with no polyurethane option available on the market, we opted to take a DIY approach. 3M Window Weld is a single-component polyurethane adhesive used for installing automotive windshields. It’s combination of powerful adhesion and firm consistency when hardened makes it a fantastic filler material for rubber bushings. Many OEM bushings, especially larger ones, have various creases and voids in them to increase their compliance. These areas tend to be weak points and older bushings often crack right along the seams that they form. Filling these voids with Window Weld is a cheap, easy, effective way to significantly increase the strength, stiffness, and long-term durability of rubber bushings. This increases NVH transmitted by the bushings, but nothing like as bad as solid metal bushings will.
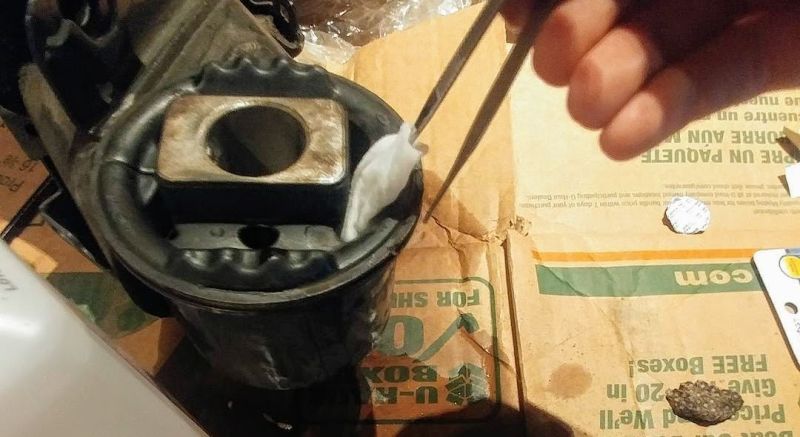
The one thing to be really careful about with this modification is cleanliness. You want to make sure the bushings are as clean as you can get them before applying the window weld. We attacked ours with high-test alcohol and a variety of nursing supplies. A clean surface means a strong bond. The only other potential issue is curing time. Window Weld is cured by moisture in the air, so when you lay it down thick it can take a very long time to fully cure. If you have time, just let them sit for a couple of weeks. If you’re in a hurry then you can lay down the Window Weld in layers, letting it set up for a couple of hours between applications. Increasing the humidity of the air in the space you’re working can help as well.
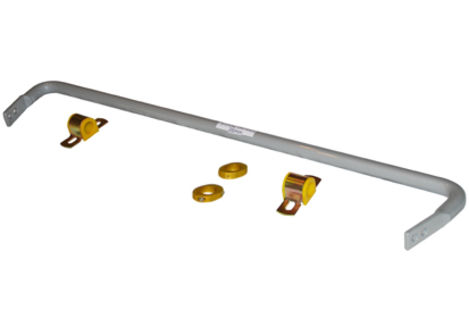
With that mini-project complete, we snagged a Whiteline rear swaybar kit for a Genesis Coupe as well as a set of their adjustable end-links. The end-links gave us some margin for error as to the placement of the rear swaybar. If the bar ended up attached to the subframe slightly higher, lower, further forward or rearward than the OEM location it
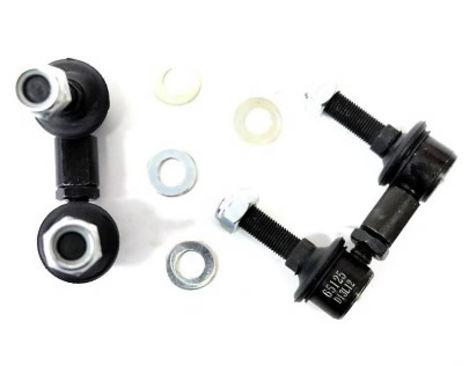
wouldn’t be a big deal. The end-links could be adjusted to compensate for any minor discrepancies. We dragged the whole mess over to Andy’s place to let him do his thing.
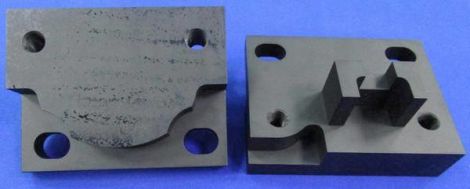
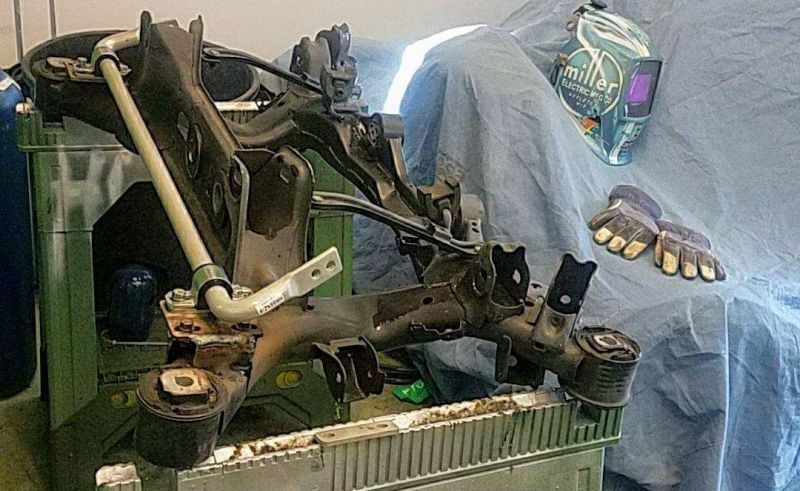
After a few measurements Andy whipped out the TIG welder and set to work. He bolted a pair of heavy steel plates onto the Sedan Subframe swaybar mounts and then drilled holes to match the Whiteline swaybar brackets. After bolting the swaybar on to confirm fitment, he welded the plates to the subframe for added strength. This simple procedure moved the swaybar mounting points inboard enough for the Coupe swaybar to fit. For as large an obstacle as it seemed to present at first, this was honestly an easy fix.
Aside from the exhaust, this is the only bit of real custom fabrication that Project Hoondy has received. While we were overjoyed to have it for our own car, we’re disappointed that this modification isn’t necessarily an option for other GenCoupe owners. The engineering plans for the original swaybar swap kit still exist, and it is our hope that the kit finds its way back into the aftermarket someday.
For us though, a bit of custom fab meant that the hardest part of our growing rear end rebuild was complete. However, we still needed to address the dying suspension link bushings that were contributing to our loose rear axle problems and we really wanted to do something about that lame two-piece OEM driveshaft as well.
Finally, in parallel to all of this, there was something bugging us about one of our previous modifications. Back in 2016, we installed a glorious Cusco RS limited slip differential, complete with total WPC treatment. We love that modification as much today as we did back then and it has become an essential part of Project Hoondy’s character. However, shortly after completing that mod we realized something about the interchangeability of Genesis Coupe parts that made us have a real face-palm moment.
Due to the different configurations of engine and transmission options available, the Genesis Coupe was sold with a variety of final drive ratios. The Cusco build would have been a great time to tinker with this aspect of the car’s performance, but we weren’t aware of the possibility back then and the opportunity passed us by. Now armed with far greater knowledge on the subject, we decided the impending rear end rebuild would be a great time to have a crack at it.
Tune in next week to read about the ins and outs of modifying the final drive ratio on a Genesis Coupe and which option we decided to go with here on Project Hoondy!