
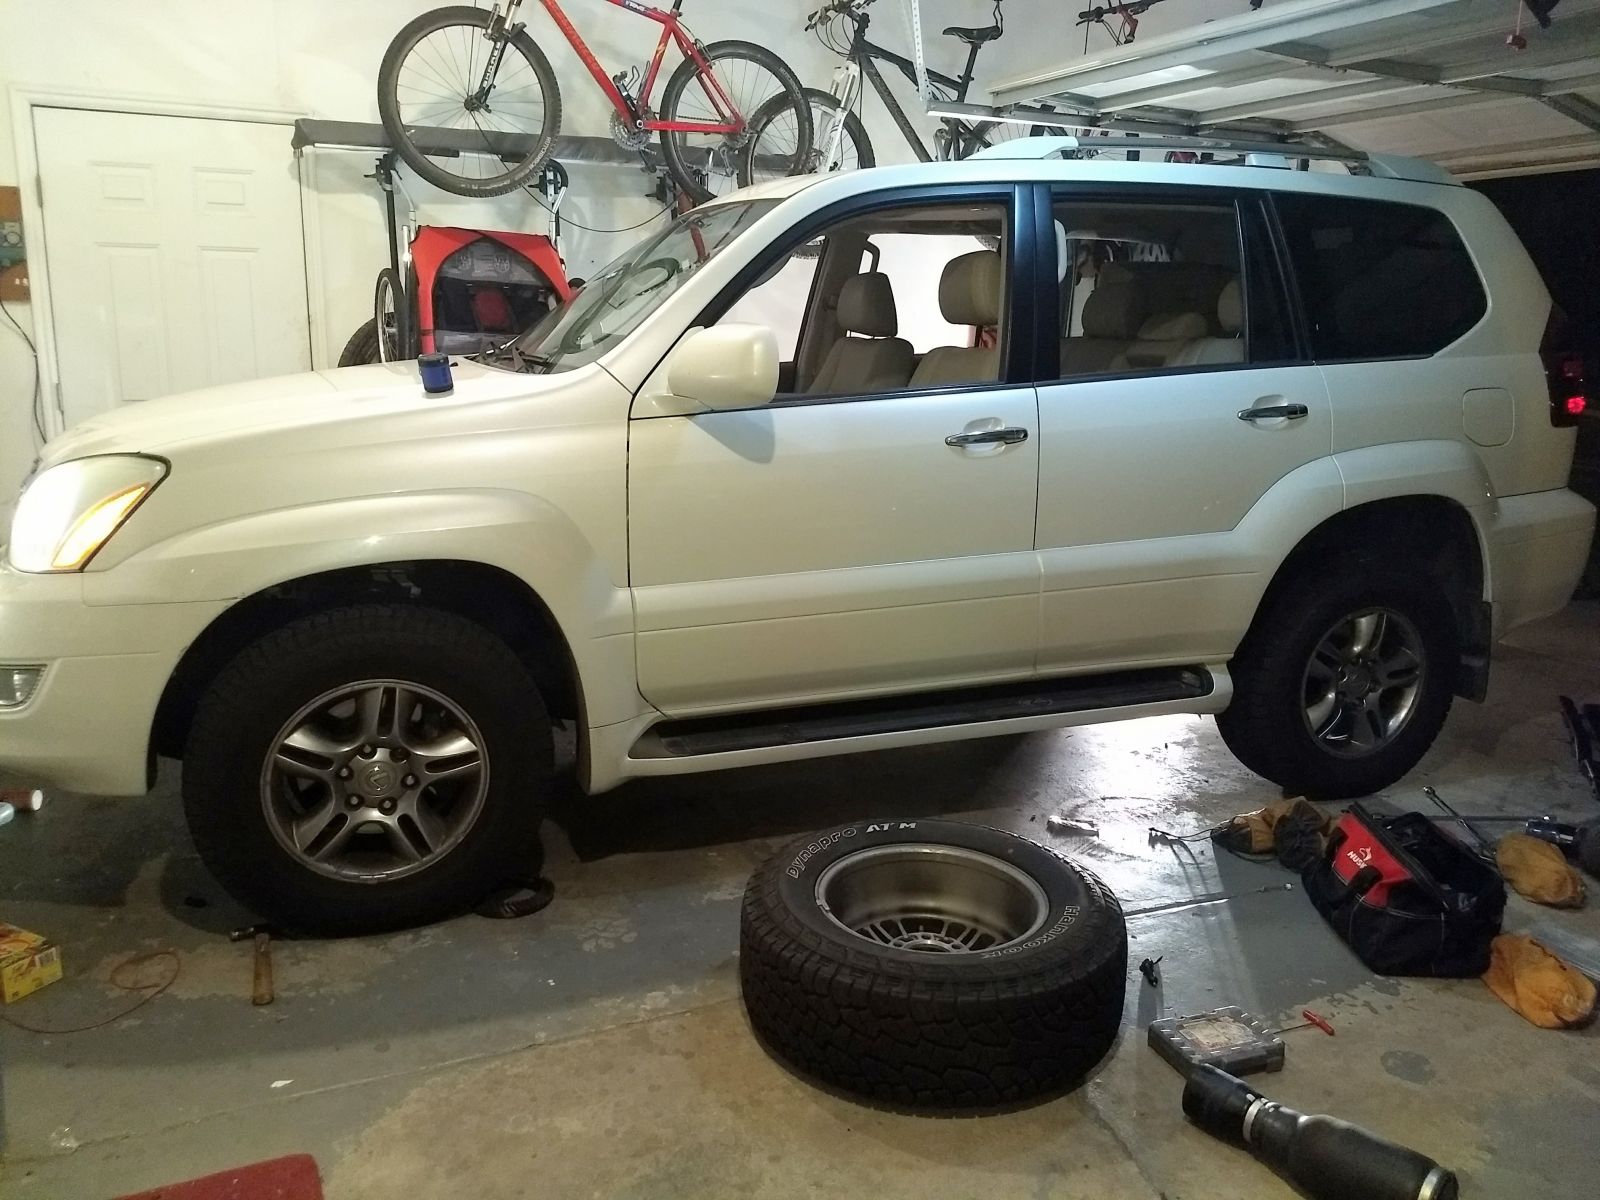
Got to work on the GX470 last night. I promised my wife that buying a Lexus truck would mean less to go wrong than a Volvo, can’t say how much she believes me so far. BUT I also promised her that if something did go wrong, I would be able to fix it, and so far...promise kept.
I’ve discovered an interesting trend - Rubber thats been kept in humid climates DOES NOT LIKE being moved to Utah. Case in point my 120k air springs on the GX, when we bought it fresh from being bought from southern California, had air springs that worked great. 6 months later and they were pretty much dead completely.
Last night with printed instructions and Arnott replacement bags in hand I got to work. This isn’t going to be a comprehensive guide to the matter but I will tell you some things I learned that would help someone doing this job for themselves.
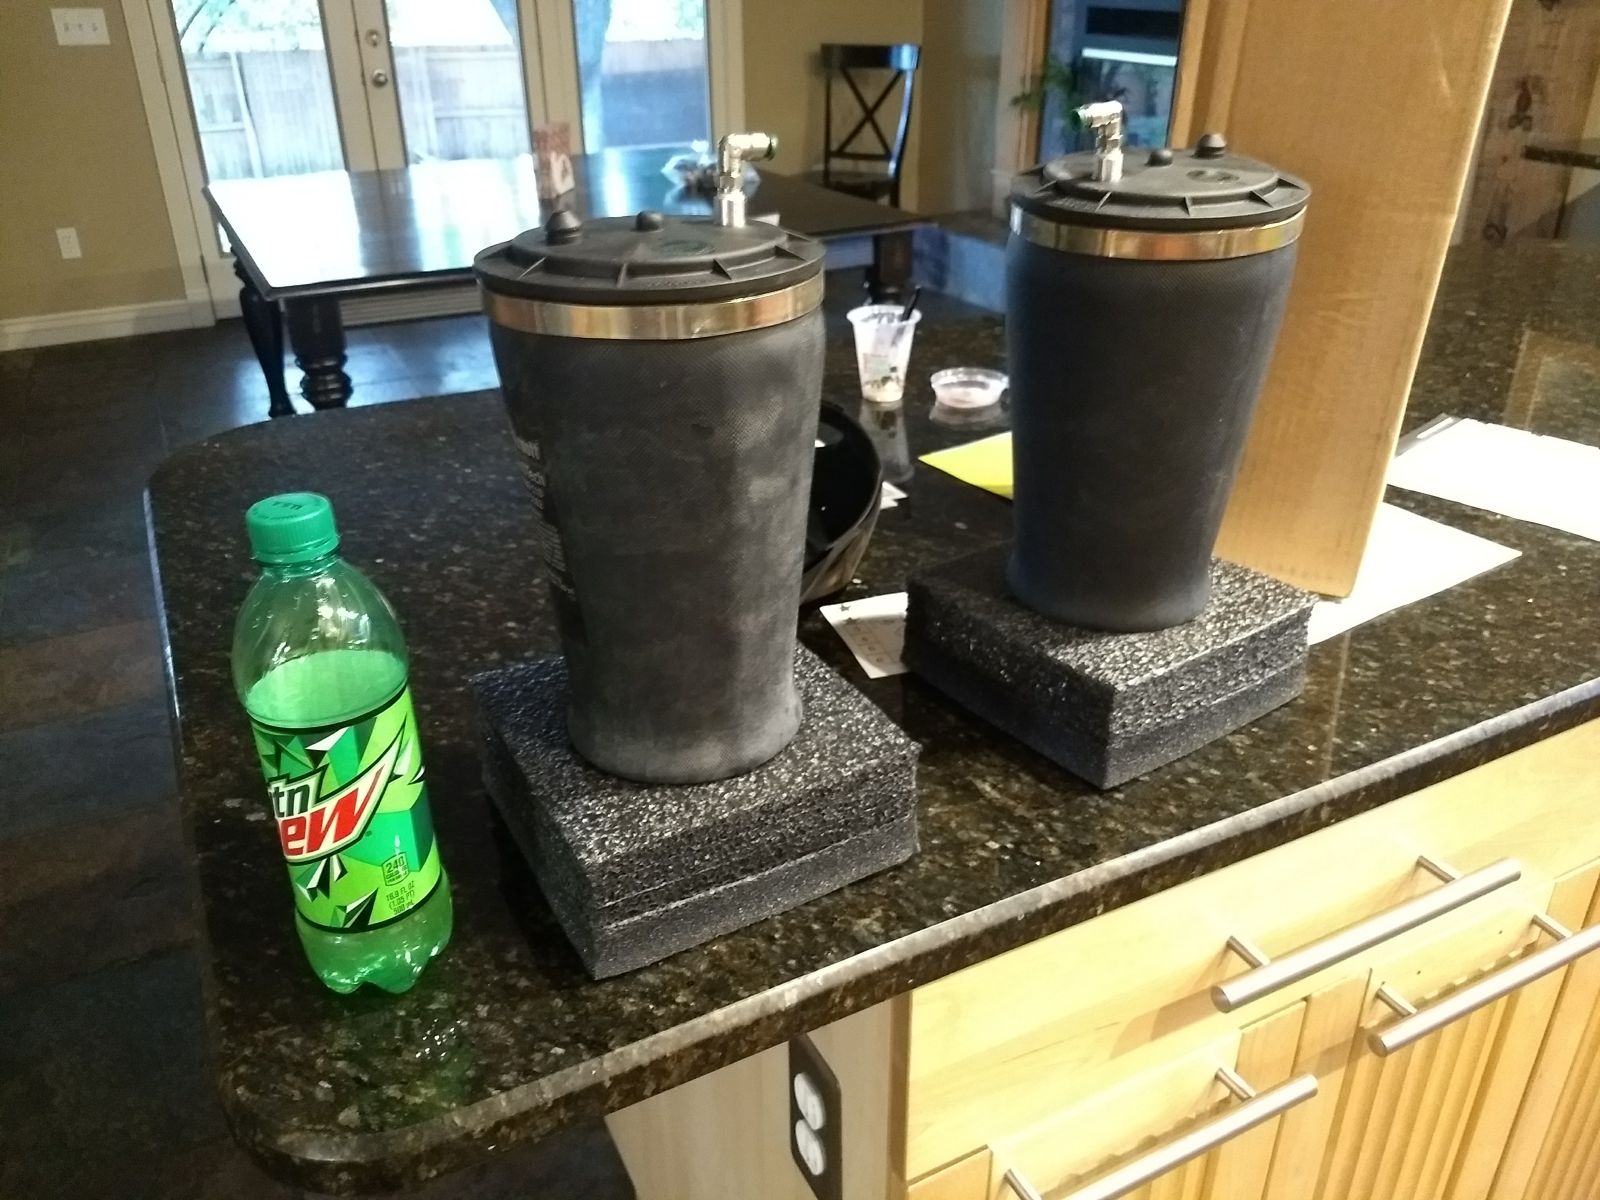
First thing first - get your self a cold caffeinated beverage. This is key.
The next is to not film or take pictures of any of the work you are doing because you will end up looking like zoolander in a mine...its no place for a camera.
Seriously though, I apologize for the lack of pics, I had thought about doing a good video edit of the whole thing, but I was VERY tired and this needed to get done. So there.
TOOLS NEEDED:
21 mm socket for wheel lugs
1/4 poly sprinkler line
Long angled needle nose pliers or a strong pick set
STEPS
Step 1. remove the spare tire
Step 2. Loosen lugs on rear wheels
Step 3. block the front wheels and jack up the rear until you have lots of room to work, you will need it. Use jackstands. Duh.
Step 4. Take off both rear wheels and put them under the chassis for added safety.
Step 5. Support the axle with a jack at the differential
Step 6. Take off the air lines for the side you are replacing (or both), the axle will want to drop, but you supported it. Good job.
This is where the swearing will generally start. Toyota wants you to use a SST (Special Service Tool) but of course they don’t sell it. To help you avoid trouble I will pass on a few diagrams and tips I got from others. First, this is how the air line attaches and how the SST works according to the FSM (Factory Service Manual)
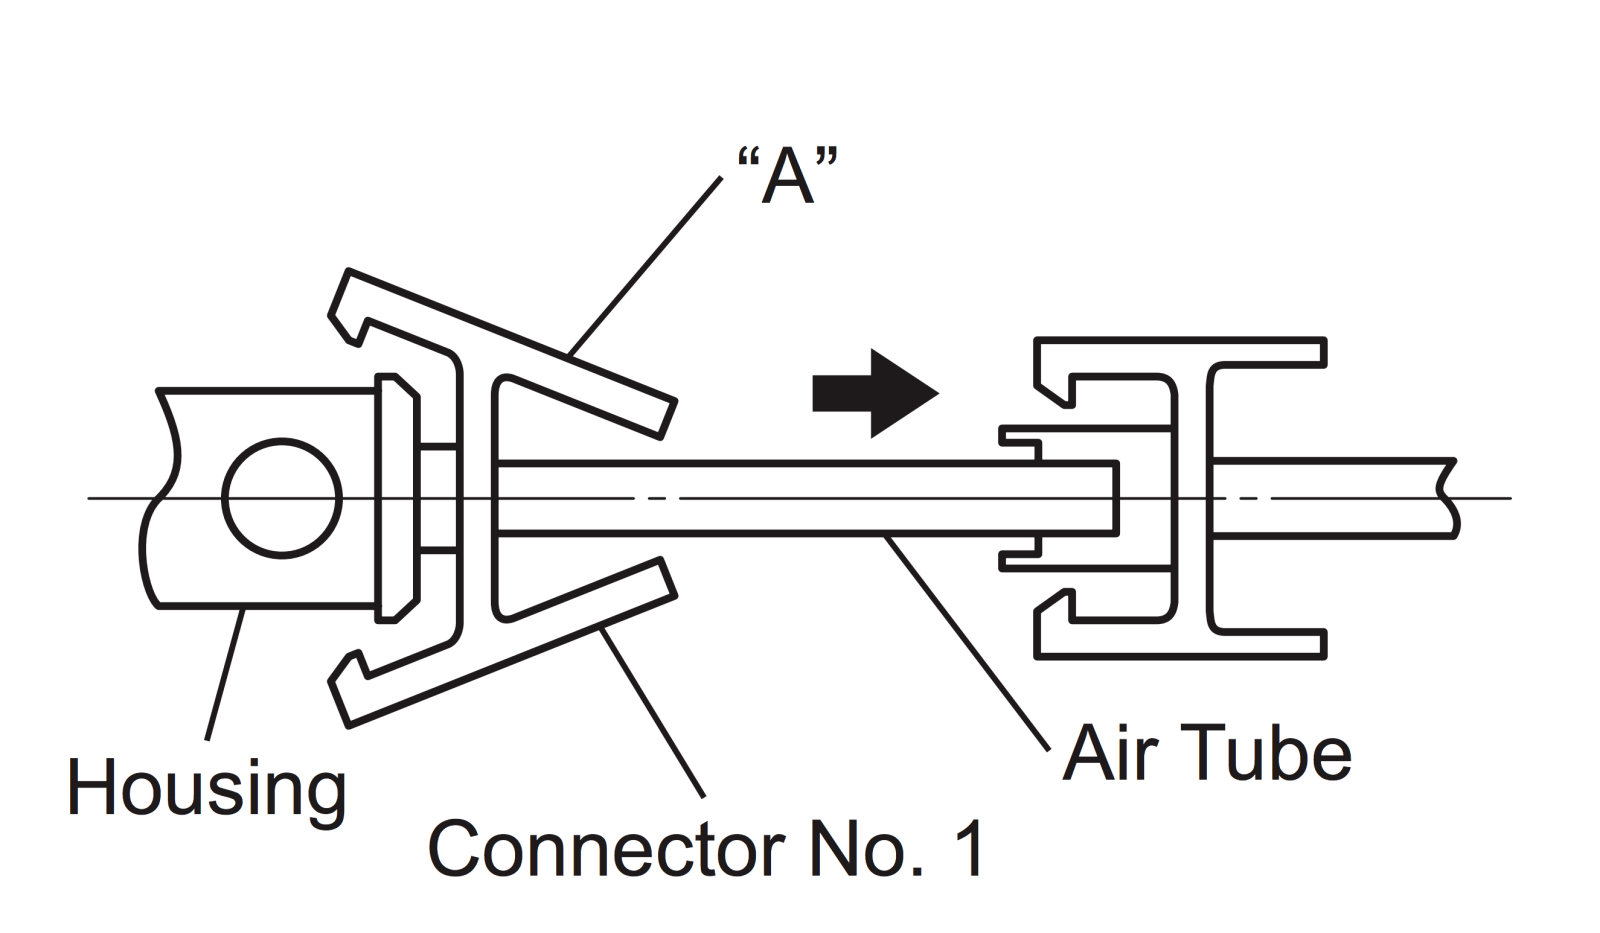
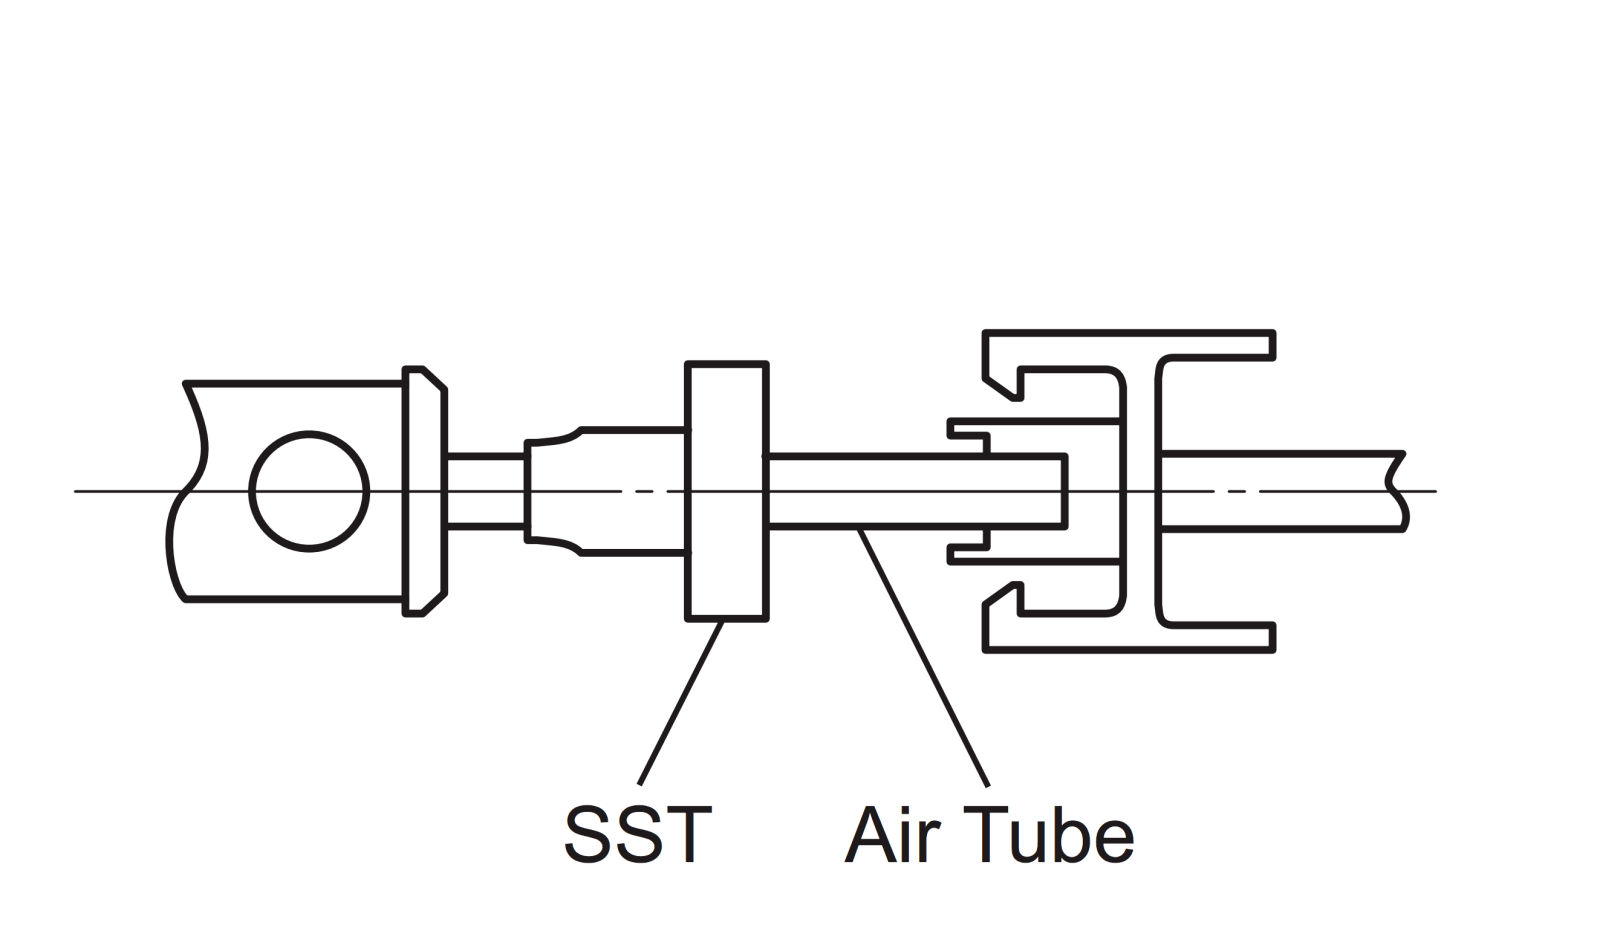
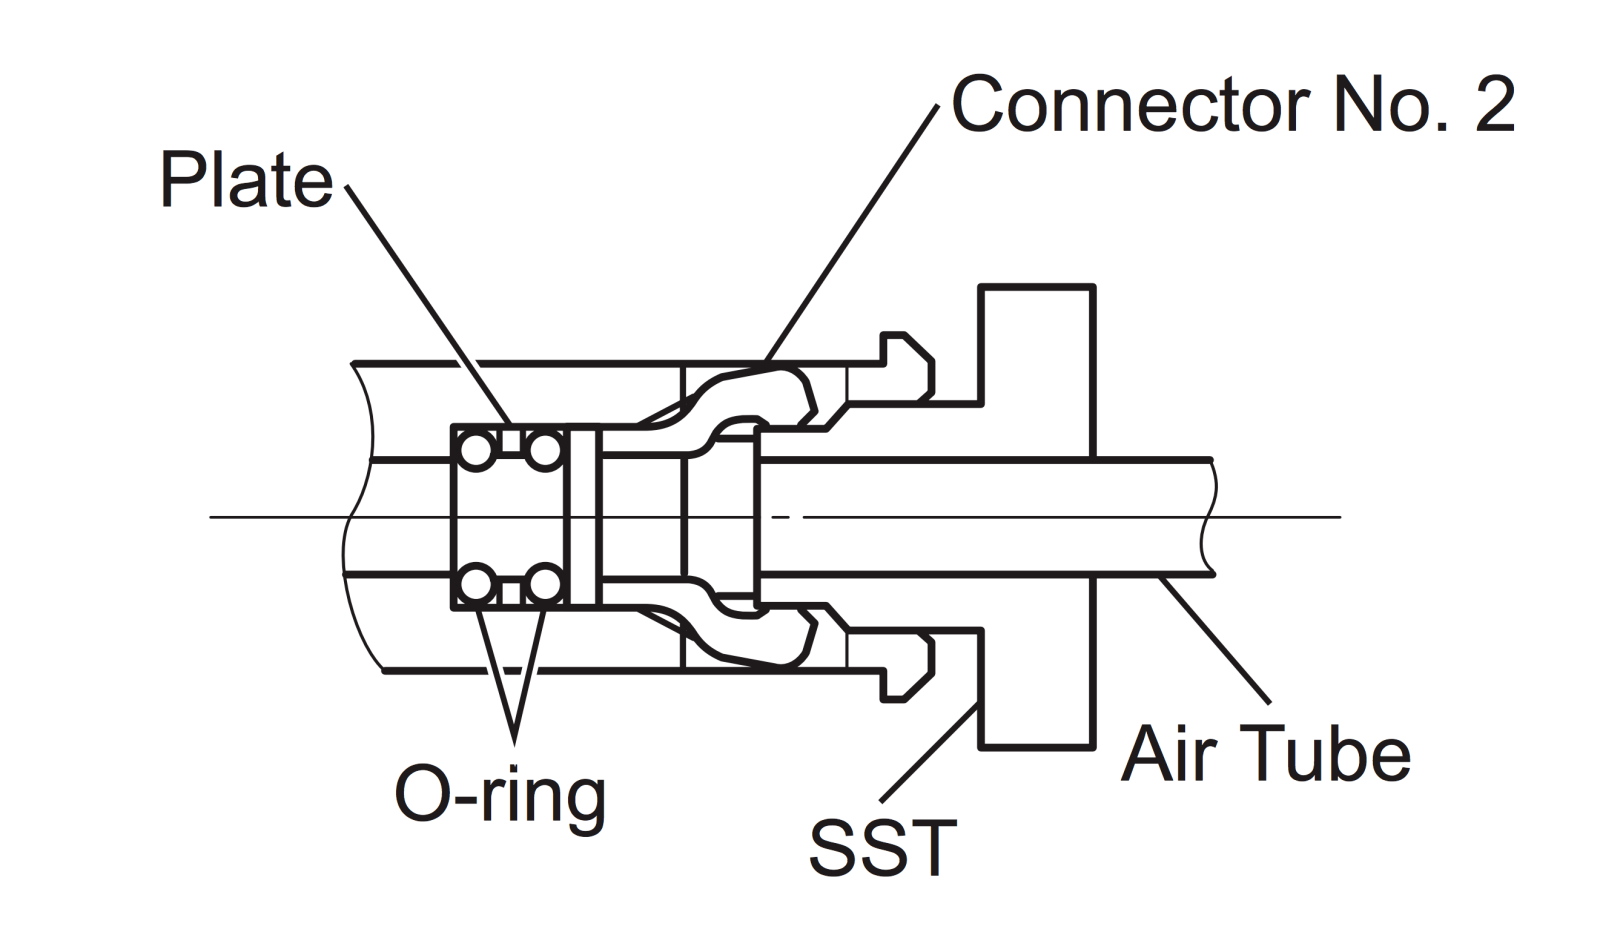
The idea is pretty simple - You need to a tool to go around the airline and between the pawls (connector No. 2) to separate them. Solution? 1/4 inch hard sprinkler drip line. Cut a section a couple inches long and split lengthwise and it will go over the line and do the job. A tip I picked up is to slim the thickness of the line down by heating a section of the line so it thins out, then cut it where its been stretched then, use the thick end where it works and the thin end everywhere else. Another tip I learned is that orientation maters. the split in the line should be 90 degrees off the pawl. In the case of the valve block, the pawls are at 3 and 9, in the case of the fitting on the spring, they are at 12 and 6. This matters. Toyota also says to replace these o-rings, which if you can see and read this diagram it doesn’t seem to be possible, so I didn’t.
It takes practice and your hands will be sore...but its the only way I know without the SST.
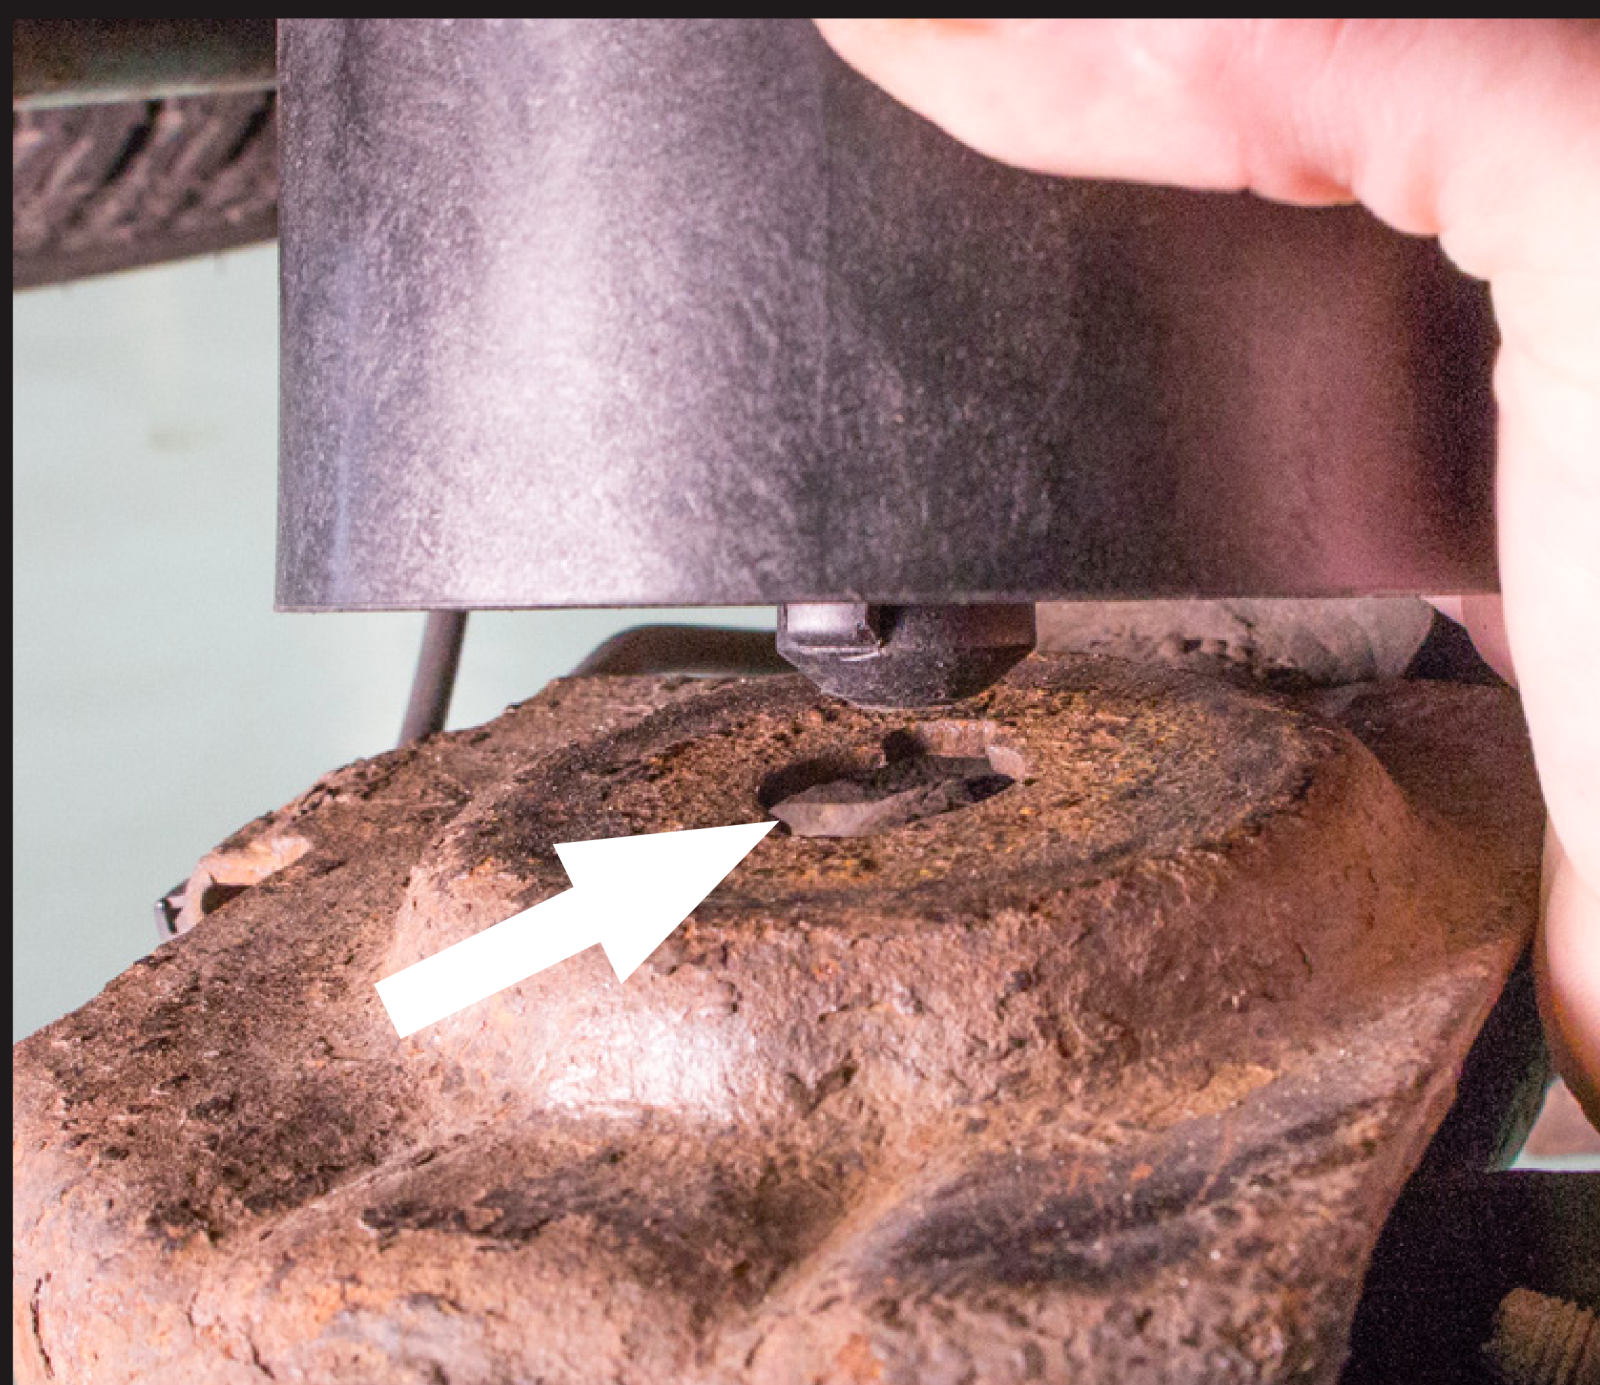
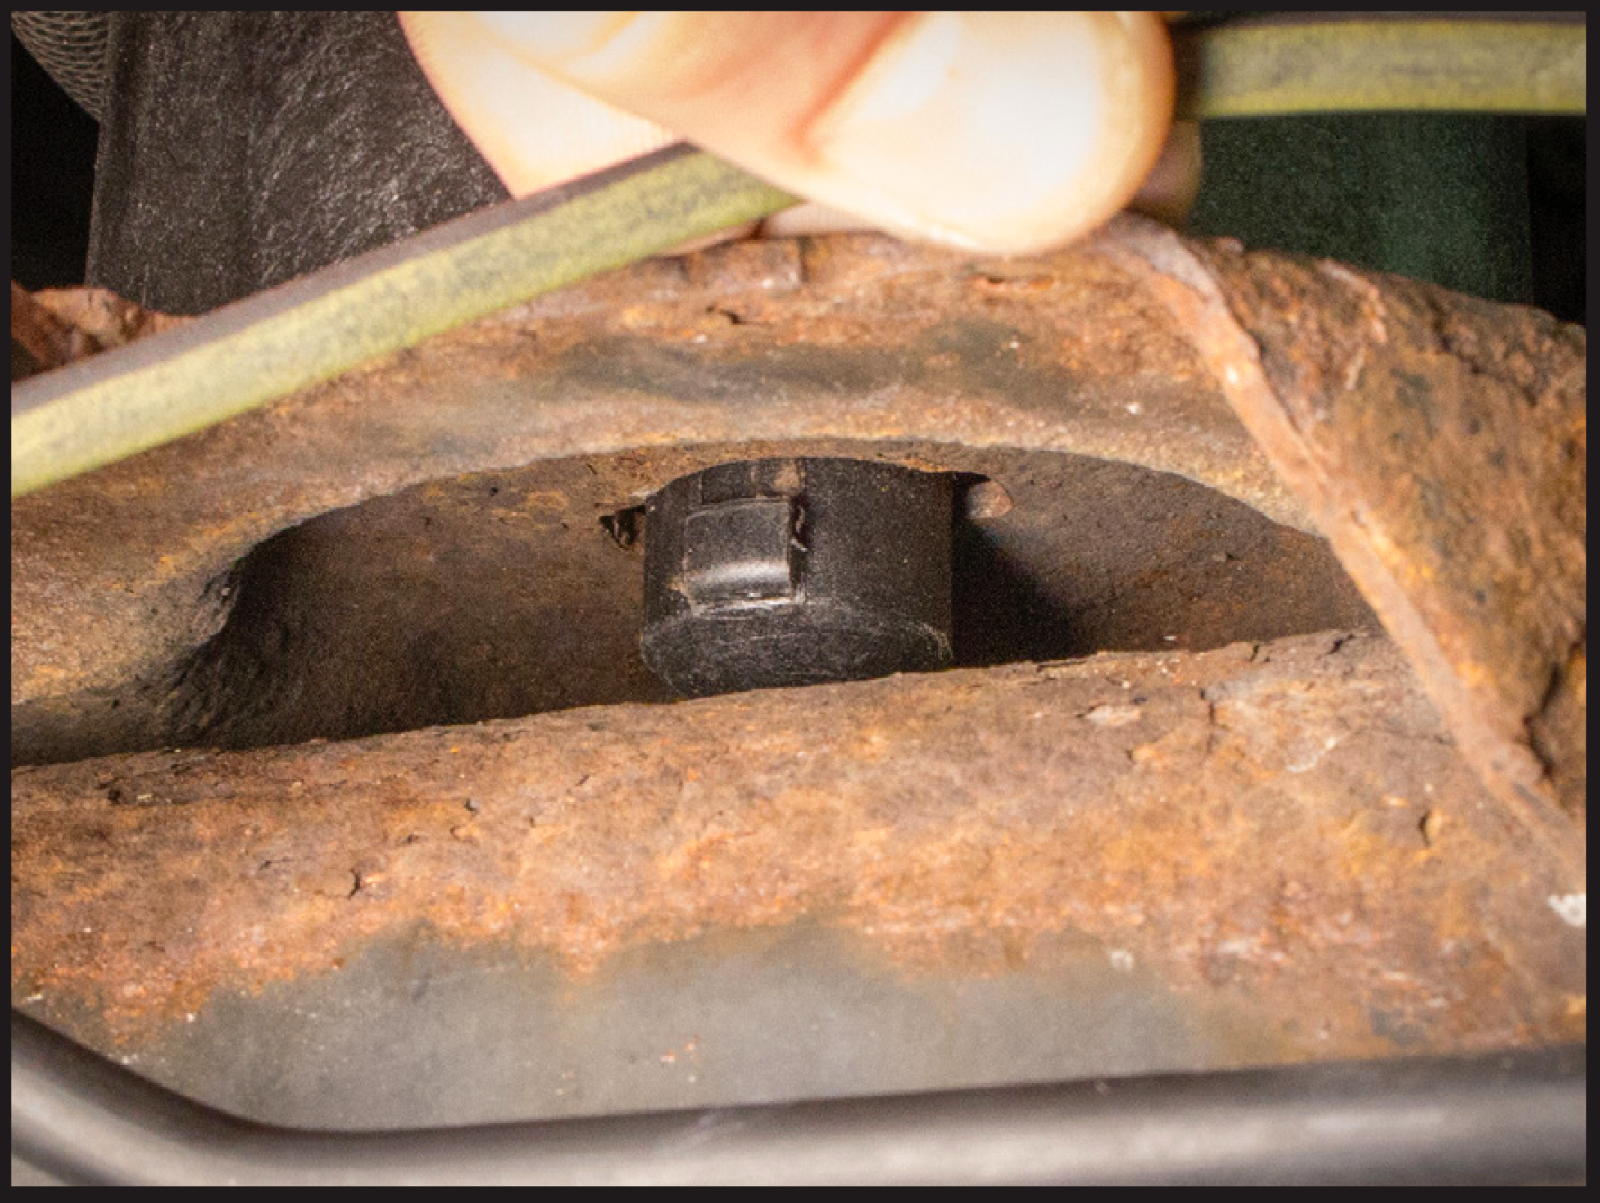
Step 7. Remove the clip of hope
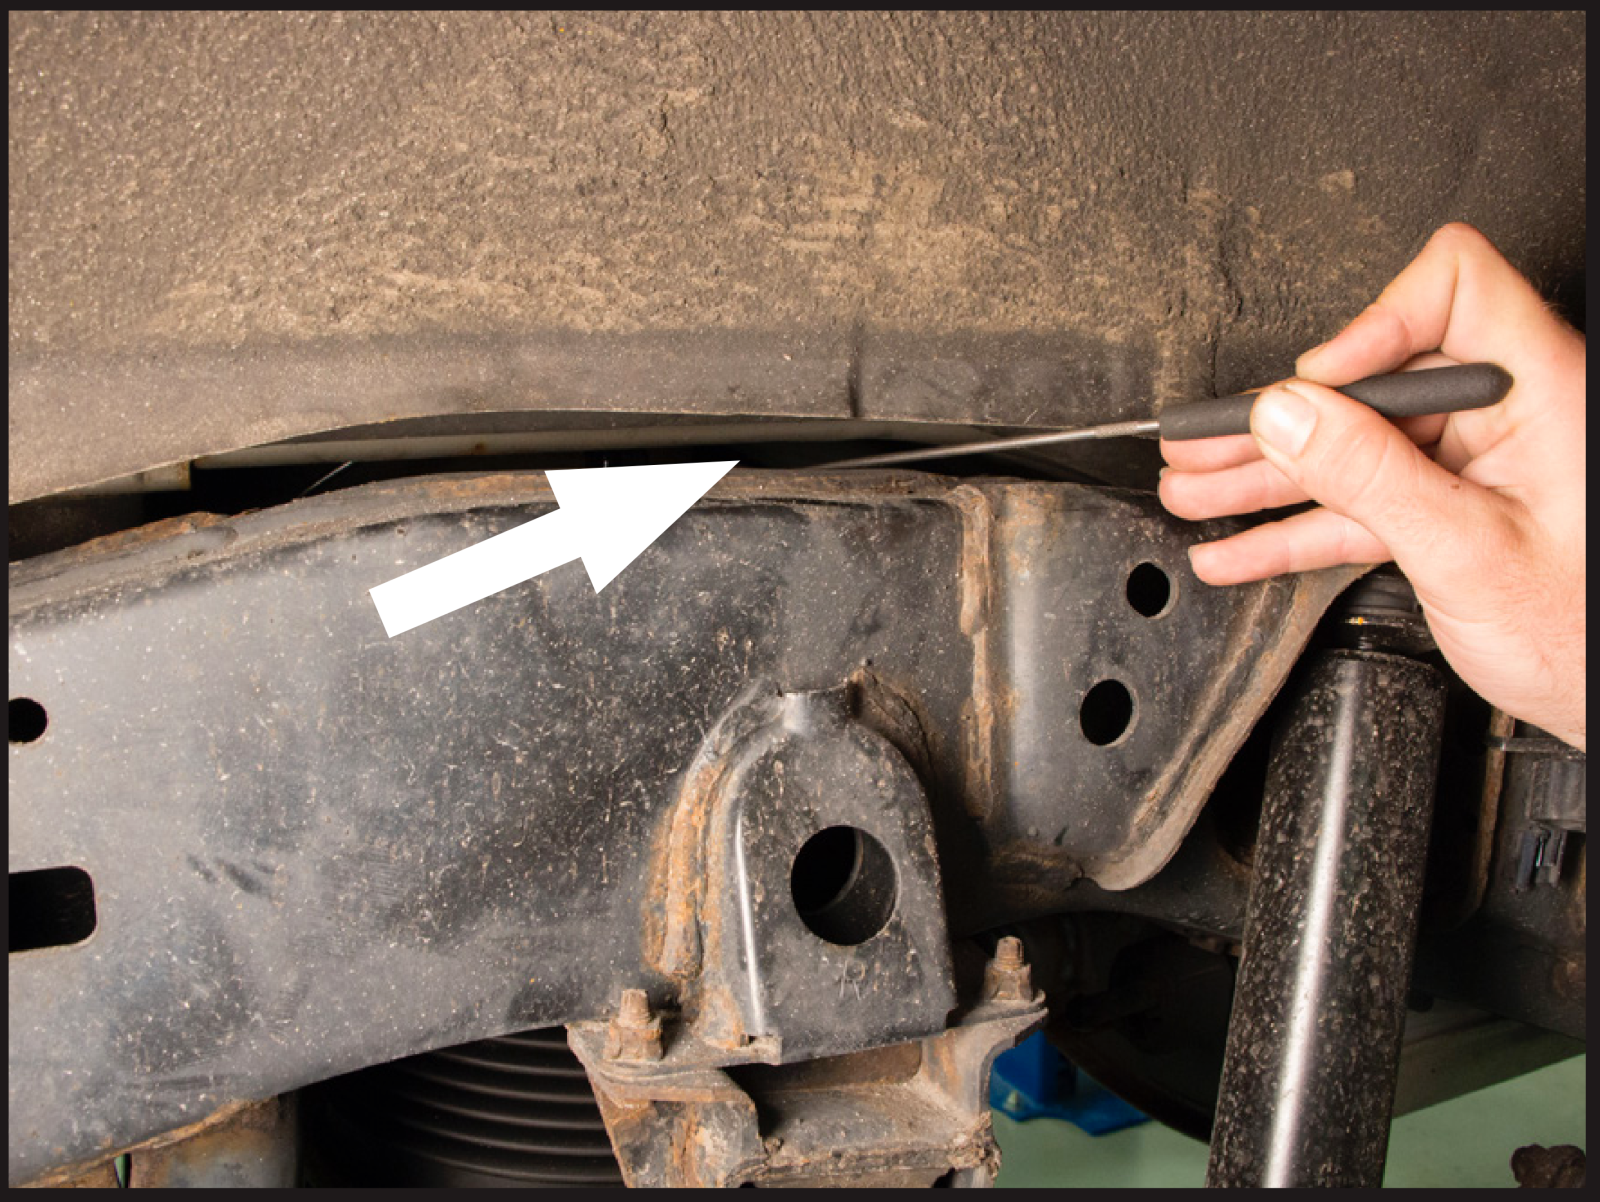
So named because it only is visible through hopes and wishes. The picture in the Arnott guide (shown) has them using a strong pic, I used angled long needle nose and they worked really great. I lucked out that I had them, as I would have been screwed without. Make sure you have something you can get at this clip AND replace with BEFORE you start down this path.
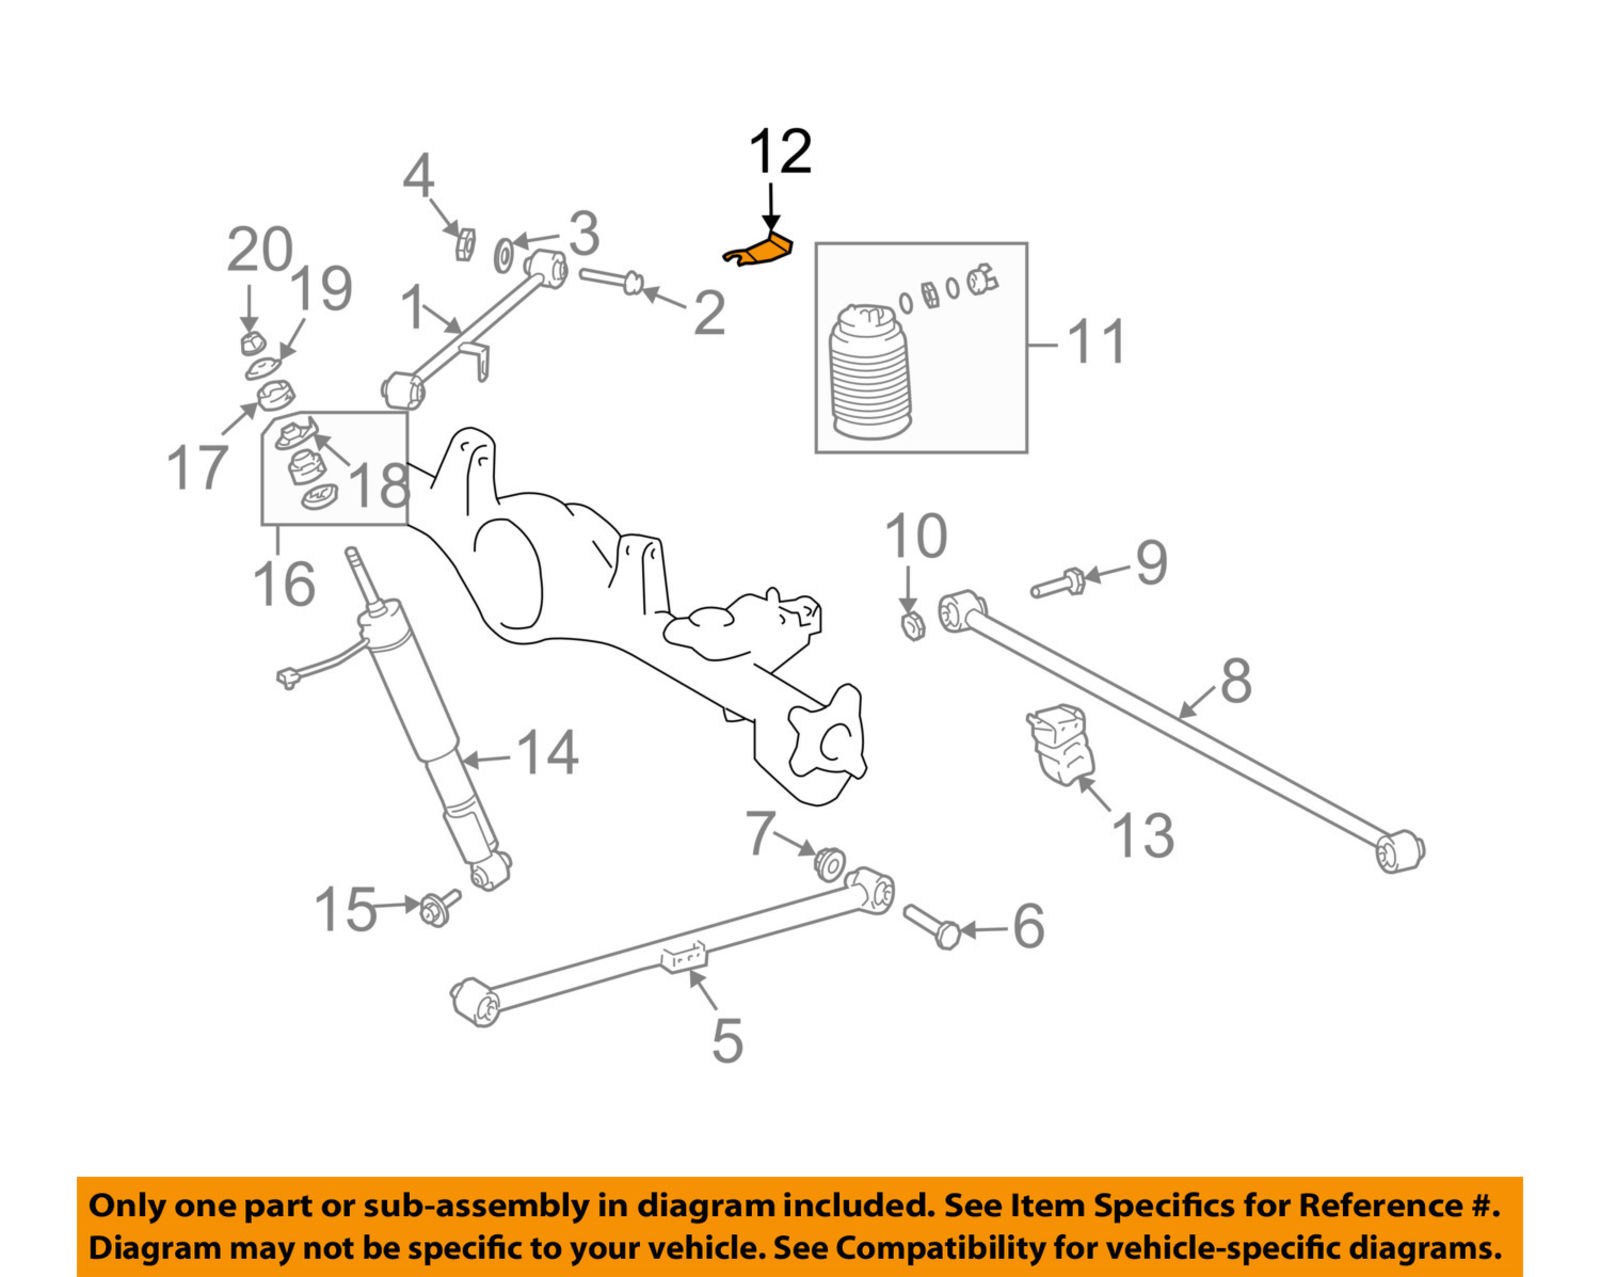
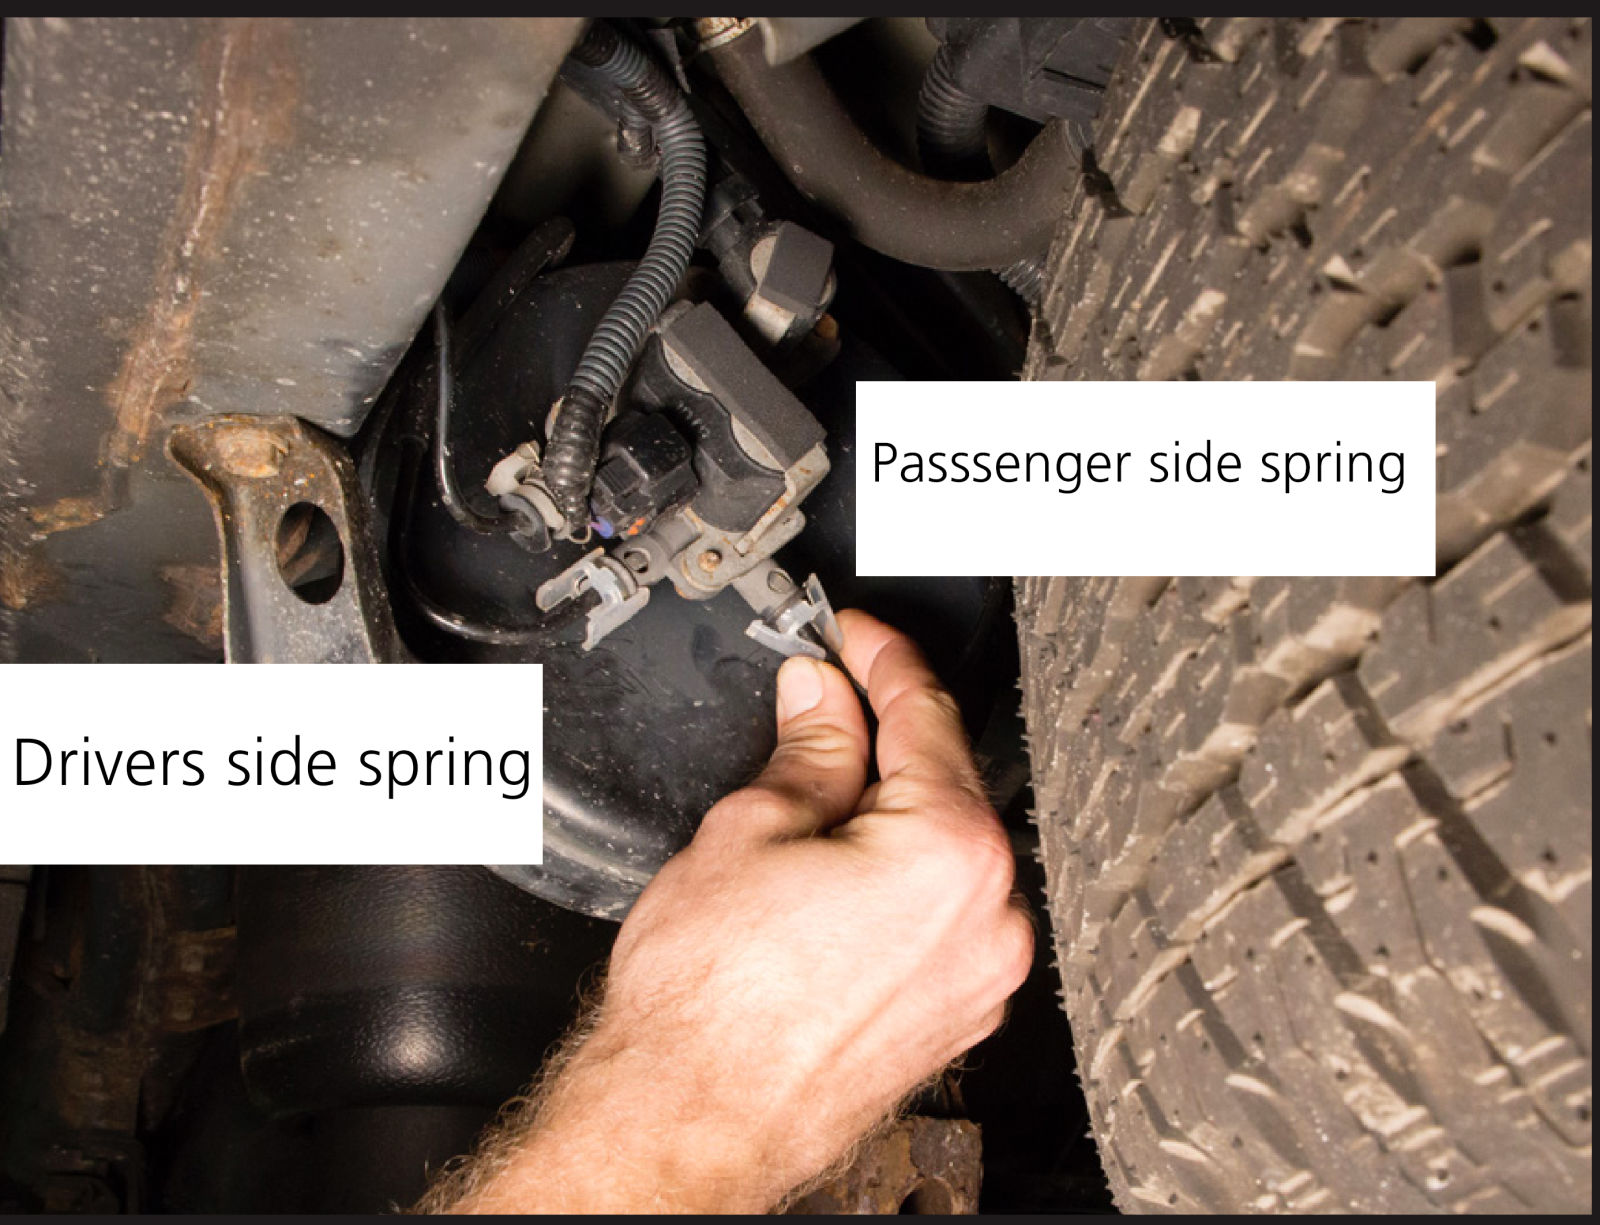
This clip (in orange) retains the top of the spring in the perch by sliding around a nub on the top of the spring. There is a hole on the 90 degree bend for a pick, or you can get a grip on that bend with pliers like I did. The gap with which to work in, especially on the passenger side, is slim at best and there is no back side access. Fortunately it doesn’t take a lot to move it.
Step 8. In the Guide provided by Arnott they tell you disconnect the airline on the top of the spring at this point. This isn’t wrong, but it isn’t the whole story. First you will NEVER get to the airline from the top. EVER. Instead of struggling, disconnect anywhere the air line attaches to the chassis via clips, from the valve block back to the spring and pull the air spring out with the air line attached (drivers side) or enough so you can gain access to the top of the spring (passenger side) without hurting the line. Careful with these lines, the passenger side one is $90 and the drivers is $60 and no one stocks them.
Step 9. Disconnect the airline from the spring using the sprinkler line, remember that the pawls are 12-6 not 3-9 so put the sprinkler line cut 90 degrees from 12 or 6 oclock.
Step 10. Starting with the drivers side reattach the airline in the top of the spring by simply pushing it in, then loosely place the spring in the area it should go with the airline routed through the correct hole in the perch.
Step 11. put the new springs in the bottom seats. they are keyed to hold the bottom of the spring in place...unless you are using stock replacements which aren’t for some reason.
Step 12. Jack up the axle to take up the slack of the empty aprings so the tops of the air springs get close to their top perch.
Step 13. Line up the alignment and attachment nubs to the perch and seat the top of the spring in the perch.
Step 14. Reattach the clip of hope. Good luck. It actually wan’t too hard but again you can’t see anything and you have no room to work so its kind stabbing in the dark.
Step 15. Reattach all the air lines back to the chassis clips.
Step 16. Reattach wheels and stuff and get that puppy back on the ground.
Step 17. Fire up the engine and set to “normal” height.
Step 18. Set to HI for clearance and spray the fittings with soapy water to check for leaks.
Step 19. Put the spare back on and go for a drive.
Step 20. Sleep soundly knowing you have done great things.
So thats that. One thing I can say - It rides SOOOOO nice now. Buttery smooth and feels like infinite travel. I remember when I first drove the car I complained that the suspension off road felt stiff and easily bottomed, I think I know why. This feels like it should and it makes me cry whenever I get in my 80 series now. Its a very nice ride.
Almost makes me want to do a full bag conversion on the 80 for max angles and ride quality. but then again. No.