
The progress continues on my revamp of the Land Rover’s interior.
The cab of the truck needed some love along with the rear, so last week I turned my attention to insulating and carpeting the front. (Yes, that’s right, she didn’t even come with carpets.)
Because the Landy is, uh, let’s call it porous, I went with an outdoor carpeting from Home Depot that’s designed to be outside all the time. While I did glue the carpet down to the rear bulkhead and battery boxes, I’m going to install the floor pieces with snaps, so they’re easy to remove and dry out. Gonna need some new floor mats, too. The carpet material was really easy to work with, and molded well around strange corners and shapes.
It’s beginning to feel almost like a real car in here, rather than the inside of a grain silo.
Next up was the rewiring of the batteries and power distribution block. The old battery mains were pretty skanky looking, and the grounds running to the chassis looked awfully crusty - Defenders are particularly susceptible to electrical problems due to bad grounds. So, that called for all new battery mains, and a good, thorough clean and seal of the battery box, and general tidying of the wire situation in there.
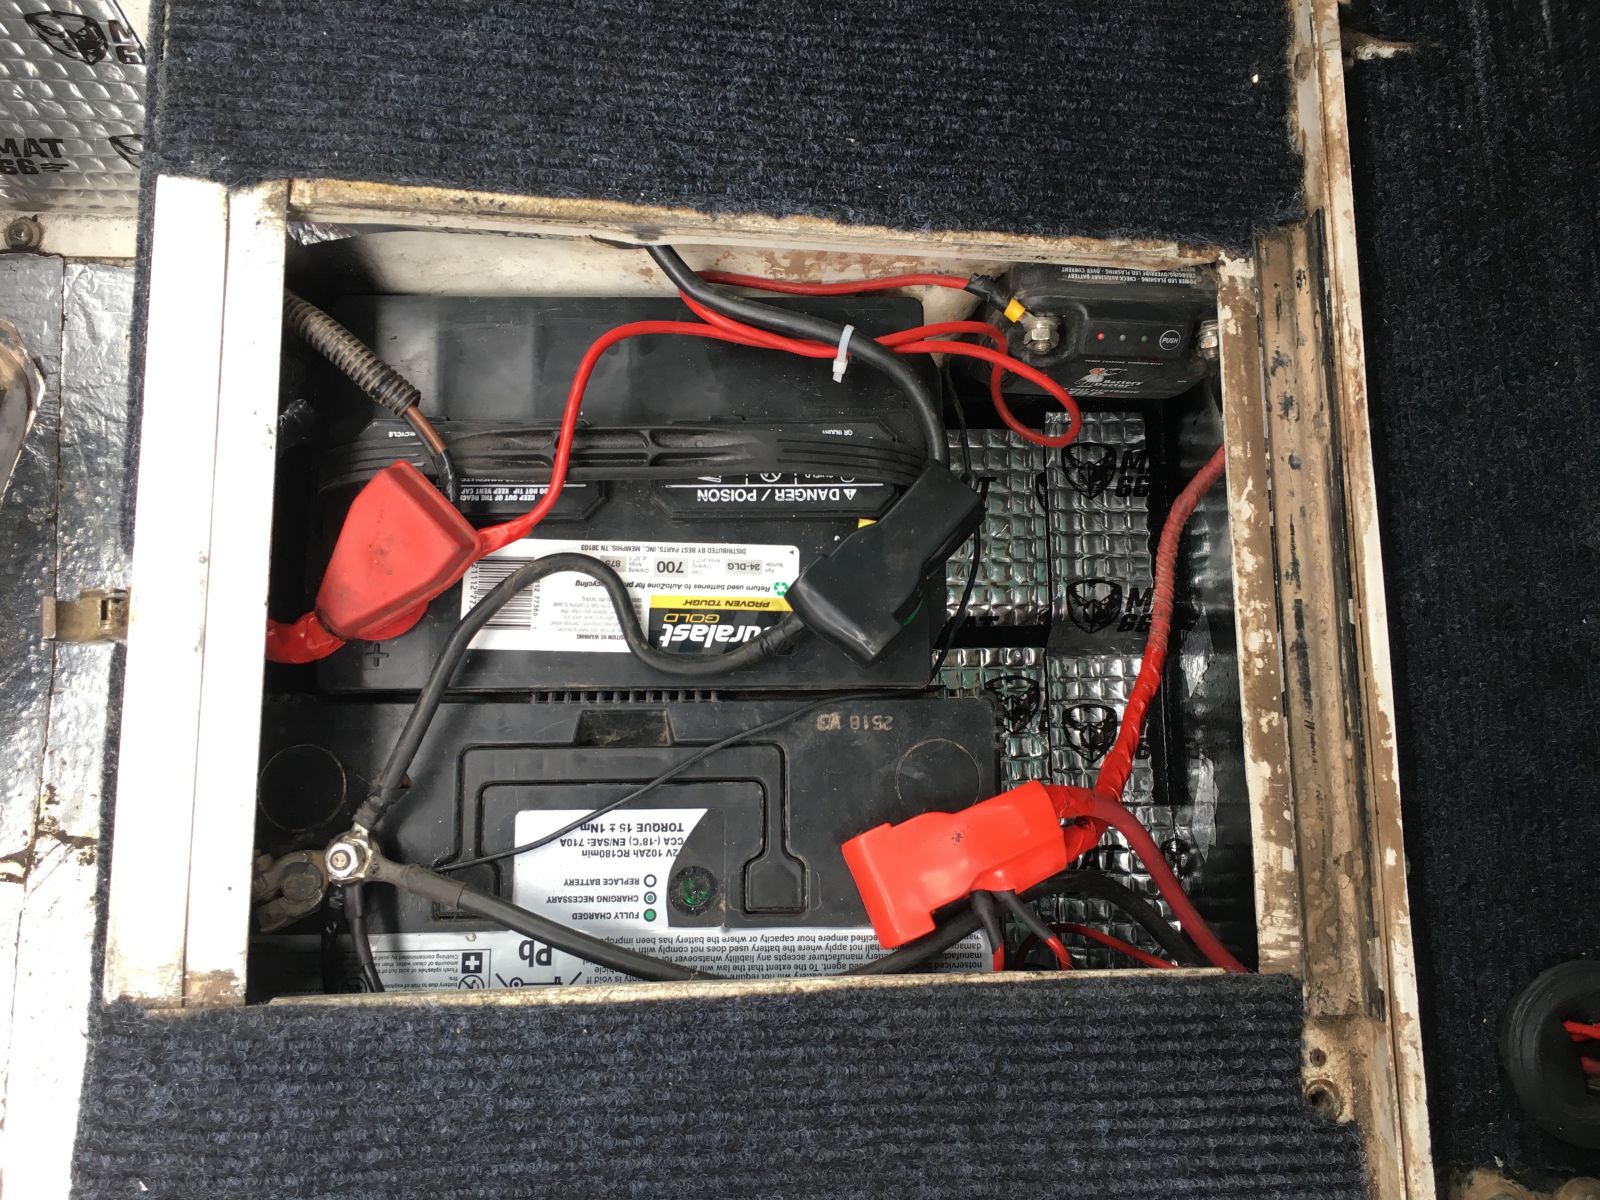
(You can see the Battery Doctor charge isolator hiding in the corner - it’s been awesome. I really love the “jump start” feature that, with the push of a button, allows you to bypass the starter battery and start the car with the house battery when you find yourself down on juice. Highly recommended.)
Instead of the random collection of switches and multiple gauges of wire strung haphazardly through the cabin that we had before, I planned out a whole new electrical system built around the Blue Sea Systems 12-point fuse block.

I bolted this to a carpet-lined piece of 1/2" plywood fixed to the bulkhead behind the seats, along with a volt meter, cigarette outlet for the fridge, and the PWM solar charge controllers for our solar panels. Since our panels are mismatched (different wattage, different manufacturers, etc.), the best advice seems to be connecting them in parallel to the house battery, using a separate charge controller for each. I happened to have two on hand, so good on me!
We have 80 watts mounted more-or-less permanently to the roof rack, and a portable 105 watt folding panel that we use in the campground so we can keep the truck in the shade and the panel in the sun. So, the Anderson connector is there for our portable.
I ordered a few switch gangs from the ‘Zon for our various electron-hungry needs. Which are, for the time being:
- Dimmable LED interior lights mounted in the headliner
- LED floor light strip
- Exterior light off the back
- Water pump
- Various USB and cigarette outlets
- Fan
Normally I loathe wiring, but I’m keeping it as simple as possible, and actually I’ve found myself enjoying the process. I’ve got a couple extra switches I’m planning to pre-wire for expansion should we want them later on down the line. No inverter yet, just not in the budget for the time being, but we’ve never really found ourselves in desperate need of one. Lastly, I snagged a master power on-off switch (I can’t install this yet until I build some of the cabinetry), and a water-level monitor for our water tank. Speaking of which...
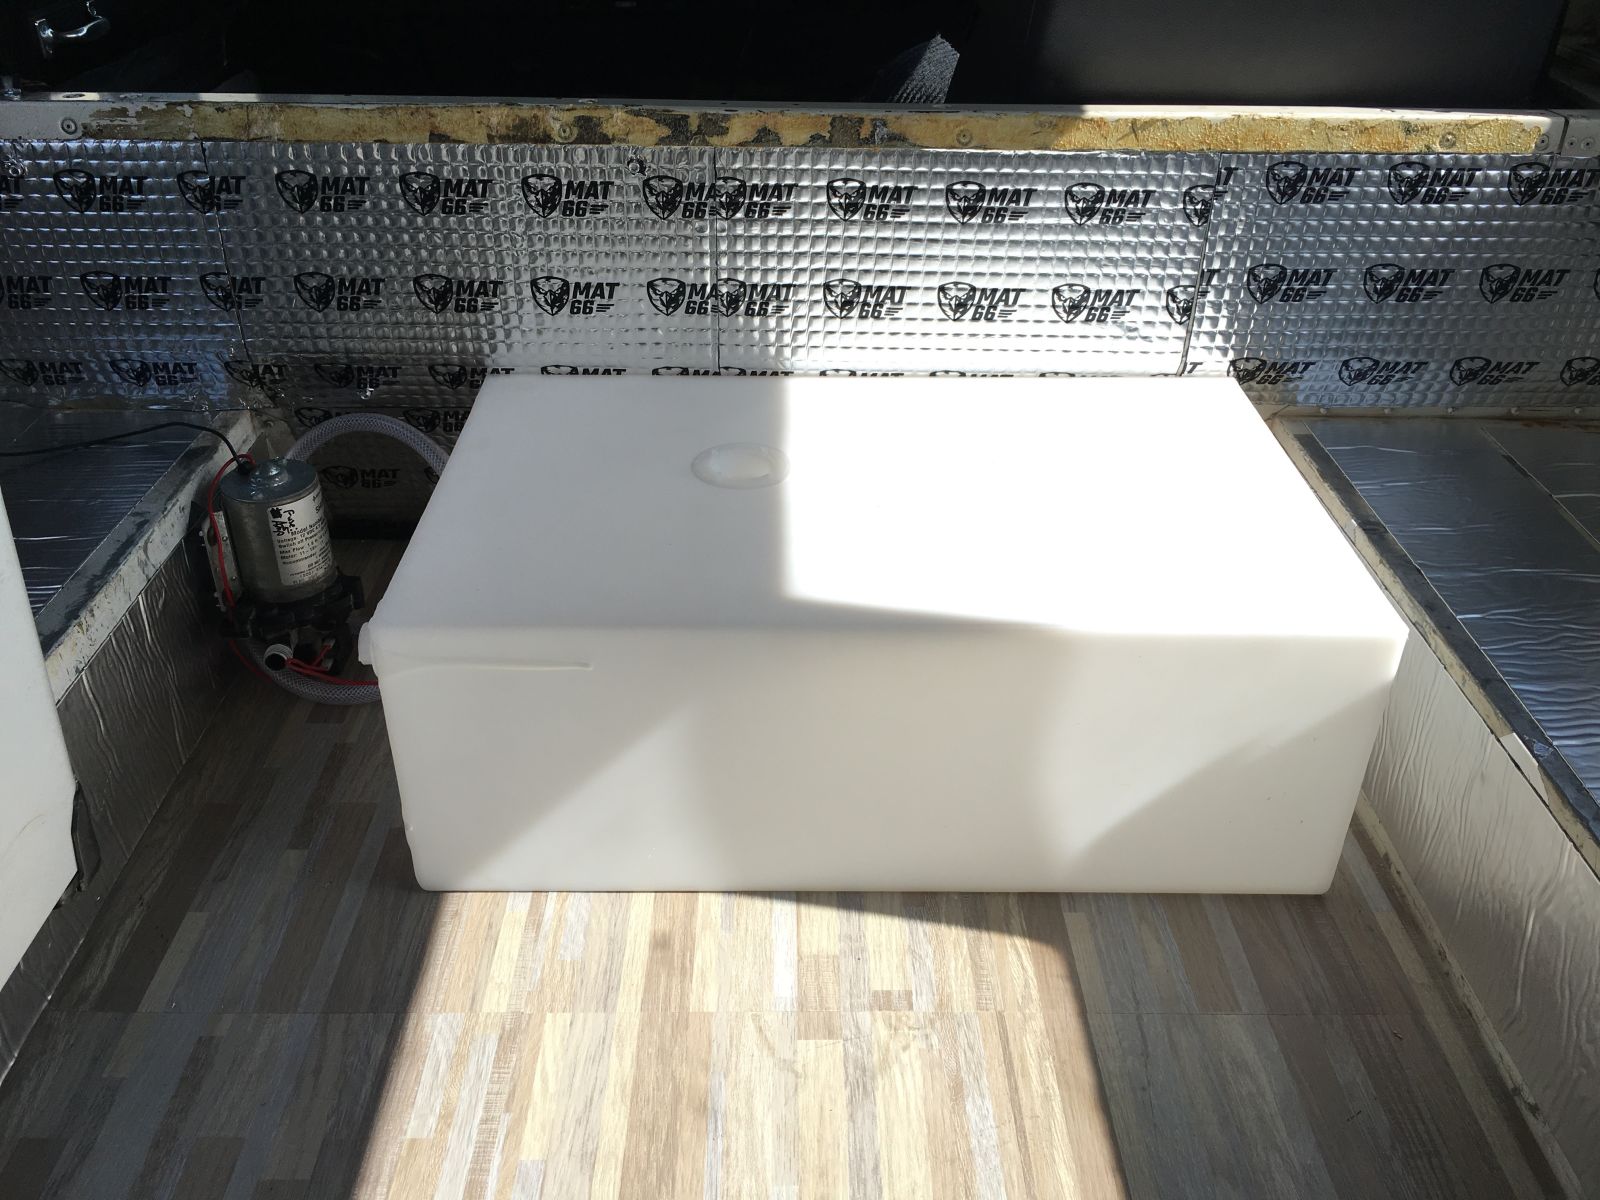
I ordered this 16 gallon unit to replace our old and awkwardly-shaped 14 gallon tank from Class A Customs in Indiana - killer customer service and really excellent prices, even with custom-ordered fittings and wiring for the monitor pre-installed. I’m unnecessarily excited about that water-level gauge, but sometimes it’s the little things that make life easier.
I’ve routed out the plumbing - pretty straightforward stuff. City water connection on the outside for filling the tank (with the proper venting), then routing to the pump, and then through a diverter valve, so we can choose either filtered or unfiltered water. Not quite sure what I’m going to do for the outlets yet - we’ll see how the rest of the space shapes up. I ordered an extra fitting installed on the water tank so it can be filled manually with a bucket or such from the top as well.
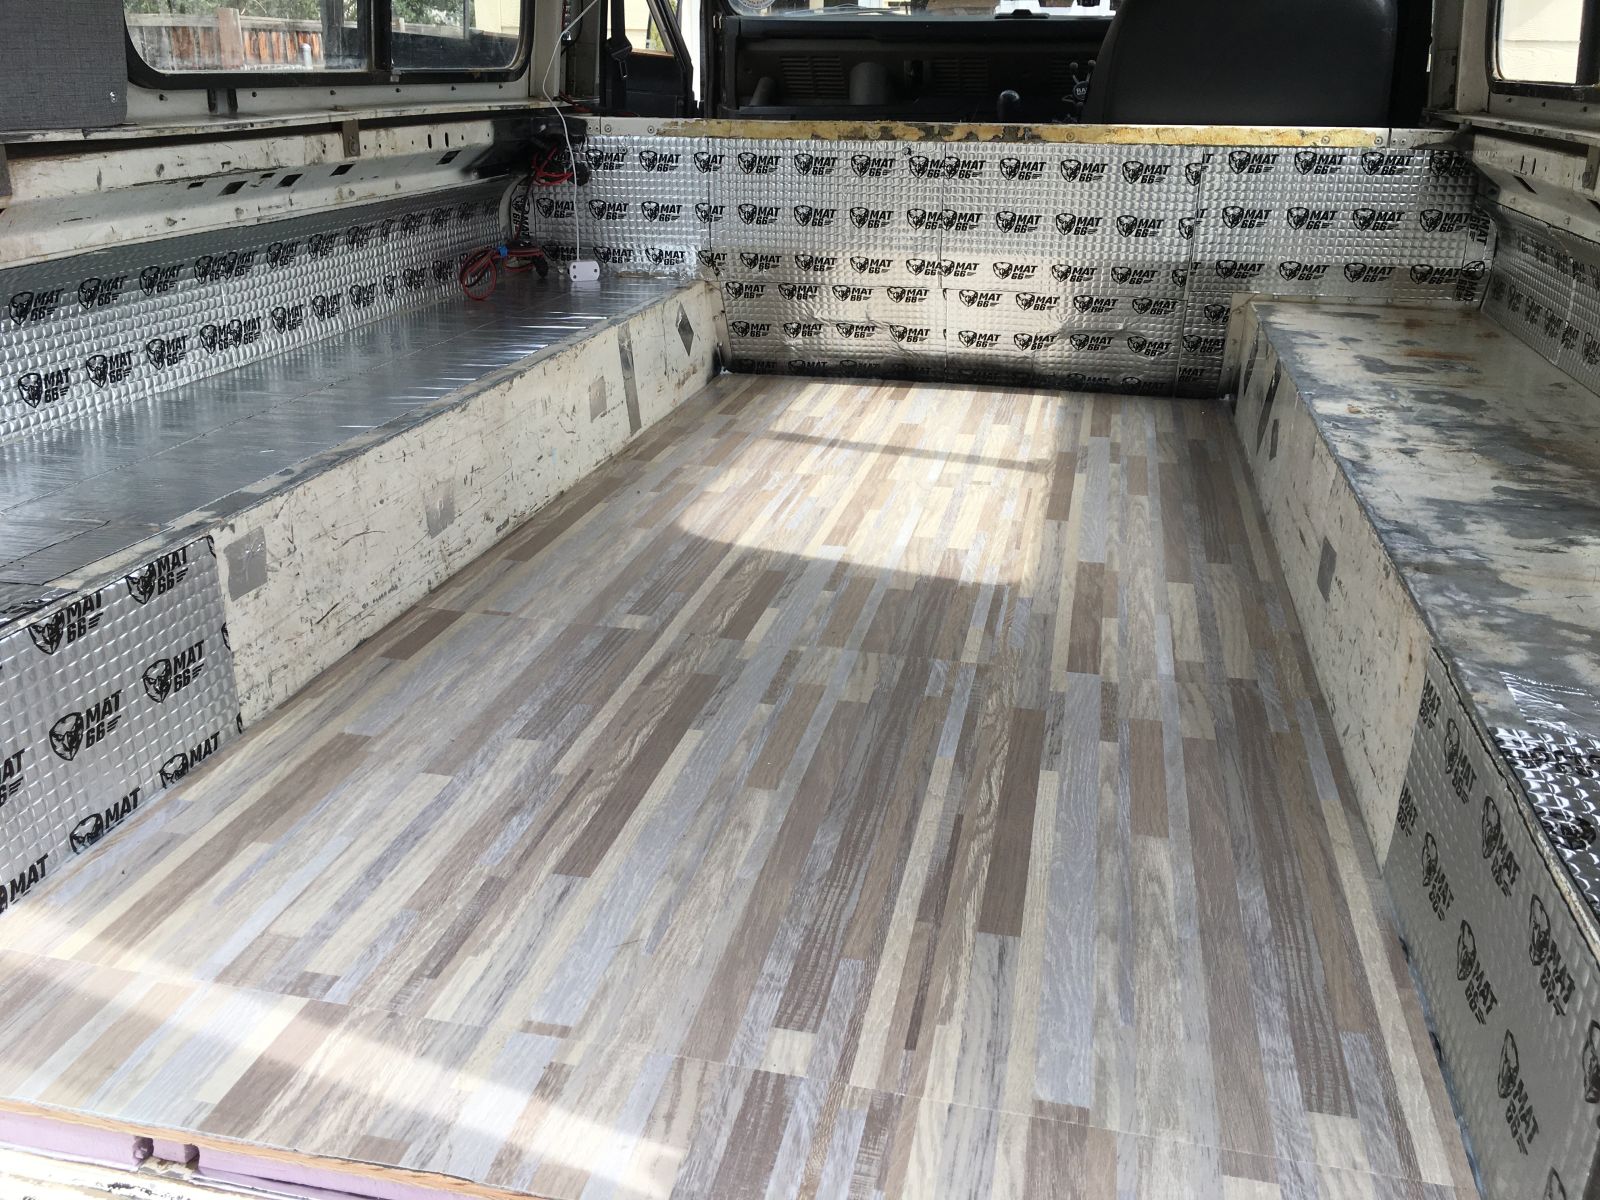
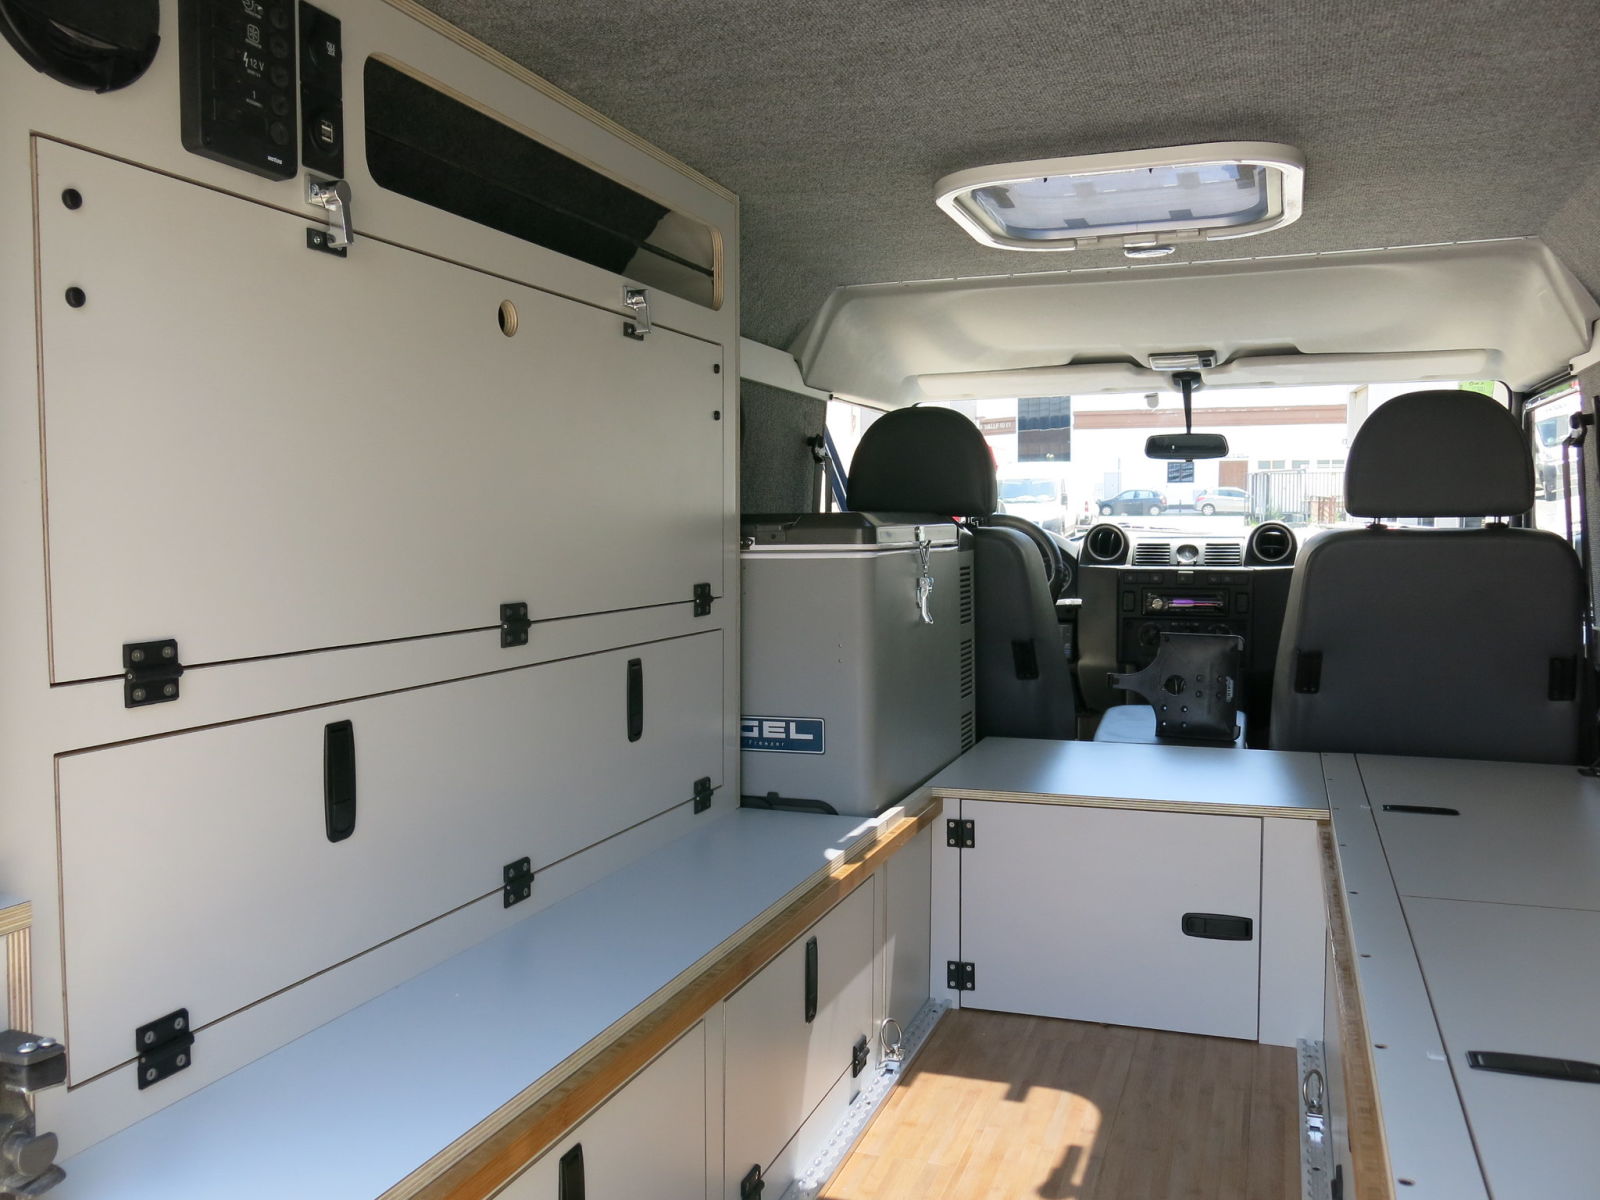
Sharp eyes will notice that I completed the sub-floor and flooring in the back. 1" XPS foam insulation, followed by a sheet of 3/8" plywood, laid over with vinyl flooring, all sealed with a bead of silicone. It feels super sturdy, and already has made things 100% quieter in the back.

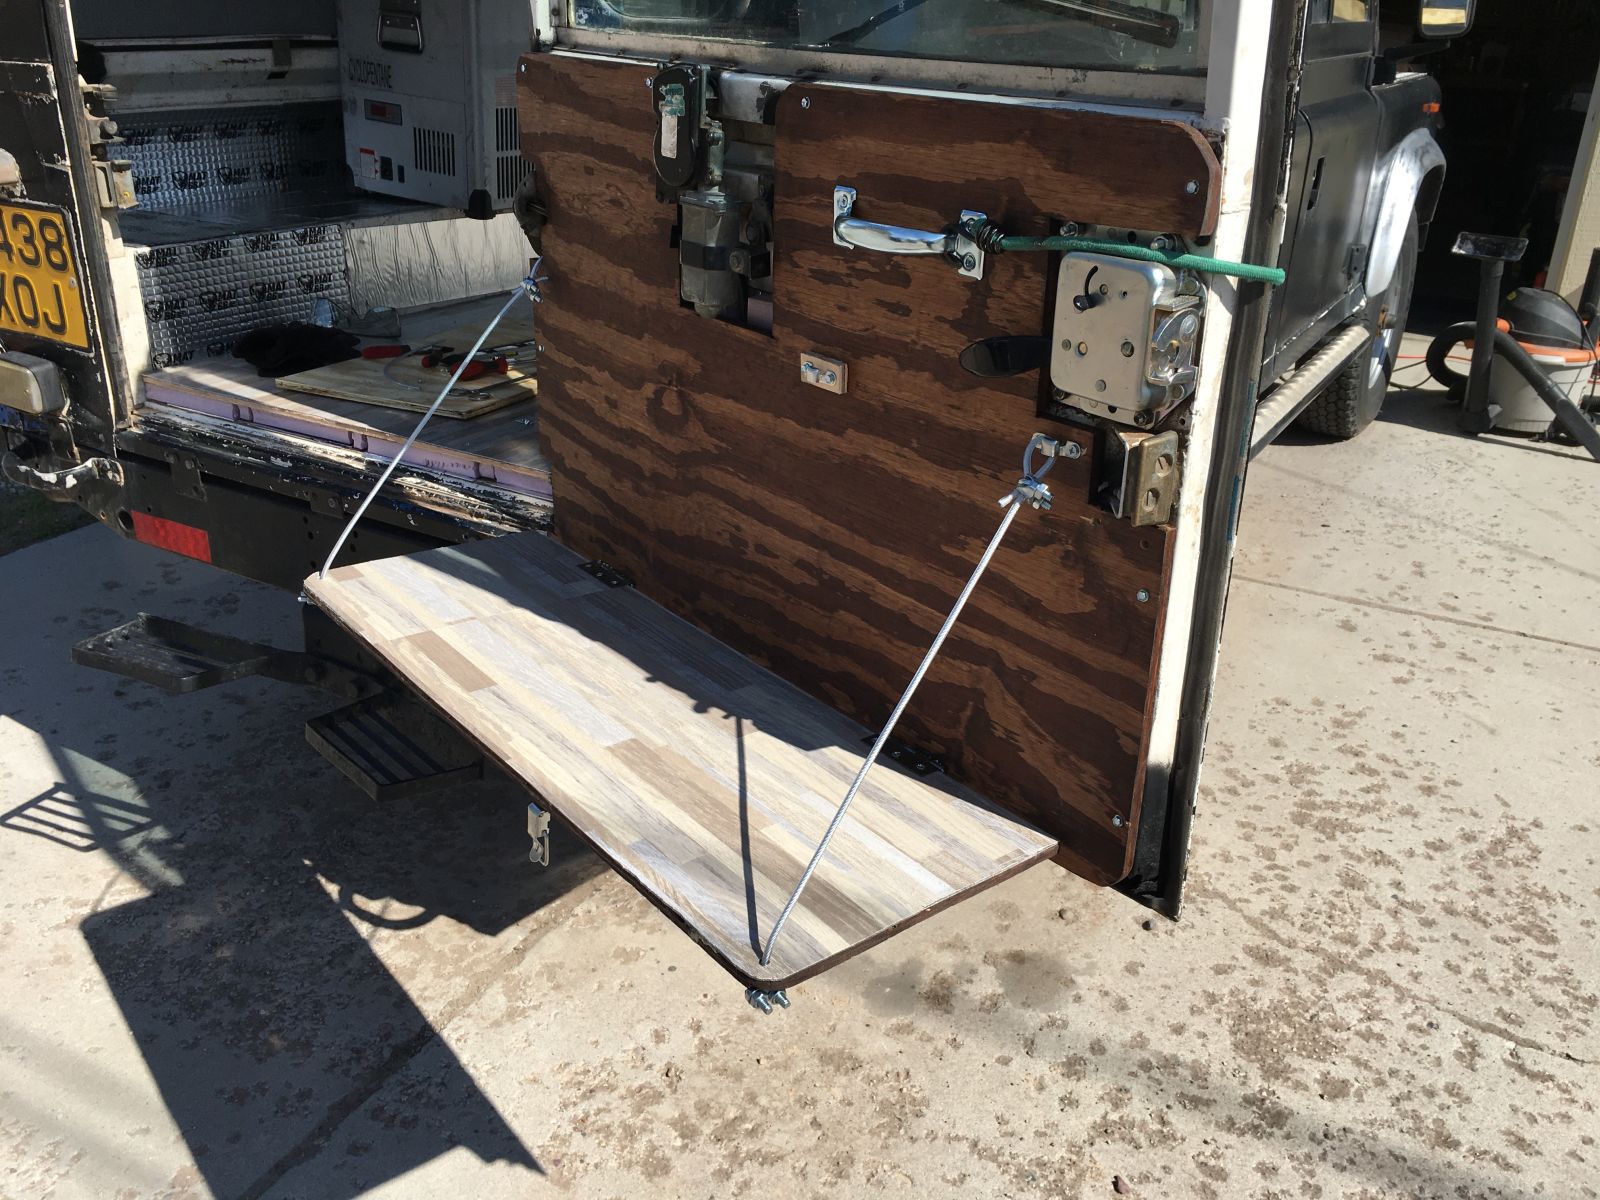
I also built a door panel and drop-down rear shelf for the rear door from some other plywood I had hanging around. But, I’m not 100% happy with it, either with its aesthetics or its function - we’ll see how it works out, but I’m tempted to go with aluminum sheet down the line. It didn’t cost me anything other than labor, so I’m not stressing over it.
My last homemade ceiling panel is in as well, though the fabric is already starting to separate from the previously installed middle panel, so I have to find another kind of glue.
So, with the wiring and plumbing infrastructure squared away, it’s time to get cracking on building up the interior! My inspiration is the UroCamper Defender 110- only not quite as fancy.
To that end, I’ve got a big ‘ol pile of 30mm aluminum extrusion as my framing material, and my neighbor’s Harbor Freight “Horizontal/Vertical Metal Cutting Bandsaw”. I’ve designed and redesigned this interior a hundred times, but it’s time to start cutting and see what emerges, like David from the block of marble.
The big constraints are our gigantic fridge with a lid that opens the wrong way, and that water tank. The tank is figured out, it’ll be part of a seating surface, but I’m going to need to get creative with the Snomaster.