From beginning to end, installing hood vents took 7 hours solo. Simple, but not easy. And yes, making that first cut with the angle grinder was bloody terrifying.
Advertisement
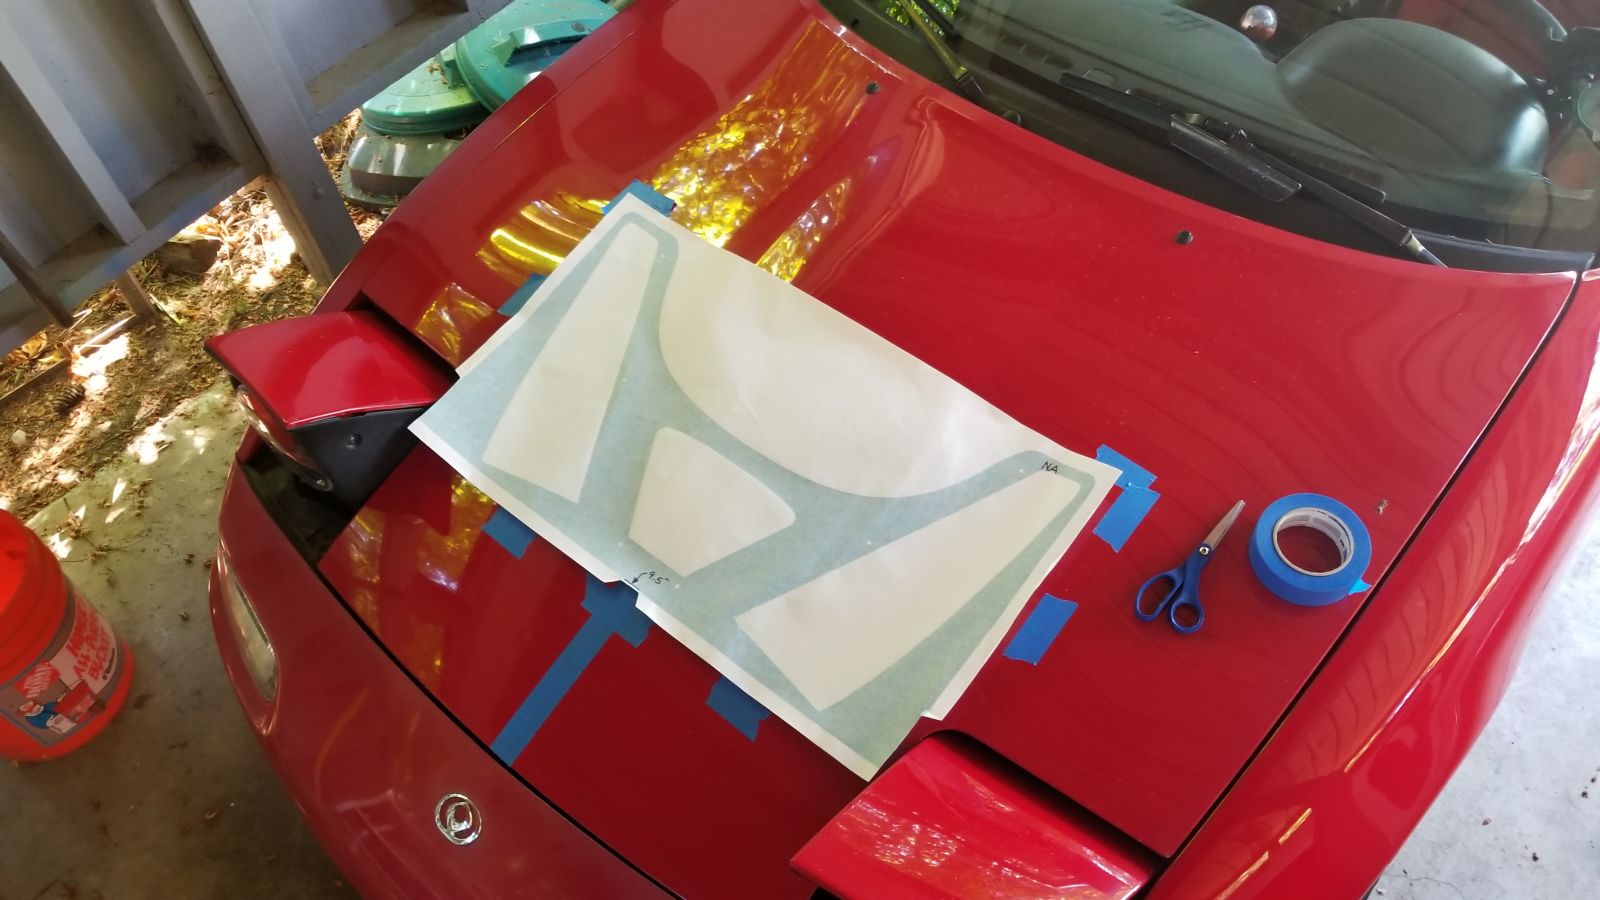
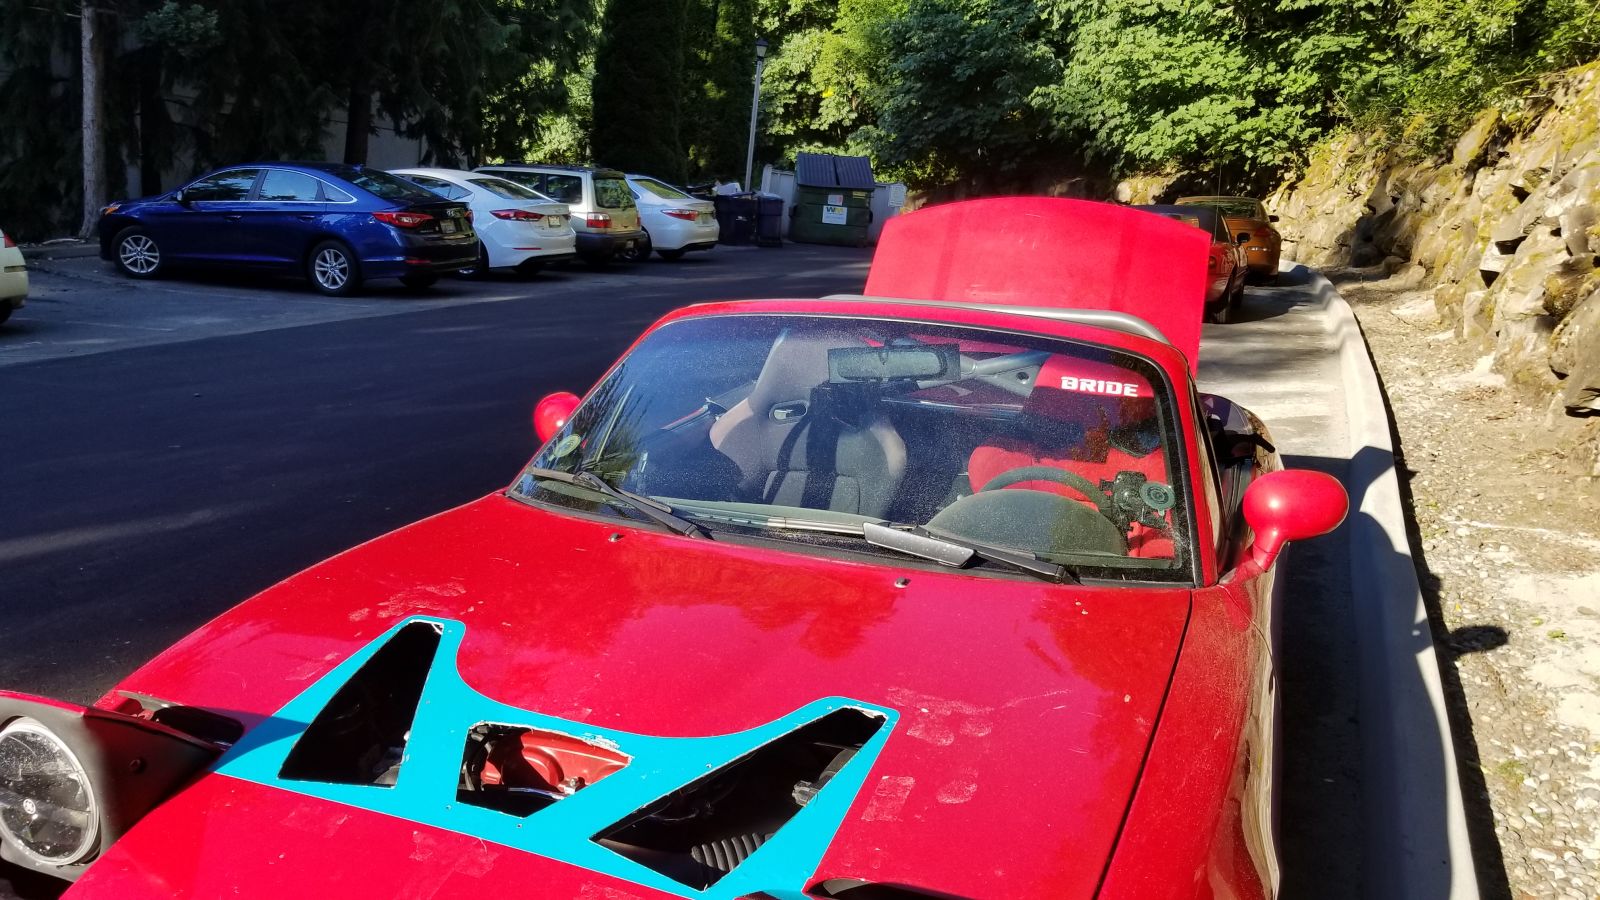
Didn’t have a measuring tape handy, had to resort to a ruler app downloaded off Google play. Solid start!
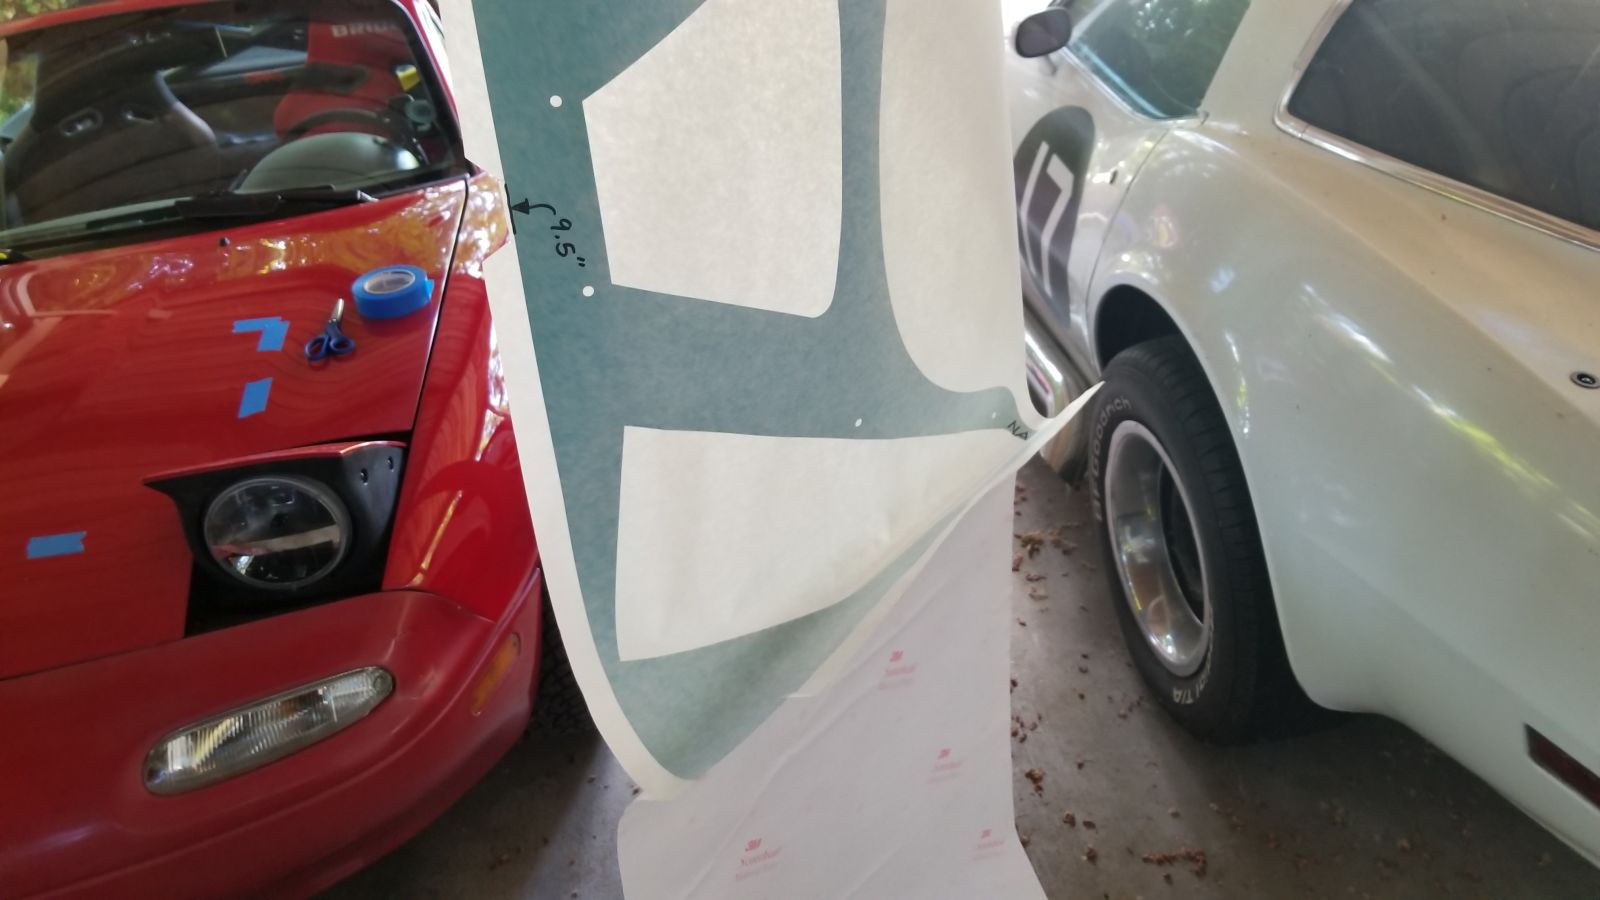
Applying the vinyl was the scariest part. Not joking, I’ve screwed up not one, but three windshield banners. This is not where my talents lay...
Advertisement
I *ALMOST* fucked up the decal irreversibly. Managed to save it, but there are definitely a couple creases and stretch marks
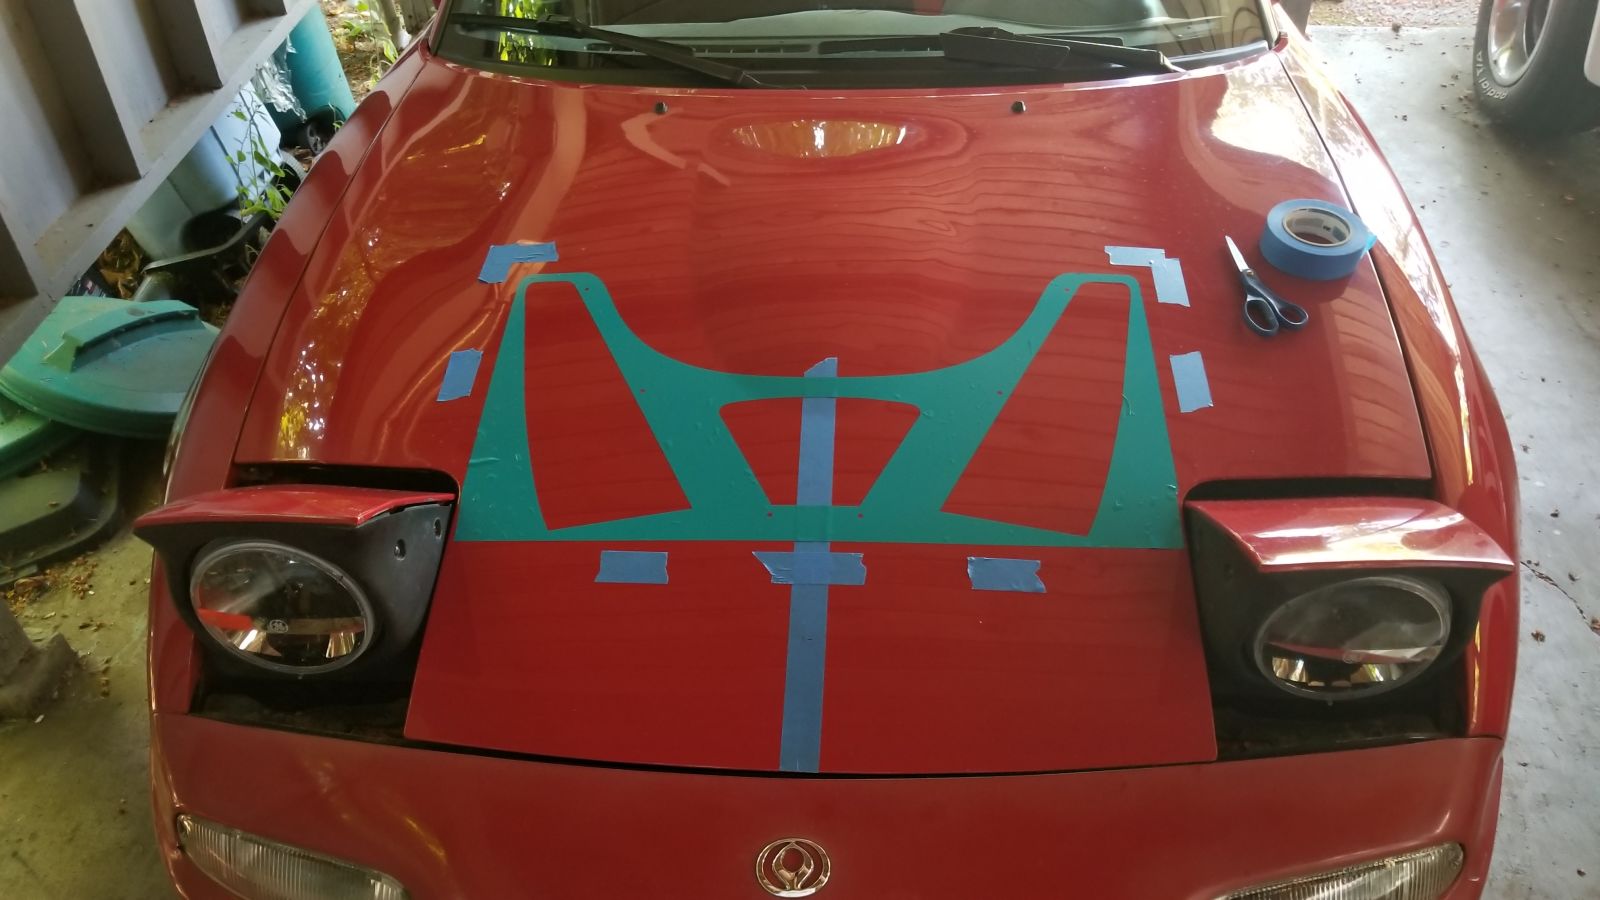
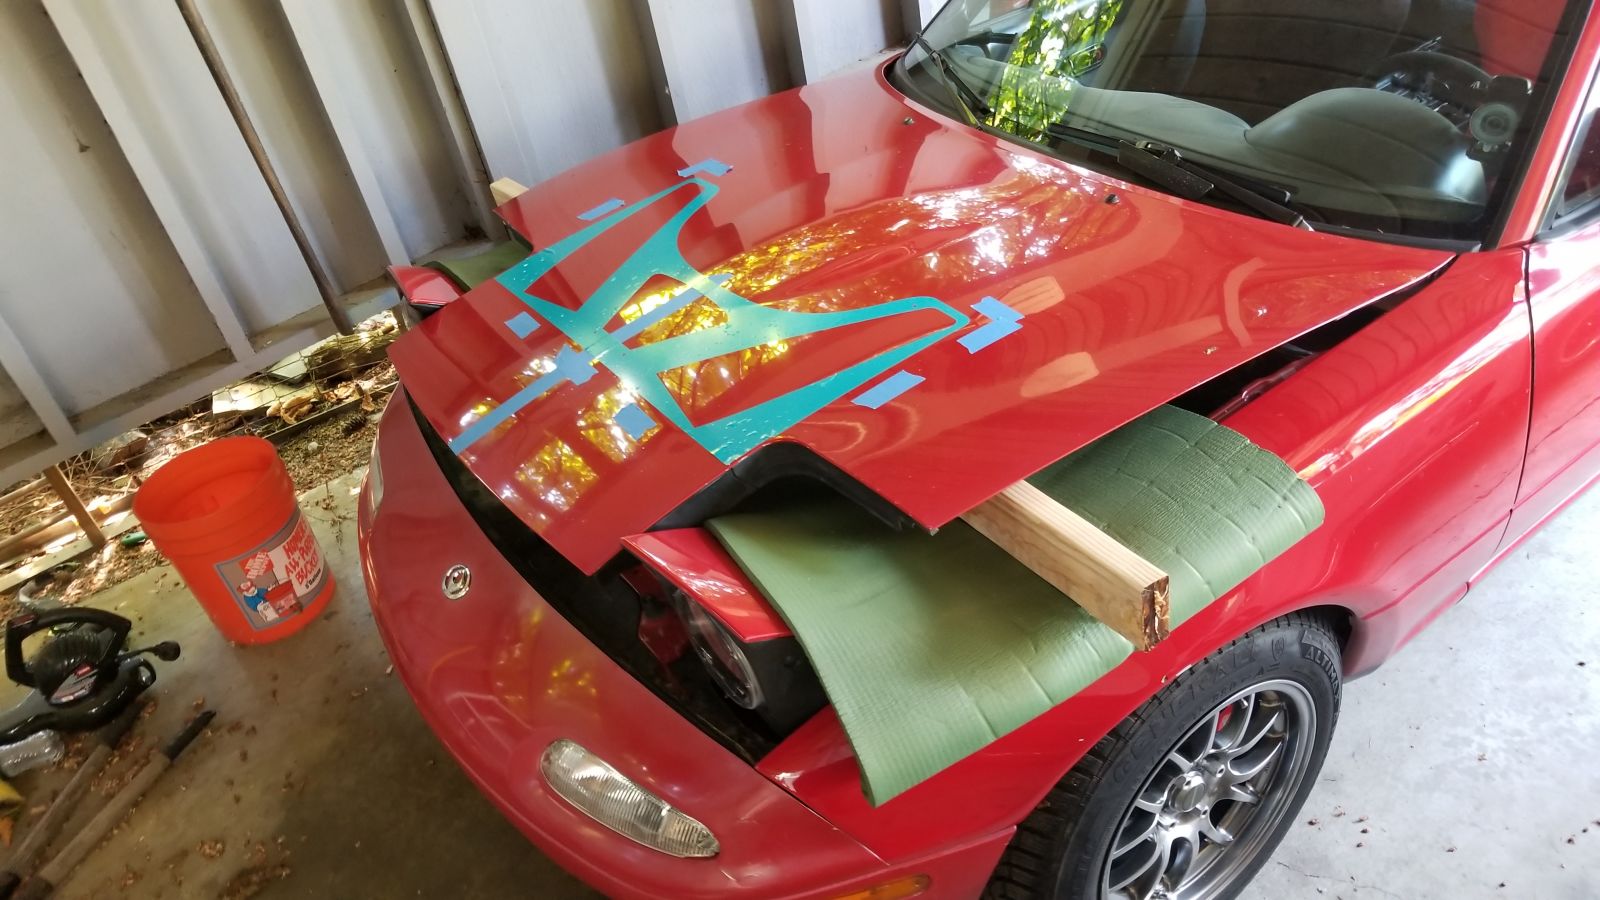
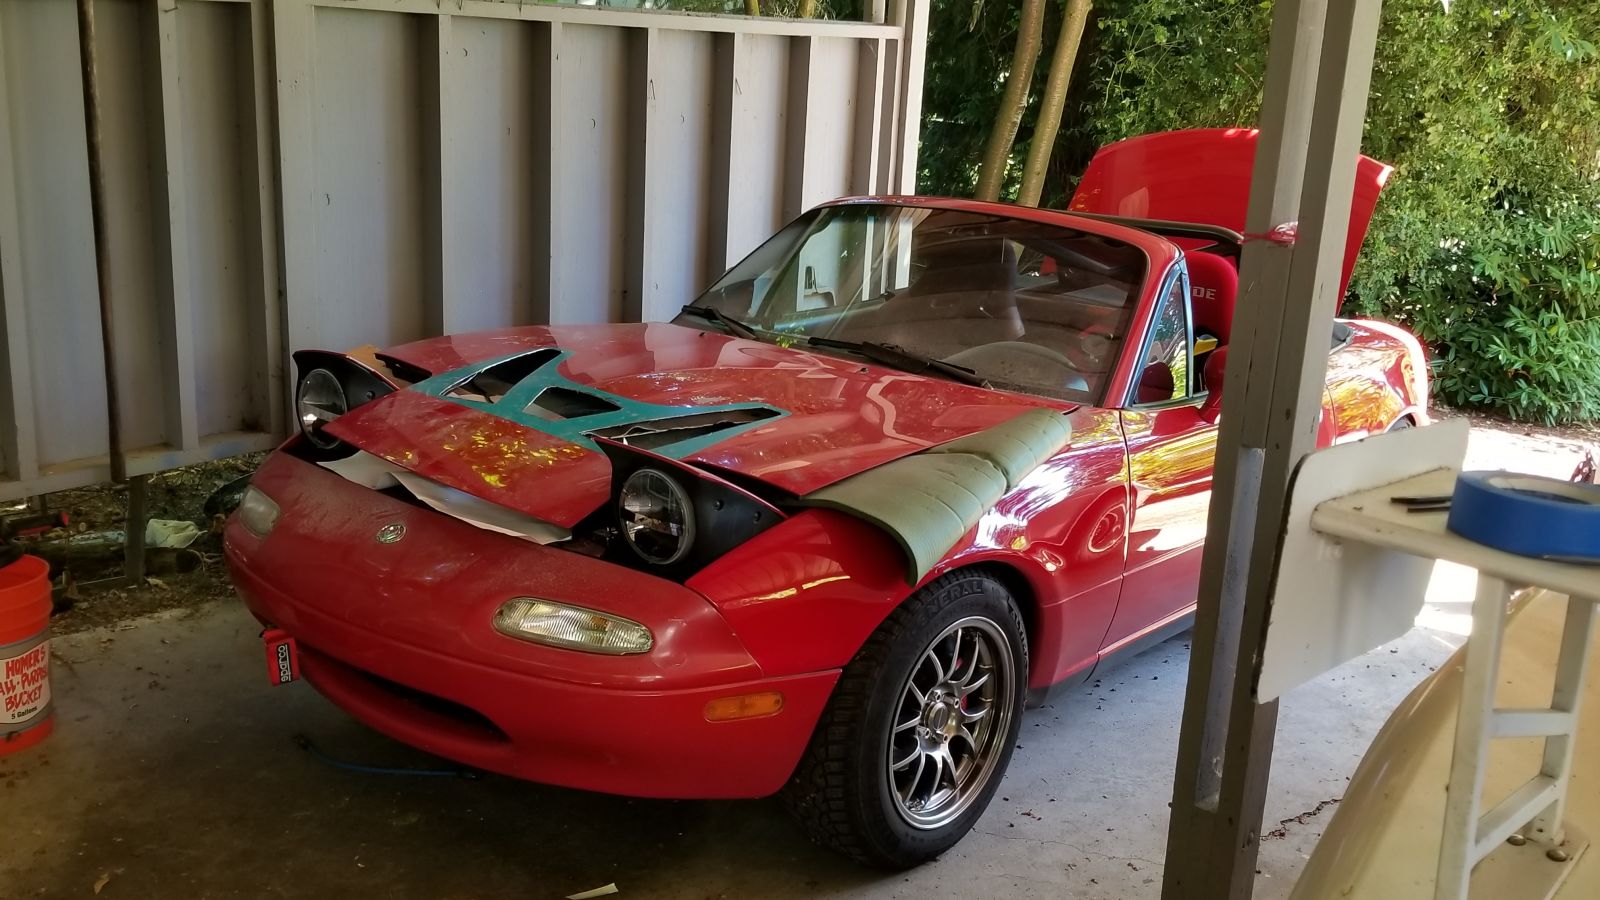
Cutting setup for the top layer of the hood. Little did I know, this was going to be the easy part
Advertisement
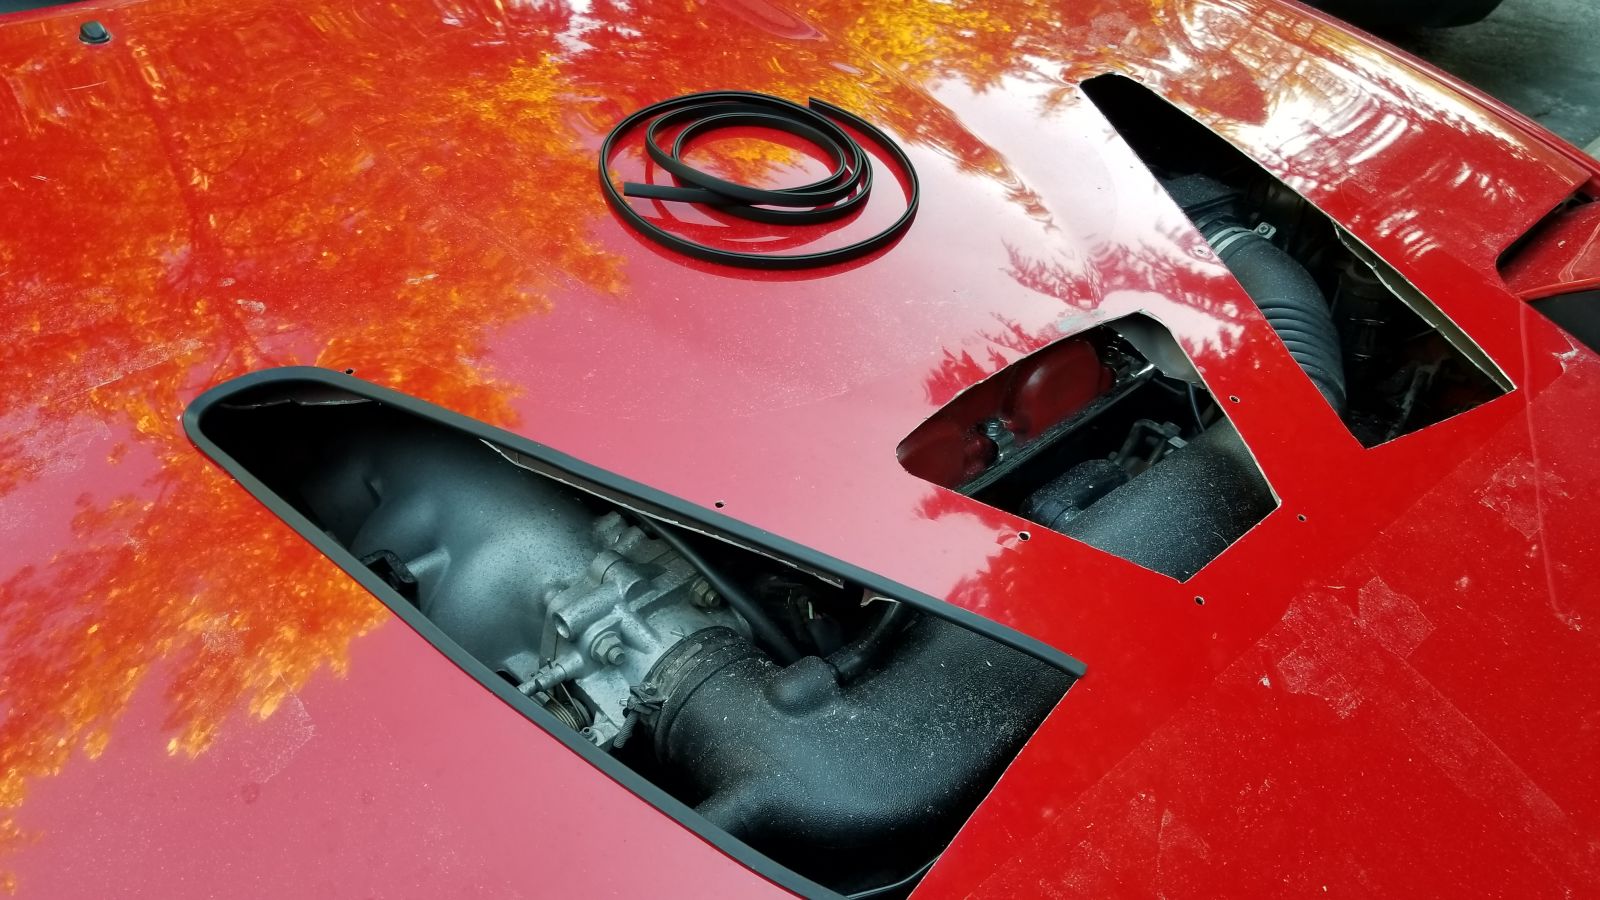
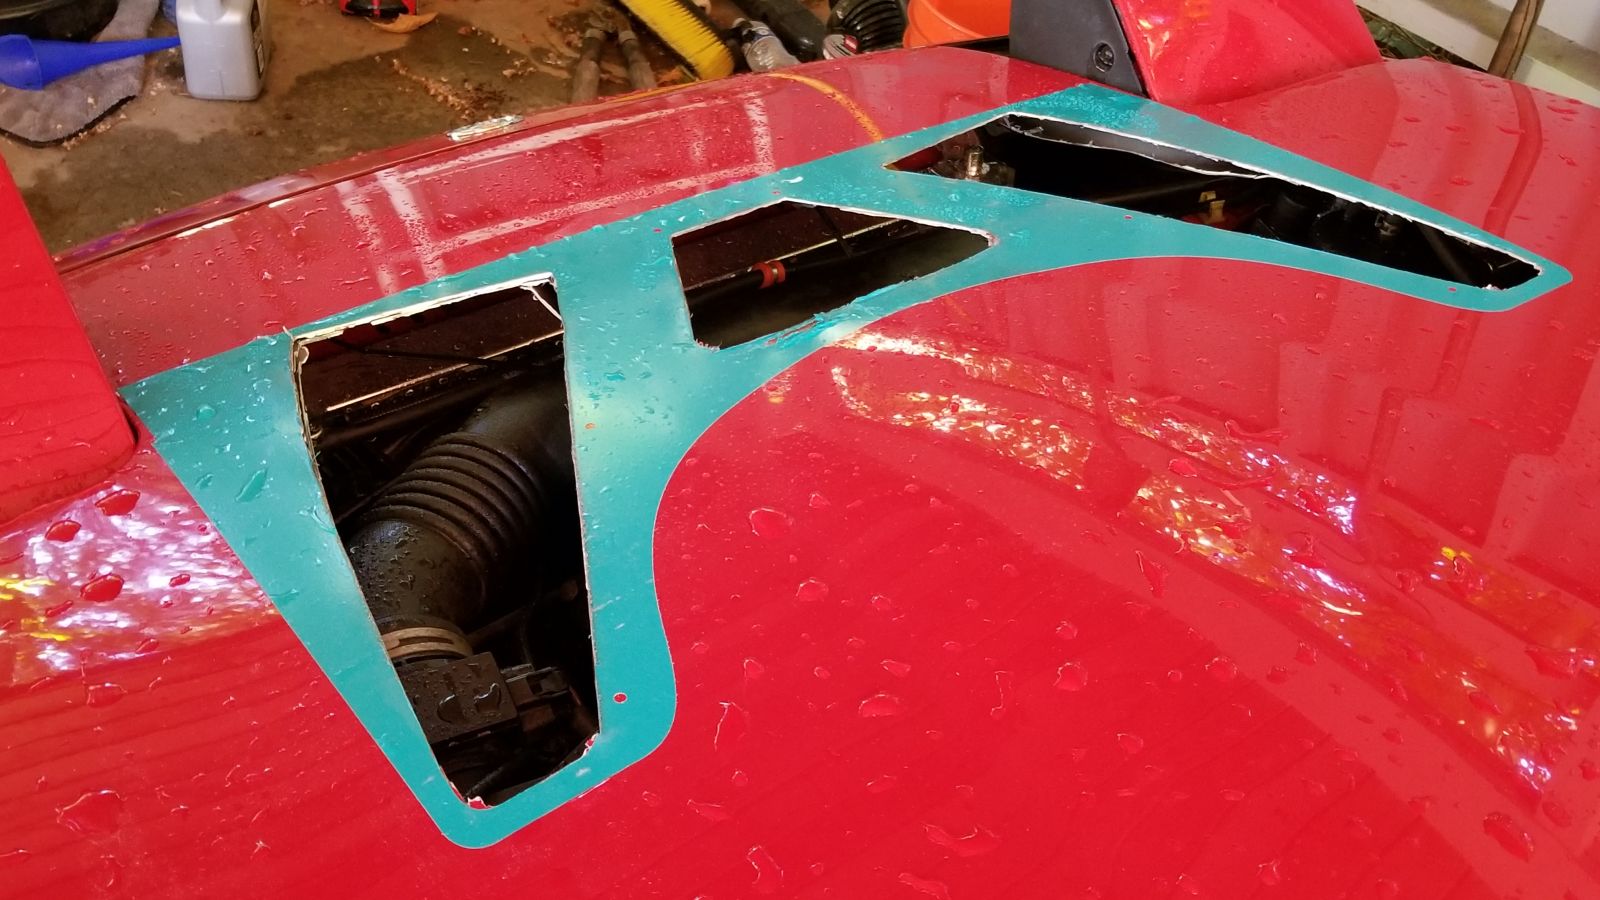
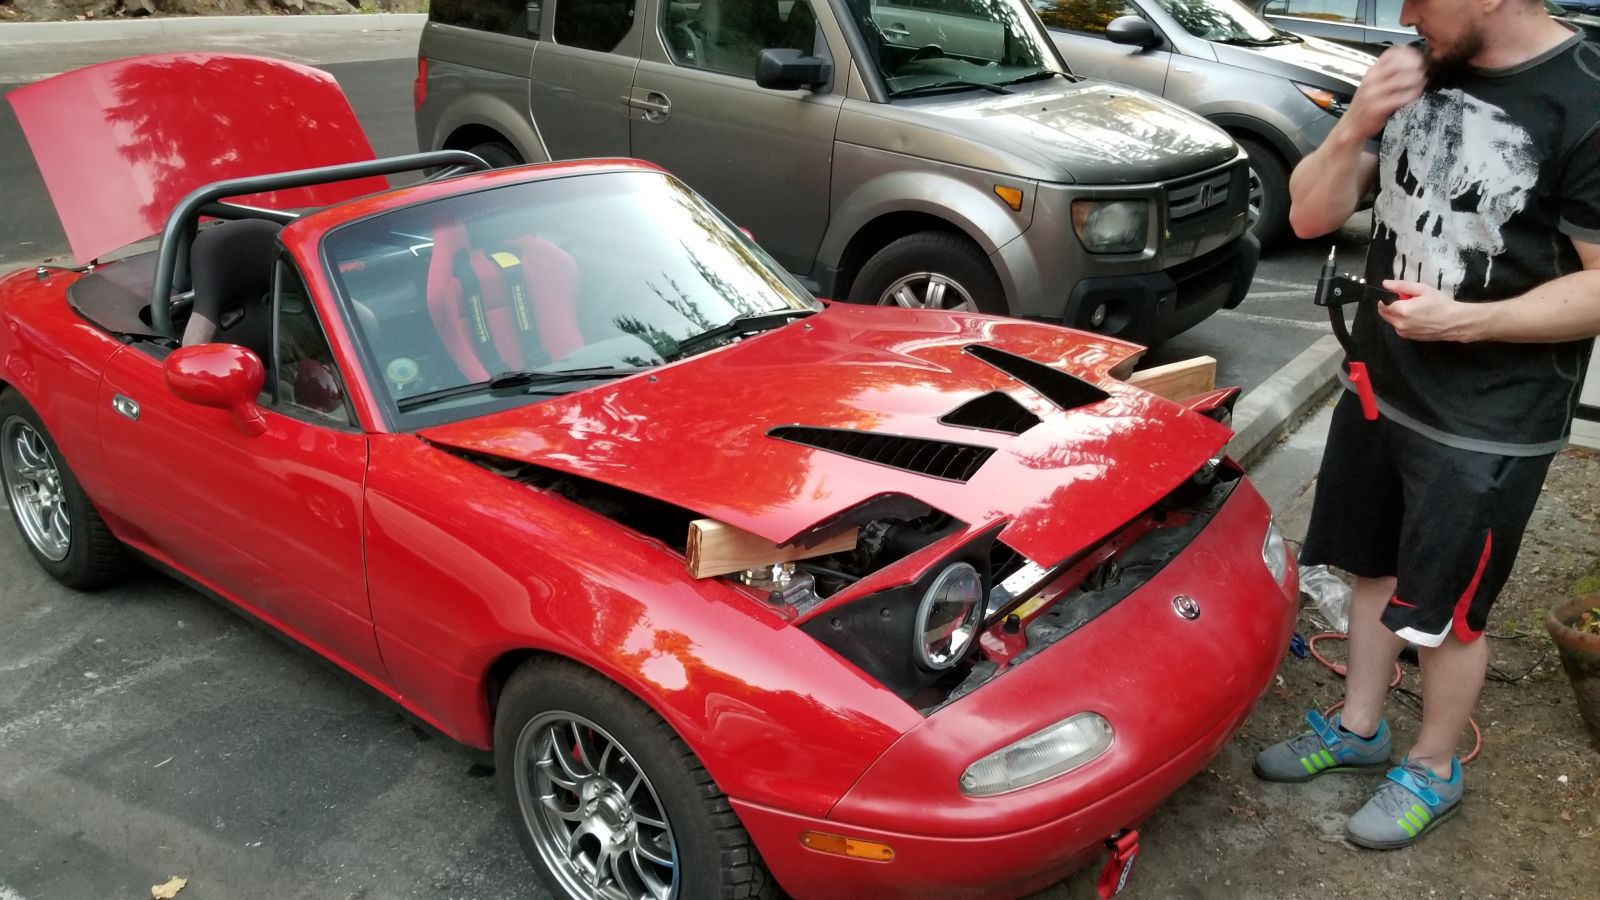
The NA Miata has a super light aluminum hood, and it maintains rigidity by use of super convoluted under bracing that’s 4 layers thick in some places.
Now we’re cutting from below...
Advertisement
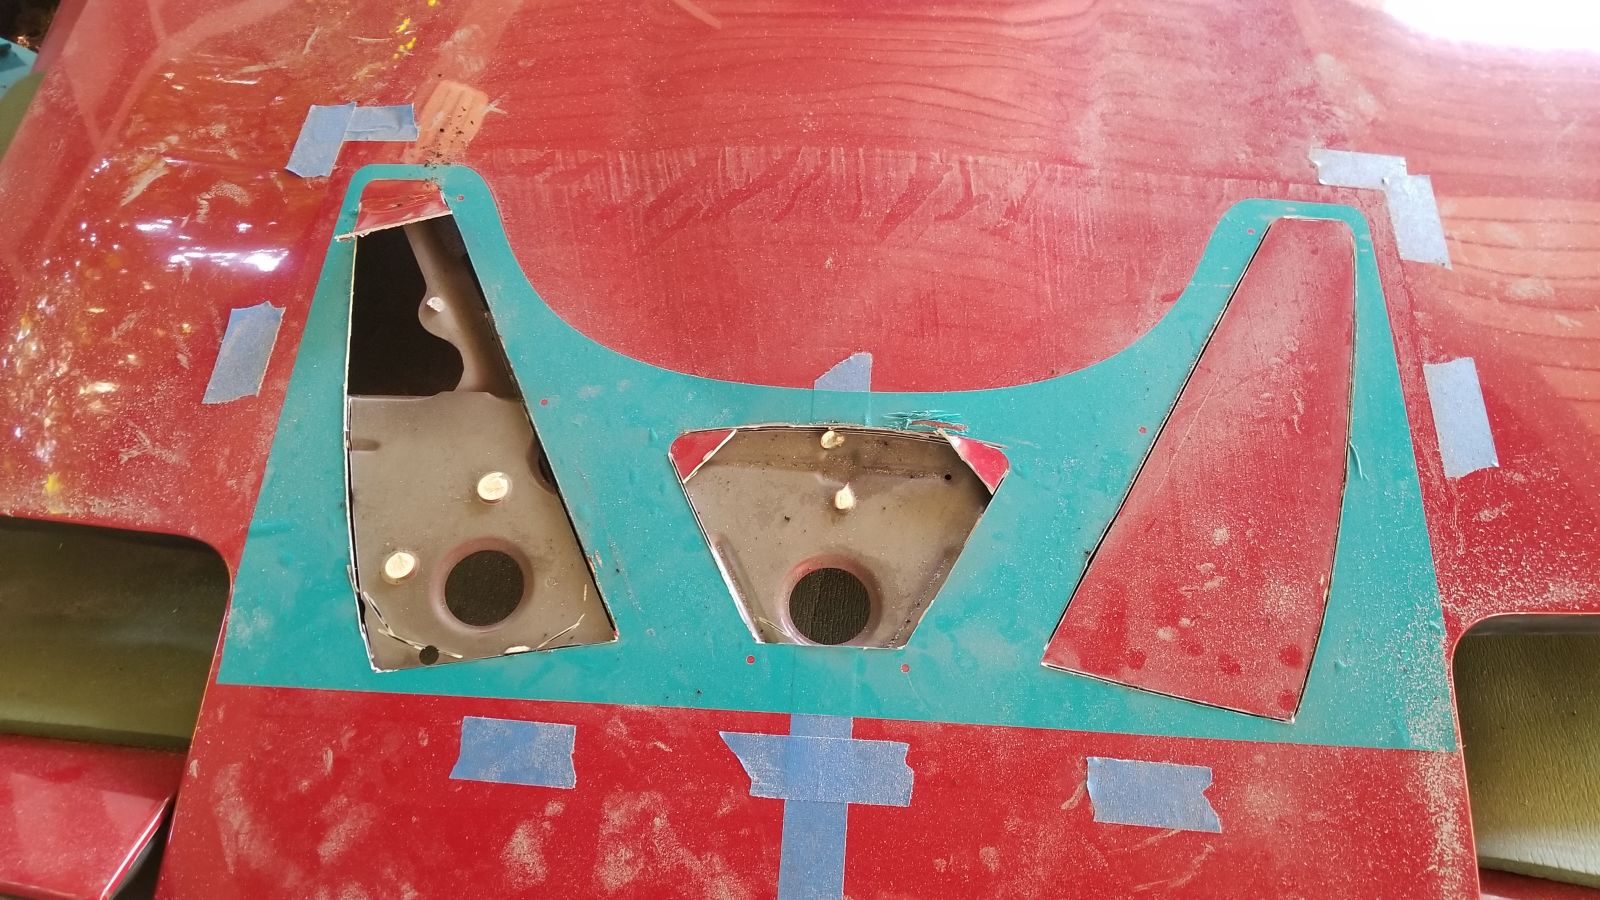
Getting closer, but I realized I needed the underhood bracing cut back an inch further on all sides than the top layer. Tricky stuff, when the bracing is sandwiched against the top layer, and you reaaaaally don’t want to cut through your hood
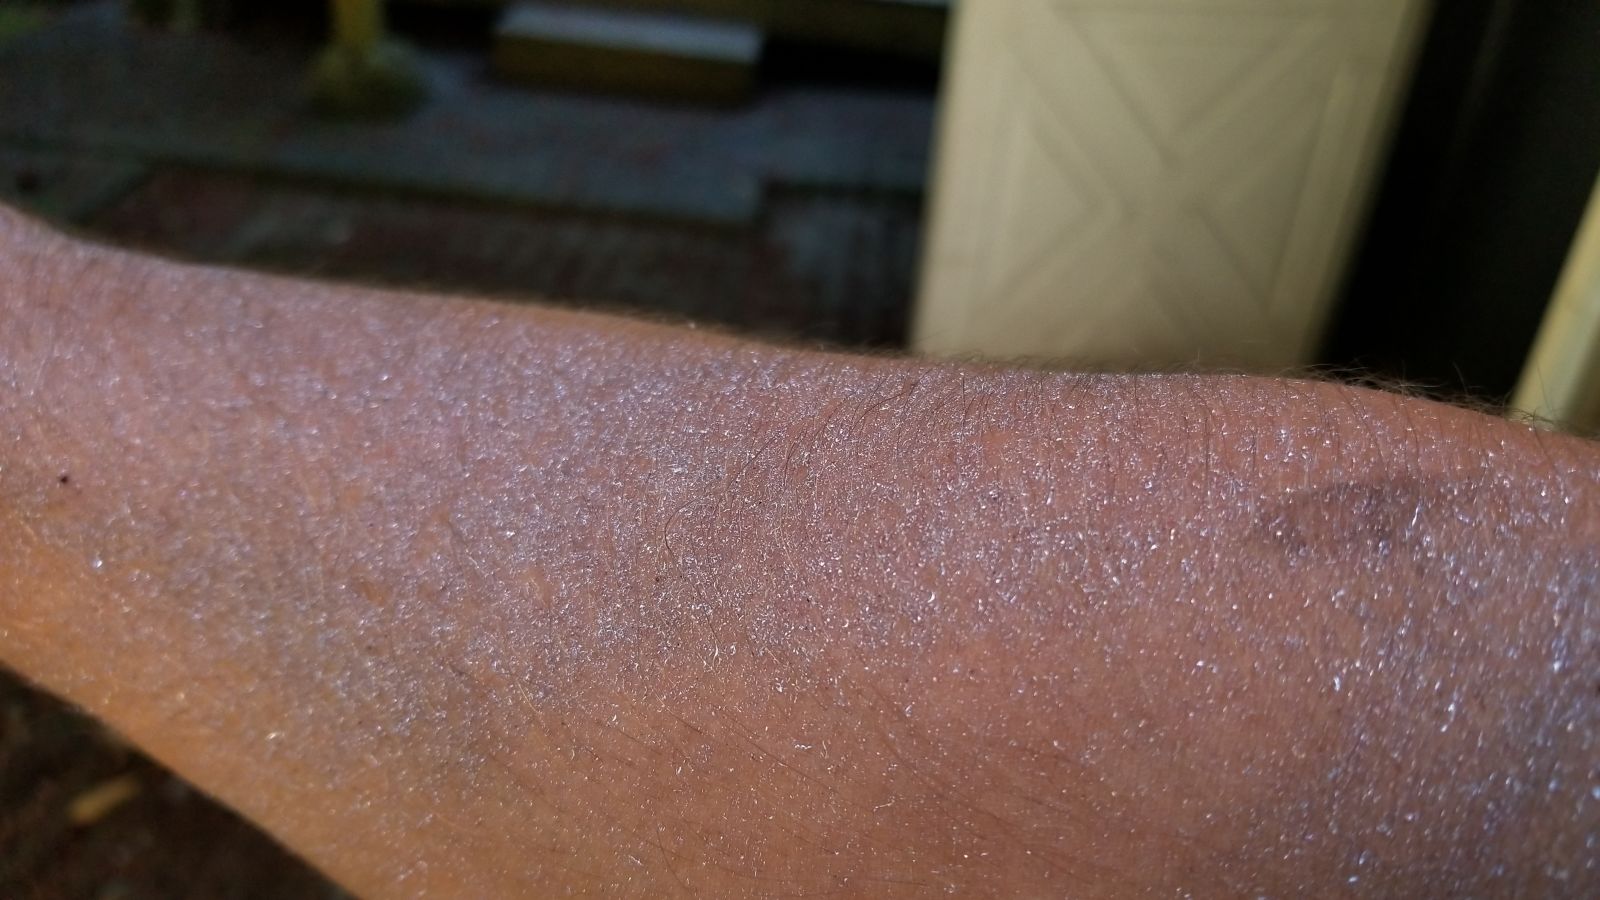
“man glitter” as a certain Canadian enginerd would say.
Advertisement
About 4 hours in at this point. I thought I was almost done. Ha
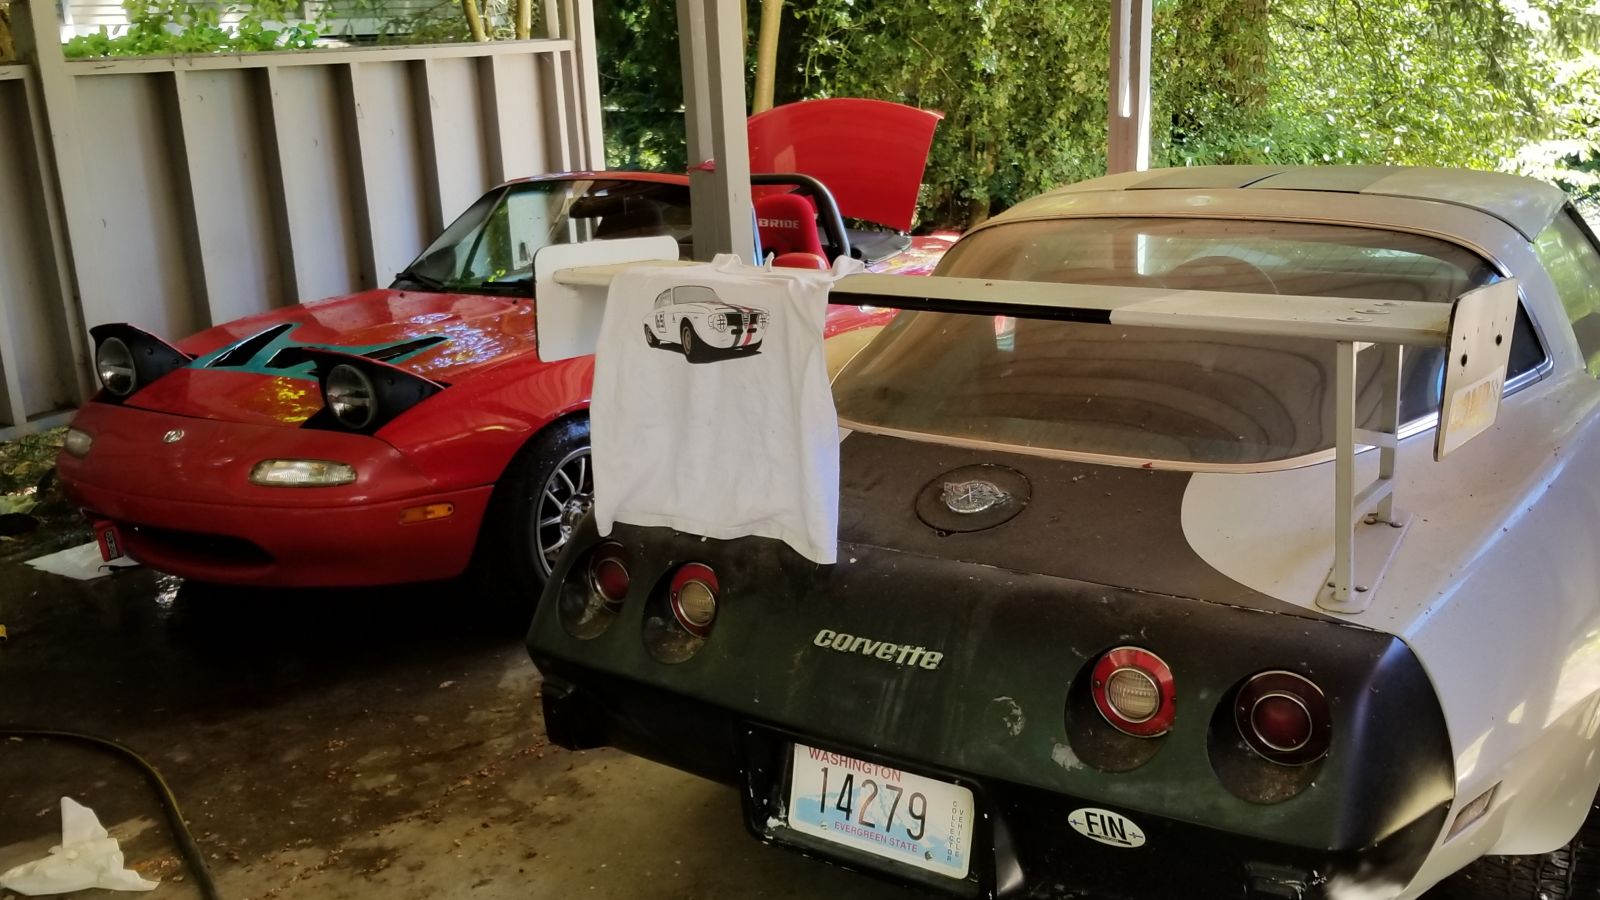
Hey archduke, I need another wrenching shirt. Where are the Miata’s at...?
Advertisement
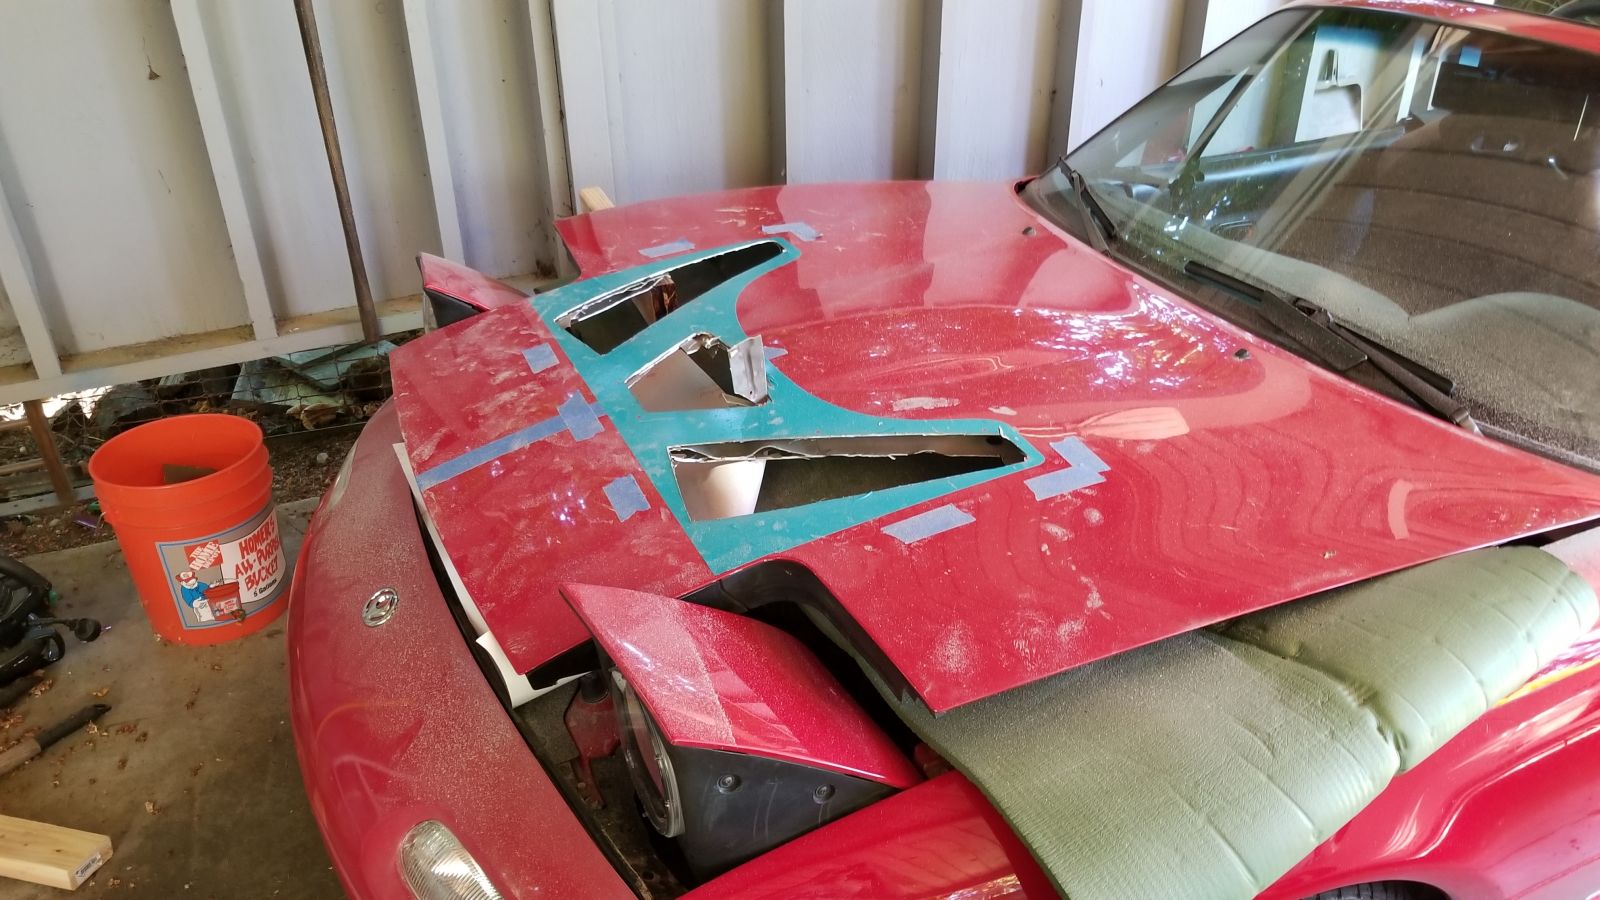
Still needed to attack the corners with a dermal, and file down all the edges
Doing the final underhood trimming took another 2 hours
Advertisement
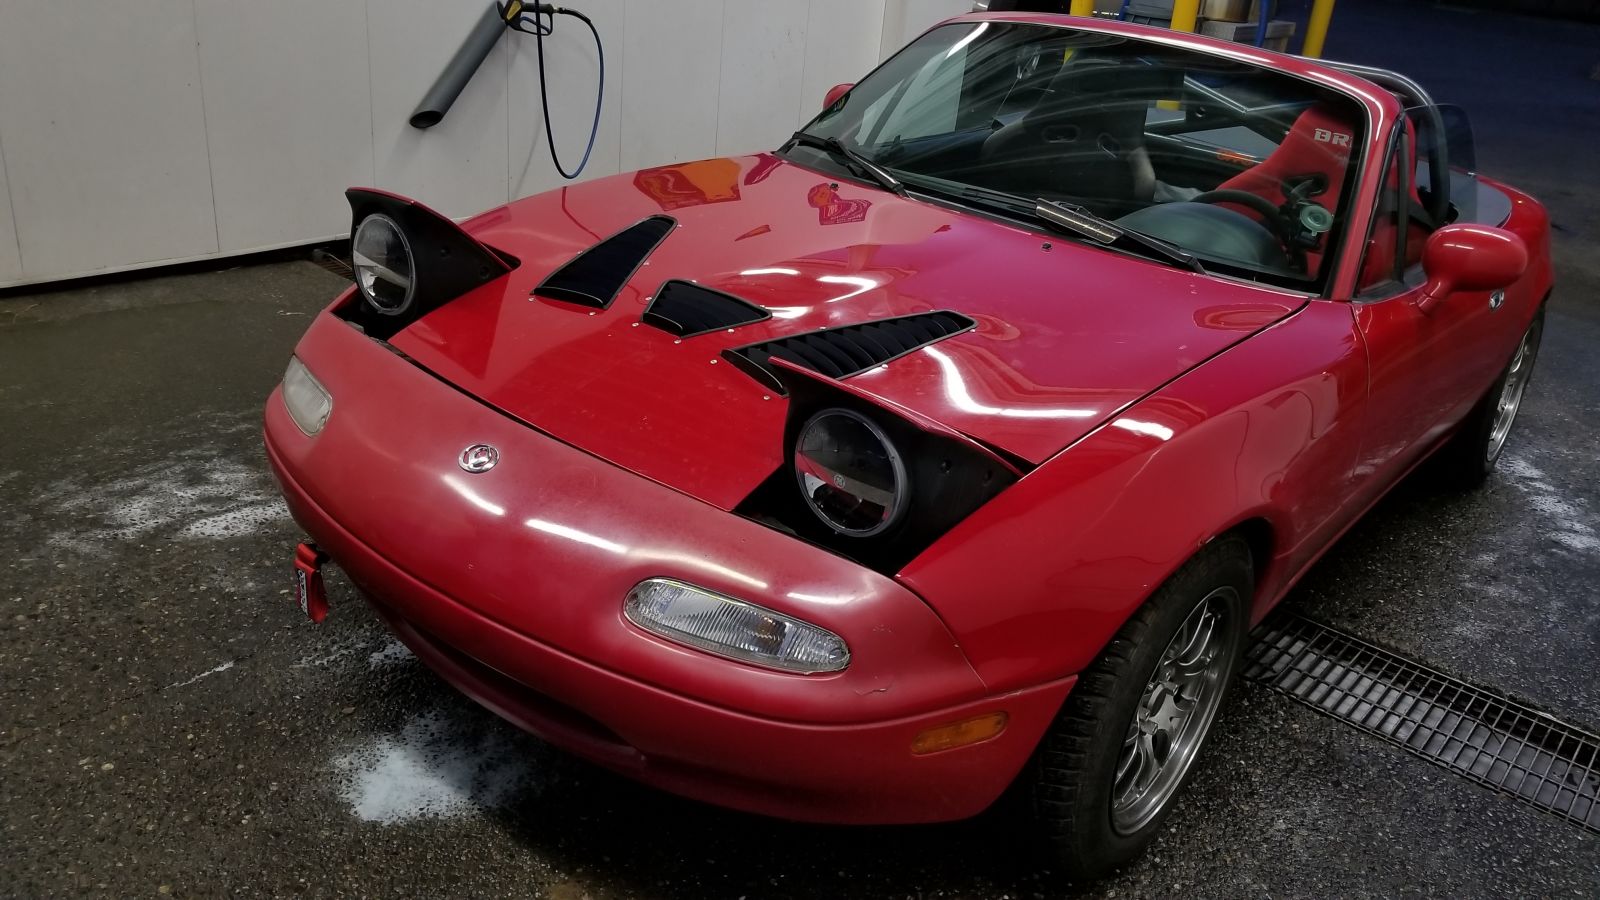
Ready for vents! First I had to bend each fin into place as they ship flat
My awesome duel-wielding neighbor (sti/corvette) came by to help with the riveting. There is no possible way I could have done that solo.
Advertisement
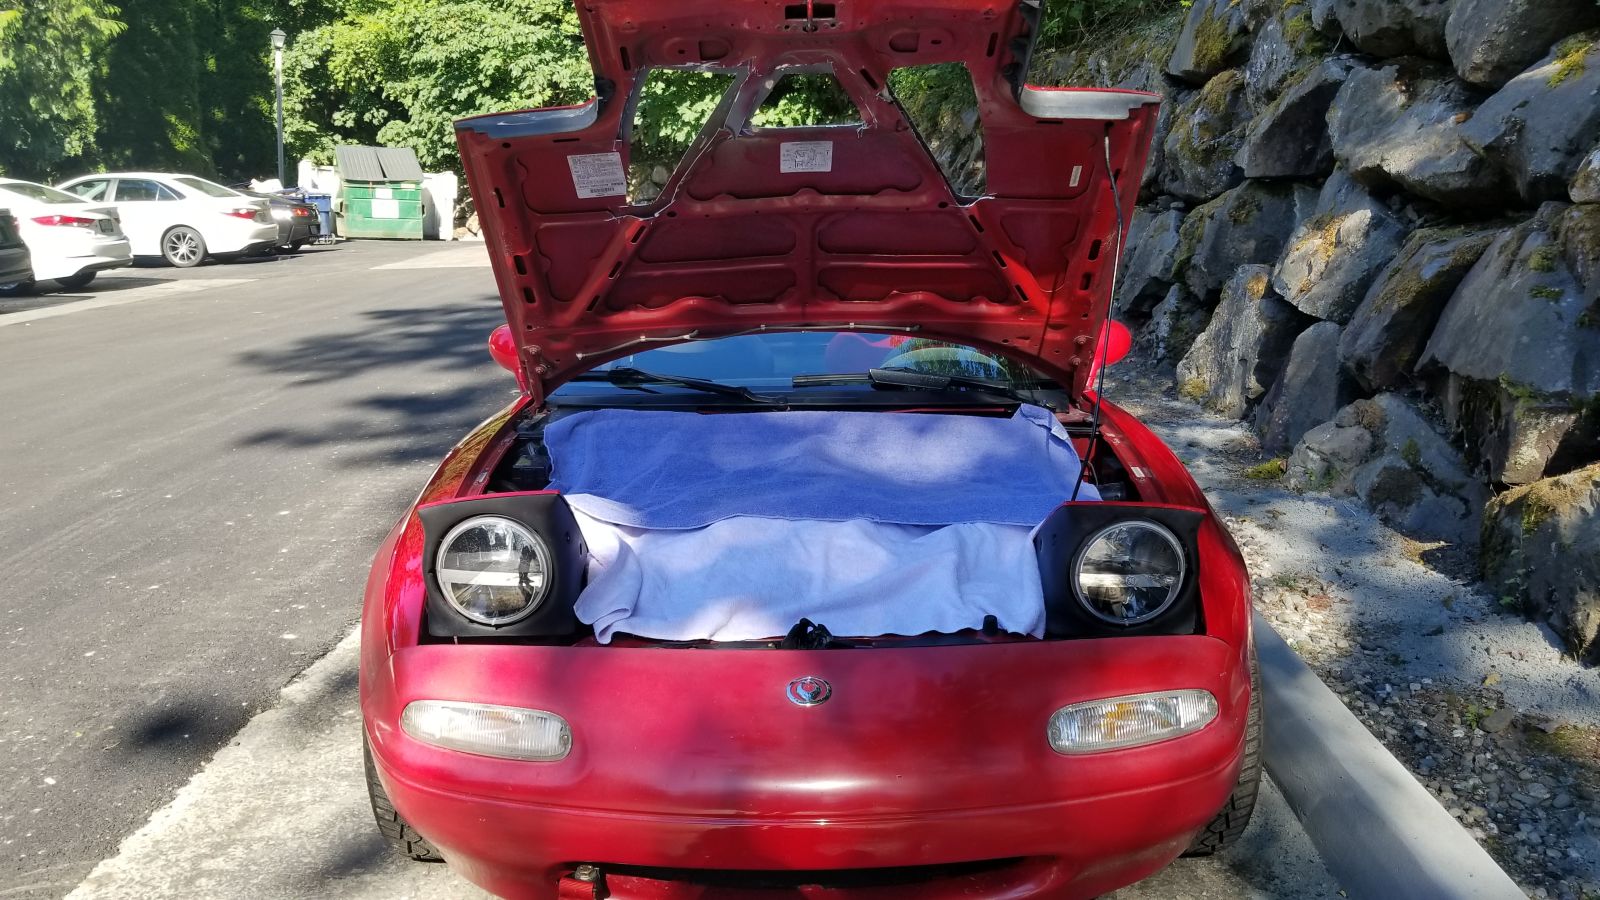
And washing all the metal gunk off! I love the vents, the hood is still rigid, and still needs to be aligned. I’ll do that eventually
Somehow I did this whole job with zero major fuck ups. The vents are centered, the paint is in good shape, my cuts cleaned up well... Madness!
Advertisement
There’s a built in gurney flap at the front of each of the three vent plates, which is cool. I think I'll paint the rivets black so they match better. I considered getting the vent plates powder coated white, but.... I'm not ready for that level of *loud* quite yet.