
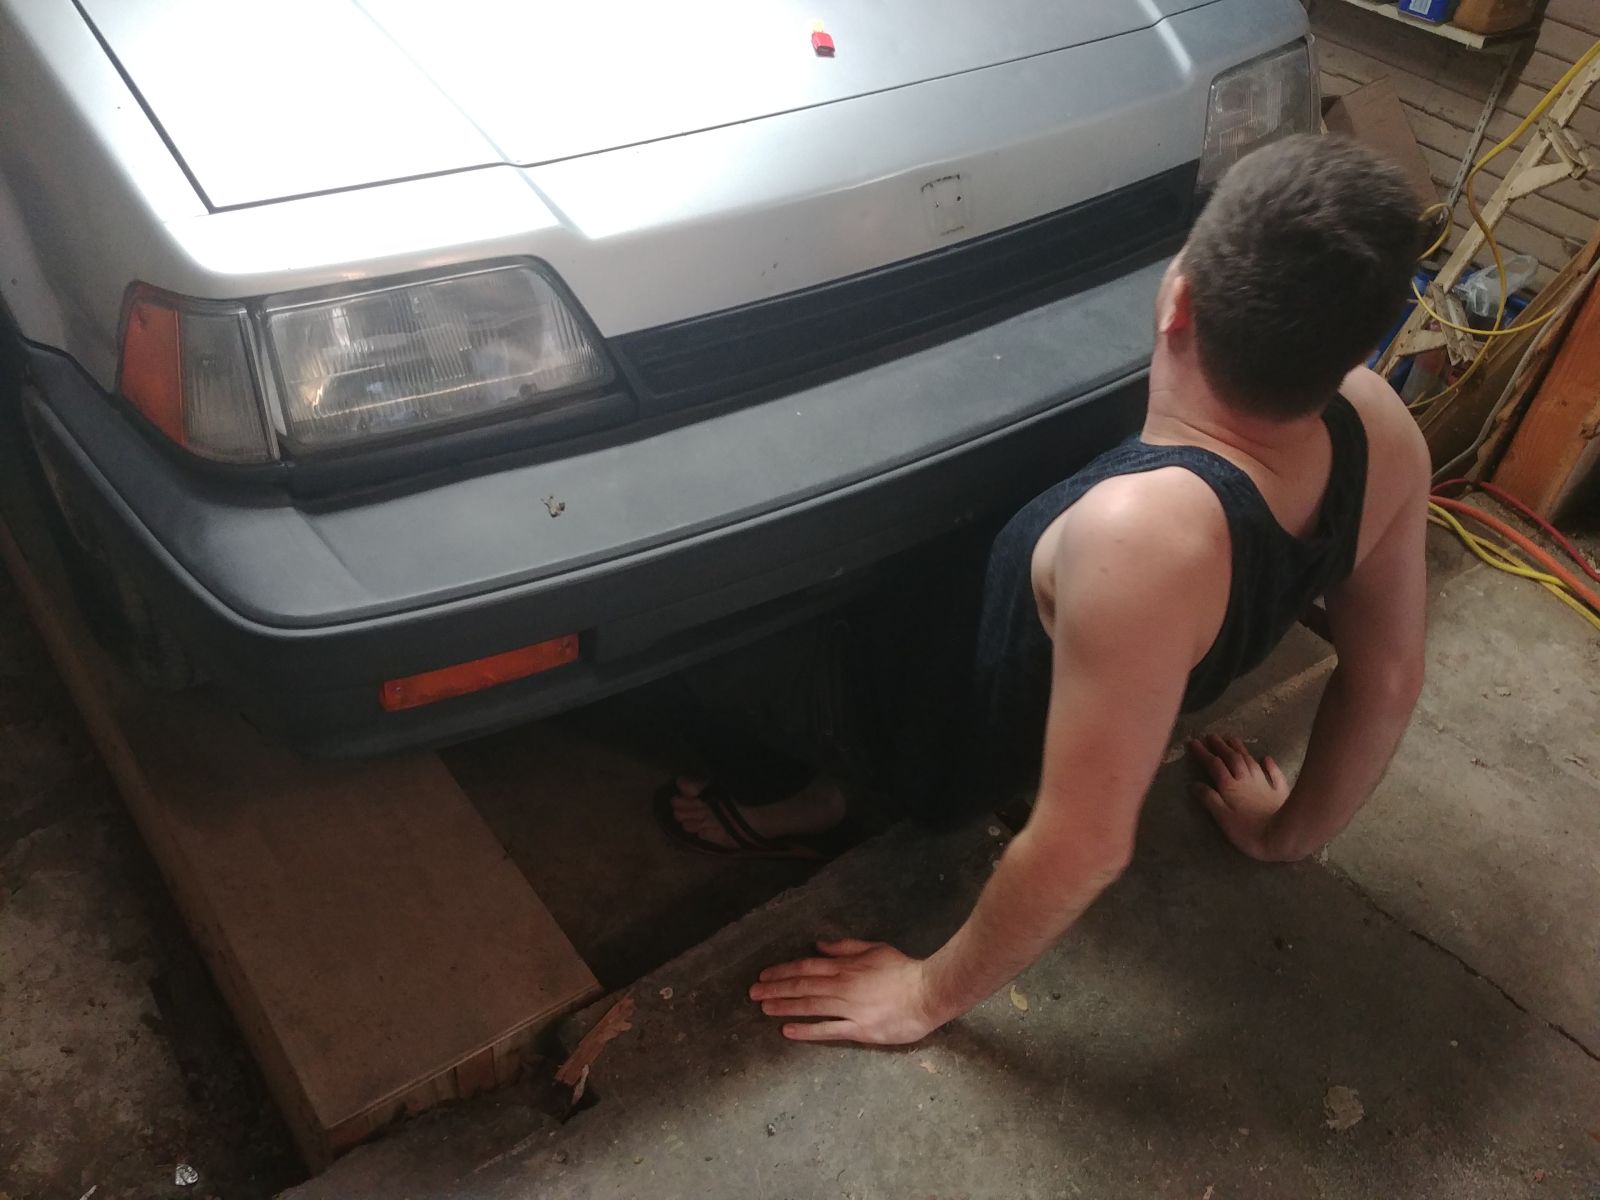
As I’ve been caught up with an ailing Saab and Volvo (a story for another time) I haven’t really been doing much on the Wagovan aside from research and planning. That ended Sunday, when I actually took some wrenches to the little guy and started to see what’s what.
Past progress
Honestly the only thing I’ve done on this guy was change out the gas struts on the rear tailgate. Relatively straightforward, though I did managed to pop the head off a bolt. Luckily, the stut is perfectly immobile without so…
Anyway.
What is wrong?
I did a shakedown in the Oppo article below, but right now my focus in getting it running. This means completing the Weber carb conversion the PO started, which is easier said than done. The problem with finishing someone else’s project is you don’t know where they stopped, why they stopped, or what you’re missing.
In this case, I did have the benefit of speaking with the PO. The only tip he gave me is “everything should be in the box” and you need to block off a coolant port in the intake, which is where he stopped...
Right.
I turned to the instructions that came with the kit and they’re… OK. Good but not great. 6out of 10. Mostly generic but somewhat not.
Anyway, they explained that if the adapter plate that comes with the kit doesn’t cover the coolant port in the intake (lul wut Honda?), that port would need to be tapped and plugged, but in such a way a good seal could still be made. Because air system. The instructions went on to mention that an NPT tap was preferable.
Ok. Fine.
Measuring the hole it came out right between the drill sizes for a 1/4 and 3/8 NPT drill size. That meant I could do a 1/4 NPT and risk the threads not cutting correctly, so do a 3/8 NPT and take out more material. After much debate I decided to err on the side of caution and bought a 3/8 NPT drill and tap kit.
I prepped the hole by… look at it funny… and then set to work. Immediately, my drill declared it’s distaste for the process and bound up. I guess the angle of the bit was causing binding. I switched to a 1/2 in bit (from the recommended 9/16), ran that though, and then proceeded with the 9/16. It was slow, hard going, but eventually got the port drilled out to the correct depth. Now for the tap!
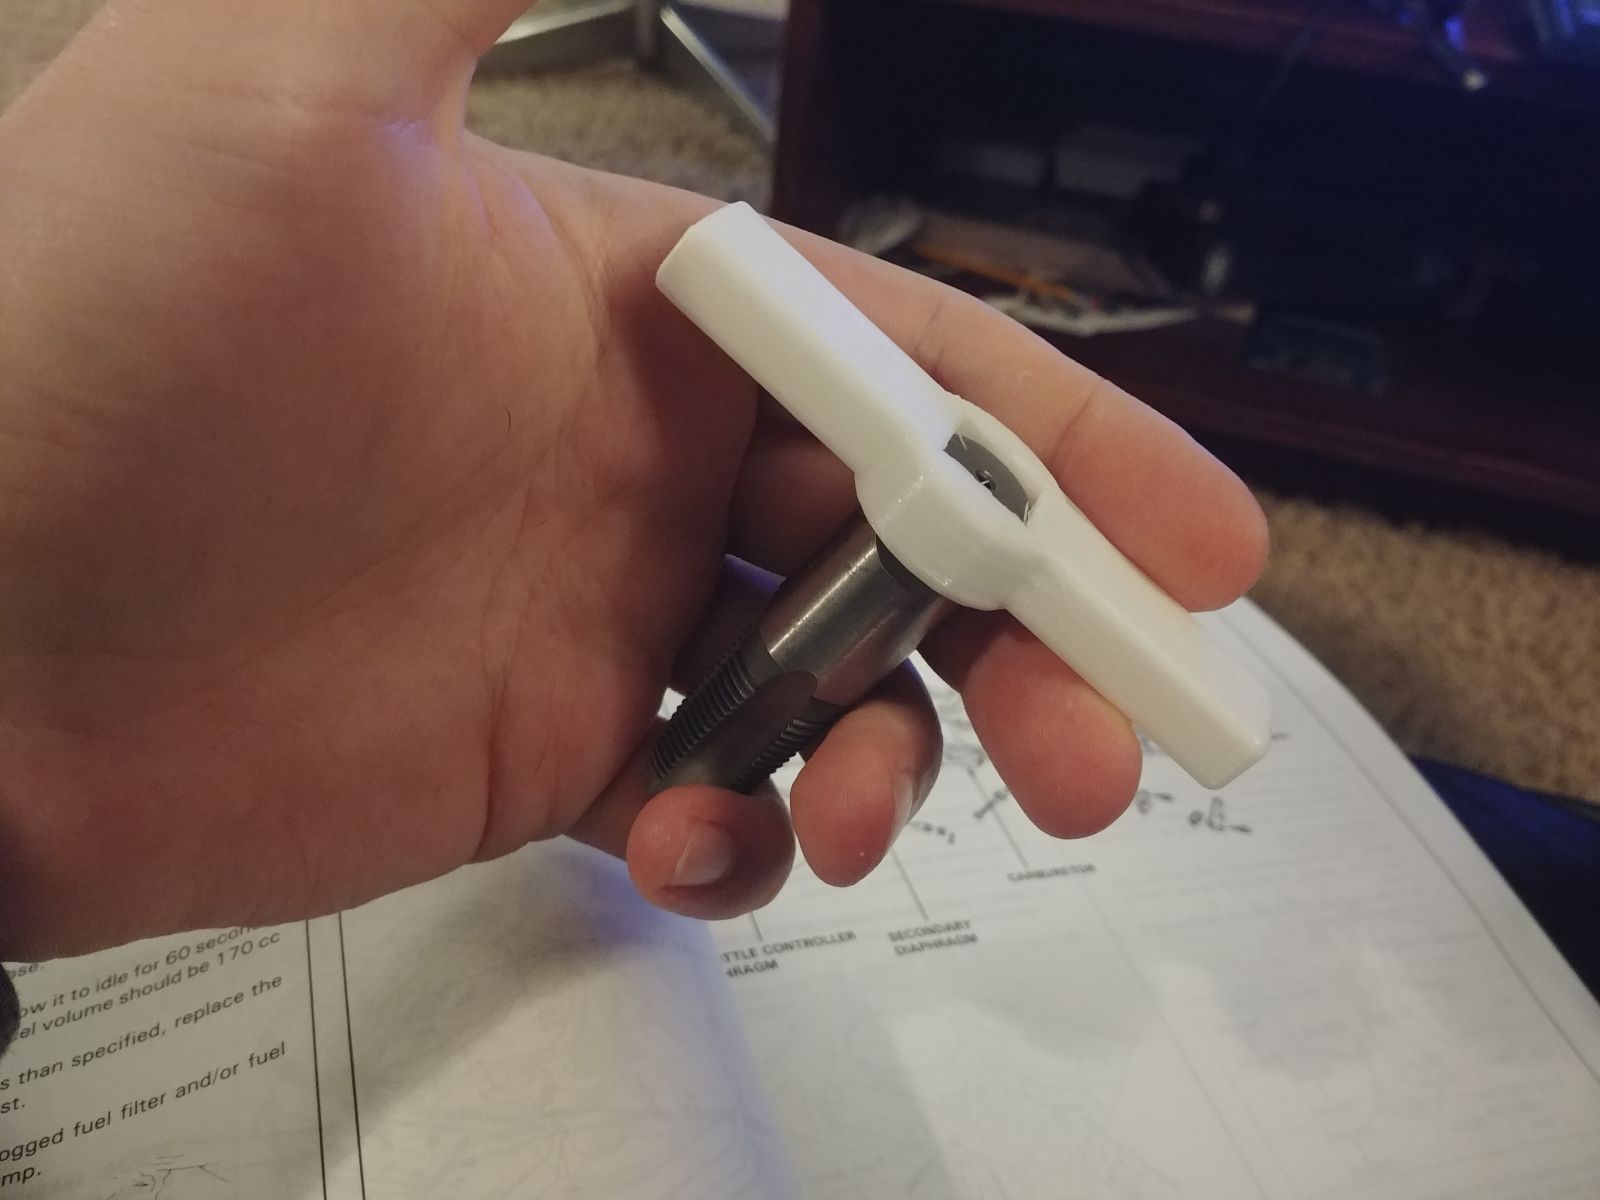
Oh crud. My tap wrench is too small to accommodate the 3/8 NPT tap’s shank. NO MATTER! I shall do to my local hardware store and pick up a correctly sized tap wrench!
What do you mean they don’t carry anything larger than 1/2"?!
Ugh ok… TO THE INTERNET! What they want HOW MUCH!?
Ok… TO THINGIVERSE!
Yes. I had George 3D print me a tap wrench.
And it worked! Sort of…
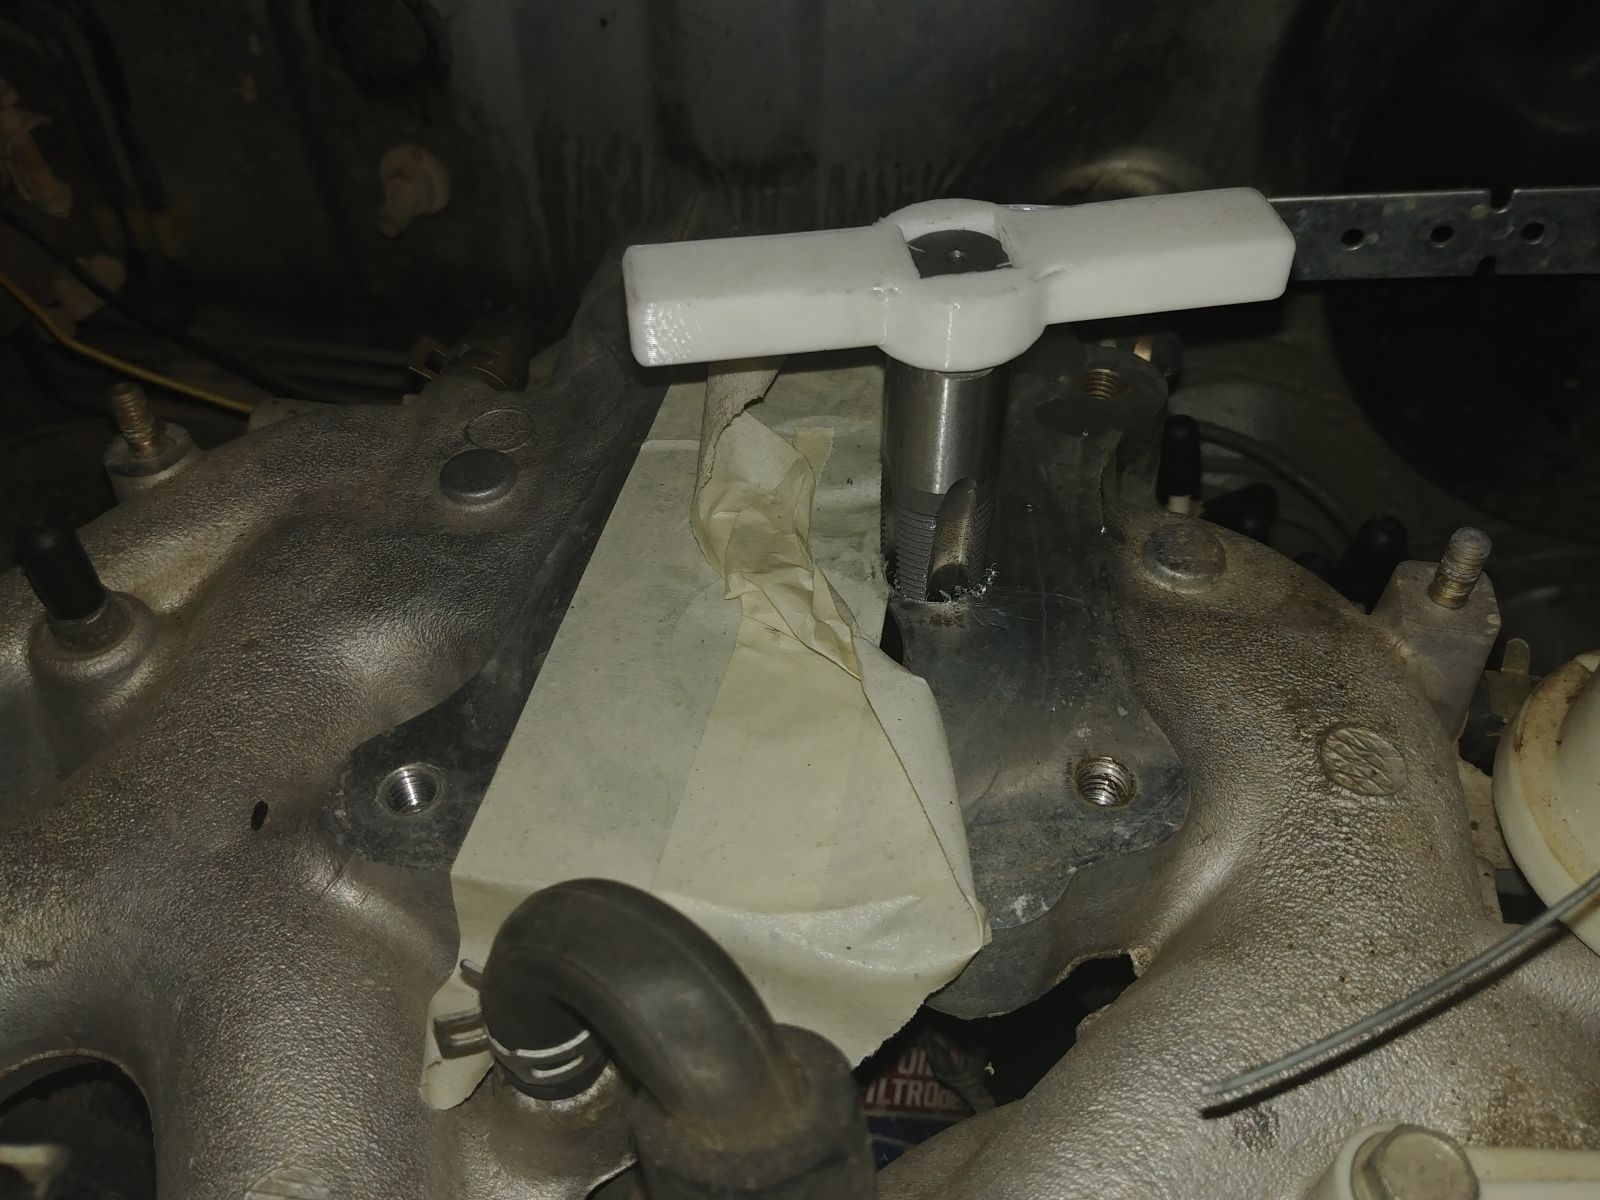
Let me back up a little. If you google the correct drill size for the 3/8 NPT tap The Google will tell you 9/16th. However, if you buy a tap with a bit, it comes with a 37/64 bit. This is a different of about 16 thousands difference (0.0156”). With some more research, allegedly the 9/16th is if you’re using a reamer and the 37/64 is if you’re not. Not using a reamer, but having recently learned that that is apparently a big difference… I decided I’d give the 9/16th a shot and “see what happened”.
What happened was after the first couple of threads turning the tap was getting difficult.
After the first few turns the tap wrench no longer had the leverage to turn. Luckily, I had a few 16 point bits around, found one that fit, and continued on with a 3/8 drive ratchet.
After a few more turns… I had to switch up to the 1/2" drive ratchet.
A few turns after that, I was using the breaker bar.
To make a long story short (too late), I got it tapped, didn’t break anything, but would recommend using the 37/64 if you ever find yourself in this situation. Or cut straight threads because they’re less scary.
I say all that to say…
I got it tapped and the plug sits nice and flush.
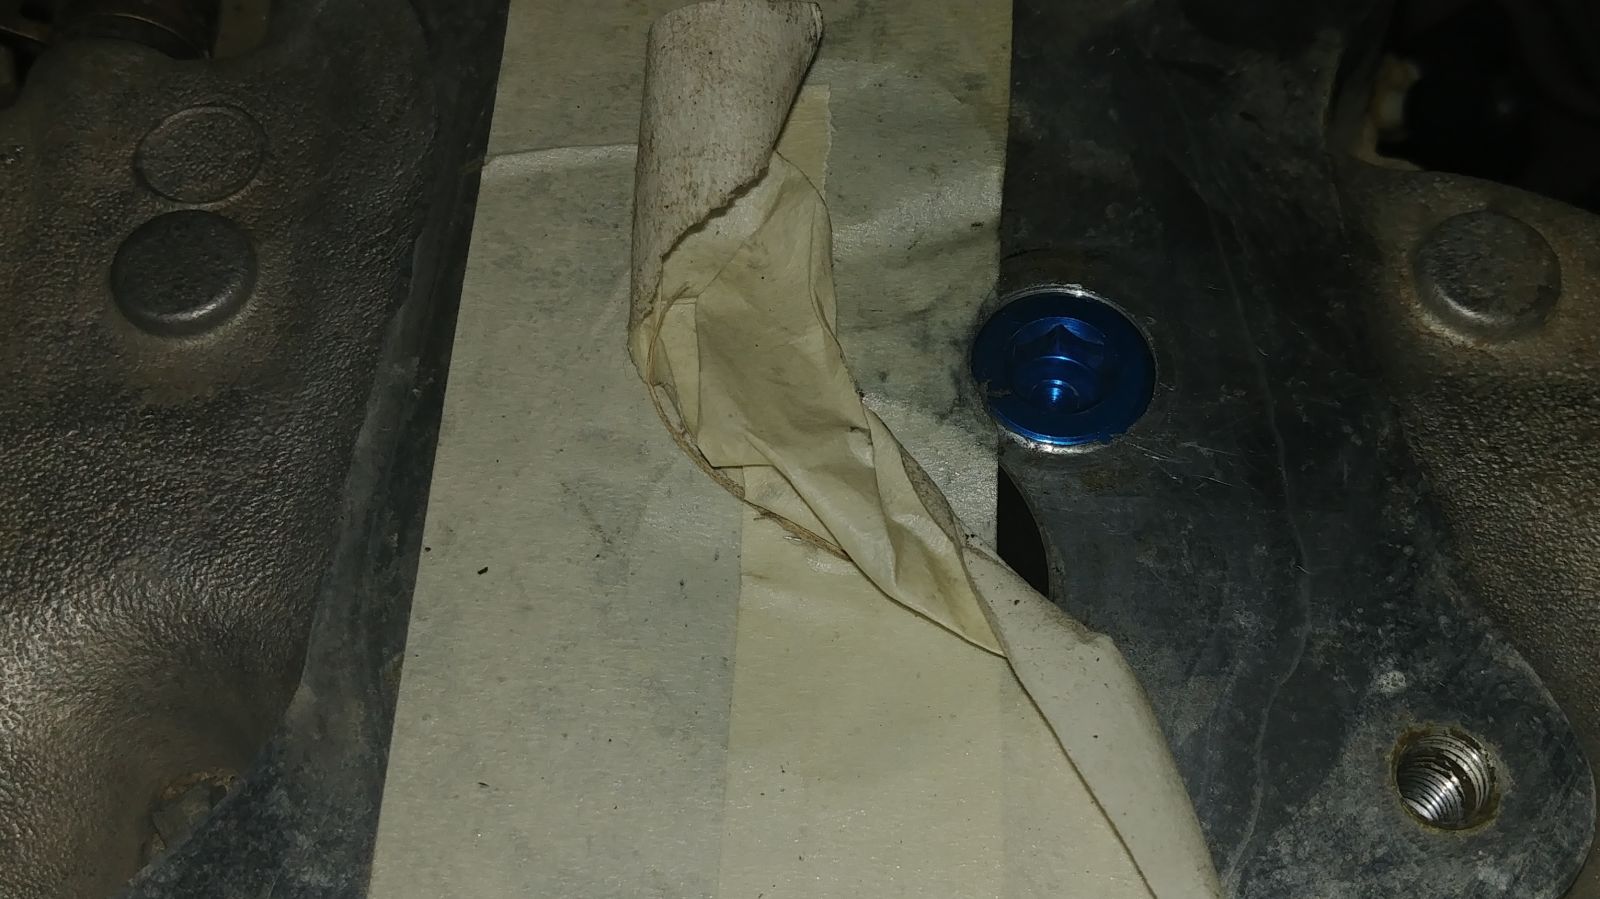
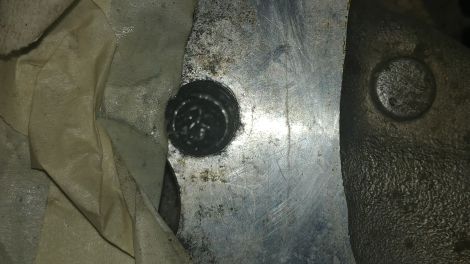
Attempts to clean out the cuttings have been mostly successful using a combination of shop vac, paper towels, and dental pics. Unfortunately as the intake is aluminum, my old friend Mr Magnet was not helpful.
There is still some gunk left in the hole. I’m tempted to leave it, but think I might see if I can get coolant to come out of it by filling the partially drained system. Otherwise I’m looking at a full coolant flush… which honestly wouldn’t be the worst idea anyway.
What else…
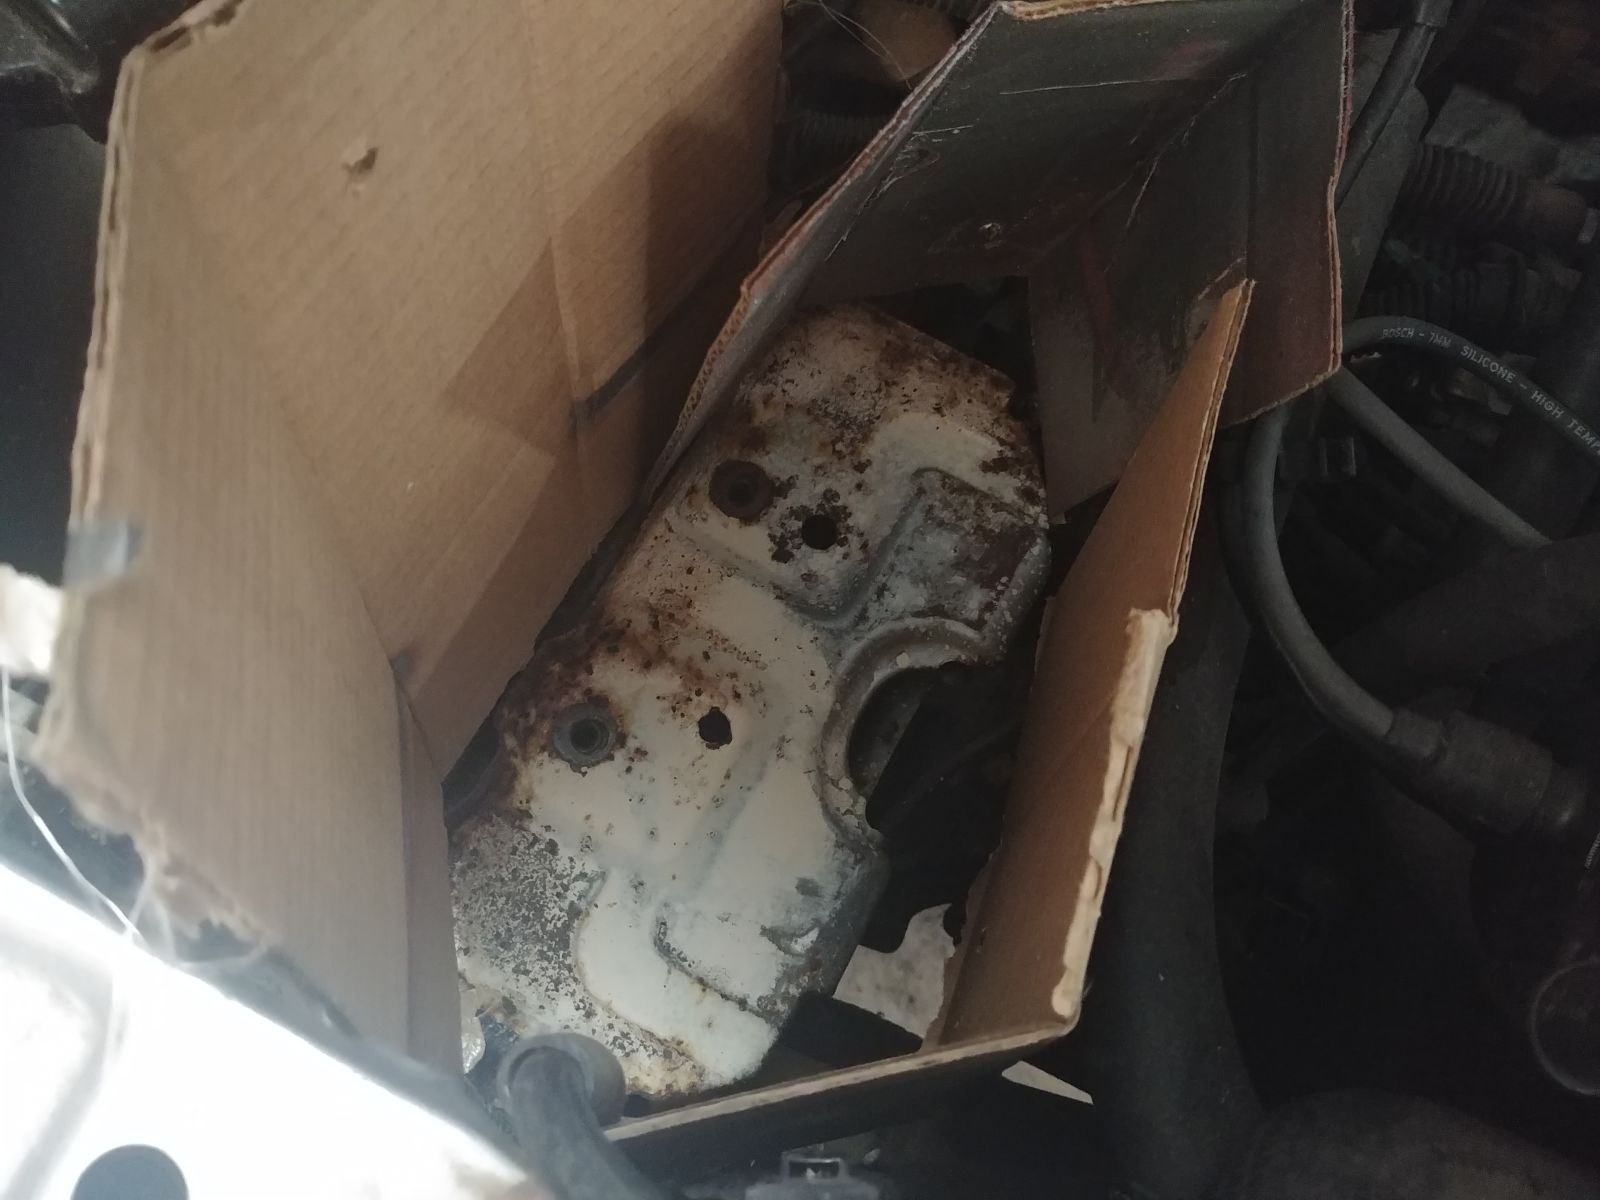
Not a lot. I spent a lot of time identifying and blocking off components that are no longer used. Turns out the PO did a pretty good job removing the correct things. The only remaining vacuum components that were TBD turned out to be for the 4WD system, so they’ll get re-connected at some point.
I also tried to lay eyes on all the various coolant hoses, of which there are many, so I can get a good idea of condition and which need replacing.
I also went ahead and verified the timing belt was installed correctly (there was some doubt) and cranked the engine by hand to make sure we didn’t have valves and pistons becoming one. Both tests were successful, so I now have a somewhat reasonable expectation that the engine won’t explode when I crank the starter.
At least it won’t explode from that anyway.
Oh and I painted the battery tray with bed liner. It wasn’t terribly rusty, but that is a traditionally high rust area so with the battery already out… why not?
What is left?
Well the fuel pump appears to be new, but doesn’t look like the OEM one and has no visible part numbers. I was going to try and figure out the correct connection for it, but given the PO has all but one part connected I guess I am going to assume he did it right and send it.
I need to finish blanking off now-unused components too, but I’m nearing completion on that.
I still need to do something with the cooling system to get the remaining cutting chips out and refresh the coolant while I am at it.
Then drain and fill the gas tank as I assume the gas in there is pretty stanky. I might take a sample to confirm though.
After that there is a lot of errant wiring I need to figure out, plus where the wiring for the automatic choke will come from.
Then install and try, I guess?
Weirdly I don’t feel like there is a lot to do. Lots of little stuff, but it all seems very manageable.
Now if only it wasn’t so effing cold!