
Though it’s been hard to find much time for it, I have been making slow progress on Project RAUX Box. Putting the circuit together required ordering a few more things and then fumbling through all my mistakes on the hardware side, but now I have managed to seize control of this audio chip!

The image you see above is output from my logic analyzer showing my code writing a configuration value to the chip, then reading that value back. I’ve never used this particular communication method before (I2C for my nerds), so of course I think it must be pretty hard, like everything else I don’t know how to do. But it only took like two hours of debugging to figure out all the mistakes I was making once I’d hooked everything up!
Here’s what the breadboard looks like now:
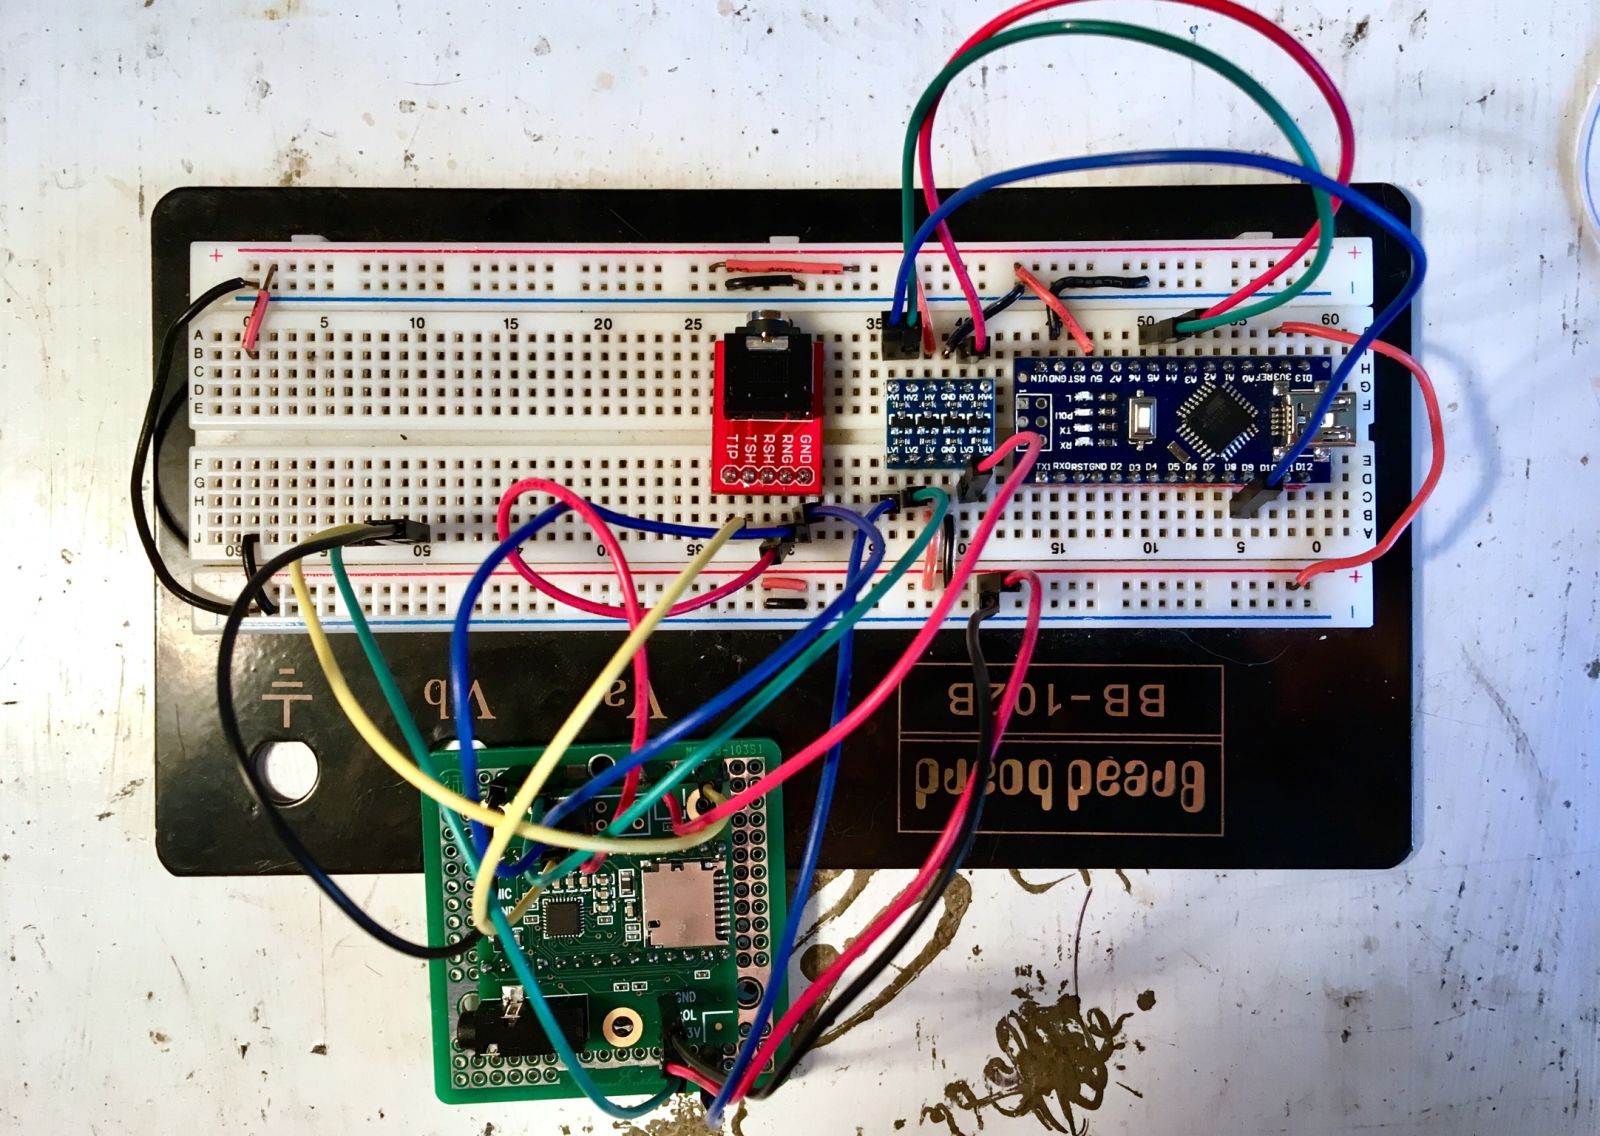
The level shifter was the part I had to order; I neglected to think about the fact that my Arduino’s pins drive 5V high while the audio chip can only take 3.3. If I hadn’t taken my time and gone over everything a few times, I wouldn’t have noticed this and would have fried the audio chip. Disaster averted!
I’ve also spent a lot of quality time with the chip’s manual, and I have about half the configuration code for what I want to do written, along with a nice small set of I2C wrapper functions I wrote for talking to this chip in particular. I’m hoping to finish that over the next couple of nights and then spend the rest of the week debugging it. This means achieving encoded audio output by Friday. It’s all software work, writing the code has all gone seamlessly so far, and everything I need to do is in the manual, so I think I could finish it.
If I make the Friday deadline on the digital audio output, that’ll give me the weekend to wire the outputs into some relays’ inputs and then do the installation. The relay part is straightforward, but the installation is obviously not. I’ve pulled the stereo before, so that part won’t be hard, but after that I have to open the stereo case, cut three wires in the ribbon cable, solder the two ends to the other two spots of the relays, and then figure out all the mistakes I’ve made in the previous five steps.
This is a tight timeline for the project, but at least Ravna is on the mend and should be able to run hard go to dog parks by the middle of the week, which should free up some of my time (I’m currently spending 4-5 hours a day walking, training, and playing with her because I have to use up all her energy on my own without hard exercise). We’ll see if I make it. But even if I don’t, I’m pretty confident now that I’m gonna be able to see this project through, which is a confidence I honestly didn’t have before.