
NA and NB Miatas have a reputation for being easy to work on, and in most cases the reputation is well earned. A product of 1980s engineering, with simple and generally solid construction, they hardly changed mechanically from 1989 all the way up to 2005 when the NC arrived on the market sporting a platform partly derived from the RX-8. As a casual wrencher with a small assortment of tools and no access to a garage in which to work, I’ve had relatively good luck doing my own work on my car. Sometimes, though, the car throws me a curve ball for which I’m not prepared. Even the small things. Specially the small things.
H’okay, so, in part 1 I left off where I finished replacing the rear shock absorbers and springs, which went swimmingly. After that victory, I believed that the front suspension would prove just as easy. So it happened that the next day I set out to fish the tools out of the basement trunk and tackle the front axle. Alas, I would not have a repeat the very next day.
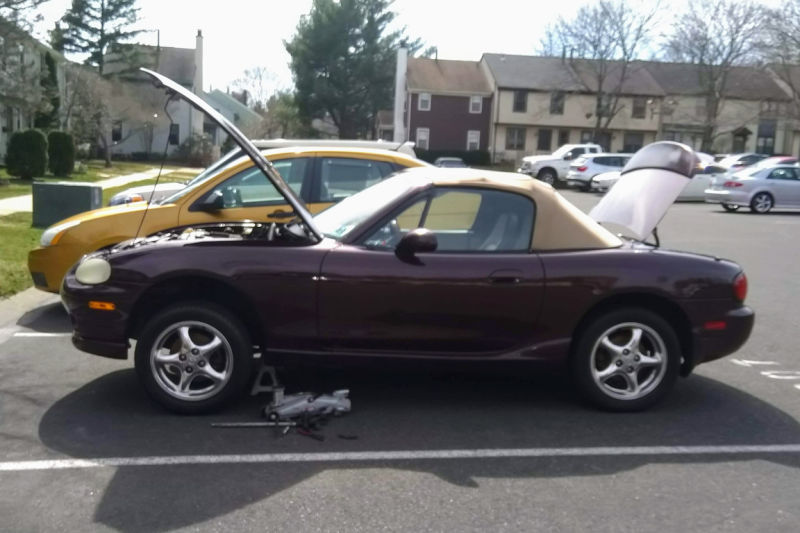
Things went normally from the start. I lifted the front onto jackstands, removed the wheels, removed the lock nuts, and gave the sway bar end links a taste of cutting wheel. Here’s where I ran into the first issue, since the lower end of the end link sits adjacent to the shock tube, so I couldn’t take the grinder to it and remove the end link entirely. No biggie, I had the upper end detached from the sway bar, so I could leave the end link there and cut it off later.
Next up, I proceeded to detach the ball joints from the hub carrier to make removal of the shock easier. Except that I didn’t. I wrote a rant about the reasons why, but the short of it is that the cotter pins on the castle nuts had been wedged in entirely, leaving nothing from where to pull them. I couldn’t even fit a pick through the eye as they were pushed in so far inside the castle nut. This was all true for the lower ball joints on both sides, while later I found that the cotter pins on the upper ball joints were in a better position. I didn’t notice this until later, after I pulled a drastic move — I took the spring compressors to the springs, while the shock and spring were still in the car.
And guess what, it worked! After a lot of tightening with the adjustable wrench (there was no space for a socket wrench), I compressed the springs enough that I could swing the control arms down enough to swing the shock/spring assembly and pull it out.
Some here might interject and say that there are easier methods, like removing the long bolt holding the upper control arm to the subframe. There is a very long thread on Miata.net discussing that very subject, in fact. There’s a problem with that, though: the long bolt is not as accessible as the ball joints. It requires removal of the under tray and the sway bar in order to reach the bolt and clear space for it when removed. And I’m a lazy bastard working on a car in a parking lot.
Anyway, front left shock was now out, around 4pm on Sunday. I took out the remains of the sway bar end link, disassembled the old shock, and took the top hat to assemble the new shock and spring. To my surprise, the bump stop and spring here, while chewed up, still seemed functional.
With the new shock put together it was time to put it back in. Except that I didn’t. It was just a bit longer than the old assembly so where the old parts cleared just barely the new ones would not fit, not even with my cheaty dumb spring compressor ways. This is were I found that the upper ball joint’s cotter pin could be removed easily, but I had already burned through daylight and needed to wrap up for the night and continue next weekend.
The following Saturday didn’t didn’t see much progress due to family things, but I did get the upper ball joints popped off, and I took the time to replace the old ripped boots with Energy Suspension boots. Nothing fancy, just a cheap band-aid alternative to replacing the control arm entirely.
Sunday rolled in with much warmer temperatures, and it couldn’t have been better. I struggled initially to get the front left shock in with the upper control arm still not giving enough clearance, but my neighbor stopped by and gave me a hand holding the suspension down while I routed the assembly into place. Success! After fastening the top hat and reattaching the knuckle and sway bar, it was ready to go. An hour and a half later, I had the front right corner all wrapped up as well. Nice.
So how does it ride? Exactly as I expected. It’s firm but not jarring. It rolls in corners but in a predictable fashion that allows me to gauge weight transfer without much thought. It’s no longer hitting the bump stops on every rut, expansion joint, or paint stripe. When we went on a test ride, my son commented “It’s so smooth! I can’t feel anything!” Previously it had some rattly knocking noises coming from the front suspension, but those are now gone and replaced with cowl shake due to not having a front shock tower brace. That’ll likely be my next little project. Probably a roll bar too.
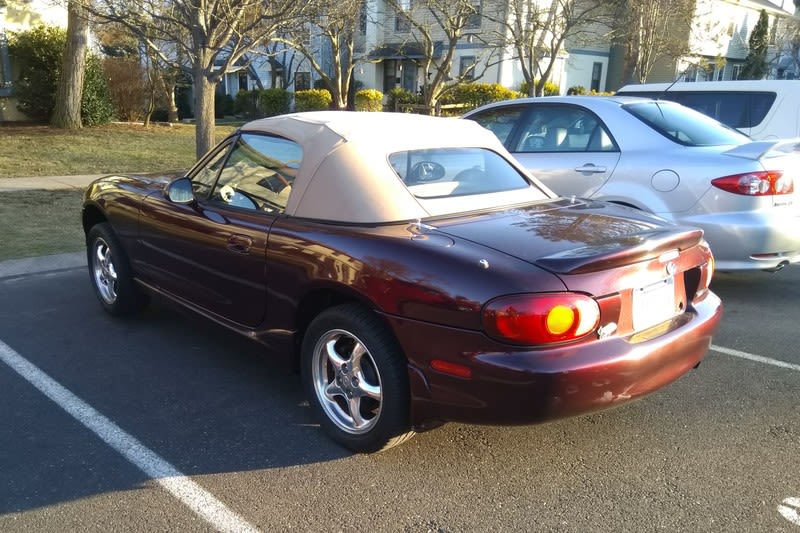
The car has settled down a bit in the past few days. On Sunday evening the fender gap stood at 2¼ inches (57 mm), while now it’s just over two inches (51 mm). I don’t think it’ll settle down much more given that I used stock height springs, but that’s fine with me. I just now have to schedule an alignment, and it should be good to go.