68 C10 Restoration Update - Part 4 - More Tear Down

Picking right up from Part 3

Illustration for article titled 68 C10 Restoration Update - Part 4 - More Tear Down
Advertisement

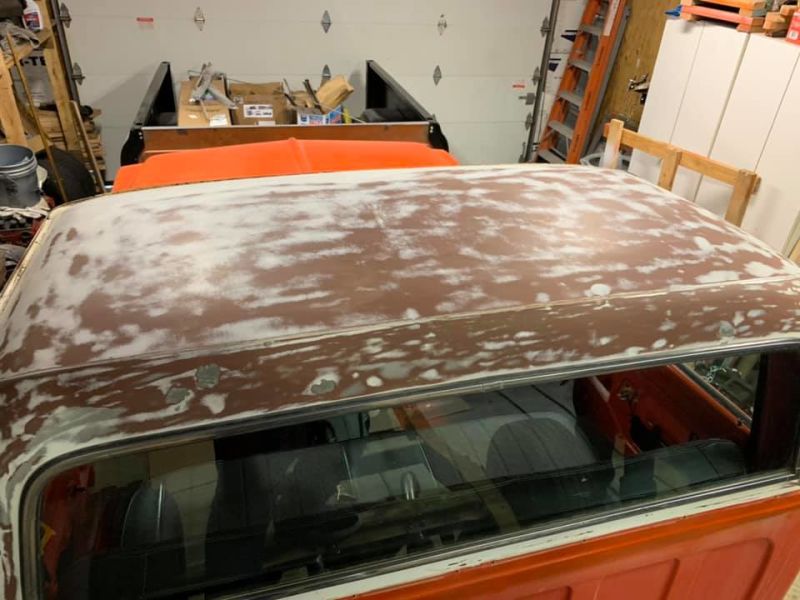
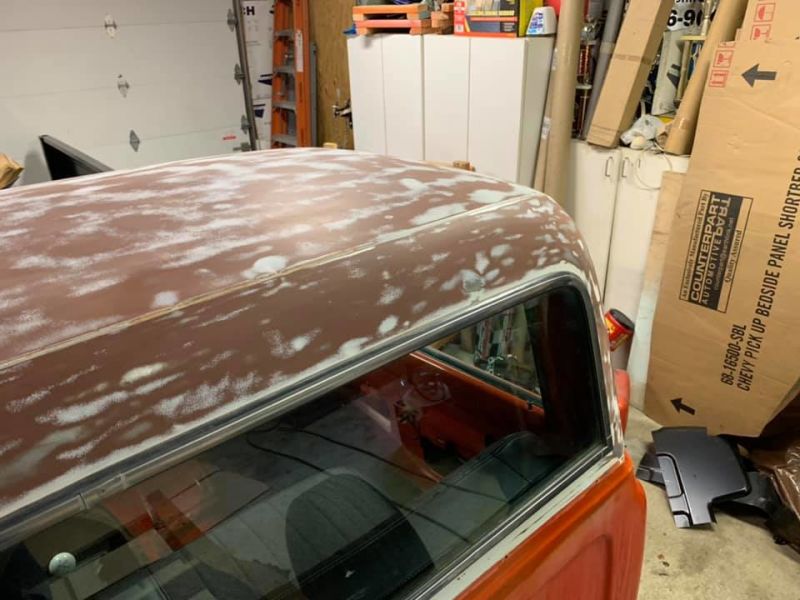
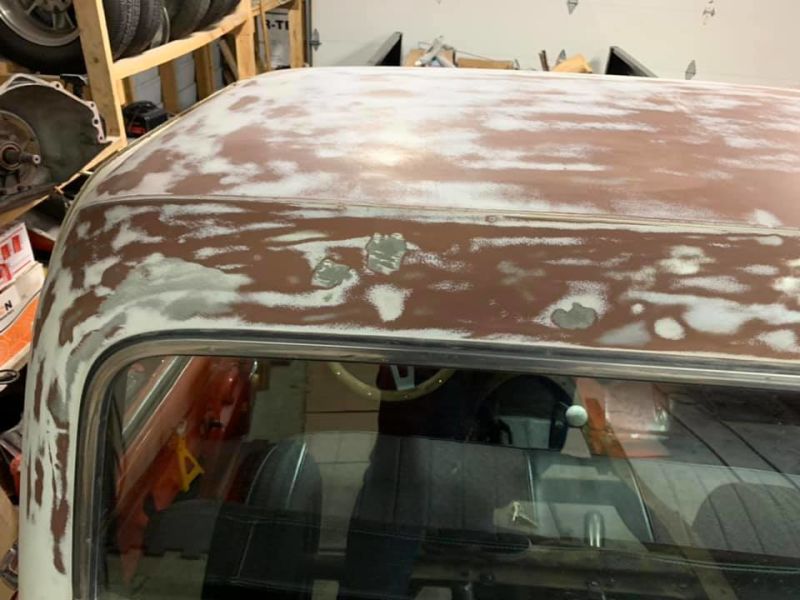
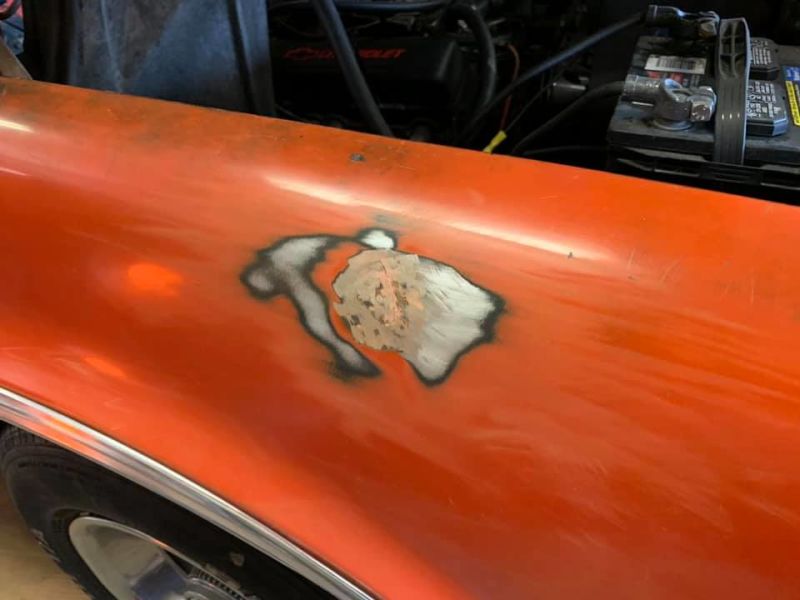
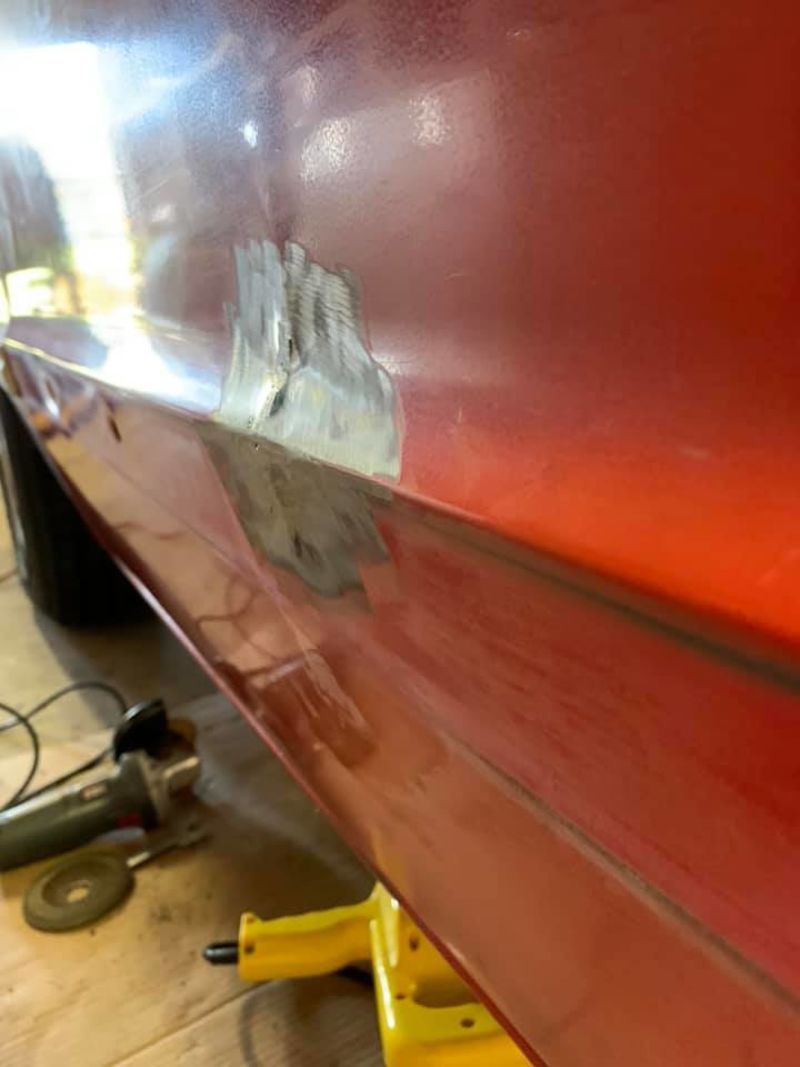
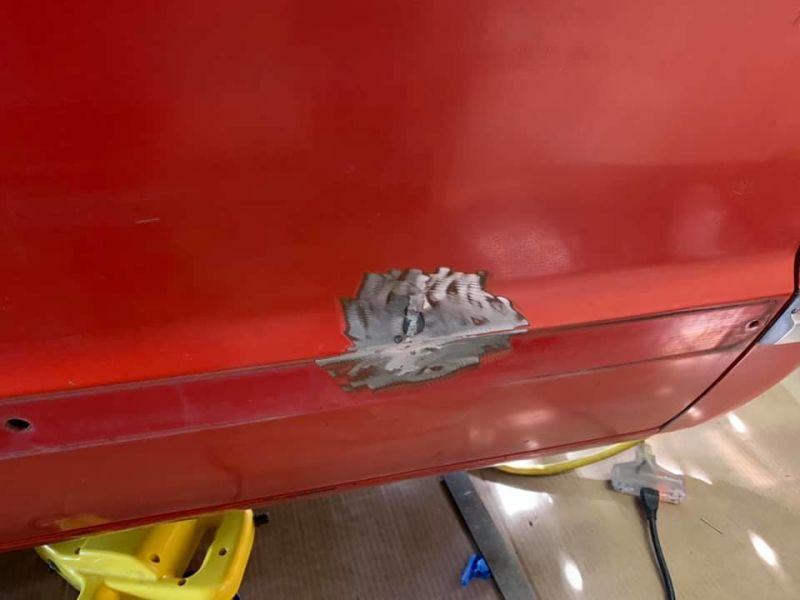
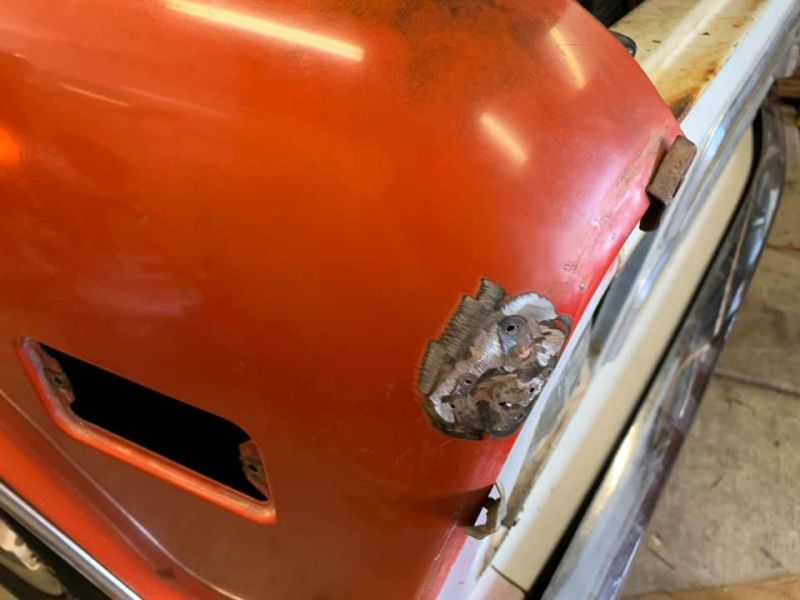
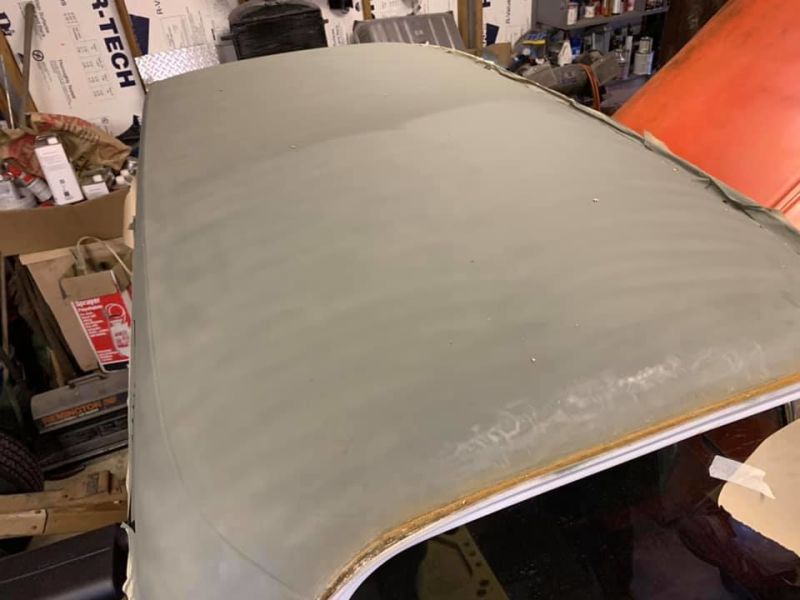
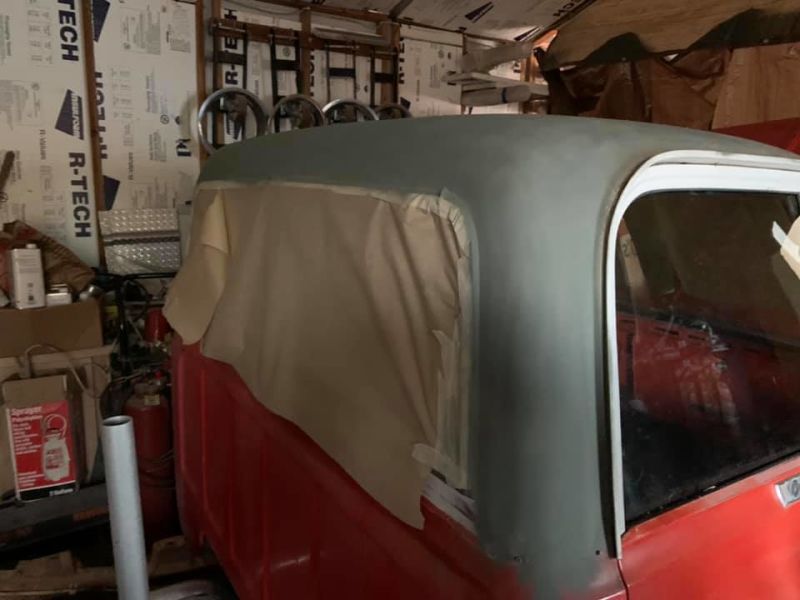
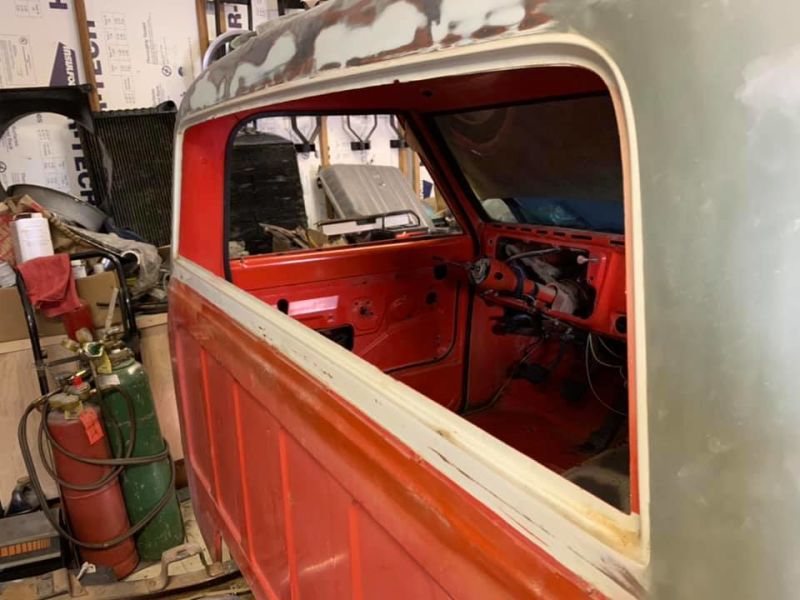
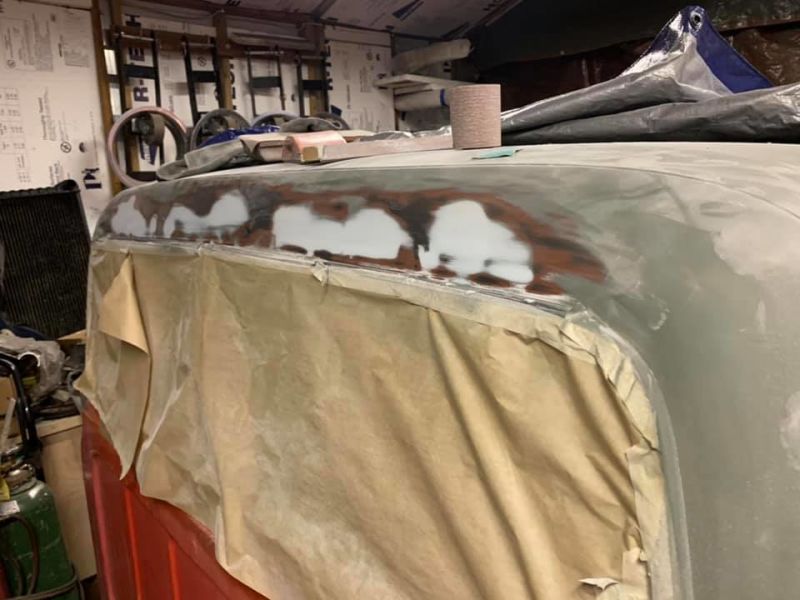
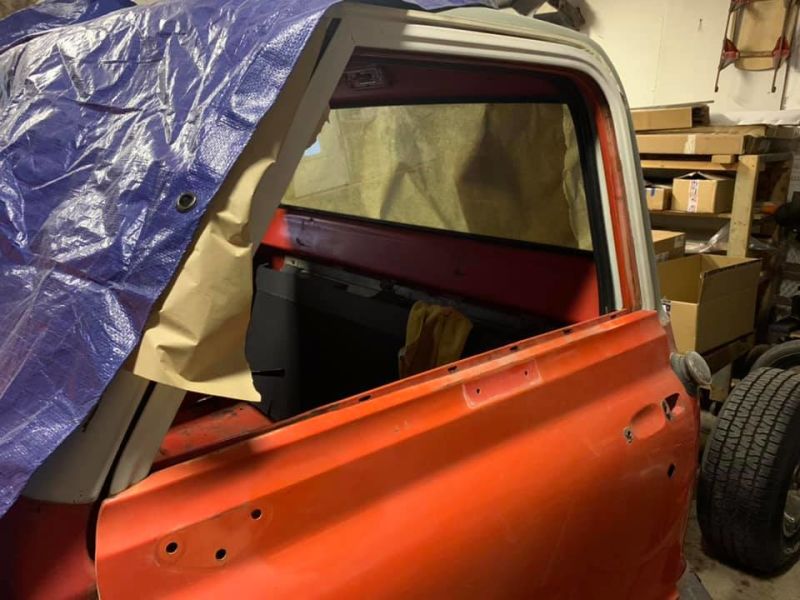
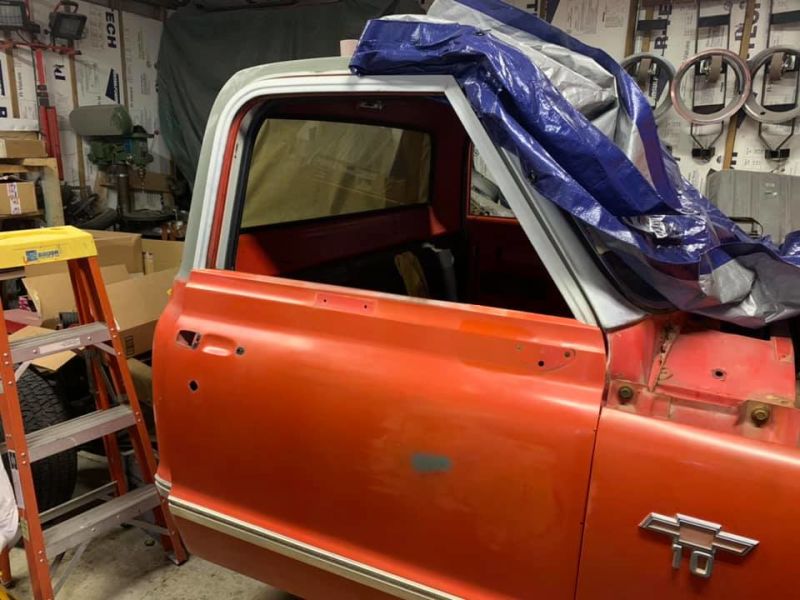
After getting the 4 speed set in and all figured out, it was time to move to bodywork and more tear down. The old paint on the top was baked thin so stripped it to bare metal and only found a few little dings to replace. There were a few other dents on the doors and the passenger fender that required the stud gun and slide hammer.

Illustration for article titled 68 C10 Restoration Update - Part 4 - More Tear Down
Advertisement
Illustration for article titled 68 C10 Restoration Update - Part 4 - More Tear Down
Advertisement
Illustration for article titled 68 C10 Restoration Update - Part 4 - More Tear Down
Advertisement
Illustration for article titled 68 C10 Restoration Update - Part 4 - More Tear Down

Then put some primer on the top to cover the bare metal and then took the guts out of the doors and pulled all the glass.

Advertisement
Illustration for article titled 68 C10 Restoration Update - Part 4 - More Tear Down
Advertisement
Illustration for article titled 68 C10 Restoration Update - Part 4 - More Tear Down
Advertisement
Illustration for article titled 68 C10 Restoration Update - Part 4 - More Tear Down
Advertisement

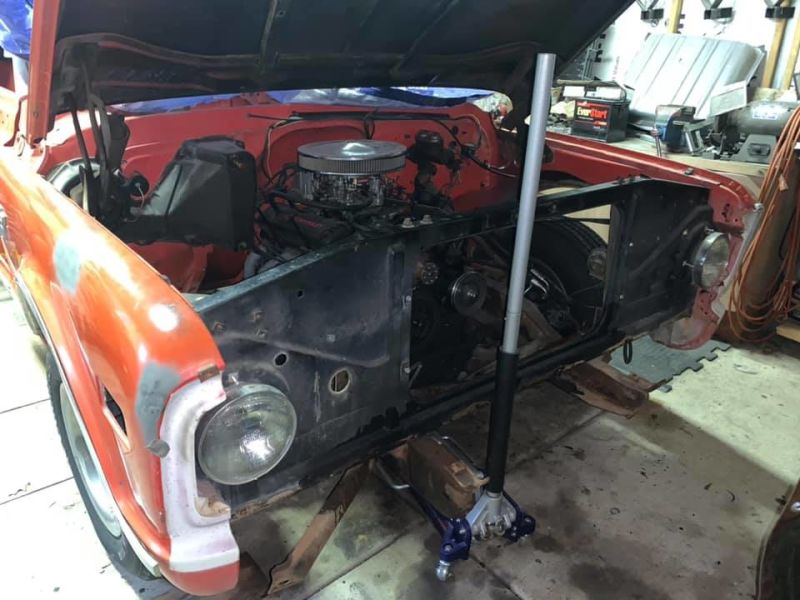
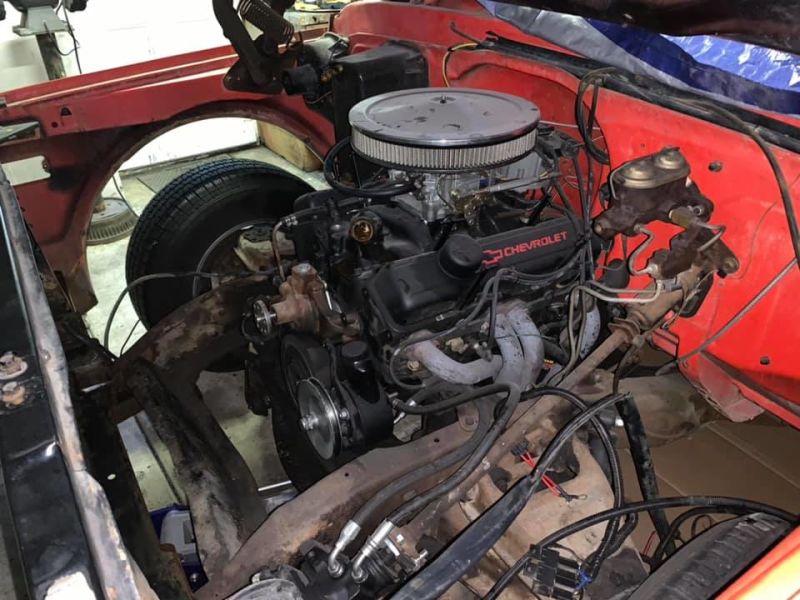
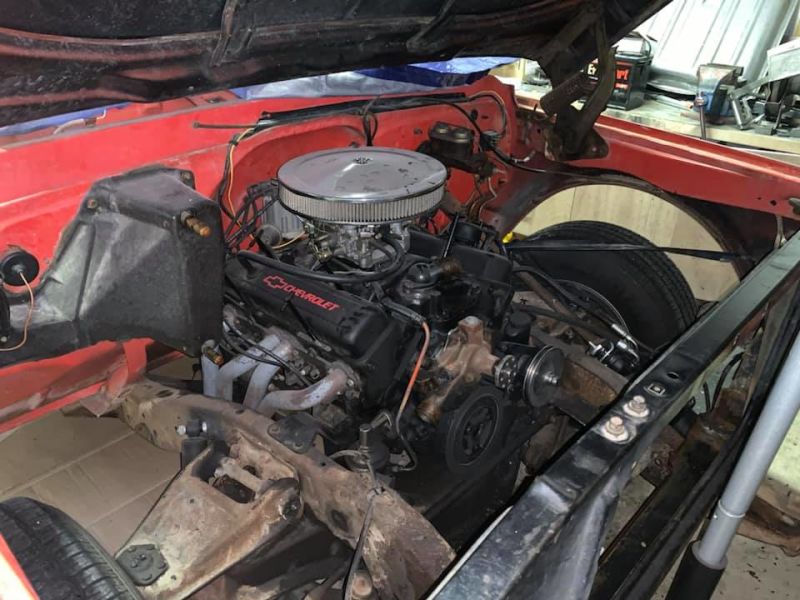
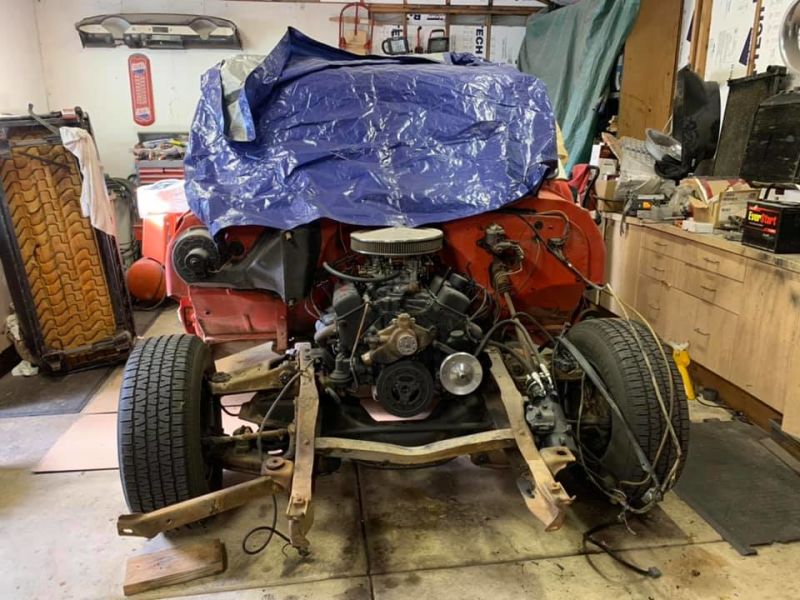
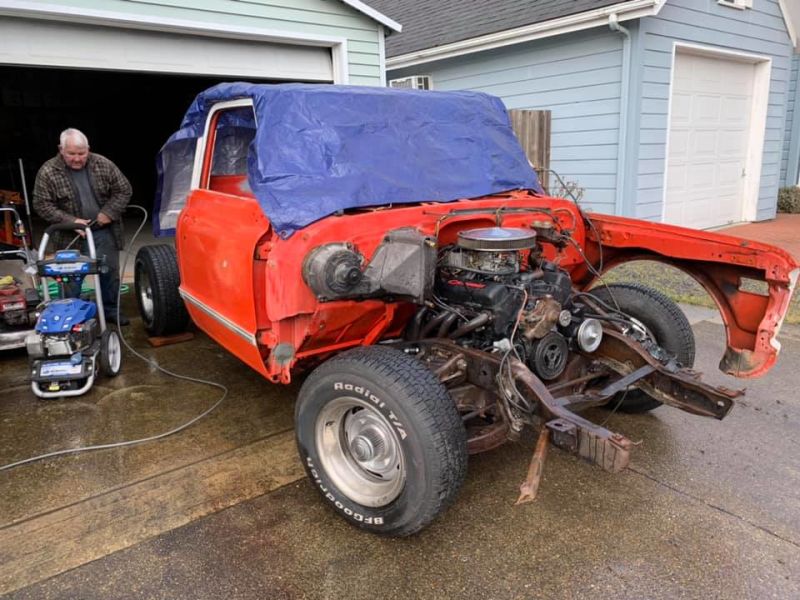
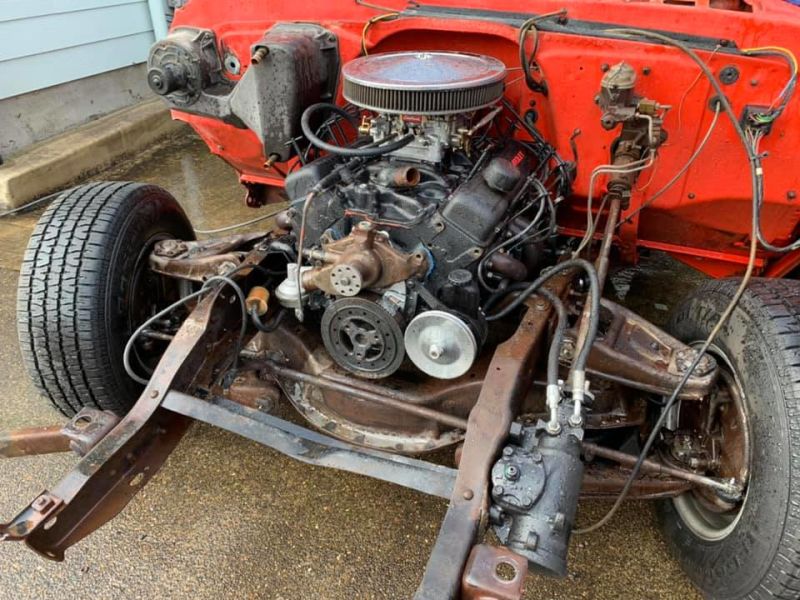
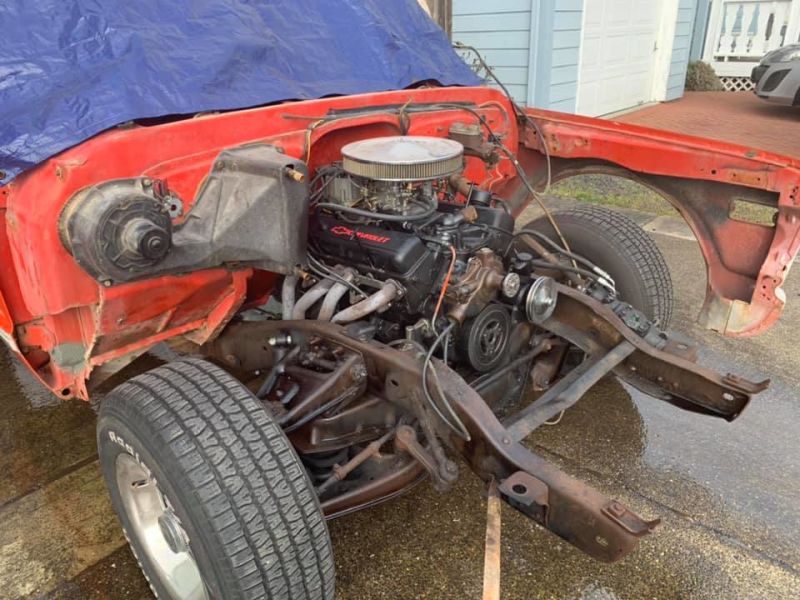
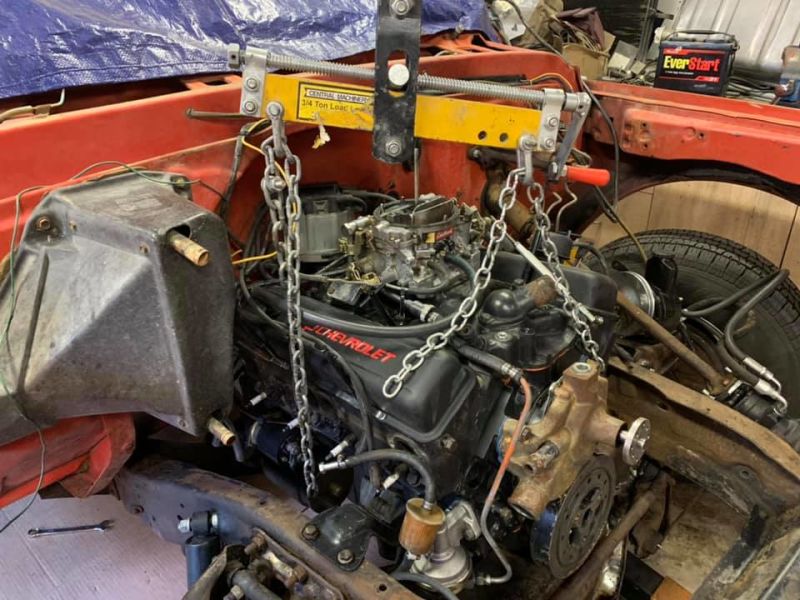
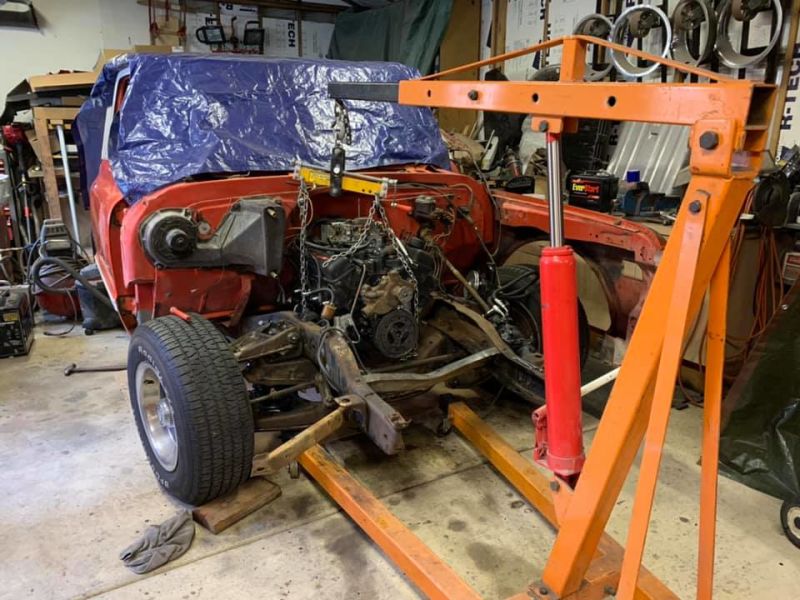
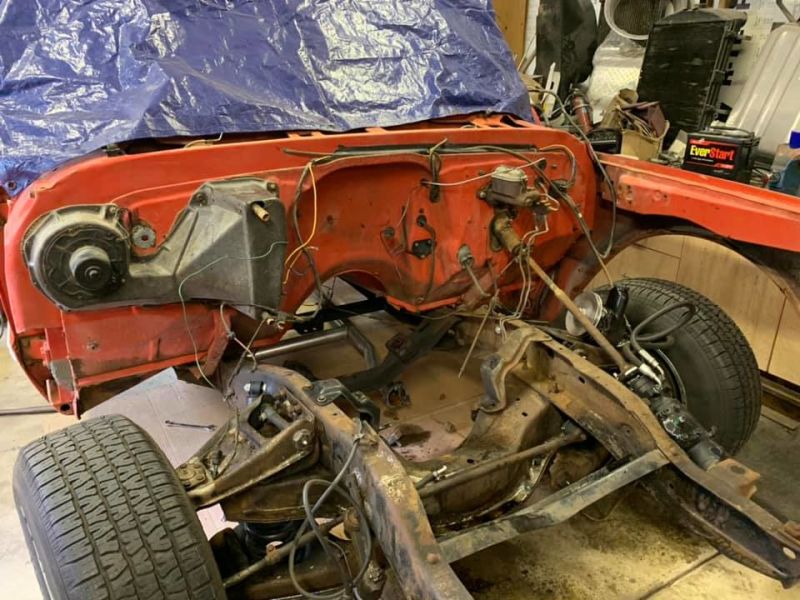
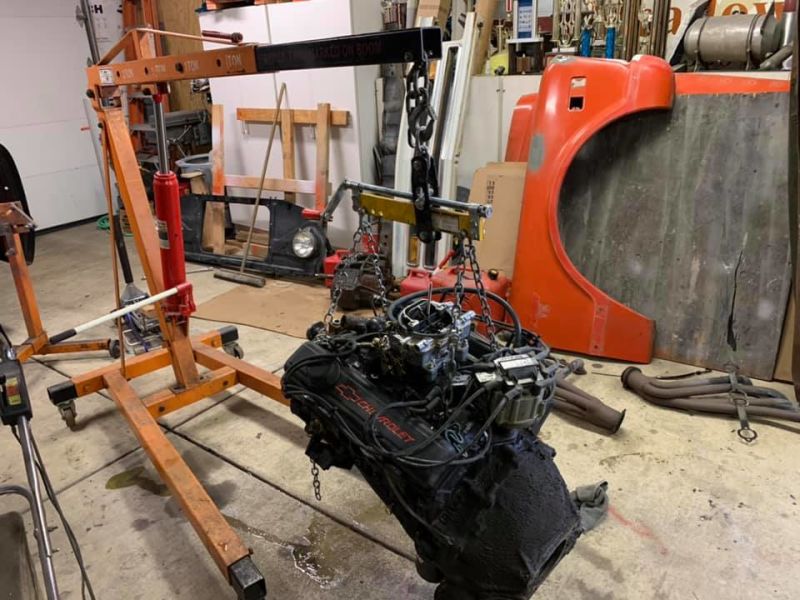
Then once the top was done and straight it was time to pull the nose off and yank the motor out. First went and pressure washed the front clip and motor off since there wasnt much to close off.

Illustration for article titled 68 C10 Restoration Update - Part 4 - More Tear Down
Advertisement
Illustration for article titled 68 C10 Restoration Update - Part 4 - More Tear Down
Advertisement
Illustration for article titled 68 C10 Restoration Update - Part 4 - More Tear Down
Advertisement
Illustration for article titled 68 C10 Restoration Update - Part 4 - More Tear Down
Advertisement
Illustration for article titled 68 C10 Restoration Update - Part 4 - More Tear Down
Advertisement
Illustration for article titled 68 C10 Restoration Update - Part 4 - More Tear Down
Advertisement

In part 5 the motor gets transformed and the more parts cleaning.