68 C10 Restoration Update - Part 5 - Progress Made

Picking up from Part 4

Illustration for article titled 68 C10 Restoration Update - Part 5 - Progress Made
Advertisement

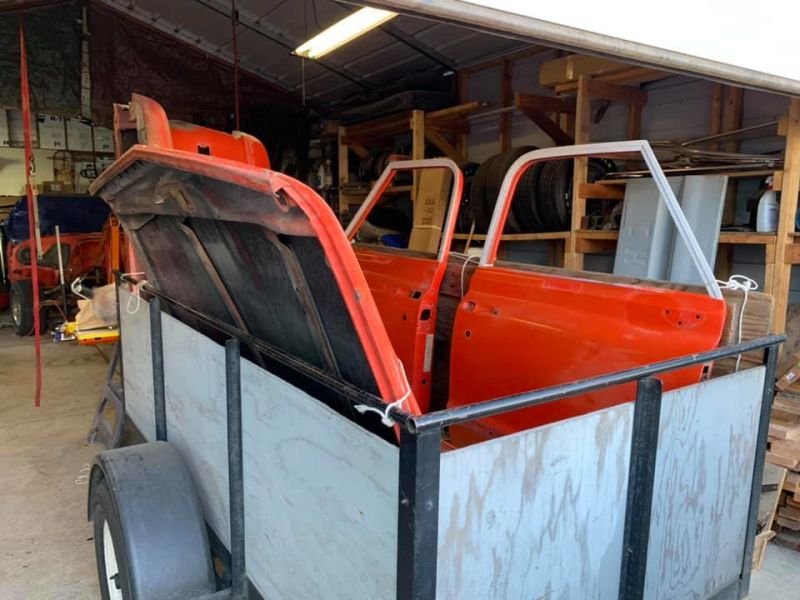
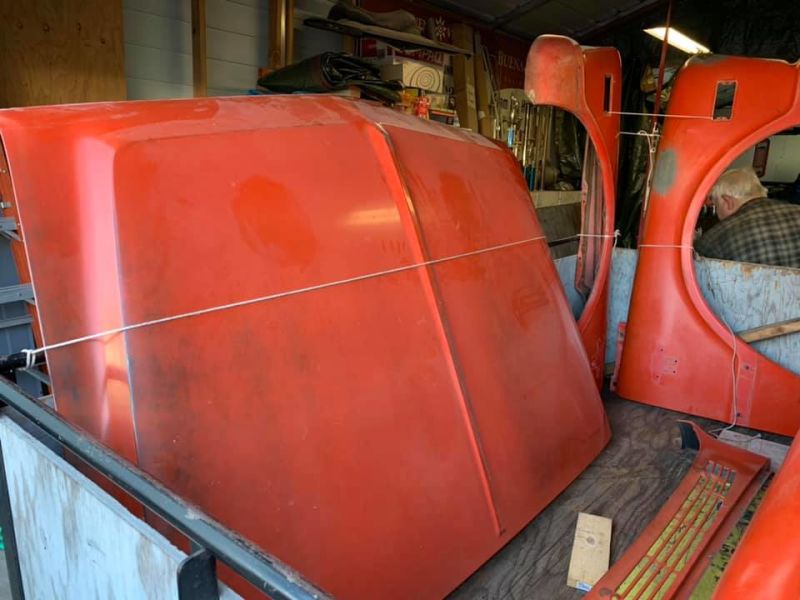
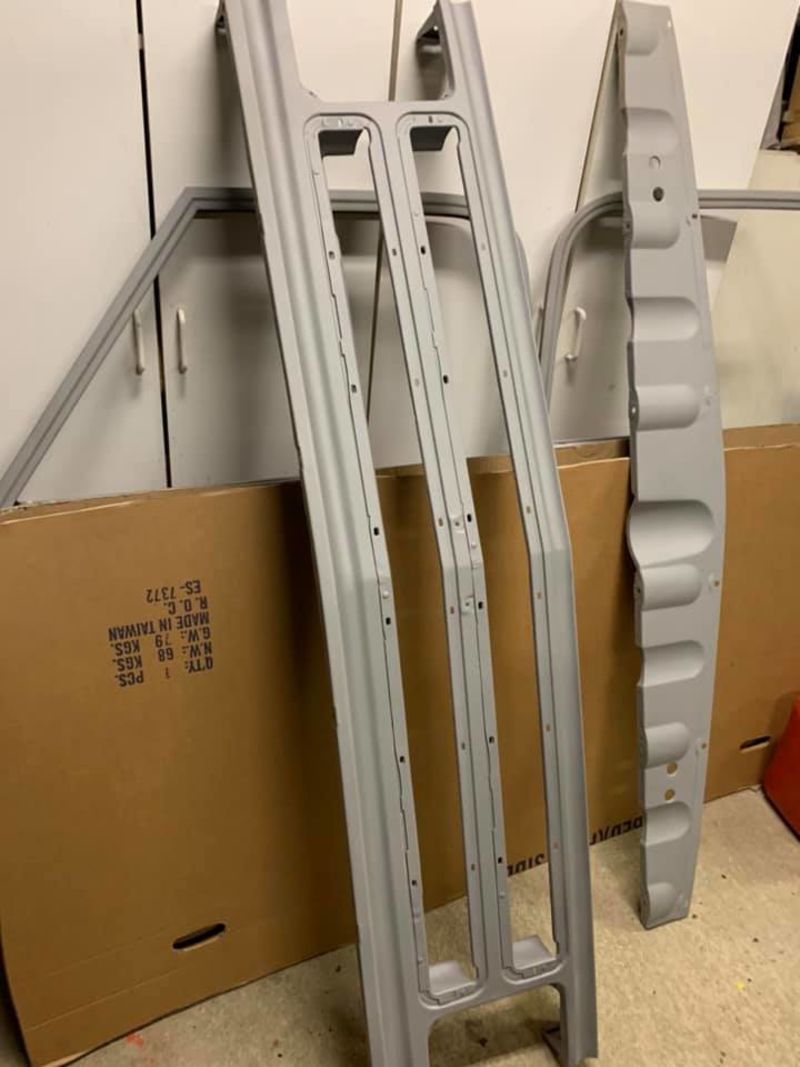
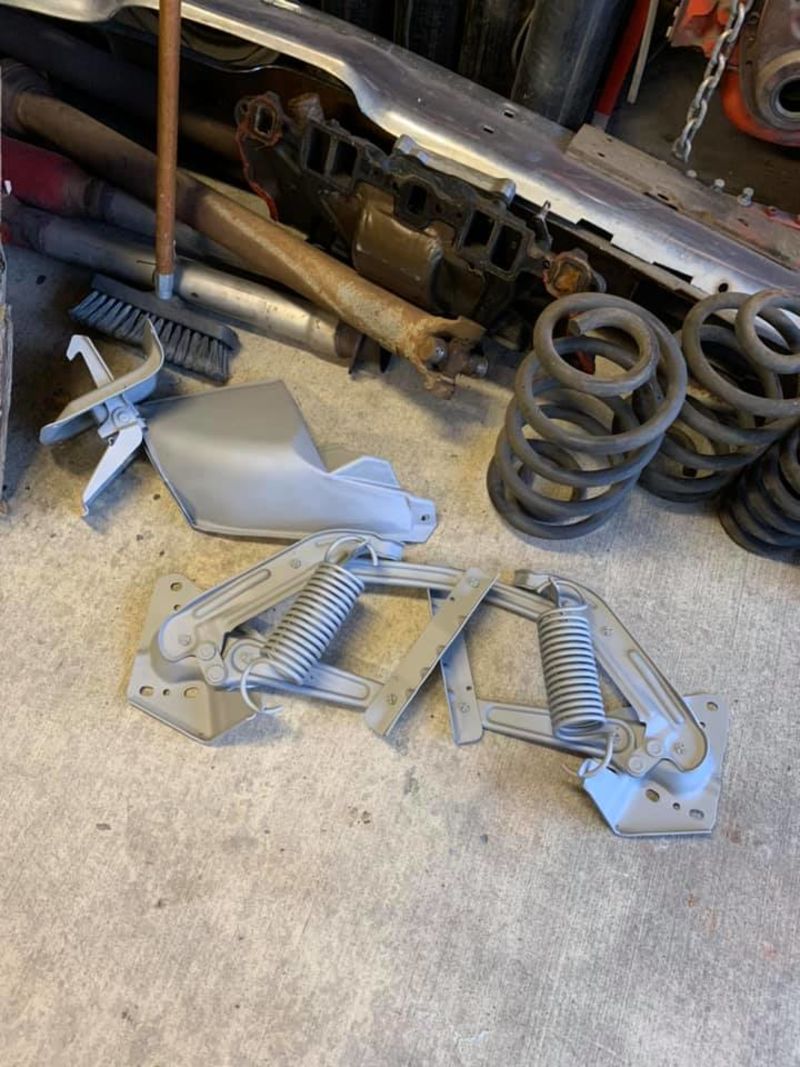
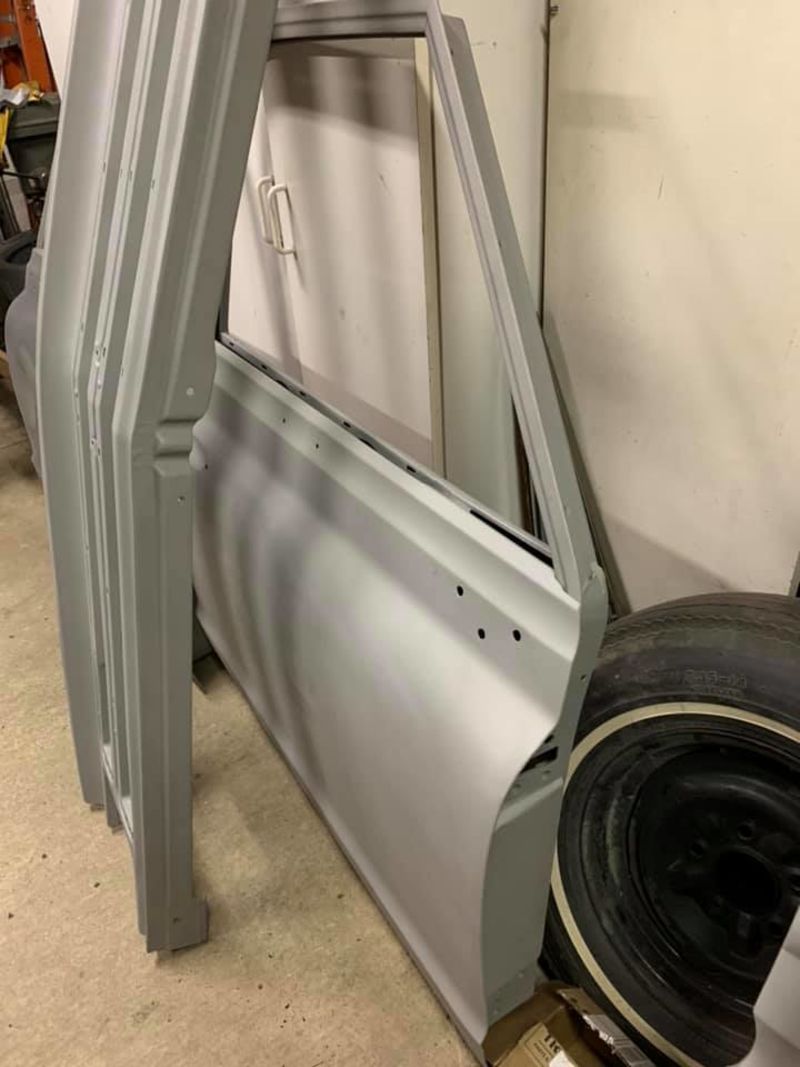
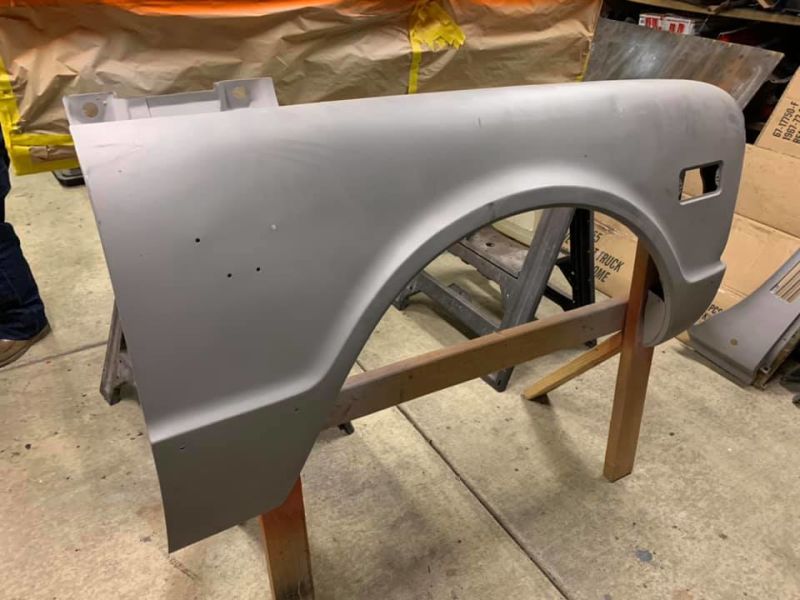
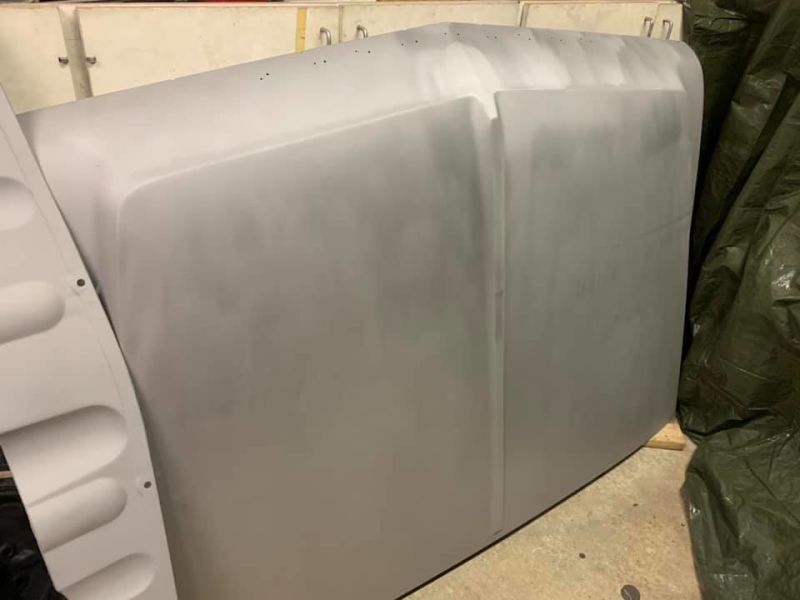
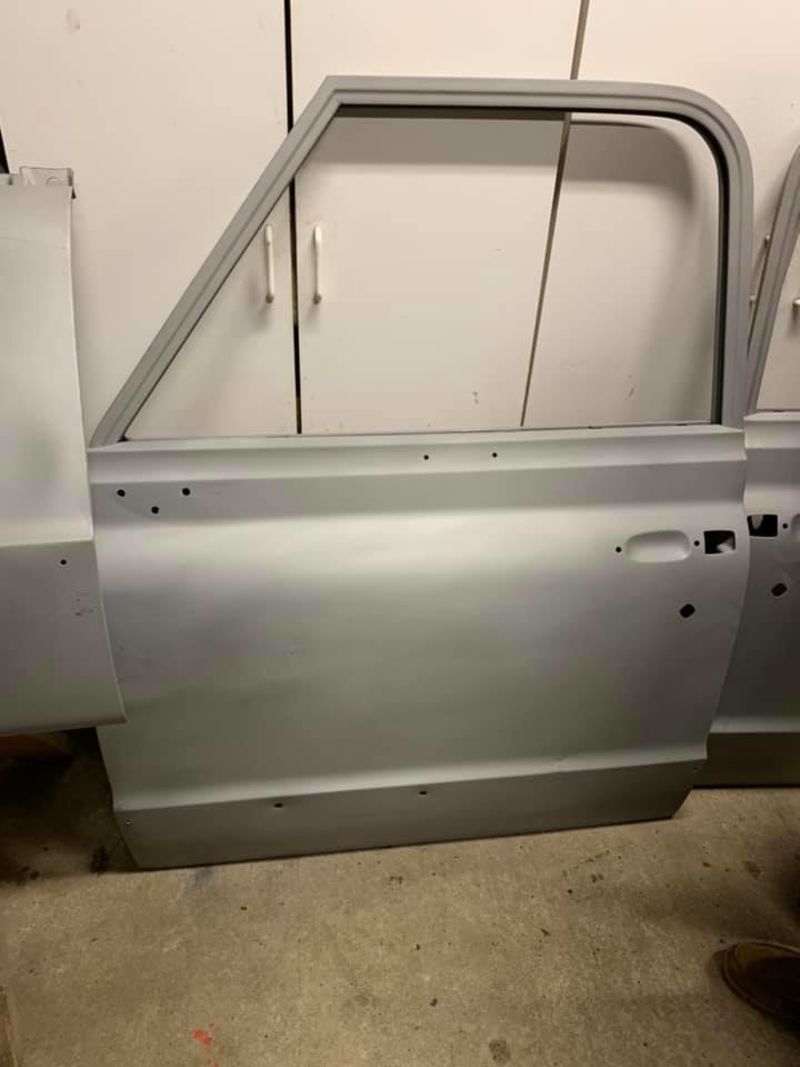
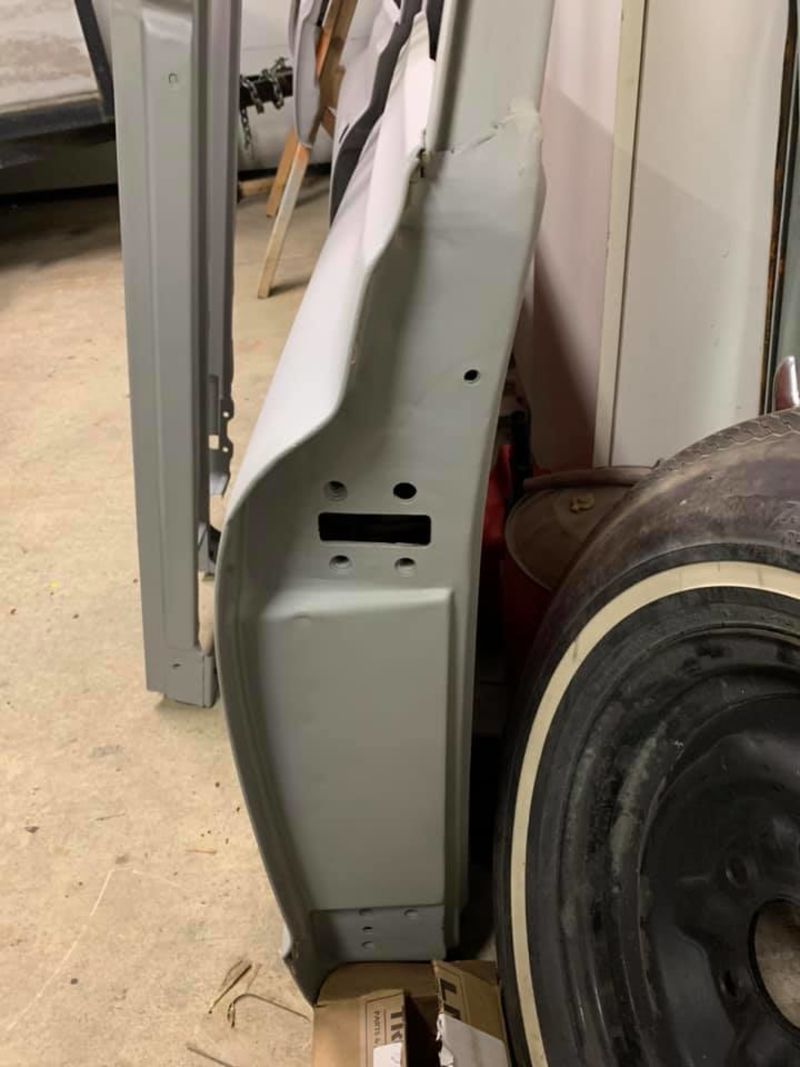
Now with the front clip off the truck and the motor pulled it was then time to now pull the doors off and send those parts off to the blaster to get stripped to bare metal.

Illustration for article titled 68 C10 Restoration Update - Part 5 - Progress Made
Advertisement
Illustration for article titled 68 C10 Restoration Update - Part 5 - Progress Made
Advertisement

Right after blasting and before primer.

Illustration for article titled 68 C10 Restoration Update - Part 5 - Progress Made
Advertisement
Illustration for article titled 68 C10 Restoration Update - Part 5 - Progress Made
Advertisement
Illustration for article titled 68 C10 Restoration Update - Part 5 - Progress Made
Advertisement
Illustration for article titled 68 C10 Restoration Update - Part 5 - Progress Made
Advertisement
Illustration for article titled 68 C10 Restoration Update - Part 5 - Progress Made
Advertisement
Illustration for article titled 68 C10 Restoration Update - Part 5 - Progress Made

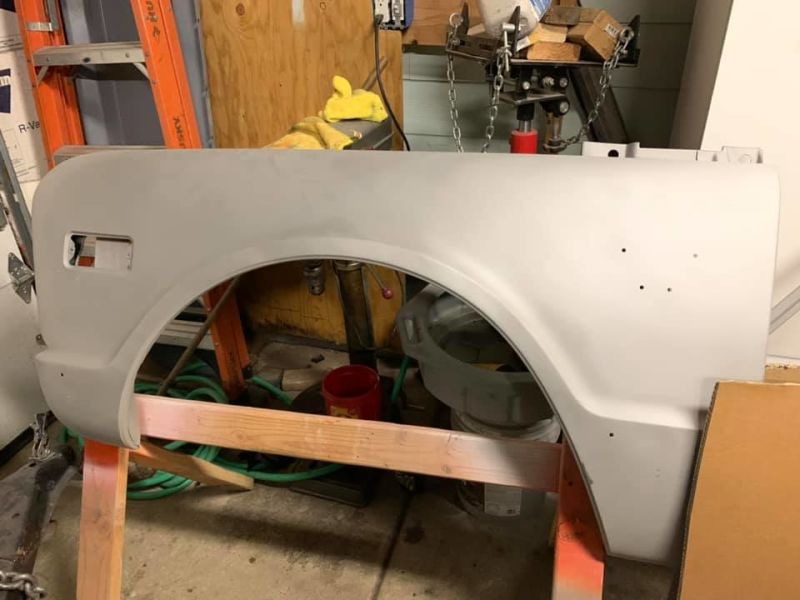
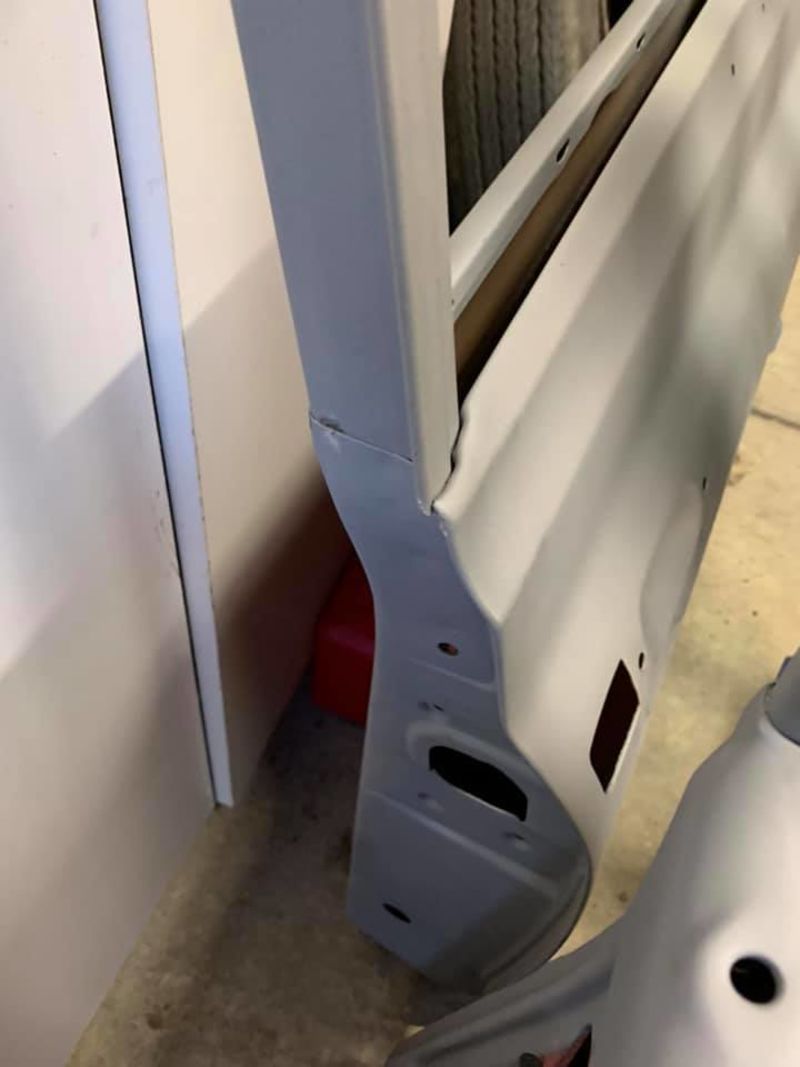
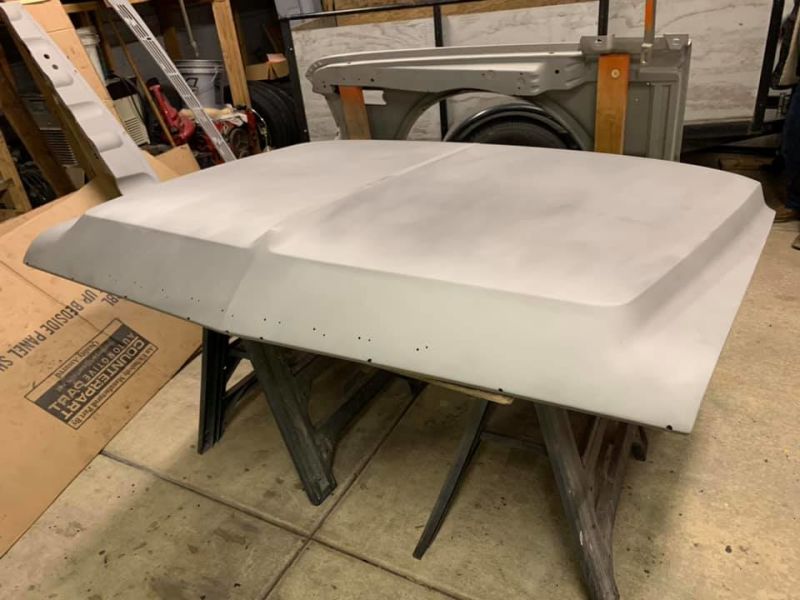
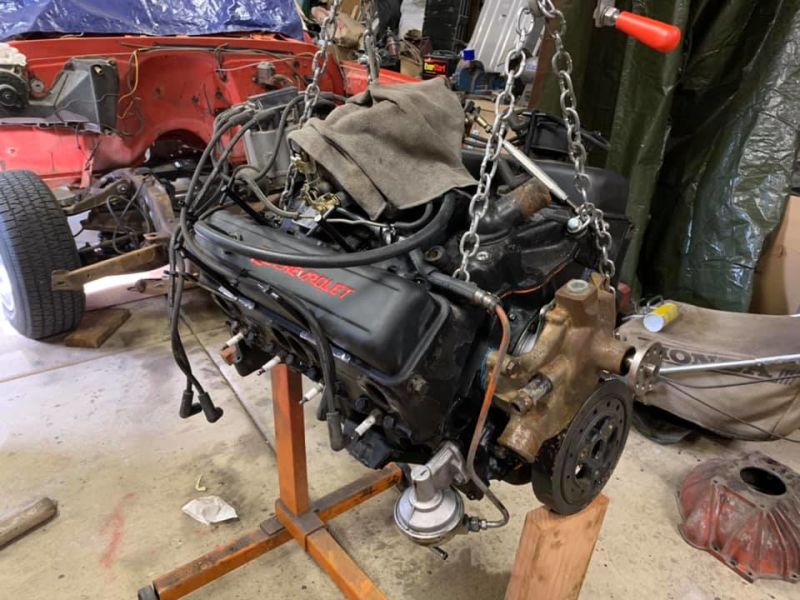
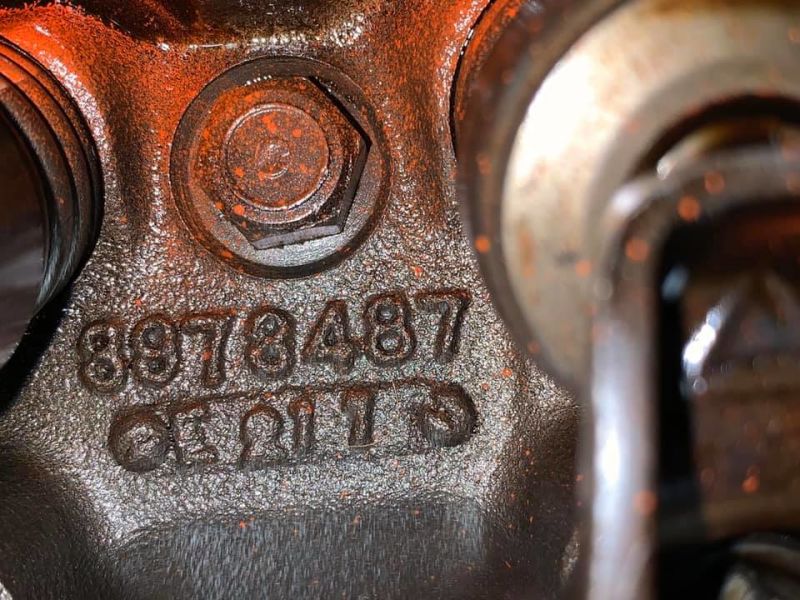
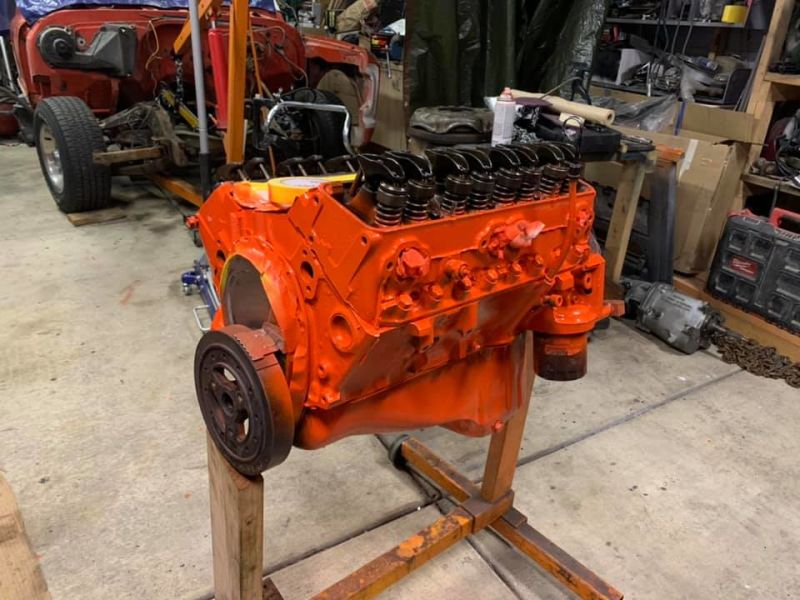
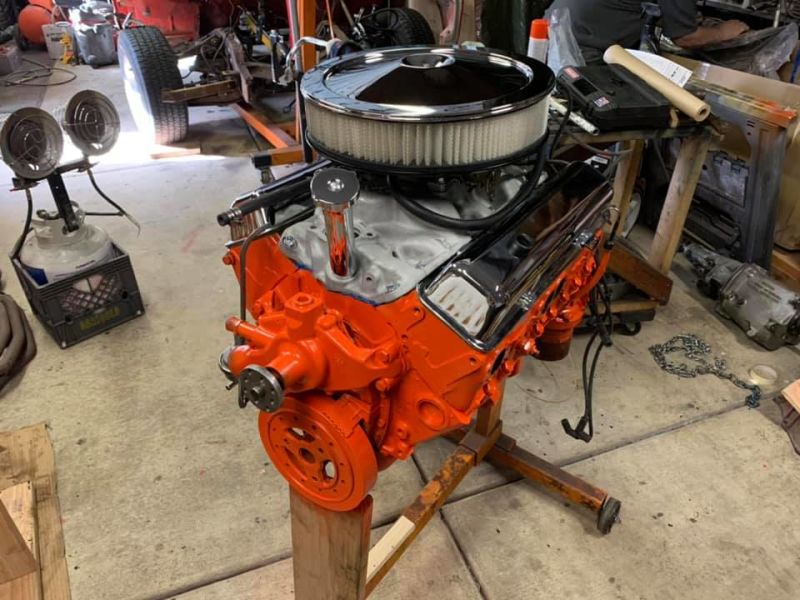
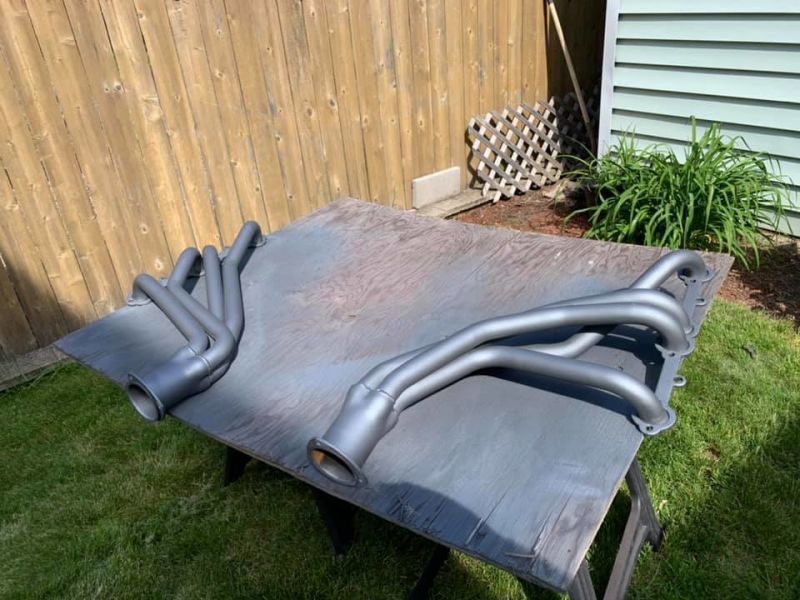
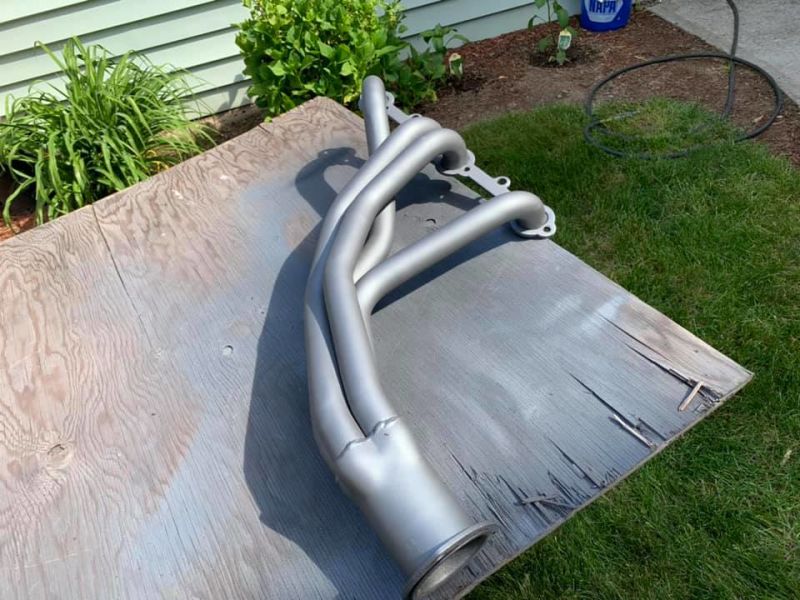
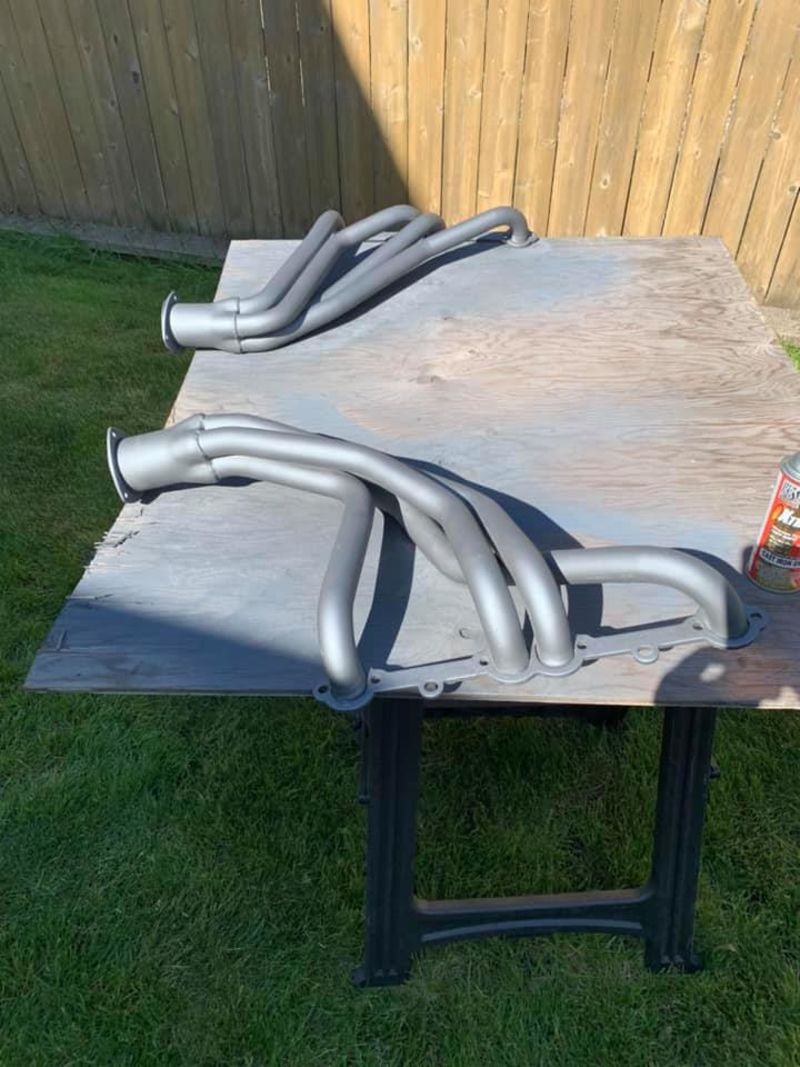
While getting the metal primed to prevent surface rust, turned my attention then to the motor and giving it a make over. The engine is the one that came with the truck and was a fresh rebuilt motor as the truck was an original 292 I6 truck. The block is a 74 truck 350 block. I didn’t pull the pan, but I would bet its a 4 bolt main being a truck motor. I lucked out on the heads as the casting numbers came up as 71 Z28 heads. I swapped the cast iron intake for an 69/70 Z/28 intake. I had originally put an old Edelbrock intake on it, but realized it didn’t have mosses for a coil mount and had some casting flaws.

Advertisement
Illustration for article titled 68 C10 Restoration Update - Part 5 - Progress Made
Advertisement
Illustration for article titled 68 C10 Restoration Update - Part 5 - Progress Made
Advertisement
Illustration for article titled 68 C10 Restoration Update - Part 5 - Progress Made
Advertisement

In part 6 the project will hit that point where it deviates from the plan.