
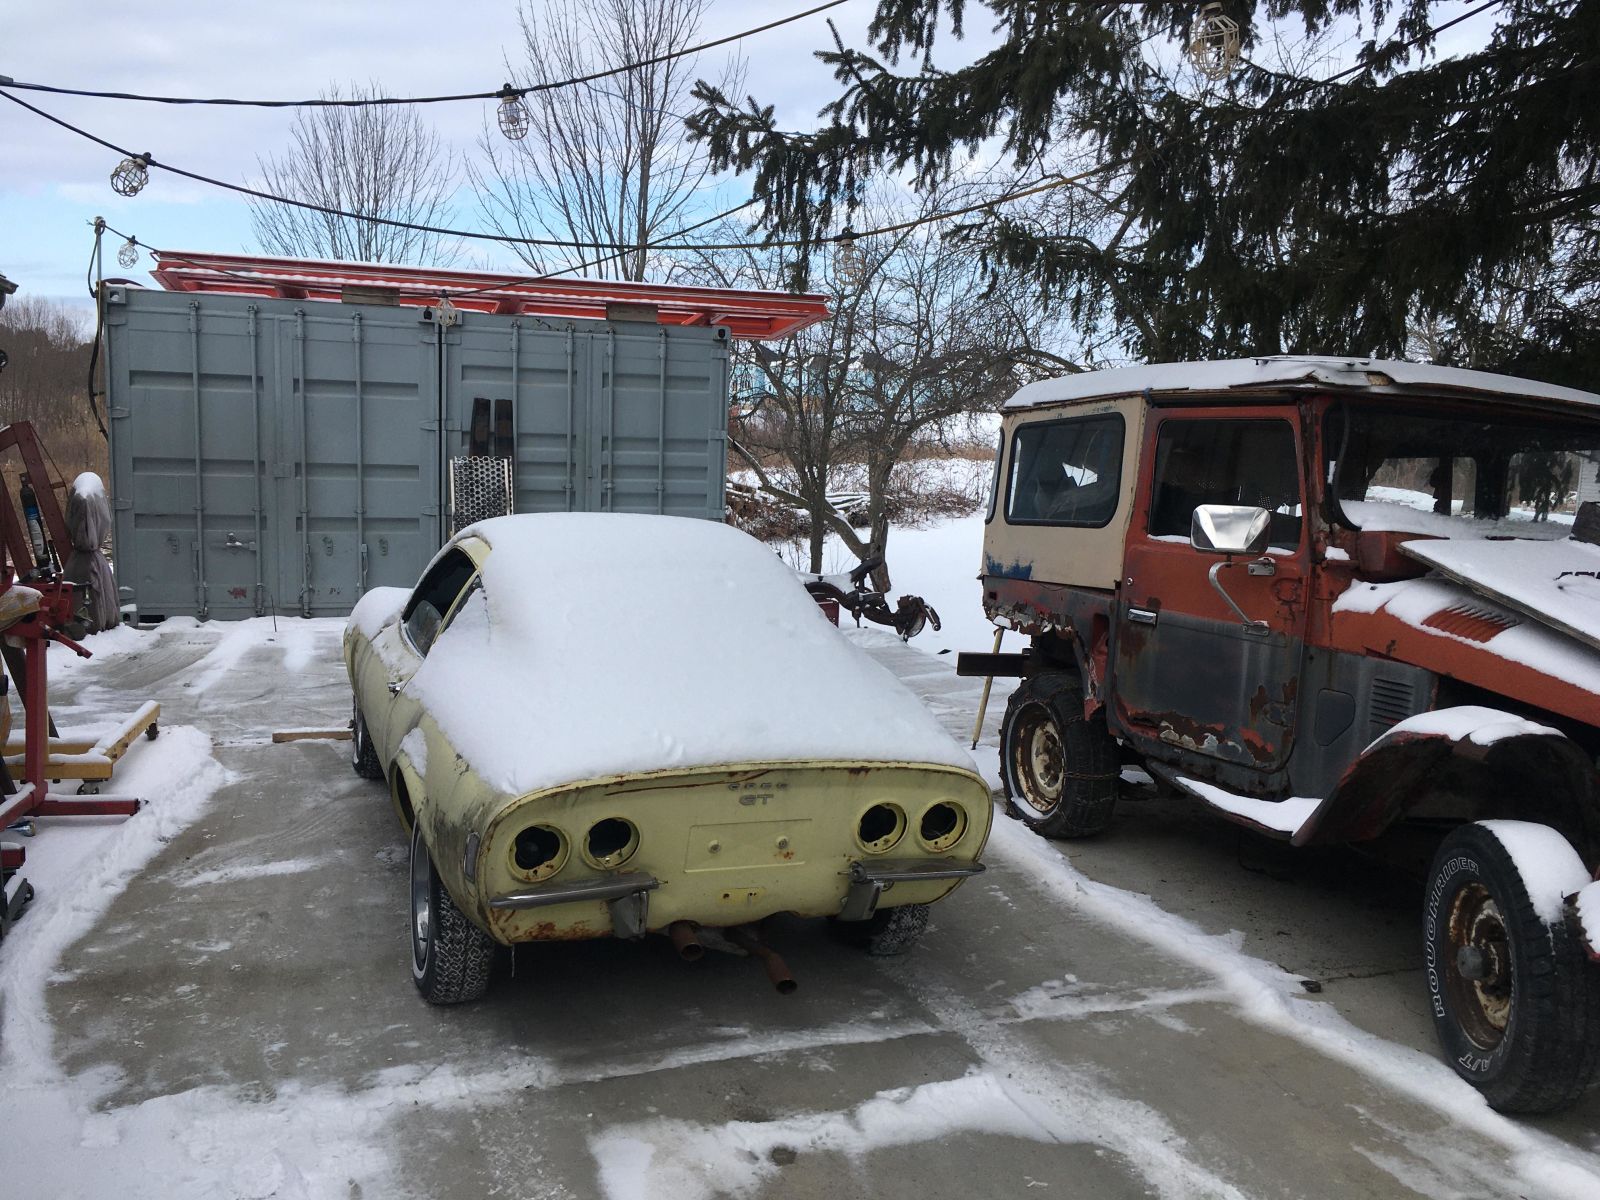
What’s the first step to baking a cake? You clean the kitchen! This weekend I drove 90-mins to go start working on the Opel. The first thing I did was remove all the junk and parts that were piled up inside it. I had been told the car was complete and that turned out to be mostly true.
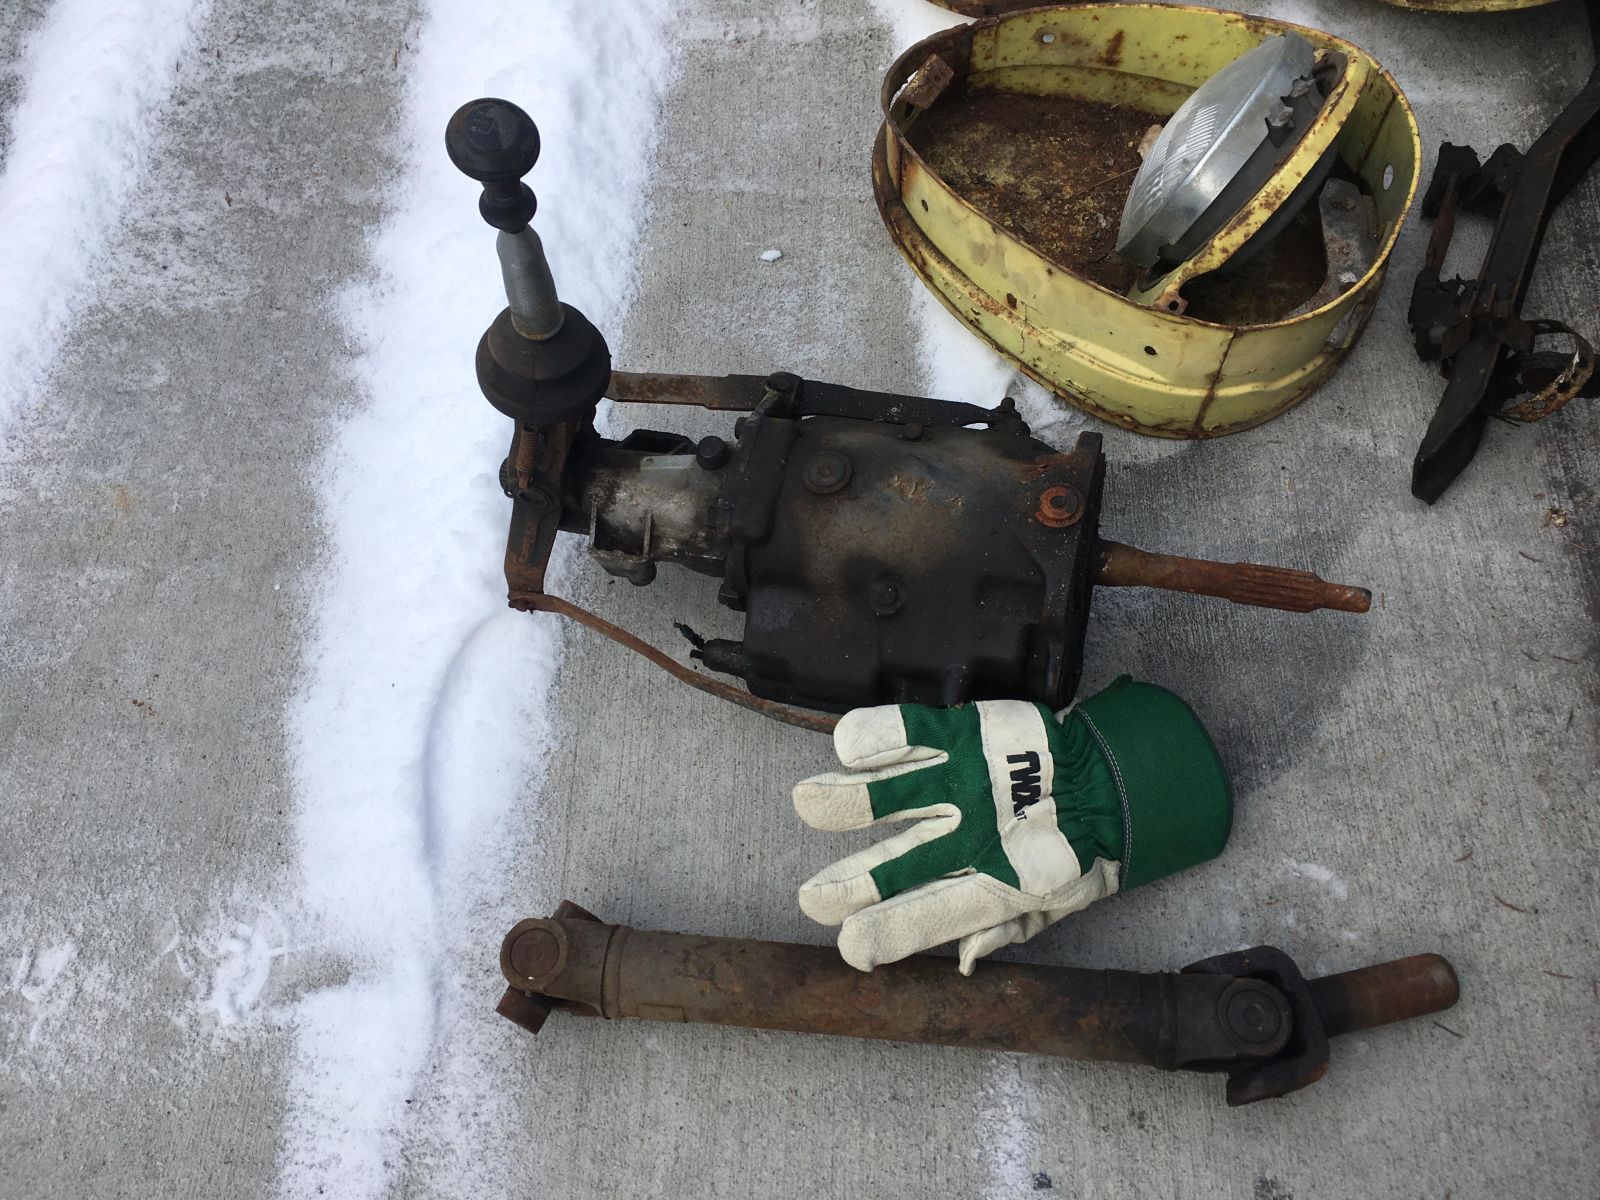
The big deal is that the entirety of the headlight assembly was in the car and accounted for. That will help greatly. Missing items include two rear tail light lenses, (the red ones) and it only has one seat in the car so I’ll need to source another. But it’s all pretty much there!
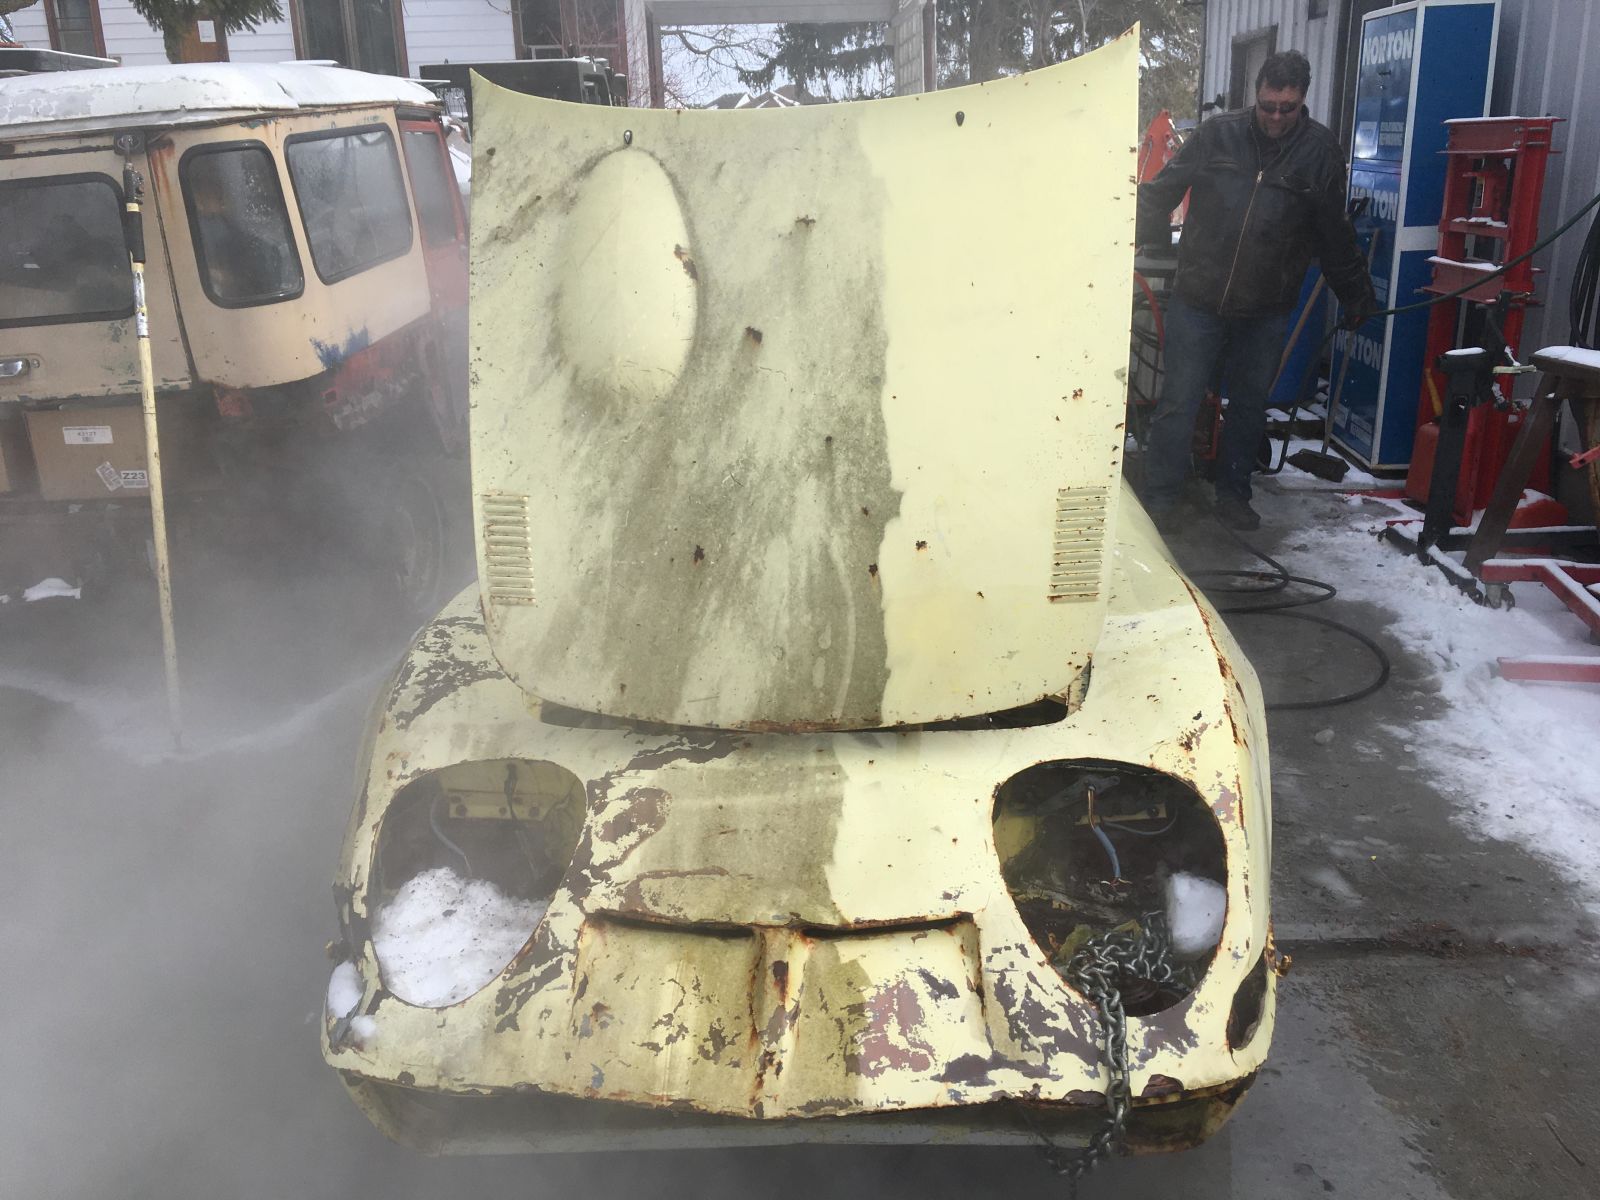
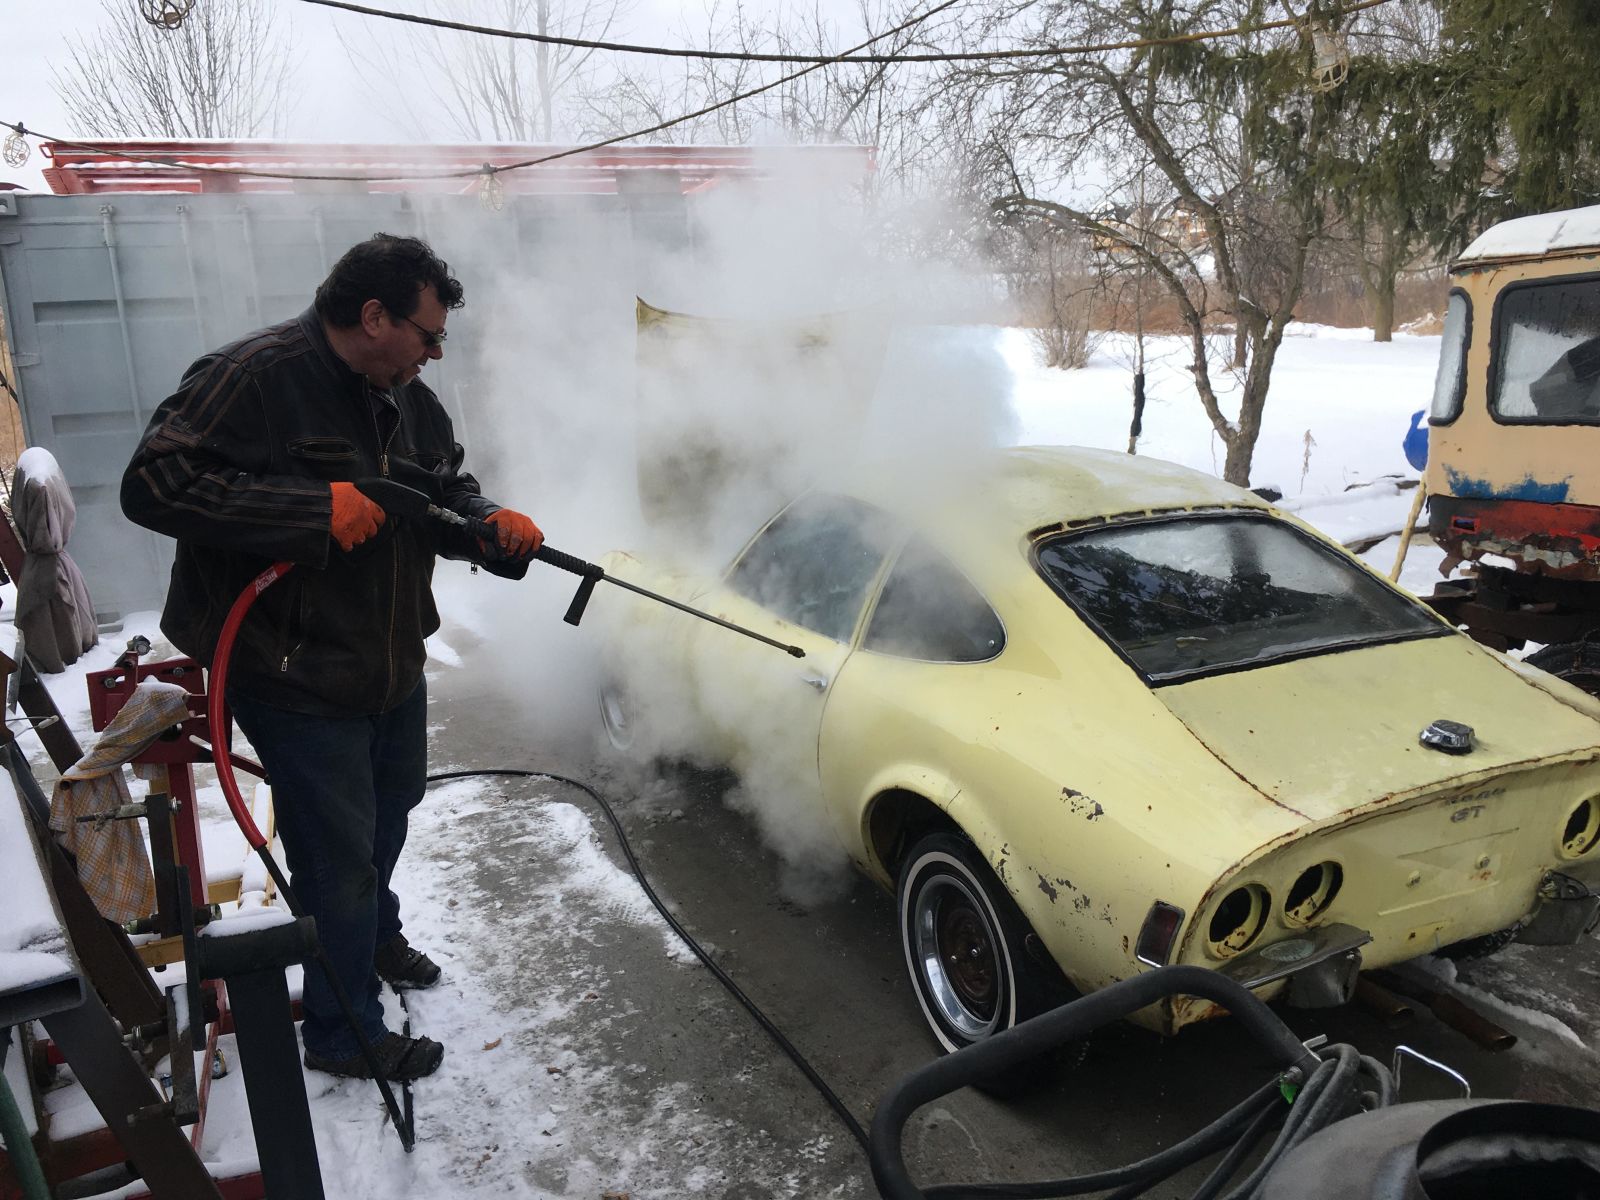
Once I had all the junk cleaned out of it I treated it to a steam bath. Or more accurately Todd, who is helping me out with this project, cleaned it and I watched. I think you’ll agree the difference was noticeable!
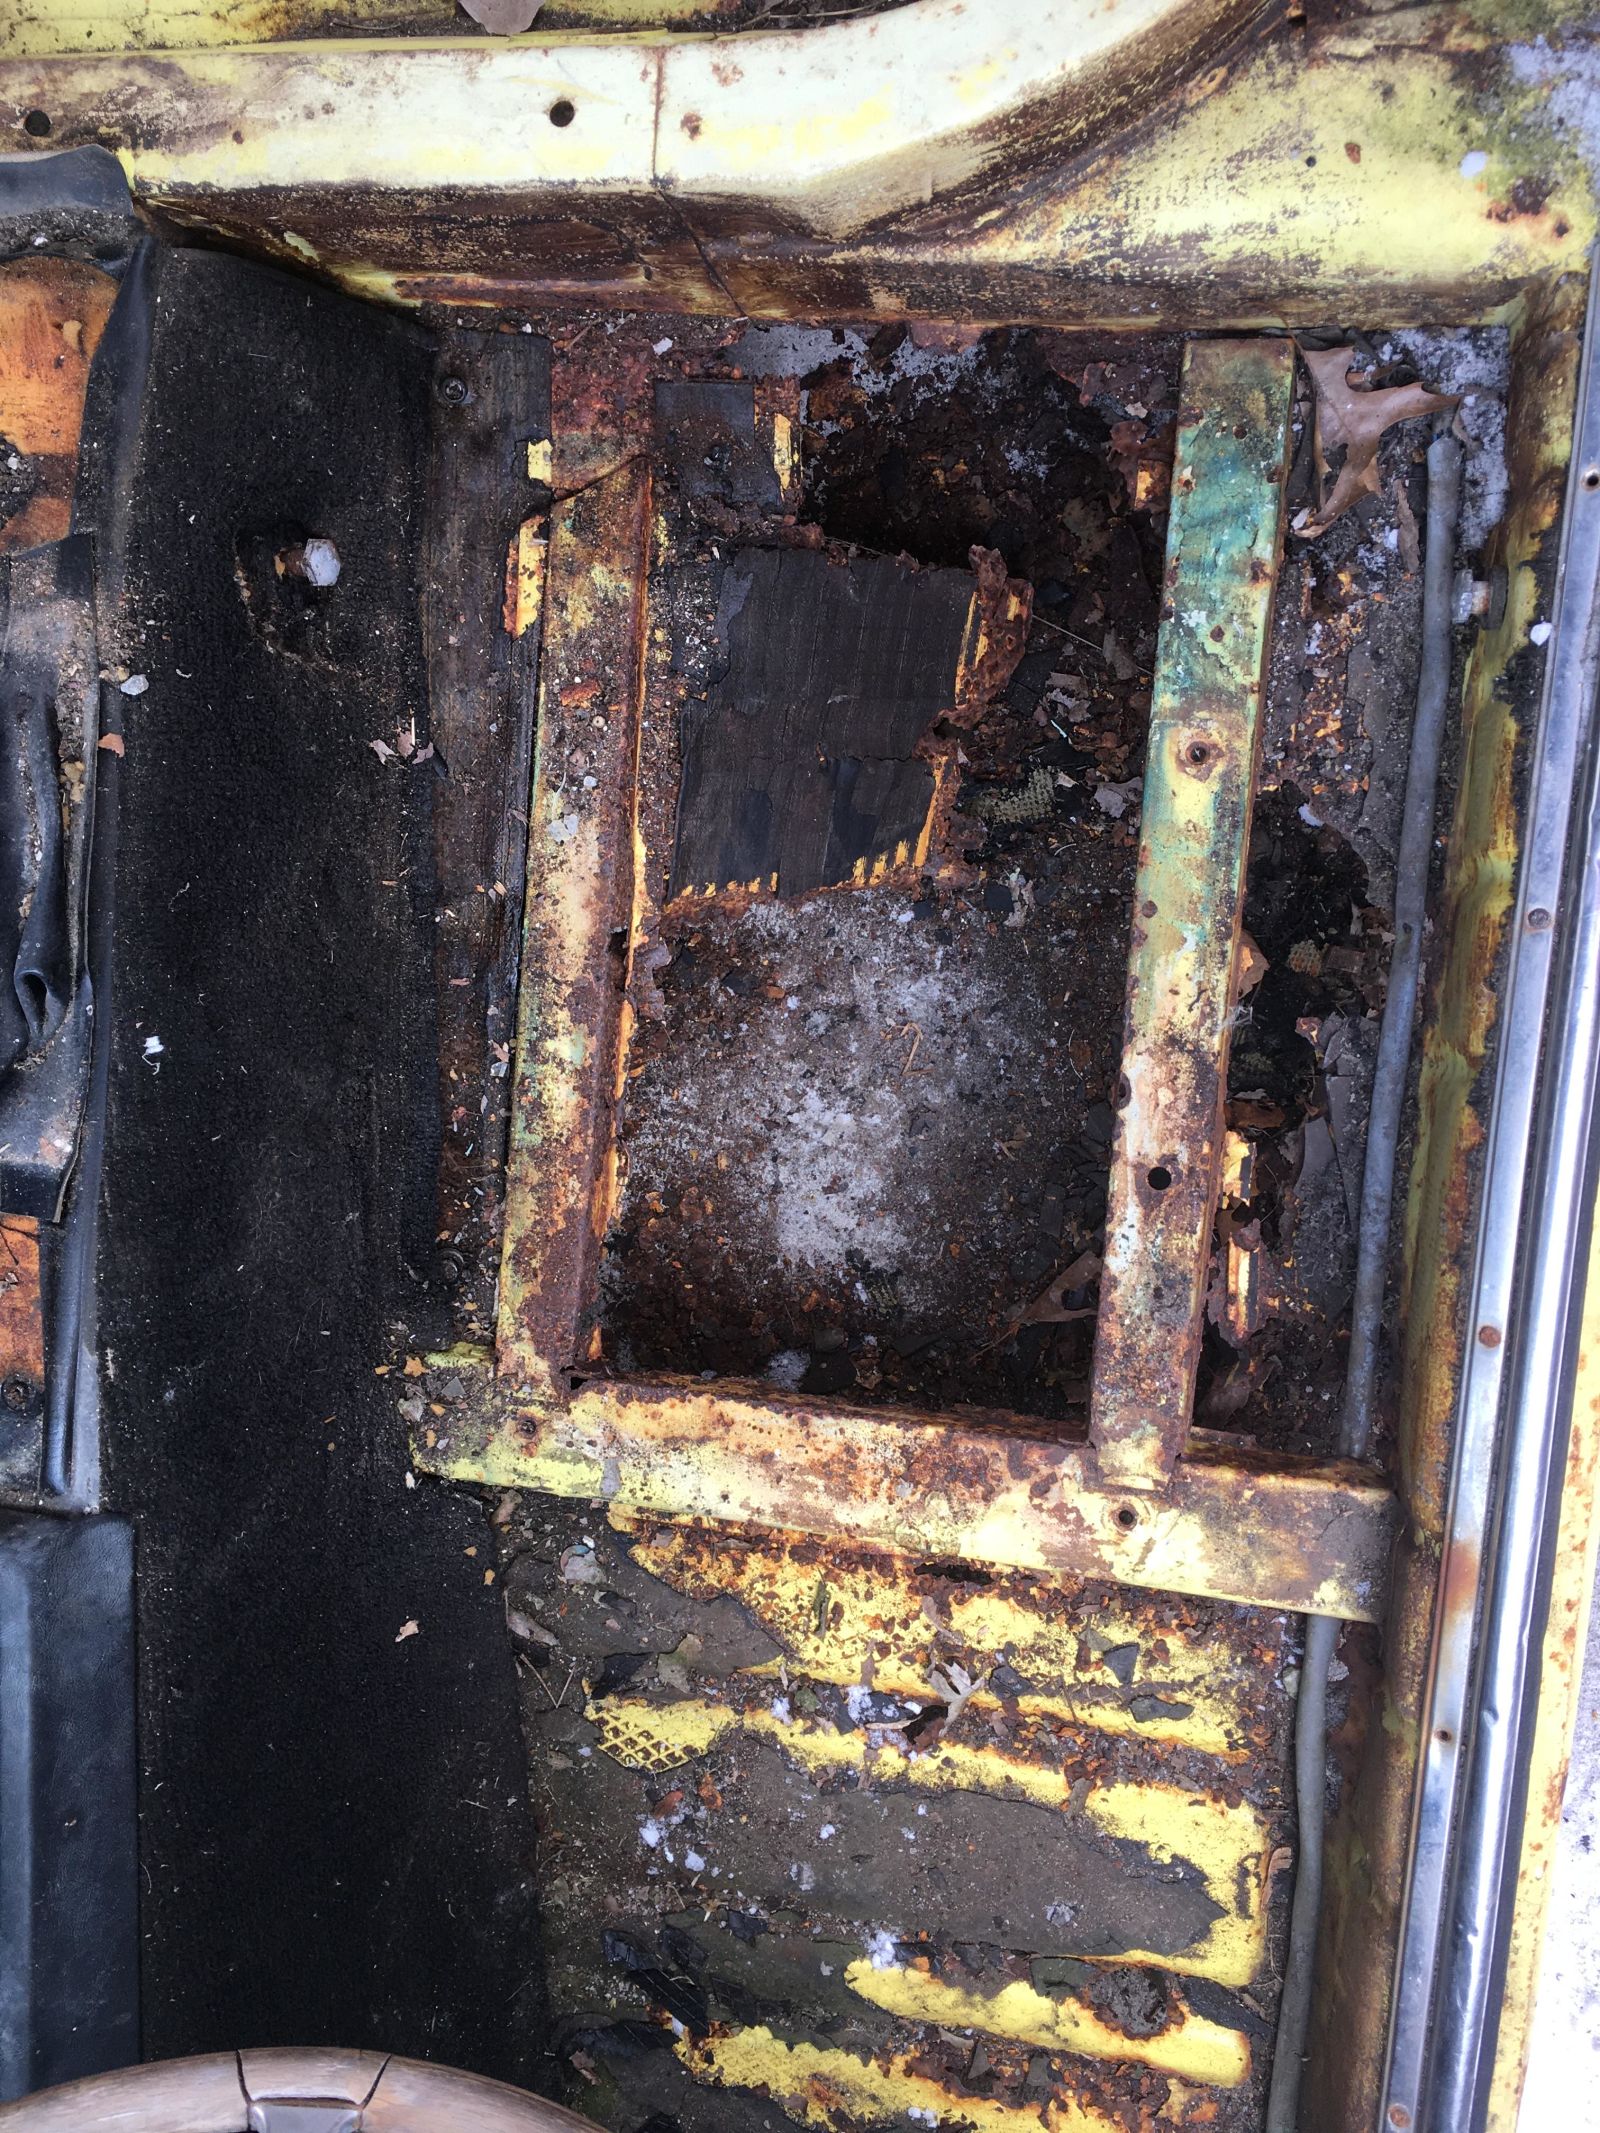
From there I started peeling away carpet, trim, and undercoating to assess the rust damage in the floor that I knew would be there. Sure enough, the lowest point of the floor where the seat mounts are was totally rotted out. But amazingly, the floor ahead of that crossbrace was actually in fairly good shape! Some rust holes here and there but nothing awful. So my first task will be to weld up a new seat frame and then make a new floor underneath that.
And now a question for you guys. This will be a long project and it will be documented for my YouTube channel, Classic Cars & Clayton. Do you guys want a ton of weekly update videos on this? One huge saga video at the end? or maybe divvy it all up into 3 or 4 separate but fully produced videos across the build. Let me know!