
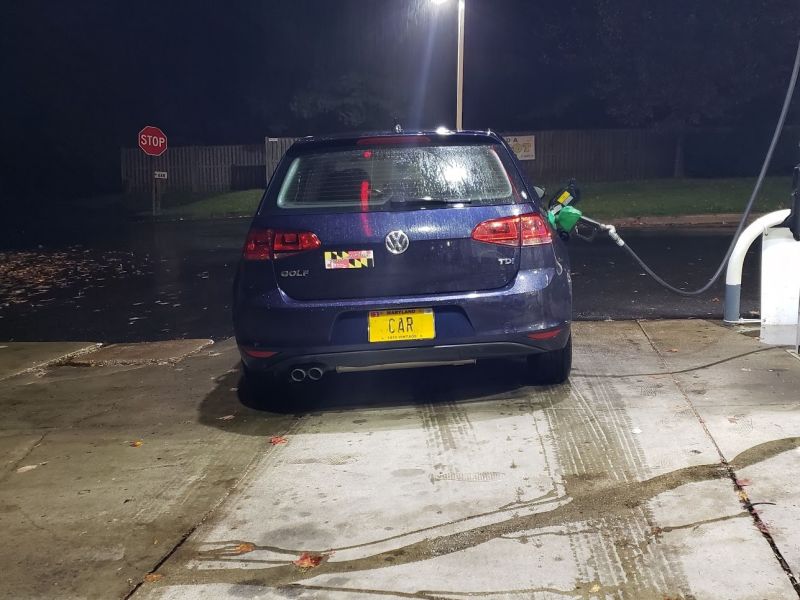
A nice lady in a Mercedes entirely failed to observe proper social distancing last spring, rear-ending me at a red light. Amazingly, my rear license plate took the entirety of the impact. Annoyingly, these are the plates that came off of my 2012 Focus which had, a few weeks prior, been punted off of the highway by a rude man in a Subaru. Half the car was destroyed in that incident, but the plates lived on to see another day. This time it was nearly the other way around.
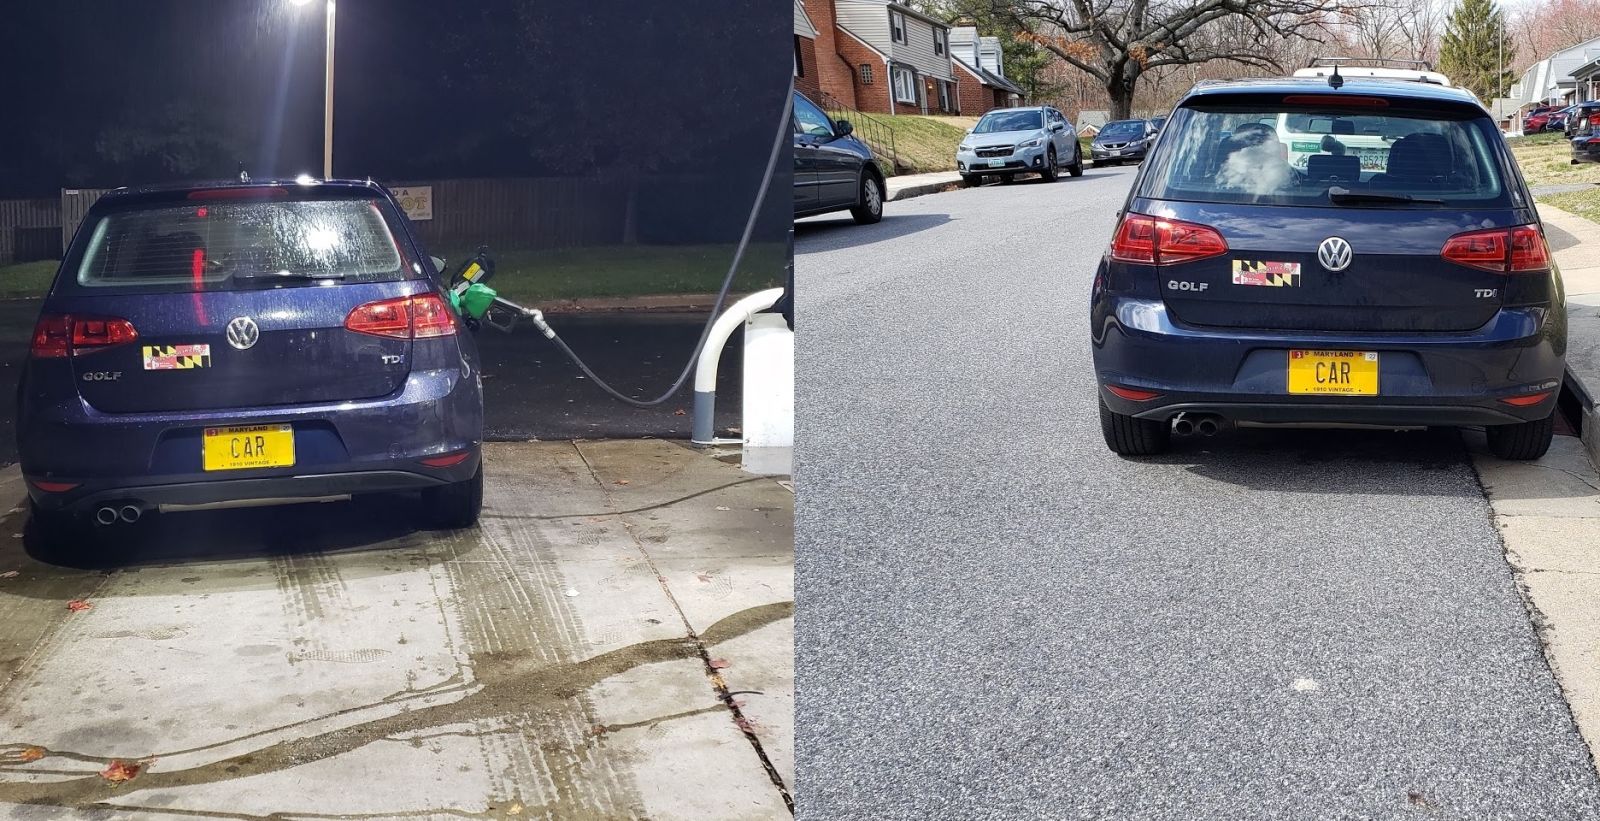
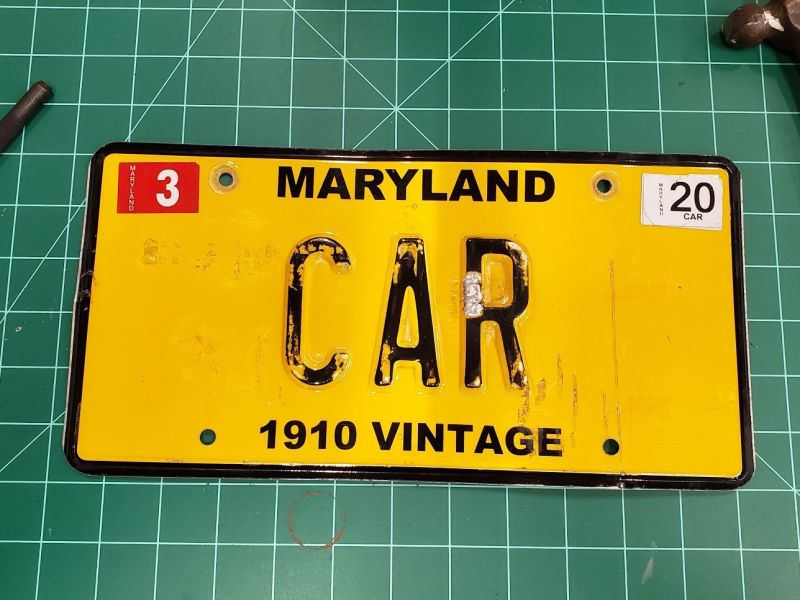
These are 1910 Vintage commemoration plates that you could only get in Maryland in 2015 for some reason, and they’re unlikely to ever be released again. I could certainly keep the CAR and get replacement plates of some other type, but nothing comes close to the aesthetic that these plates have. Before I threw in the towel and got something new, I decided to have a go at working the rear plate back in to shape and touching up the lettering. I figured the worst case is it still looks bad, and even then it would look better.
It took an impending plague to get me to start this task, and it will take an active plague to get anybody to even read this. Let’s get to it!
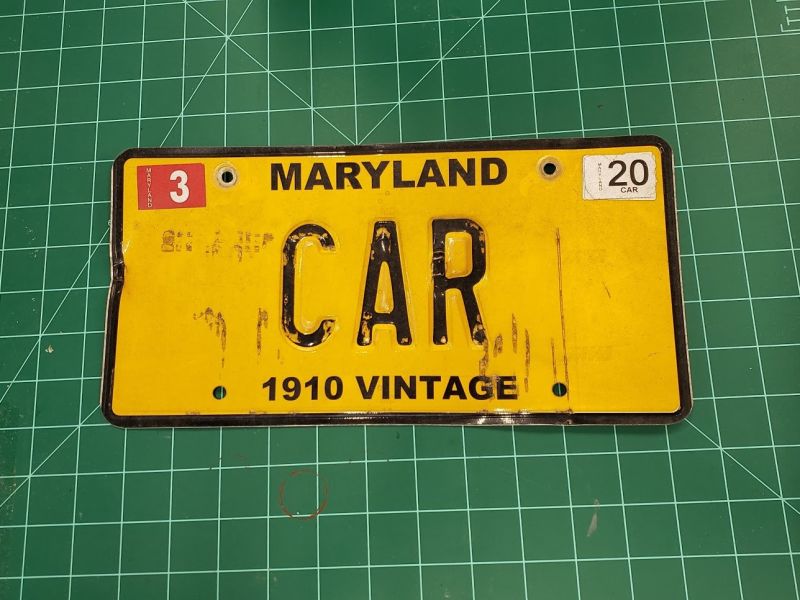
My first job was to straighten it up. I rounded-off the edges of a circle punch, set the plate face-down on a YouTuber-Approved Certified Good Content Mat™ and gently bashed everything straight. I took care not to wrinkle the aluminum too badly, and tried to reverse the worst of the damage.
With the plate straightened up, it was time to pay some attention to the front.I used hot soapy water to clean up as much grime as I could and to scrub off any paint flecks that would give up the fight easily. I then used some paint thinner (I don’t know what kind ... but I don’t think it was acetone, although I really should have used acetone) to try to clear up some of the road-grime packed adhesive patches.
The final cleanup step was to take a razor blade and shave off any dangling pieces of paint and vinyl. I wanted to get as smooth of a surface as I could be bothered to get at the time.
This was about as good as it was going to get unless I wanted to spend 10x as much time as I had already spent, carefully massaging the aluminum back in to its original form. Either way I was happy enough with the progress, so I got to painting.
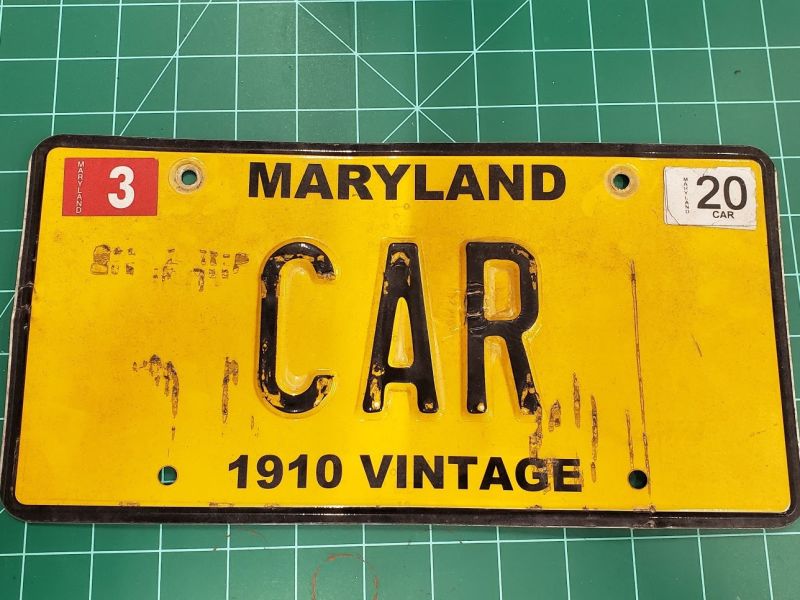
As far as I was concerned, the yellow base color and the black border were both fine. It was the registration that needed restoration. My intent was to use some black nail polish cut with paint thinner to let me get some nice layers on there without leaving too many brush strokes. Unfortunately the nail polish and paint thinner I bought for this task several months ago were not compatible, so I went at it directly with the nail polish.
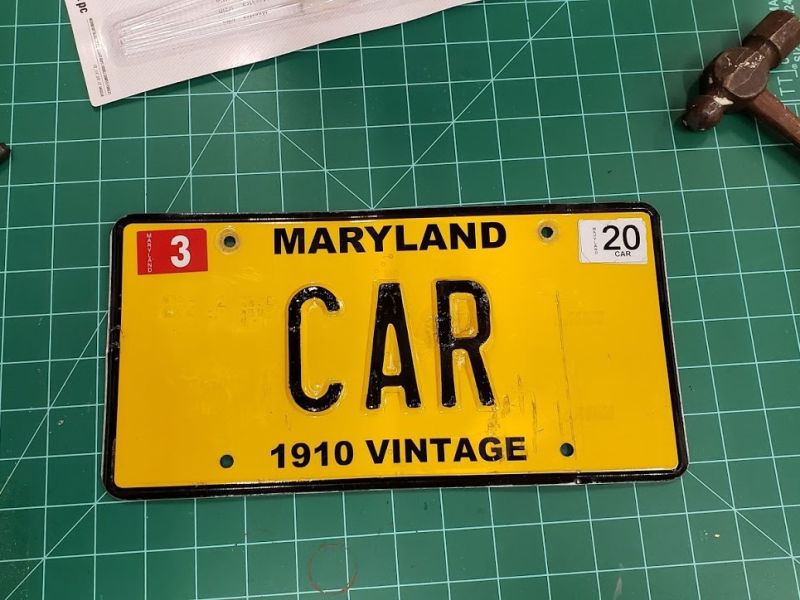
The nail polish went on well enough and the minor brush strokes were readily masked by the major hammer marks.
Time to re-install. Assembly is the reverse of disassembly. I think the results speak for themselves.
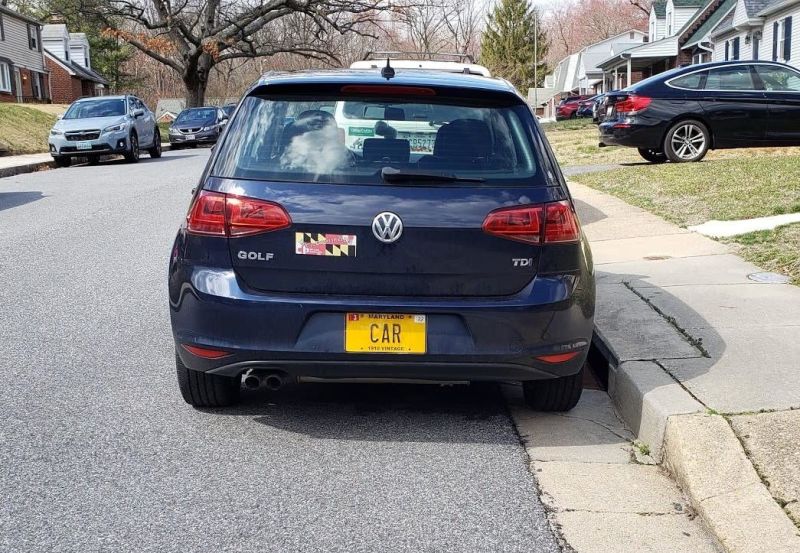
Okay so maybe it wasn’t the best restoration in the world, but then again this isn’t a REAL 1910 MD plate (those are pretty rare). Overall I was very happy with it. I’m definitely willing to take photos of the back of my car again, and it was an entertaining exercise.
If you made it this far, thanks for reading and wash your hands!