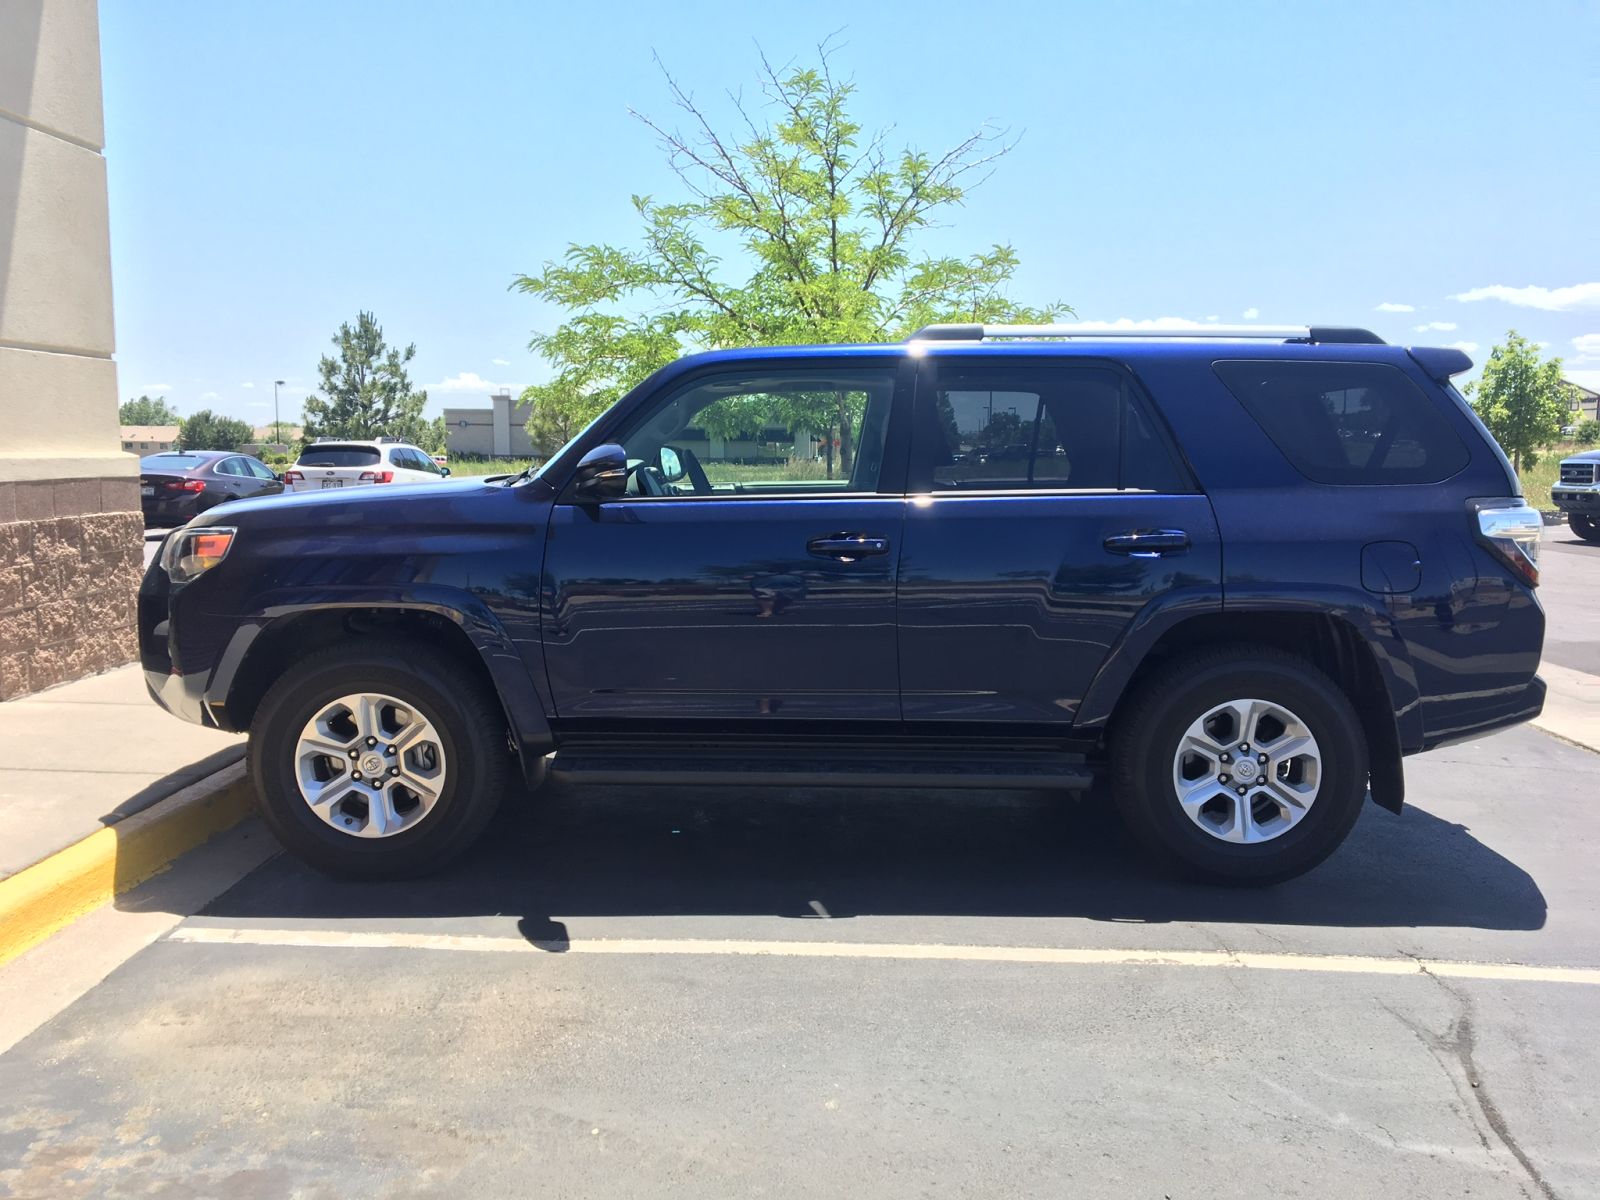
Ok, so phase 1 was just a stock 4Runner. Phase 2 sees a couple of small changes.
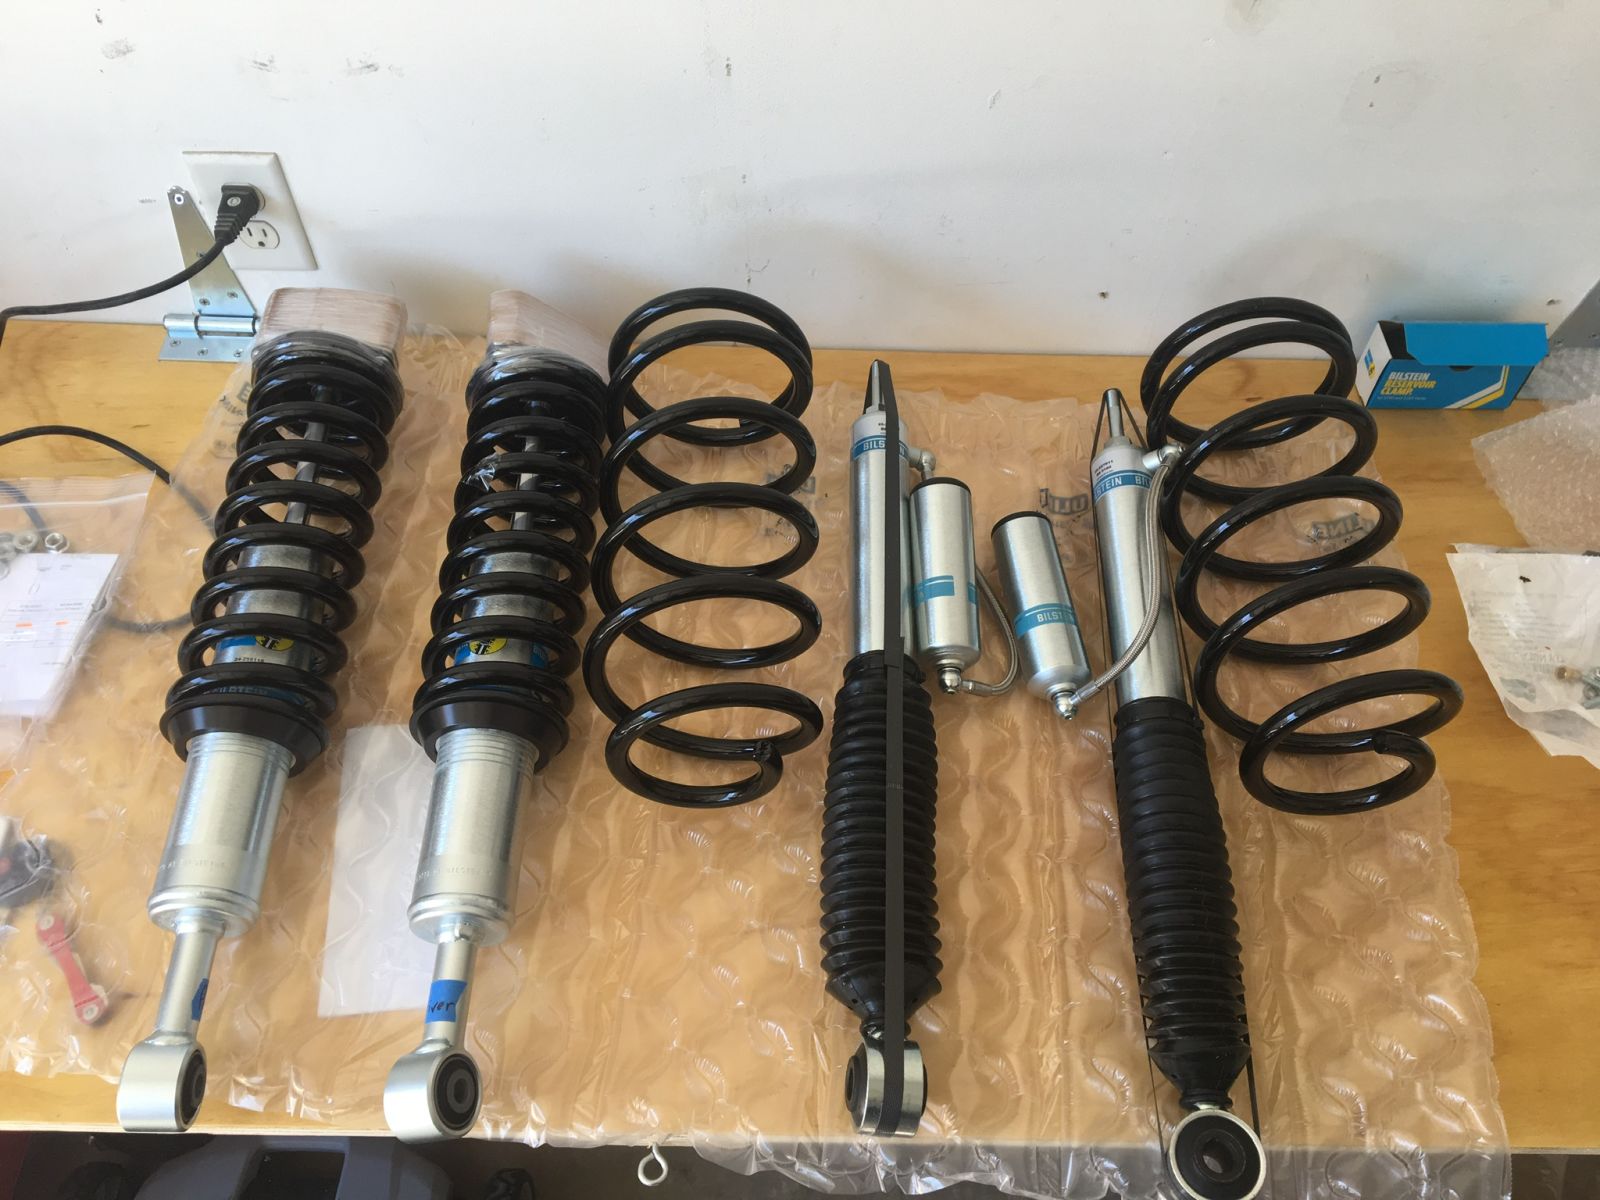
The list of changes, you say? Ok. I installed Bilstein 6112 front shocks/springs. The front Bilsteins are adjustable, but only by a positionable circlip, meaning they required at least partial disassembly is you want to adjust the height. I was feeling lazy about assembling the shocks, so I had them preassembled at a 2” ride height.
The install was fairly straightforward. Remove the three nuts at the top of the shock, the bottom mount bolt, and a couple more bolts on the lower control arm ...and voila, front disassembled, according to the internet. I fought with getting them out a bit, so decided to remove the sway bar. After that, they came right out. Getting the new ones in was easy, although with only a 9 year old helper, a couple of steps have left me a bit sore. Pushing down on the lower control arm while snaking the shock assembly in place AND slide the lower bolt in was a bit of a challenge. All in all, including jacking up, removing wheels, etc, etc, the fronts took about 2.5 hours. That doesn’t include tightening one of the sway bar endlinks that I only had finger tight, which caused a noticeable clunk during my after test drive.
The rears are easy, I bought the Bilstein billet reservoir mounts to save the pain for trying to mount the reservoir on the frame. The shocks are Bilstein 5160, and the springs are Wheelers Offroad T13, which provide 1.5” of lift. The stock rear springs basically fell out after I removed the shocks and disconnected the pesky sway bar. I’m sure I could’ve left it connected, but after struggling with the front, I figured I’d just spend the 5 minutes removing the 4 bolts. The rear install took maybe just over an hour, hour and ten minutes or so. Mind you, I was in no hurry, and I was explaining tools to me son, who took an interest in helping. Overall install took about 3 hours and 45 minutes.
The numbers... height, as measured from ground to fender. Before: Driver front: 34.5. Passenger front: 35”. Driver rear: 36.25”. Passenger rear: 37”.
After: DF: 36.75. PF: 37”. DR: 38.25”. PR: 38.25”. Bilstein advises which slot to install the circlip in to adjust for lean, something pretty much all 4Runners have. I also wanted to maintain stock-ish rake. I’m not a fan of level, as soon as you tow or toss something in the cargo area, you have negative rake. Yuck.
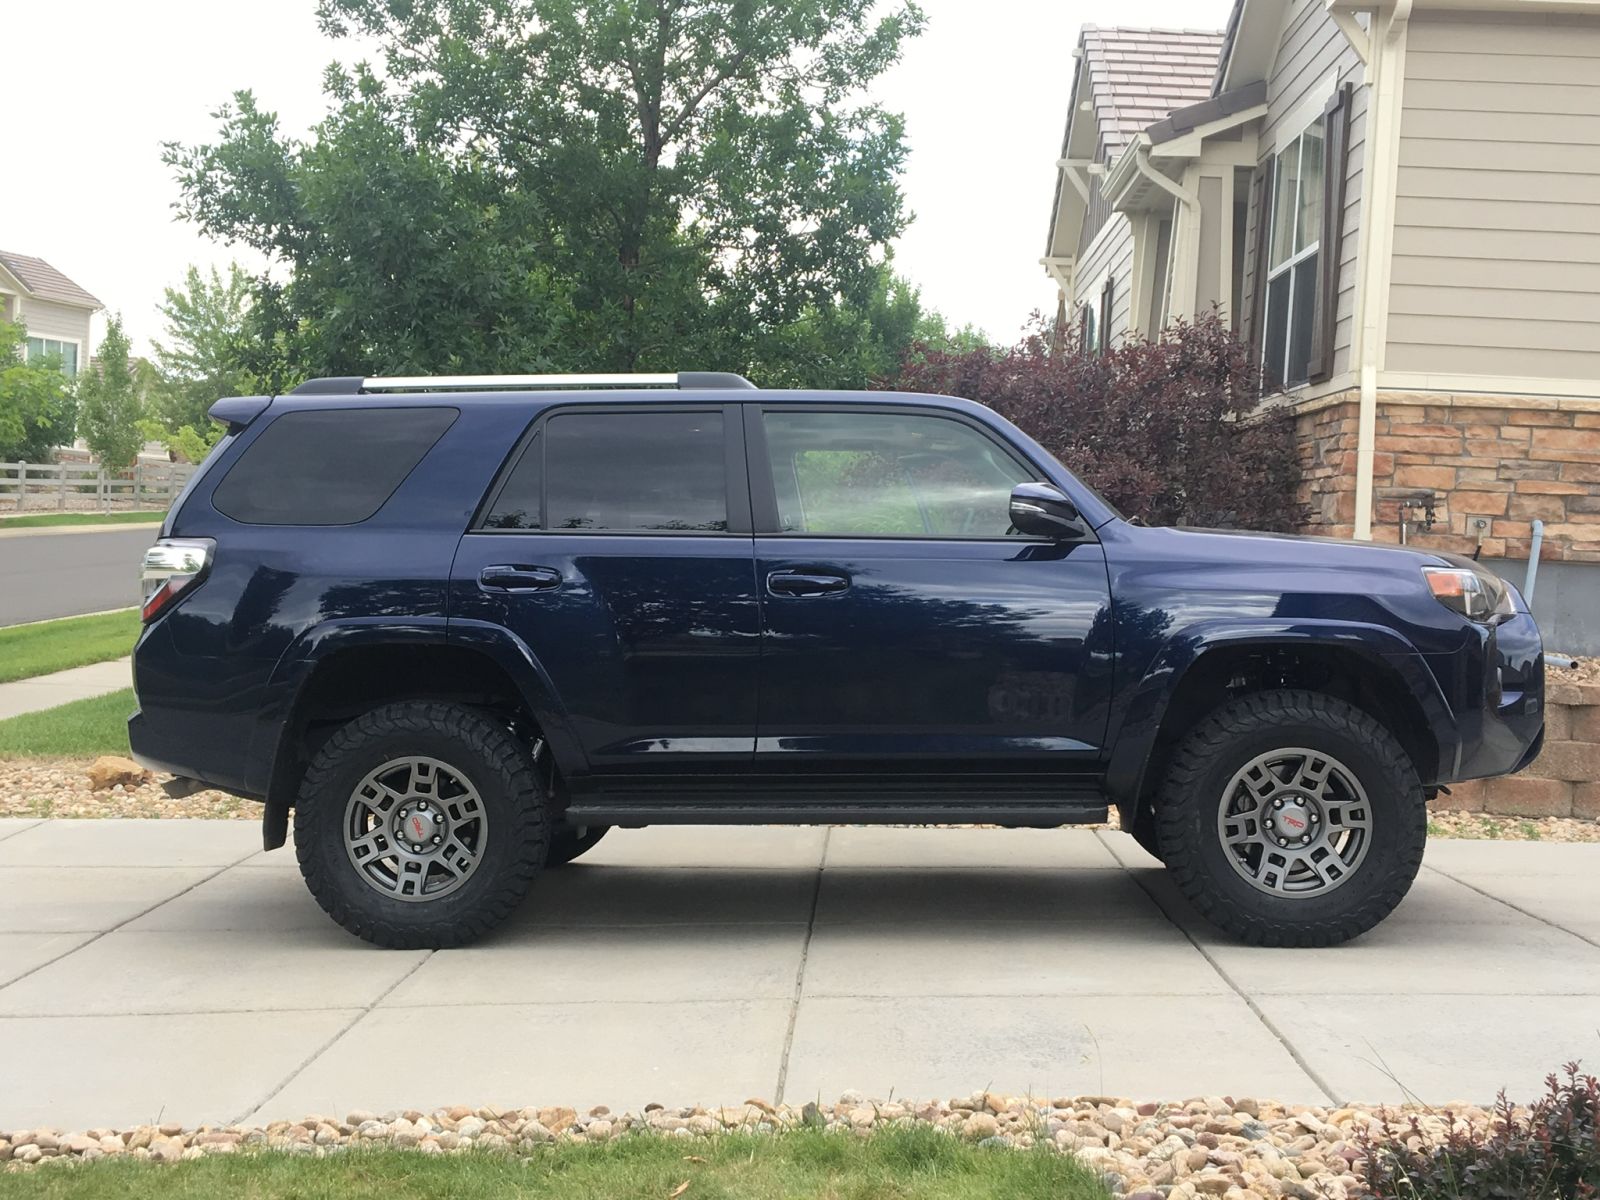
Driving impressions. I love it. It feels great and very similar to stock. It’s not harsh, it’s not loud, it doesn’t click or clunk. I read many, many, many reviews of suspensions and the reviews of this setup were also positive.
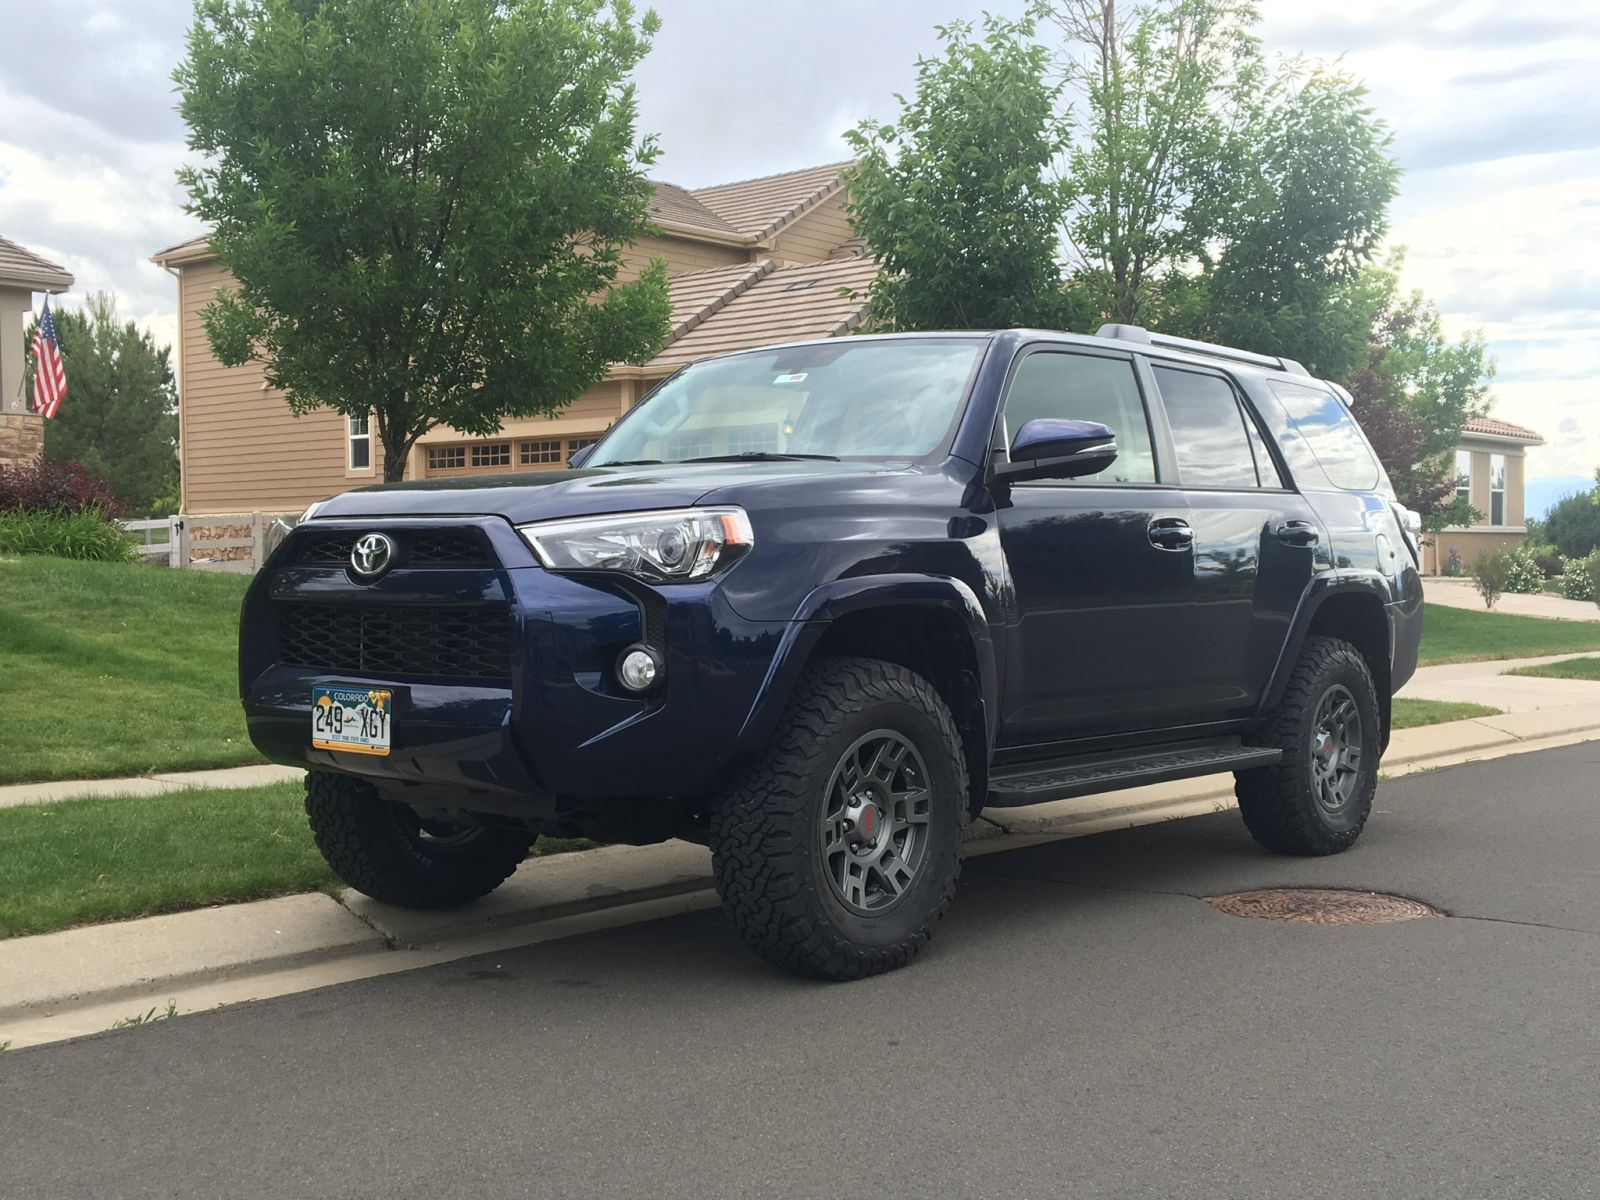
Appearance, I’m a big fan...love the wheels, the tires, the lift. It’s pretty much exactly how I wanted it to turn it, which is rare for me. I’m usually pretty picky about things, and I can’t find anything to complain about.
Before: