
That’s an exciting headline for me to type out, because it was a difficult endeavor to say the least. Fabricating a front sway bar is an exercise of trial and error. In the end, our efforts indeed prevailed.
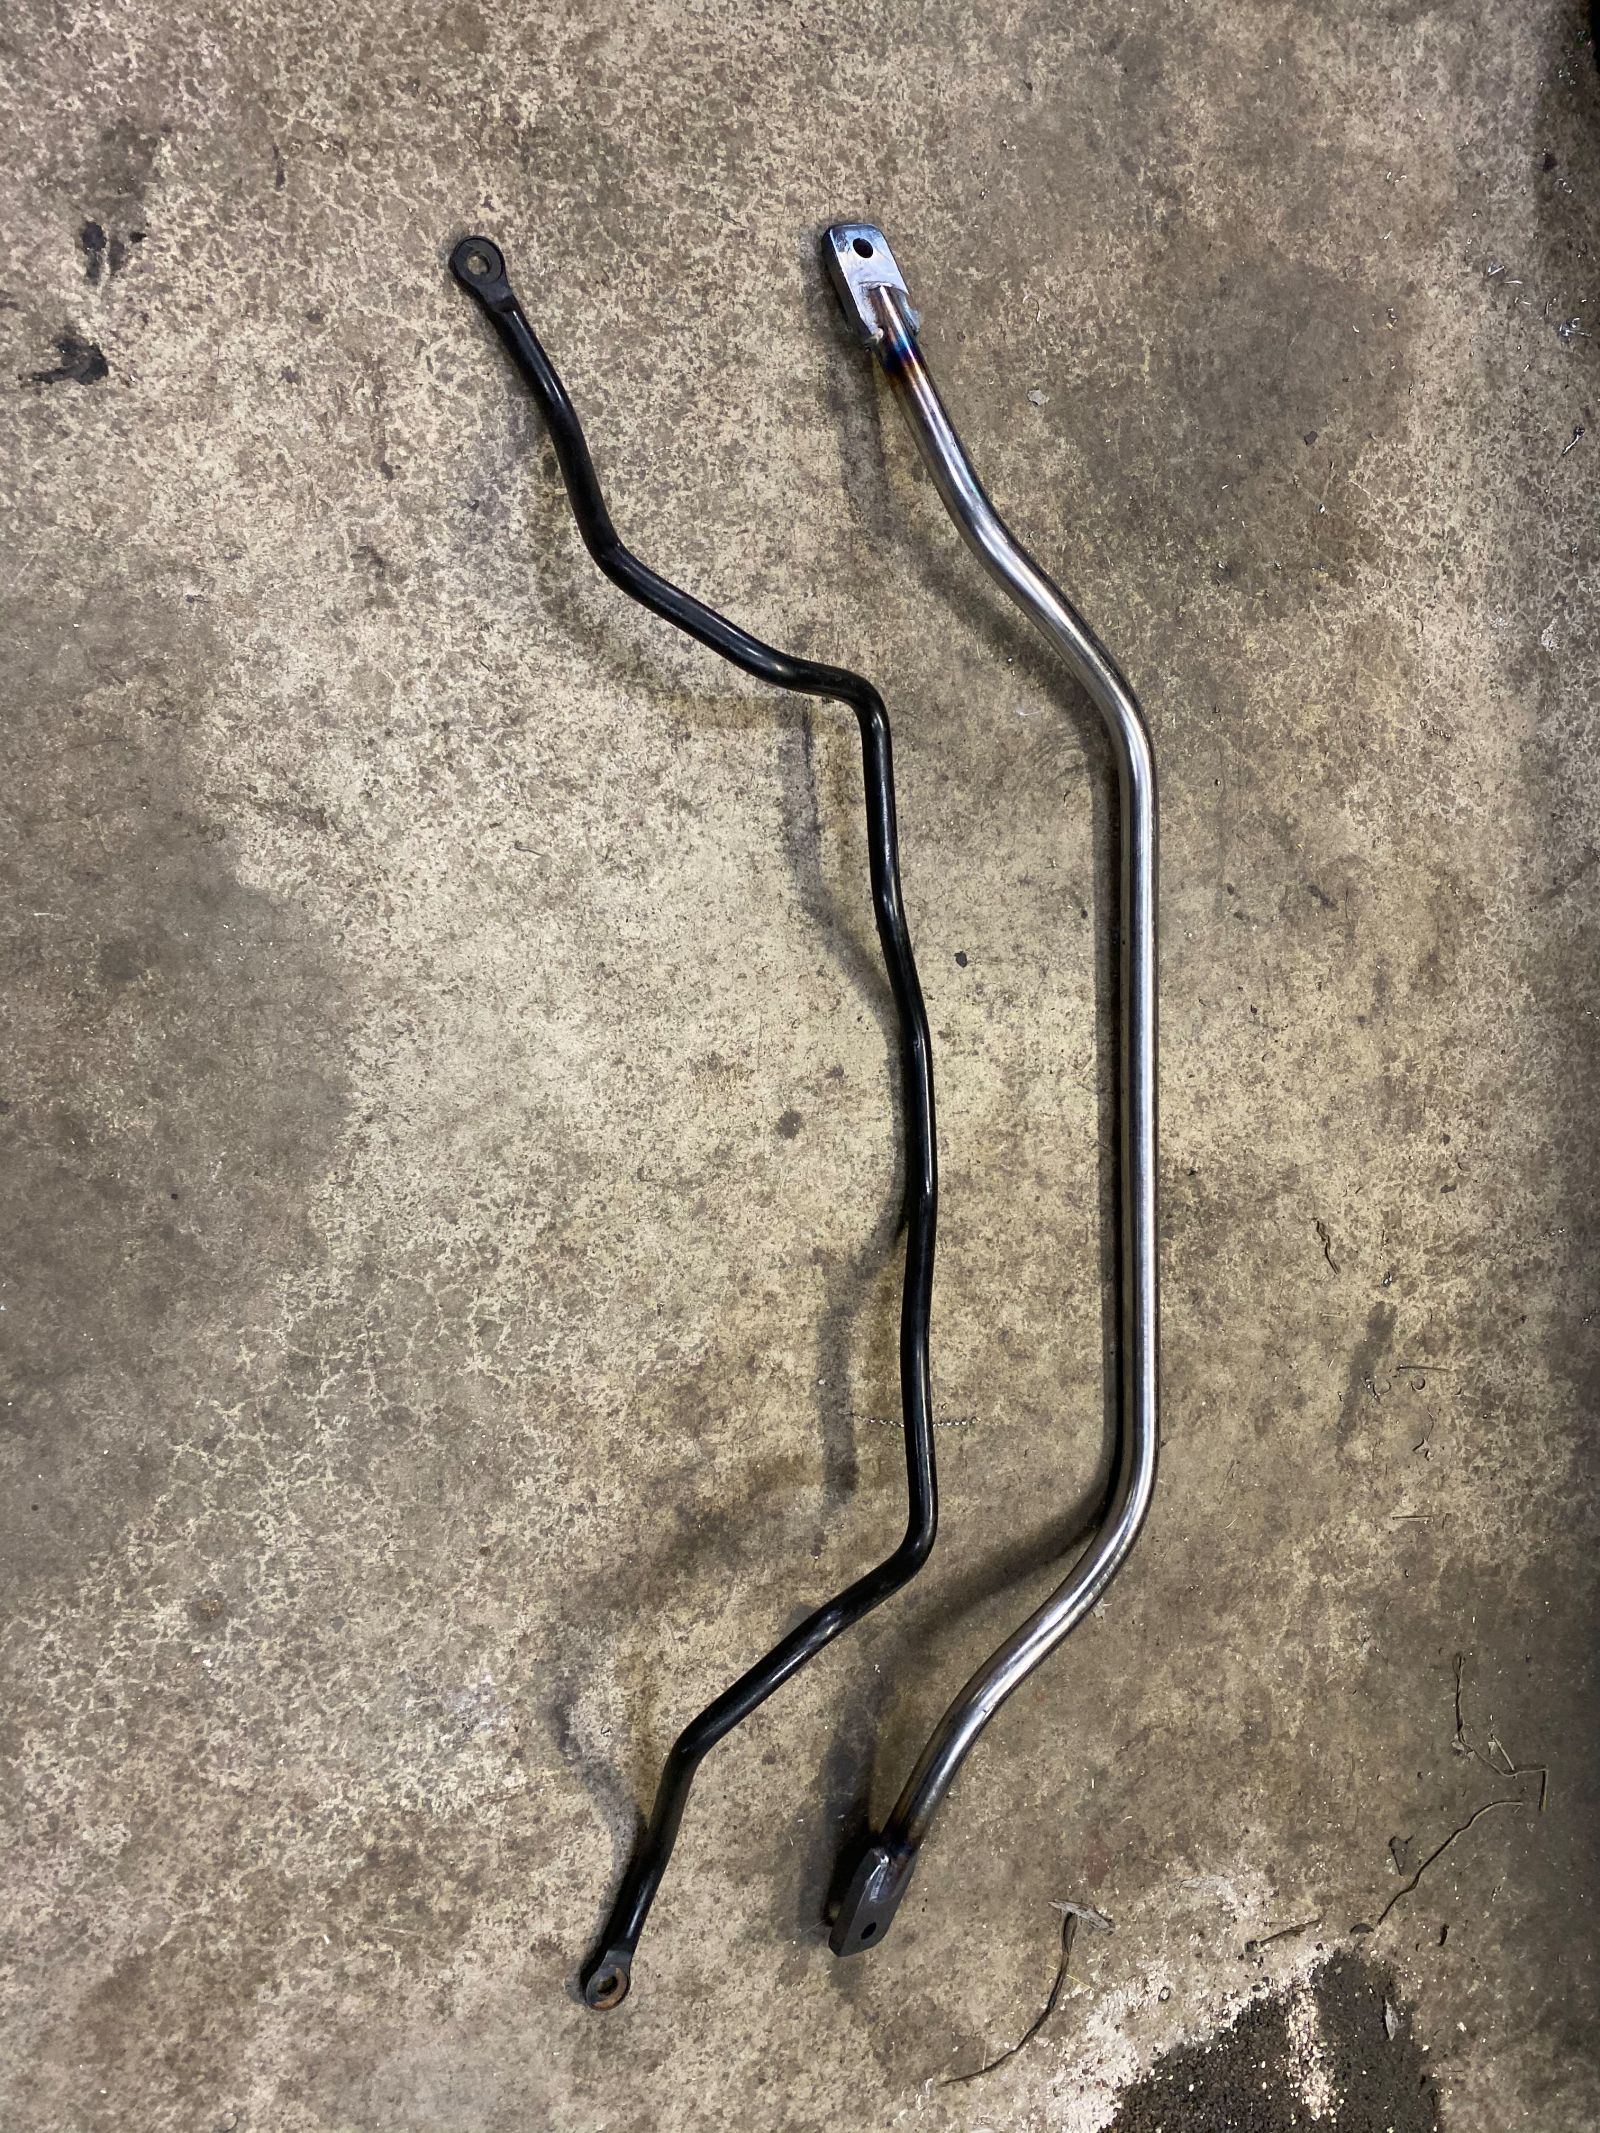
That is the stock front sway bar on the bottom, and our fabricated sway bar on the top. Notice all of the bends in the stock bar versus ours. This is an important note. It was a decision we made to simplify it and ultimately needed tweaking.
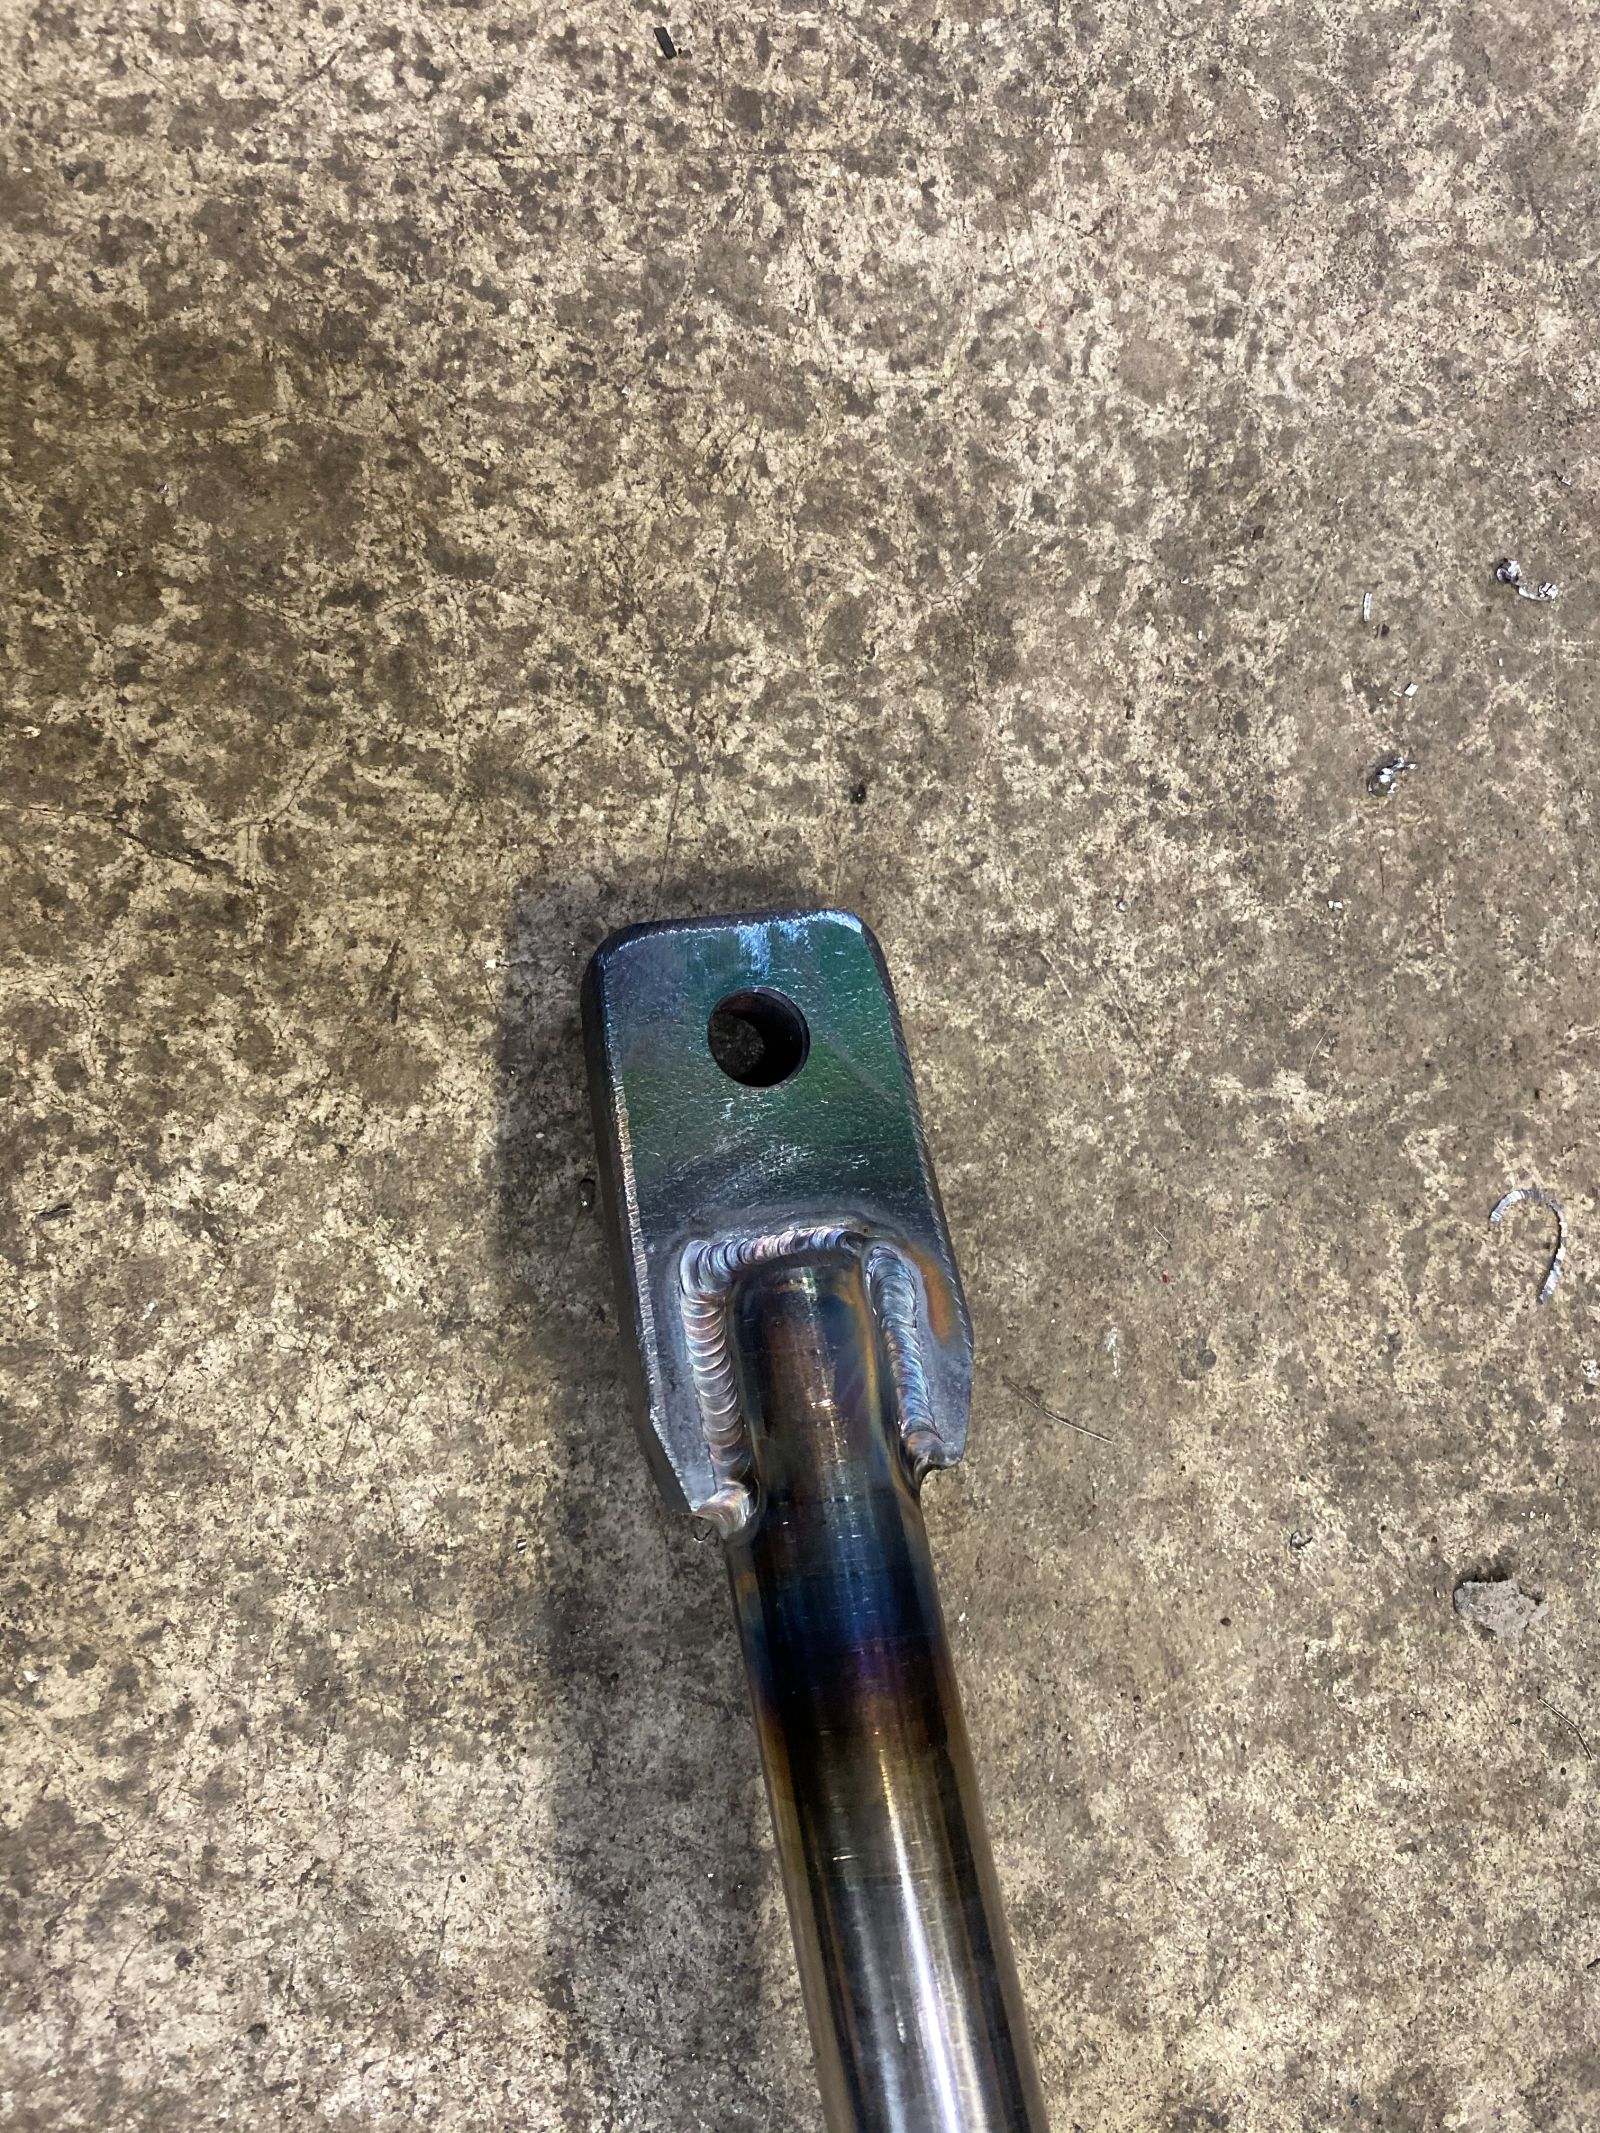
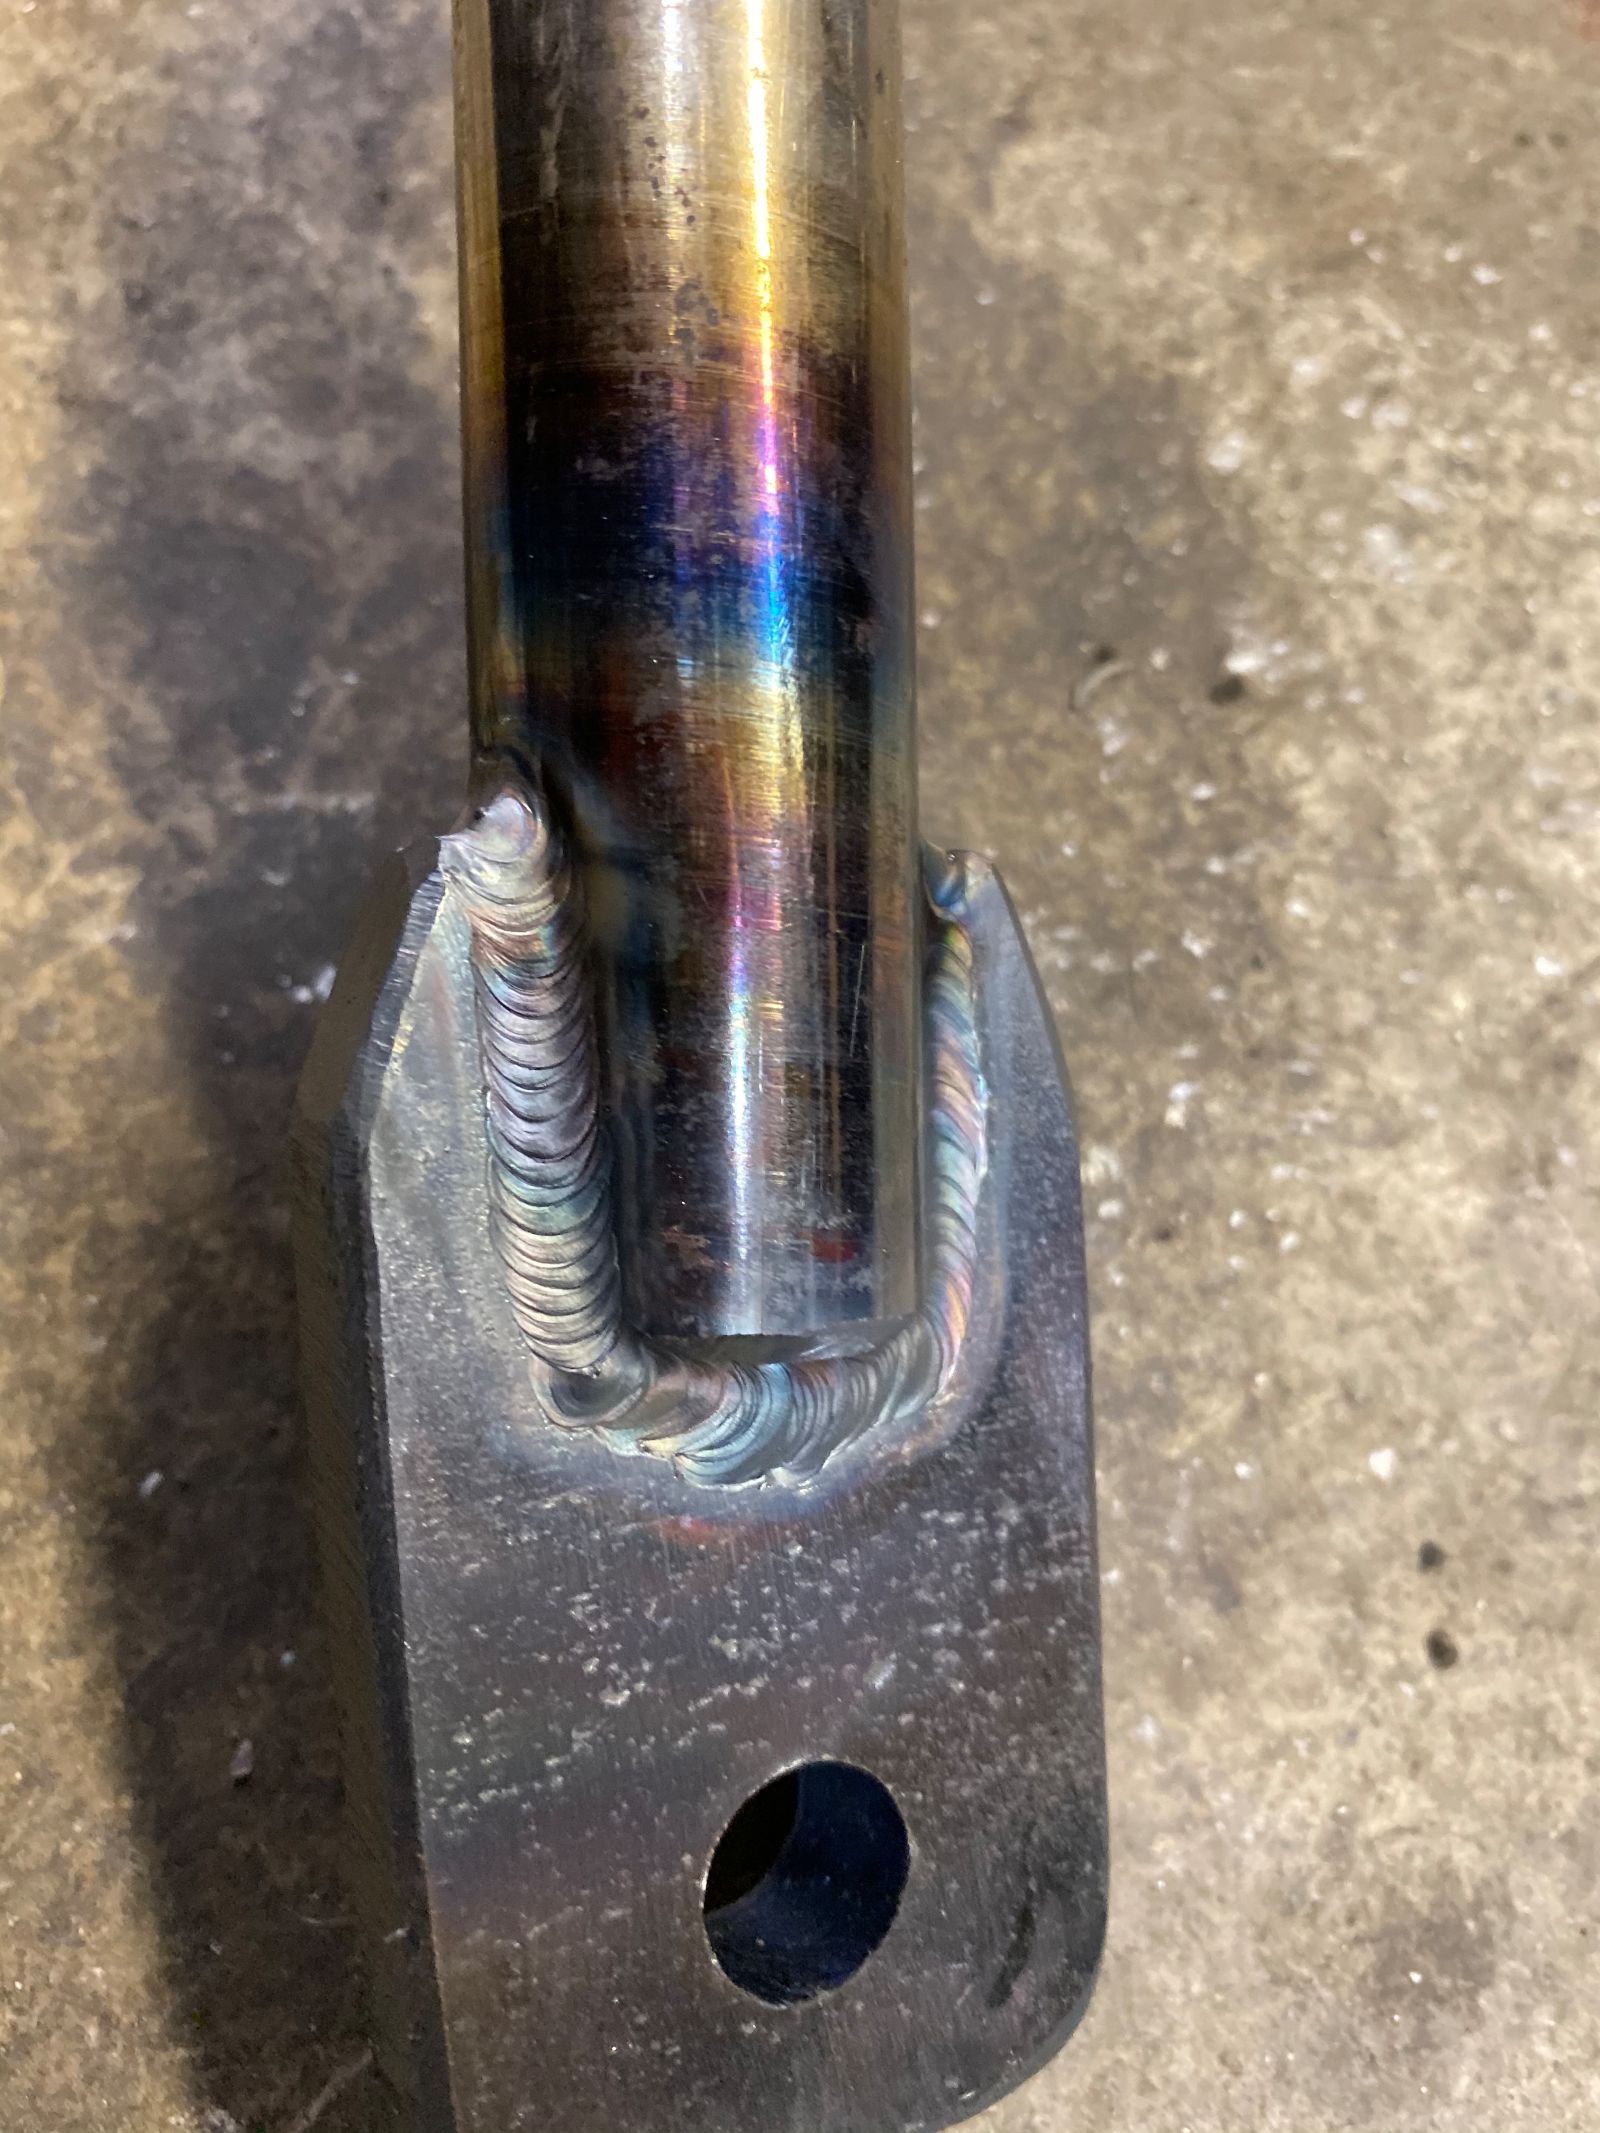
Upon first fitting the bar everything seemed on, except the end links were not parallel when we went to mount it. Also, Energy Suspension apparently measures their links from spacer length and not bolt length and that bit us hard.
We had to add another slight bend in the passenger side of the bar to bring the mounting eye down, and make it a parallel plane. Bending this material takes some legitimate effort being a solid 1” bar, but our stubbornness paid off.
For bushings we went with 1” Energy Suspension universals with brackets and they were just the perfect fit. The end links didn’t work, but we were able to use those poly bushings with our newly sourced bolts. Once the hardware was correct and we had mounted the bar for the 973rd time, we were ready to drive.
Driving with the new front sway bar is a hard to explain experience; the rear sway bar we made seems far more effective now because the car has the tendency to oversteer when I need it to. Now that the front is planted, the rear offers that rotation just when I ask for it.
The steering response is hilarious, the car suddenly feels super darty and has zero delay in changing direction with only little input. Nathan and I immediately realized when the wider tires go on along with the coilovers; this car is going to mob corners. The steering is actually quicker and more direct than my Veloster build and that had me amazed.
We both drove the car back to back and we were just beyond words in regard to the change the car experienced. It’s hard to believe, but it’s nothing like a Mirage anymore. Regular readers will note when the car was stock and I’d always mentioned the handling was the weak point. This is no longer the case.
So this closes the chapter to part 3 of the build, and it was the most challenging part of the build by far. Nonetheless we were able to conquer it and enjoy the reward that came with it.
Stay tuned for more!