
In Part 4 (from early June... I’ve been busy) I had finished up the passenger’s side fender, and was ready to address the driver’s.
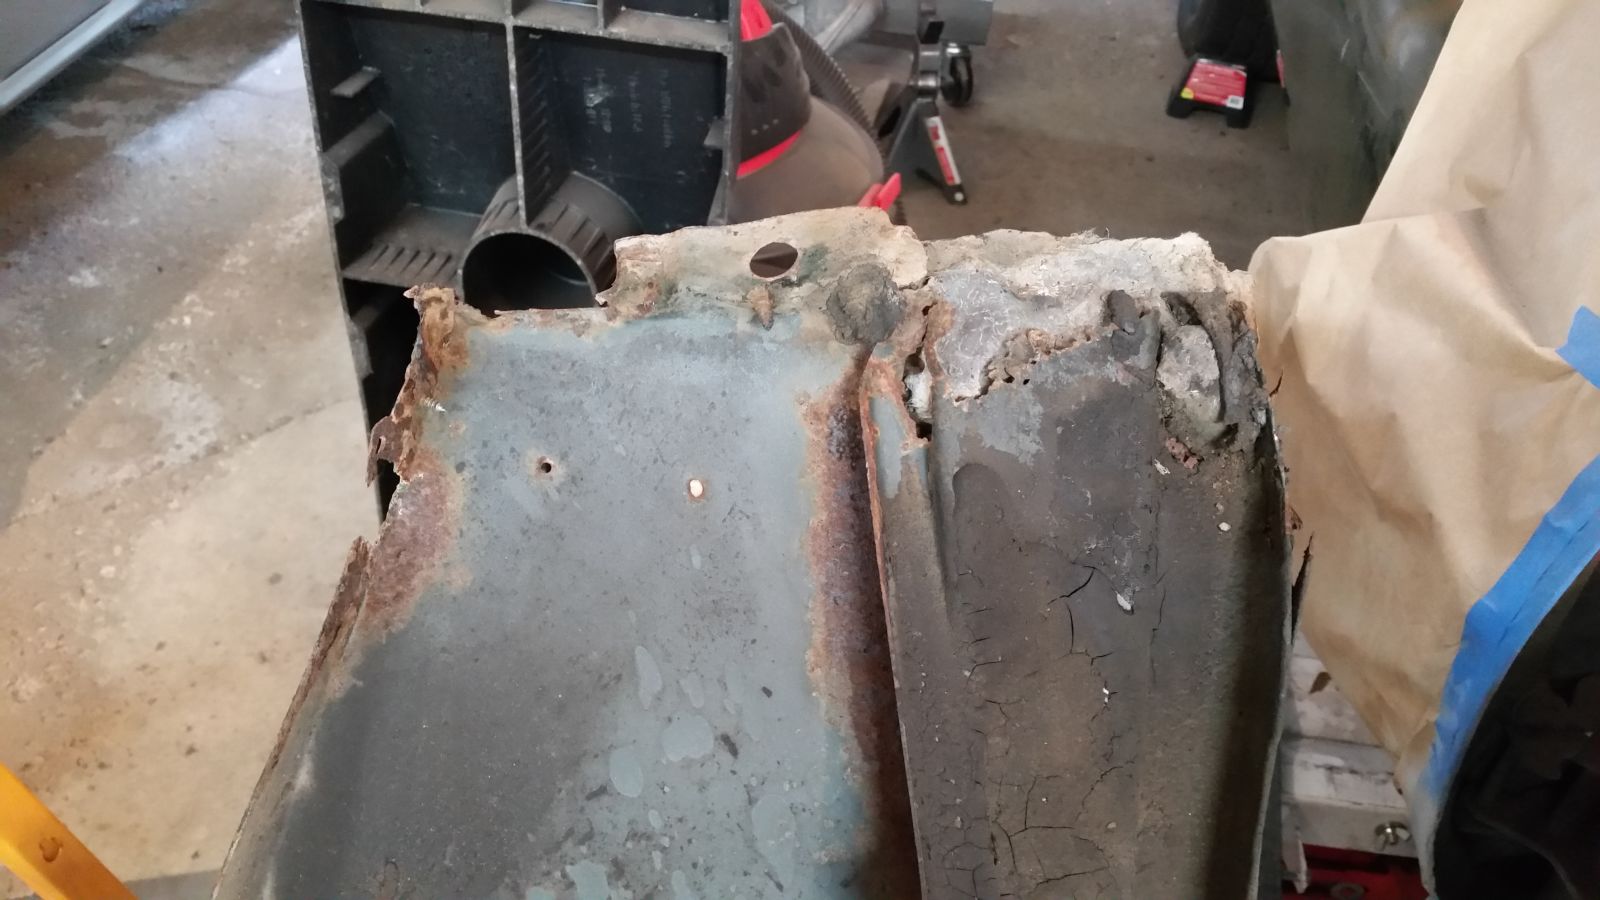
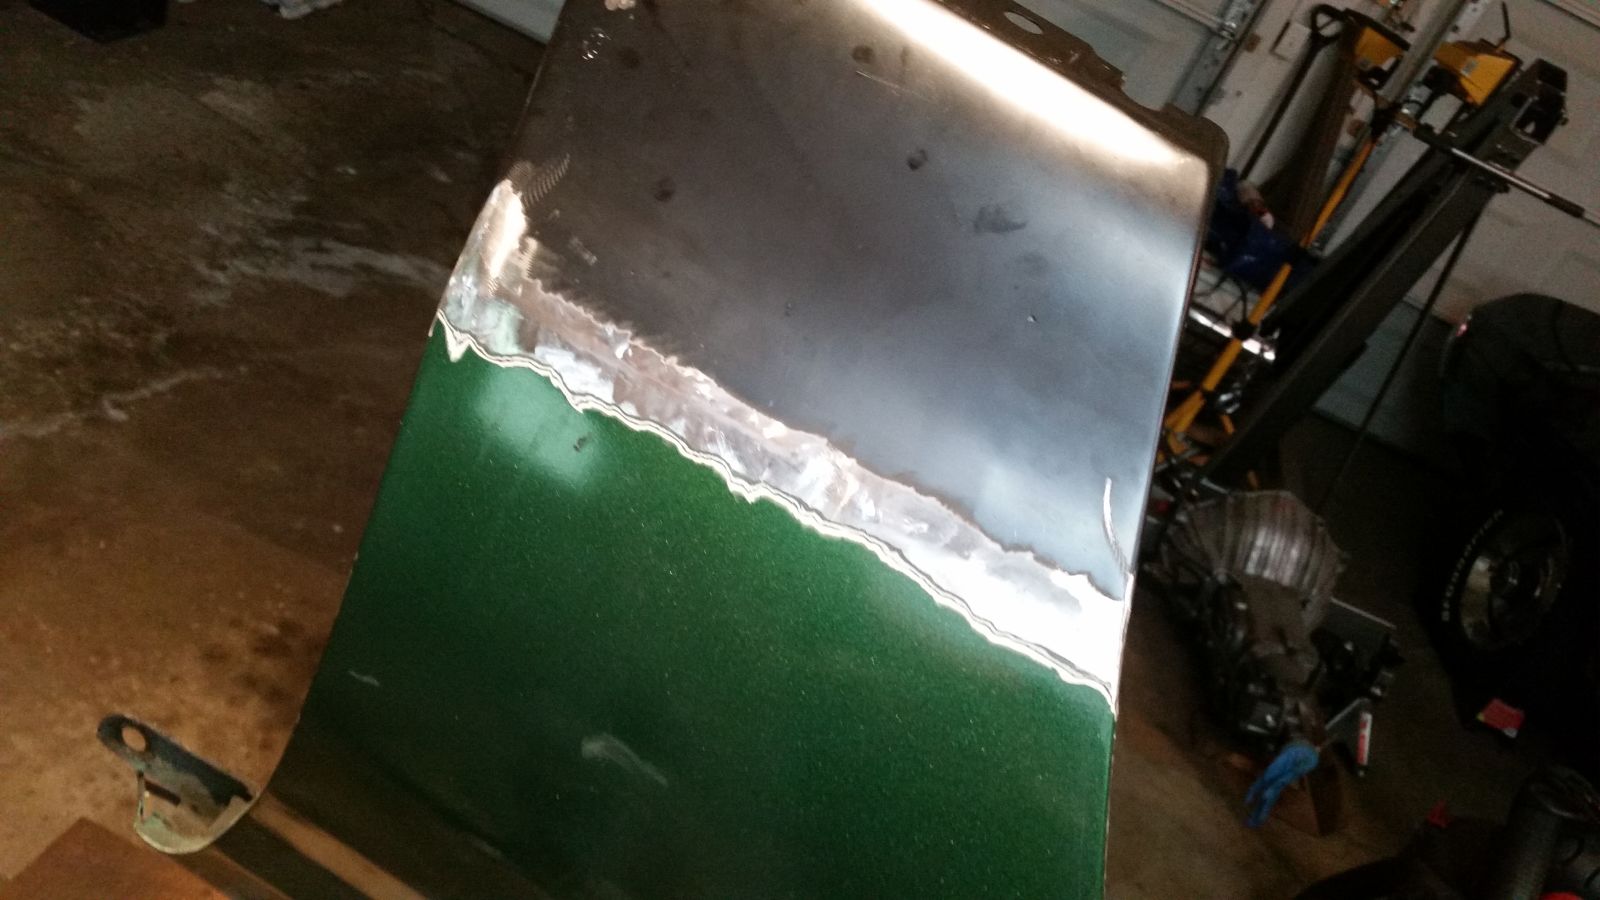
The bottom rear of this fender, as remembered, was not as bad as the other side. While it had been gooped full of fiberglass and bondo over the rust, the overall scale was less. What I hadn’t accounted for, however, was the other rust - rust which the passenger’s side didn’t have any of:
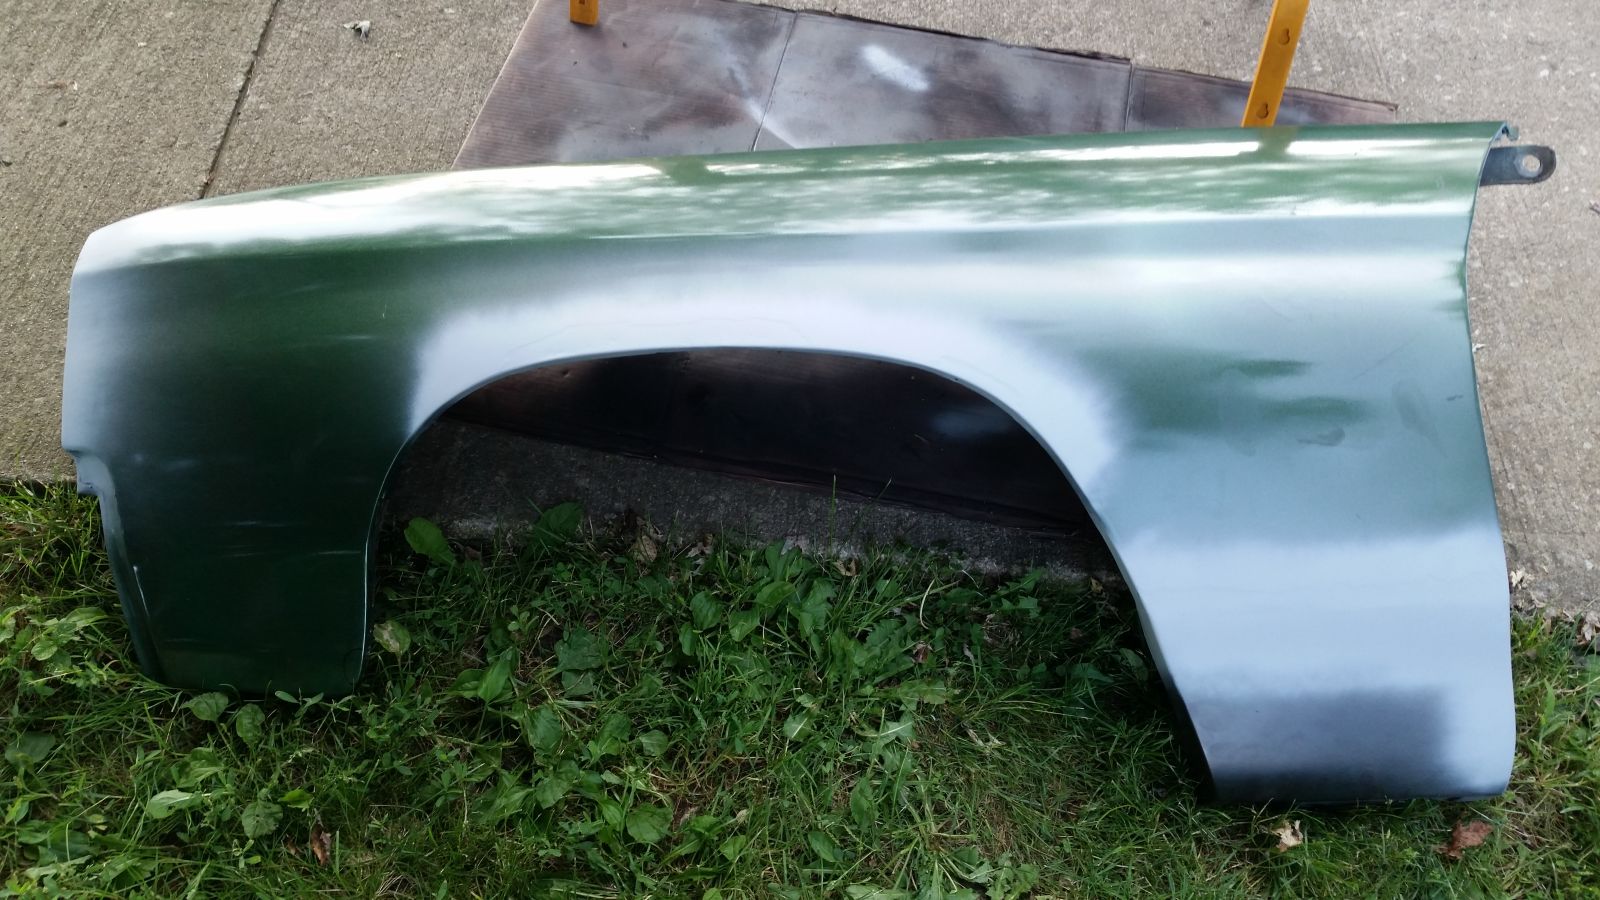
With good reproduction fenders running $300+ (not including truck freight to get one here) it was still well worth repairing this one as best as possible.
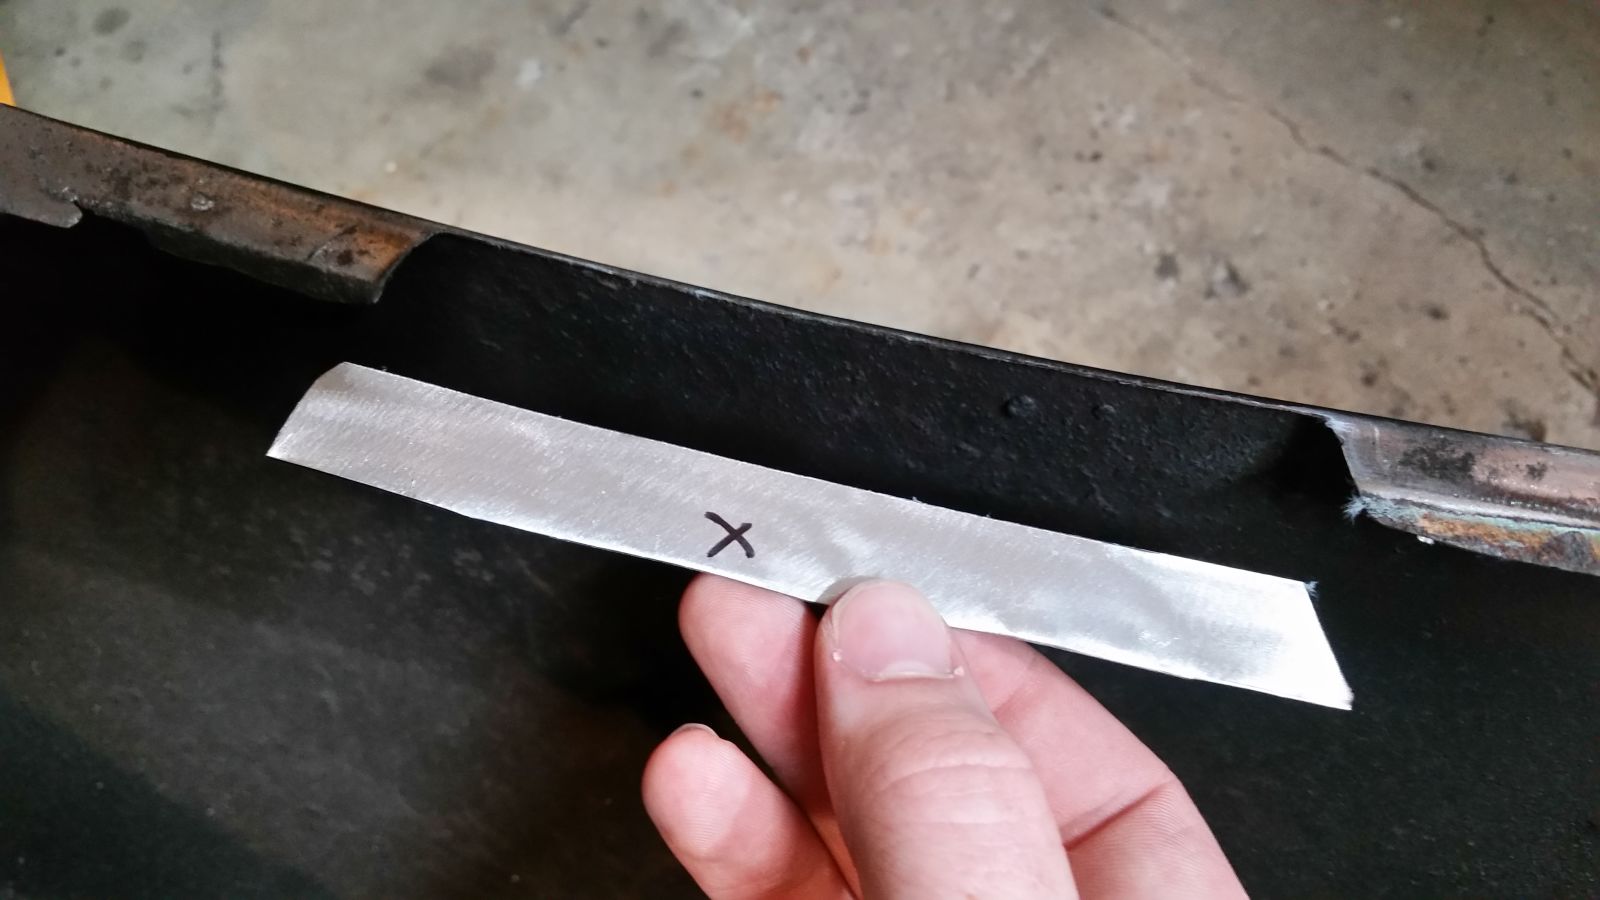
Just like before, the rust and surrounding affected region was removed and a patch fitted.
After much finagling the patch fit as expected and was fully welded in place, with the seam ground flat. Due to cramped conditions on this side of the car, this was far more of a pain than the last time.
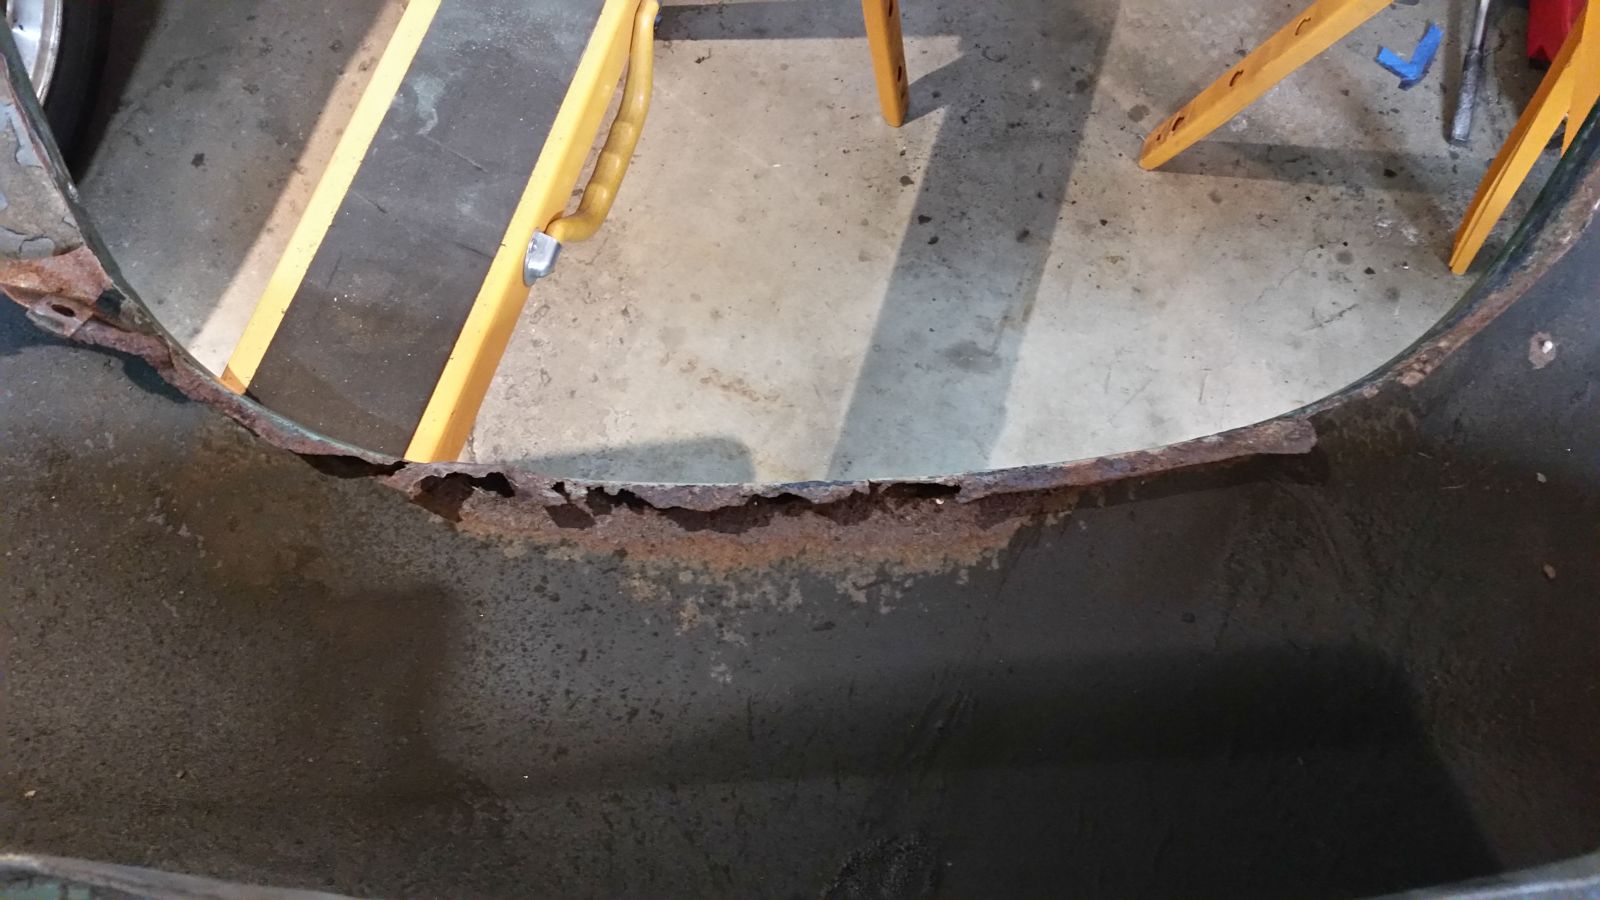
With that taken care of, it was time to address the other rust at the top of the wheel opening. Patch panels are not available for this region, so I hoped for the best and got to removing rust. I don’t have many pictures of the interim, but fortunately the outer skin wasn’t too bad (treatable surface rust), with the lip and tabs (to which the inner fender bolts) having the worst rust, in that they weren’t all there (much like myself).
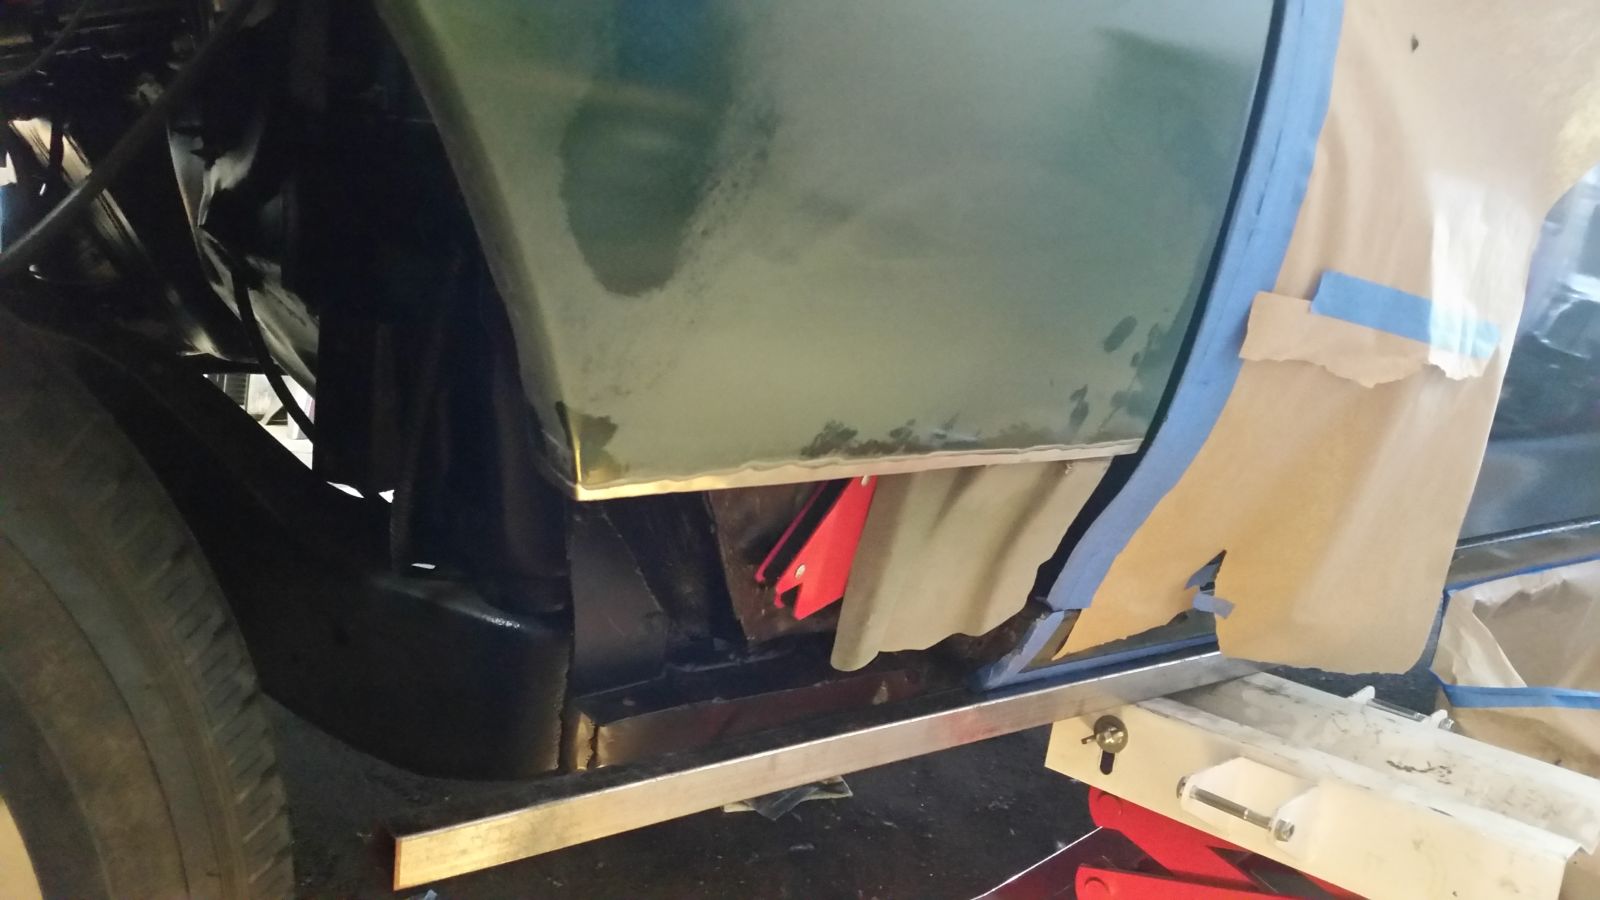
I repaired that region in two steps, first the lip itself, then by re-creating the tabs for the inner fender to mount to. Speaking of which, here’s the inner fender kinda-sorta in place:
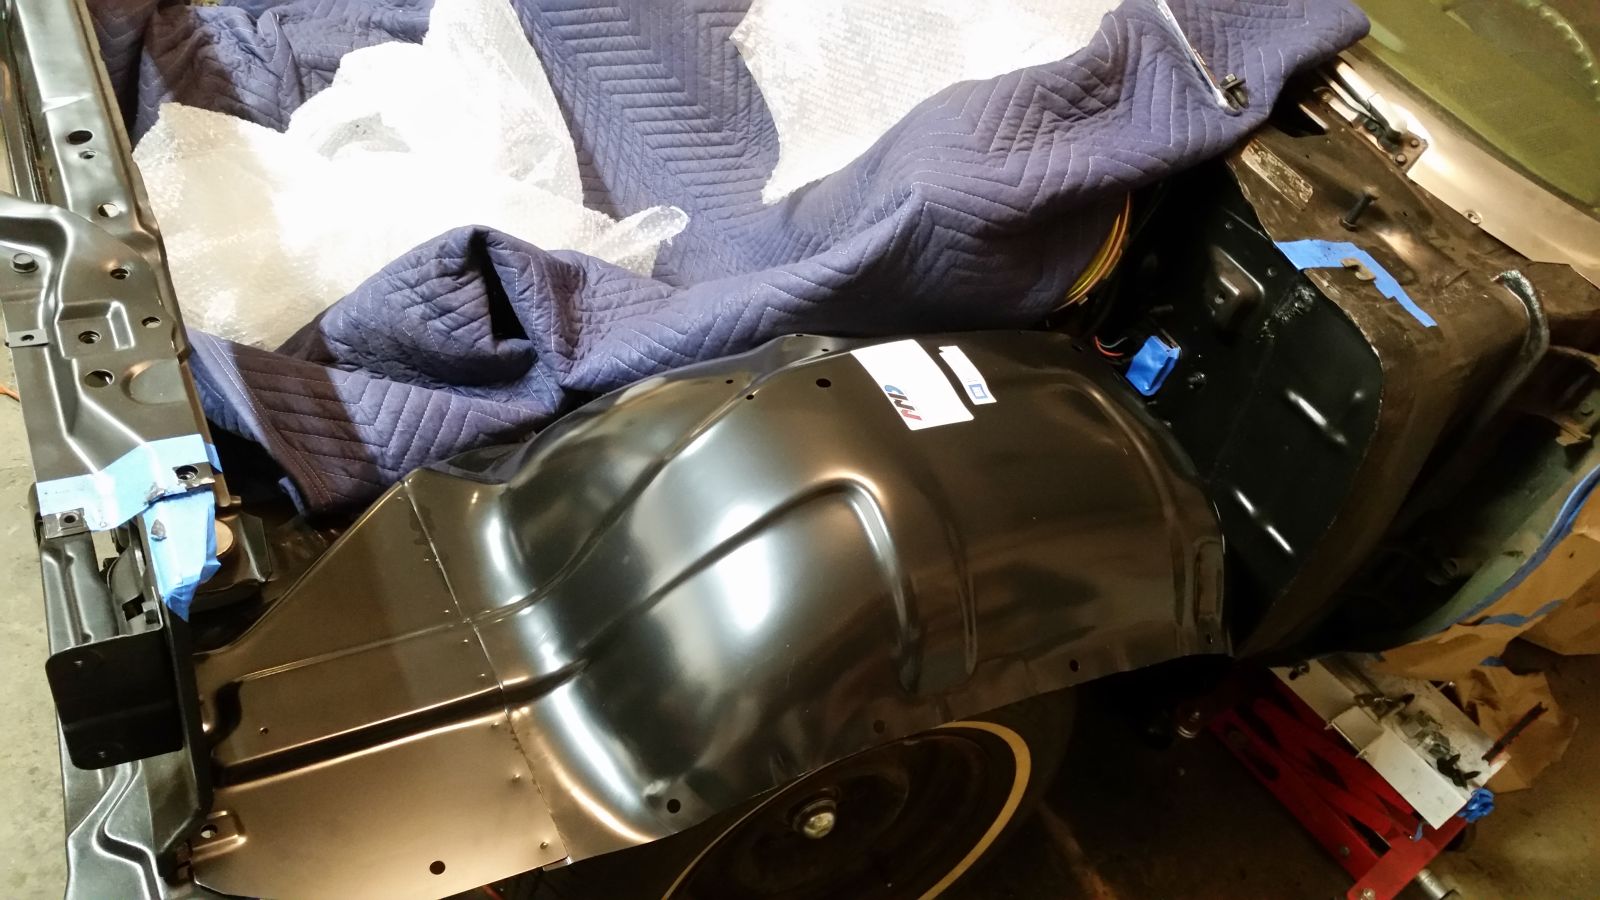
Makes it almost look like the front end of a car again! With this in place and the fender installed, I could mark where the tabs were to go. I then cut tabs, welded them on, and put the fender back on the car yet again to mark where the holes need to be. The fender gets clip nuts on the tabs, and bolts pass through the inner fender to secure it.
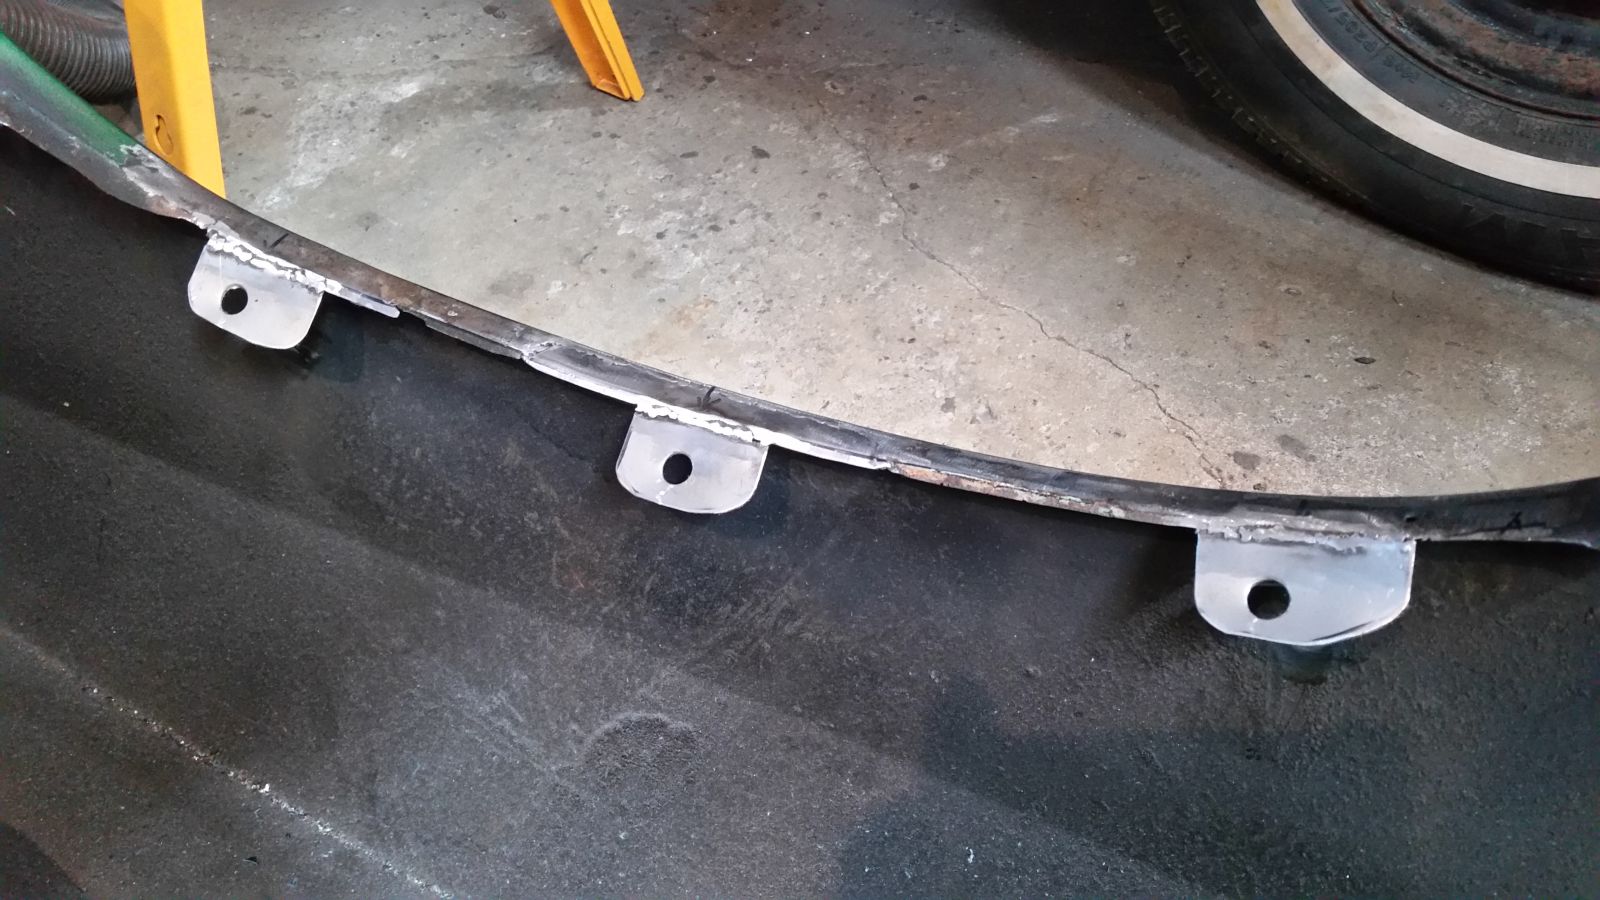
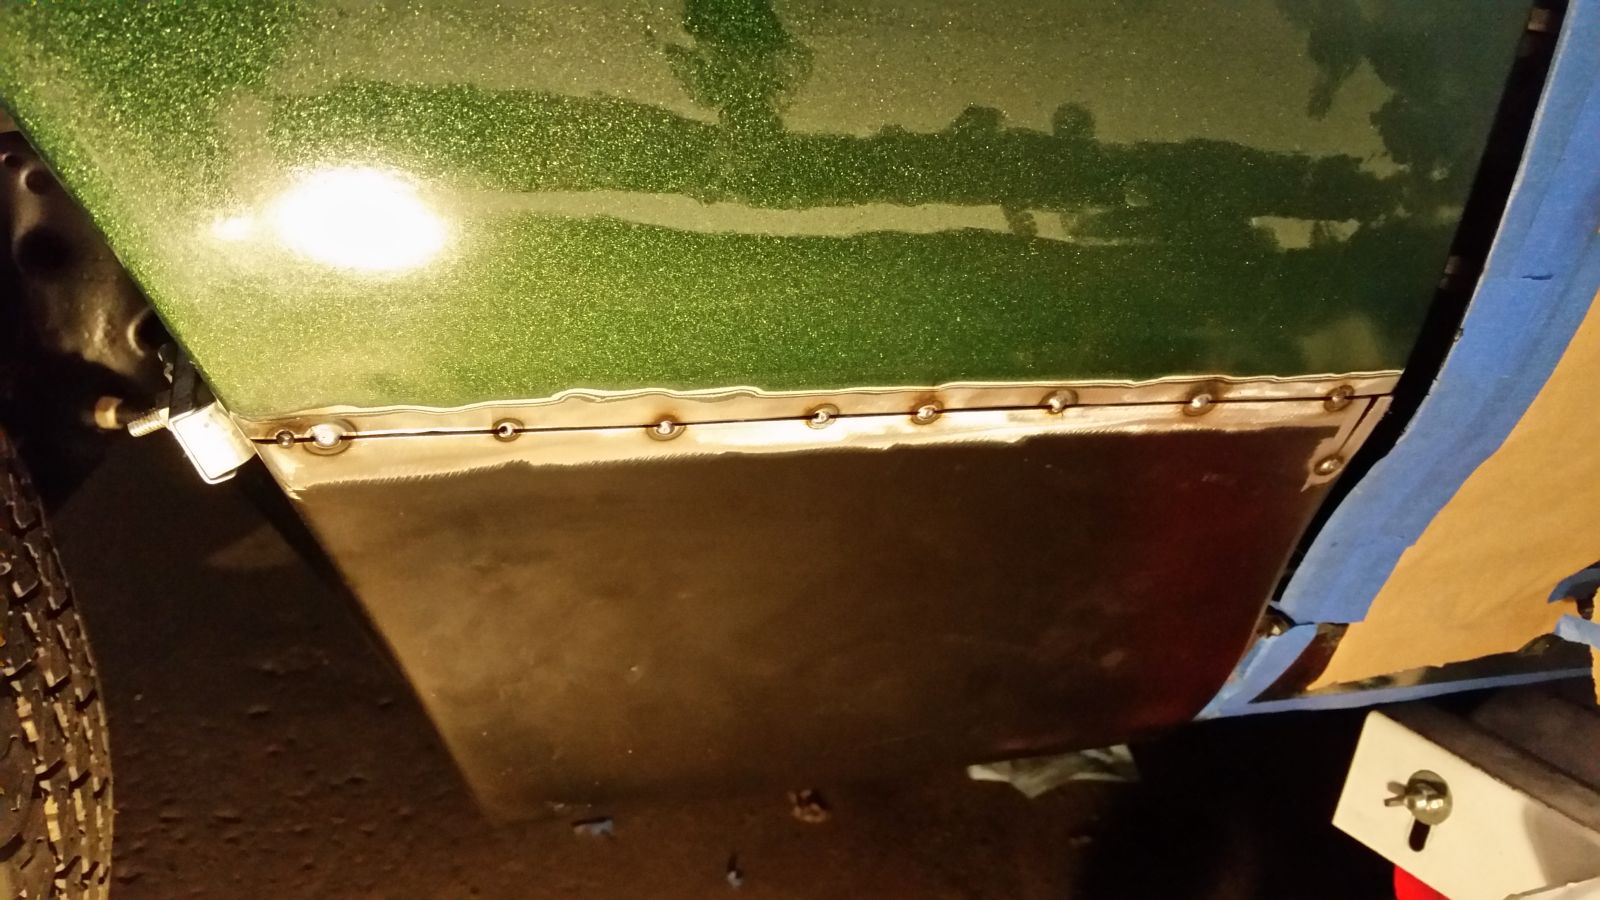
The fender was then test fit yet again to make sure everything lined up as it should (it did) and the tabs trimmer from big rectangles to the elegant abstract shapes seen above. At long last, the metalwork on the fenders is done.
So now what? Is it finally time to put together the engine? Of course not, that would be too much fun. The inner top of the fenders (the part you can see in the engine bay) are covered in undercoating, because of course they are. This needs to be removed, and that might as well happen next so that the fenders are ready for installation.
The above is a summary of the almost two months it took to do about two weeks worth of work (at a couple hours an evening). The wonders of having to travel for work! That said, with the fenders wrapping up, the “this sucks” part of this phase should be about over, which is good. Fun stuff coming soon.