
Take off the top. Grab your ratchet set. And settle in. Today we’ll be adding a 6 point harness and harness bar.
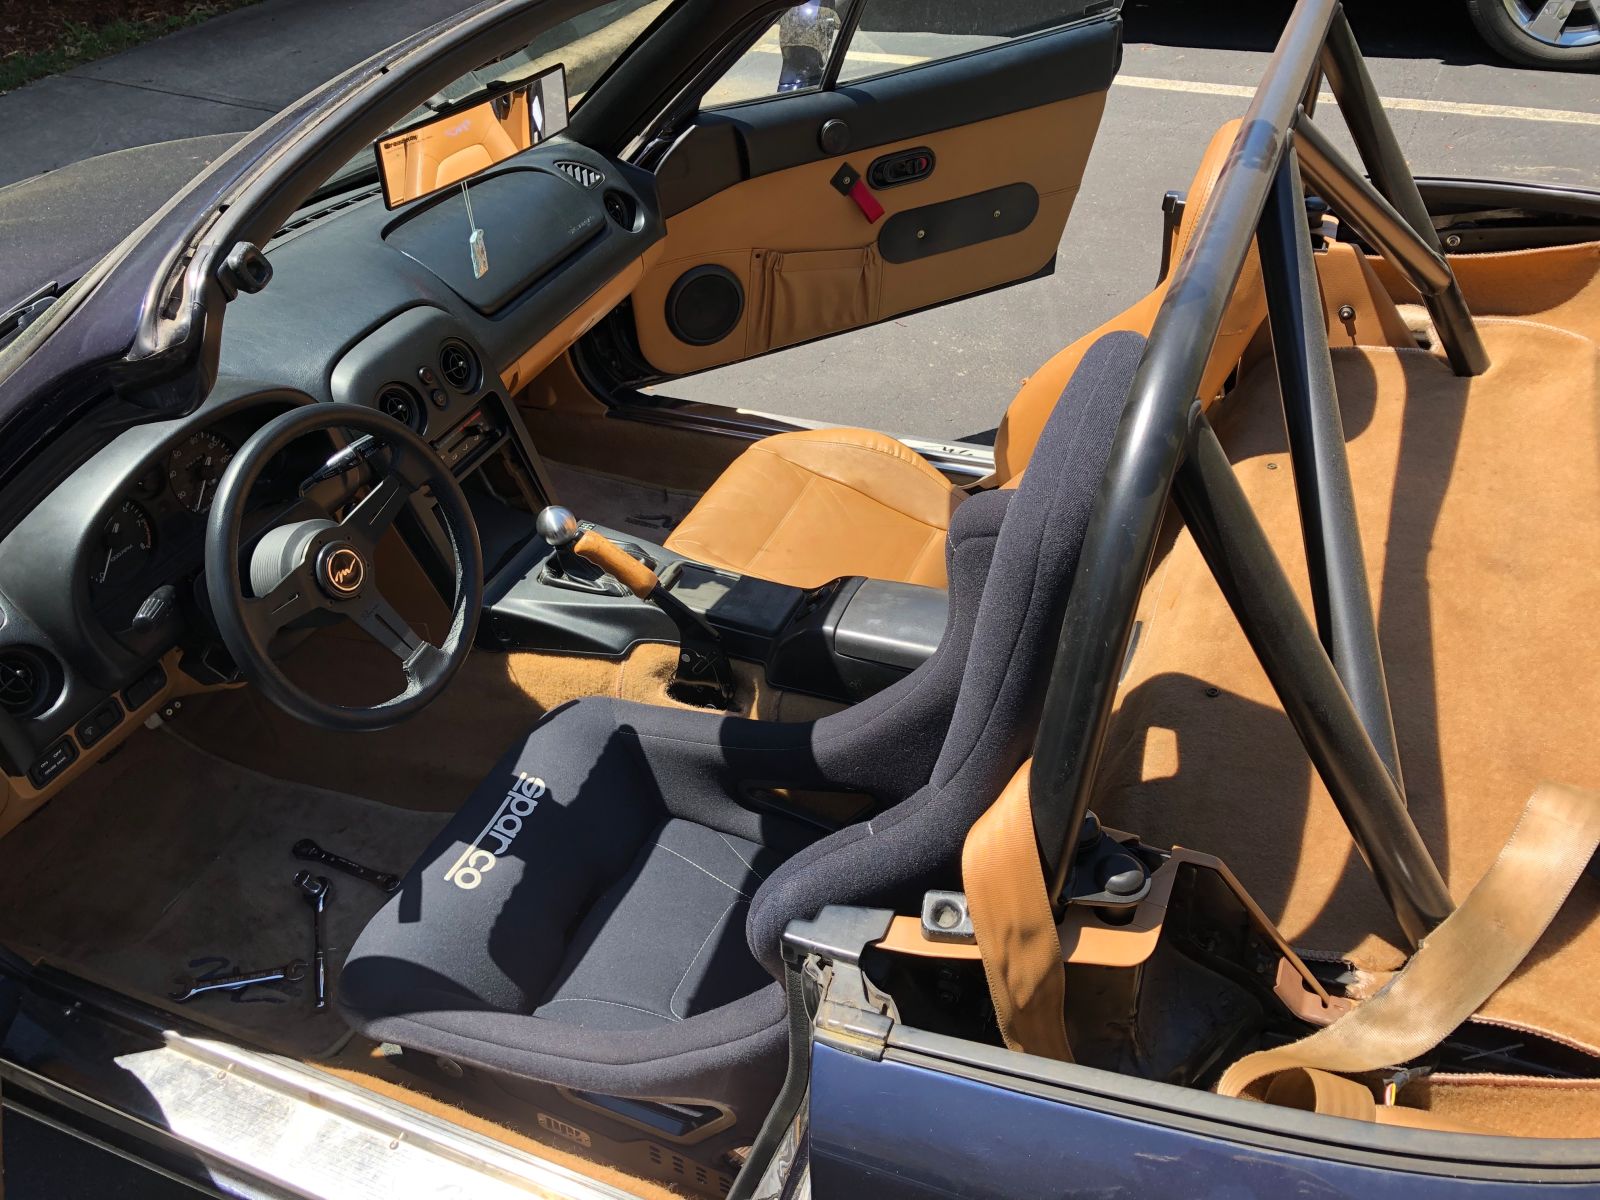
Do yourself a favor and take the seat out now. It’s easier. Now: out comes the old seatbelt. In my case I elected to remove it, because it was ripped and completely useless as a safety restraint with the hard dog sport m1 roll bar set up. I couldn’t really see a way to get the whole assembly out without removing the roll bar, so I just cut the belt at the retractor for now.
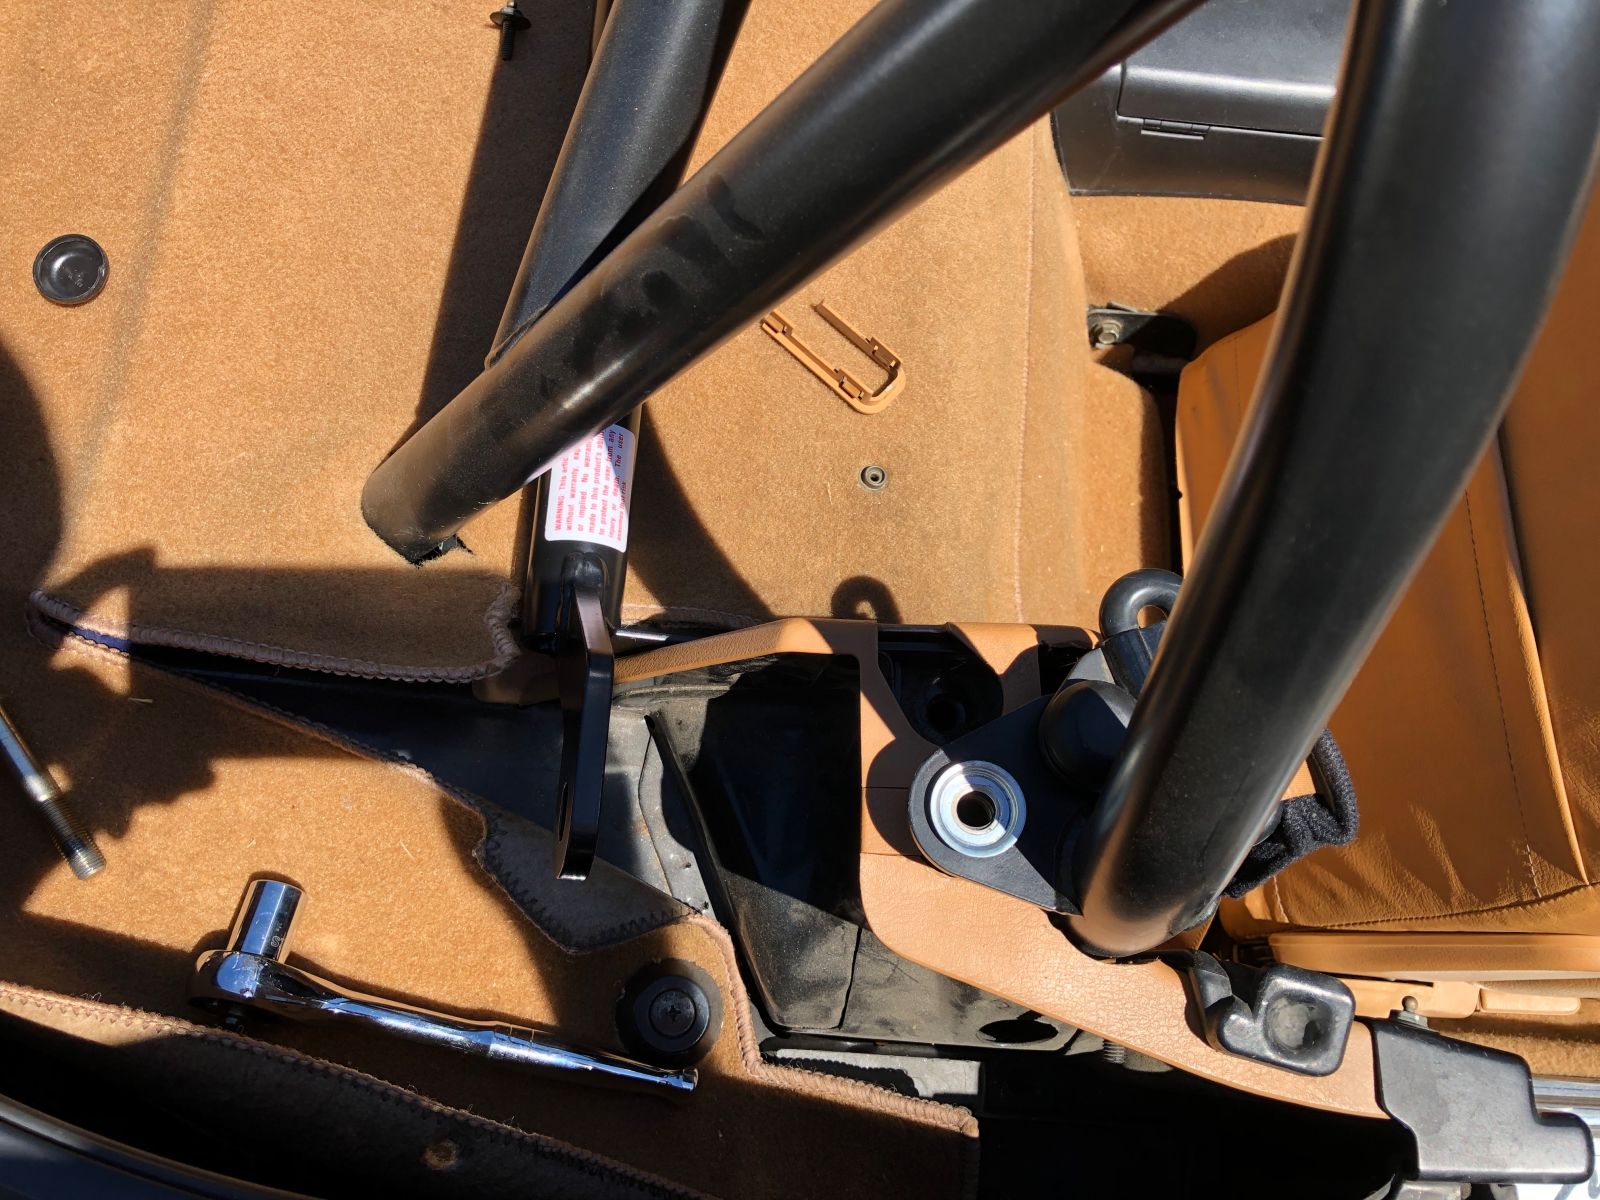
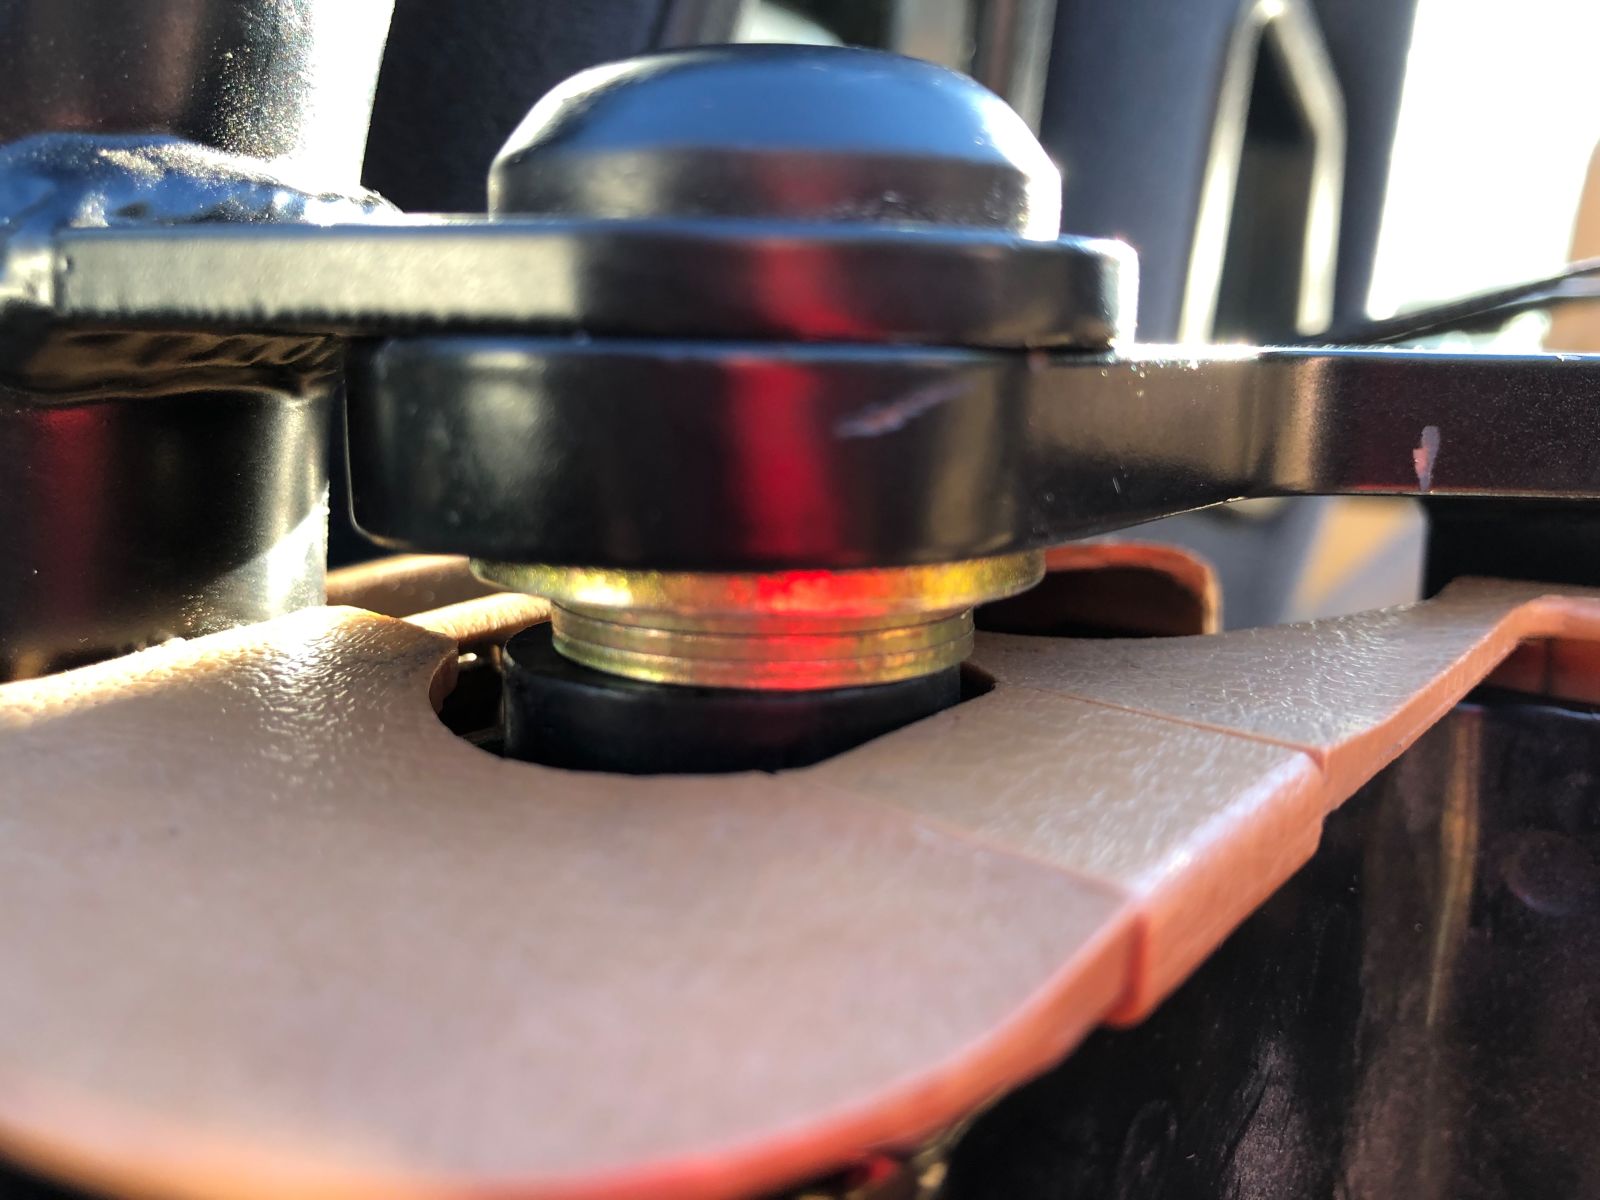
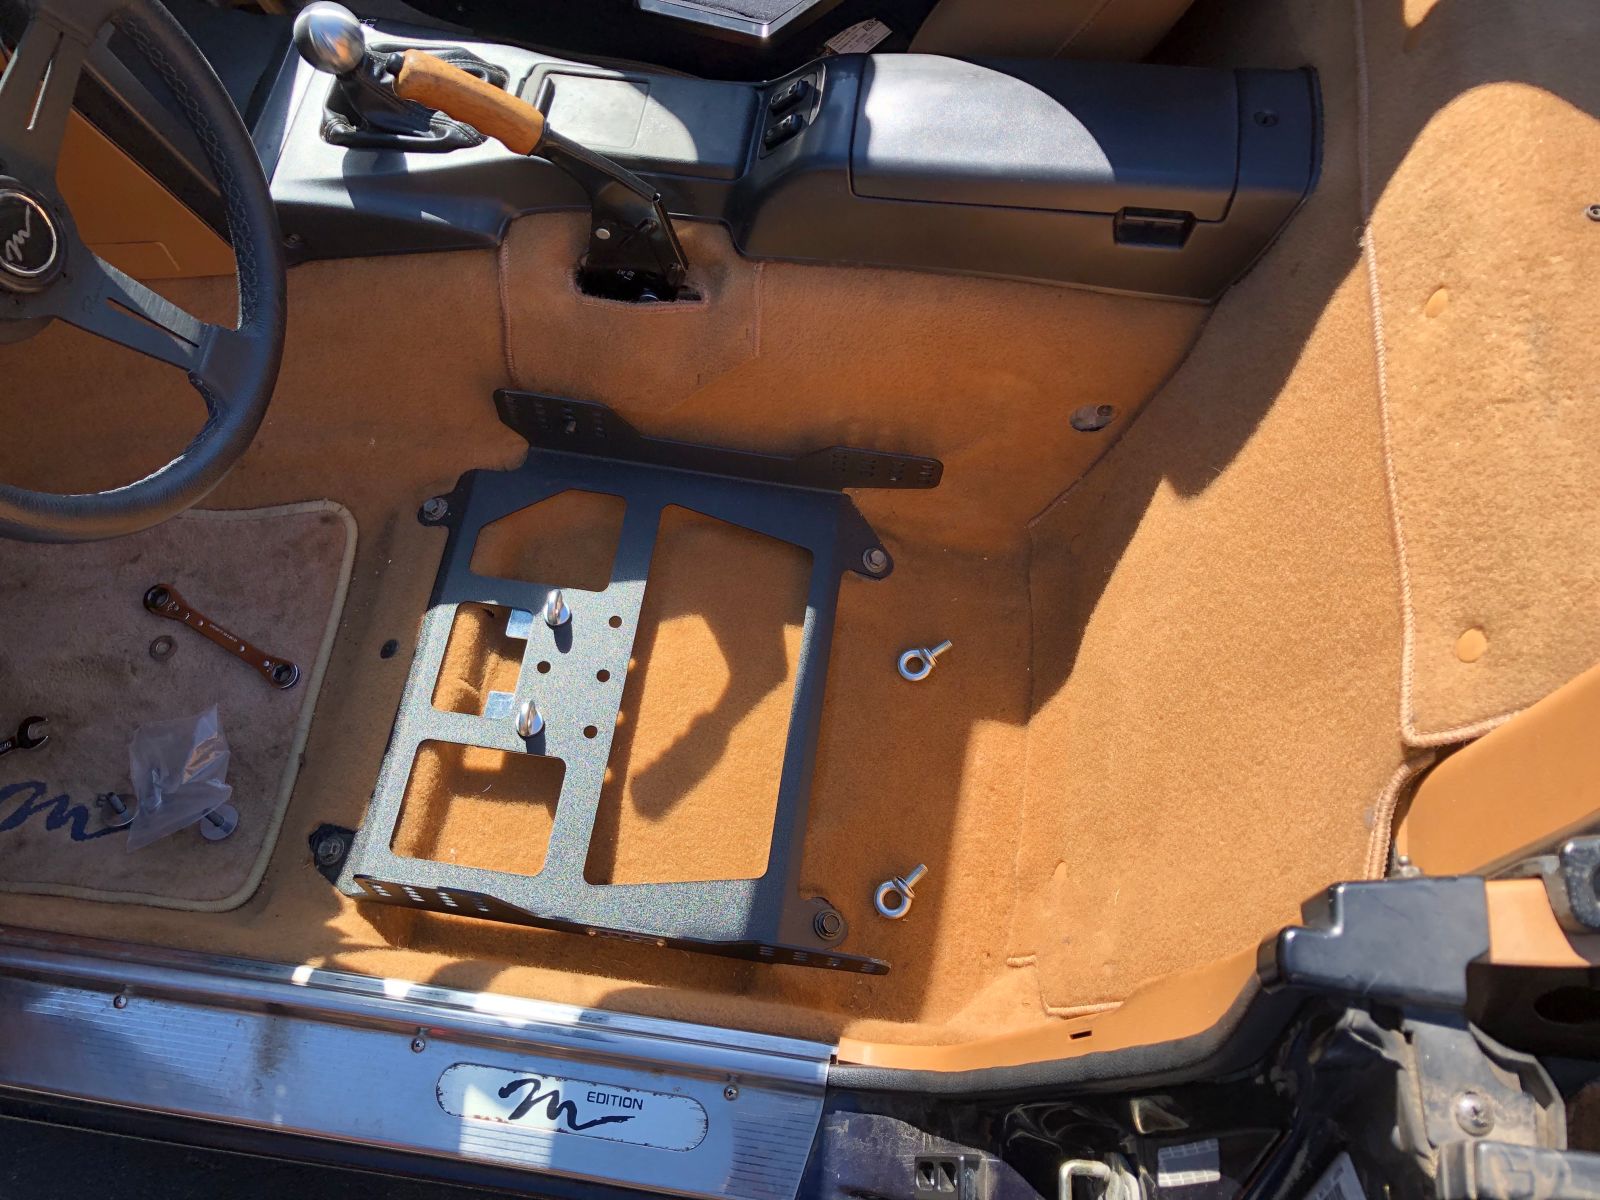
Remove the 2 large bolts (1 each side) and spacers in the seatbelt tower assembly (pictured above removed). You will also remove the soft top cover metal screw in nipple attachments. Hard dog/Bethania Garage will supply you with new spacers and 8 washers. This won’t be enough. It wasn’t for me and they installed my roll bar in the first place. I didn’t appreciate this as my seat was out of my car and I didn’t have any 7/16” washers lying around.
After waiting for my roommate to get home and getting washers from the store, I put the already wrapped shoulder straps on to test fit the bar. The extra washers you will need to fill the gap should be placed above the harness bar. If you put it below with the other washers, it will not allow you to put back the metal nipples, which won’t really matter aside from aesthetics.
Once you’ve got that you will have to tighten everything down (not your seat yet!) and fit your harnesses. This will in some cases require you drill holes in your floor board for the sub strap(s). My pci race mount has holes specifically for this purpose. I take no responsibility for your safety, so make sure to research the best way for you!
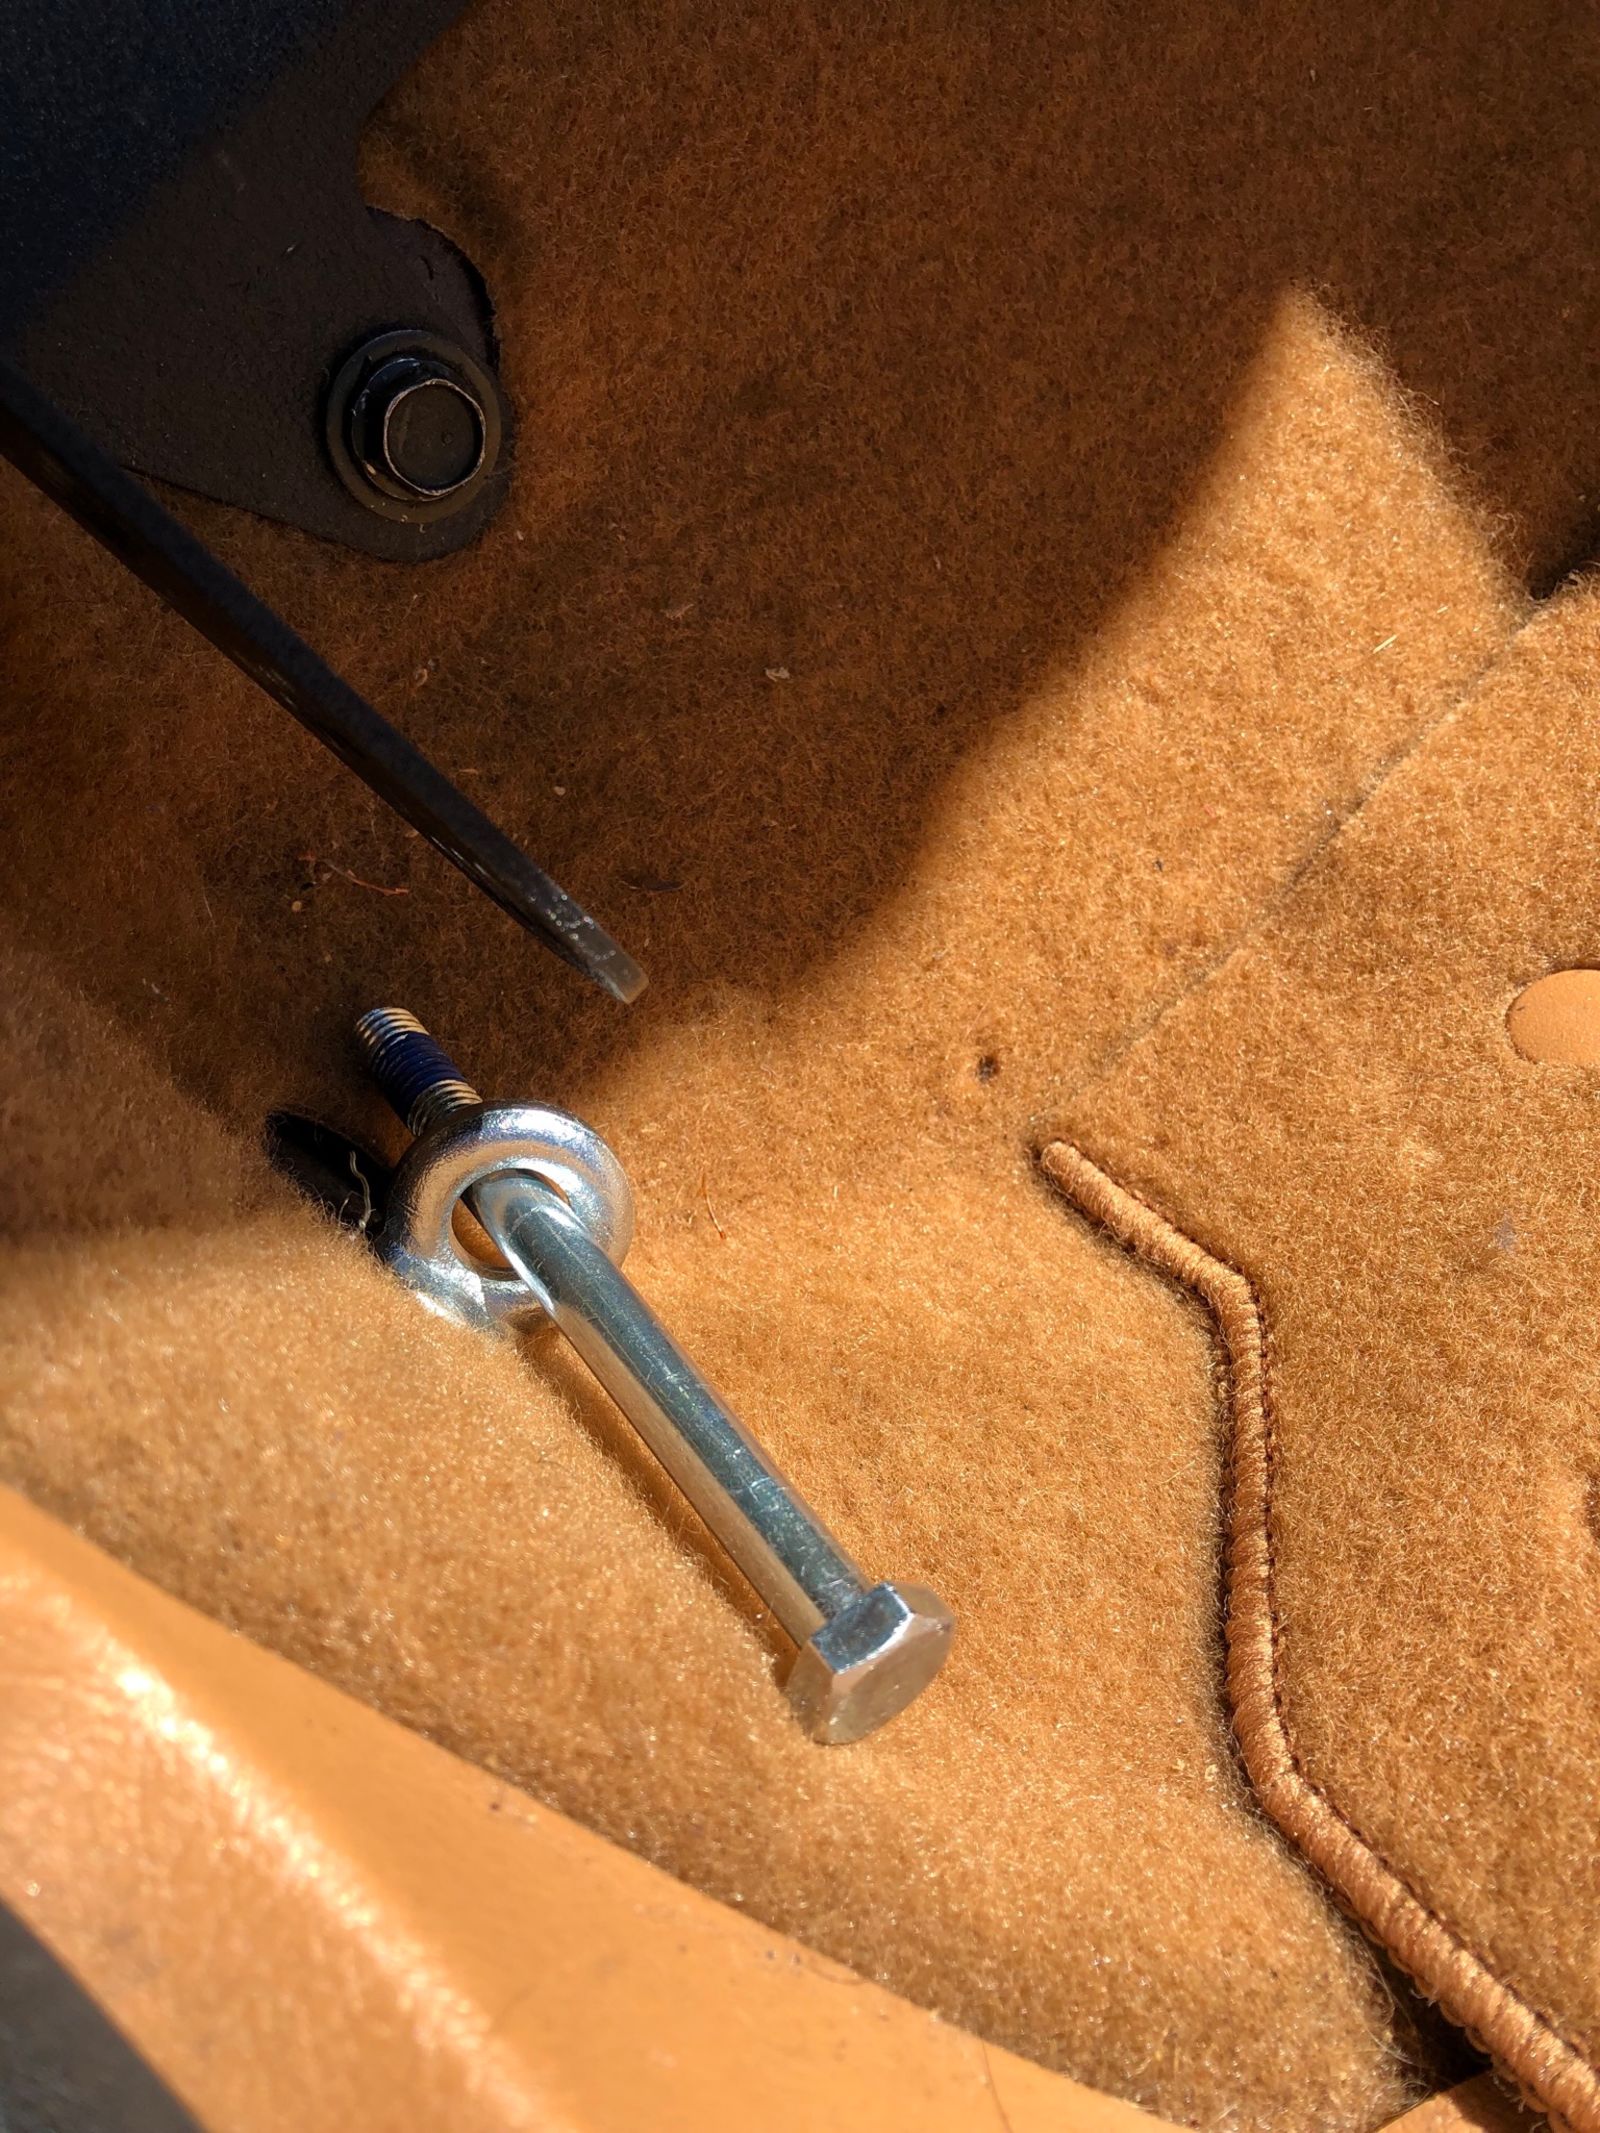
At this point I want to say how much easier the eye bolt clip in version of harnesses are than the traditional bolt in. I didn’t think I wanted them, but I am glad I ended up with them. I used the factory belt points for attaching the lap belt eye bolts. They just screw in and are ready for the belts to clip in after re-installing the seat. I used a long bolt I had to tighten all the eye bolts.
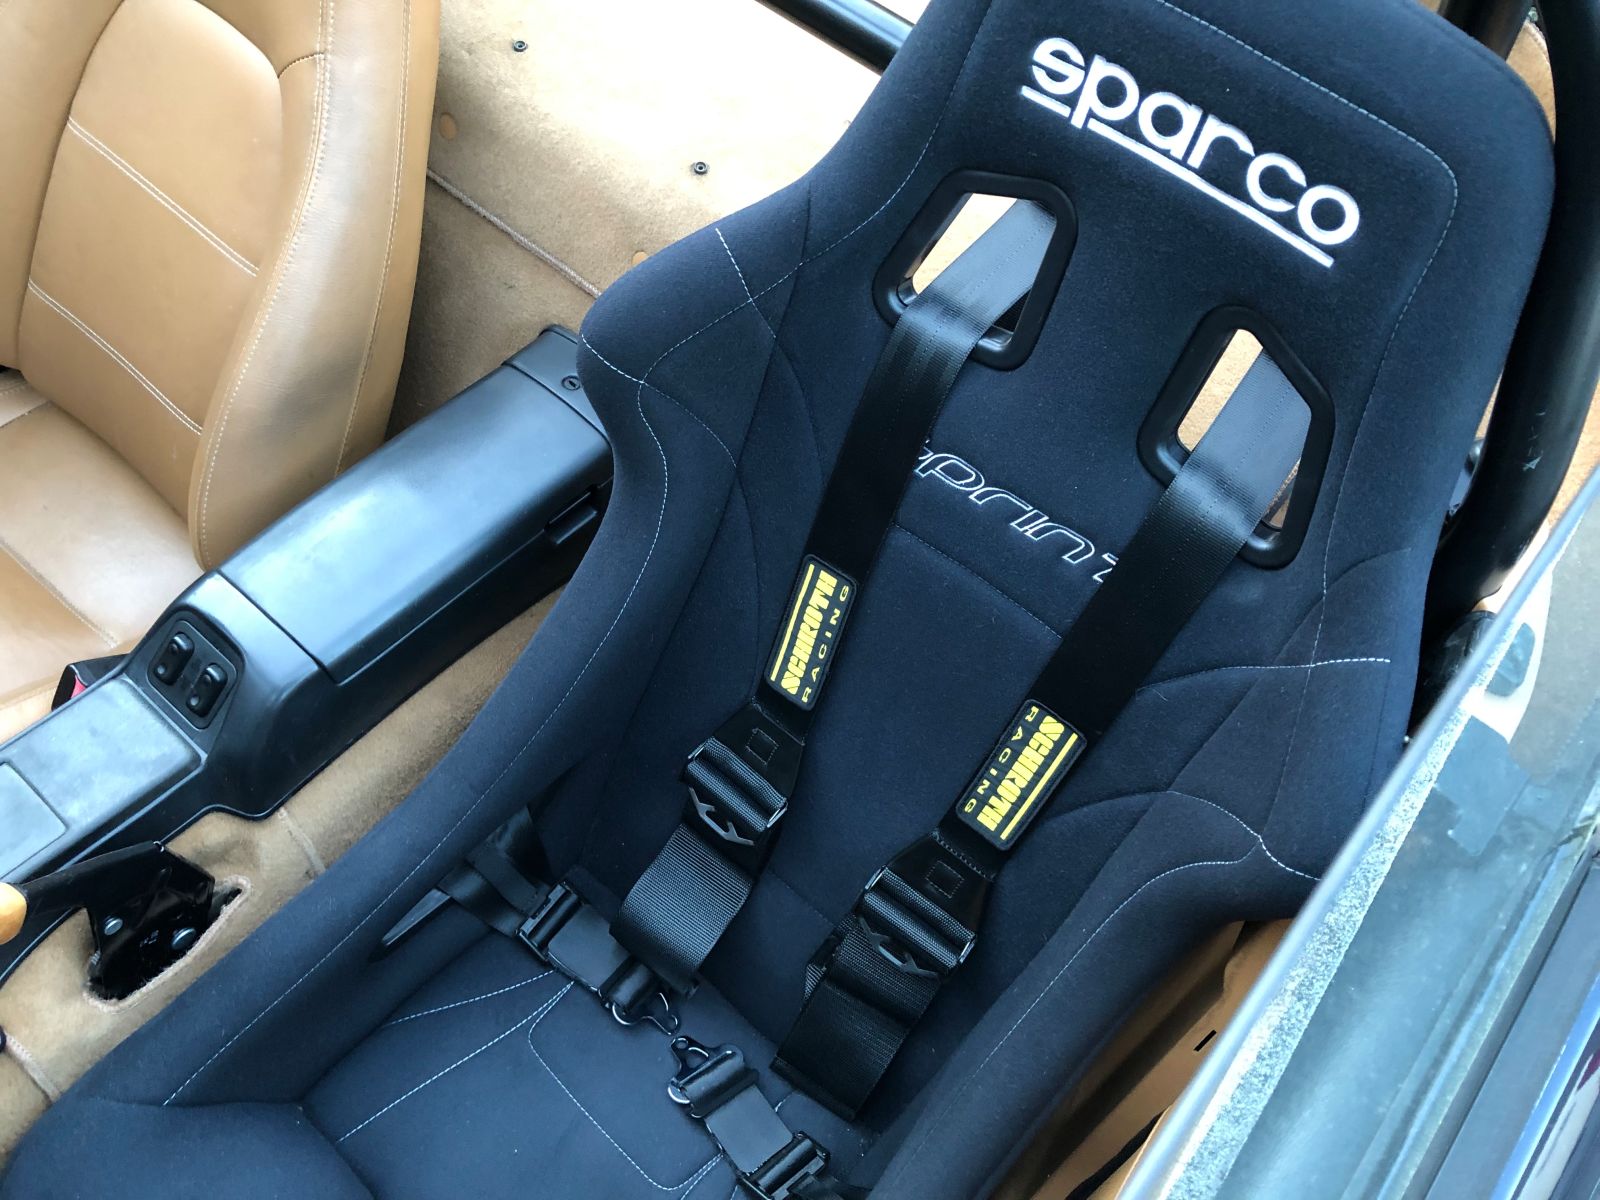
After this I loosely attached the front seat bolts and fed the sub straps through the seat. I adjusted them to fit and clipped them to their eye bolts and bolted back the rear seat bolts. After adjusting all the straps (this is one reason why it’s so much easier having the ability to remove them with the clip in set up), I was finished!
Thanks for reading Oppo. Remember: Live fast. Take lots of chances.