
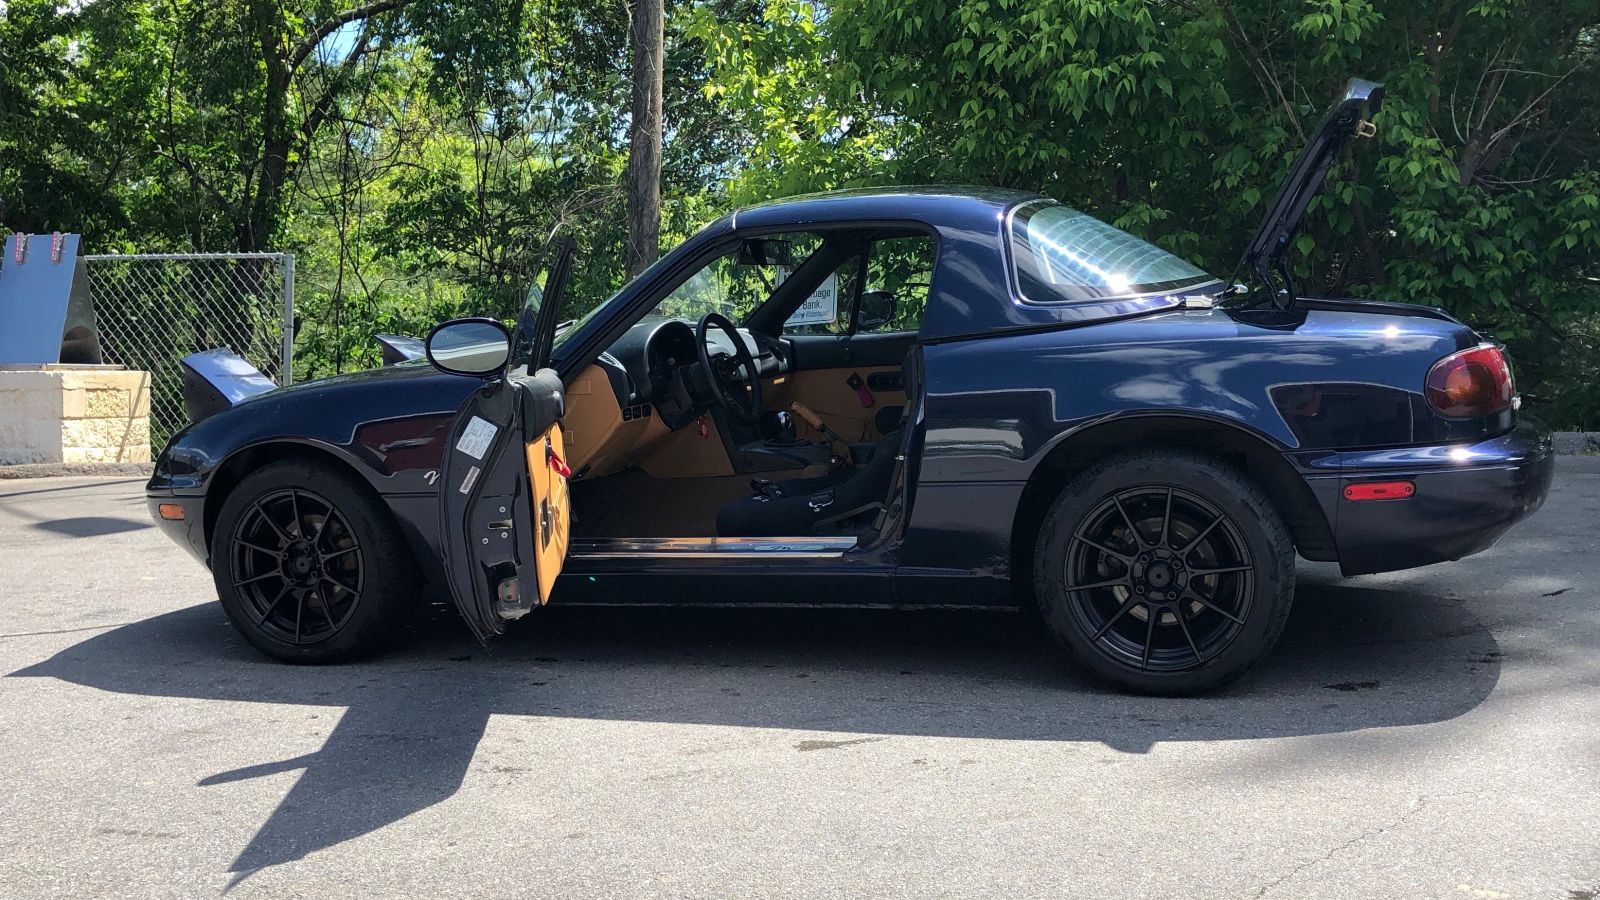
I have been tuning up my 130,000 mile, original NA8 engine one step at a time. Recently I’ve replaced the air filter with a drop in high flow green filter, oil/oil filter change, plugs and replaced the plug wires and coil pack with individual coils. Today I replaced the original injectors with some cleaned and flow tested oem injectors with new rubber gaskets.
I had been dealing with an intermittent rough idle and rough running engine. I had done a number of things over the years in trying to trouble shoot, but it was still there nagging me like a nagger would. It was recently suggested to me that it could be leaky or dirty injectors. I have never messed with injectors before, but was told it was simple. Remove 3 bolts and pop out 4 injectors and done.
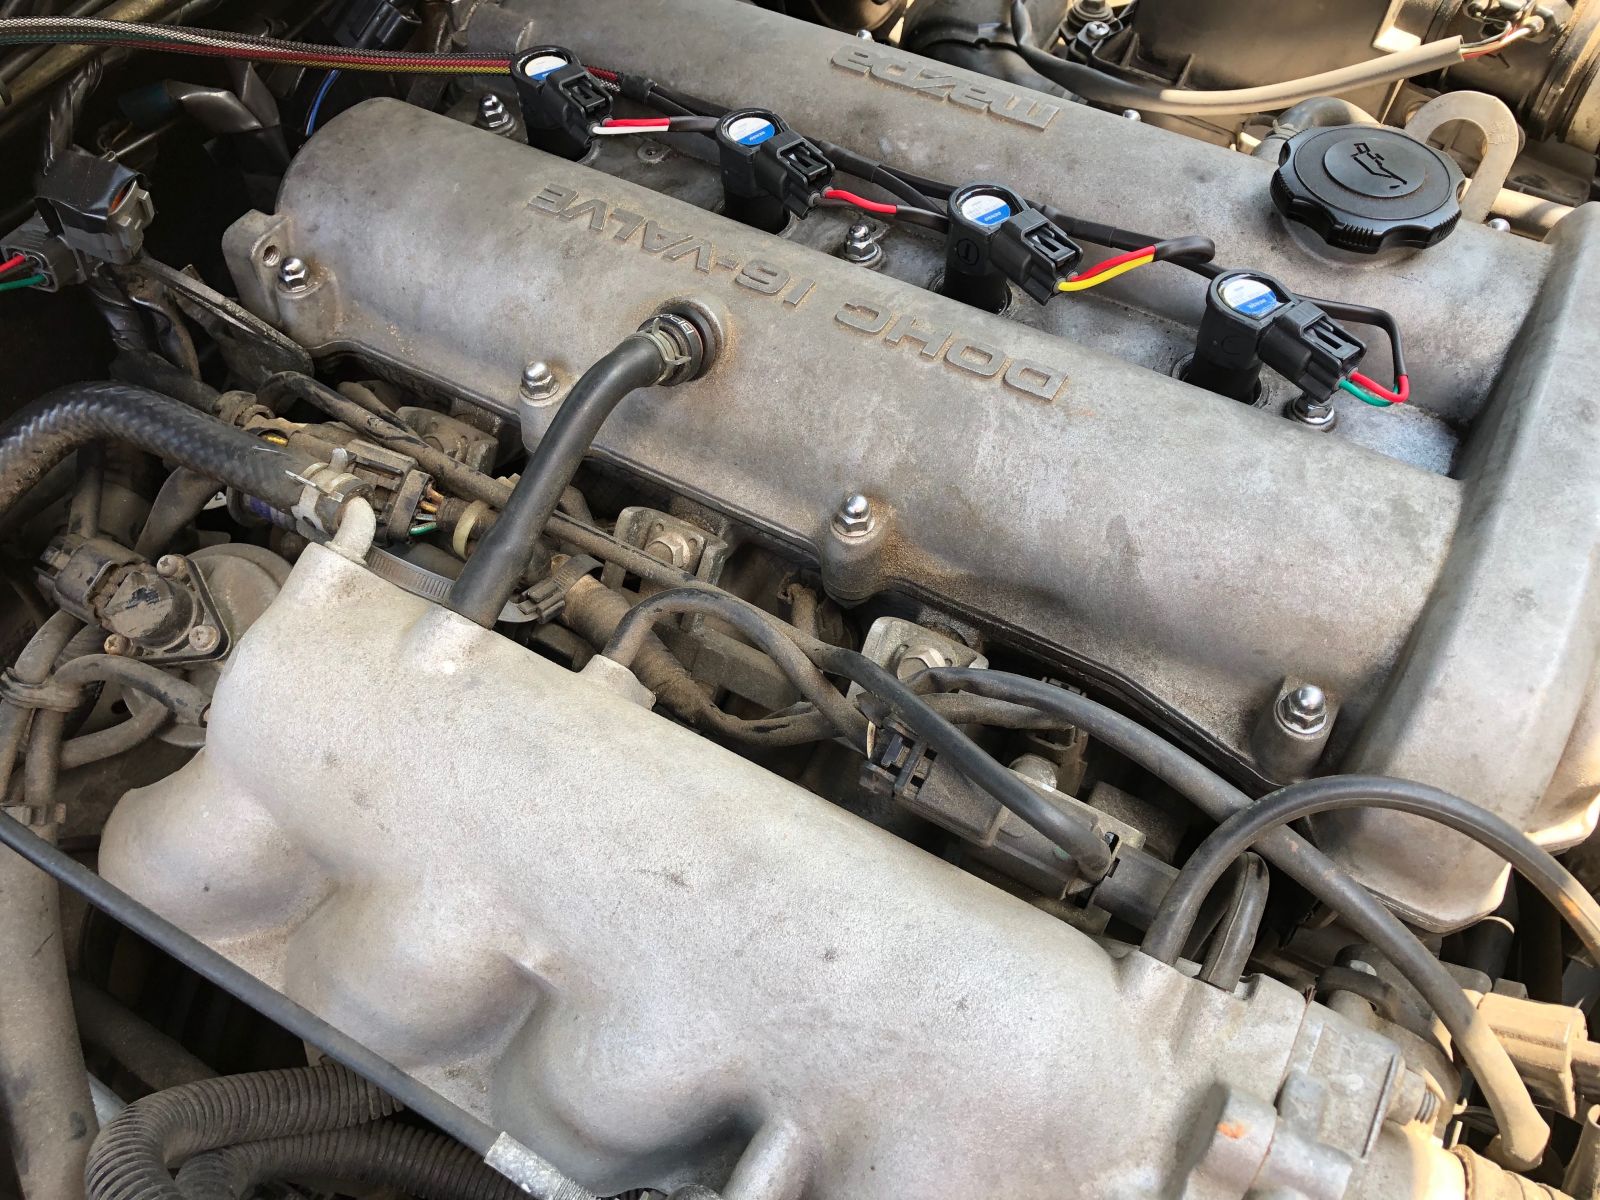
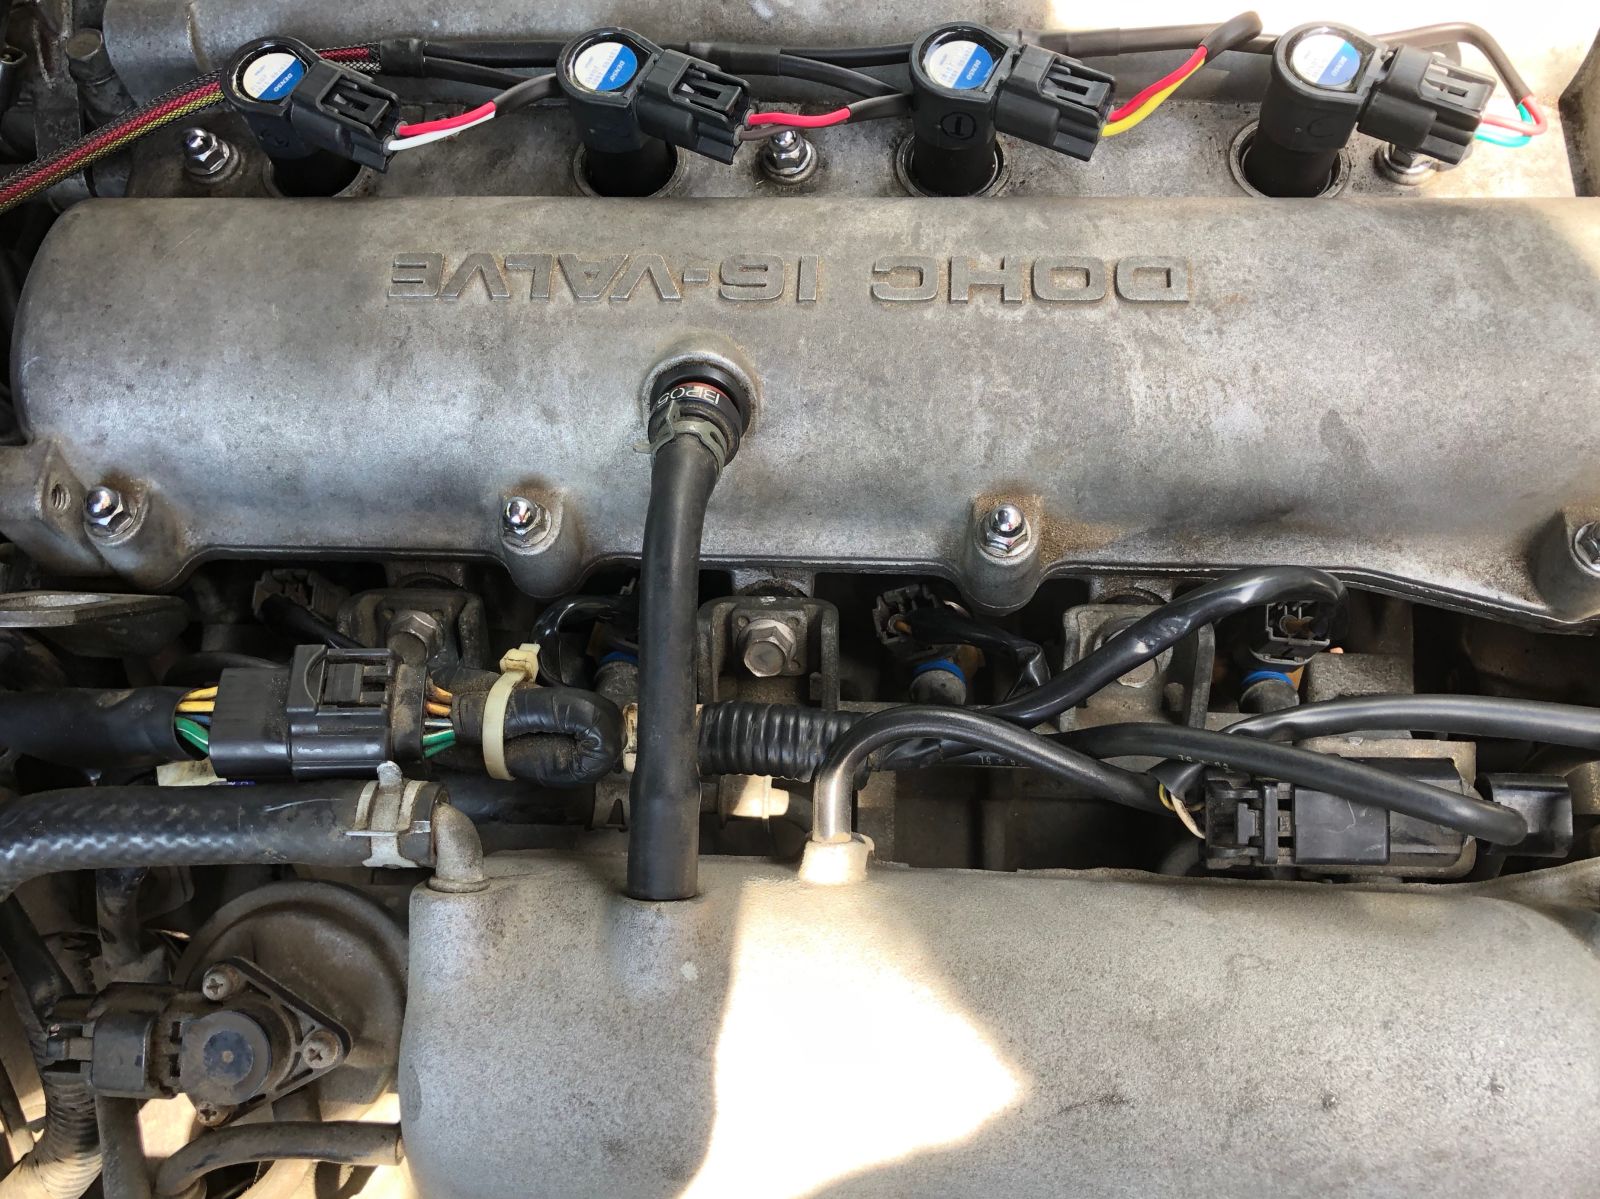
After looking around there wasn’t much in the way of specific information with what needed to be removed in order to access the fuel rail/injectors on the NA8 engine. Some people choose to completely remove the fuel rail from the fuel lines. I did not, but it made for a tighter wrenching space. As I saw it, I only needed to remove a few things before I could start removing the fuel rail: one clip, one cable tie, one pcv hose, and in hindsight 4 clips on the injectors.
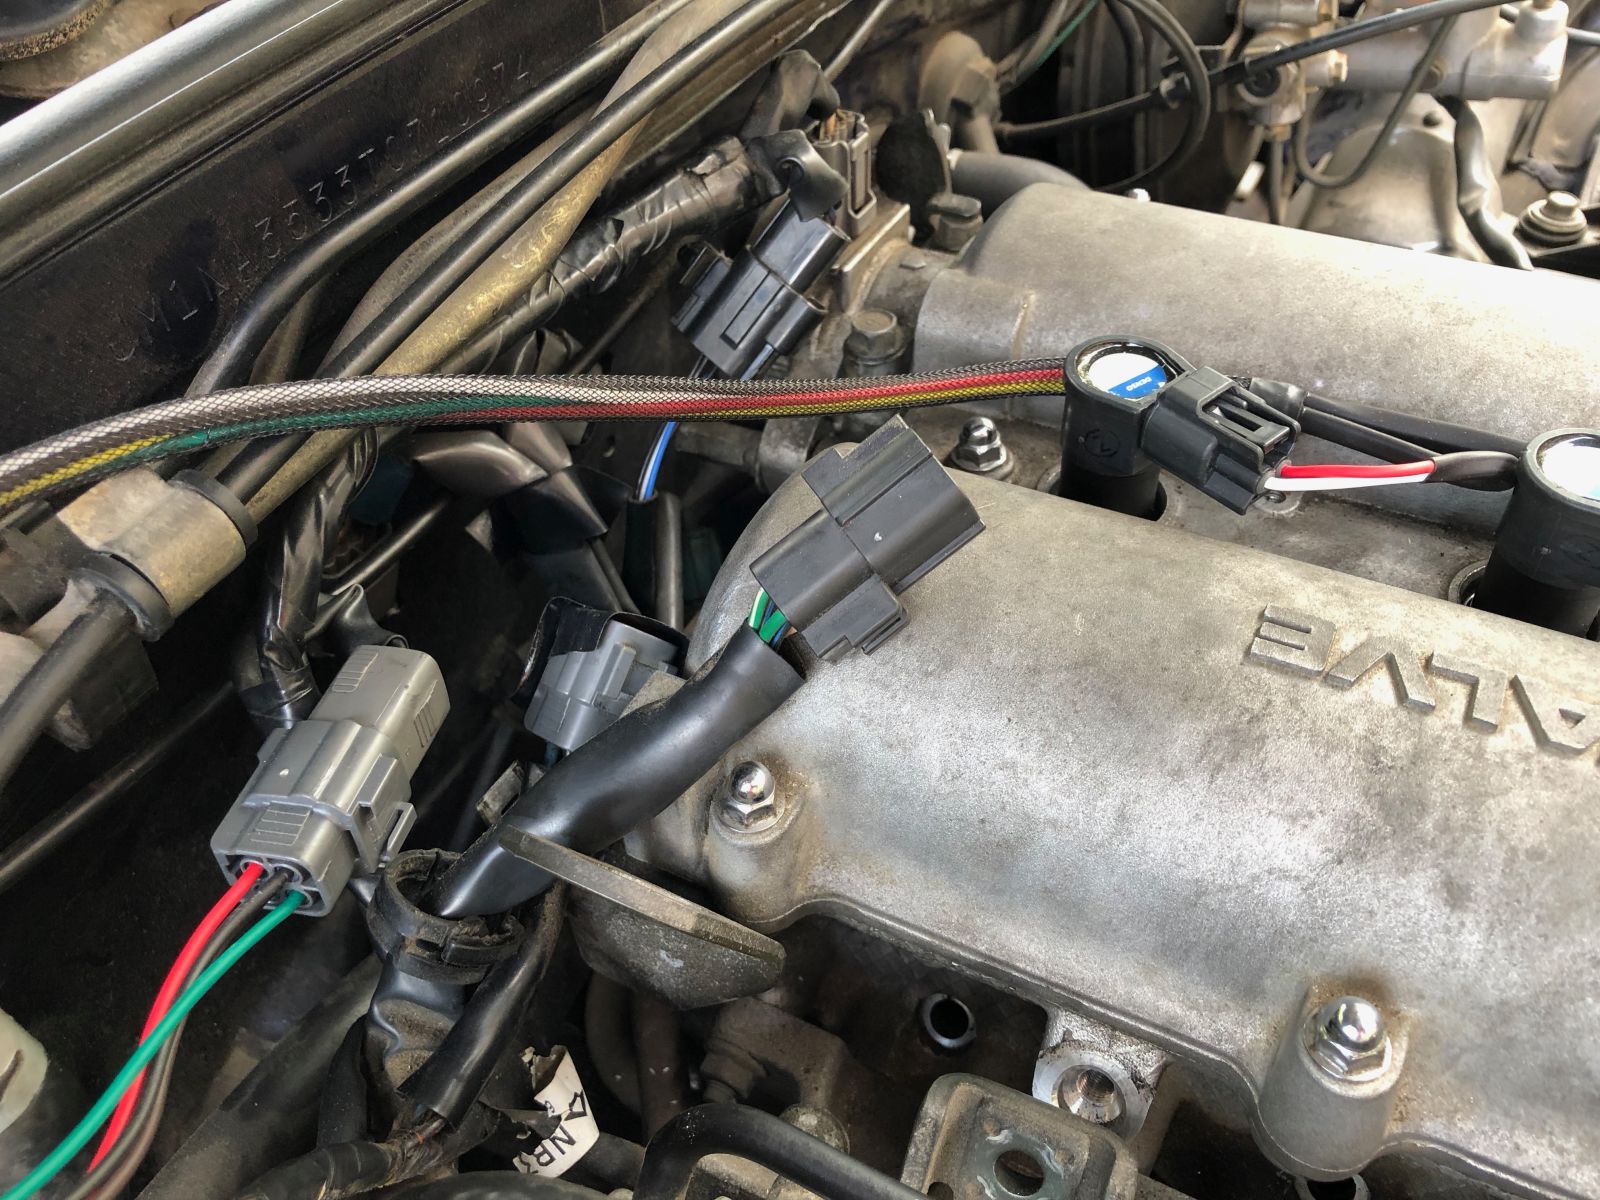
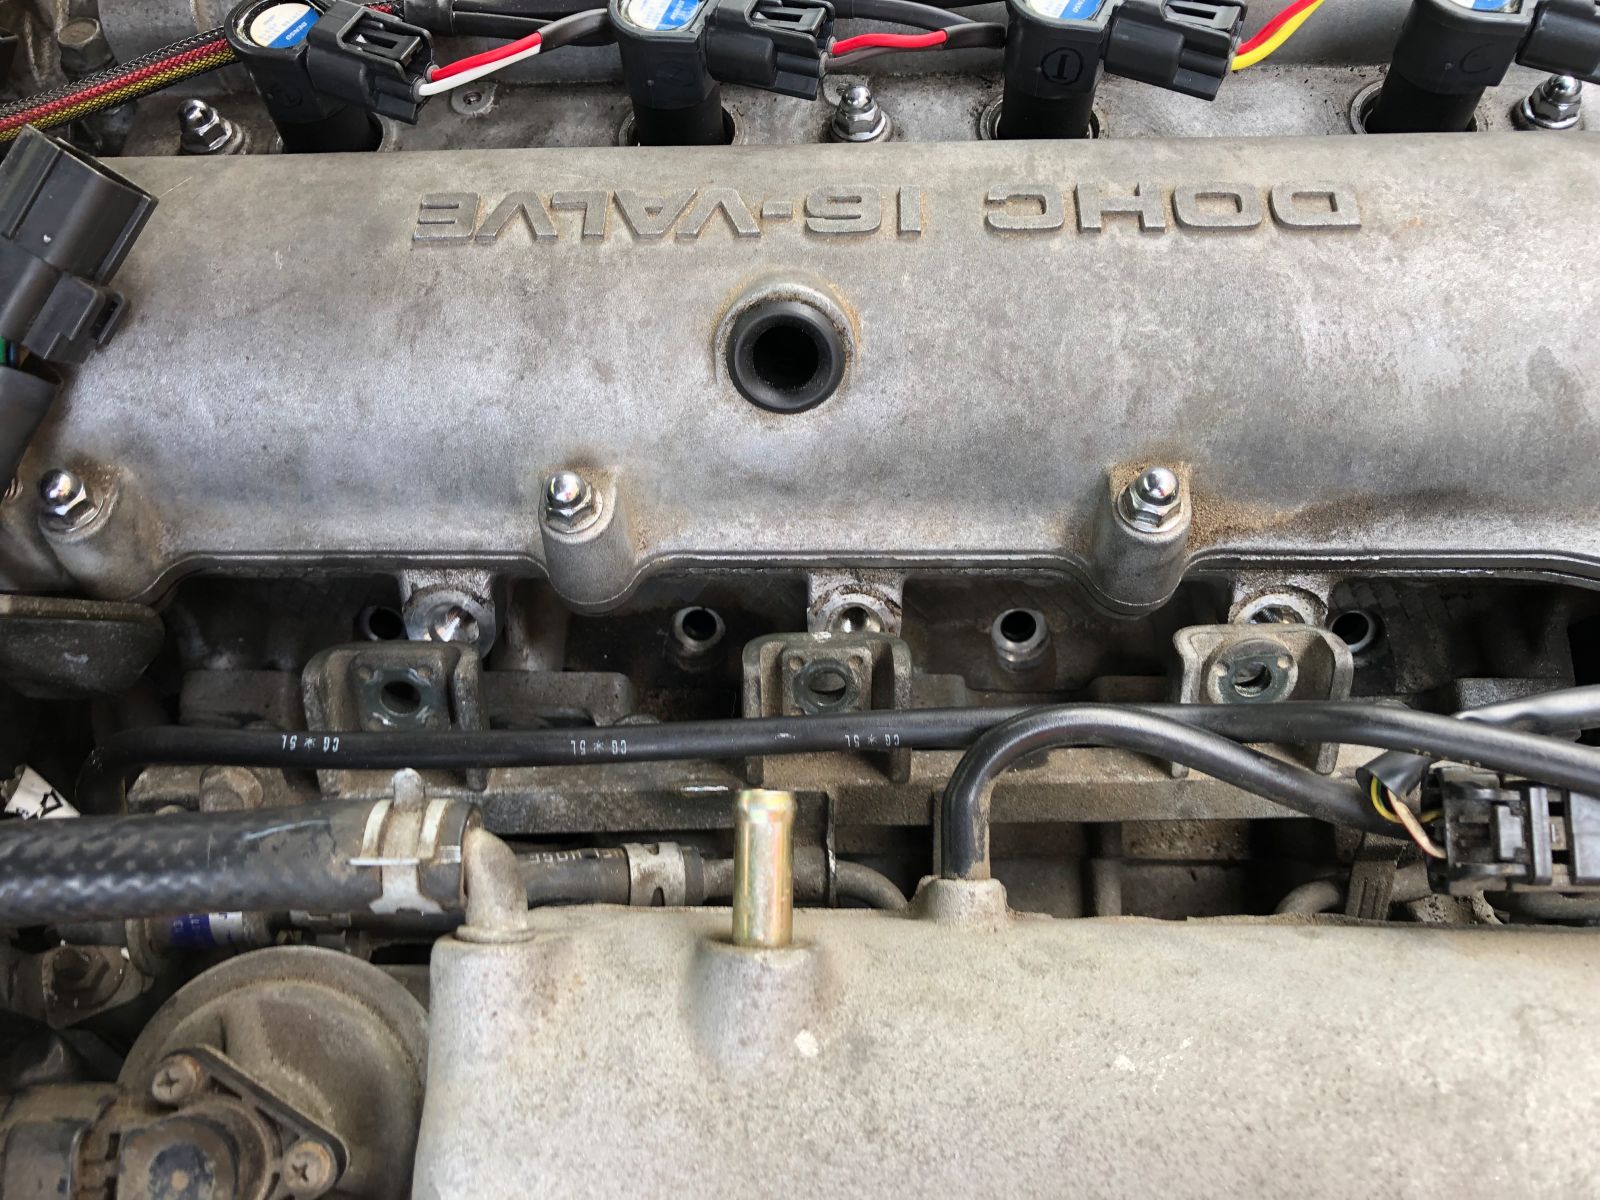
Before working on the fuel system though: remove the fuel pump relay in your fuse box, crank your ignition for 5 seconds, and remove your gas cap. Also remove the negative battery cable. Now after you have removed the aforementioned things (clip, cable tie, pcv hose, 4 injector clips) in the way of the fuel rail, you can take a 12mm socket and undo the 3 bolts that hold the fuel rail in. DO NOT take the bolts all the way out yet. Be very careful to do one at a time keeping a hold on each spacer between the fuel rail and the engine block. They will fall right out if you remove the bolts all the way. Next remove the injectors by wiggling them out as best you can. Then use a q-tip to clean the injector seats on the engine.
After that you can carefully put in your new injectors. I will note here that I reused the original injector seat spacer gasket (yes, I just made this name up). The ones that came with my kit were supposed to be oem, but did not look the same or fit snuggly onto the injector. It would have been almost impossible to install the new ones without them falling off into the engine bay. So I cleaned the originals up and put them on the injectors and then one by one seated them on the engine.
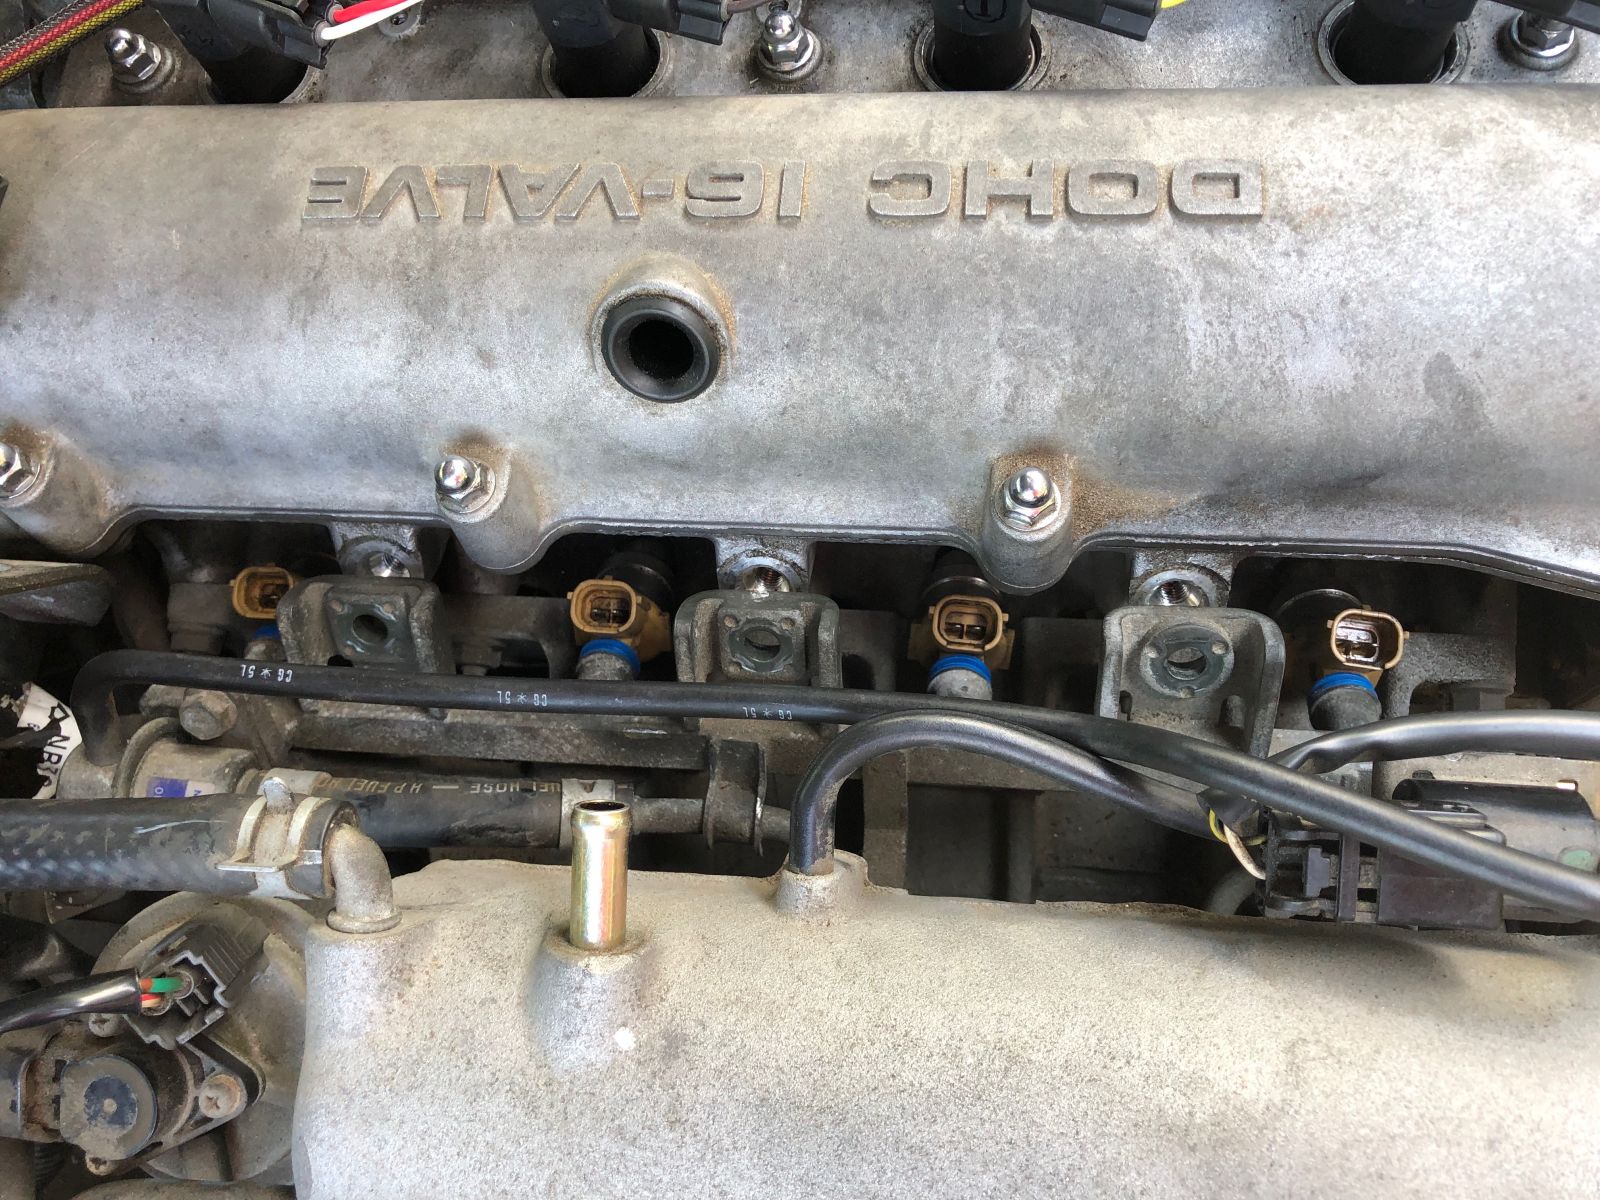
Next put the fuel rail carefully onto each injector. Firmly pressing each one in place. You might want to use vaseline to reduce the risk of damaging the o rings. It takes some persuasion, but you’ll be able to tell when they are on. At this time make sure they are seated on the engine and the fuel rail and carefully put the spacers back in one at a time securing each one with a loosely attached bolt as you go. After that just put everything back together in reverse order and you can start her up!
You might have noticed I was very emphatic about not dropping things in your engine bay. Well... that’s because I may have dropped a 12mm socket into the engine bay. And it may or may not still be there. I could not find it for the life of me. I am worried about what will happen as a result. Oppo? Will it be ok?