
I must be doing something wrong.
In preparation for the chassis repairs on the Saab, we removed the control arms and springs. Since there’s a press at our disposal, and OE-style bushings don’t cost much, we really have no excuse not to change the bushings.
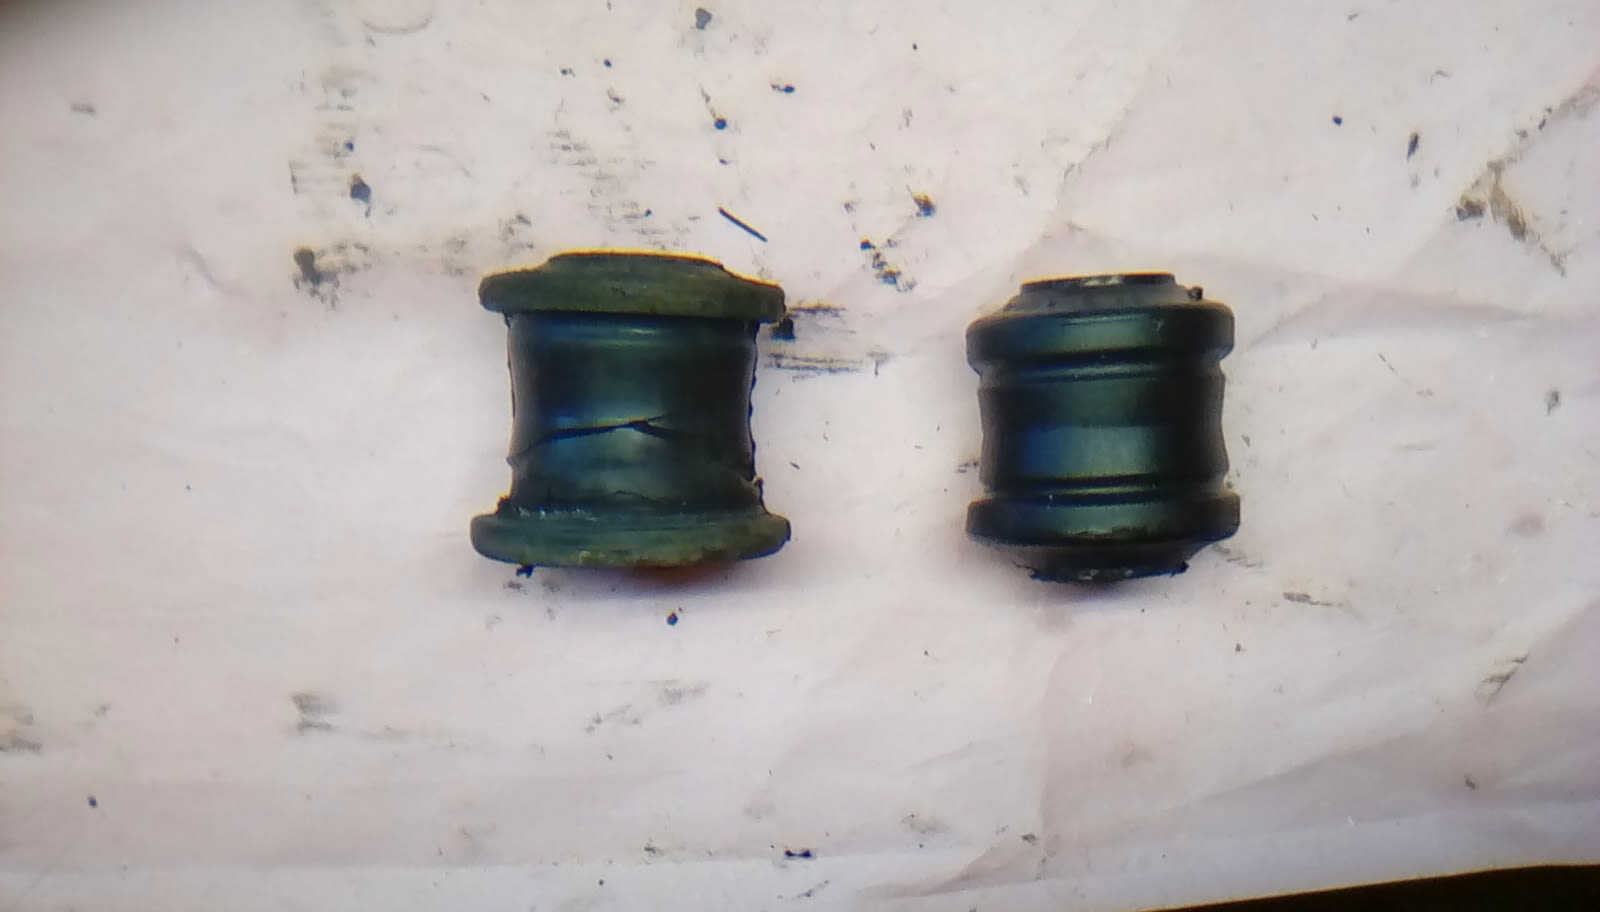
We had some initial doubts, as the new bushings didn’t look like they were going to fit. But that was just a misunderstanding of how they work. It turns out that the “cone” shape on the ends flattens itself out as the inner part is compressed, making it look much straighter once installed.
If they would just go in straight.
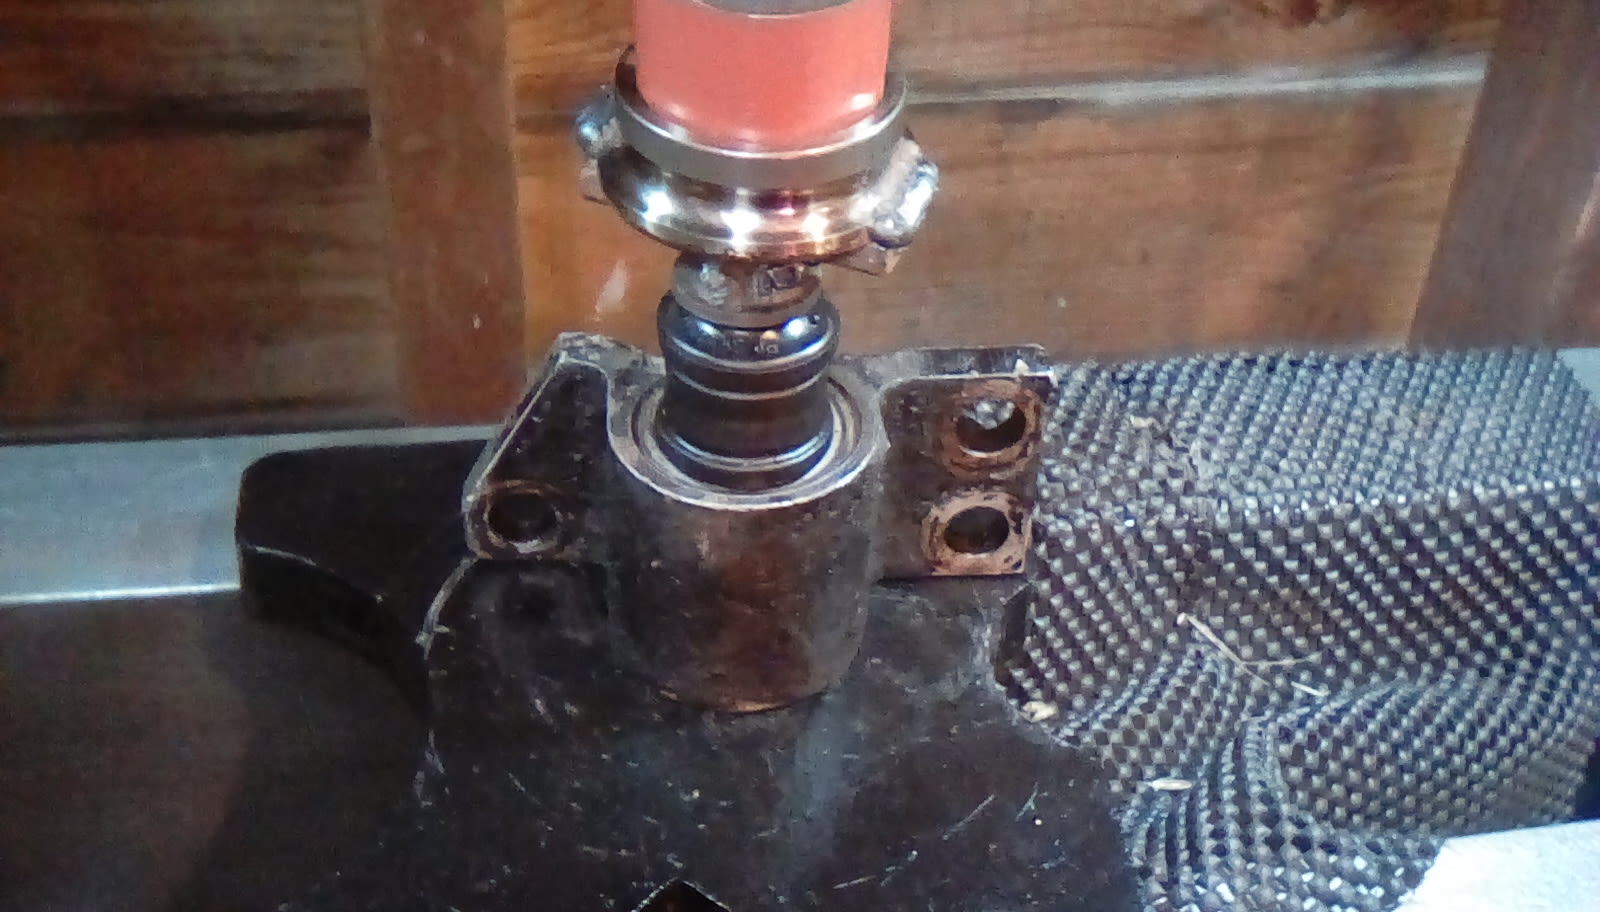
We again threw together a DIY solution to the Saab special tool, this time a special driver to keep the bushing aligned as it’s pressed into the tube. It lines up almost perfectly. All that’s left is for the large tip of the bushing to compress enough in order to slide through. And since it is rubber, it’s pliable enough to do just that. (Which is more that I can say for the old bushings, which were not badly cracked, but they had hardened to the point that they had a tendency to tear during removal. The new rubber flexes much better.)
But while the tool keeps the inner sleeve of the bushing straight, the rubber keeps hanging up on one side, going in. It seems like just a little extra oomph will force it to pull through and right itself, but the bushing seems to stretch too far down into the tube before that caught edge will follow the rest of the bushing.
By the time it’s finally forced through, the rubber has pulled itself away from the inner sleeve that it was bonded to, and in some cases the rubber has actually torn, or leaves part of itself hanging up inside the tube.
We’ve been using silicone spray to lubricate it, maybe we should have used soap instead? I know better than to use petroleum-based grease on bushings, but maybe the sili-spray isn’t the ideal solution here. It does seem to be awfully slippery, though. Not sure if my choice of lubricant is really the problem here.
We’ve already gone through a handful of new bushings, and something will have to be done differently when we go pressing the new ones in.
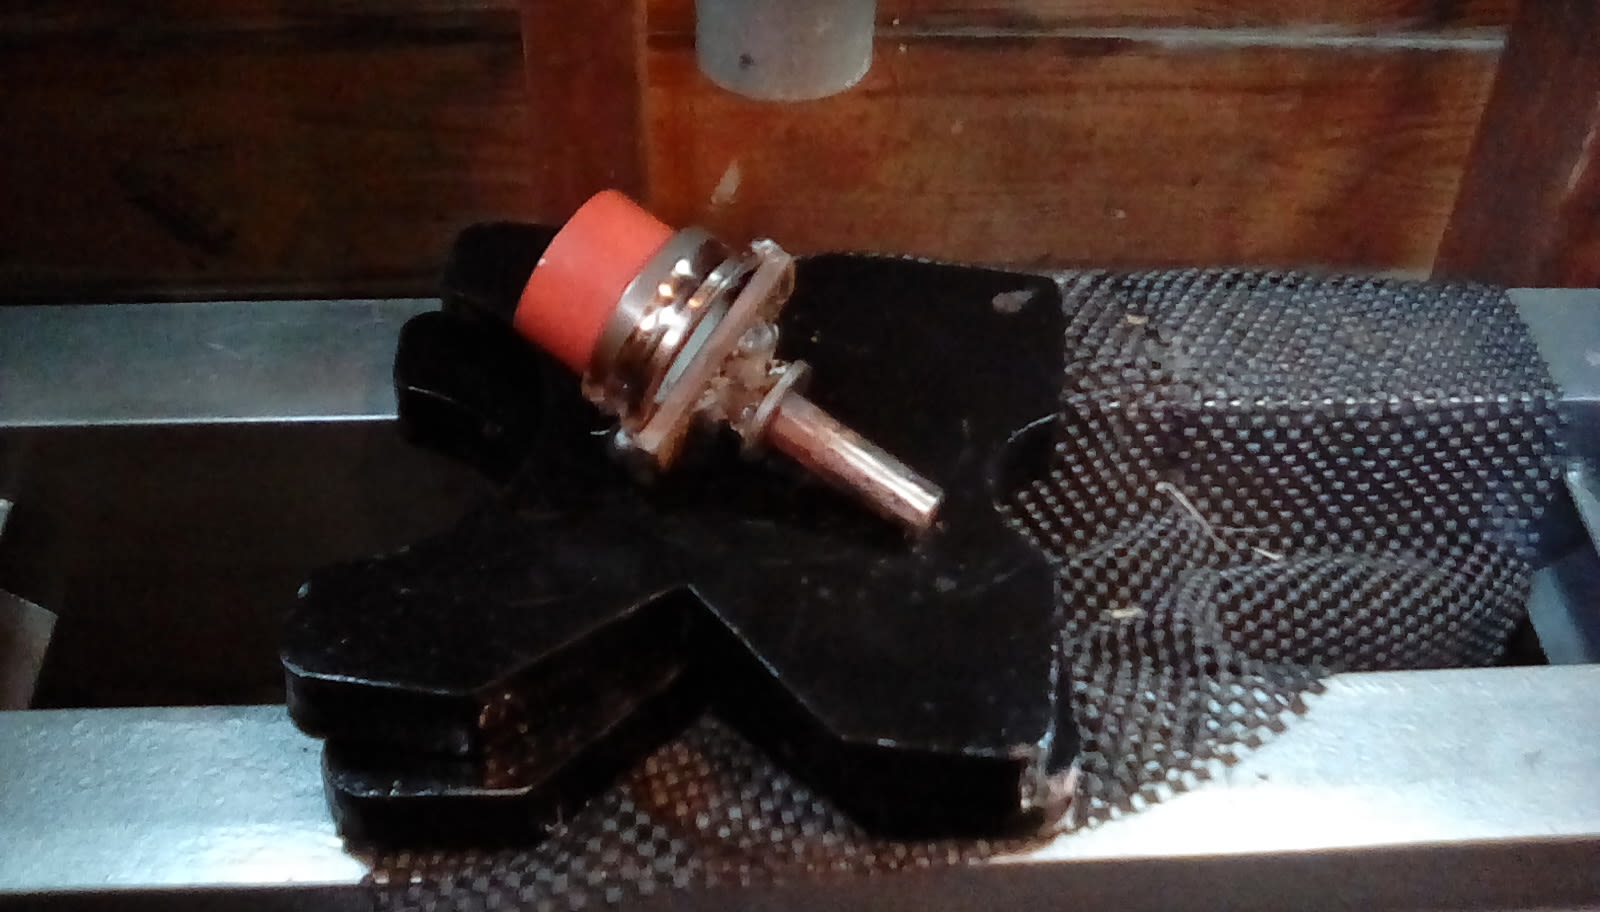
But we did get something accomplished! We removed the steering rack. Not only to open up more access for the welding, but we have new bushings for it too that will need to be pressed in. My brother has new inner & outer tie-rods ready to go be installed, so we didn’t even bother trying to separate the rusty old tie-rods. We just cut off the outers, and used this handy removal tool to do the inners.

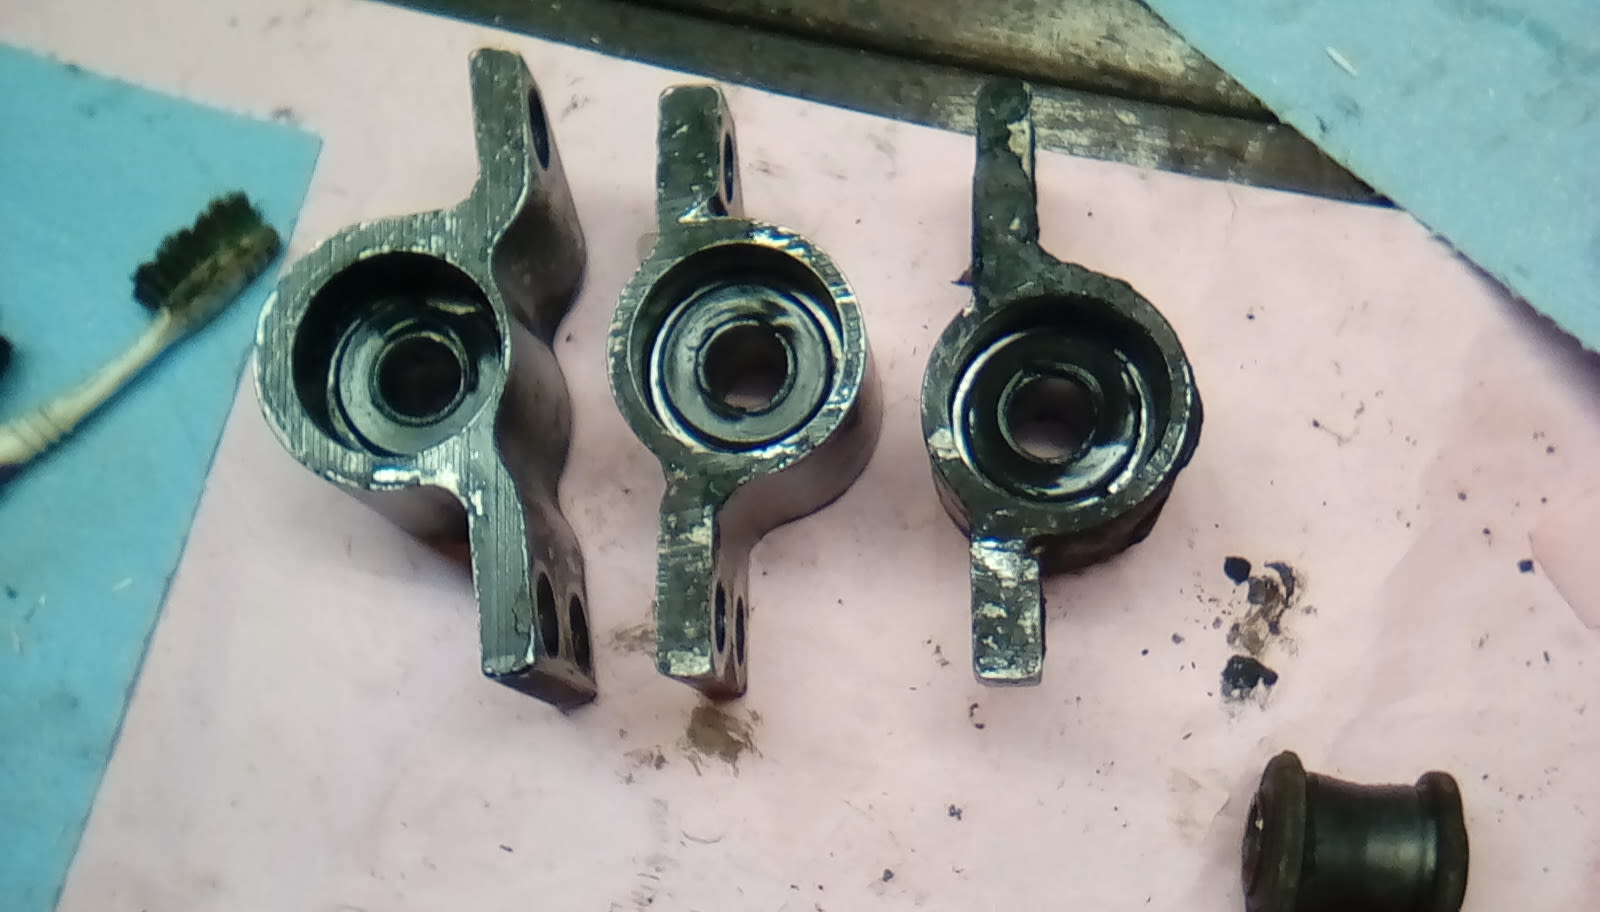
But the tool didn’t quite fit, so I had to make some modifications.
Even though the flats were the right size, the rest of the “crow’s foot” wasn’t quite big enough to fit around the round part of the inner tie-rod. I tried removing a little material at a time, but it was going too slow.
So I measured the outer diamater of the tie-rod, and the inner & outer diameters of the crow’s foot, and found that the 10mm portion was going to have to be shaved down to 7.5mm. It just isn’t going to fit otherwise.
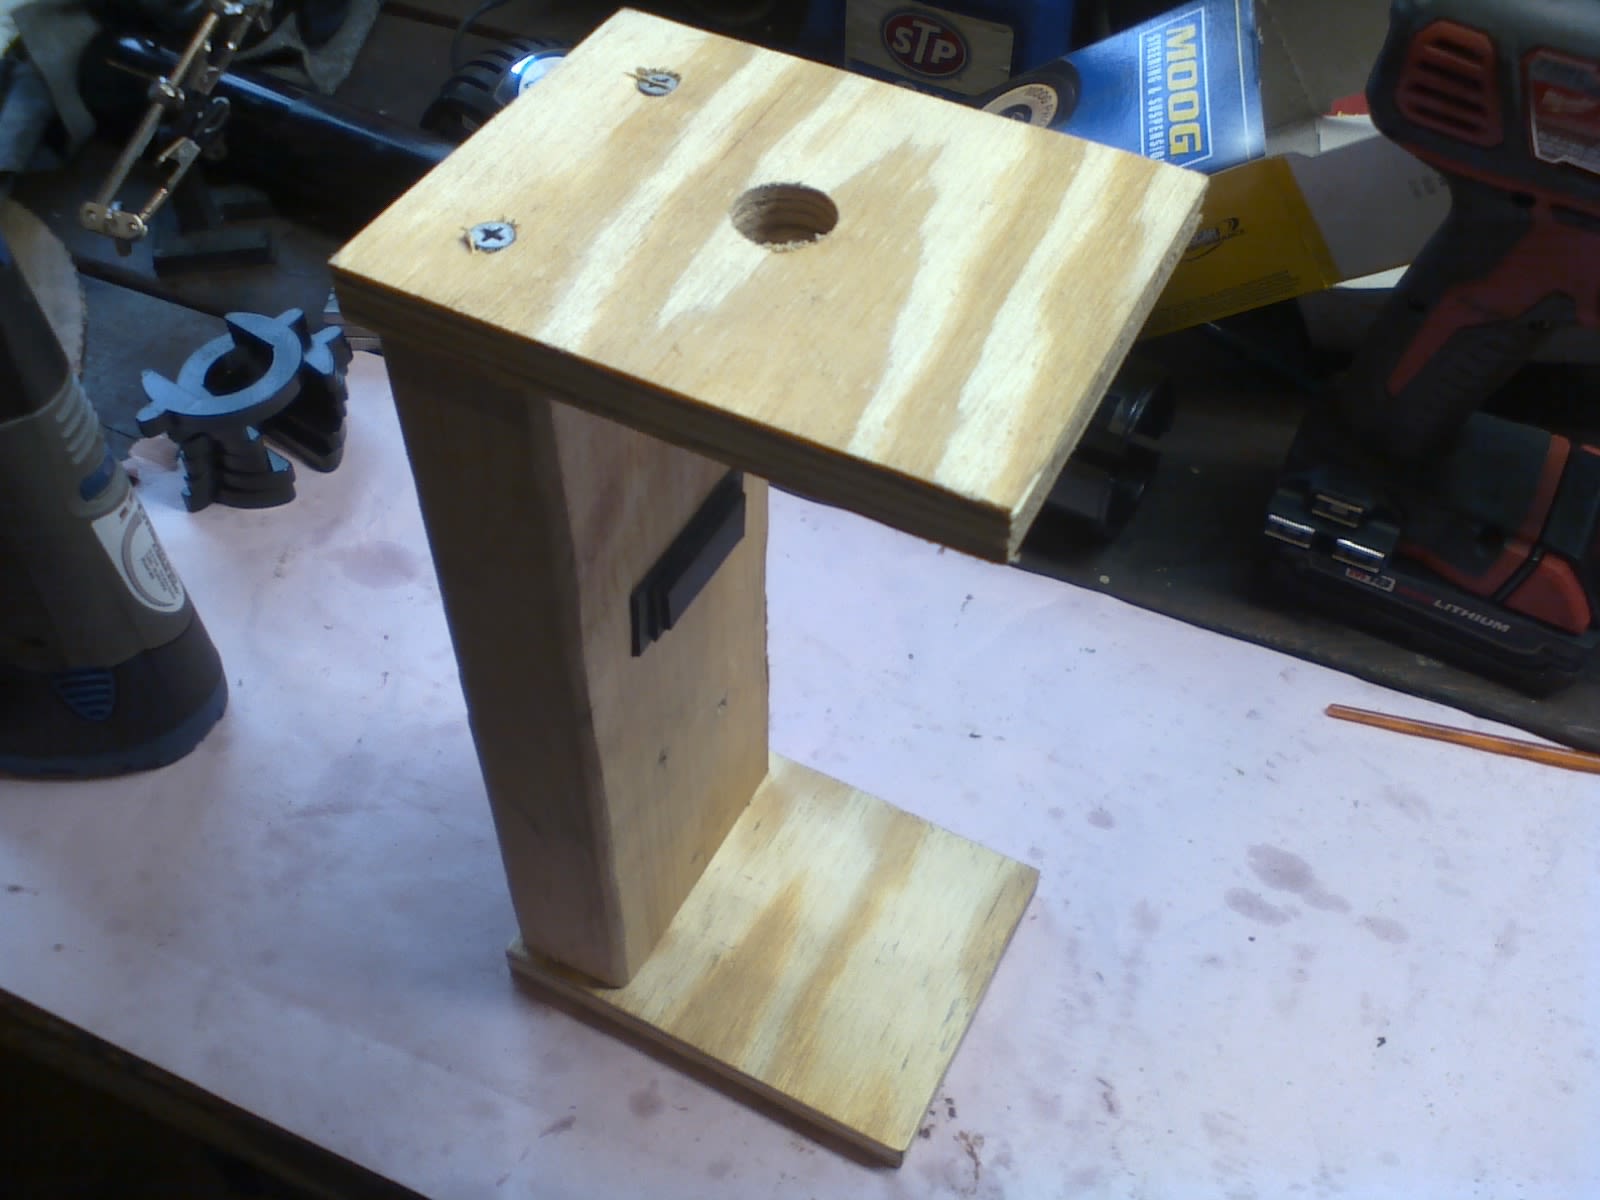
To do this, I decided to make another special tool. I grabbed some wood scrap and threw together this little stand to zip-tie my Dremel to. It’s sort of a -oh, what are they called?- a router table? No, I think maybe the word is linisher? Something like that, I guess. You get the idea.
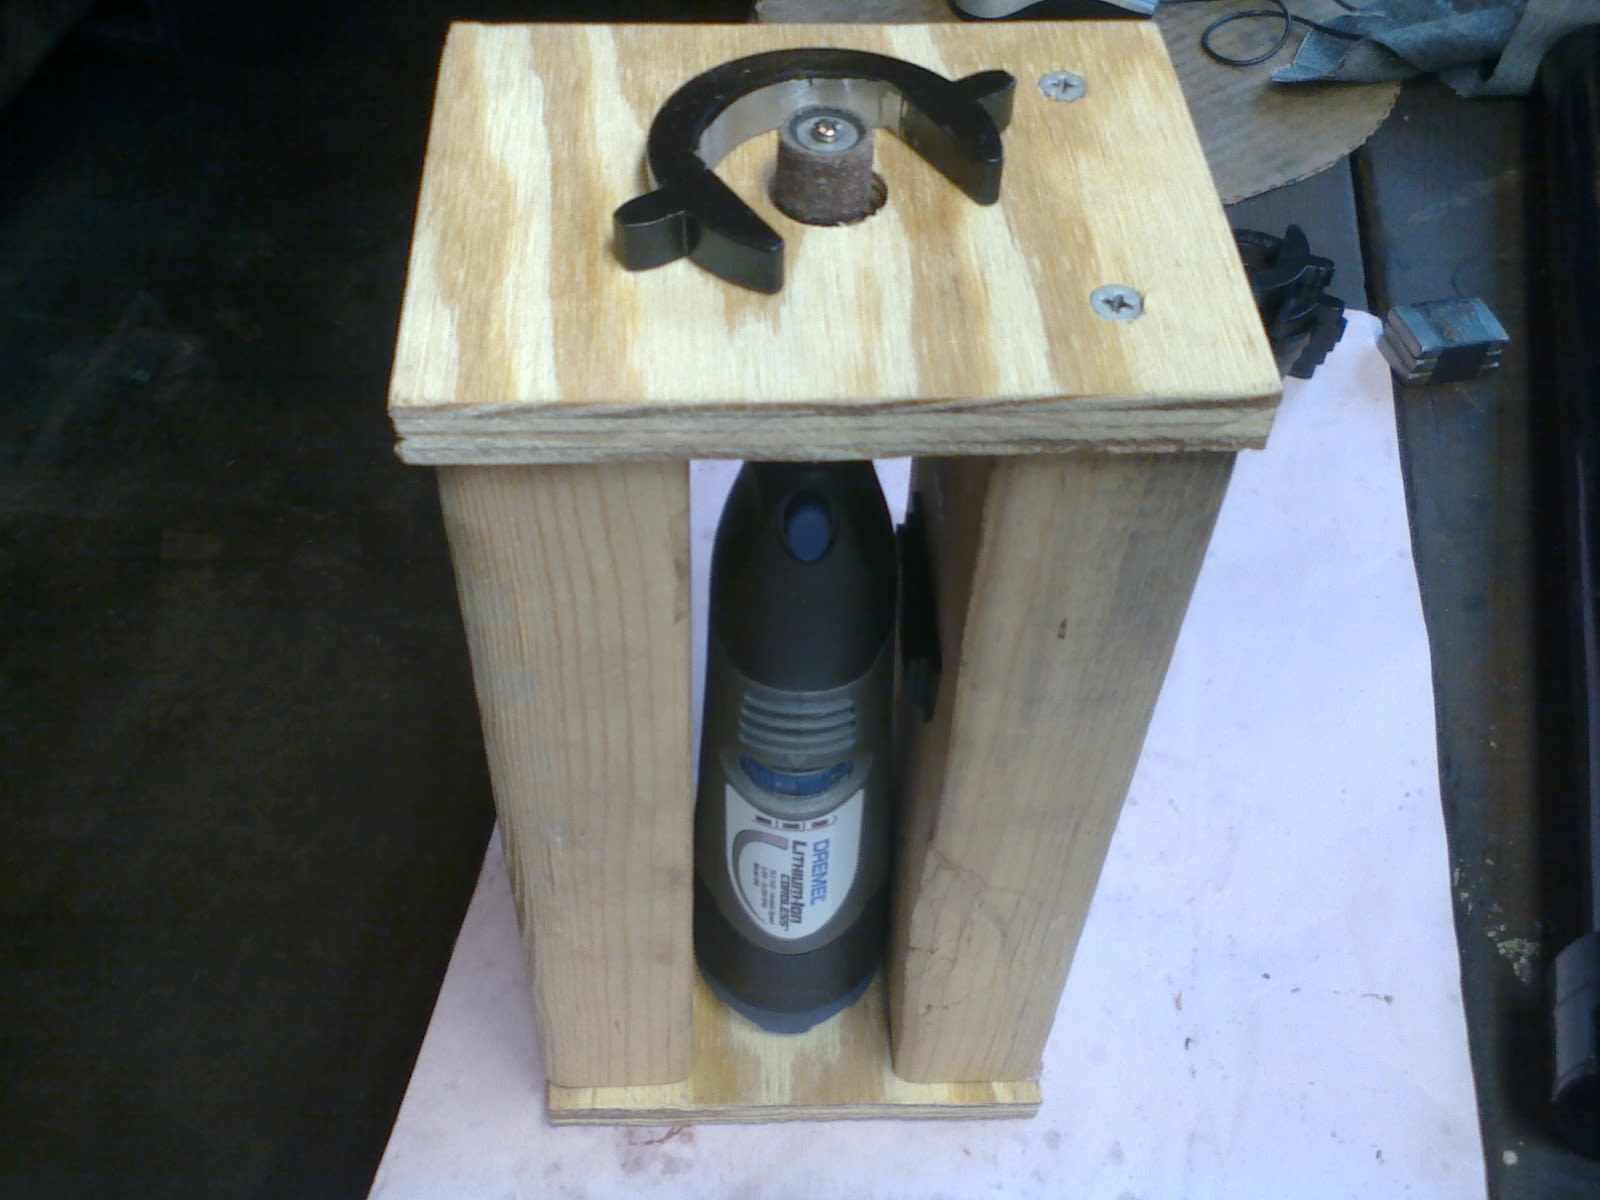
Anyway, this platform allowed me to remove much more consistent amounts of material from the crow’s foot. I was able to remove just enough to make it fit, retaining as much material as I possibly could. The inner tie-rod remover tool now worked like a charm, and after disconnecting some hydraulic lines and fighting with the rusty pinion splines, we finally got the rack out.
Next, I’m pretty sure the stabilizer bar will have to be replaced. Not on account of rust, but my dumb ass got a little too sloppy with the cutoff wheel. I accidentally knicked the bar instead of the tie-rod that I was supposed to be cutting. Now there’s a 3mm-deep gash in the otherwise 18mm thick stab-bar. If only I had been more careful. Or known in advance how difficult it would be to track a replacement down...