
So, that Corolla I was working on recently... the one that had sat neglected for nearly a year. The one that helped me discover a slick new wrenching trick for my slide hammer. Yeah, that one. Sorry for the late conclusion, but here’s how things nearly took a sharp turn south. Buckle up.
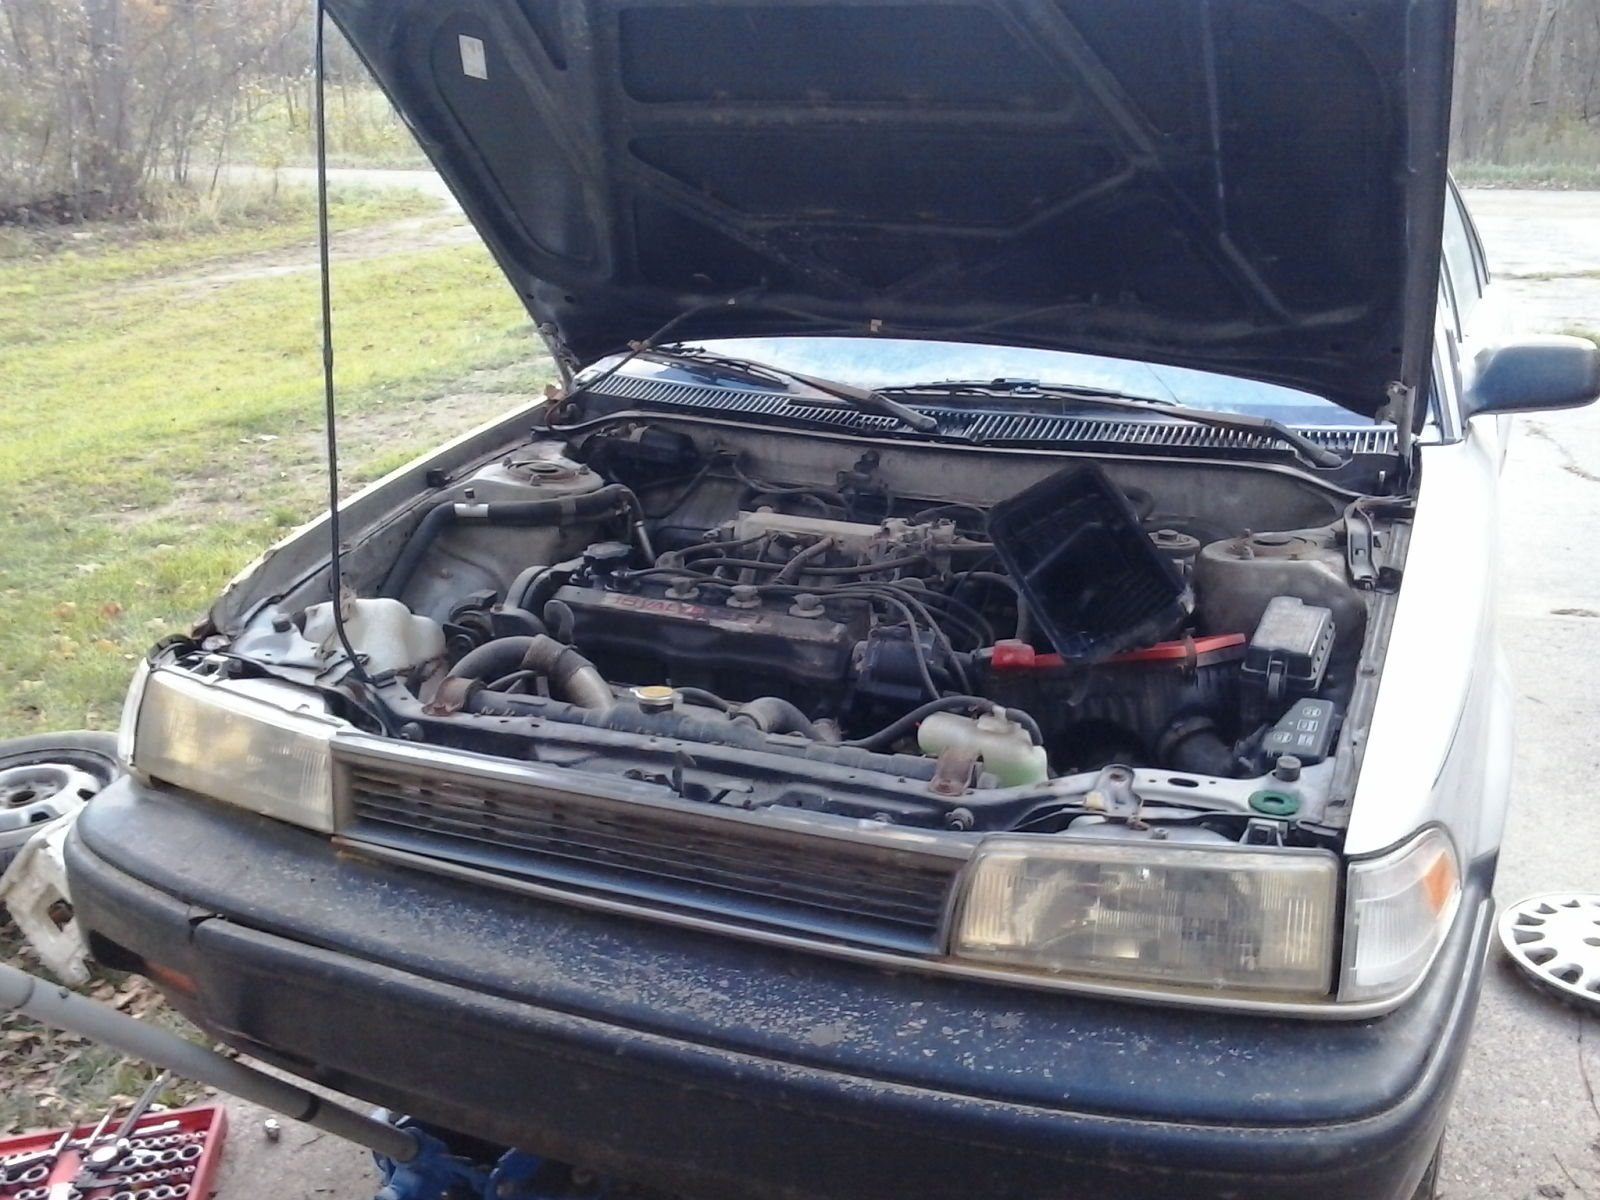
On its way back to roadworthiness, this 1990 Corolla DX had received a new air filter, front halfshafts, front brakes, fresh brake fluid all around, a new radiator drain plug O-ring, and a re-secured AC/pulley bracket. It was time to finally address the remaining coolant and oil leaks.
After replacing the driver’s side halfshaft, I recruited my brother (not the one with the Saab, different brother) to do the other side. He’s new to wrenching, so I figured this would be a neat little learning experience for him. I guided him through all the steps and let him do the brakes on that side too. He seemed to get the hang of it pretty well.
So I recruited him again to work on the engine. It needed some new timing covers and a water pump gasket, so we turned this into a full-on water pump replacement and timing belt job, even though the belt was only half-way through its changing interval.
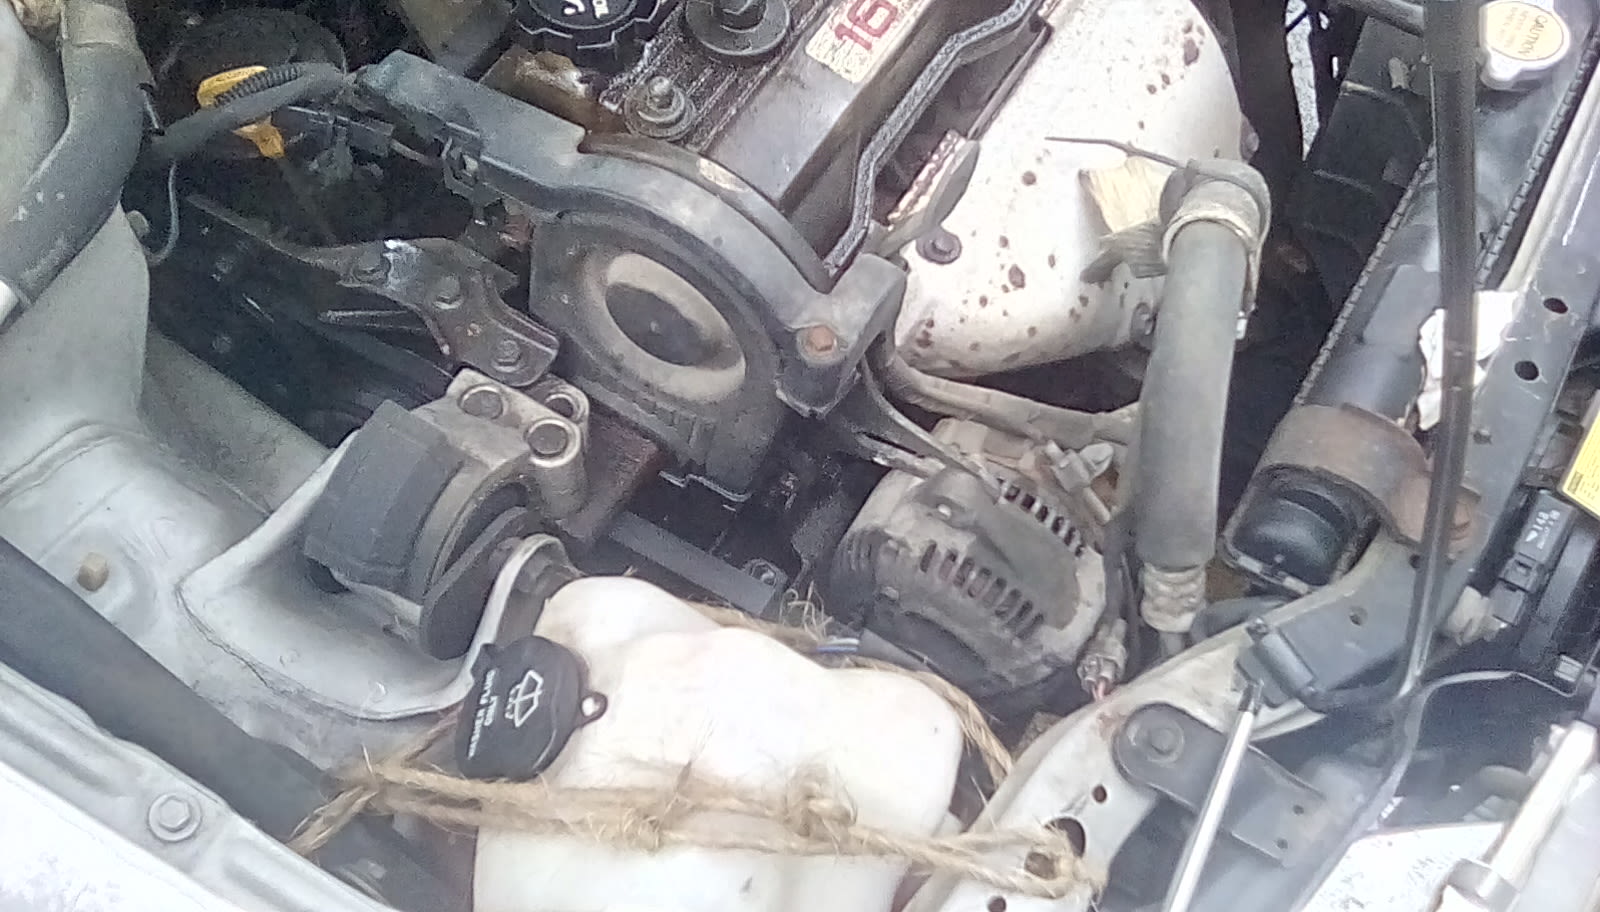
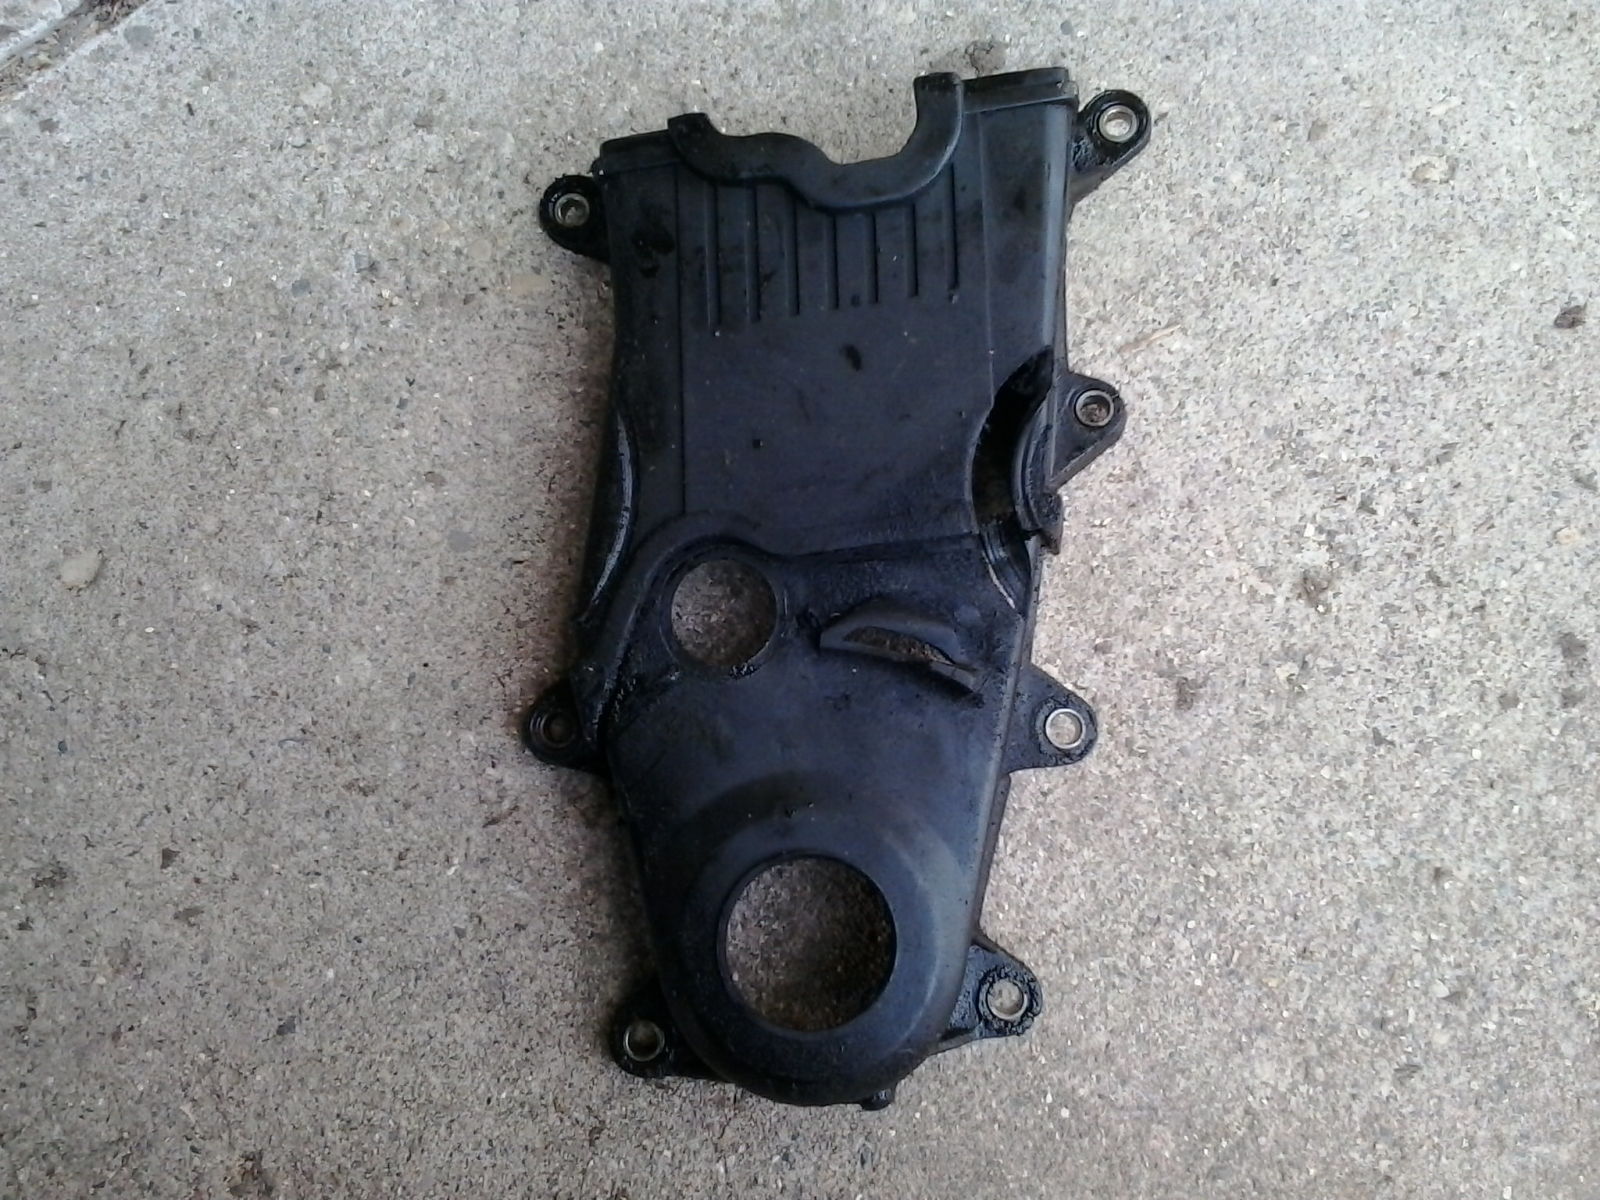
Again, I let him do most of the work, since I’d done timing covers and water pumps before. We lifted the engine with a hoist, removed the mount in front of the timing covers, and set about replacing the water pump and timing belt. Found a dislodged cam seal, which was allowing oil to get into the timing belt area.
We then noticed something strange on the new water pump. I would mate up just fine, but the casting didn’t seem to fit against the timing cover correctly. Upon closer inspection, the pulley flange was a slightly different size, too. Turns out the new pump, which was purchased back in 2017 in anticipation of eventual replacement, was the wrong one. It was for a 4A-GE engine, and we were working on a 4A-FE. Once we had the right pump, he put it in, and we reassembled the engine with undamaged timing covers and new valve cover gasketry too.
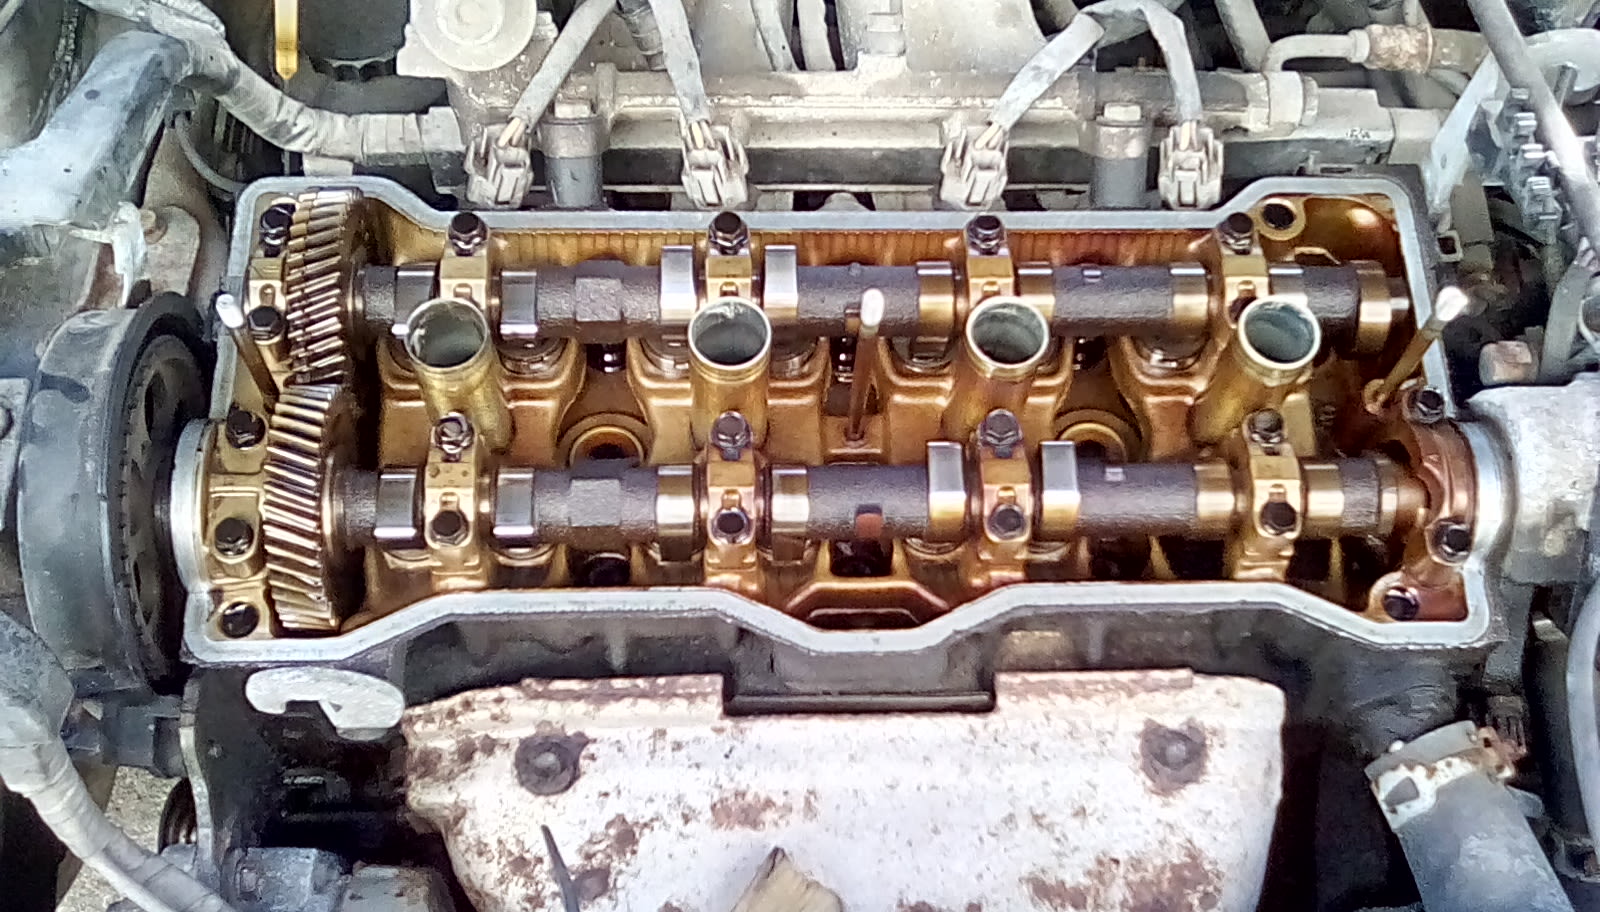
When the old belt came off, the cams shifted into a more relaxed position. Which was fine by me, because it gave me an excuse to teach my brother how to find the timing marks and TDC on the compression stroke. The new belt was accompanied by a new tensioner pulley, good to go for another 60k miles.
Unfortunately, we hadn’t even finished refilling the coolant, when it started leaking again - at the pump. *facepalm*
We tore it all back apart again (in about half the time, I might add. My brother is a fast learner), including the timing belt because the water pump is behind it, and found that one corner of the pump gasket had shifted during assembly. Satisfied that we had identified the leak, we picked up a new gasket and put it all back together again.
New axles, fresh brakes & fluid, water pump, timing belt, tensioner pulley, cam seal, timing covers, valve cover gasket, idler pulley, air filter... just gotta take the battery off of the charger, reconnect it, top off fluids, and it should be ready to roll, right?
We fired up the engine, and... well, no leaks! Everything sounds good too. We let it circulate the fluids and warm up enough to open the thermostat, then shut it down and let it cool before final top-off.
But we weren’t done yet. After a final top-off of fluids (including coolant, engine oil, and transmission fluid), my brother went to move the car, and it wouldn’t go anywhere, forward or reverse. There was some sort of growling noise coming from the (automatic) transaxle, and as he shifted it back into Park, we heard the parking pawl GRIND to a stop.
So the transmission was indeed sending power to its output shaft, but somehow the stationary wheels weren’t holding the output shaft still in order to engage the parking pawl smoothly. I peeked underneath at the unmoving halfshafts and started to wonder... spider gears? It ran when parked, so a sudden differential failure didn’t make sense, unless maybe it had something to do with rusty brakes locking up despite the transmission being placed in neutral while towing it out of its spot...?
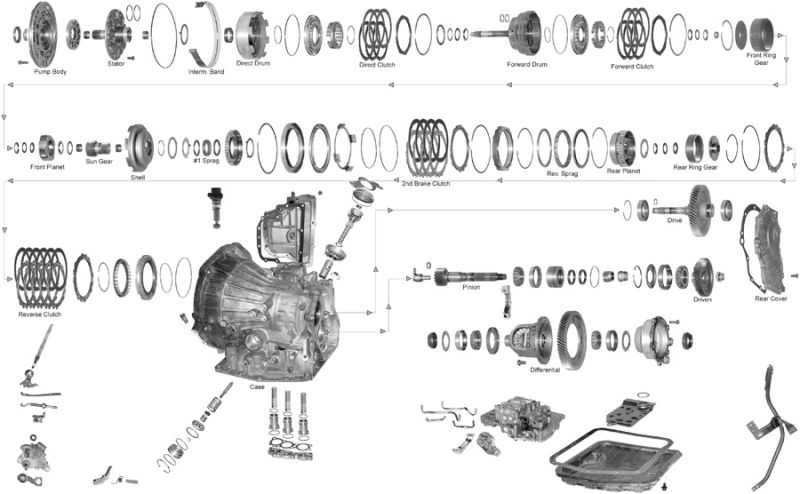
I hopped online to see if spider gears were a common failure point on what I figured was probably an A131L transaxle. I did find some references to diff failures caused by lack of oil, but nothing specifically on spider gears.
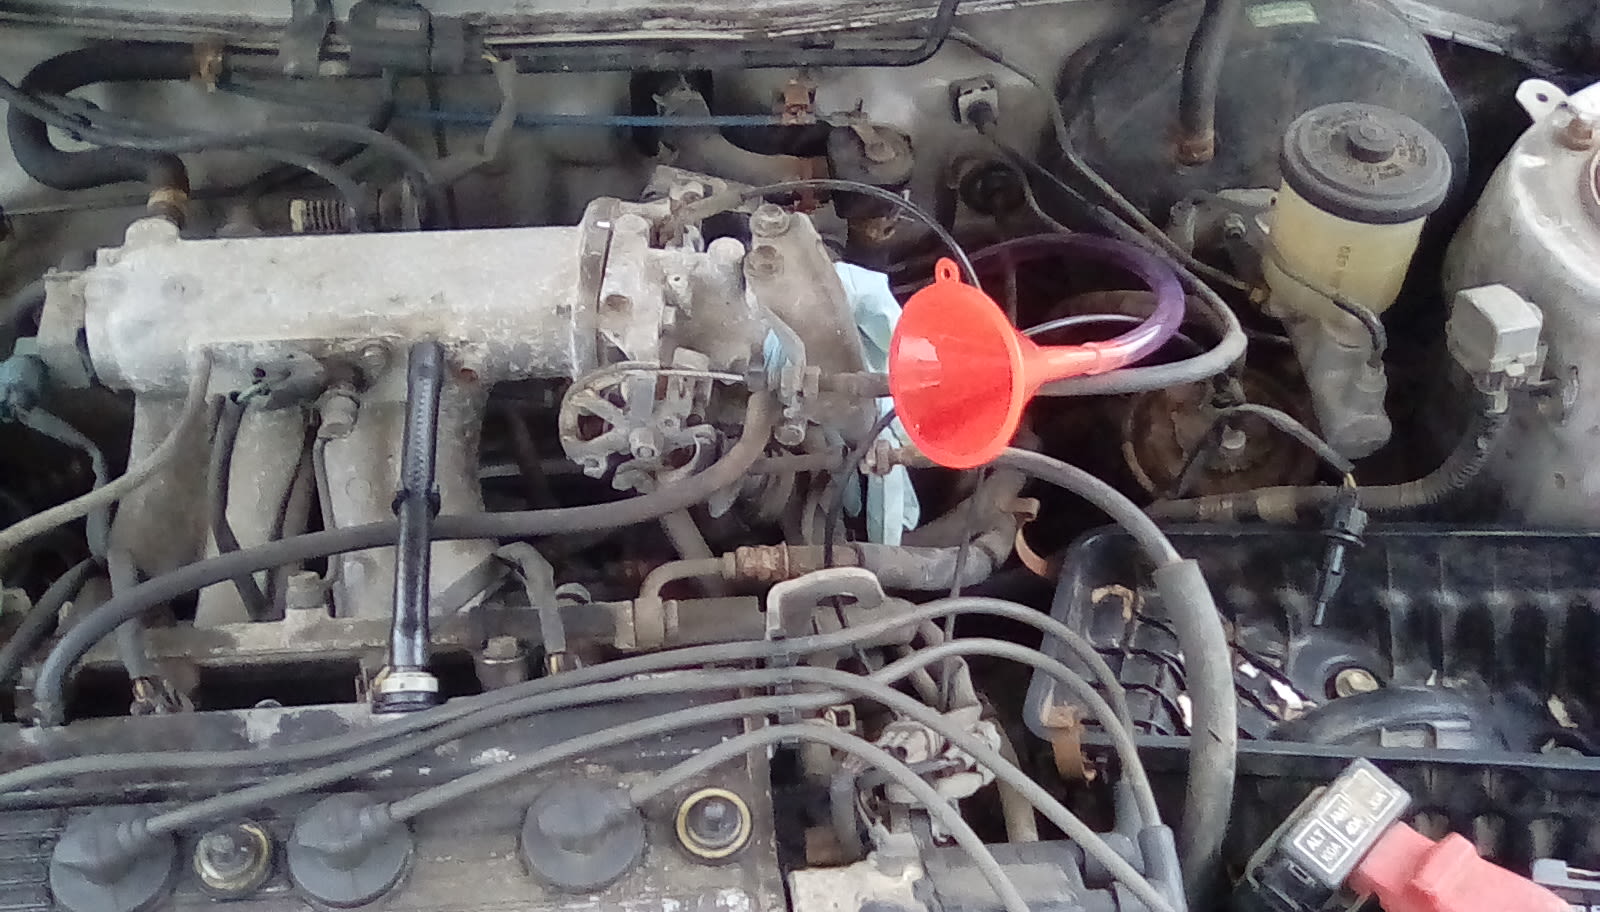
One VERY important thing that my googling brought up was the “proper” diff fill procedure. There was supposedly a fill plug on the back of the diff cover, which we never touched because the Chilton book that we were using claimed that the transaxle was to be filled ONLY through the dipstick tube.
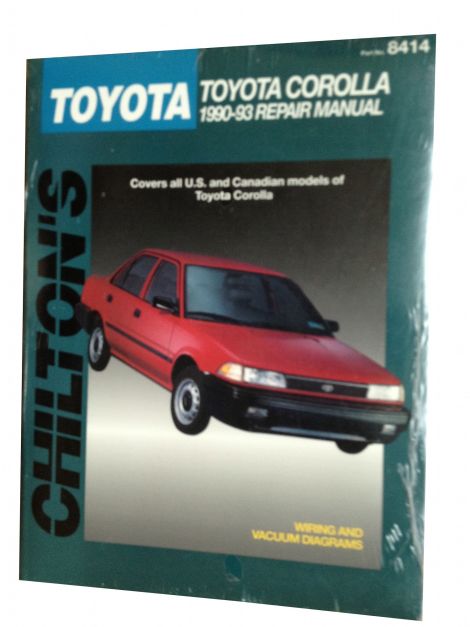
Now I’ve lamented before of the shortcomings of Chilton & Haynes books, compared to the wealth of information to be found in a proper factory service manual. But I thought that I could at least trust it to get the fluid change procedures right.
I was even looking in the right section: “Automatic Transaxle”. Note that it says “transaxle”, not “transmission”. There is NO separate section detailing how to check and refill the differential (except the one detailing how to check & refill the rear axle on AWD models). Even the fluid capacities chart at the end of the chapter lists the rear drive axle at “2.4 pts”, and the front drive axle at “ - ”.
One would reasonably assume then, that the front differential was therefore considered part of the transaxle, and that the transmission pump would circulate fluid through both the transmission and that differential. But that is very much NOT that case, as warned in forum threads like “Ultimate A131l Transmission Thread” and “BEWARE A131L Trans Owners”.
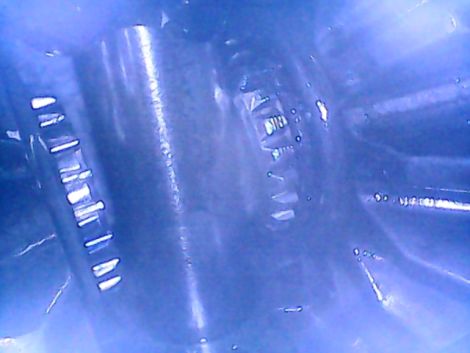
So I found the fill plug, and ran my USB scope through the hole to see what was going on inside. Not just in terms of oil level, but to see how the gears were holding up. Everything still had a light sheen of oil on it, but there was no bath of oil to keep it all lubricated. The spider gears showed some normal wear, nothing out of the ordinary. Nothing looked out of place...
Except that I could see the inner splines of one of the side gears.
The inner end of one axle-shaft was clearly visible, seated firmly in its side gear. But the other side gear was empty. A closer look underneath the car confirmed that the halfshaft my brother had replaced wasn’t fully seated in the transaxle. He must have stopped upon feeling resistance from the spring clip. No wonder it wouldn’t go anywhere!
After pulling the halfshaft back out to inspect the splines, we found hardly any damage. So that growling noise must have just been the very tips of the splines rubbing as the spider gears rotated around the one wheel that it was attached to. We popped the halfshaft firmly into place, and verified fitment with the scope:
With the axle fully seated and the rest of the car put back together, it was finally driveable again. BUT NOT BEFORE properly filling the differential with oil.
In hindsight, if my brother had gotten that axle fully seated the first time around, the differential would probably never have been checked, until it was too late. Because we definitely did drain it, to avoid leakage while replacing the halfshafts. Filling the transaxle only through the dipstick tube (per Chilton’s instructions) would have left the differential almost completely empty. No doubt it would have destroyed itself before long.
TL;DR: Car is fixed. Chilton sucks.