
It has been a while (more like a few months) since I last posted about the Volvo. Here is what I have been up to since failing smog.
I gave up trying to work on the car outside. My friend came back and claimed his Miata, which opened up another space but I still continued working on the Volvo outside, which proved a bit annoying as Daylight Savings Time ended and I found myself with precious little daylight to work on the car and the weather was starting to take its toll on the car: I noticed a new spot of rust under the hood.


Therefore I did the logical thing and started work at 330 in the morning, which gave me a little more (still not enough) time to get a little more done with the sun up. While it was a breeze respraying some of the rust with the finest Rustoleum rattle cans and other chemicals the state tells me will shorten my lifespan, losing hardware to the strong gusts in the desert got old fast.
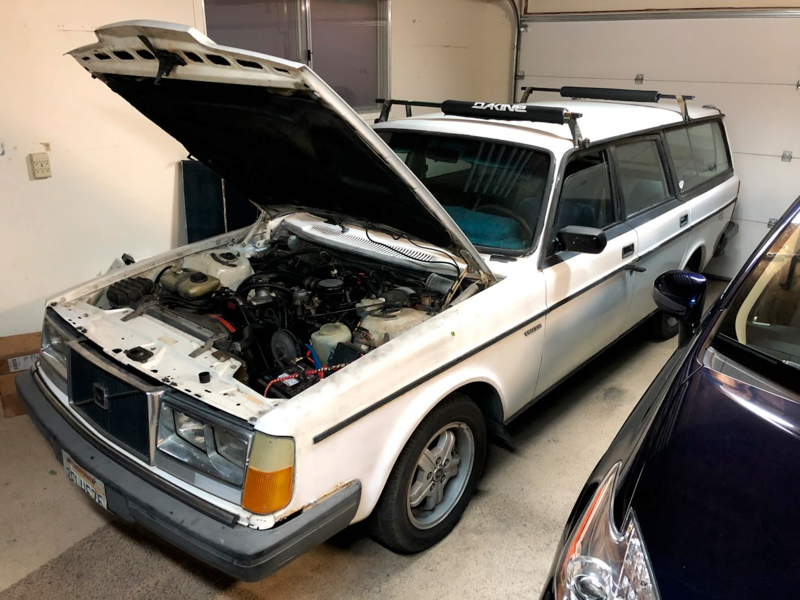
Into the garage it went in early March, right in time for the lockdown.
Now I found myself trapped at home with a mostly broken Volvo and a house full of parts and tools, so I got back to work expecting to change out the PCV which required removing the intake.
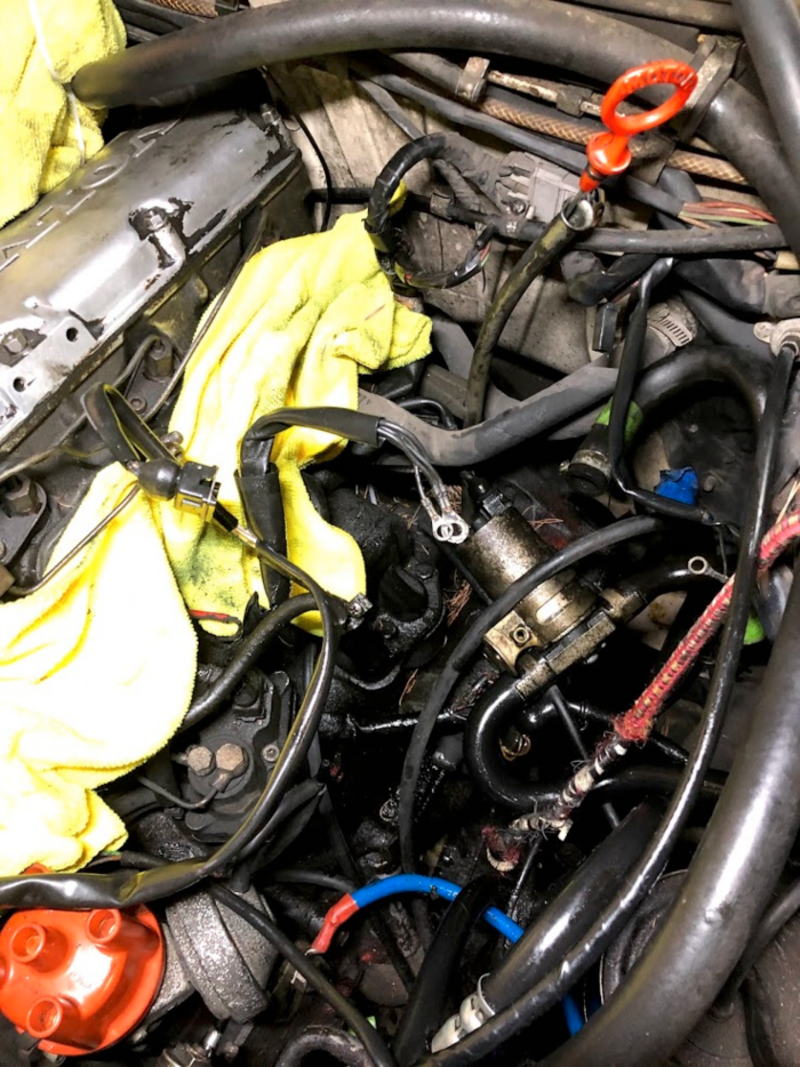
Step one: Pull the intake. The car had a bad oil leak once upon a time (who am I kidding, it still does!) and I figured it was probably time to change the oil trap that makes up the PCV system.
This proved a more difficult job than anticipated. After you take off the rotted vacuum lines, take off the fuel line to the intake, taking care not to lose the banjo bolt. Then you’re supposed to undo the degrading wiring harness that is as brittle as a Nature Valley Granola bar with how it shattered as I squeezed the wires. At some point remove the long bolts (all 13mm!) and then find out that one of the nuts backs out the stud because that thing is seized on there good. Wait! You disassembled the throttle body too, right? How about the network of vacuum lines and the idle air sensor buried underneath the aluminum intake? If you still have not scrapped the car at this point, pull the fragile electrical connector and the ground wires that no wrench can touch.

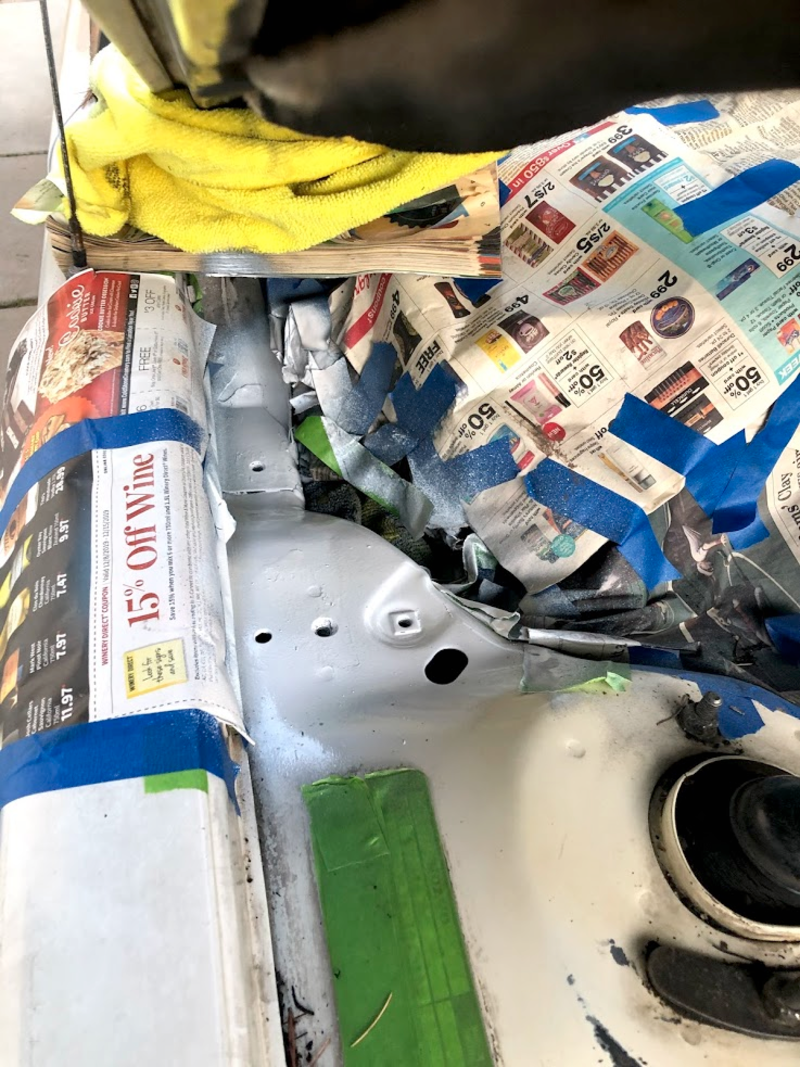
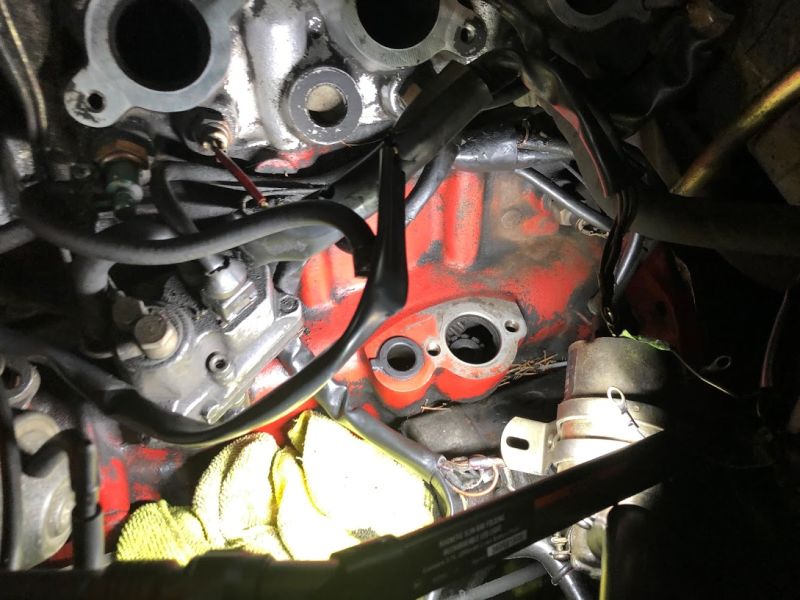
I eventually got the intake off the block to be greeted by a very slimy mess caused by years of grime, grease, and oil. I went through a few cans of brake cleaner digging out the red paint from underneath it all. Why was I doing this again? Oh right, the PCV!

Culver City Volvo supplied the parts at a price lower than any of the other online sellers and the parts manager gave me a call to remind me of a O-ring I forgot to order, so I’ll order parts from them again.
For a change of pace, this proved to be an incredibly easy job with extensions and a piece of pipe as a cheater bar.


With everything disassembled, I gave the intake a good clean too. I took off the throttle body and its 37-year-old gaskets and gave everything a thorough clean. Who would have guessed Scrubbing Bubbles did such a great job peeling back all that grime?


And here’s the finished intake that I pieced back together. I might have to replace the gaskets again because I had to break the seal in order to reattach the throttle body, but I gave it an extra two turns. Spares are on hand if the inevitable does happen.
Next installment (still ongoing): I partially flooded my garage flushing the cooling system, did something that prevents me from visiting iPd meets, and played with some new tools in the process.