Being stuck at home all does have some advantages, 5+hr print runs are no longer a weekend thing.
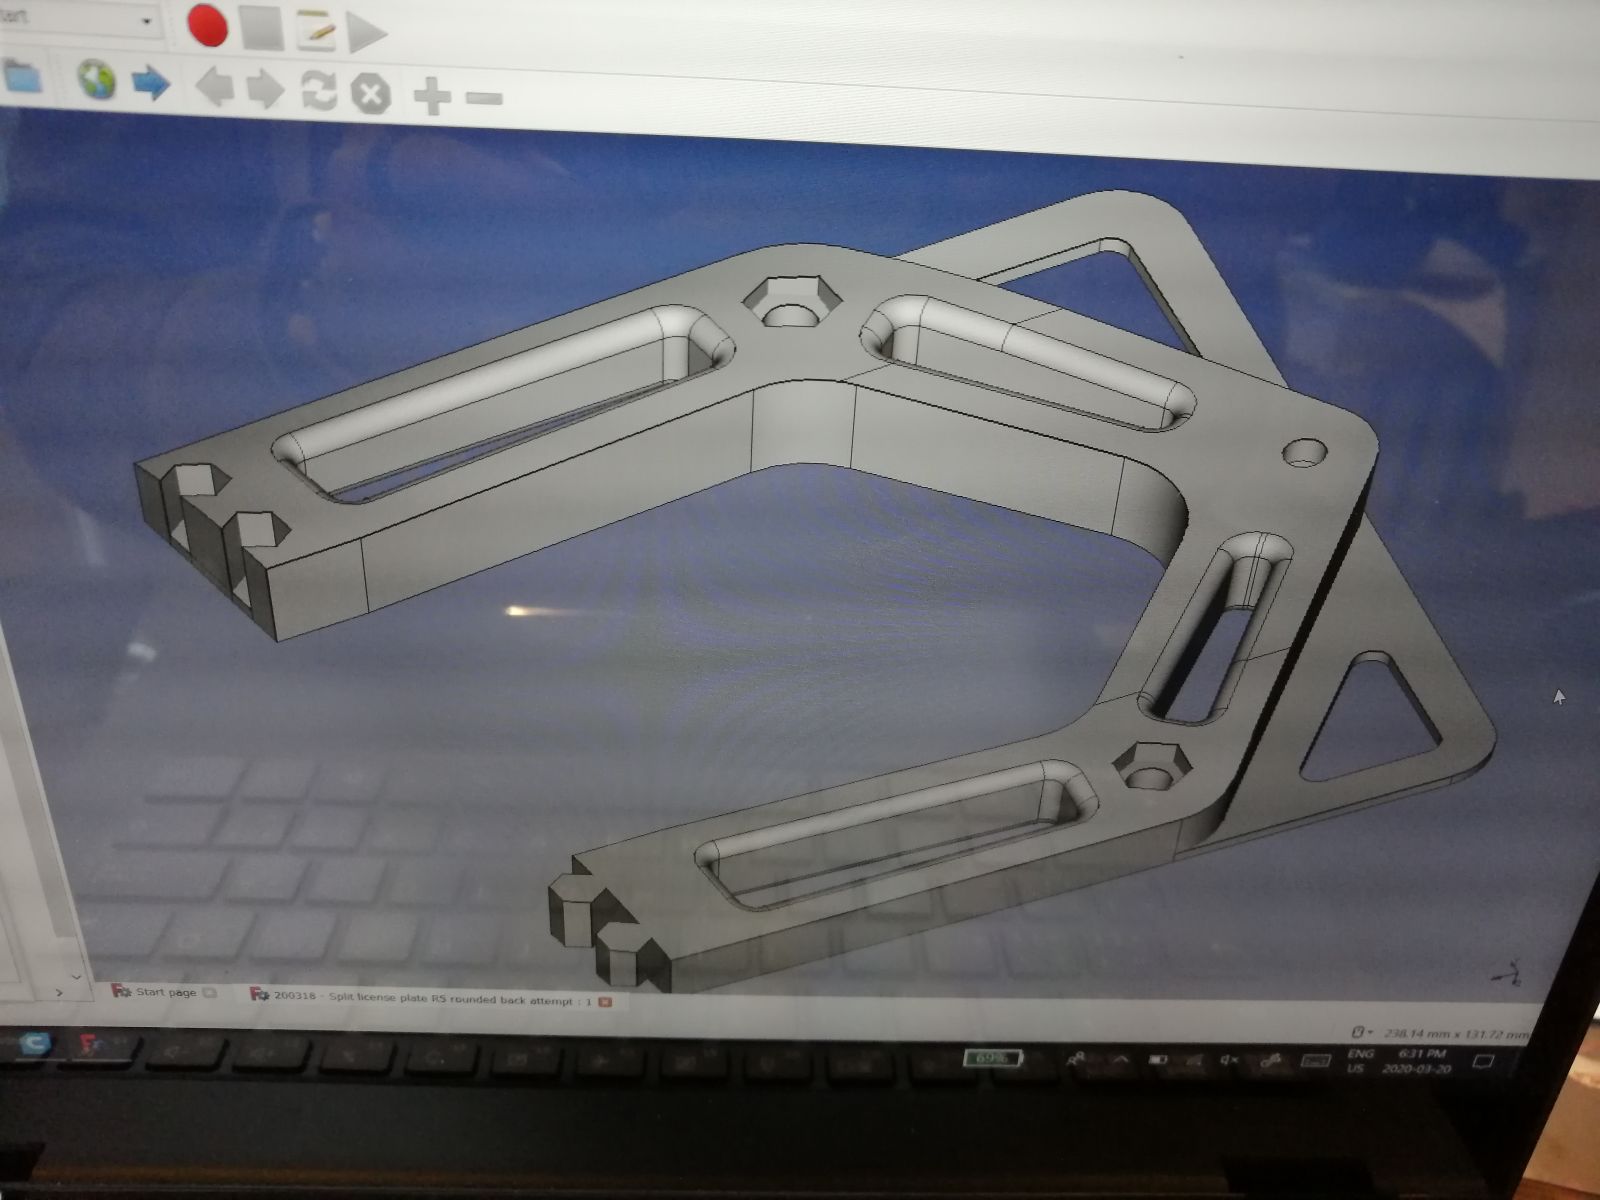
This is a (ridiculously overdesigned) replacement part for my 11yr old wagon, whaddya think it is?
Hint: the little hexagons are joints, this is only half of it.
UPDATE:
Congrats to —Wacko—CVT tamer who was the first to guess that it’s a license plate bracket
The original one on the Jetta was a bit of a POS (although I guess it lasted 11 years) here it is:
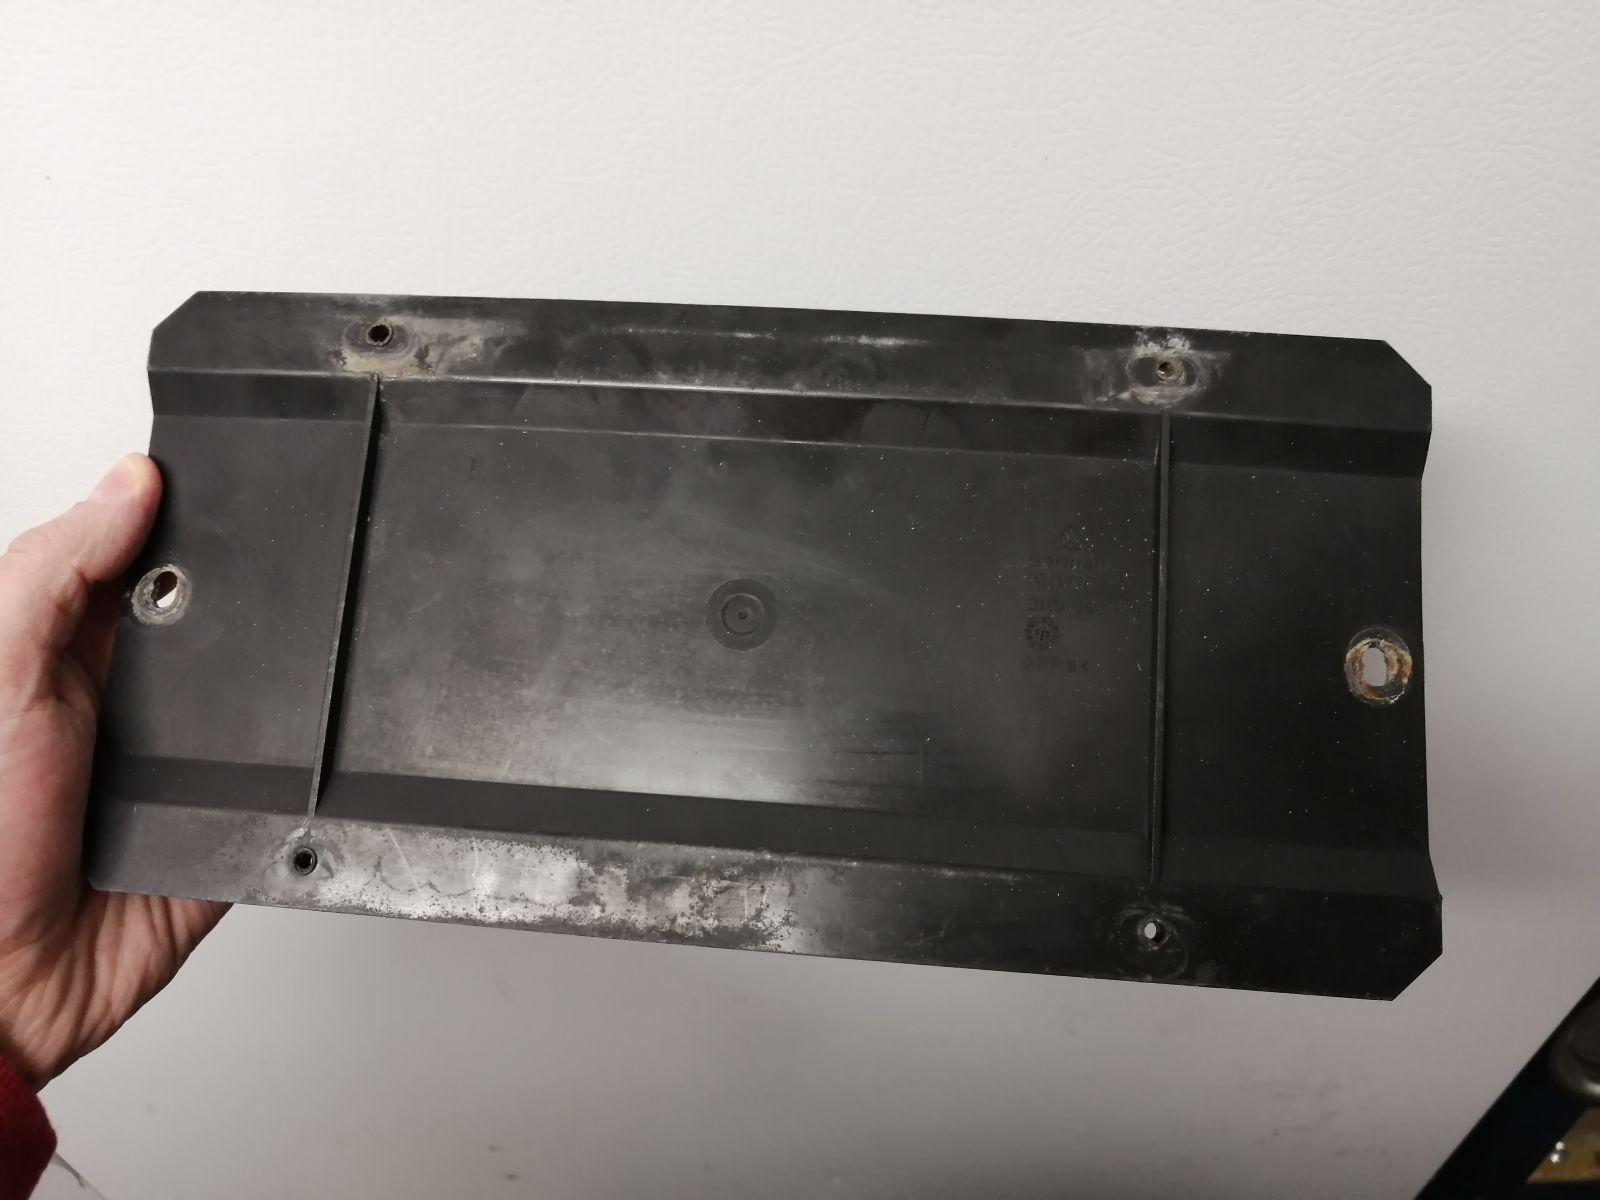
It mounts to the car with two long automotive trim screws into the tailgate and then the license plate is meant to be attached by more trim screws into little bosses on the bracket. The problem is it’s super low profile so even the shortest screws barely get past the tapered tip and don’t have much purchase.
I present the OEM/Dealer solution: Dremel the tips off the same type of automotive trim screws!
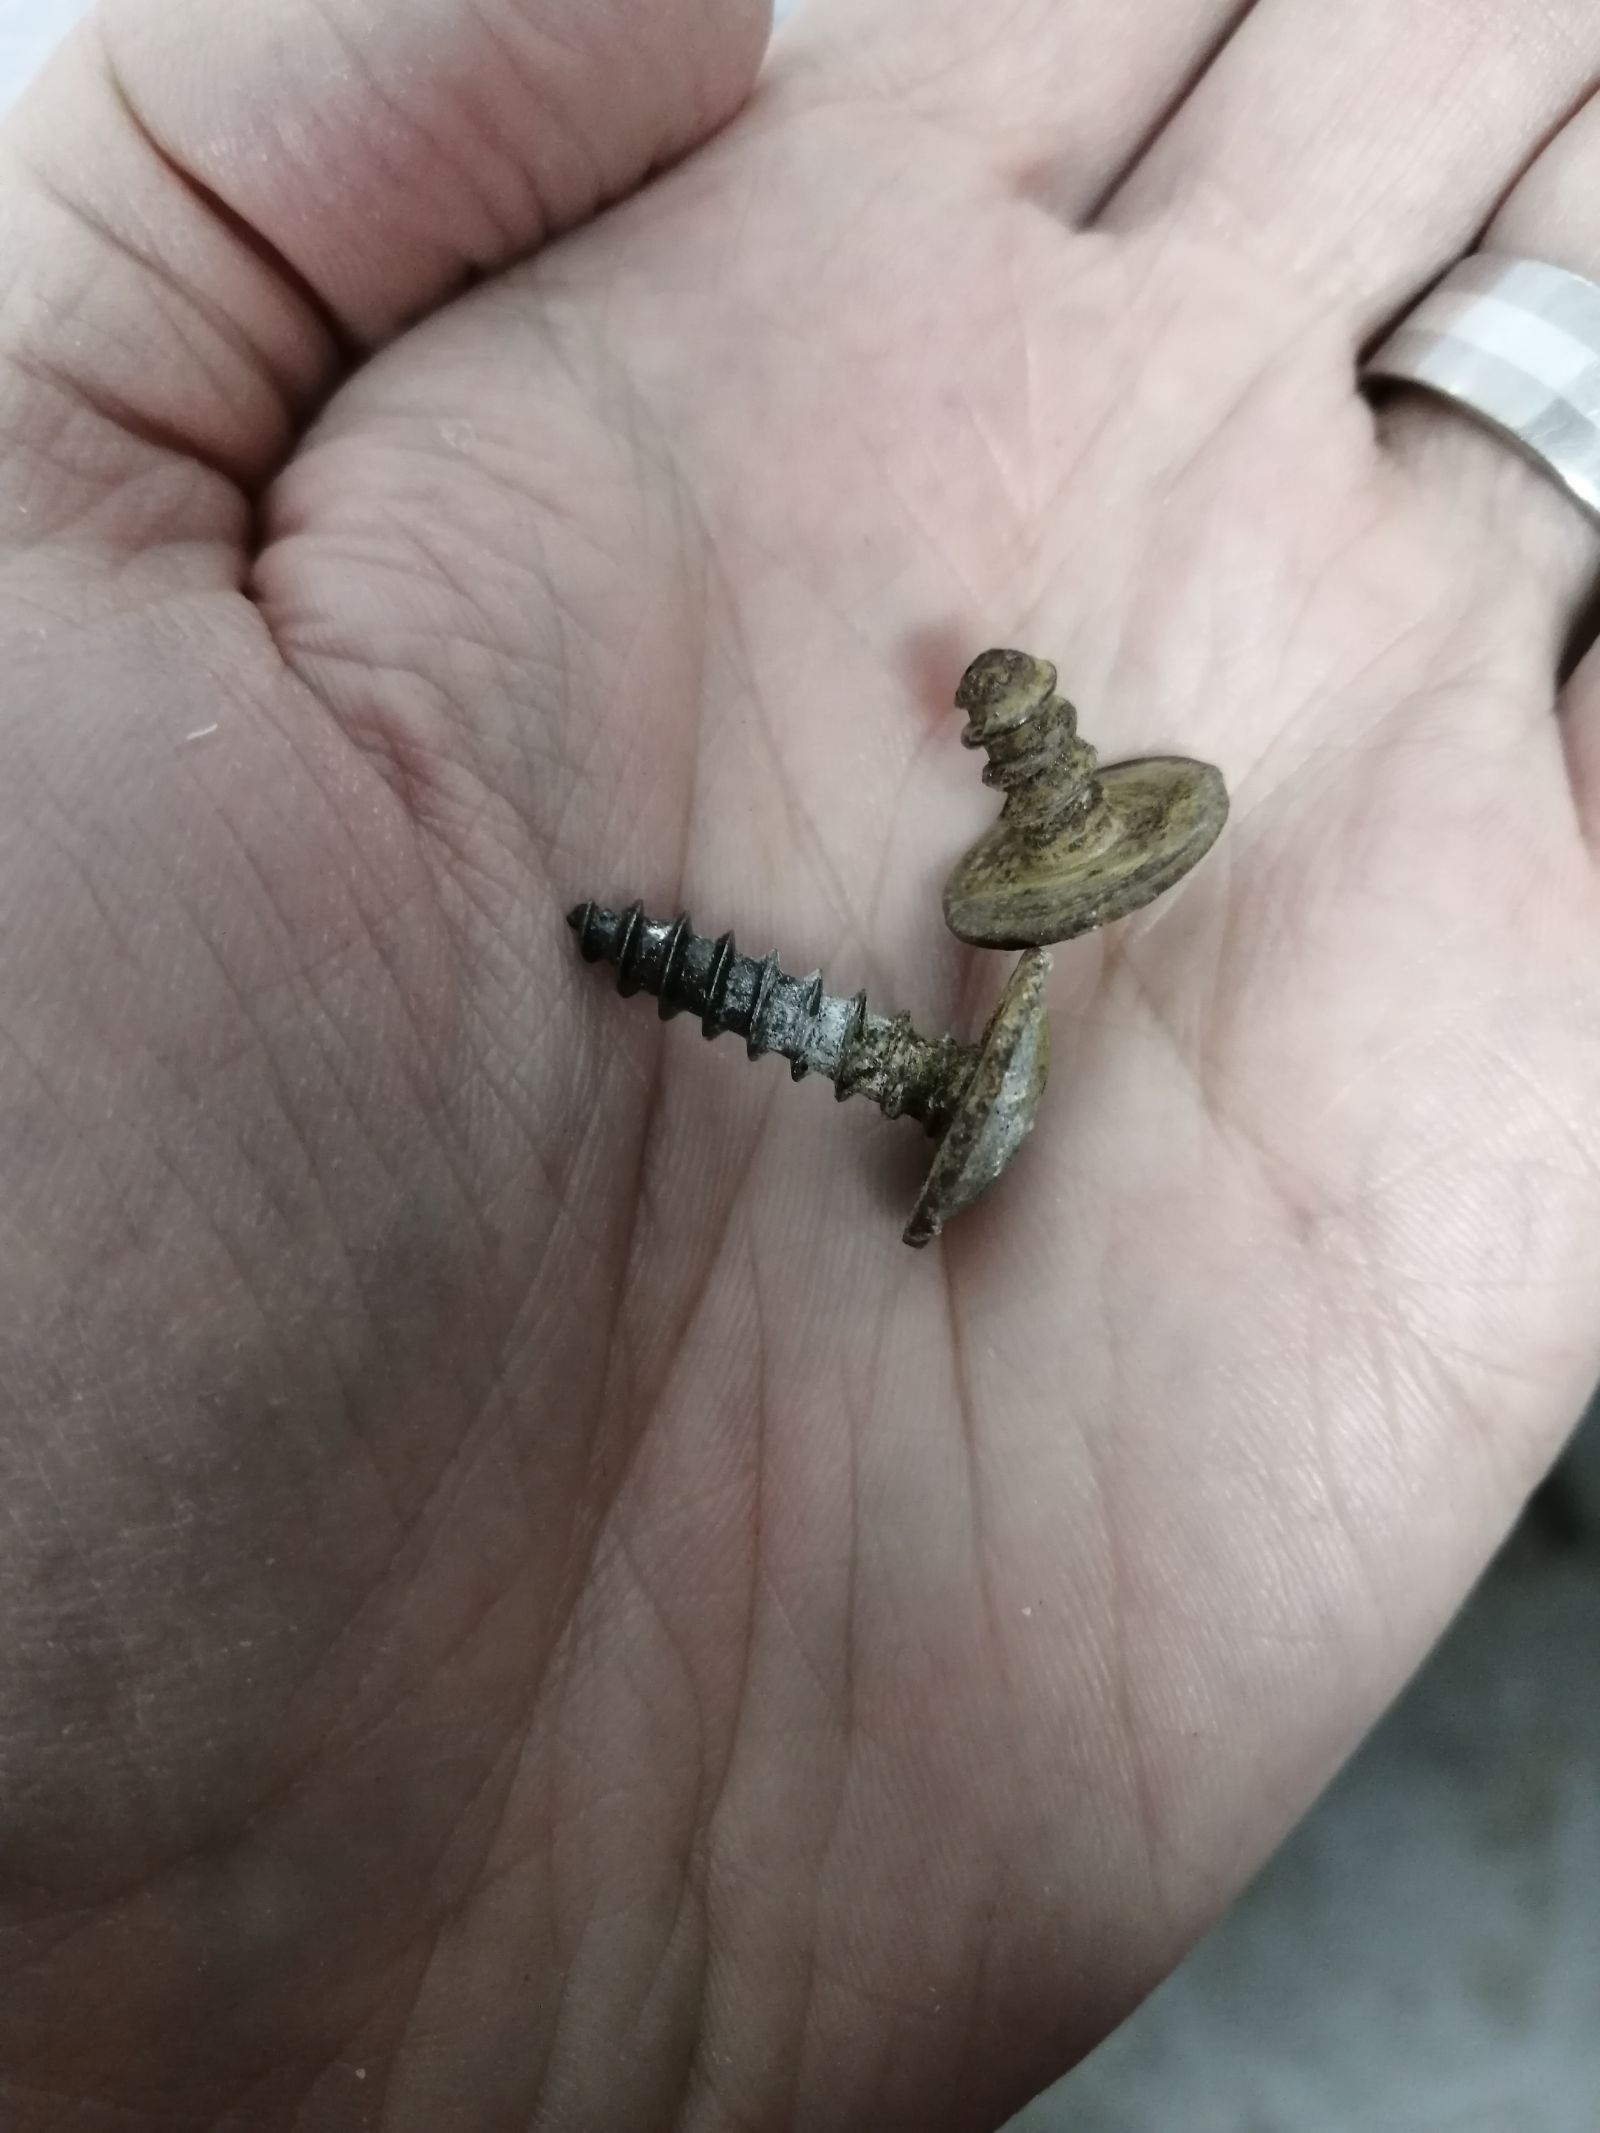
I didn’t help the situation by adding a smoked plate cover with screw caps and when I went to add the new license sticker in January the threads felt very strippy.
Sure enough last month I came out to find the plate hanging on by only one sketchy screw. The other 2 holes at the bottom were stripped already so flipping it round wasn't an option. I performed a quick office supplies repair with paper clips to prevent it dropping onto the road and set out to improve on VW’s design.
Replicating the original shape was my first thought but 3d printers don’t care for overhangs.
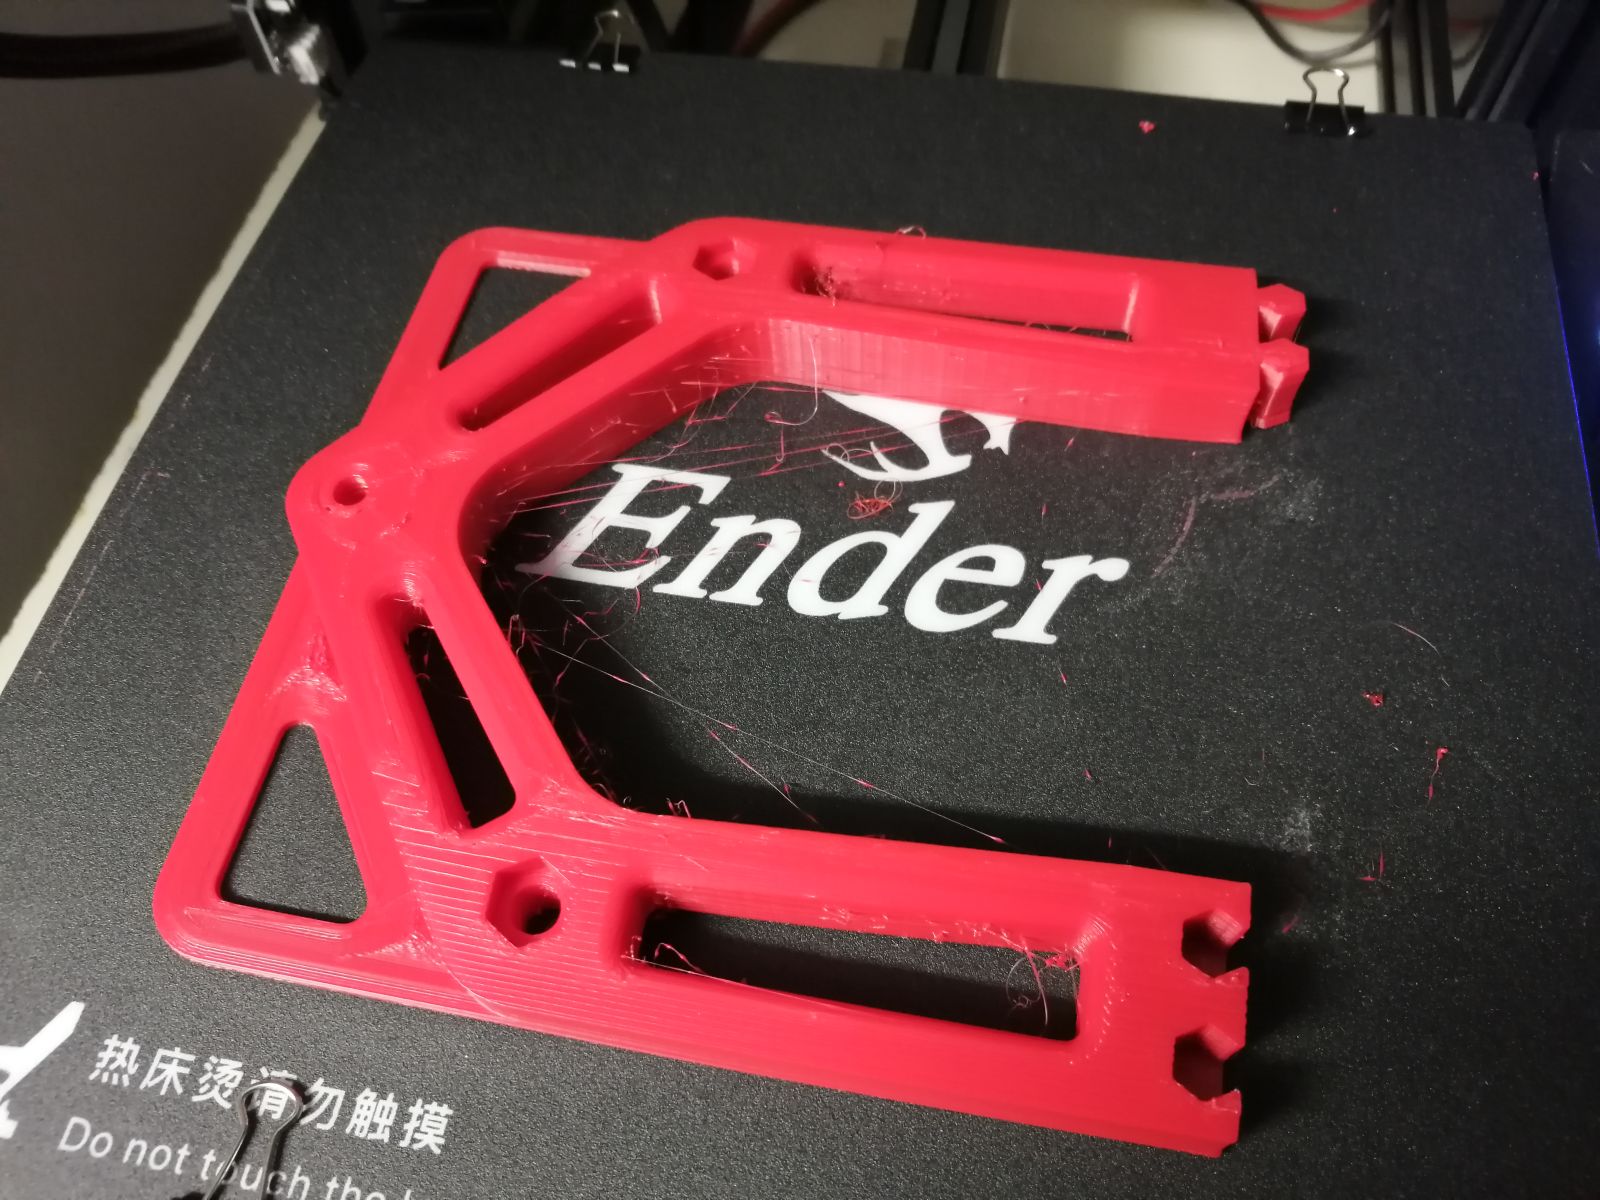
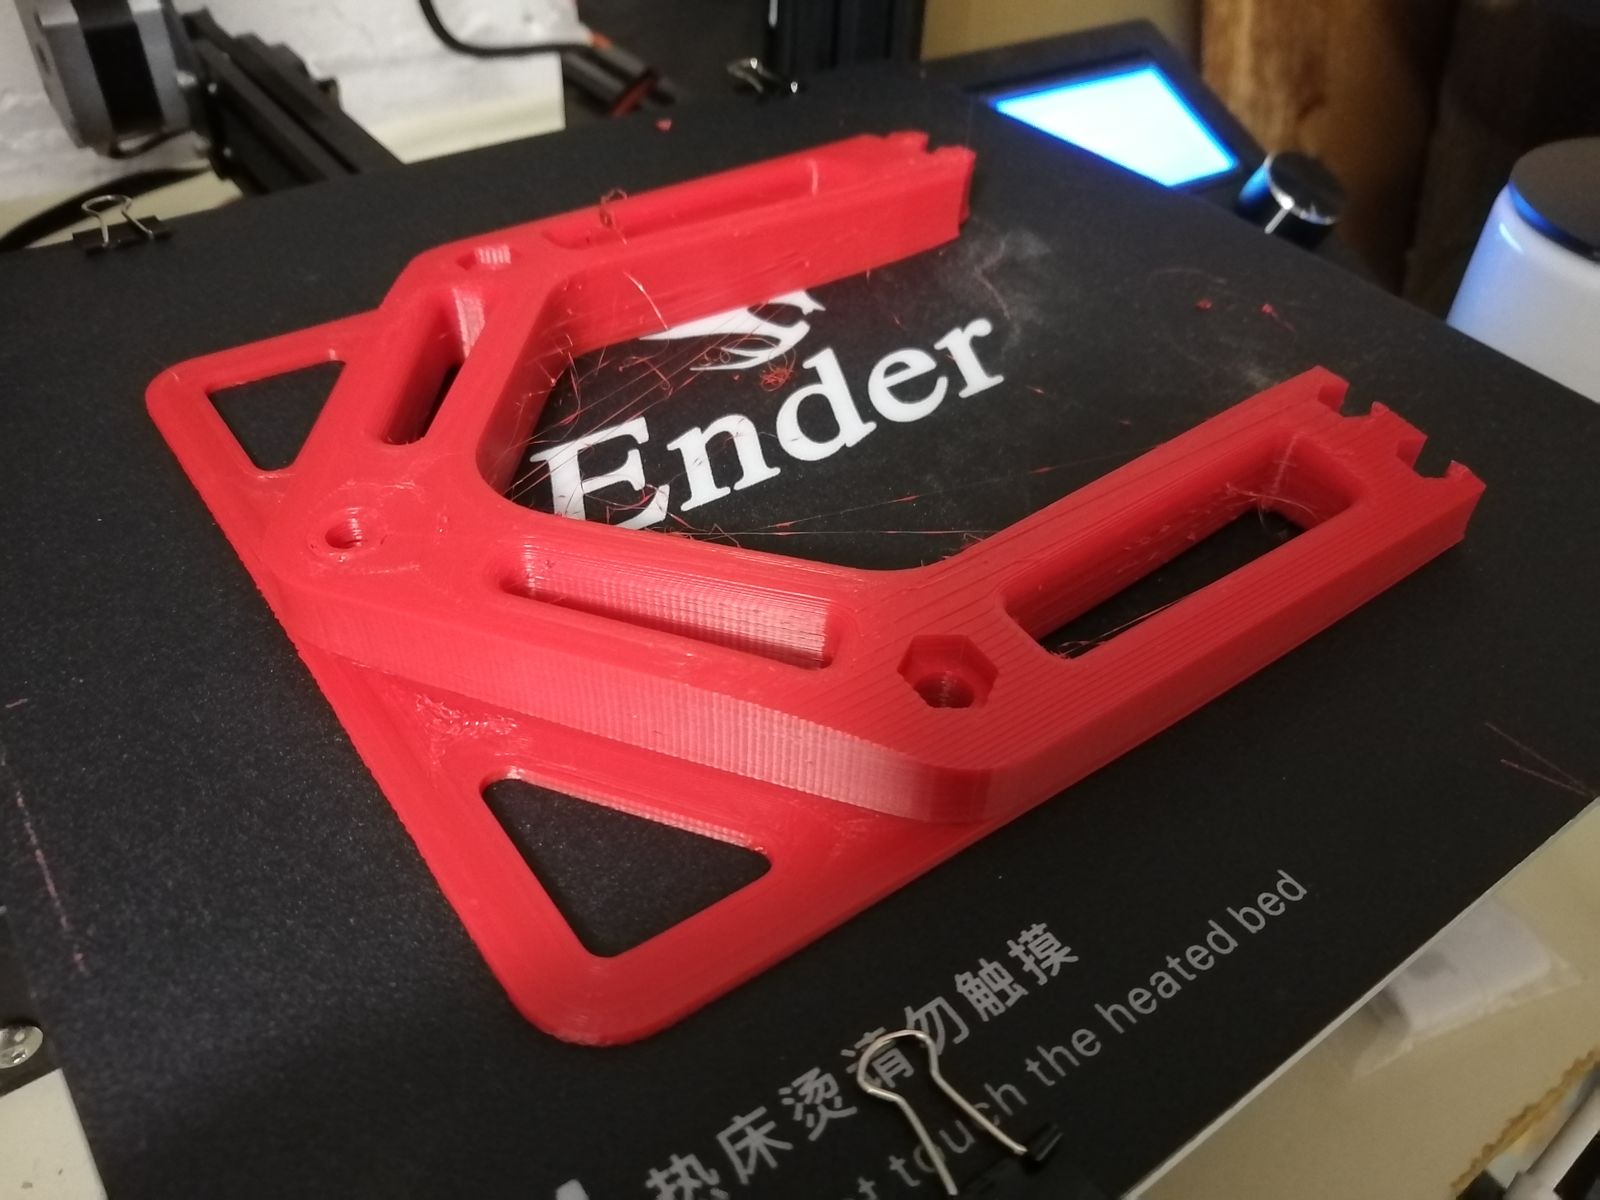
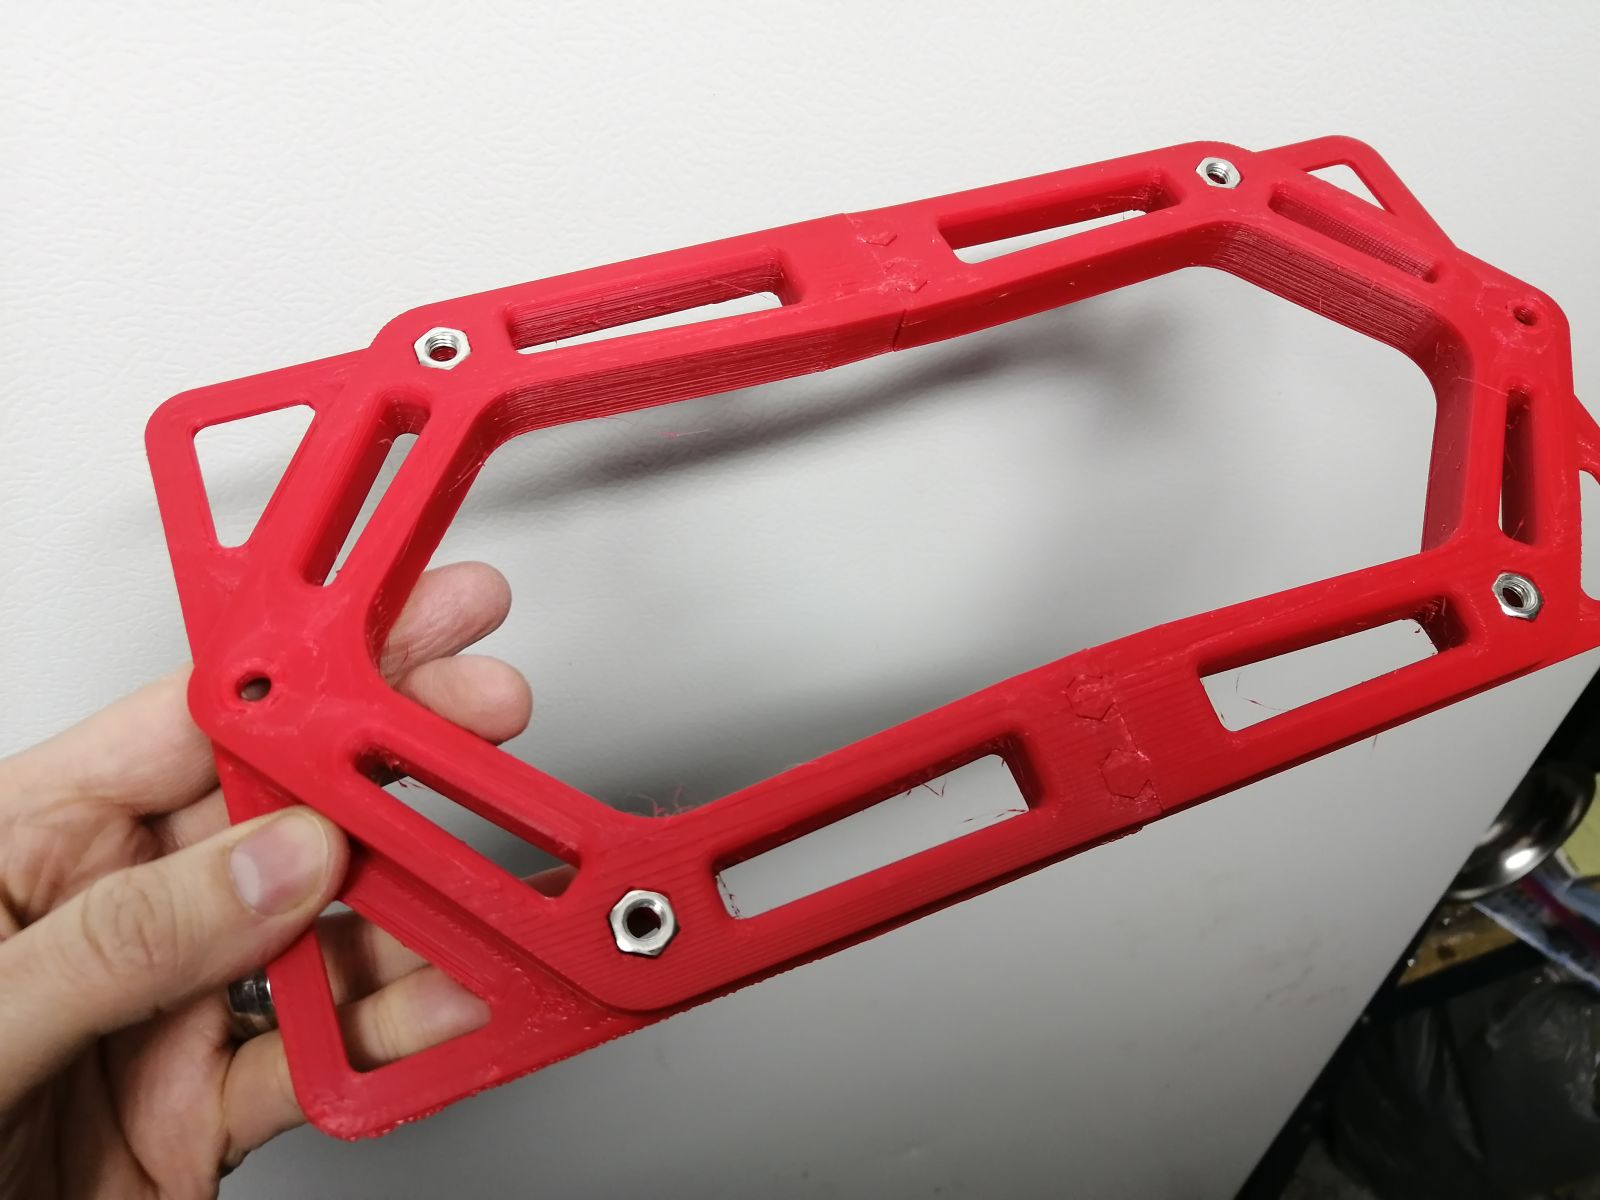
My printer bed is also too small to build the whole thing so it had to be a 2 piece. I linked the bolt holes I needed together with box sections then got crazy with the cut-outs and chamfers.
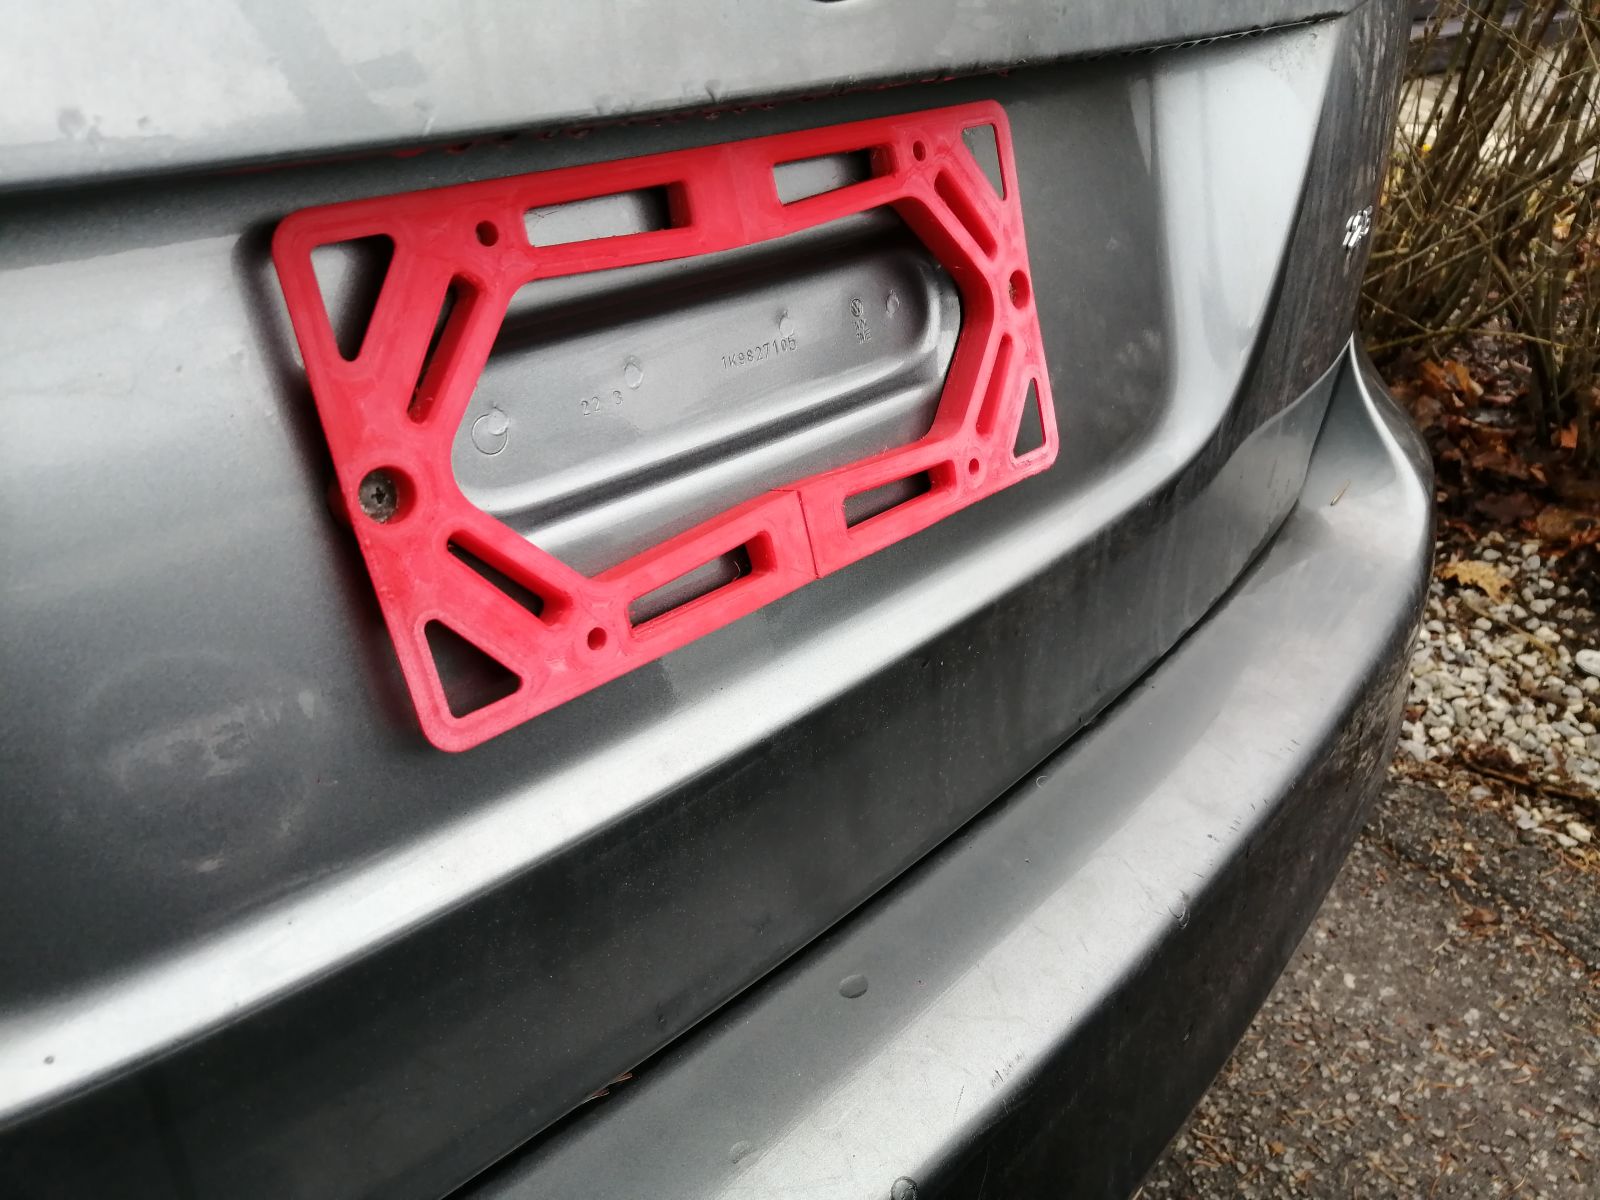
I had lots of nuts and bolts that came with the smoked plate cover kit so sized the new bracket to use them, glued the nuts into the back with cyanoacrylate. Was a bit worried about the extra depth (15mm vs 7mm) but it doesn’t look bad and the plate is still solidly under the lamps.
Things I learned:
• Measure twice dumbass: I started roughing this up late one dark damp night using approx plate dimensions from the internet that clearly weren’t right. I then didn’t check and correct them once I got the plate off and as a result the holes don’t line up with all 4 plate holes (not that I need the bottom 2). The spacing of the holes for mounting to the car wasn’t quite perfect either but close enough
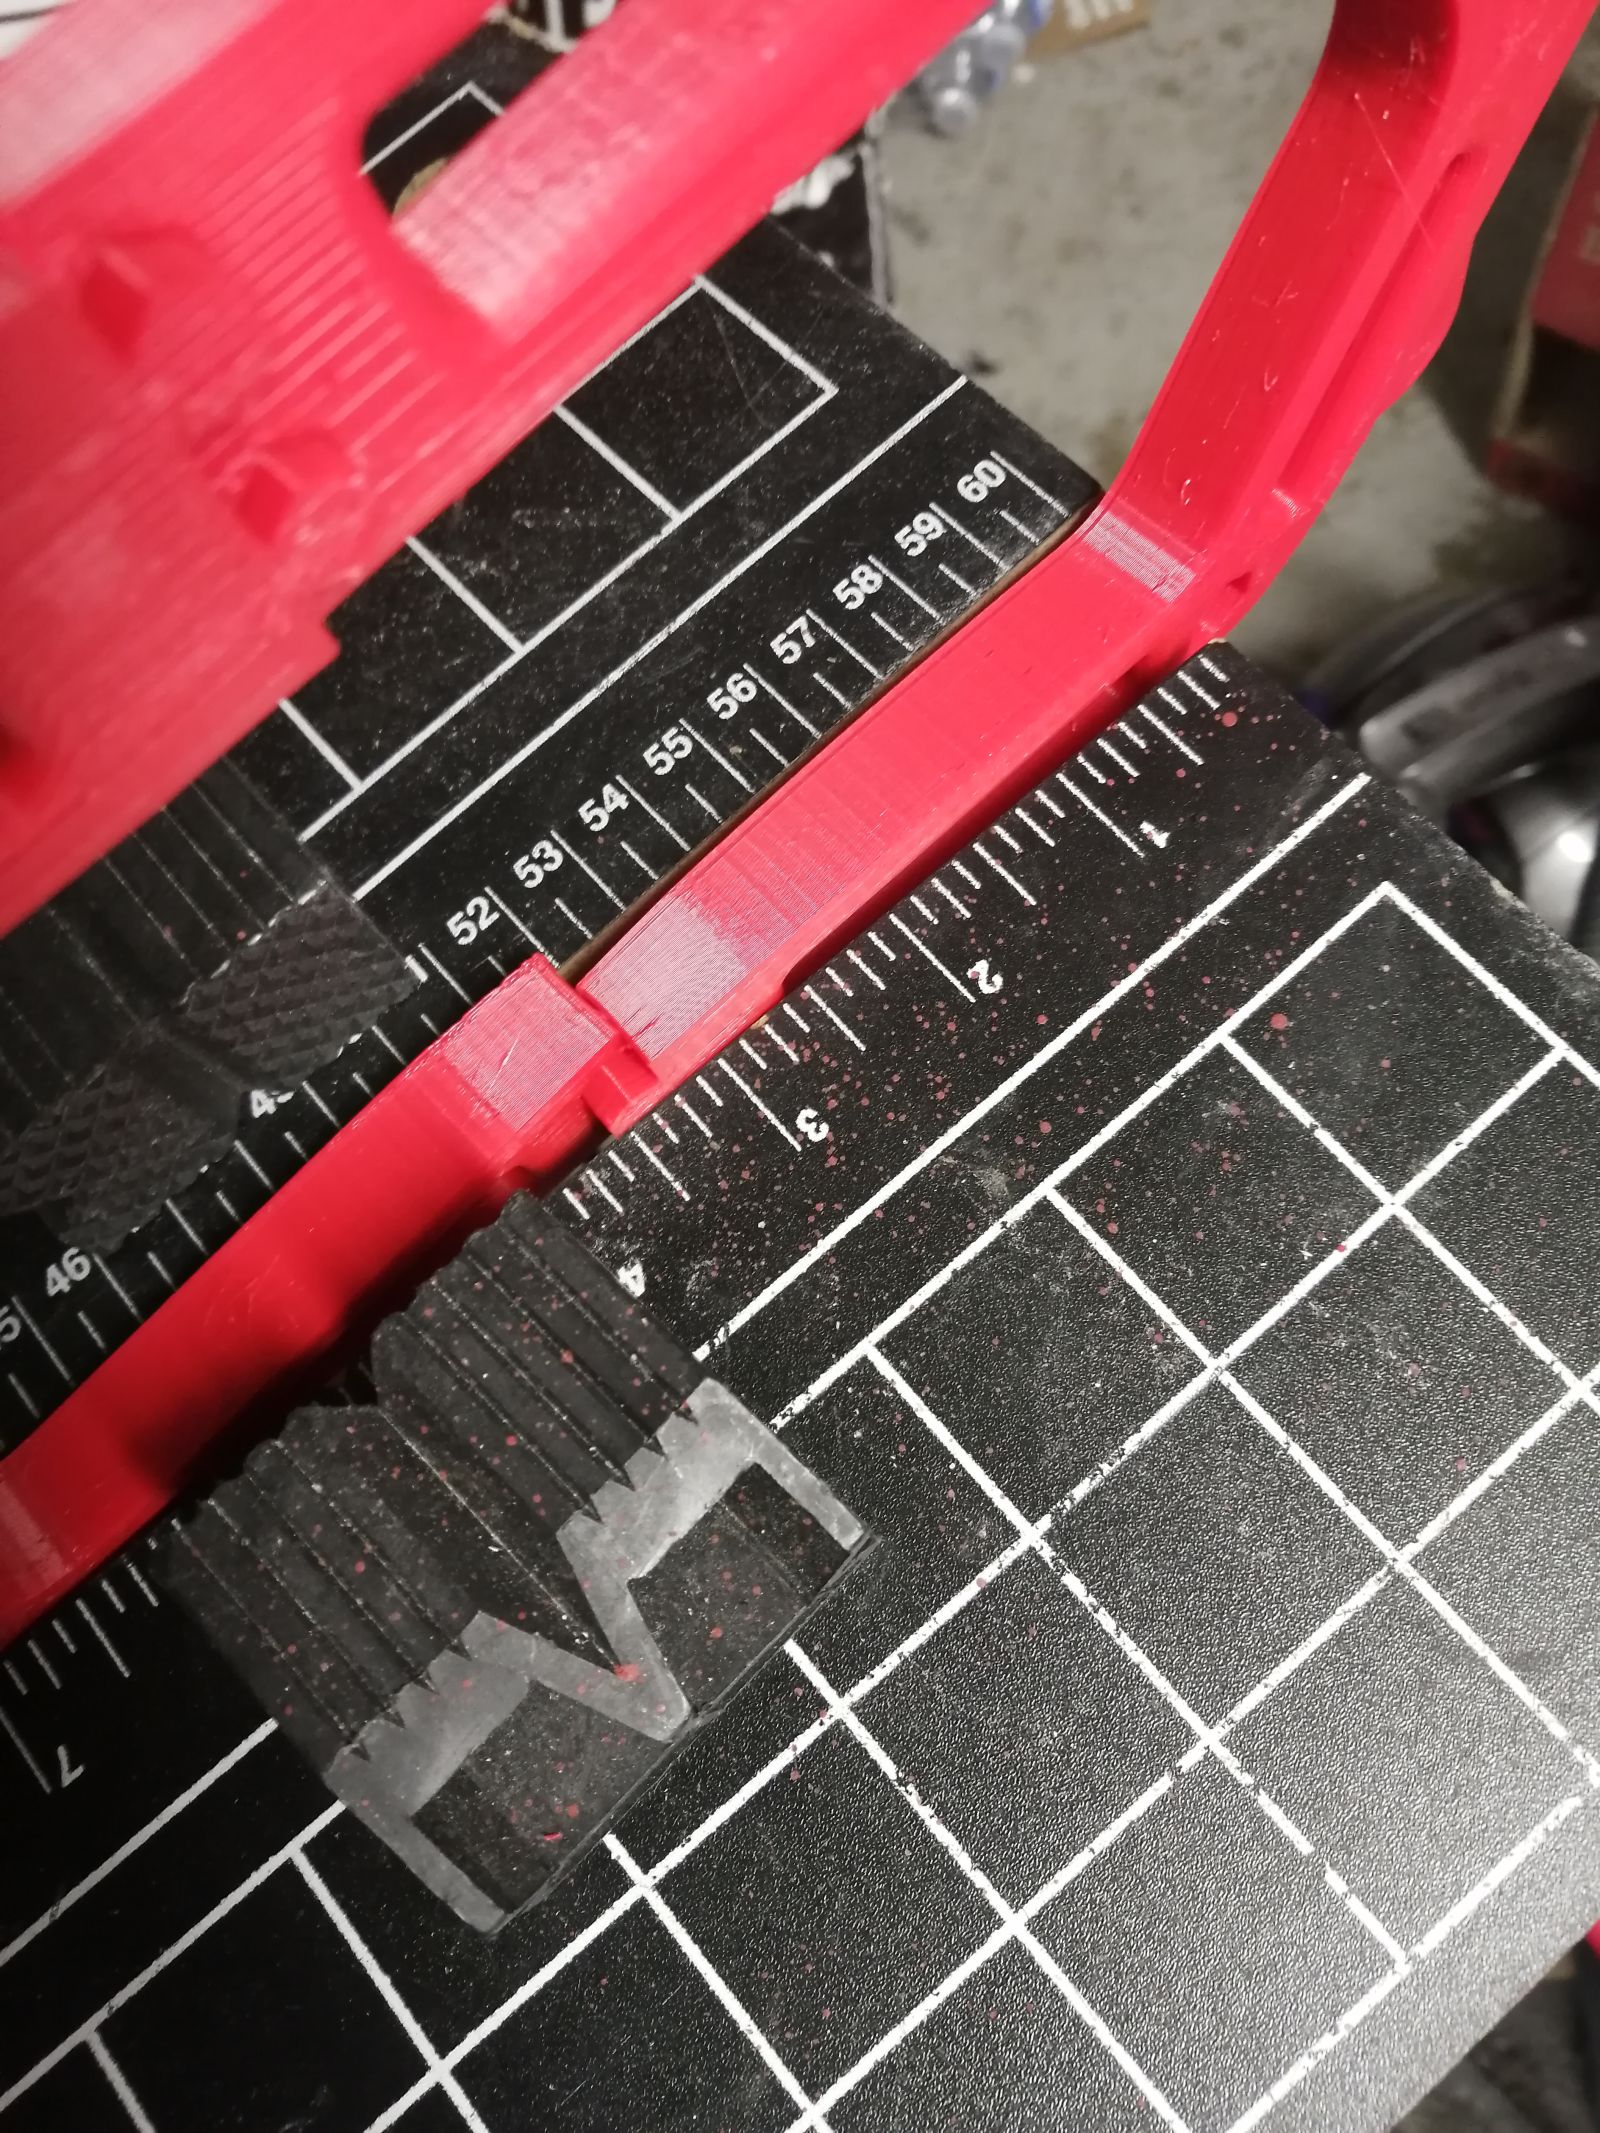
• 0.3mm is not quite enough total clearance for a 3d printed joint, it took quite a lot of clamping in the workbench to get the pieces together. Bonus though I didn’t need any glue.
• Increasing the nozzle temp and warmer weather seems to have solved my layer splitting problem, this was one decently solid chunk. Looking forward to building more parts.
• FreeCAD is a little bit tricky to get started with but waaay better than it has any right to be for being free and perfectly serviceable for drawing up small parts.